How to Crochet a Fall Garland for Beautiful Autumn Decor
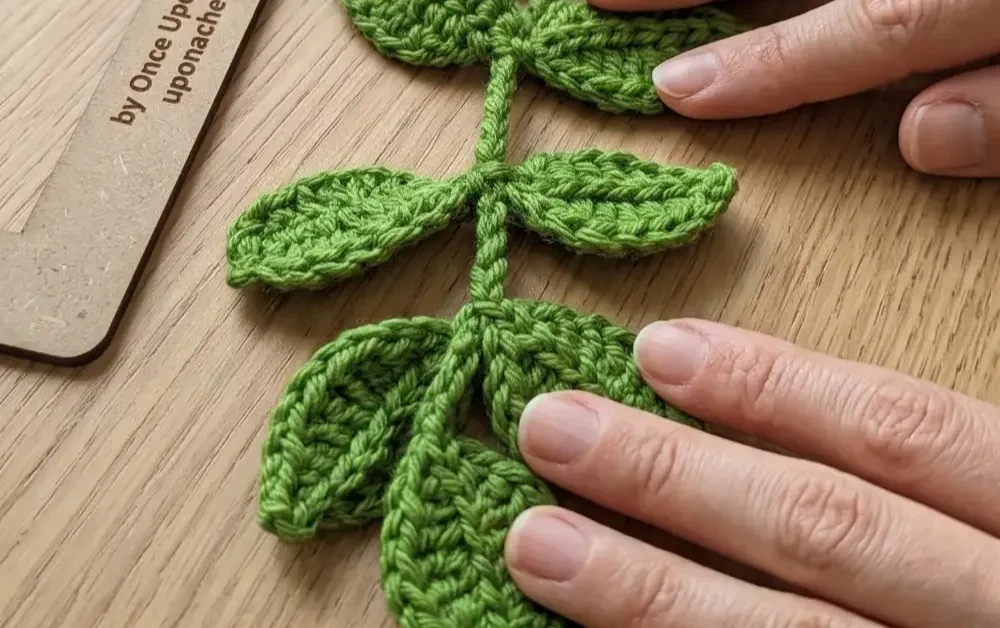
Autumn crochet is one of my favorite things to make each year, and this leaf garland is why. Every leaf is worked flat with simple increases, so the edges curl and cup just like real foliage. No wire, no glue, just yarn and a hook doing all the shaping work.
If you’ve made a wisteria garland before, this pattern will feel familiar since the leaves use the same tapered shape. String them alone for a rustic vine, or use them as the leafy base under floral strands for something fuller. Either way, you get a garland that looks like it grew that way.
How to Crochet a Fall Garland: Step-by-Step Tutorial
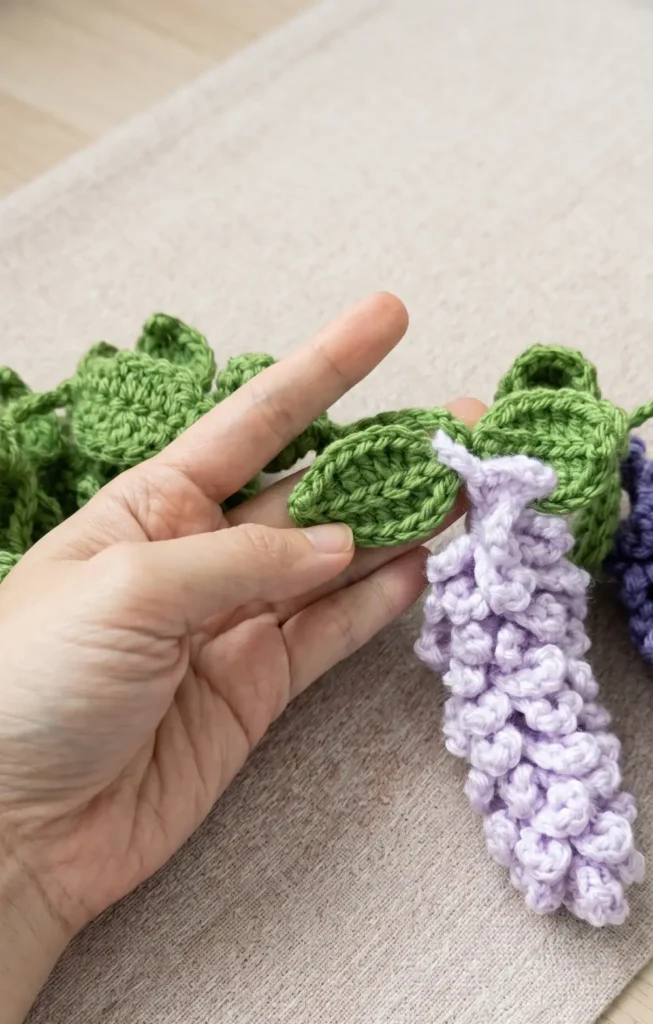
These crocheted strings of leaves look natural and beautiful, making them a perfect addition to projects like a crochet wisteria garland.
Required Materials
To get started with this foliage project, gather the following supplies:
- Green yarn: Worsted weight yarn in a green shade provides the best look for natural leaves.
- Crochet hook: Use a 4 mm crochet hook to achieve the correct tension.
Step-by-Step Instructions
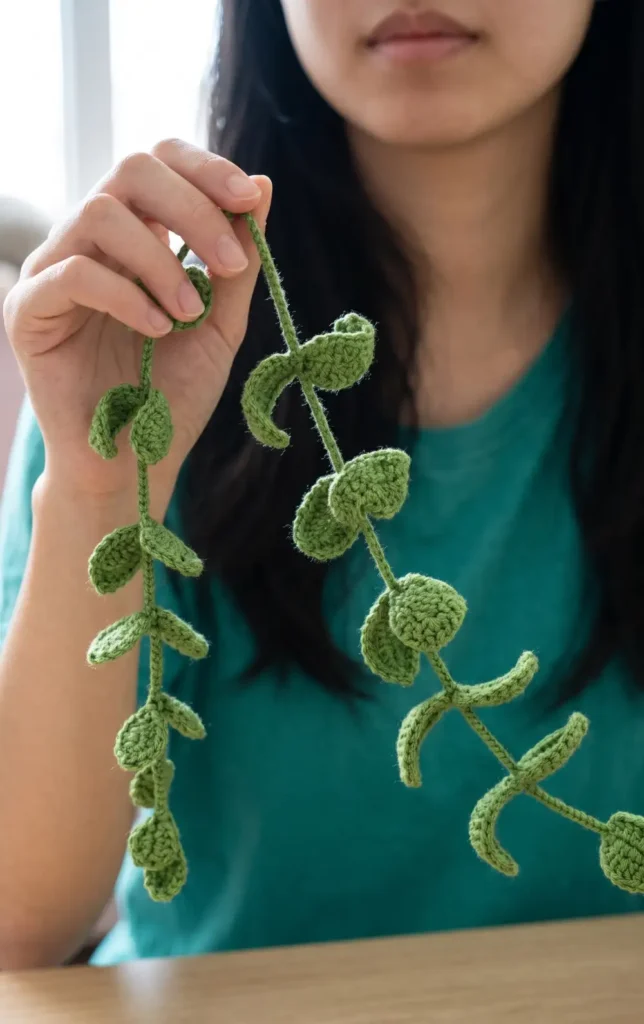
Follow these 12 steps to crochet your own continuous vine of leaves:
- Initial setup: Start by making a slip knot with your green yarn and then chain eight.
- Begin the first side of the leaf: Work into the second chain from your hook by making a single crochet, then make a half double crochet in the following chain.
- Increase leaf width: In the next chain, make a double crochet, and then place two double crochets into the same chain to create an increase.
- Taper the first side: Place one double crochet in the next chain, followed by a half double crochet, and finally a single crochet in the last chain.
- Transition to the second side: Chain one and turn your work so you can crochet along the other side of your foundation chain.
- Mirror the stitches: Work back toward the top of the leaf by placing a single crochet in the first chain, a half double crochet in the second, and a double crochet in the third.
- Finalise the second side: Complete the mirror image by placing a double crochet increase in the next chain, followed by a double crochet, a half double crochet, and a single crochet.
- Create the pointed tip: To give the leaf a realistic shape, chain two and then slip stitch into the back bump of the second chain from your hook.
- Add the central vein: Finish the individual leaf by slip stitching down the spine of the leaf and into the chain space between the two sides.
- Chain the stem: Once your first leaf is complete, chain seven to create the section of vine that connects to the next set of leaves.
- Start the leaf pairs: To create a pair of leaves, chain eight and repeat the leaf stitch pattern for the first leaf of the pair.
- Position the leaves evenly: To make the leaves stand upright in a T-shape, you can optionally place a single crochet between the leaf and the stem before continuing your vine.
Once you have finished a pair, you can continue the pattern by chaining seven and adding two more leaves until the vine reaches your desired length. These leaves are designed so that you can hang floral strands, such as wisteria, directly onto them.
Video Credits: Once Upon a Cheerio
Which Colors Will You Choose?
Green is the classic choice for this garland, but don’t stop there. Rust, gold, and deep burgundy leaves capture that same autumn feel, especially if you mix a few shades on one strand for a natural, faded look.
Once you’ve got the leaf pattern down, this project goes fast. Make one long vine for a mantel, or a few shorter strands for a window. Either way, you’ll have a garland that outlasts the real leaves outside.