How to Crochet Kids Cardigan Pattern Free with Easy Stitches
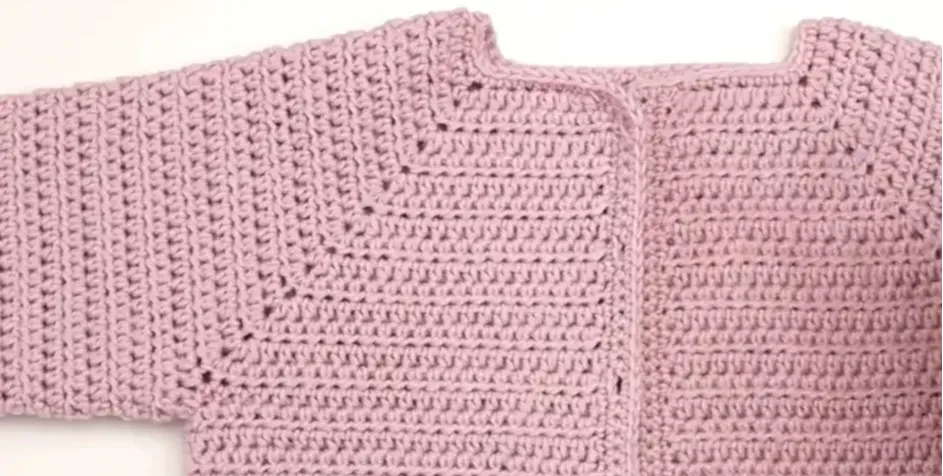
That first tiny cardigan you crochet for a baby is one you never forget. It fits in the palm of your hand, it smells like new yarn, and it somehow feels more important than any adult-sized project you’ve ever finished. This pattern gives you that exact feeling, minus the stress.
I built this cardigan with beginners in mind. Every stitch is a half double crochet or a single crochet, nothing fancy, nothing that will send you searching for a tutorial video halfway through. Grab your Drops Baby Merino, your 3mm hook, and let’s get you a finished cardigan you’ll be proud to gift.
Easy Crochet Baby Cardigan Step by Step US Terms
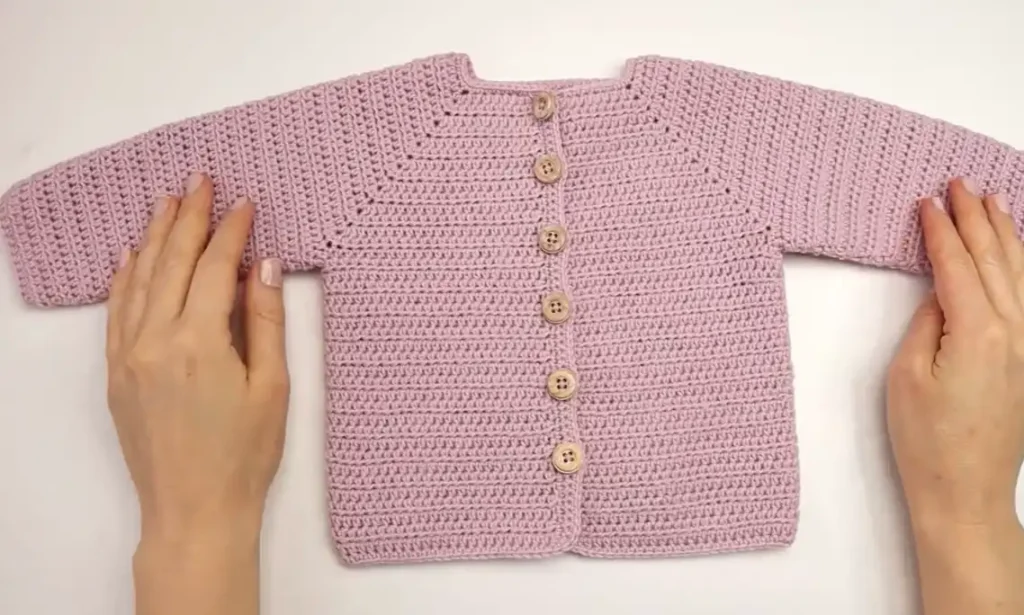
This tutorial guides you through creating a soft, adorable baby cardigan in a 3 month size. The pattern is simple and approachable even for those who are new to crocheting.
Essential Materials
Before you begin, gather the following supplies:
- 125 grams of Drops Baby Merino yarn
- A 3 mm or 3.5 mm crochet hook
- Scissors and a darning needle
- Six buttons with a 15 mm diameter
13 Steps to Crochet Your Baby Cardigan
Follow these thirteen steps to complete your project:
Step 1: Create the Foundation Chain
Begin by making a slip knot and crocheting 54 chains. Once you reach the end, add one more chain to serve as a turning chain.
Step 2: Work the First Row of the Yoke
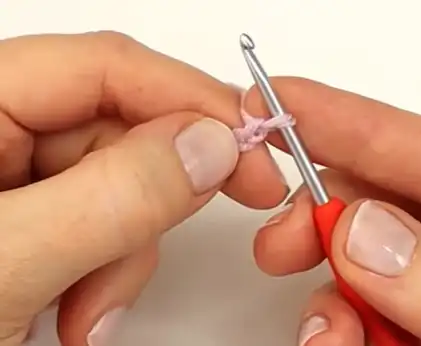
Skip the first chain from the hook and make a half double crochet (HDC) into the second chain. Work one HDC into the next seven chains, then place three HDC into the next stitch to create a corner. Continue this pattern by working eight HDC, another three-HDC corner, 18 HDC for the back, another corner, eight HDC, a final corner, and eight HDC to finish the row.
Step 3: Increase in Row Two
Chain one and turn your work. Work an HDC into the first nine stitches, then place three HDC into the next stitch. Continue across the row, increasing at every corner until you have a total of 70 HDC.
Step 4: Complete the Yoke Increasing Rows
Continue making increasing rows by placing three HDC into every corner stitch until you have completed 14 rows for the bodice piece. By the end of row 14, you should have a total of 166 HDC.
Step 5: Shape the Cardigan and Divide for Sleeves
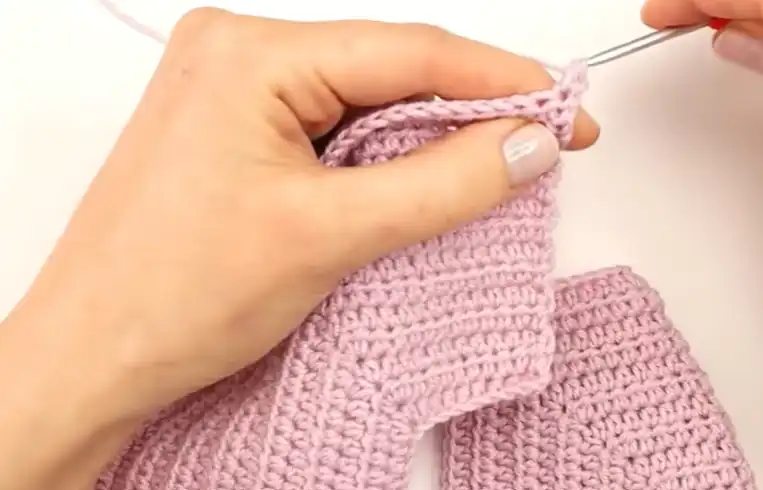
In row 15, chain one and turn. Work an HDC into the first 23 stitches, then chain three and skip 36 stitches to create the first armhole. Work 48 HDC for the back piece, chain three and skip another 36 stitches for the second armhole, and finish with 23 HDC.
Step 6: Crochet the Body of the Cardigan
For rows 16 through 39, work one HDC into every stitch across, including the chains under the arms. This creates 24 rows from the armhole down to the hem, with a total of 100 stitches per row.
Step 7: Start the Opening Border
Chain one and work a row of single crochet (SC) into the side of the rows along the front opening of the cardigan. Continue this until you reach the neckline.
Step 8: Create the Buttonholes
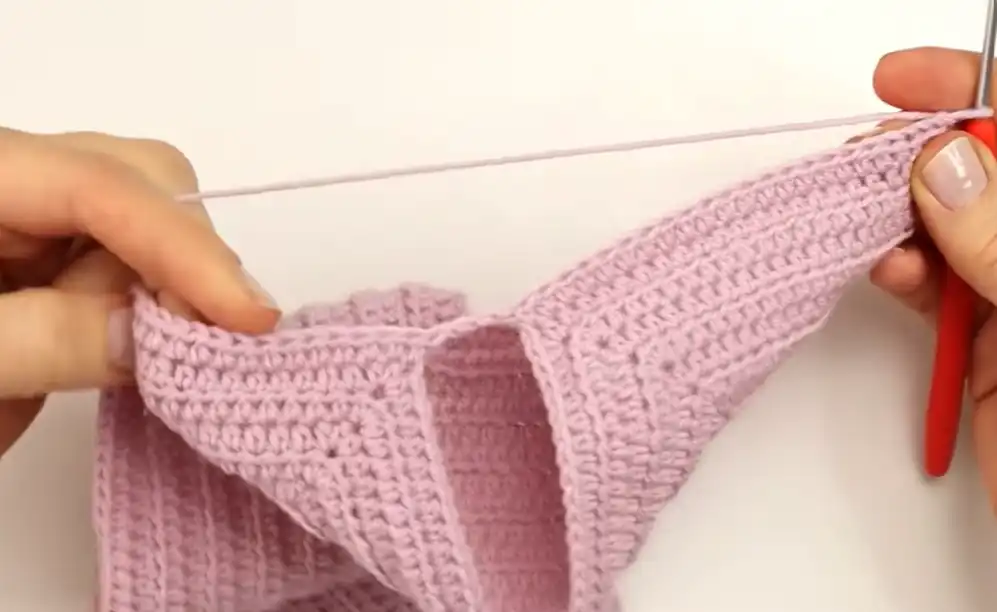
At the neckline, chain three and turn. Skip two stitches and SC into the next stitch to create your first buttonhole. Work an SC into the next six stitches, then chain two, skip two, and SC again to repeat the buttonhole pattern across the row.
Step 9: Attach Yarn for the Opposite Border
Fasten off the first side and attach your yarn to the opposite front opening. Work two rows of single crochet on this side to match the width of the buttonhole border.
Step 10: Work the Final Edging
Chain one and work a single crochet row all around the edges of the cardigan, including the neckline and the hemline. To create nice round edges, place two SC into the same stitch at every corner. When you reach the buttonholes, work two SC directly into each hole.
Step 11: Begin the Sleeves
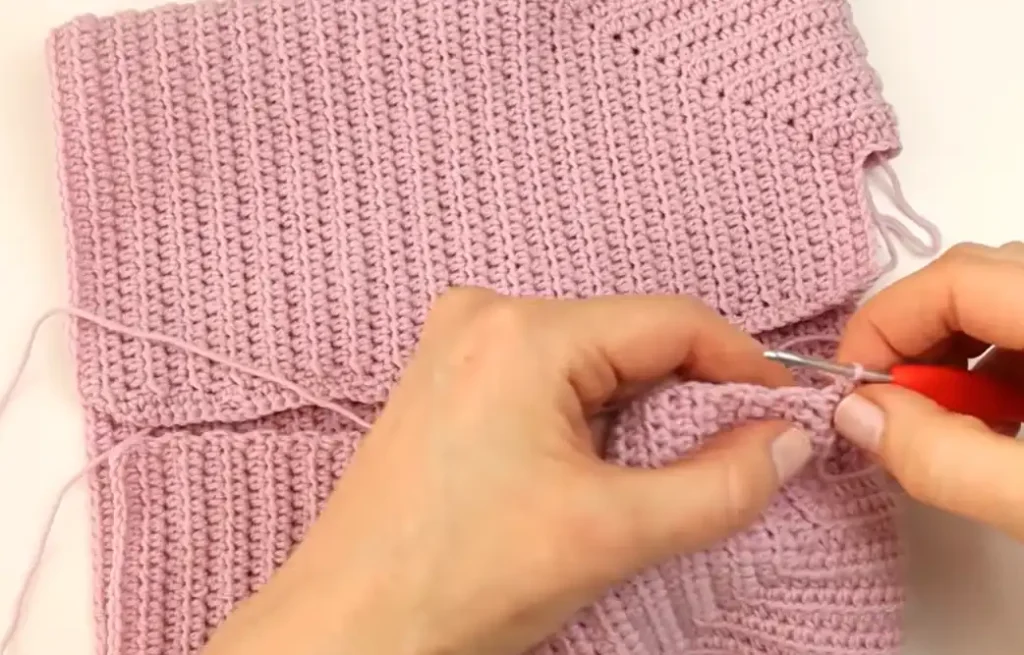
Attach your yarn to the middle chain of the armhole. Work one HDC in every stitch around the armhole, then chain one and turn. Work two more rows of HDC in every stitch.
Step 12: Shape and Finish the Sleeves
In row four of the sleeve, perform a half double crochet decrease at the beginning and the end of the row. Repeat the pattern of three straight rows and one decrease row until you have 27 rows total.
Step 13: Final Assembly
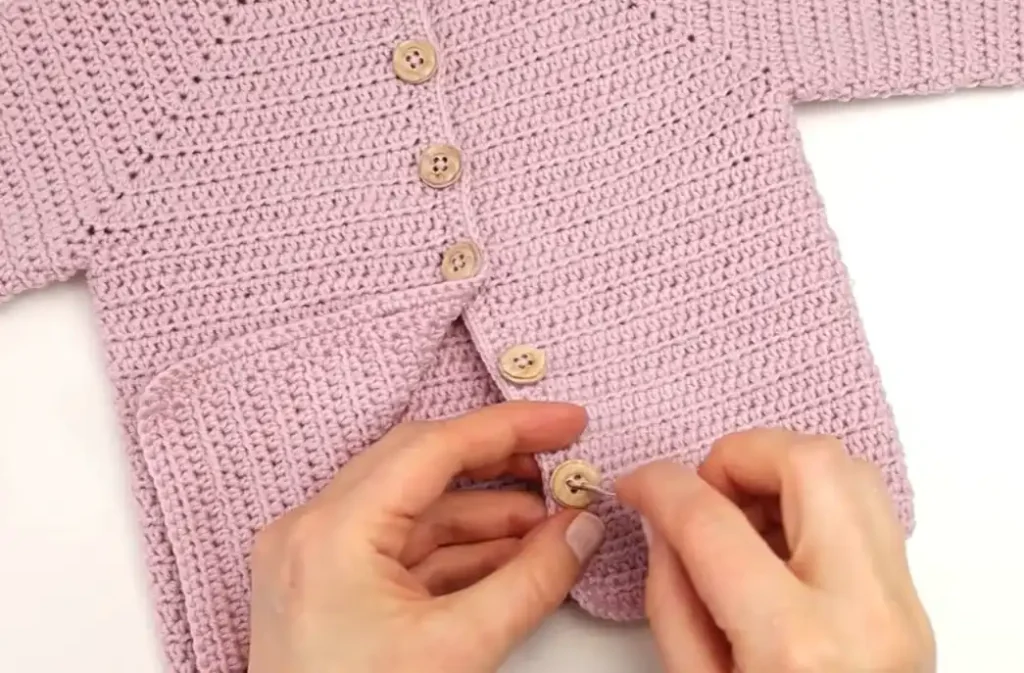
Fasten off the yarn, leaving a long tail of about 40 cm. Use the mattress stitch to sew the sleeve edges together on the wrong side. Repeat the process for the second sleeve, sew your six buttons onto the side opposite the button holes, and weave in all remaining ends.
Video Credits: Adore Crea Crochet
Looking for an Easy Baby Cardigan?
There you have it, one finished baby cardigan made with simple stitches and a lot of love. Once you sew on those six buttons and weave in your ends, you’ll have a piece that’s ready for tiny arms and cool days ahead.
This pattern is a great one to keep in your back pocket. Whether you’re stitching it for your own little one or as a baby shower gift, it works up fast and never goes out of style. Happy crocheting!