How to Crochet Pumpkin Coasters with an Easy Beginner Tutorial
Fall decorating always makes me want to grab a hook and some scrap yarn. These pumpkin coasters are one of my favorite quick projects to whip up when the leaves start changing. They work up in an afternoon and use barely any yarn at all.
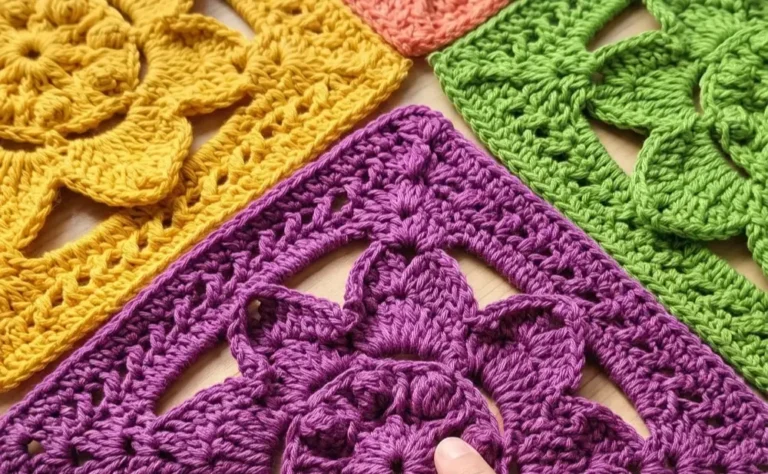
What I love about this pattern is how the puff stitches create real pumpkin texture without any tricky shaping. You just work in simple rounds, switch colors as you go, and watch a flat little pumpkin take shape under your hook. Perfect for using up those orange and yellow scraps in your stash.
Easy Crochet Pumpkin Coaster Pattern
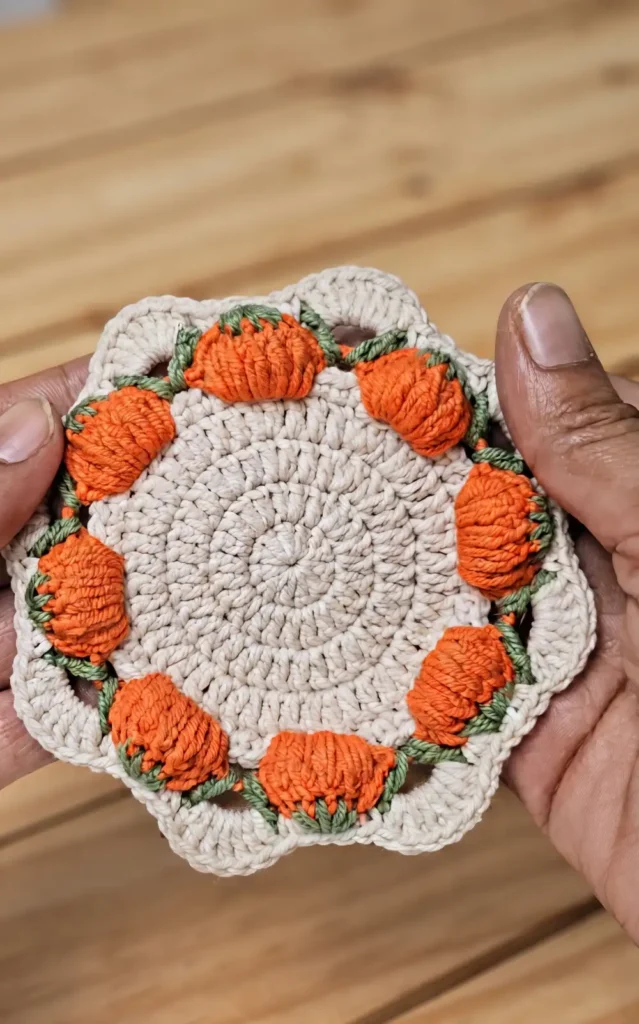
Add a handmade touch to your fall home decorations with this quick, beginner-friendly project. This finished pumpkin coaster measures approximately 11 centimetres in diameter.
Materials and Preparation
To complete this project, you will need the following materials:
- Medium-weight, 5-ply yarn (50% cotton and 50% acrylic).
- 2.5 mm crochet hook.
- The tutorial uses orange, yellow, green, and cream yarn, though you can choose any colours you like.
Hey there! Some links on this page may be affiliate links which means that, if you choose to make a purchase, I may earn a small commission at no extra cost to you.
Step-by-Step Instructions
- Start with a Magic Ring: Begin the base of your coaster by creating a magic ring.
- Round 1: Chain 2 and work 12 double crochets into the ring. Count your starting chain as the first stitch and join with a slip stitch to the top of that chain.
- Round 2: Chain 2 and make 2 double crochets in every stitch around. You should have a total of 24 double crochets before joining with a slip stitch.
- Round 3: Chain 2. Work 1 double crochet in the next stitch followed by 2 double crochets in the next. Repeat this sequence until you have 36 stitches and join.
- Round 4: Chain 2. Make 2 double crochets in the first stitch, then work 1 double crochet in each of the next 2 stitches. Continue this pattern until you reach 48 stitches and join.
- Round 5: Chain 1. Work 4 single crochets side by side, then chain 3 and skip 2 stitches. Repeat this around until you have 8 chain spaces, then join, chain 1, and cut the yarn.
- Switch to Yellow (Round 6): Fasten your yellow yarn to the top of any fourth single crochet from the previous round and chain 3.
- Form the Puffs: In the chain space, yarn over and pull up a loop three times to create a puff stitch. Repeat this until you have 5 puff stitches in that same space, then chain 3.
- Connect the Stitches: Make a single crochet into the top of the first single crochet from the previous round, chain 3, skip 2 stitches, and make another single crochet into the last single crochet.
- Finish Round 6: Continue the sequence of 5 puff stitches and chain spaces all the way around, join with a slip stitch, and cut the yarn.
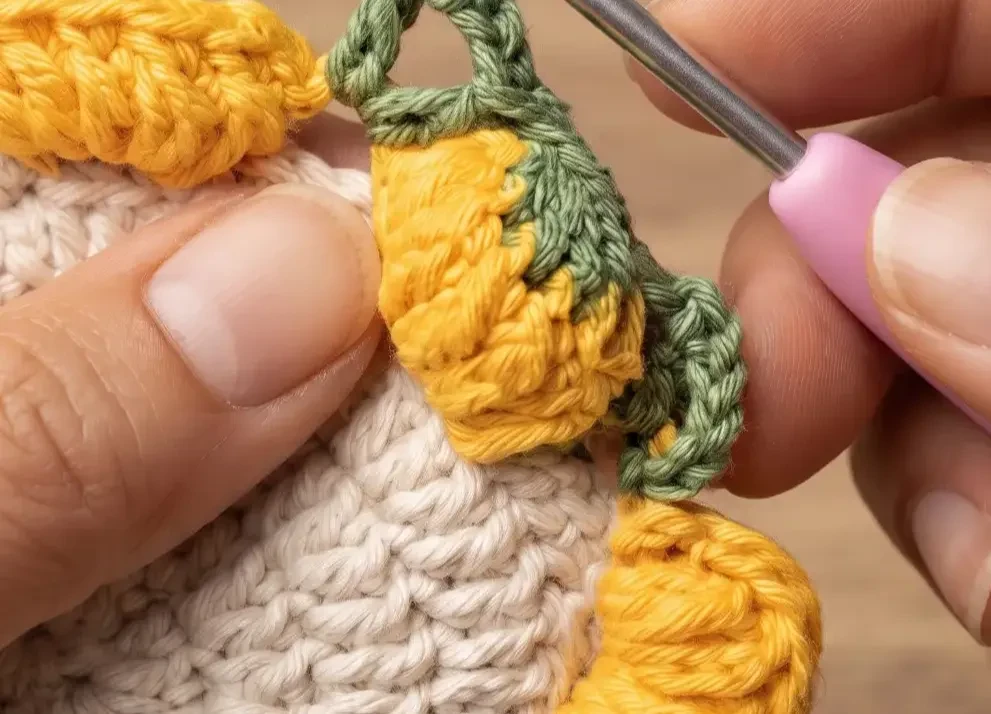
- Add the Greenery (Round 7): Fasten green yarn into any three-chain space. Chain 6 and make 1 double crochet into the same space to create a V-stitch.
- Close the Pumpkin Tops: Chain 1 and pull up 5 loops from the top of the puff stitches below. Close all 6 loops on the hook together, chain 1, and work another V-stitch (double crochet, chain 3, double crochet) into the next space.
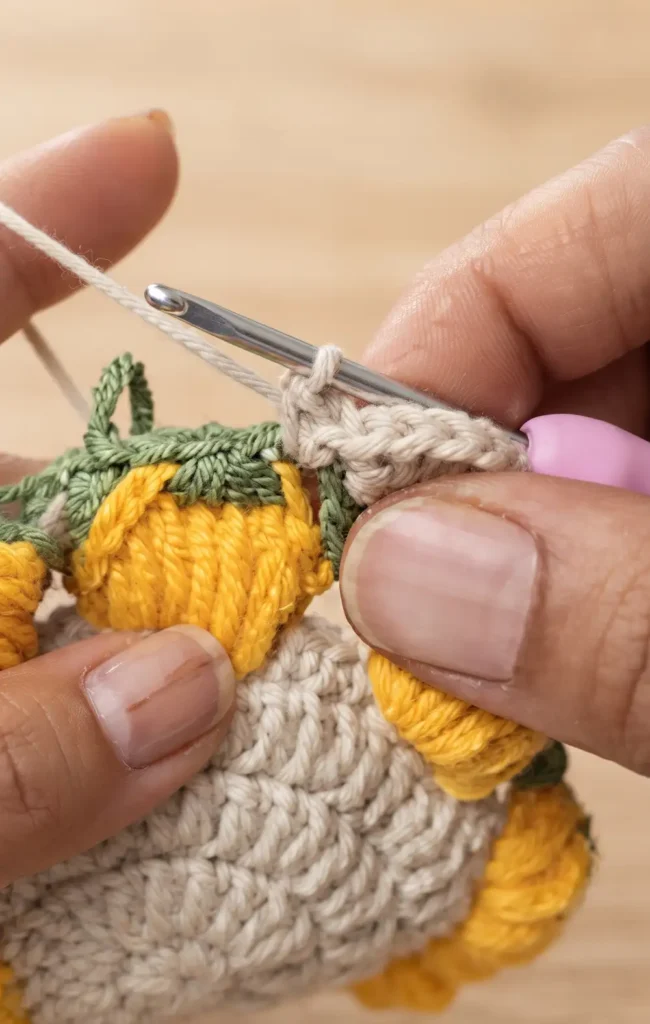
- The Cream Border (Round 8): Fasten cream yarn in the center of any V-stitch. Chain 2 and work 6 double crochets in that same space for a total of 7 stitches. Work 5 single crochets around the pumpkin (2 on the right, 2 on the left, and 1 on top) and repeat this pattern around.
- Final Assembly: Join with a slip stitch to the first chain, cut the yarn, and hide the ends between the stitches. Straighten and shape the coaster with your hands to finish.
Video Credits: Crochet_Craftsman
Which Pumpkin Comes First?
That’s really up to you. I like starting with a classic orange pumpkin since it never goes out of style. But don’t stop at just one. These coasters look even better as a mismatched set on your table.
Once you get the hang of the puff stitch rounds, you’ll want to make a whole pumpkin patch. Try swapping in burgundy or mustard yarn for a different look. Grab your hook and get stitching before fall slips away.