How to Crochet Pumpkin Candy Basket for Trick-or-Treating
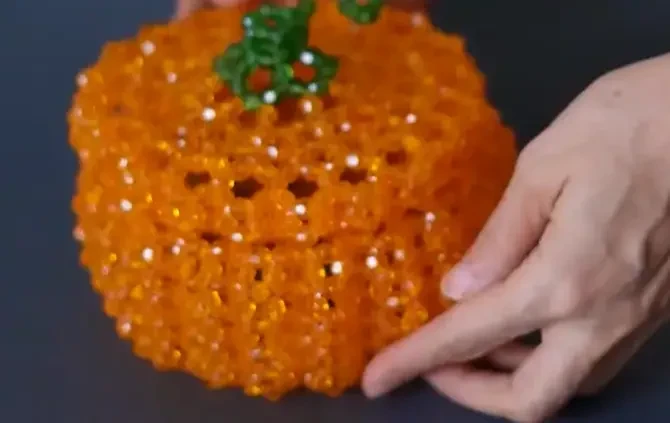
Trick-or-treaters deserve something better than a plastic bucket this year. This crystal pumpkin candy bowl sparkles like nothing else on the porch. It looks like glass, but it is built entirely from tiny beads and fishing line, using the same rhythmic looping logic you already know from crochet.
Don’t let the beads intimidate you. If you can follow a bead-and-loop pattern, you can build this pumpkin from the base up to that curled little vine on top. Grab your crystal beads and let’s get started.
Easy Halloween Pumpkin Crochet
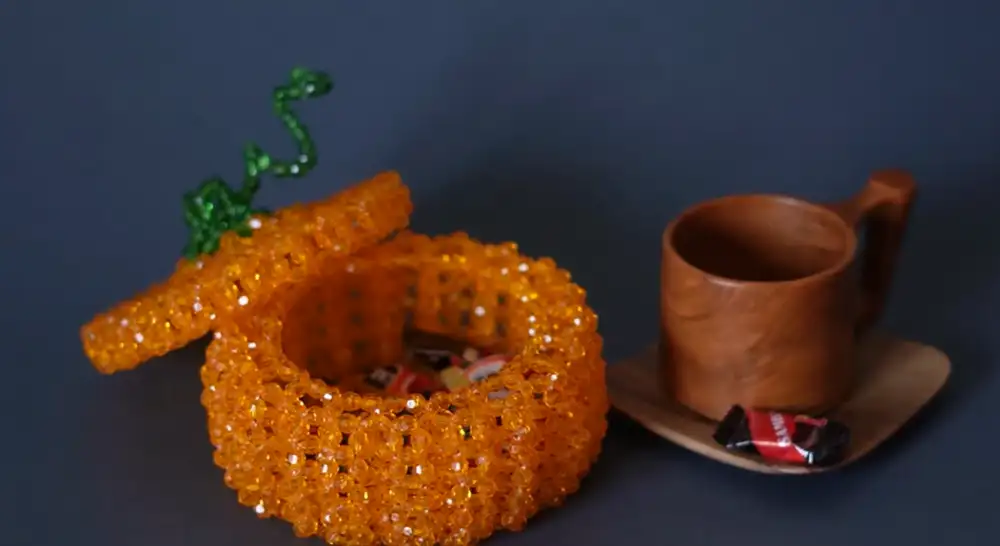
This beautiful crystal pumpkin candy bowl is a perfect DIY project for the Halloween season. While it uses a weaving technique with beads rather than traditional yarn, the process follows a rhythmic pattern similar to crochet to create a structured, sparkling basket.
Essential Materials
To begin this project, you will need the following supplies:
- Size 8 Crystal Beads: You will need these in light orange for the body and green for the base and lid.
- 0.7mm Fishing Line: This specific thickness is vital to ensure the bowl remains firm and holds its shape.
- Thread Cutters or Scissors: For precise trimming of the fishing line.
- Soft Floral Wire: Approximately 50 to 60 cm for the decorative stem.
- A Pen or Marker: Used to curl the floral wire into a vine shape.
Step by Step Instructions
Follow these 17 steps to complete your pumpkin candy bowl:
- Create the Center Ring:
Cut about 1.4 meters of fishing line. Thread 5 green beads onto the line and cross both ends through the last bead to create a 5-bead ring.
- Form the Base Row:
Add 4 beads to create another 5-bead ring attached to the first. Continue this pattern around the center.
- Close the Base:
To finish the second row, pass the line through the adjacent beads and add only 2 beads to complete the final 5-bead ring of the base.
- Begin the Orange Body:
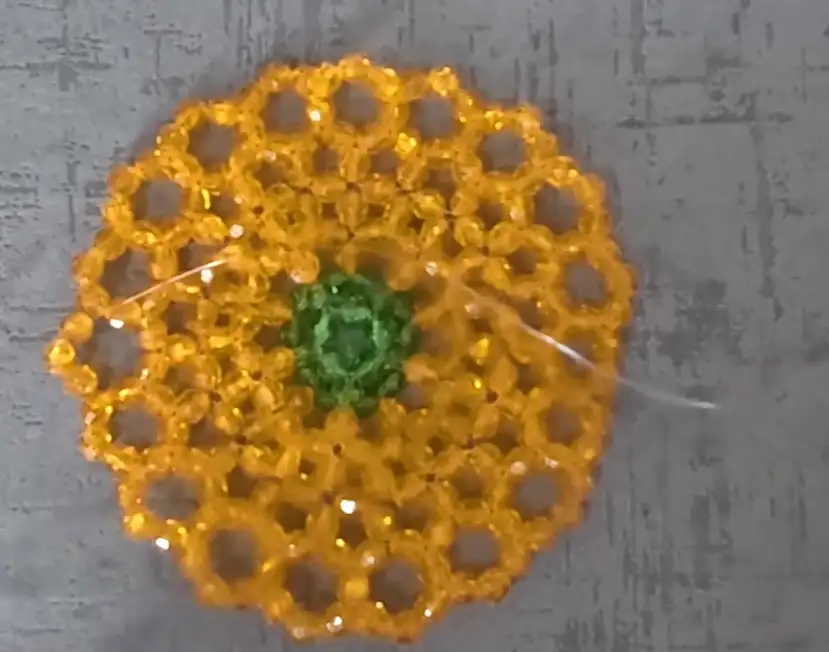
Switch to orange beads. Start the third row by adding 4 orange beads to the existing green bead to form the first 5-bead ring of the body.
- Continue the Body Pattern:
Work your way around the row by passing the bottom line through the next bead and adding 3 new beads to the top line to maintain the 5-bead ring structure.
- Shift to 4-Bead Rings:
For the next row, transition to a smaller pattern. Use 4-bead rings to begin shaping the curve of the pumpkin.
- Manage Your Fishing Line:
If your line runs short, do not tie knots as they look untidy. Instead, weave the ends through the beads in a zigzag pattern before cutting.
- Expand with 5-Bead Rings:
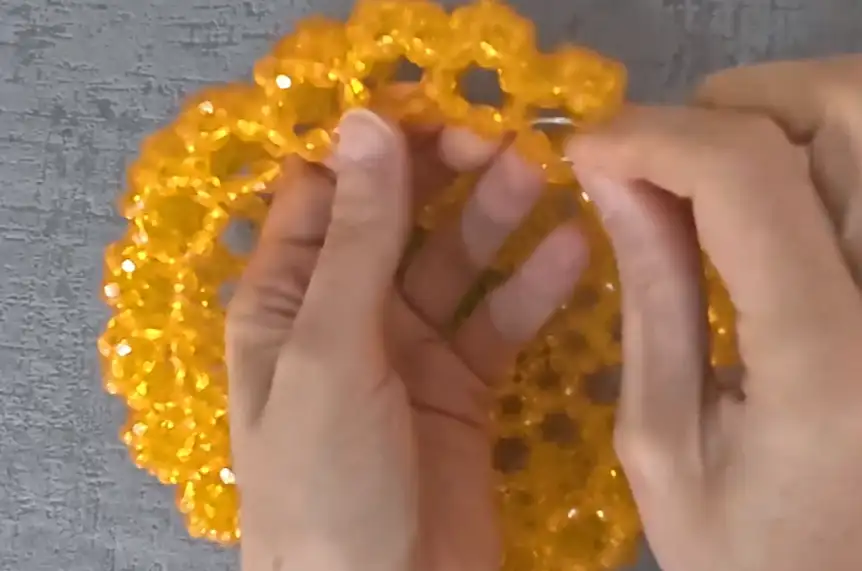
After completing the 4-bead row, return to the 5-bead ring pattern for the next level of the body.
- Create Large Expansion Rings:
To give the pumpkin its wide middle, create a row of 7-bead rings. Pass the line through 2 beads from the previous row and add 4 new beads.
- Finish the Expansion Row:
Complete the 7-bead ring row by passing through the final beads and adding 3 beads to close the circle.
- Build Height:
Construct 5 identical rows of 4-bead rings. This creates the main vertical walls of your candy bowl.
- Narrow the Top:
Create another row of 7-bead rings to begin pulling the top of the bowl inward. Pass the line through 3 beads and add 3 new beads for each ring.
- Reinforce the Rim:
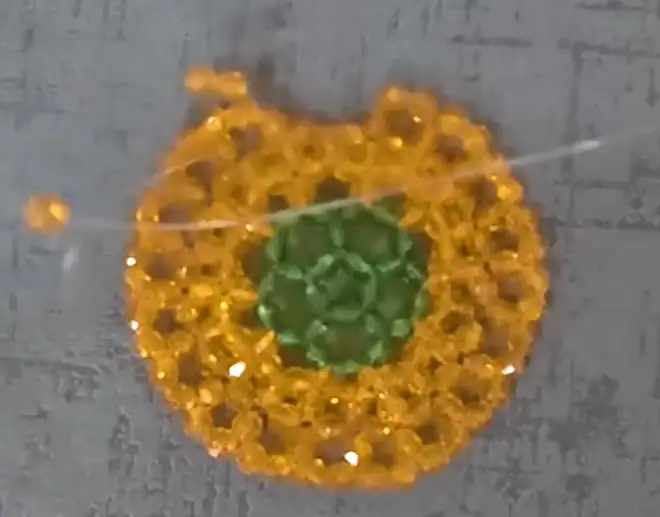
Once the body is finished, thread a new piece of line through all the beads on the top edge and pull tight to strengthen the opening.
- Craft the Lid Base:
Using green beads, start the lid with a 5-bead ring, then surround it with a row of 6-bead rings.
- Shape the Lid:
Alternate between 5-bead and 6-bead rings using orange beads, then transition to 4-bead rings to create a domed shape.
- Add the Lid Handle:
Build a small handle on top of the lid by creating a series of 4-bead rings that you can easily grasp.
- Attach the Decorative Stem:
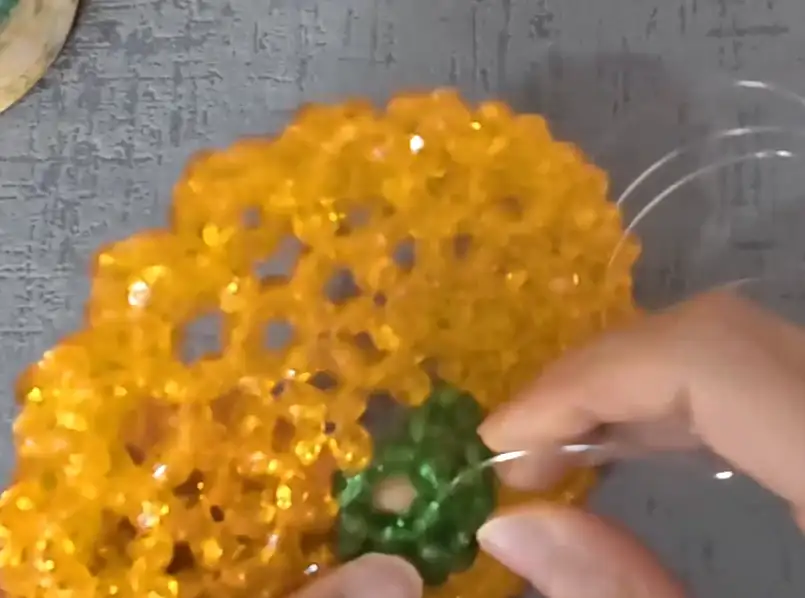
Thread about 20 green beads onto floral wire. Secure it to the lid, then wrap the wire around a pen to create a curled, whimsical vine.
Video Credits: meriland
Will You Make One?
Now step back and look at what you built. That warm orange glow, the tight rows, the curled green vine on top. This is not a plastic dollar-store bucket. It is a handmade centerpiece that just happens to double as a candy holder.
Try this pattern once and you will want to make a whole pumpkin patch of them. Different bead colors, different sizes, maybe even a spooky black and orange version for next year. Will you make one? Show us your finished bowl.