How to Crochet a Granny Square Pillow: Easy Step-by-Step Tutorial
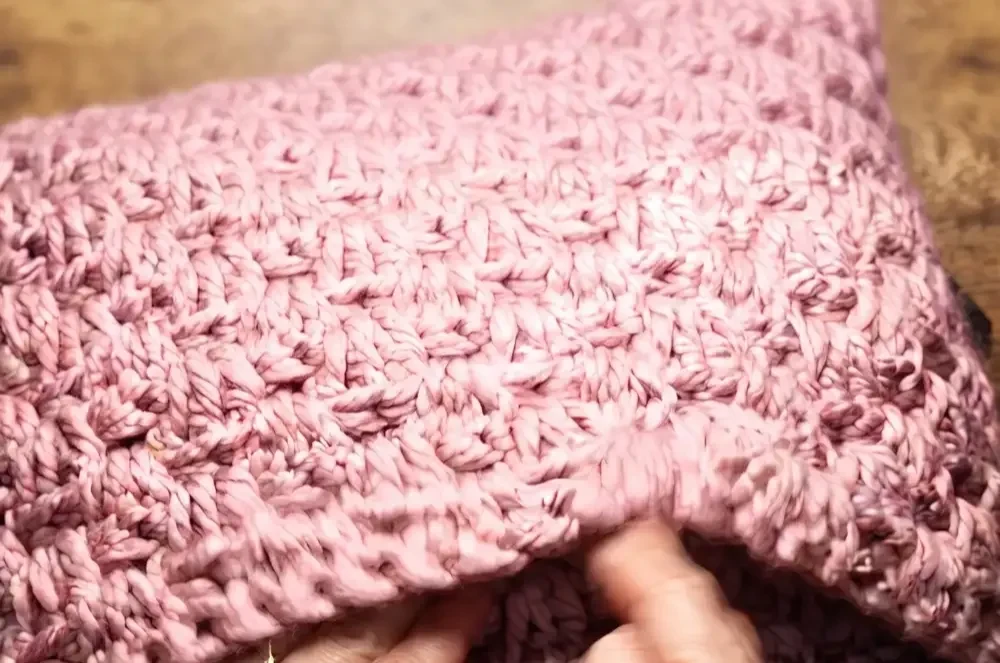
A granny square pillow is one of those projects that turns heads the second it hits the couch. That classic textured stitch never goes out of style, and this envelope-style cover proves you don’t need a single zipper to get a clean, professional finish. If you can chain and double crochet, you already have everything you need.
This tutorial breaks the whole process into 16 clear steps, from your first foundation chain to stuffing the finished cover. You’ll work up a simple rectangle using the granny cluster pattern, then fold it into place like an envelope. Grab your size 8 hook and let’s get started.
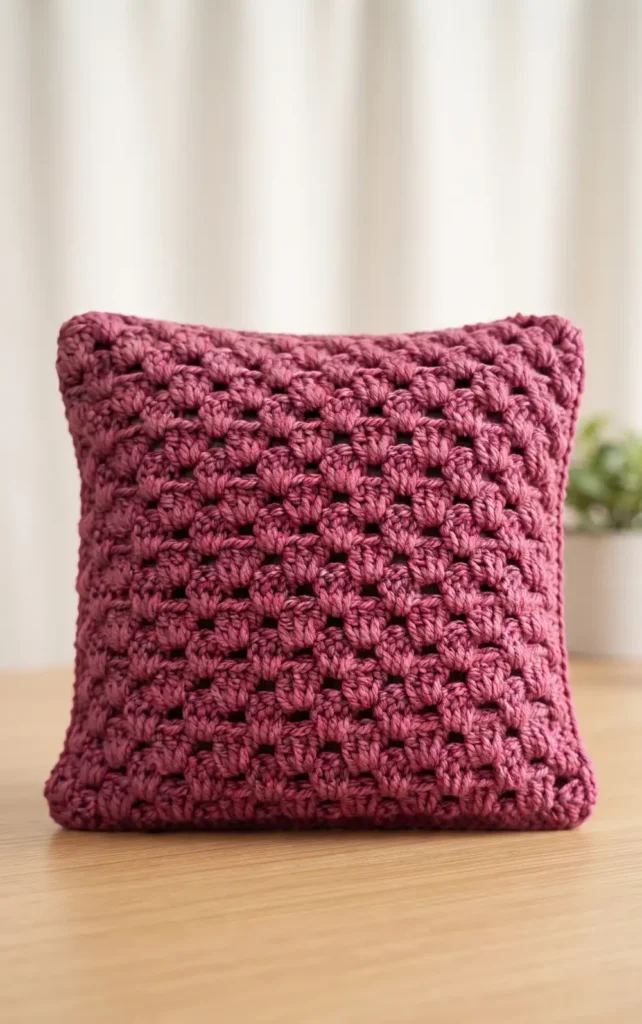
Creating a handmade cushion is a wonderful way to add a personal touch to your home decor. This project uses a classic granny stitch to create a beautiful, textured rectangle that folds into a convenient envelope-style cover with a flap, meaning no zippers are required.
Essential Materials for Your Project
To achieve the best results, gather the following supplies mentioned in the tutorial:
- Yarn: 100% acrylic yarn, approximately 1 cm thick with a 3-strand twist.
- Crochet Hook: A size 8 (8 mm) hook.
- Tools: Measuring tape, scissors, a tapestry needle for hiding ends, and stitch markers or safety pins.
- Filling: A cushion insert measuring approximately 42 cm.
Hey there! Some links on this page may be affiliate links which means that, if you choose to make a purchase, I may earn a small commission at no extra cost to you.
Step-by-Step Guide to the Granny Cushion
Follow these 16 steps to complete your crochet cushion cover:
1. Create the base chain:
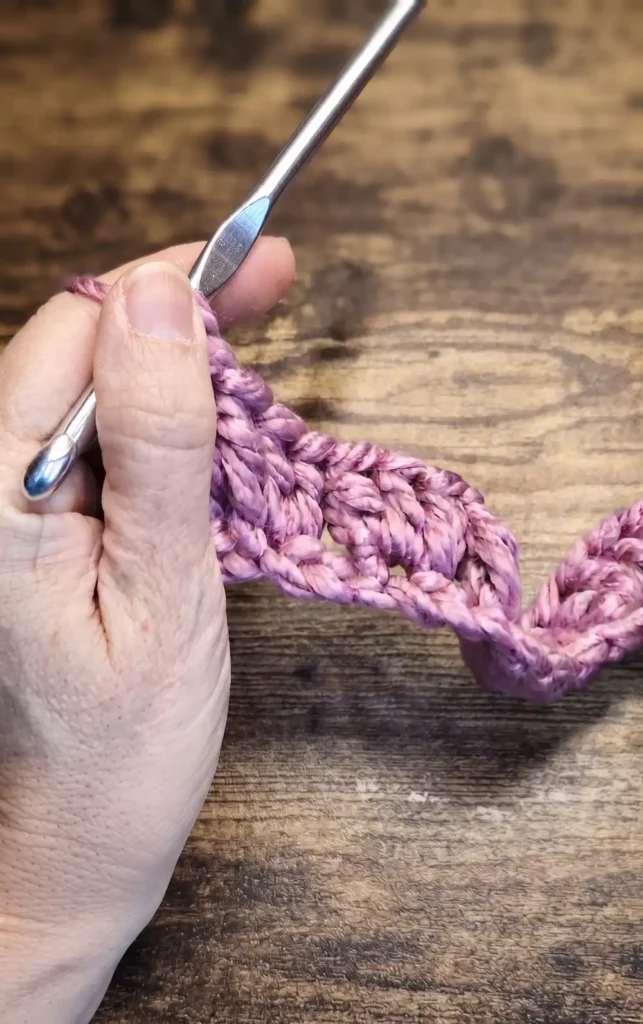
Begin by crocheting a foundation chain of 30 stitches, which is a multiple of three.
2. Set the height for the first row:
Once the 30 chains are complete, add three more chains to serve as your first double crochet (DC).
3. Place the first DC:
Count back four stitches from the hook and work one double crochet into that fourth chain.
4. Establish the granny pattern:
Skip two stitches and then work three double crochets into the same stitch to create a cluster.
5. Finish the first row:
Continue the pattern of skipping two stitches and placing three double crochets until the end, finishing with one single double crochet in the very last stitch.
6. Turn and start row two:
Chain three to go up to the second row and turn your work to the left.
7. Work into the spaces:
In the second row, you will work into the open spaces created by the previous row; start with one DC in the first space right under the hook.
8. Complete the second row body:
Crochet clusters of three double crochets into every space across the row.
9. Maintain consistency:
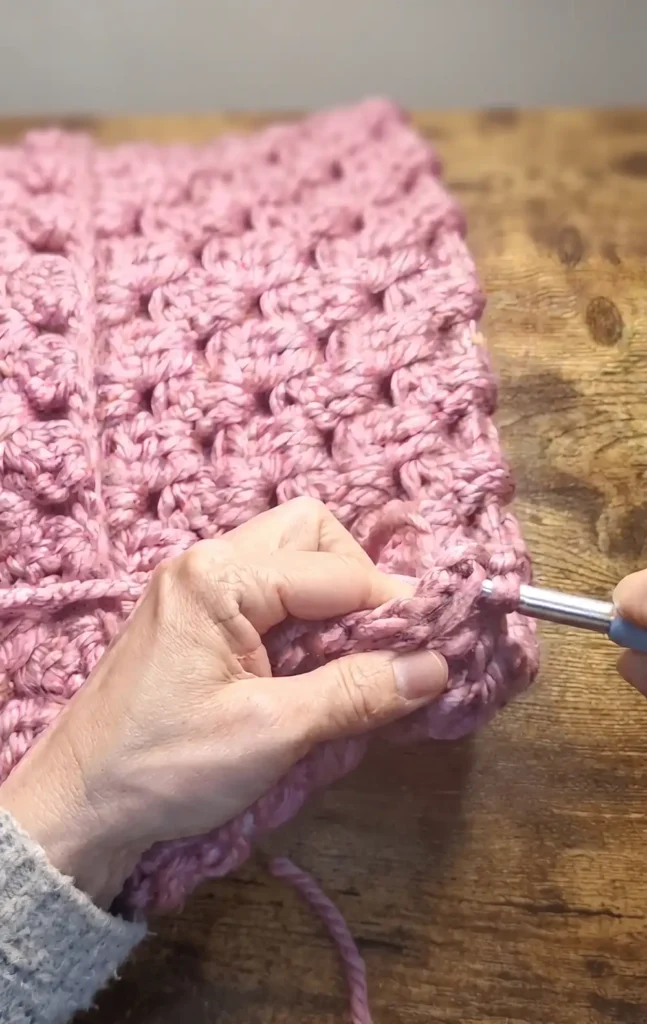
Ensure you always have 30 stitches in every row to keep the edges straight and prevent the need to unravel your work.
10. Reach the target length:
Continue repeating the pattern until your rectangle measures 96 cm in length, which should take approximately 44 rows.
11. Identify the center:
Lay the finished rectangle flat (approximately 42 cm wide) and fold it in half to find and mark the exact center.
12. Measure the cushion area:
From that center mark, measure 21 cm in each direction to define the 42 cm area where the cushion insert will sit.
13. Fold the envelope flap:
Fold the ends of the rectangle over the center area to create the flap, ensuring the narrower base side is positioned where it will be seen.
14. Pin and prep:
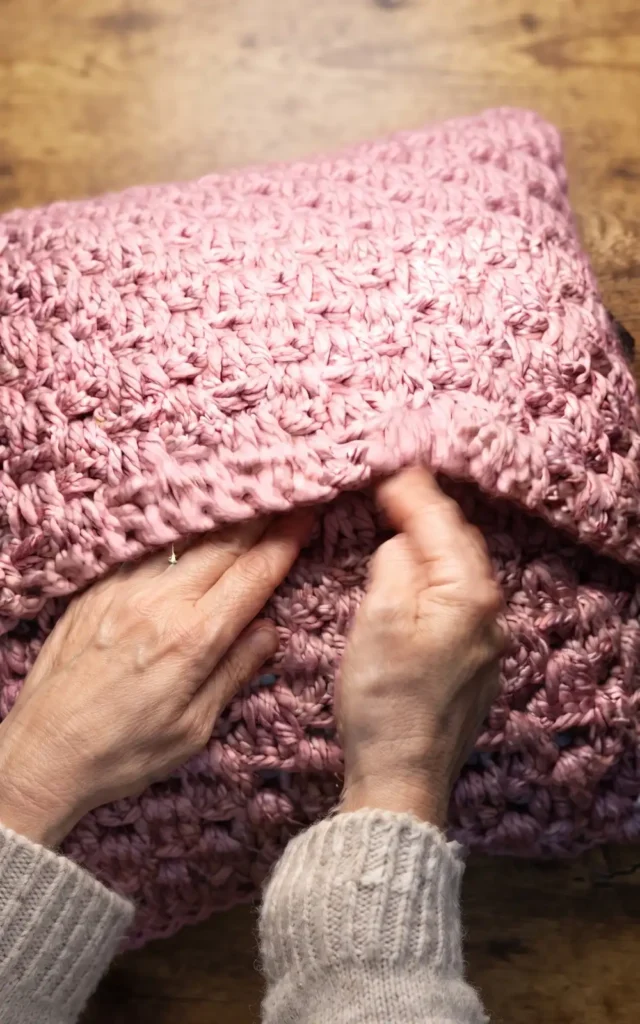
Use safety pins to hold the “sandwich” of layers together and hide any loose yarn tails before you begin the final assembly.
15. Join the sides:
Use your hook to join the layers along the sides using slip stitches, ensuring you go through all thicknesses of the fabric.
16. The final touch:
Cut and hide the remaining threads, turn the cover right side out, and insert your filling through the flap.
Video Credits: Rosa Angélica
Ready for Your Next Project?
Once you’ve folded and joined those final seams, you’ll have a pillow cover that looks like it came from a boutique, not a hook. That granny texture adds so much personality to a plain couch or bed, and the envelope back means you can pull the insert out and wash the cover anytime. It’s a simple project with a genuinely impressive payoff.
Now that you’ve got the granny stitch down, don’t stop here. This same technique opens the door to matching throws, bag panels, or even a second pillow in a new colorway. Keep that hook moving and see where else this classic stitch can take you.