Learn How to Crochet a Granny Square Vest for Beginners
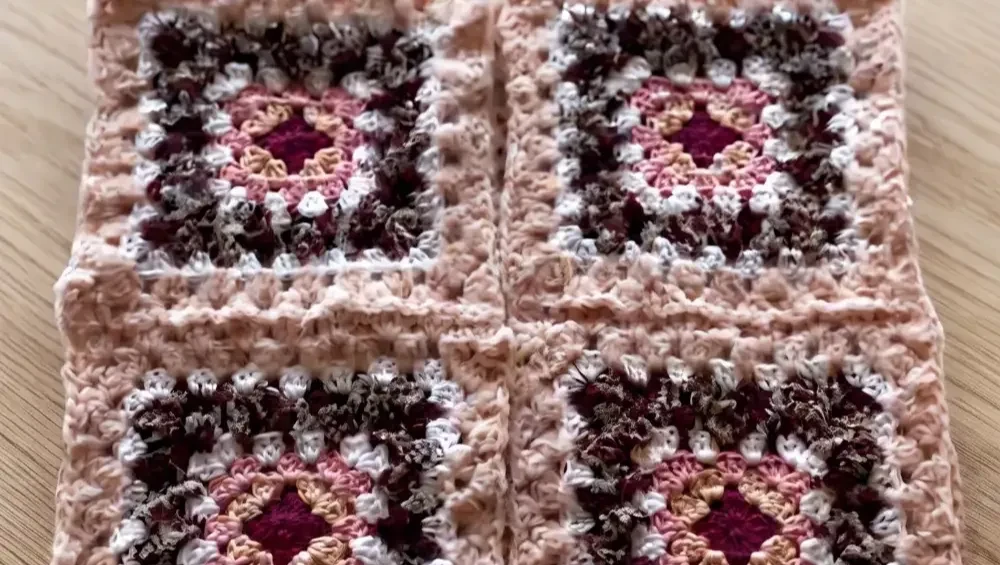
Grab your leftover yarn stash because it finally has a purpose. This granny square vest turns eight simple squares into a wardrobe staple you will reach for all winter. No complicated shaping, no fussy sizing charts, just honest granny square construction that any beginner can master.
What makes this project special is the freedom it gives you. Mix cotton, mohair, and fluffy yarns for texture that store-bought vests never have. Eight squares, one darning needle, and a free afternoon are all you need to start.
Crochet Granny Vest Took
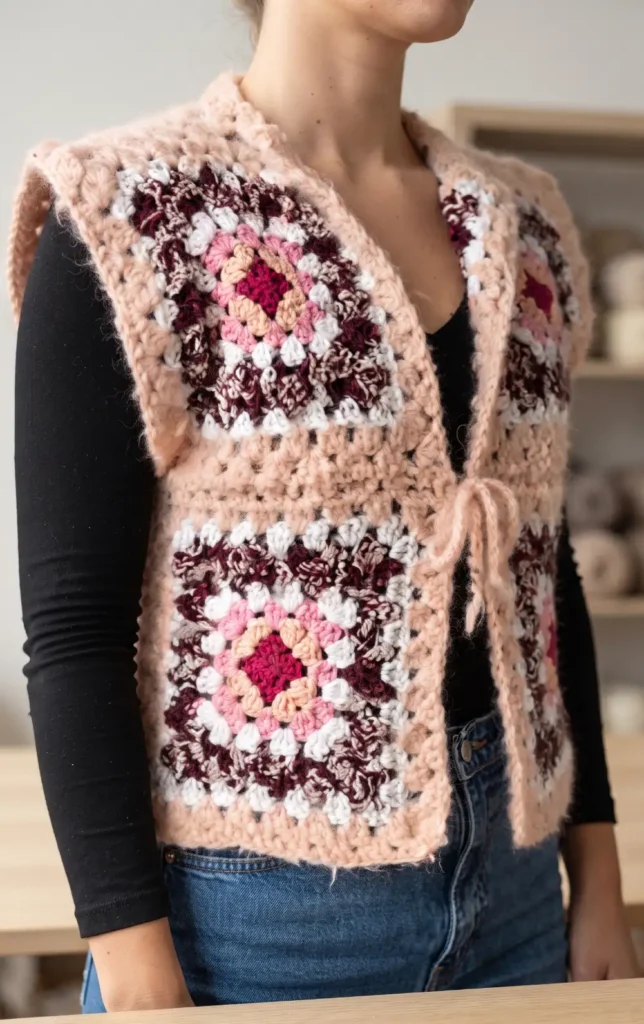
Creating a stylish winter wardrobe piece is simple with this huge granny square project. By making just eight large squares, you can assemble a cozy vest that is perfect for using up leftover yarn scraps.
Materials and Preparation
Before starting, gather a variety of yarns to create unique textures. The source suggests mixing cotton, acrylics, hairy yarn, mohair, and fluffy yarns to provide a cozy feel.
- Hook: 5 mm crochet hook.
- Yarn: Worsted weight yarn (size medium to large vests use squares approximately 24 to 25 cm).
- Tools: Scissors and a darning needle.
Hey there! Some links on this page may be affiliate links which means that, if you choose to make a purchase, I may earn a small commission at no extra cost to you.
Step-by-Step Guide to Making the Vest
Follow these 16 steps to create your own eight-square granny vest.
Step 1: Start the First Square
Begin by making a slip knot and placing it on your 5 mm hook. Create a chain of four stitches, which will count as your first double crochet.
Step 2: Create the First Cluster
Work two double crochets into the first chain you made. This forms the first cluster of three double crochets for the center of your square.
Step 3: Form the Center Round
Chain one and work three more double crochets into the same first chain space. Repeat this process (chain one followed by three double crochets) two more times until you have four clusters in total.
Step 4: Perform an Invisible Color Change
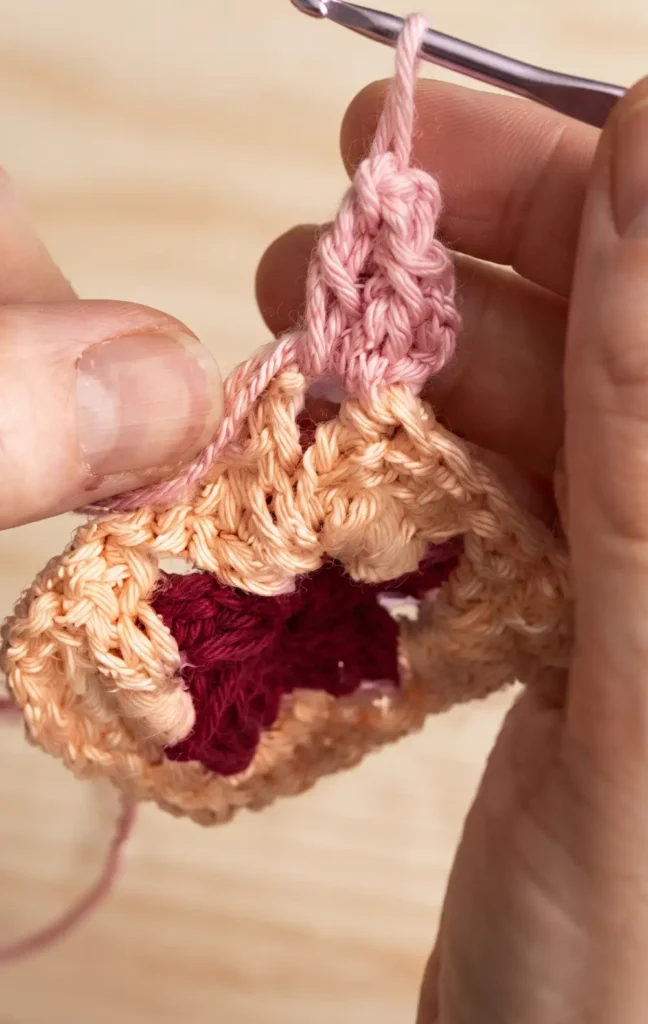
To finish the round and change colors, yarn over and insert your hook into the top of the initial chain four. Grab your new yarn color and pull it through all loops on the hook to complete a half double crochet join.
Step 5: Start the Second Round
Chain two with the new color and turn your project over. Work three double crochets into the chain one space directly below while holding your yarn tails against the edge to hide them.
Step 6: Secure and Hide Yarn Tails
After completing the first cluster of the new round, tie a tight knot with the yarn tails so it hides under your stitches. Cut the ends very close to the knot and wiggle the stitches to make the knot invisible.
Step 7: Crochet the Corners and Sides
Continue working around the square. For corners, work three double crochets, chain one, and three more double crochets in the same space. For side spaces that are not corners, simply work three double crochets.
Step 8: Complete Eight Rounds
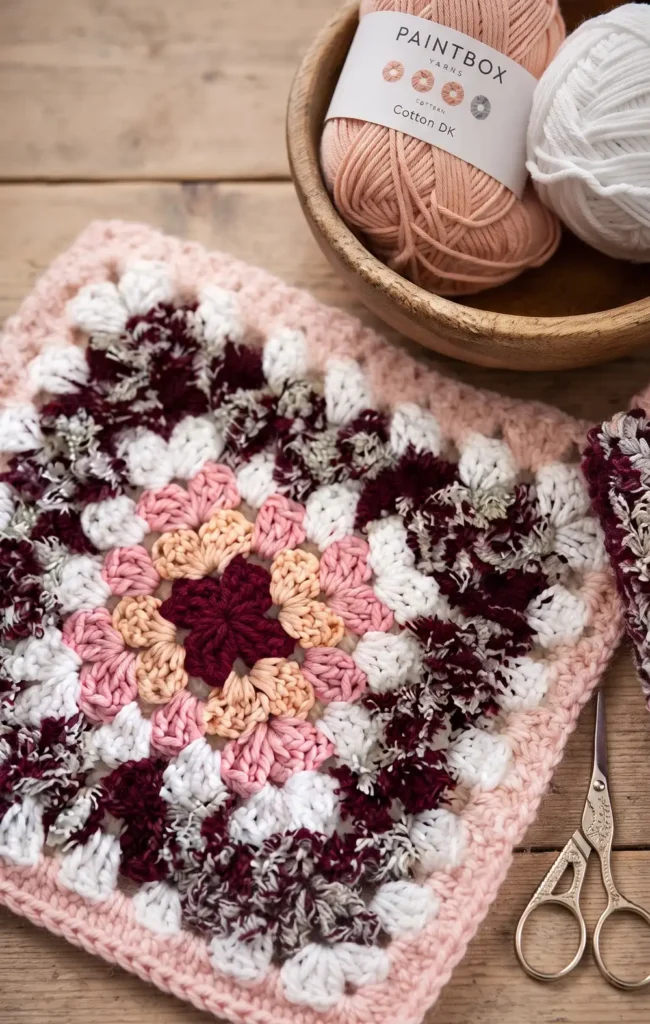
Repeat the granny square pattern for a total of eight rounds per square. This size is ideal for a medium to large vest.
Step 9: Create a Fake V Finish
To finish the square neatly, cut the yarn leaving a long tail. Pull the tail through the top of the chain two and then back through the middle of the last stitch made to create a “fake V” that looks like a regular stitch.
Step 10: Close the Center Hole
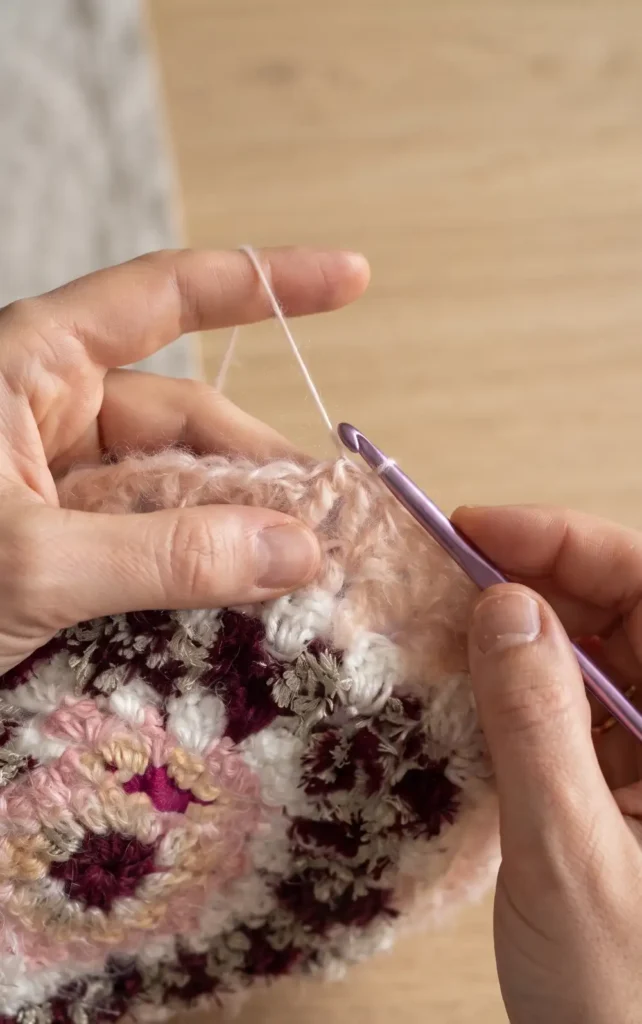
Thread the center yarn tail into a darning needle and pull it tight to close the hole in the middle of the square. Weave the needle through the first round of stitches and tie a knot to secure it.
Step 11: Prepare All Eight Squares
Repeat the entire process until you have eight identical granny squares ready for assembly.
Step 12: Connect the Front Pieces
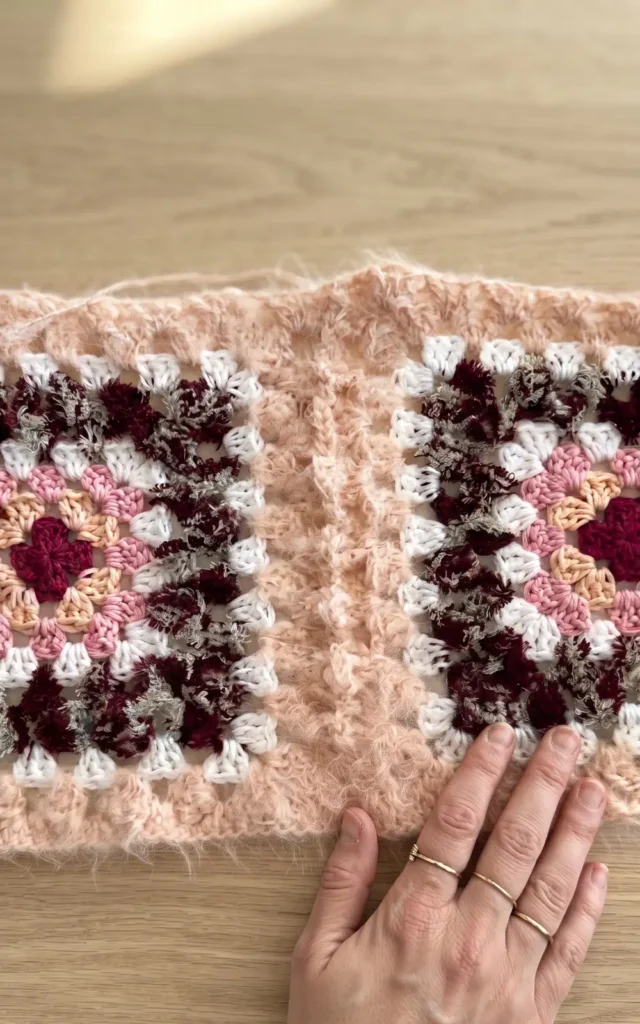
Join two squares together for each front panel using the “join as you go” method. This involves alternating double crochets between the two squares along one edge to create a seamless connection.
Step 13: Assemble the Back Panel
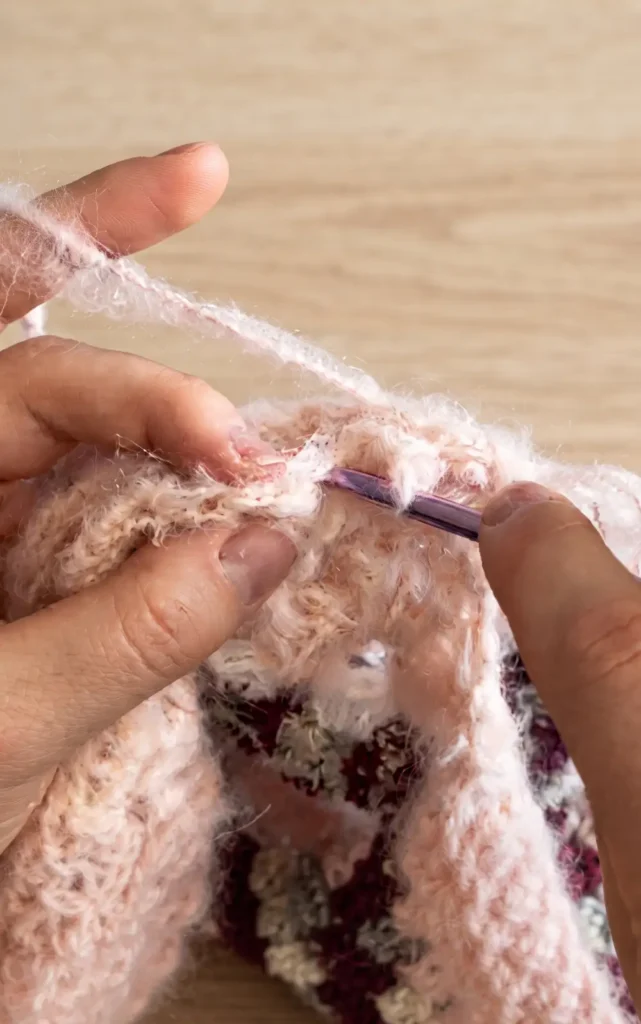
Connect four squares to form the back of the vest. Join them into two pairs first, then connect those pairs along two edges using the same “join as you go” technique.
Step 14: Measure and Join Shoulders
Place the front pieces onto the back piece with the good sides facing each other. Measure approximately 15 to 16 cm for the neck opening and connect the remaining six clusters on each side using a slip stitch or a half double crochet row.
Step 15: Connect the Sides
Use a slip stitch to join the sides of the vest together. Connect the length of one granny square for the side seam and leave the rest of the space open to form the armholes.
Step 16: Add a Closure
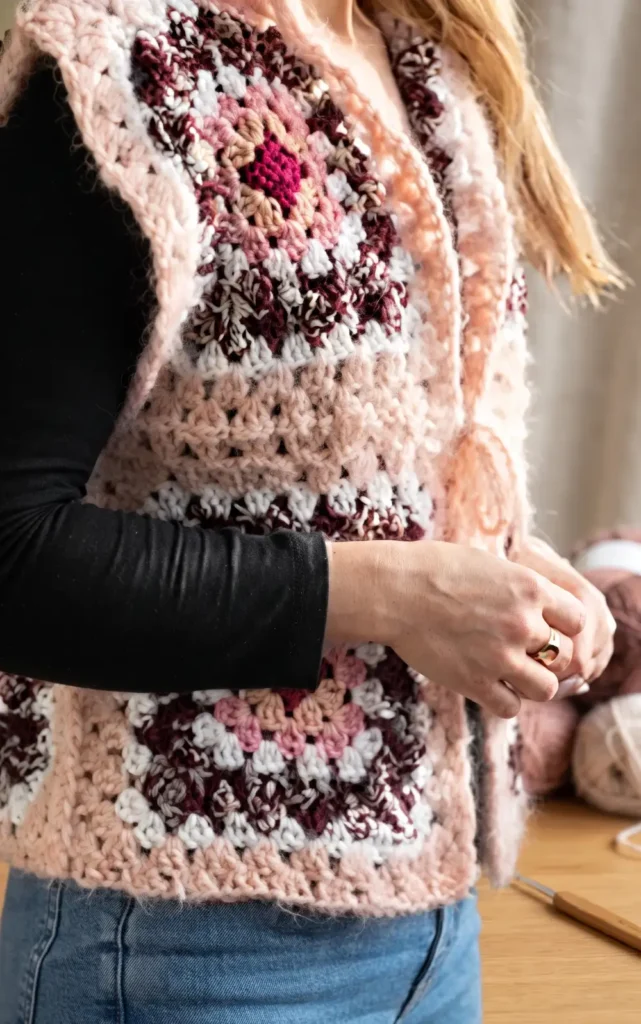
Decide how you want to close your vest. You can sew on a button that slips through a cluster space, or crochet a simple chain of at least 60 stitches to create a decorative bow.
Video Credits: lerugi crochets
Your Granny Vest Awaits?
Eight squares down and you have got yourself a piece worth wearing on repeat. This vest proves that granny squares are not just for blankets. With a hook, some scrap yarn, and a little patience, you turned basic clusters into something genuinely stylish.
Now it is your turn to make it yours. Play with color combos, try different yarn textures, and pick a closure that matches your style. Cast on your first square today and your granny vest will be ready before the cold really sets in.