How to Crochet a Men’s Fall Sweater from Scratch
Most men’s sweater patterns online are just shrunk-down women’s designs with the color swapped to gray. That’s not what this is. This pattern builds a true masculine silhouette from the ribbing up, using herringbone double crochet for a woven look that mimics knit fabric far better than standard stitches ever could.
You’ll work through 17 clear steps, from the back ribbing to the final neckline finish, with real stitch counts and row numbers at every stage. No guessing, no vague “repeat until it looks right” instructions. Grab your hook and a reference sweater, and let’s build something he’ll actually want to wear.
Men’s Unisex Pullover Crochet
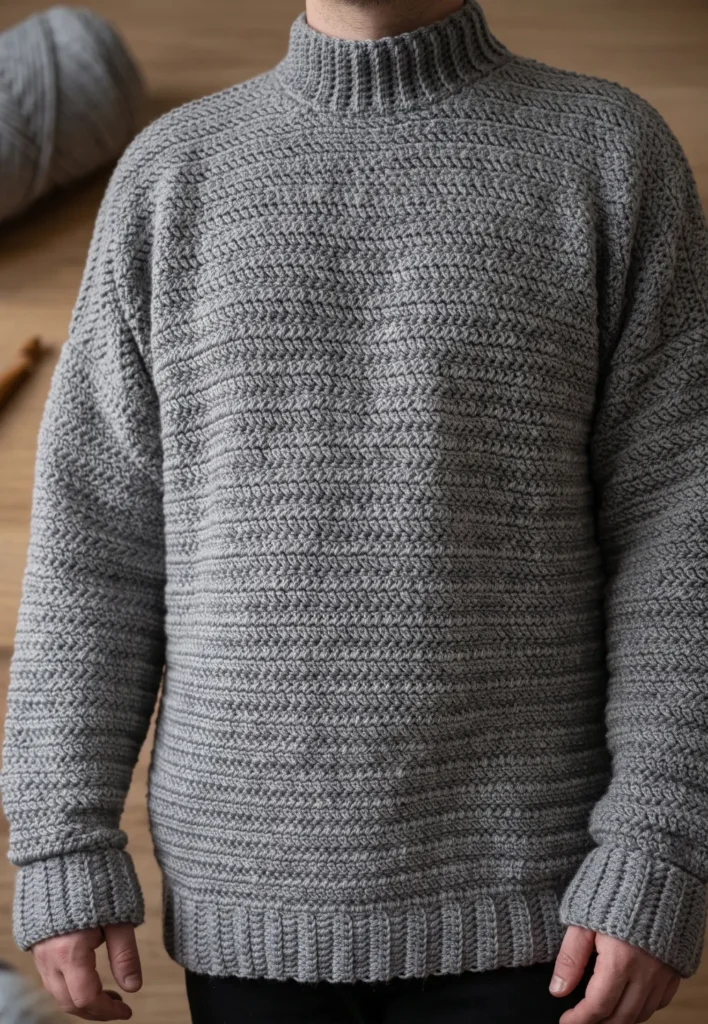
This project creates a masculine pullover using the herringbone double crochet stitch, which provides a unique texture. While the guide is designed for advanced beginners, you can substitute regular double crochet if the herringbone stitch is too difficult. This specific pattern follows measurements for an XL size, but you should use a reference sweater that fits the intended wearer to guide your width and height.
Essential Materials and Preparation
To complete this sweater, you will need the following items:
- Yarn: Approximately 100 percent acrylic 8-ply yarn (such as Four Seasons Marvel).
- Crochet Hook: A 4.5mm hook is recommended, which is a half-size larger than what the yarn typically suggests to ensure the proper drape.
- Tools: A reference sweater for sizing, stitch markers, a yarn needle, and scissors.
You should be familiar with basic stitches including the single crochet, double crochet, and slip stitch before starting.
17 Step Construction Guide
Step 1: Create the Back Ribbing Foundation
Begin by making a slip knot and chaining 11. This chain determines the thickness of your bottom ribbing, so you may add more chains if you prefer a thicker hem.
Step 2: Work the First Ribbing Row
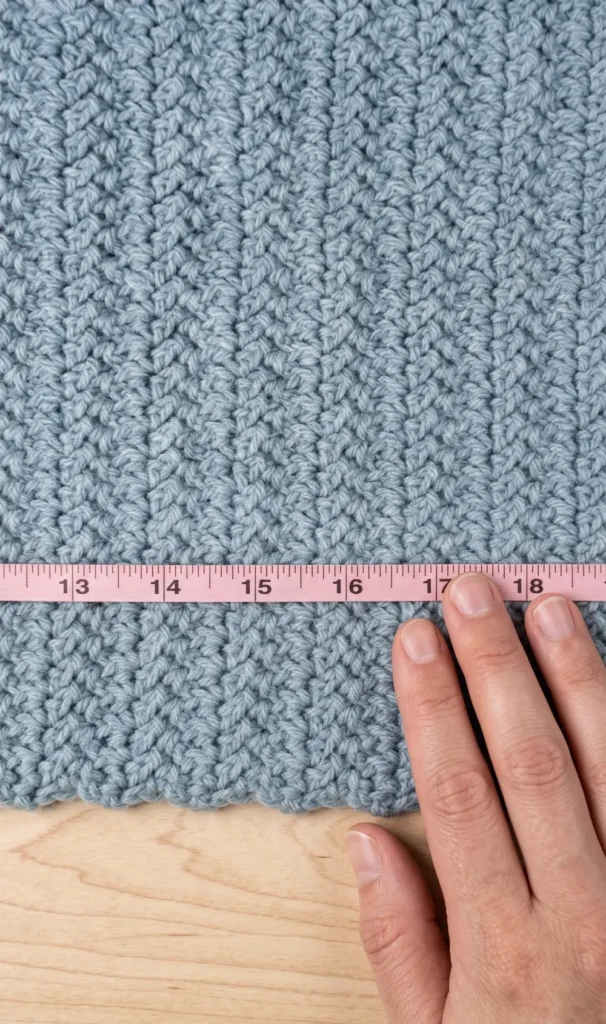
Starting in the second chain from the hook, work one double crochet into the back loop of each chain across. You should have 10 stitches at the end of this row.
Step 3: Build the Ribbing Width
Continue repeating the double crochet rows in the back loops only to create a ribbed texture. For an XL sweater, complete 44 rows to reach a width of approximately 25 inches.
Step 4: Prepare the Body Edge
Turn your ribbing sideways and work one row of single crochets along the long edge. Place two single crochets into the end of every double crochet row, totaling 88 stitches for the body.
Step 5: Begin the Herringbone Double Crochet Body
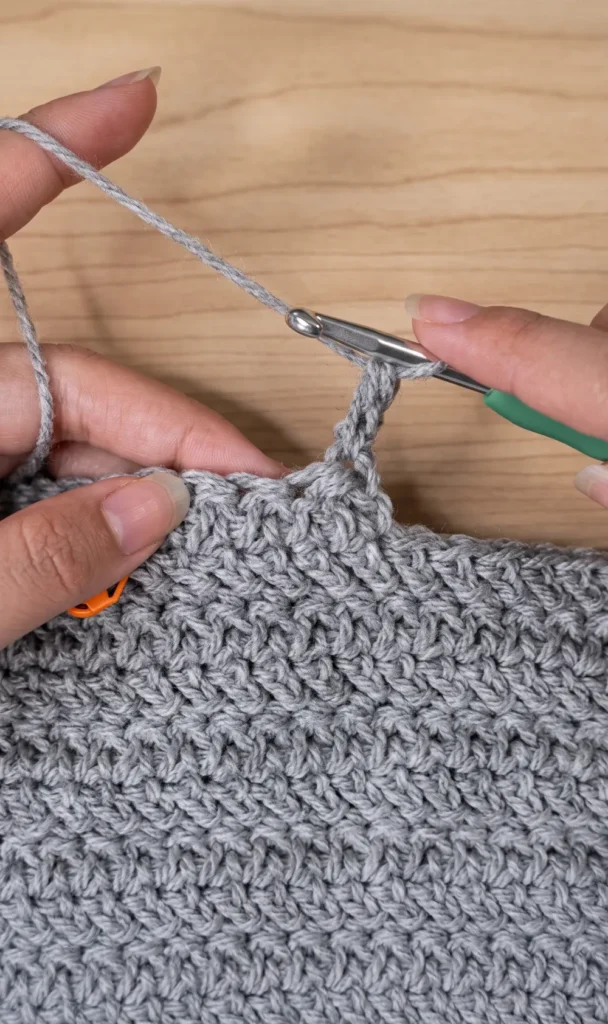
The main body uses the herringbone double crochet. To perform this, yarn over and pull up a loop, pull that first loop through the second loop on your hook, yarn over and pull through one loop, then yarn over and pull through the remaining two loops.
Step 6: Complete the Back Panel Height
Repeat the herringbone double crochet rows until the panel reaches the highest point of the shoulder on your reference sweater. In this example, 56 rows were completed to reach a height of 28 inches.
Step 7: Start the Front Panel and Mark the Neckline
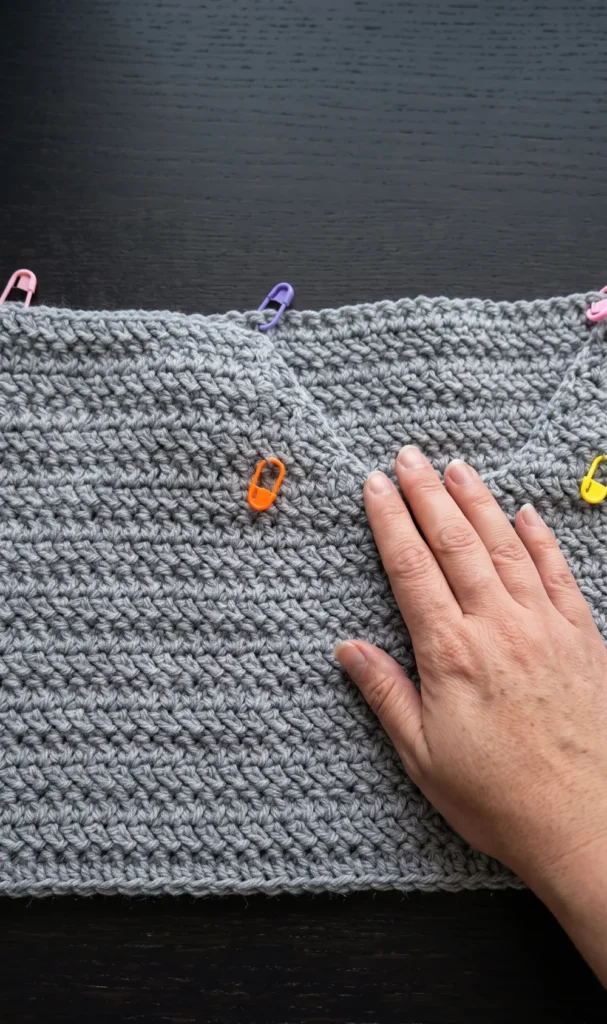
Follow the same steps used for the back panel ribbing and body until you have completed 50 rows. Mark the center 22 stitches of the panel to define the neckline opening.
Step 8: Shape the First Front Shoulder
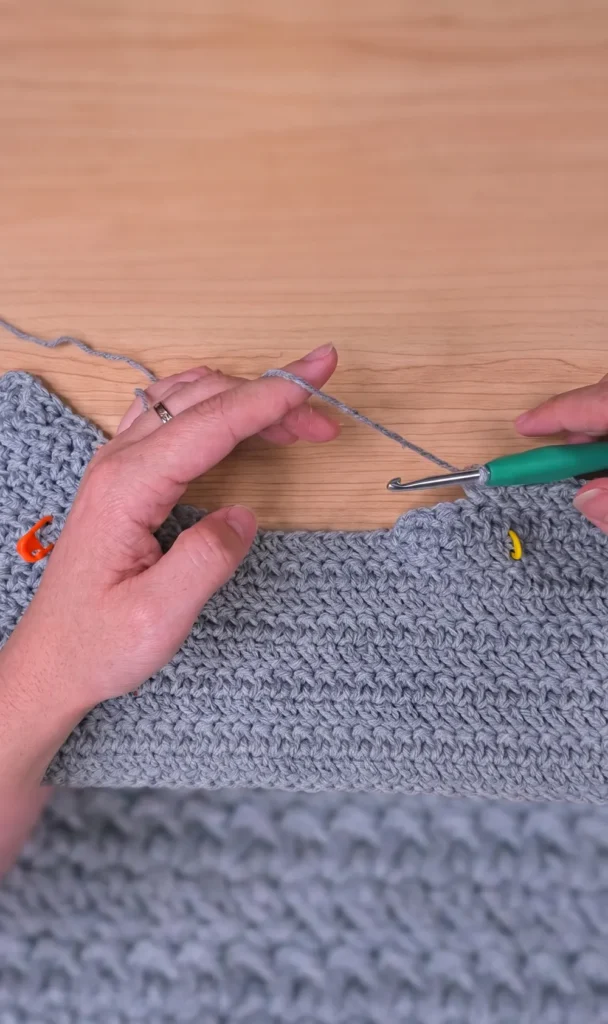
On row 51, work herringbone double crochets until you are three stitches past your first marker. At this point, perform a “herringbone double crochet two together” decrease to start shaping the neck.
Step 9: Finalise the First Shoulder Slope
Continue rows 52 through 56, alternating decrease rows at the neck edge to create a sloped shoulder. When finished, fasten off and leave a long tail of about three meters for assembly.
Step 10: Shape the Second Front Shoulder
Attach your yarn six stitches to the right of the second neckline marker. Repeat the same decrease pattern for six rows to match the height and slope of the first shoulder.
Step 11: Crochet the Sleeve Cuffs
Create two cuffs using the back loop double crochet ribbing method. Chain 11 and work 18 rows for each cuff to establish the sleeve’s starting width.
Step 12: Establish the Base Sleeve Width
Work 36 single crochets along the edge of the cuff ribbing, placing two stitches into each row.
Step 13: Execute Initial Sleeve Increases
For the first eight rows of the sleeve, alternate between an increase row and a regular row. On increase rows, work two herringbone stitches into both the first and last stitches of the row.
Step 14: Transition to Gradual Increases
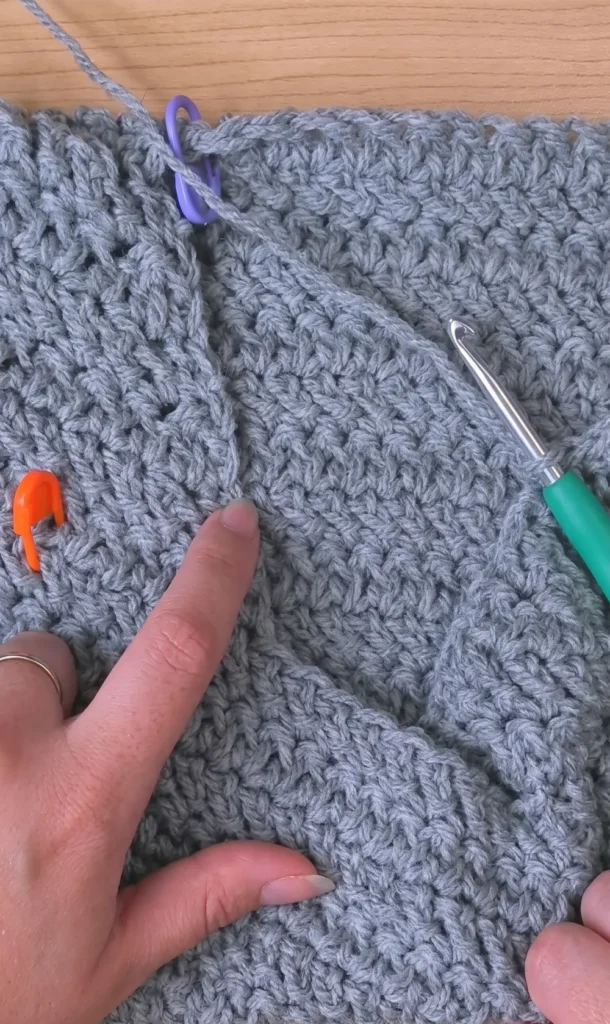
To shape the upper arm, change the pattern to one increase row followed by three regular rows. Repeat this four-row pattern approximately nine times, or until the sleeve is long enough for the wearer.
Step 15: Assemble the Shoulders and Sleeves
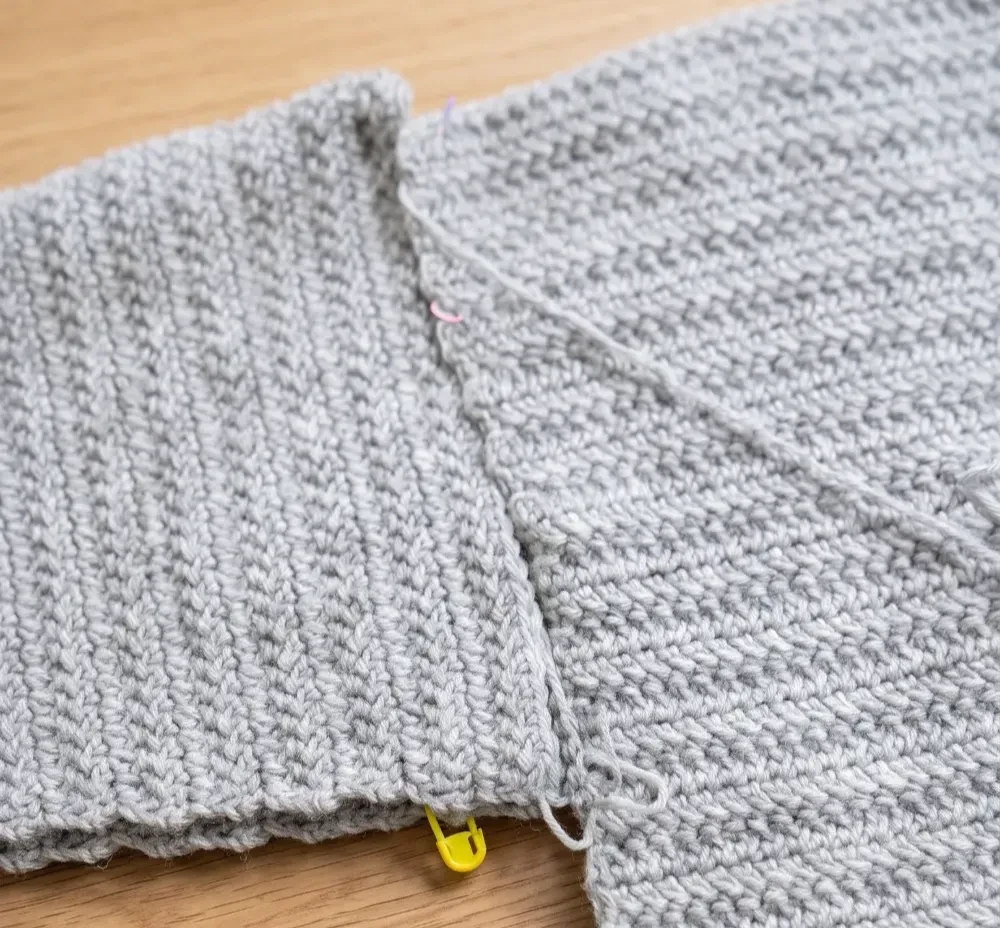
With the panels turned to the wrong side, use the long yarn tails to slip stitch the front and back shoulders together. Line up the center of the sleeve with the shoulder seam and slip stitch the sleeve to the body.
Step 16: Seam the Sides and Underarms
Still working from the wrong side, slip stitch from the bottom hem up the sides of the sweater. Continue the seam down the length of the sleeves all the way to the cuffs.
Step 17: Add the Neckline Ribbing
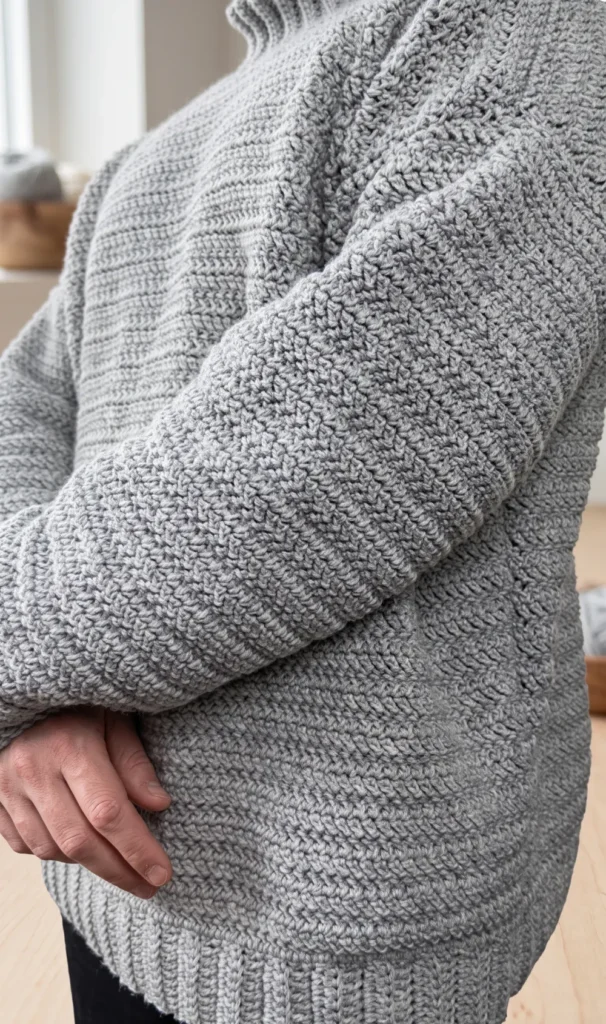
Work one round of single crochets around the neck opening. Attach the ribbing by chaining 11 and working perpendicular rows of back loop single crochets, slip stitching twice into the neckline for every row of ribbing to join it as you go.
Video Credits: Cherilyn Q
Ready to Master This Stitch?
You now have a full roadmap for building a sweater from the ribbing up, not just a single square of fabric. The herringbone stitch takes a bit of practice in those first few rows, but by the time you reach the sleeves, it will feel as natural as regular double crochet.
Take your time with the shoulder shaping and seaming steps. That’s where a handmade sweater goes from looking homemade to looking tailored. Cast on, trust the process, and get ready to hand over a sweater he’ll actually reach for all season long.