How to Crochet Maple Leaf Granny Square Pattern Step by Step
Fall is the whole reason we crochet. That first cool morning hits and suddenly you need every hook in your house working on something leafy and warm. This maple leaf granny square scratches that itch perfectly, and it looks way harder than it actually is.
I designed this pattern to build in layers, so each round sets up the next one without any guesswork. You’ll create a solid grid first, then switch yarns and watch the leaf shape appear almost like magic. Grab your hook and a skein of variegated yarn, because this one’s worth the twelve steps.
Crochet Maple Leaf Granny Square EASY Tutorial for Beginners
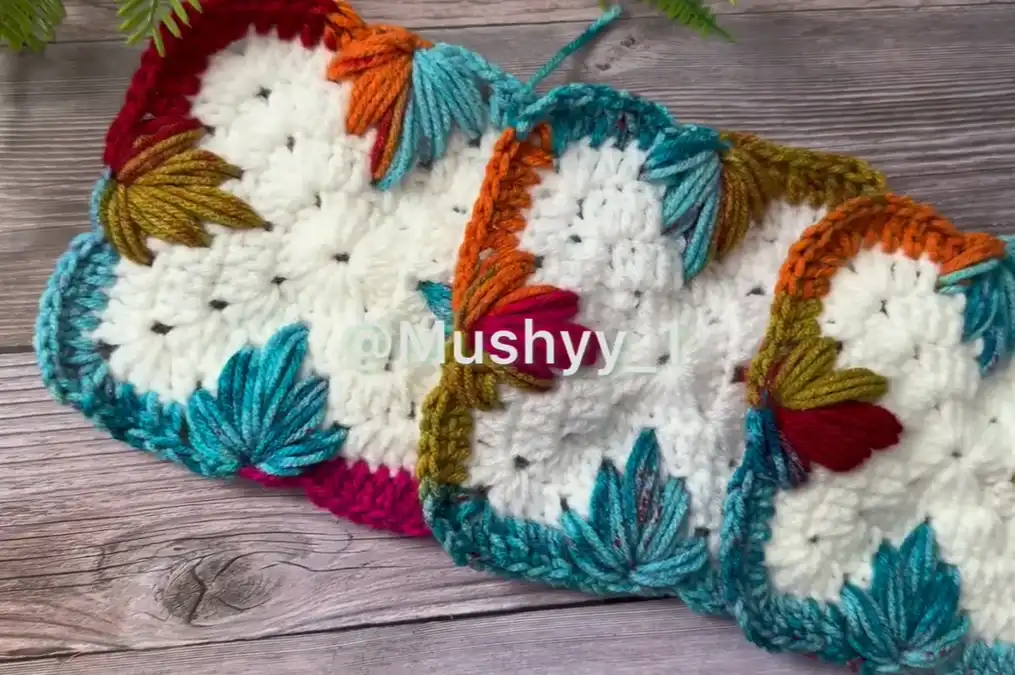
This tutorial provides a comprehensive guide to creating a beautiful maple leaf granny square. By following these steps, you will learn how to build a structured grid that serves as the foundation for a stunning, textured leaf design.
Essential Materials
To complete this project, you will need the following items based on the tutorial:
- Yarn: A base colour for the square and a variegated yarn for the leaf round to enhance the visual appeal.
- Crochet Hook: Sized appropriately for your chosen yarn.
- Scissors: For cutting the yarn after completing the border.
- Darning Needle: For weaving in ends.
Step-by-Step Instructions
Follow these twelve steps to create your maple leaf granny square:
1. Create the Center Circle (Round 1)
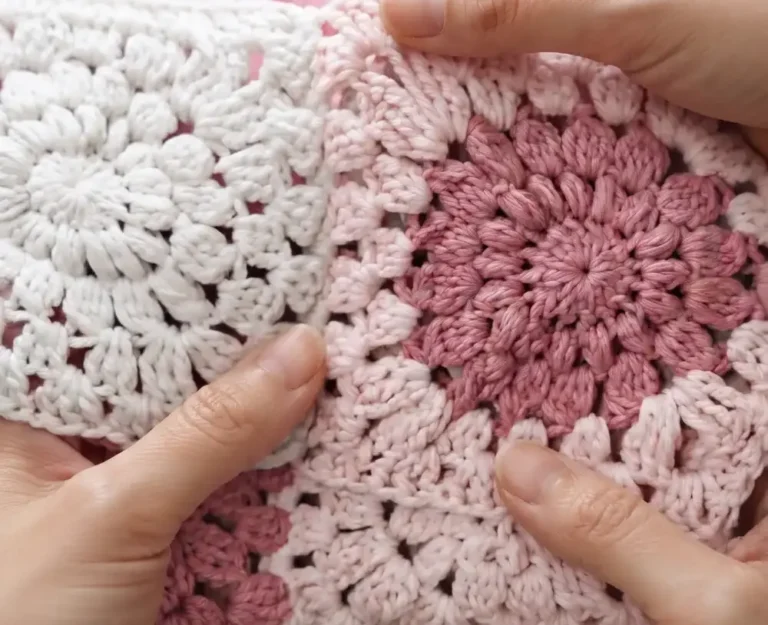
Start by making a slip knot and chaining four. Insert your hook into the first chain to form a circle. Chain three (this counts as your first double crochet), then work four more double crochets into the center. Chain two and repeat the pattern of five double crochets followed by a chain two three more times until you have four clusters. Join the round with a slip stitch.
2. Establish the Square Foundation (Round 2)
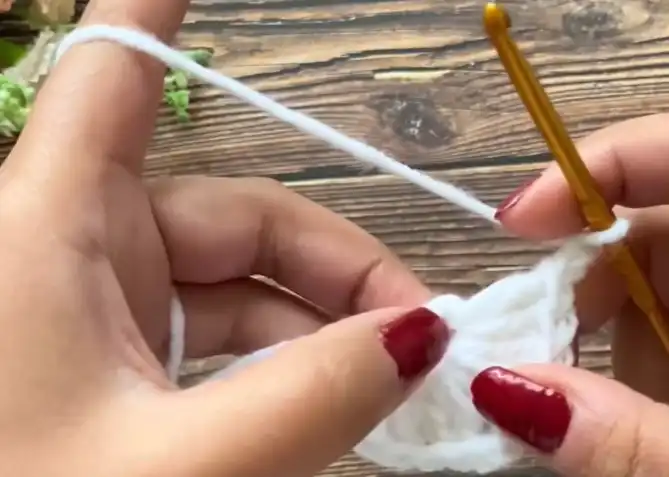
Chain three and work one double crochet into the same space. Work one double crochet in each of the next two stitches, then chain one and skip one stitch. Work one double crochet in the next two stitches. In the corner chain-two space, work two double crochets, chain two, and two double crochets. Repeat this pattern around the square and join with a slip stitch.
3. Expand the Grid (Round 3)
Chain three and work one double crochet in the same space. For the sides, work double crochets while creating three chain-one spaces per side by skipping the appropriate stitches. The corners remain the same with two double crochets, two chains, and two double crochets. Join with a slip stitch at the end of the round.
4. Finalise the Leaf Grid (Round 4)
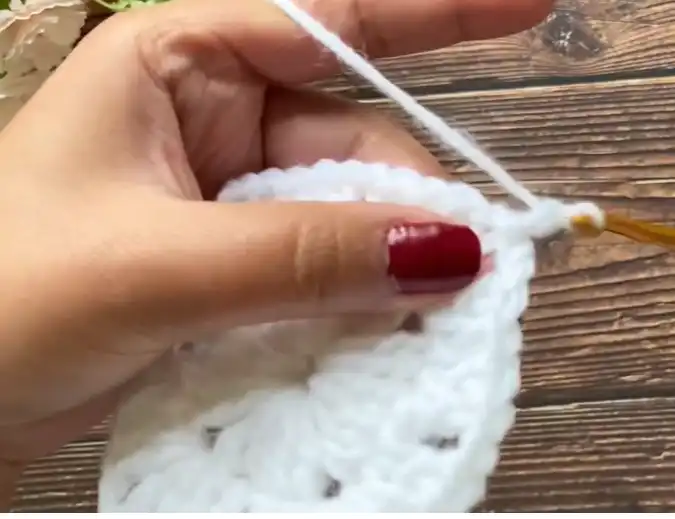
Repeat the expansion process by chaining three and working a double crochet in the same space. This round increases the grid to five chain-one spaces on each side, which will act as the anchor points for your leaf. Complete the corners as before and join with a slip stitch.
5. Switch Yarn for the Leaf (Round 5)
To make the leaf stand out, join variegated yarn at any corner chain-two space with a slip stitch. Chain three (first double crochet) and work two more double crochets into the same space.
6. Position the Hook for the Leaf Pattern
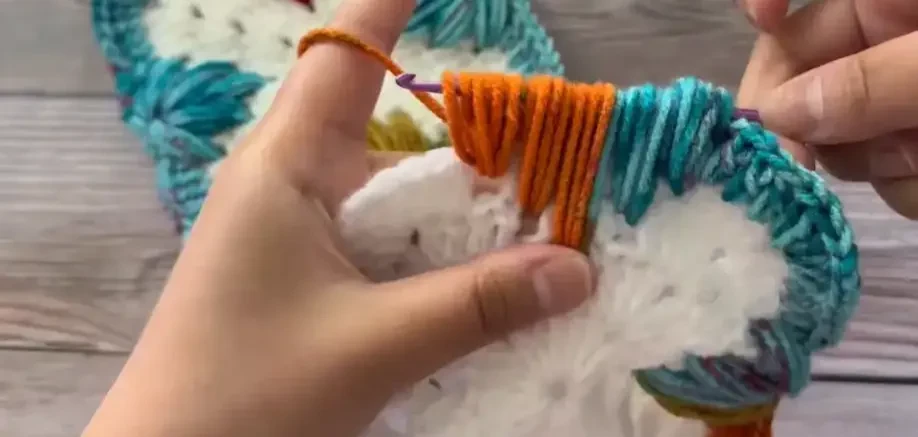
Work one double crochet into each of the next two stitches. Then, work two double crochets into the single stitch immediately preceding the first chain-one space. This positions your yarn correctly to begin the textured leaf stitches.
7. Begin the Leaf Clusters (Rounds 4 and 3)

Wrap the yarn and insert the hook into the first chain-one space of Round 4, pulling up a loop; repeat this three times in the same space. Keep all loops on the hook. Repeat this “wrap and pull up three loops” process in the first chain-one space of Round 3.
8. Create the Deep Center Leaf Stitch (Round 2)
Wrap the yarn and insert the hook into the single chain-one space of Round 2. Pull up a very tall loop and repeat this three times. These long loops form the central spine of your maple leaf.
9. Complete the Symmetrical Leaf Clusters
Continuing with all loops on the hook, repeat the three-loop cluster in the third chain-one space of Round 3. Finally, work one more three-loop cluster into the fifth chain-one space of Round 4.
10. Secure the Leaf Design
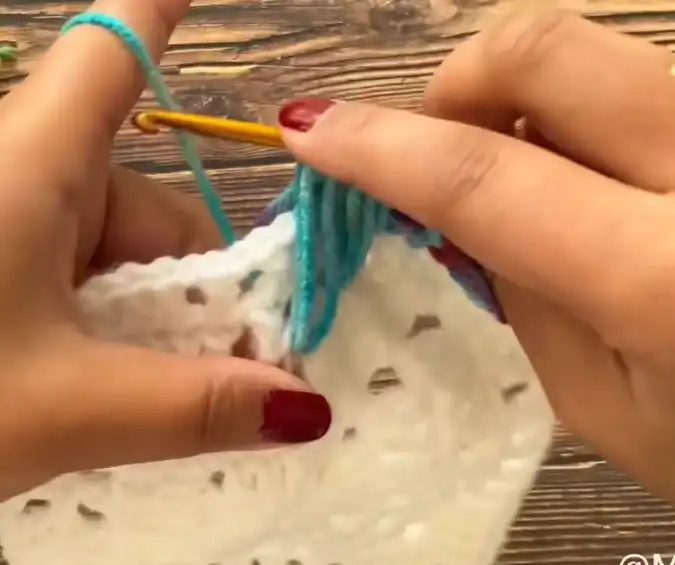
Carefully adjust your loops, wrap the yarn, and pull through all loops on the hook at once. Lock the stitch with a chain to finish the leaf shape. This creates the characteristic multi-pointed look of a maple leaf.
11. Finish the Leaf Round Sides
After the leaf, work two double crochets into the next stitch, followed by one double crochet in each of the next two stitches. In the corner, work three double crochets, chain two, and three double crochets. Repeat steps 7 through 11 for the remaining three sides and join with a slip stitch.
12. Add the Final Border (Round 6)
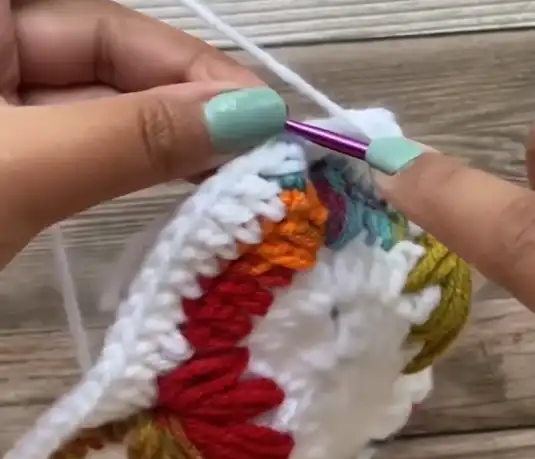
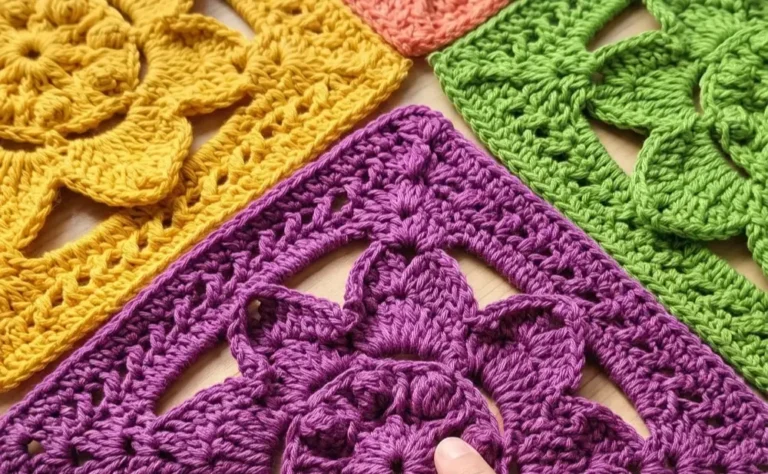
Attach your border yarn to a corner and chain three. Work one double crochet in the same space, then one double crochet in each of the next six stitches. Work two double crochets in the space before the leaf, two double crochets in the eye of the leaf, and two double crochets in the space after the leaf. Finish the side with six double crochets and work the corner as two double crochets, chain two, two double crochets. Join, chain one, and cut the yarn to secure your work.
Video Credits: MUSHYY
Want a Cozy Autumn Crochet Project?
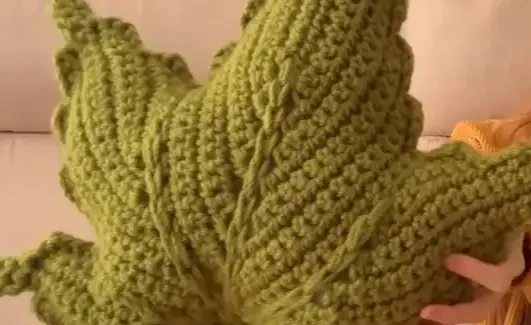
You did it. That maple leaf square went from a simple circle to a textured, dimensional leaf using nothing but strategic stitch placement and a yarn switch. Save this pattern, because you’ll want to make a whole stack of these before autumn ends.
Want a cozy autumn crochet project to keep those hooks moving? This square is just the start. Try it in warm oranges and deep reds for a true fall palette, or stitch a dozen and sew them together for a leaf-covered throw blanket that’ll last you every season to come.