How to Crochet a Granny Square Hooded Scarf: Easy Step-by-Step Tutorial
Grab your hook, because this hooded scarf might be the coziest granny square project you ever make. Thirty six squares turn into a scarf with a built in hood and pockets, no separate pattern pieces required. It looks complicated hanging in a photo, but it is really just squares joined in smart order.
If you already know how to make a basic granny square, you have everything you need for this one. No fancy stitches, no confusing shaping, just simple single crochet joins that transform flat pieces into a wearable accessory. Follow along and you will have a hood, pockets, and a full length scarf ready in a weekend.
Crochet Granny Square Hooded Pocket Scarf
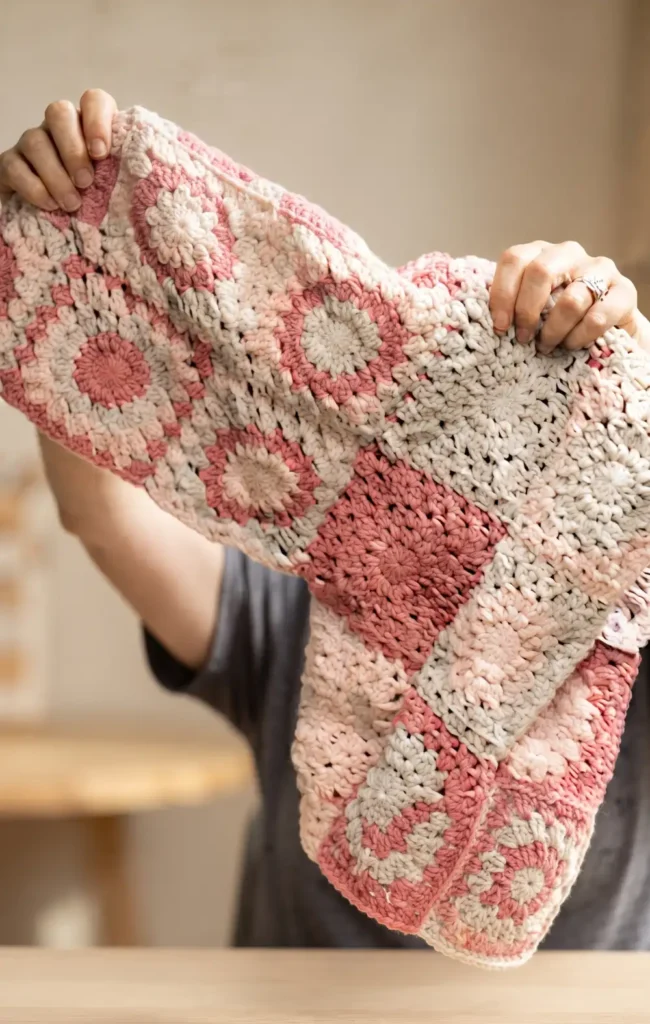
This hooded pocket scarf is a beginner friendly project that uses standard granny squares to create a stylish and functional accessory. The design is simple enough that anyone who can crochet a basic square can complete it.
Materials and Preparation
To begin this project, you will need the following materials:
- Yarn: Two skeins each of Lion Brand A Star is Born Feels Like Butter in Pale Gray, Pink, and Dusty Pink.
- Hook: A 4mm crochet hook.
- Squares: 36 granny squares total, each measuring approximately 6 inches.
- Tools: Scissors for finishing ends.
The tutorial utilizes a sunburst pattern for the squares, though any granny square design will work. You should have 12 squares for the hood, 20 squares for the scarf strips, and 4 squares for the pockets.
Step by Step Construction
1. Crochet your squares.
Produce 36 granny squares using your preferred colors and patterns, such as the sunburst or solid designs.
2. Layout the hood.
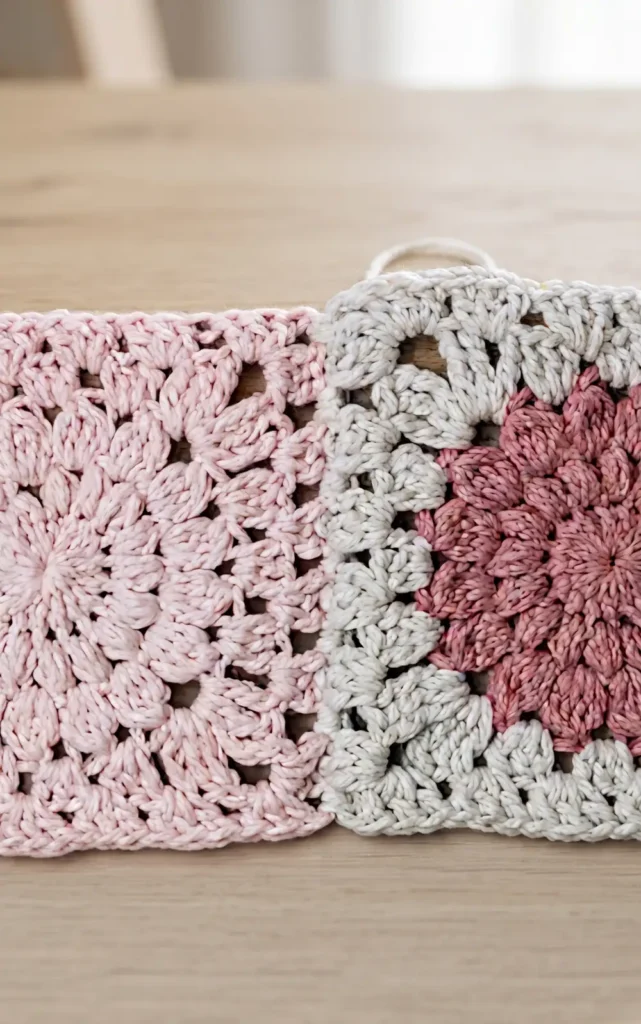
Arrange 12 of your squares into a rectangle that is three squares wide and four squares long.
3. Join the hood squares.
Connect these 12 squares using a single crochet join on the wrong side of the fabric.
4. Assemble scarf strip one.
Create a long line by joining 10 granny squares end to end.
5. Assemble scarf strip two.
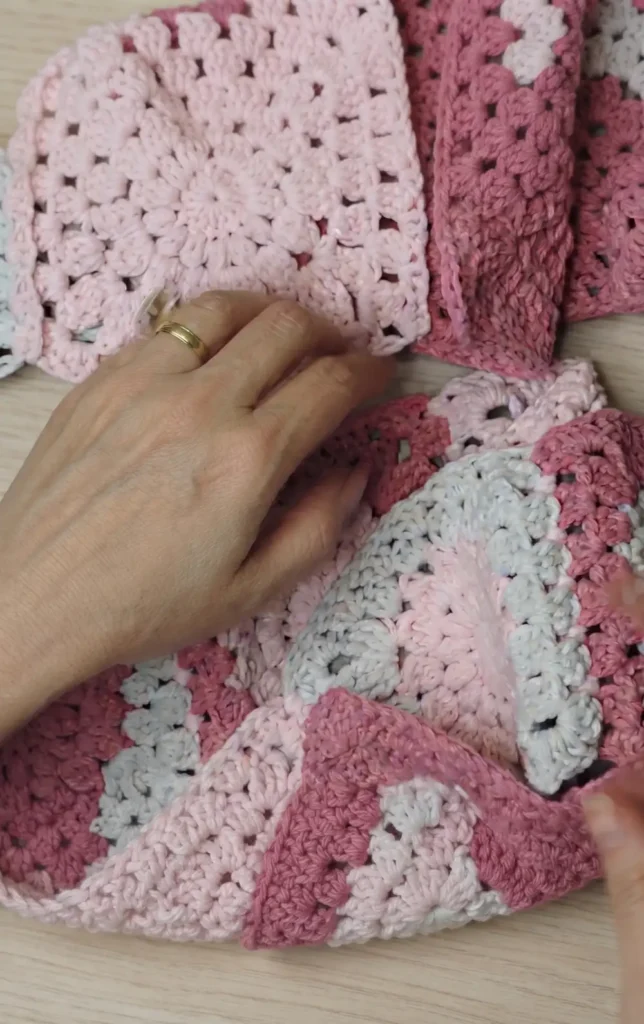
Create a second matching strip of 10 squares using the same joining method.
6. Align the scarf strips.
Place the two long strips of 10 squares together with the right sides facing each other.
7. Select your joining yarn.
Use an accent color, such as dusty pink, to begin the long center seam of the scarf.
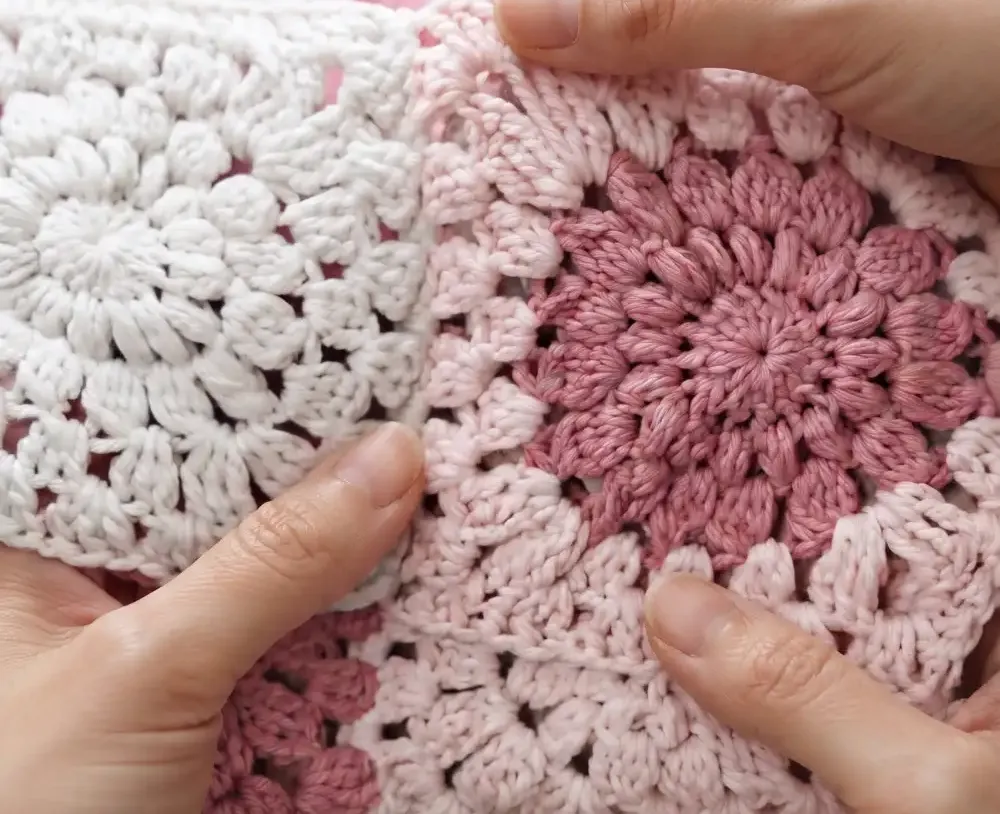
8. Join the strips lengthwise.
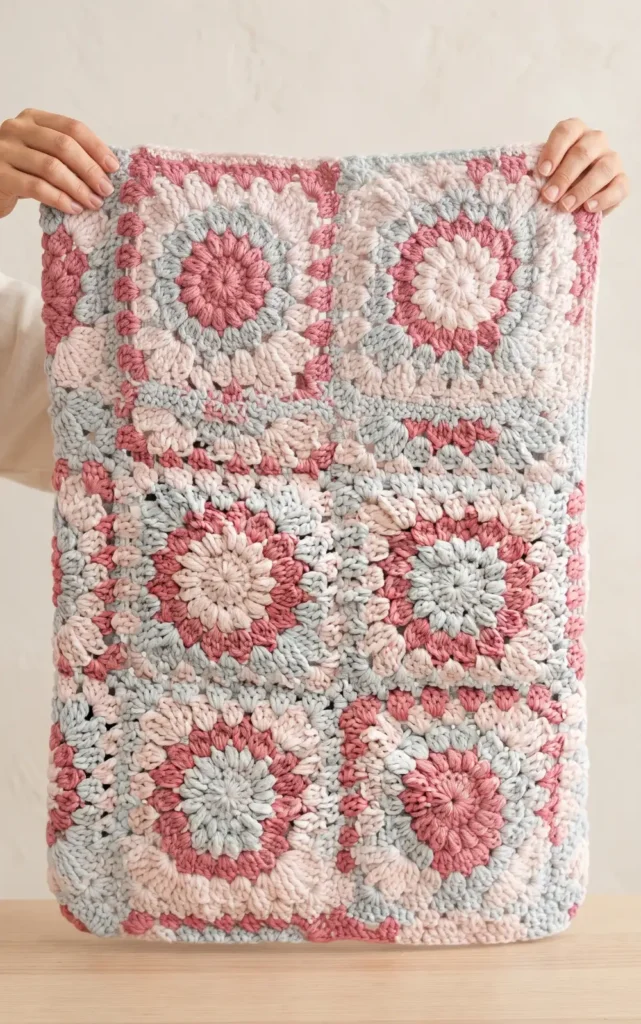
Work three single crochets into every space between the granny clusters through both layers of the scarf.
9. Finish the scarf seam.
Continue this joining pattern all the way to the end of the 10 squares and fasten off your yarn.
10. Fold the hood rectangle.
Take the 3 by 4 rectangle you created earlier and fold it in half so it is two squares wide and three squares tall.
11. Close the back of the hood.
Seam the top edge closed using three single crochets in each space to create a pointed hood shape.
12. Reverse the hood.
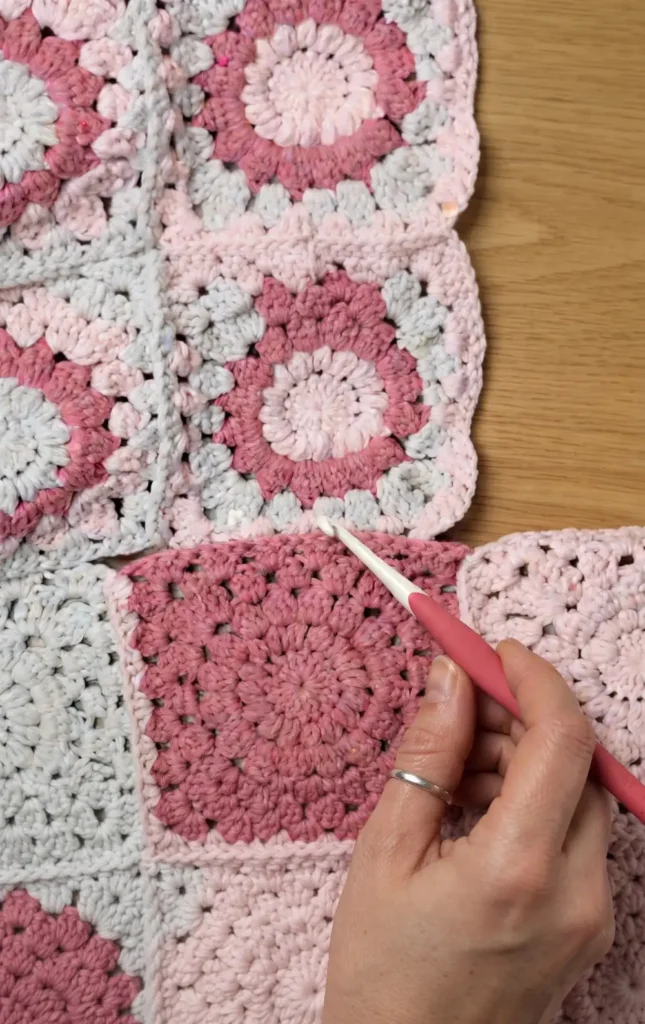
Turn the hood right side out so that the decorative seams are on the outside or hidden as desired.
13. Find the center of the scarf.
Lay your scarf flat and identify the center four squares where the hood will be attached.
14. Attach the hood to the scarf.
Align the bottom of the hood with the center of the scarf and join them using the same single crochet technique across the four middle squares.
15. Prepare the pockets.
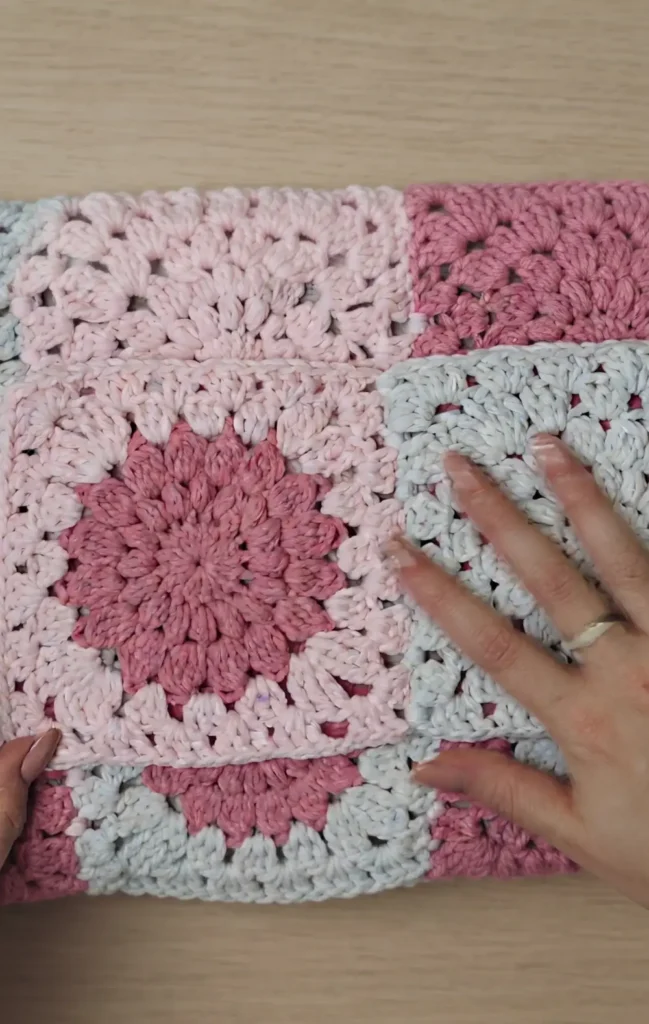
Take your remaining squares and align them at the bottom ends of the scarf.
16. Stitch the pockets.
Connect the pocket squares to the scarf by stitching around the bottom and sides while leaving the top open for your hands or phone.
17. Weave in the ends.
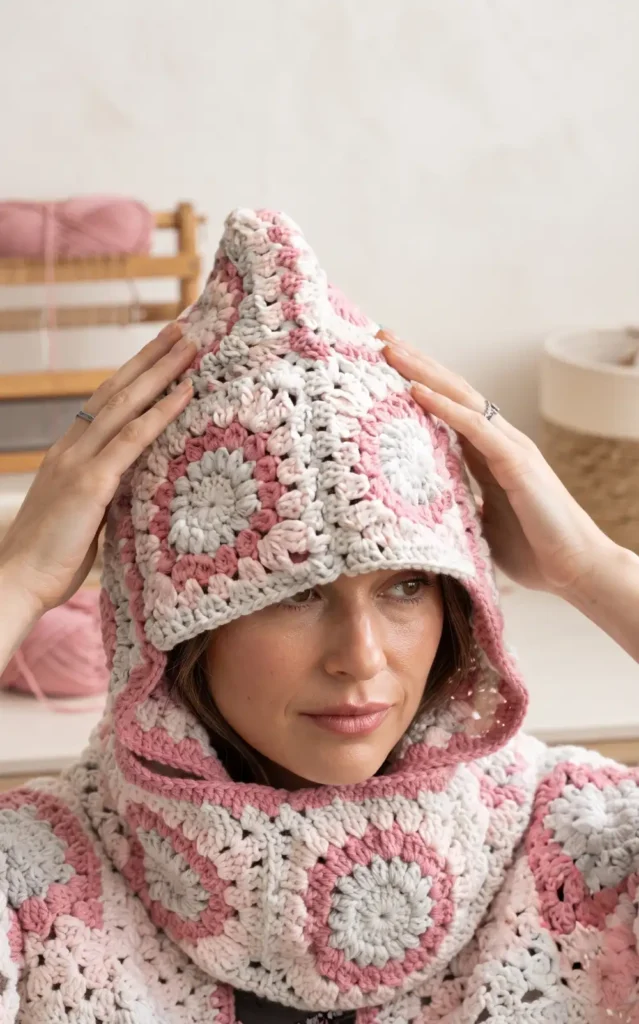
Use your hook or a needle to secure all loose yarn tails on the inside of the scarf and pockets.
Video Credits: ThimbleHooks Easy Crochet
Final Thoughts
And just like that, your granny square hooded scarf is complete and ready to wear. What started as 36 simple squares has become a cozy, functional accessory with a built-in hood and pockets, proof that even the most impressive crochet projects are just small, manageable steps stacked together.
Whether you gifted it, kept it for yourself, or are already eyeing a second one in different colors, this project is one you will want to come back to again and again. Share your finished scarf with the crochet community, and happy hooking!