How to Crochet Baby Toys: Easy Step-by-Step Guide
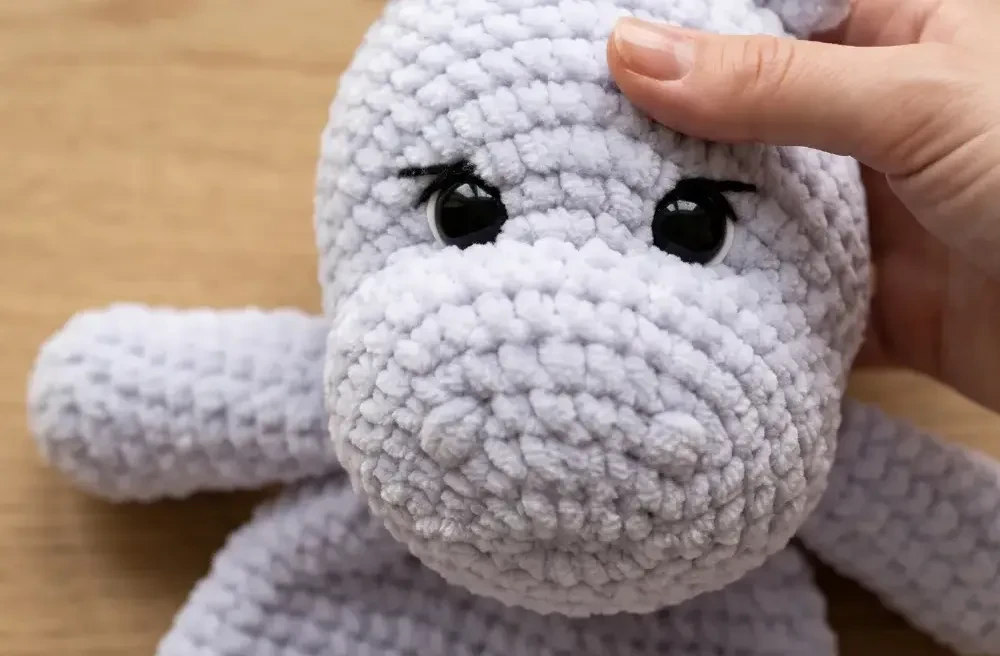
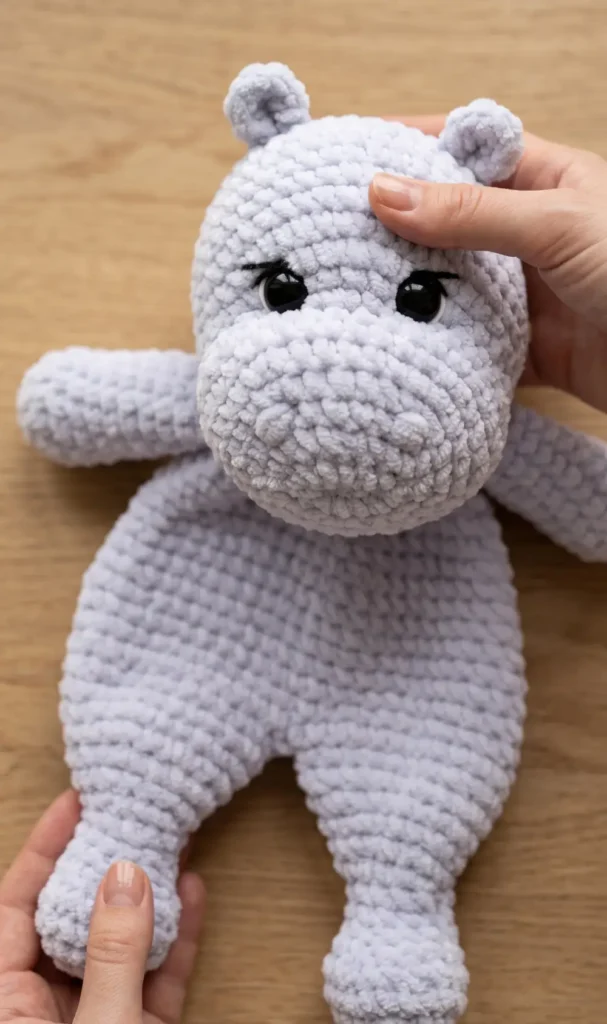
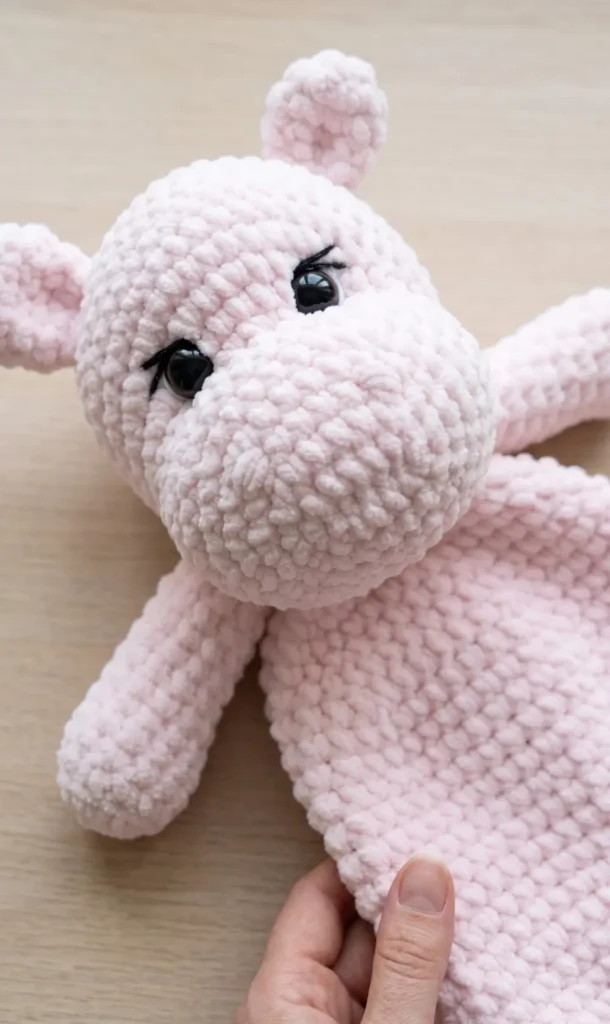
If you’ve ever wanted to crochet a plush that’s equal parts squishy and structured, a hippo snuggler is one of those projects that delivers on both. The chunky chenille yarn, the wide muzzle, those little curved ears, every detail comes together in a way that feels satisfying to make and even better to gift.
This pattern breaks the hippo down into 12 clear steps so nothing feels overwhelming. You’ll work the muzzle first, then build the head around it, and finish with the ears and arms. Grab your 4.5 mm hook and let’s get started.
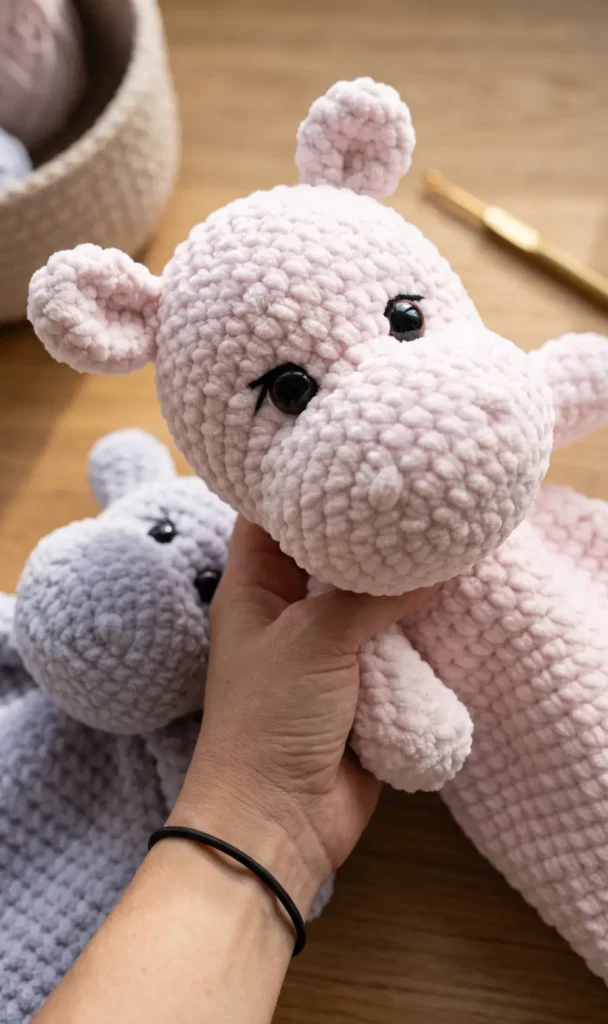
Creating this adorable hippo snuggler involves crafting the head, ears, and arms with a soft chenille finish. This guide focuses on these specific parts, as the body follows the same pattern as a standard bear snuggler using a larger 6.5 mm hook.
Essential Materials
Before you begin, ensure you have the following items ready:
- Yarn: Two balls of plush chenille yarn, such as Yarn Art Dolphin or Himalaya Dolphin Baby (100g and 120m per ball).
- Hooks: A 4.5 mm crochet hook for the head, arms, and ears.
- Safety Eyes: Eye buttons in sizes 1.8 cm or 2 cm.
- Stuffing: High quality hollow fiber stuffing.
- Tools: A yarn needle for closing pieces and a stitch marker to keep track of your rounds.
Follow these steps to complete the head, ears, and arms of your hippo.
Step 1: Start the Head and Muzzle
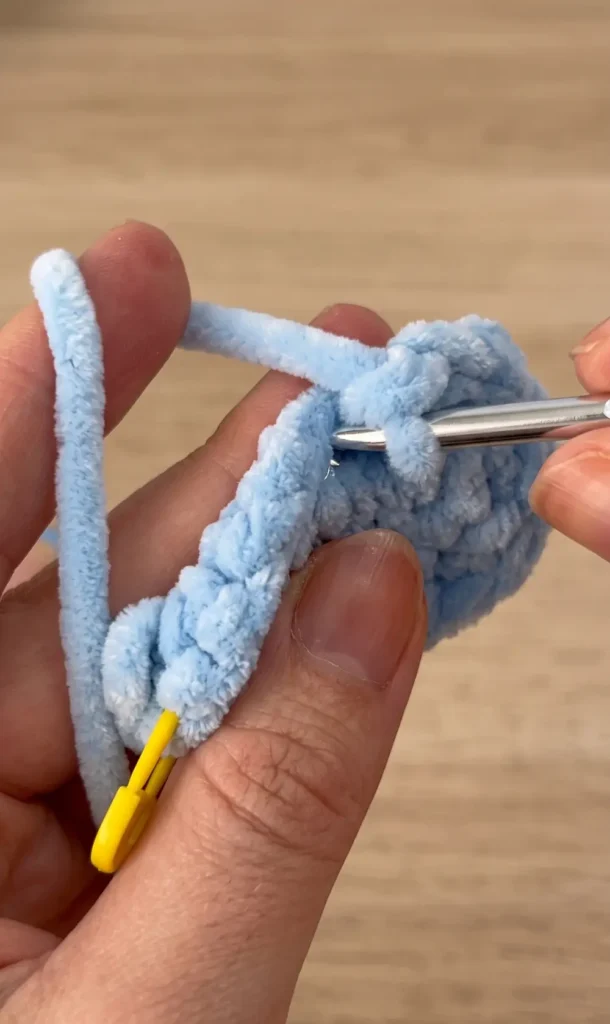
Begin by chaining seven. Starting in the second chain from the hook, make one single crochet in the next five chains, then place three single crochets in the last chain to turn the corner. Continue on the other side of the chain with four single crochets and two single crochets in the very last stitch.
Step 2: Expand the Muzzle Shape
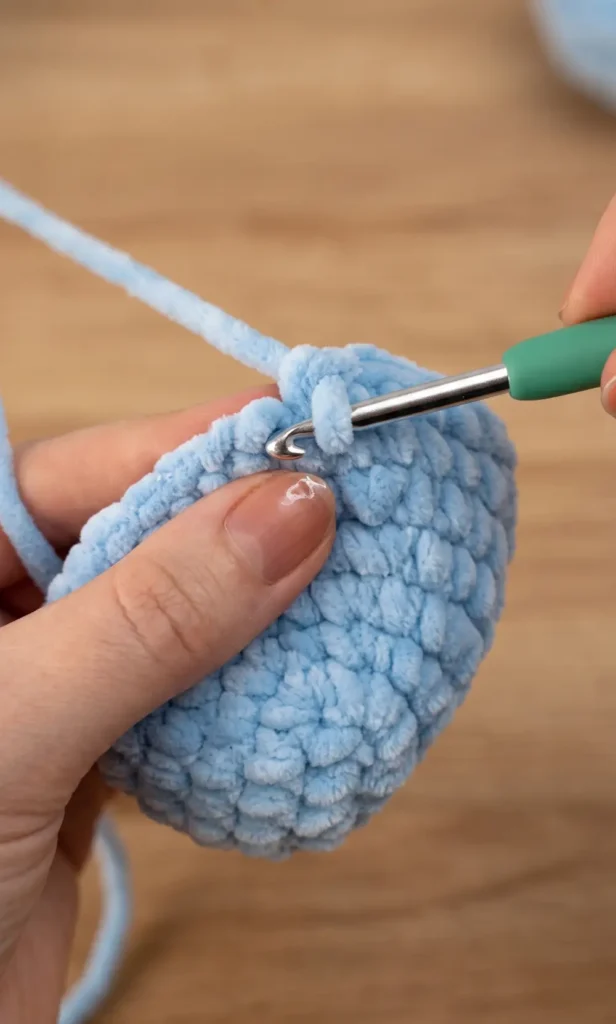
Increase the size by placing two single crochets in the first stitch, then one single crochet in the next four stitches. Perform three increases on the end, followed by four single crochets and two more increases at the end of the round to maintain symmetry.
Step 3: Detail the Snout
Continue expanding the muzzle by alternating single crochets and increases in specific patterns. This shaping creates the characteristic wide snout of the hippo. You will eventually work two full rounds of 38 single crochets without any increases or decreases to give the muzzle depth.
Step 4: Begin Muzzle Decreases
Start decreasing at the beginning of the round using only the front loops for an invisible finish. This transition begins to move the work from the flat muzzle toward the main part of the head.
Step 5: Shape the Upper Muzzle and Cheeks
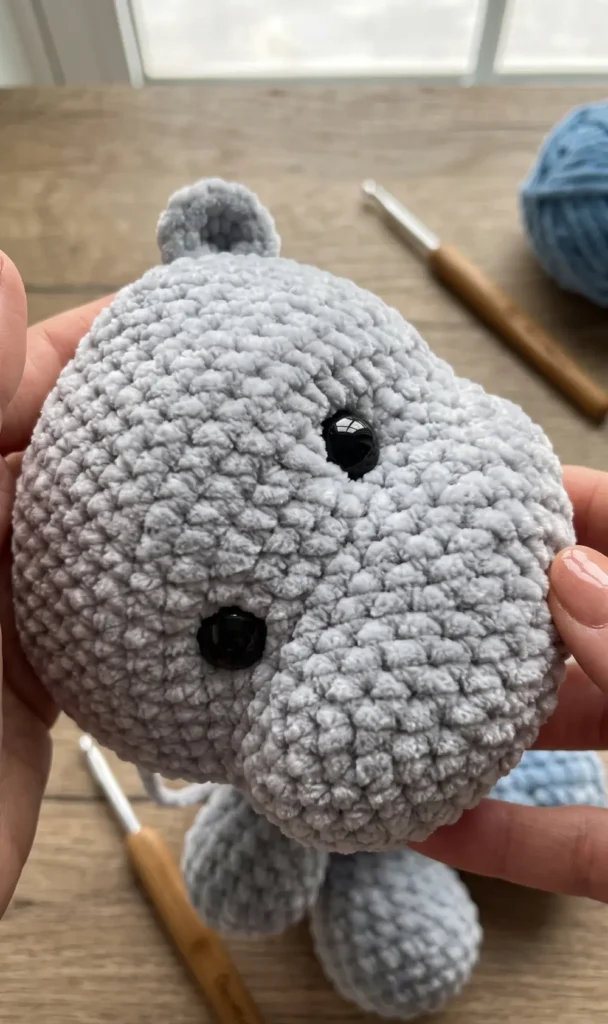
To create the hippo’s distinct face, you must increase the upper part of the muzzle by repeating an increase and a single crochet eight times. Later, you will increase twice on each side of the head to form the cheeks.
Step 6: Work the Main Head Rounds
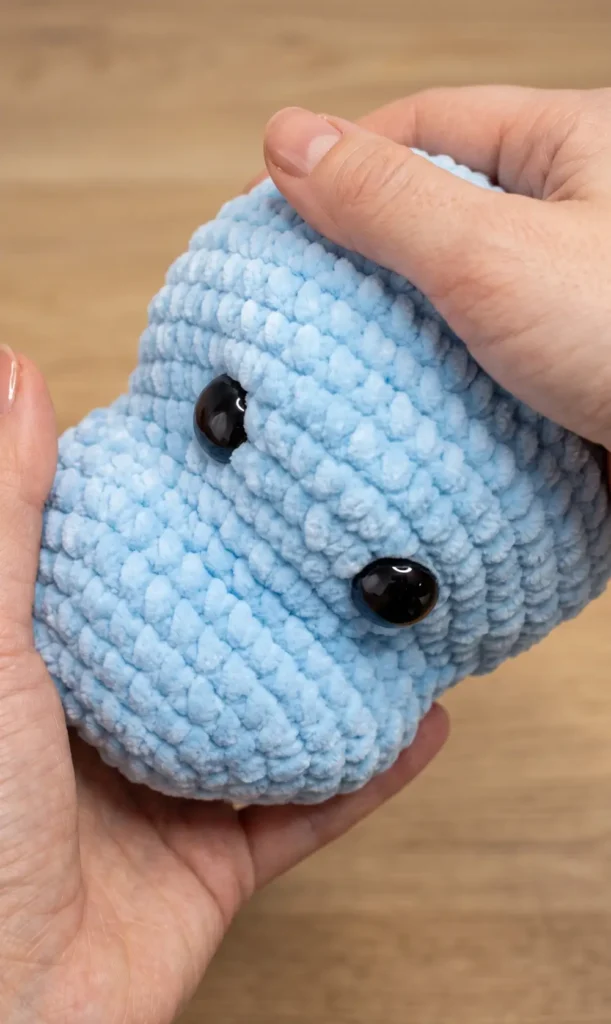
Once the cheeks are shaped, crochet five rounds of single crochets without any changes. This builds the bulk of the head before you begin closing it up.
Step 7: Attach Eyes and Add Stuffing
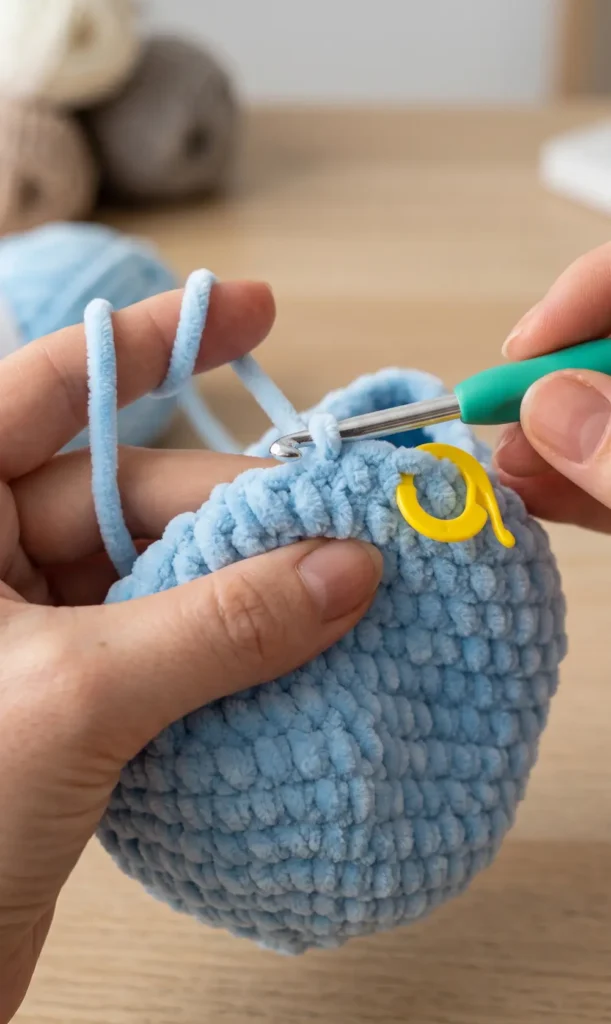
Before the opening becomes too small, place your 1.8 cm or 2 cm eye buttons. At this stage, you should also begin stuffing the muzzle firmly with hollow fiber to ensure it holds its shape.
Step 8: Close the Head
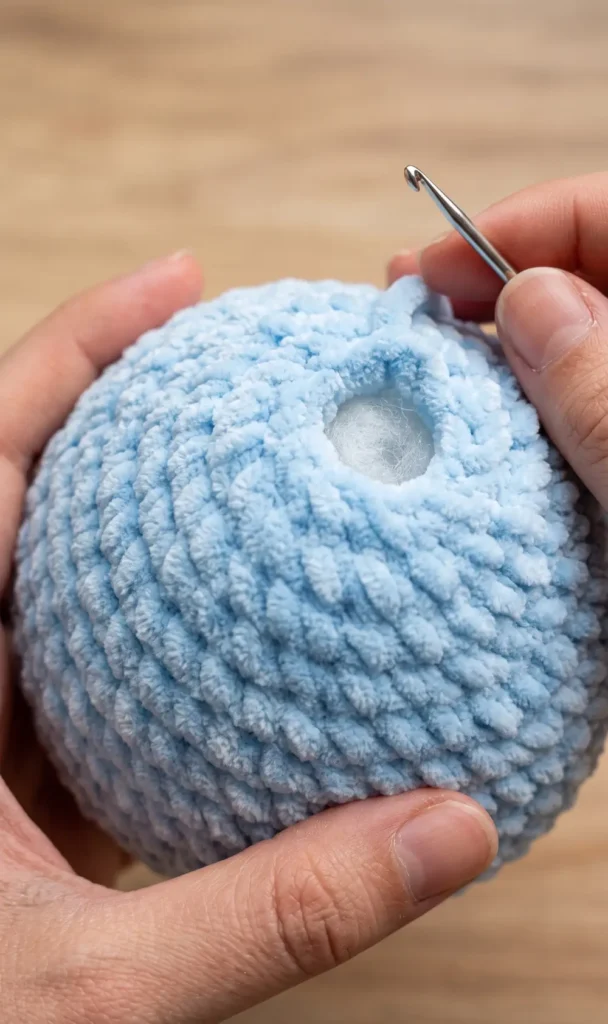
Systematically decrease the head by reducing every fifth stitch, then every fourth, third, and second stitch in subsequent rounds. Finally, decrease every stitch until eight remain, then use a yarn needle to sew the hole shut through the front loops.
Step 9: Crochet the Ears
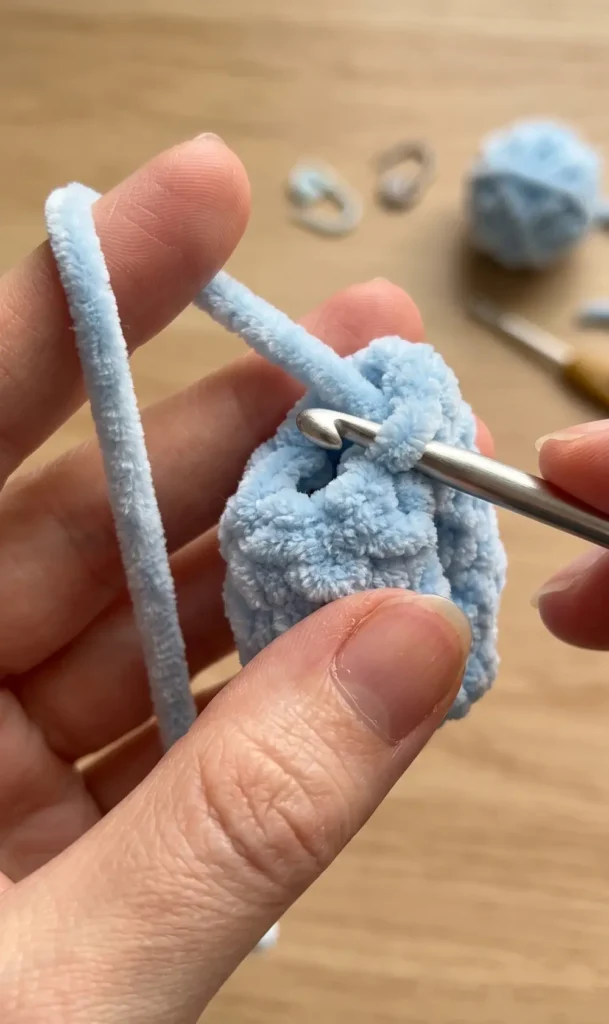
Create two ears starting with a magic ring containing six single crochets. Increase in every stitch to reach 12 stitches, then work two rounds of plain single crochet.
Step 10: Finish the Ear Shape
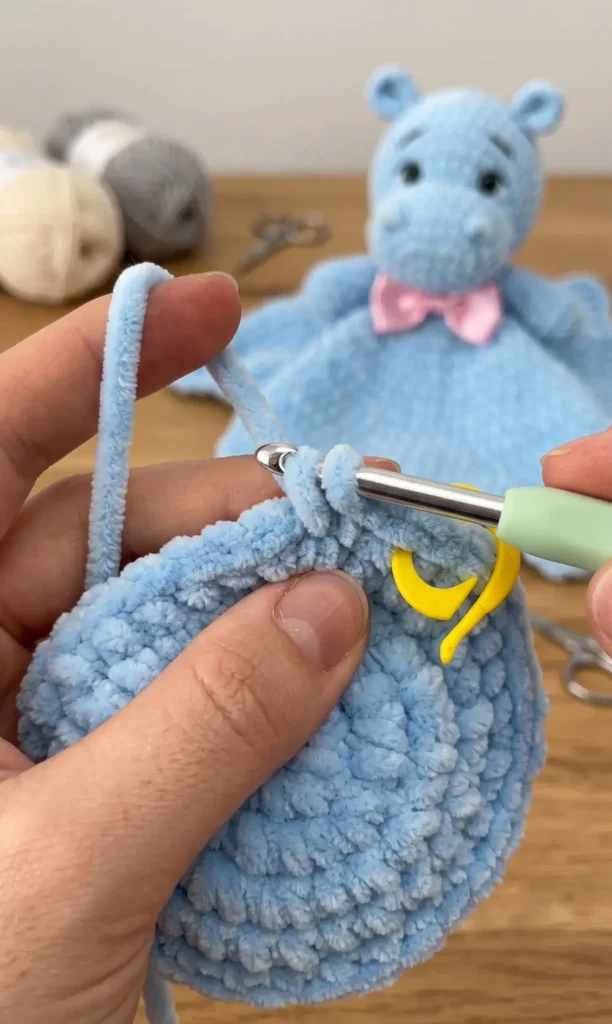
Decrease twice in the next round to bring the count to 10 stitches, and finish with one round of single crochet. To achieve the correct hippo ear shape, pull the yarn tail through the bottom stitches to pinch the base slightly.
Step 11: Create the Arms
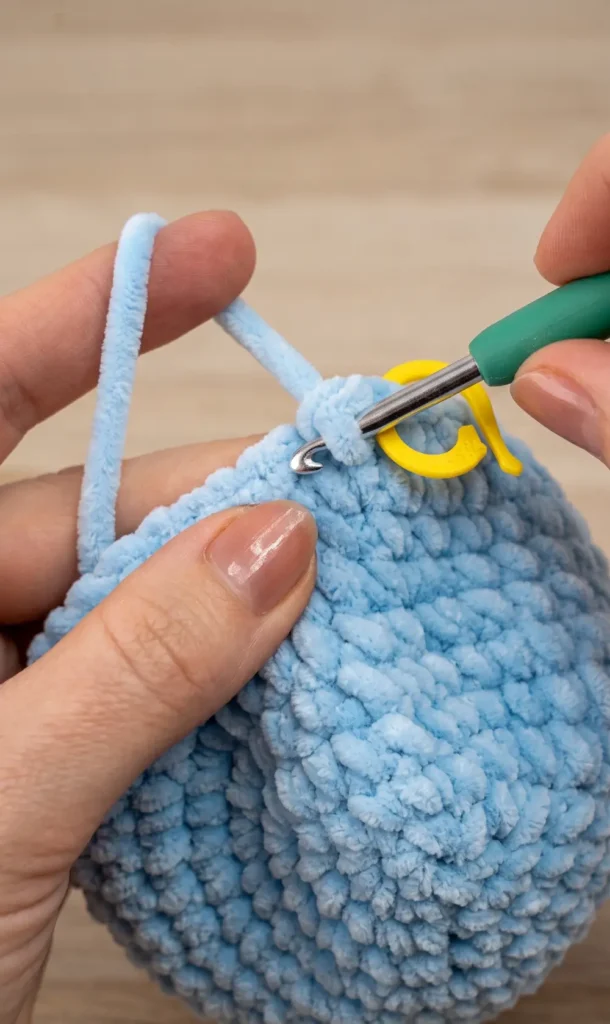
For the arms, start with a magic ring of six single crochets and increase every stitch to reach 12. Work one round of single crochet in the back loops only to create a defined edge for the bottom of the arm.
Step 12: Complete and Stuff the Arms
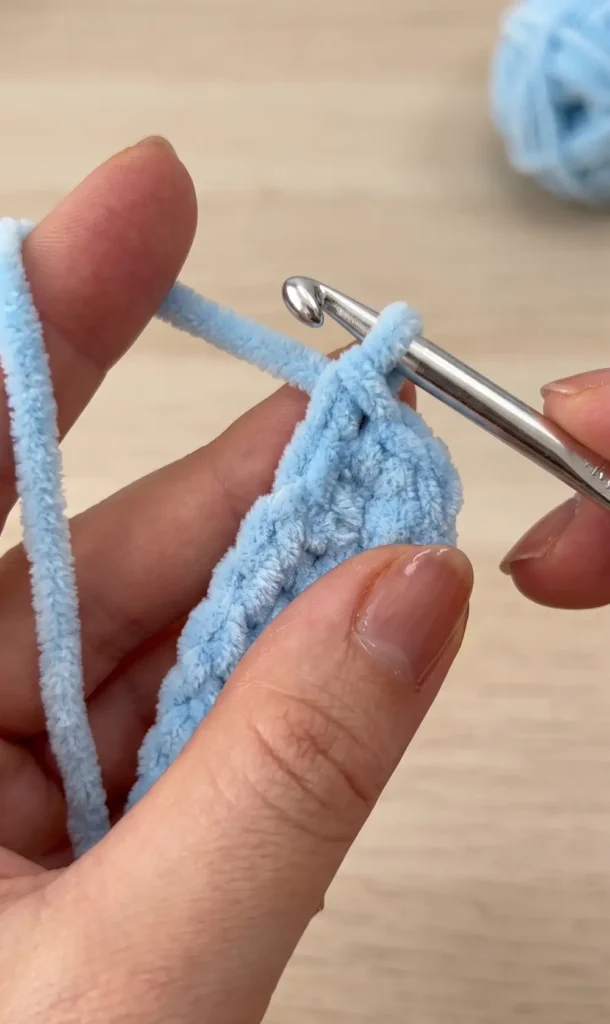
Crochet 12 rounds of single crochet to reach the full length of the arm. Stuff the bottom of the arm firmly with hollow fiber, put very little stuffing in the middle, and leave the upper part empty so the arms can hang naturally on the snuggler.
Video Credits: Tommy’s sheep crochet and knitting
Which Color Will You Choose?
Crocheting a hippo snuggler is one of those projects that looks impressive but is completely manageable once you break it down piece by piece. The muzzle, the cheeks, the little stuffed arms, every step builds on the last, and before you know it, you have something genuinely adorable in your hands.
Now the fun part: picking your colors. Chenille yarn comes in so many beautiful shades, and this pattern works just as well in classic grey as it does in soft lavender or warm blush pink. Which color are you reaching for first?