How to Crochet a Cozy Granny Square Blanket with Simple Stitches
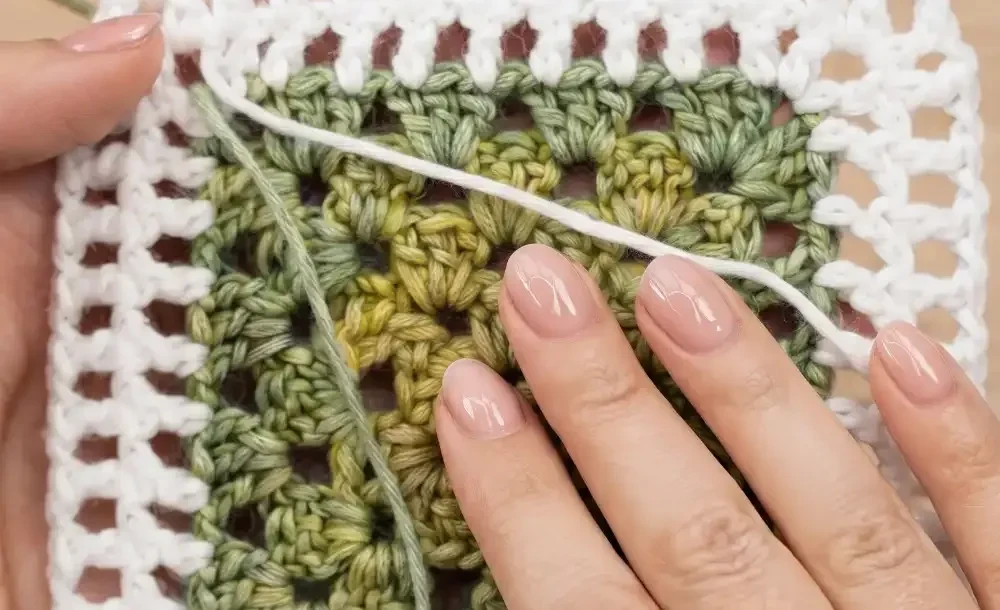
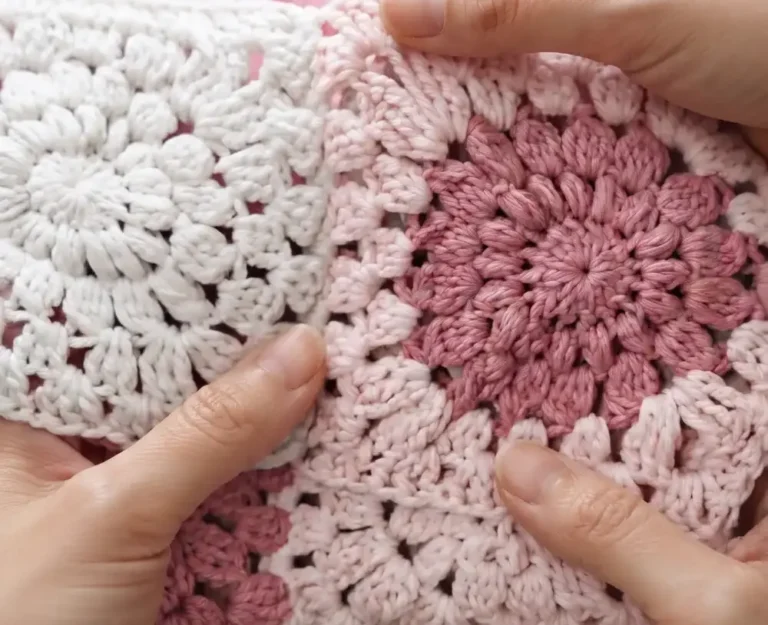
Turning a stack of yarn cakes into a full-size blanket sounds like a big project, but this pattern makes it feel manageable from the very first round. The granny mesh square combines two techniques you already know, solid granny clusters and open mesh work, into one rhythm that keeps your hands busy without overloading your brain. Once you get through the first repeat of rounds 5 through 10, the rest practically crochets itself.
What sets this blanket apart is the contrast. The dense granny rounds give you that classic cozy texture, while the mesh rounds open things up and let the color play breathe. Add in a sawtooth border for a finish that looks store-bought, and you’ve got a blanket worth showing off. Grab your hook and let’s get started.
Crochet Granny Mesh Square Blanket
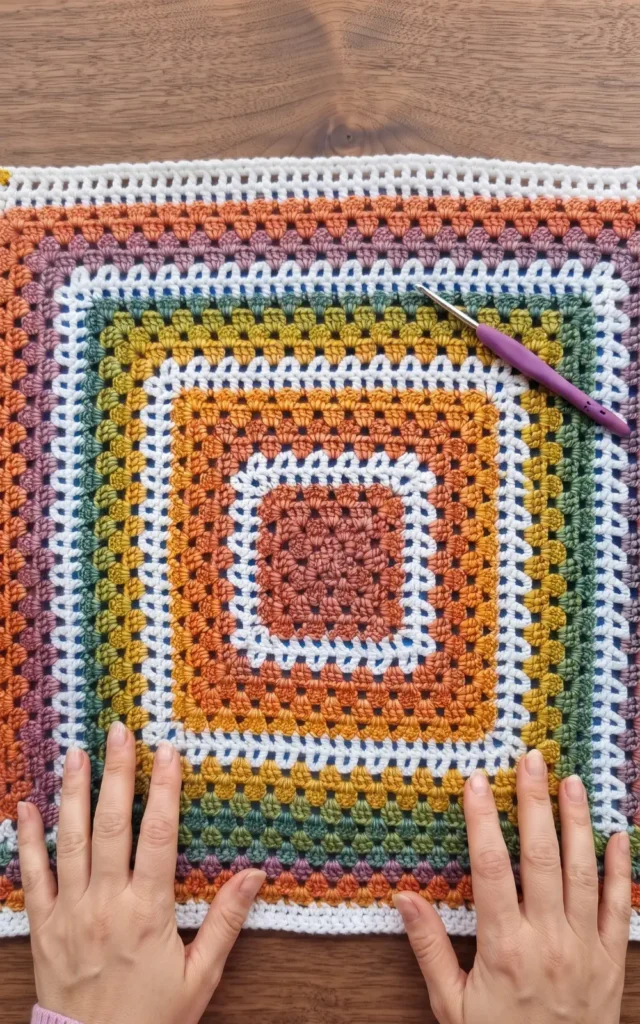
This beautiful blanket pattern combines the classic granny square with open mesh rows for a project that grows quickly and has a lovely, repetitive rhythm. It features a unique sawtooth border that provides a professional finish to the entire piece.
Materials and Preparation
To recreate the blanket shown in the tutorial, you will need the following materials:
- Yarn: Two cakes of Yarnsmith’s Pebble Haze Prints double knit yarn and two 50g balls of Pebble Haze.
- Hook: A 4 mm crochet hook, though you can adapt the pattern for any yarn and hook size you prefer.
- Notions: A stitch marker is recommended for marking the start of mesh rounds to avoid confusion.
The pattern is built on a repeat of rounds 5 through 10, consisting of two mesh rounds followed by four granny cluster rounds.
Hey there! Some links on this page may be affiliate links which means that, if you choose to make a purchase, I may earn a small commission at no extra cost to you.
Step-by-Step Instructions
1. Form the Foundation:
Start with a magic ring, chain 3, and work 2 double crochets into the ring. Follow this with a sequence of 2 chains and 3 double crochets worked three times into the ring.
2. Join Round 1:
Instead of chaining 2, finish the round with a joining stitch, such as a double crochet, worked into the top of the initial chain 3 to create a space that matches your corners.
3. Start the Second Round:
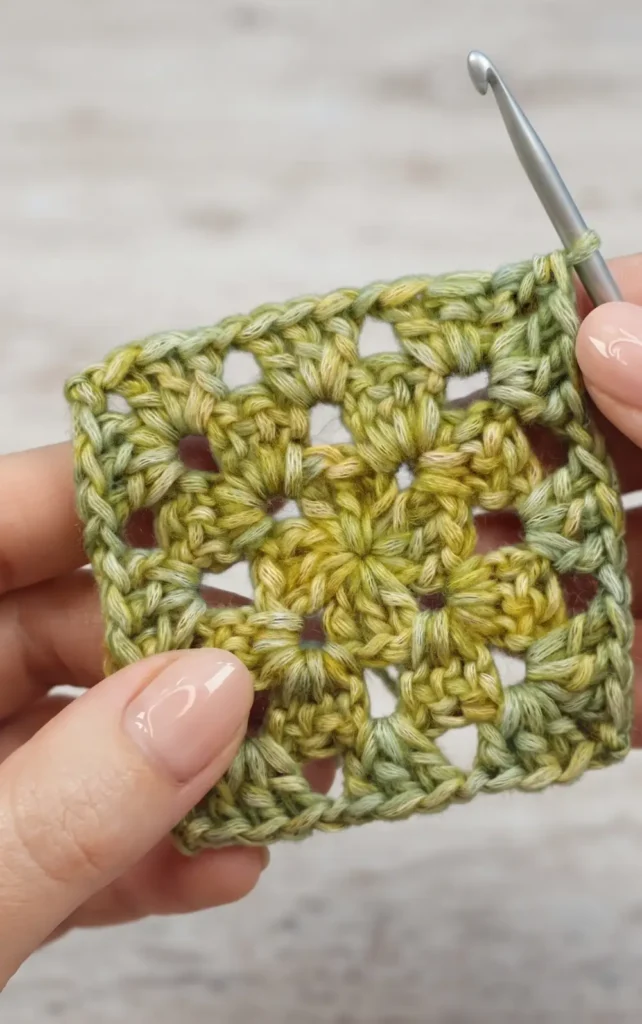
Chain 2 and turn your work. Work 2 double crochets into the space created by the joining stitch to form the first half of your corner.
4. Complete Round 2:
Work a chain 1 between clusters along the sides. In each corner space, work 3 double crochets, 2 chains, and 3 more double crochets.
5. Build the Granny Base:
Continue this granny square pattern for rounds 3 and 4, making sure to turn your work after every round and finishing each with a joining stitch.
6. Transition to Mesh:
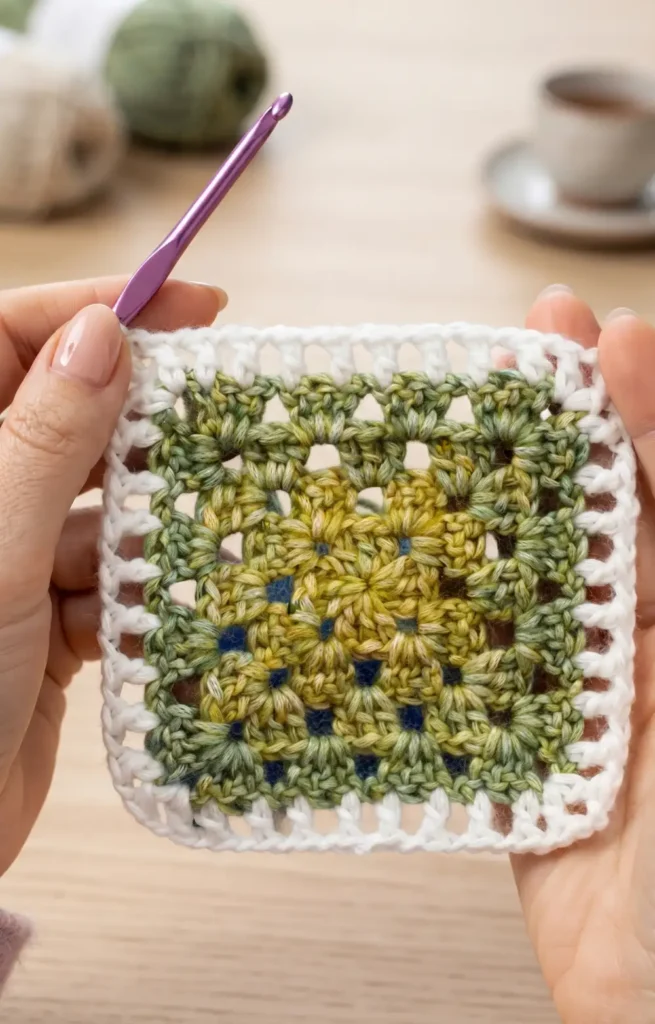
For round 5, turn your work and use either your current yarn or a new color with a standing double crochet in the corner.
7. Create the Mesh Side:
Chain 1 and work a double crochet into the first stitch of the cluster below. Then chain 1, skip a stitch, and work a double crochet into the third stitch of the cluster.
8. Continue the Mesh Pattern:
Chain 1 and skip the chain 1 spaces along the side, always working your double crochets into the first and last stitches of the granny clusters from the previous round.
9. Work Mesh Corners:
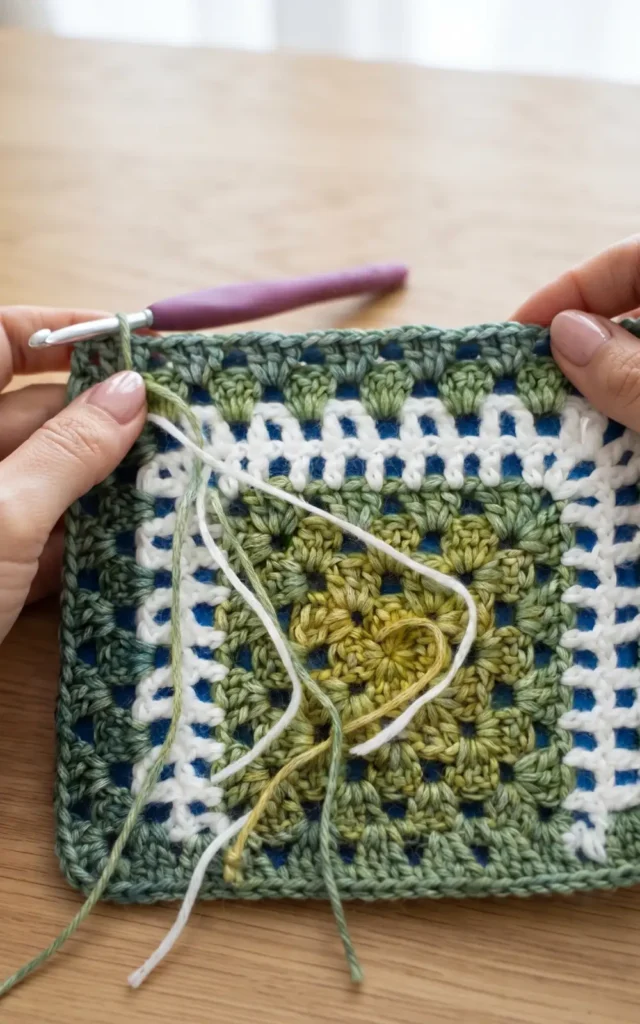
In each corner space during round 5, work 1 double crochet, 2 chains, and 1 double crochet.
10. Execute Round 6:
Chain 3 (which counts as a double crochet and a chain 1) and turn. Skip the joining stitch and work 1 double crochet into the top of every double crochet from the row below, separated by chain 1 spaces.
11. Prepare for Granny Clusters:
For round 7, turn your work and switch back to your granny cluster yarn. Start with 3 double crochets in the corner space.
12. Space the Clusters:
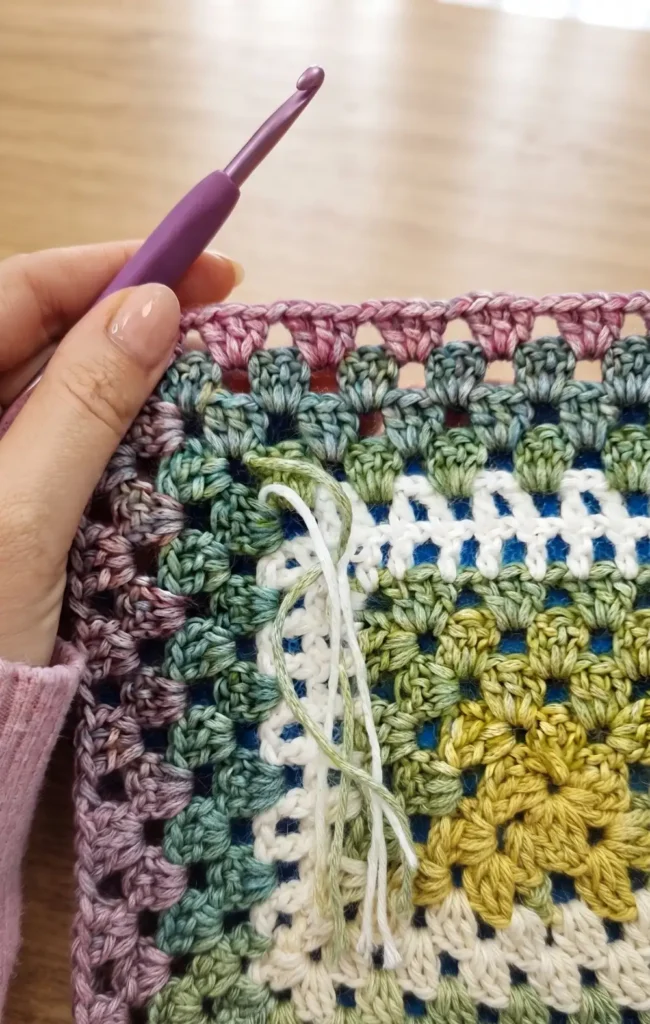
Work along the side by chaining 1 and placing 3 double crochets into every other chain 1 space from the mesh row below.
13. Return to Traditional Granny Rounds:
Work rounds 8 and 9 as standard granny square rounds, placing 3 double crochets into every chain 1 space along the sides.
14. Final Repeat Round:
Complete round 10 using the same granny cluster sequence. If you are continuing the pattern, join with a slip stitch and prepare to repeat rounds 5 through 10 until the blanket reaches your desired size.
15. Add the Sawtooth Border:
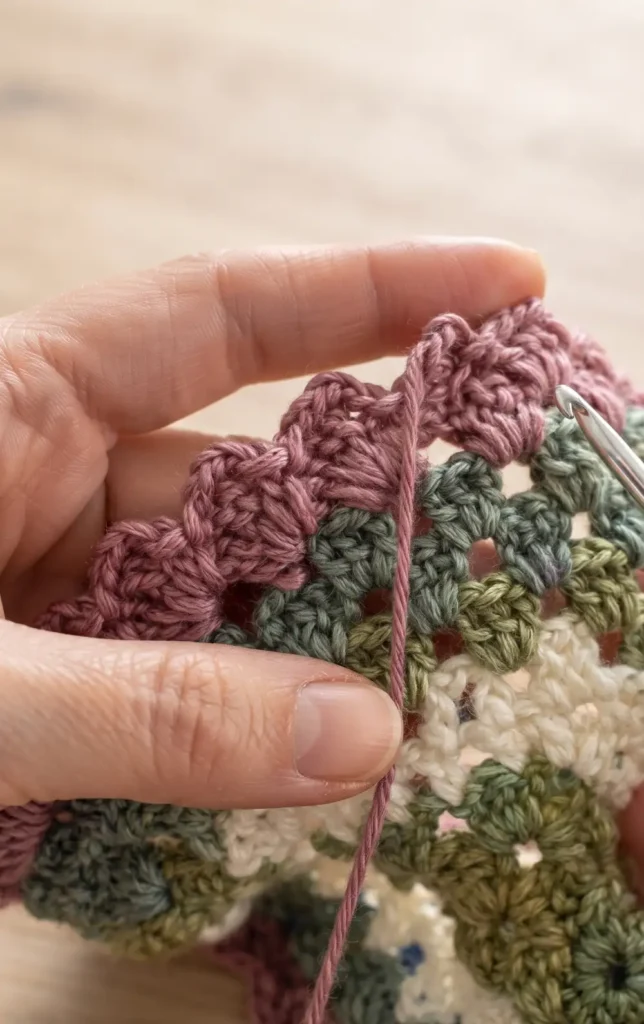
Once the blanket is finished, turn your work and chain 1. In any chain space, work 1 single crochet, 3 chains, and 3 double crochets. Repeat this sequence in every single chain 1 and chain 2 space around the entire perimeter.
16. Finish and Weave:
To complete the blanket, slip stitch to the first single crochet of the border round. Fasten off the yarn and weave in all remaining ends.
Video Credits: Hooked by Robin
Which Colors Will You Choose?
This granny mesh square blanket is proof that a few simple stitches, repeated with intention, can build something truly special. Once you’ve worked through your first full repeat, you’ll have the rhythm down and the rest is just enjoyable, meditative crochet. Whether you stick with a soft neutral palette like Pebble Haze or branch out into bolder tones, that sawtooth border ties it all together beautifully.
Now it’s your turn to make this pattern your own. Pick a color combo that feels like you, cast on that magic ring, and watch your blanket grow round by round. Cozy season just got a whole lot cozier.