How to Crochet a Beach Bag Step by Step Tutorial
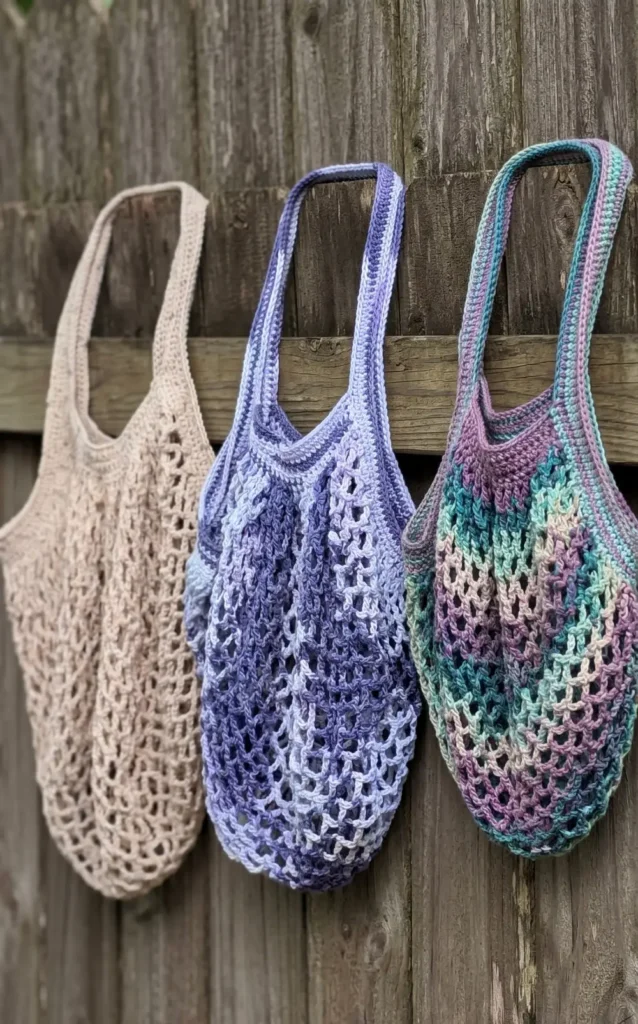
A beach bag needs to survive sand, sunscreen, and a soaking wet swimsuit without falling apart. Most store-bought options don’t, but a crocheted cotton mesh bag absolutely will.
This tutorial walks you through every step of making one from scratch. You’ll build a structured border, work a classic mesh netting, and finish with sturdy handles that won’t stretch out after one trip to the shore.
Materials and Tools
Before starting, gather the following necessary supplies:
- 100% Cotton Yarn: This is the best choice because cotton is strong and stretches significantly less than acrylic yarn.
- Size 5 (H) Crochet Hook: This size is recommended for a four-weight cotton yarn.
- Stitch Markers: These are highly recommended to help identify the last stitch of a row and maintain clean, consistent edges.
Step 1: Creating the Top Border
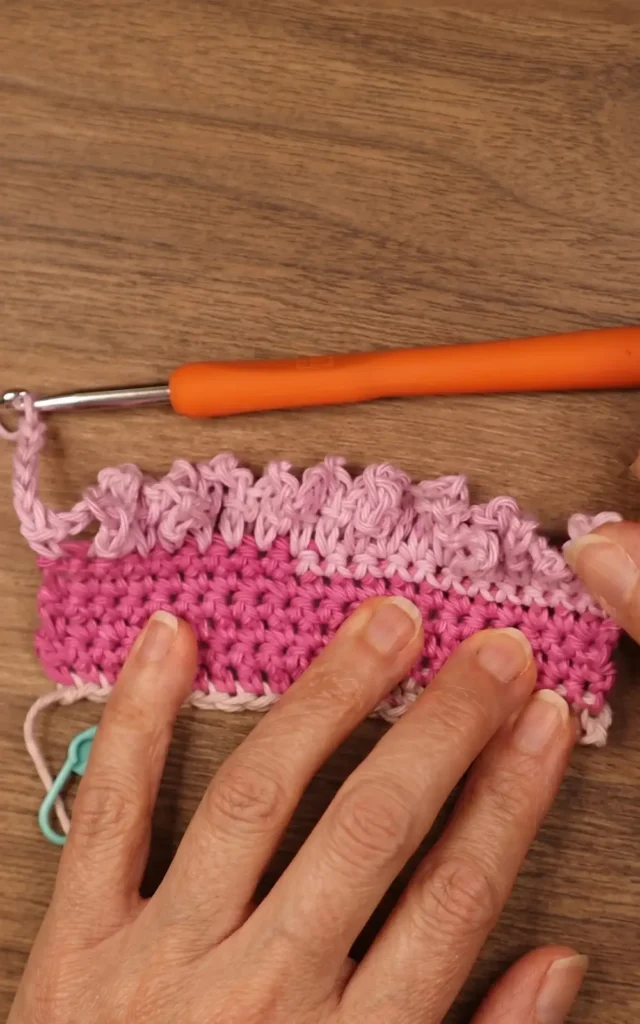
The project begins with a top border consisting of six rows of single crochets. To start a small bag, create a chain of 21. It is recommended to place your single crochets into the back bumps of the chain to create a cleaner finished edge.
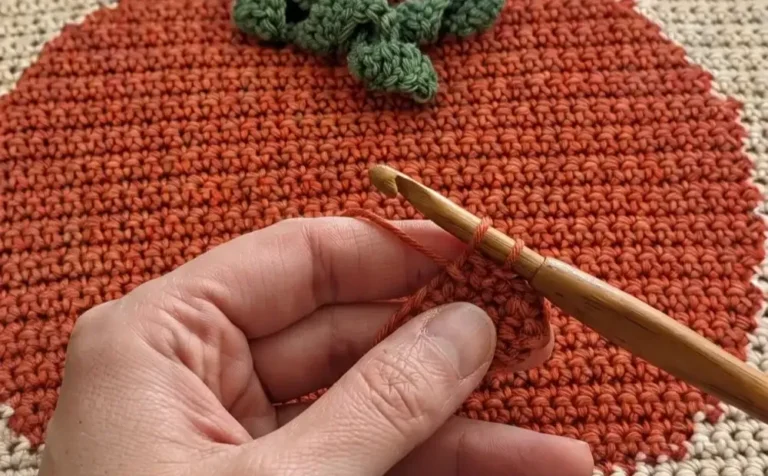
Place a single crochet into the second chain from the hook and continue down the chain for a total of 20 stitches. At the end of each row, chain one and turn your work. Repeat this process until you have completed six rows of single crochets.
Step 2: Crafting the Mesh Netting
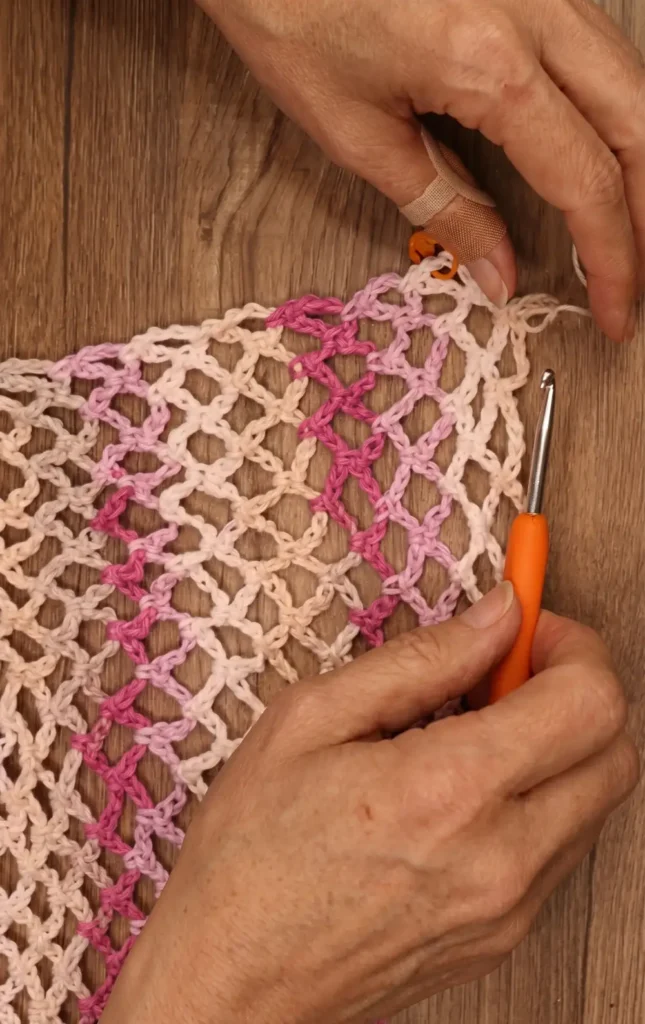
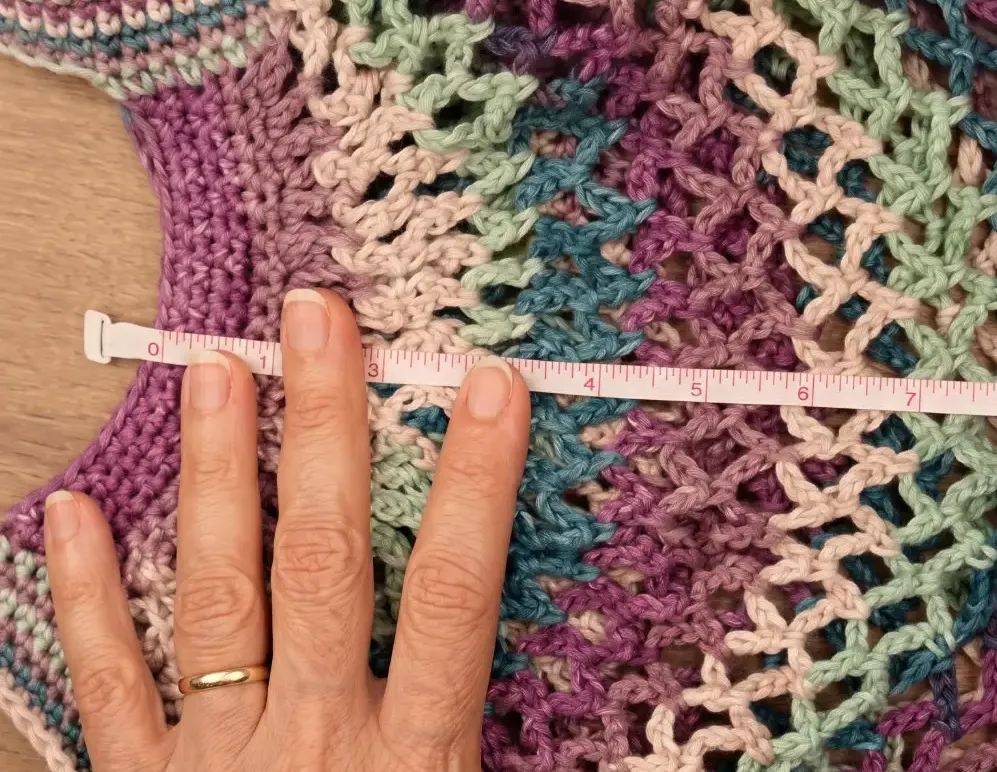
Once the border is finished, you will start the mesh section. At the end of your last border row, chain five and turn your work. Skip the first stitch and place a single crochet into the second stitch, then chain five again. Continue this pattern of single crochet followed by a chain five into every stitch across the row. For the small bag, you should have 19 loops.
To continue the mesh, single crochet into the center of each loop from the previous row and chain five. For a small bag, repeat this for 40 rows of loops. If you run out of yarn, try to join the new skein at the end of a row to make it easier to hide the knot within the side border later.
Step 3: Adding the Second Border
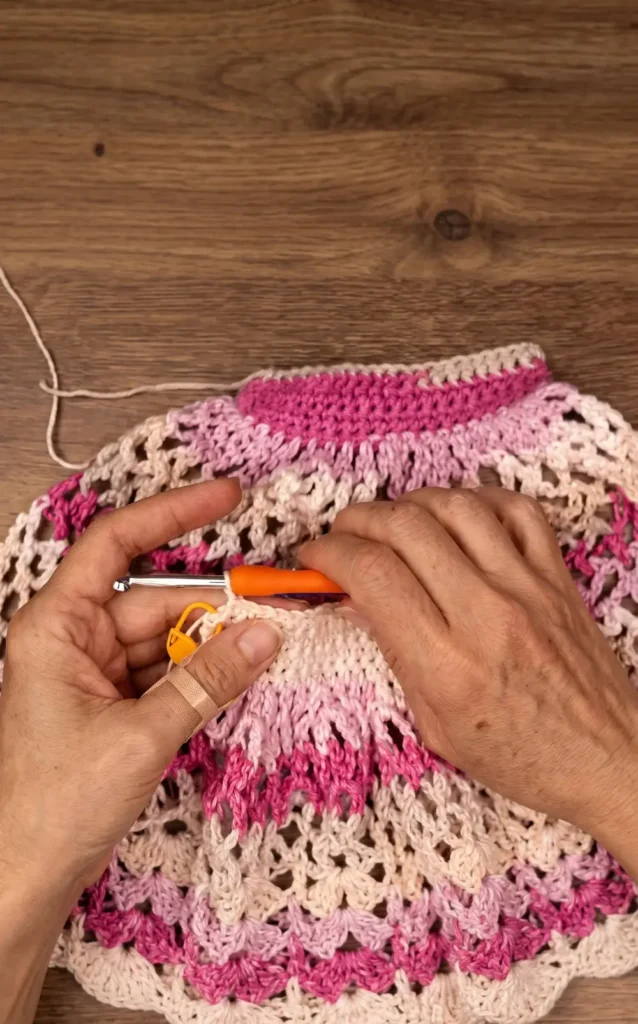
After finishing your mesh rows, you need to cinch the netting to create the opposite border. Chain one, turn, and place one single crochet into each mesh loop across the row to gather the work. Once the mesh is cinched, crochet six rows of single crochets to match the first border you created.
Step 4: Side Borders and Handles
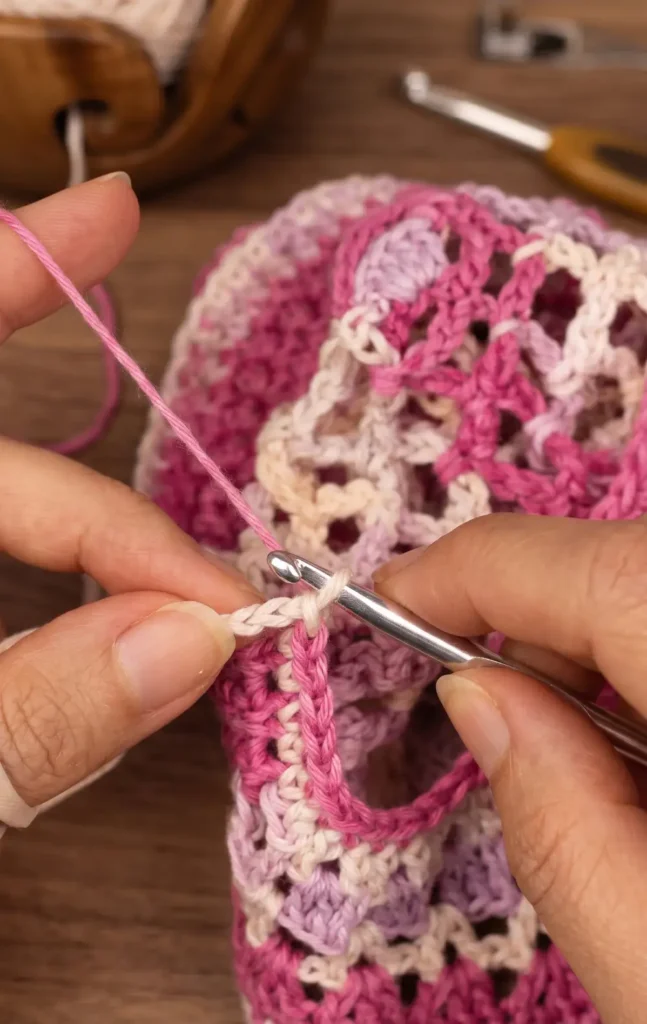
Now you will work around the entire perimeter of the bag in continuous rounds to create the side borders and straps.
- Side Edges: Chain one and place single crochets into the side spaces of the borders. When you reach the mesh section, place one single crochet into each chain space and one into each single crochet space.
- Creating Straps: When you reach the top corner, create a chain for your handle. For a small bag, a chain of 75 is suggested. Attach the chain to the other side of the bag with a slip stitch, ensuring the chain is not twisted.
- Building Width: Continue working single crochets in rounds along the side borders and into the handle chains. You can use the back bumps of the handle chains for a more professional look. Repeat these rounds until the handle is as wide as you prefer.
Step 5: Finishing the Project
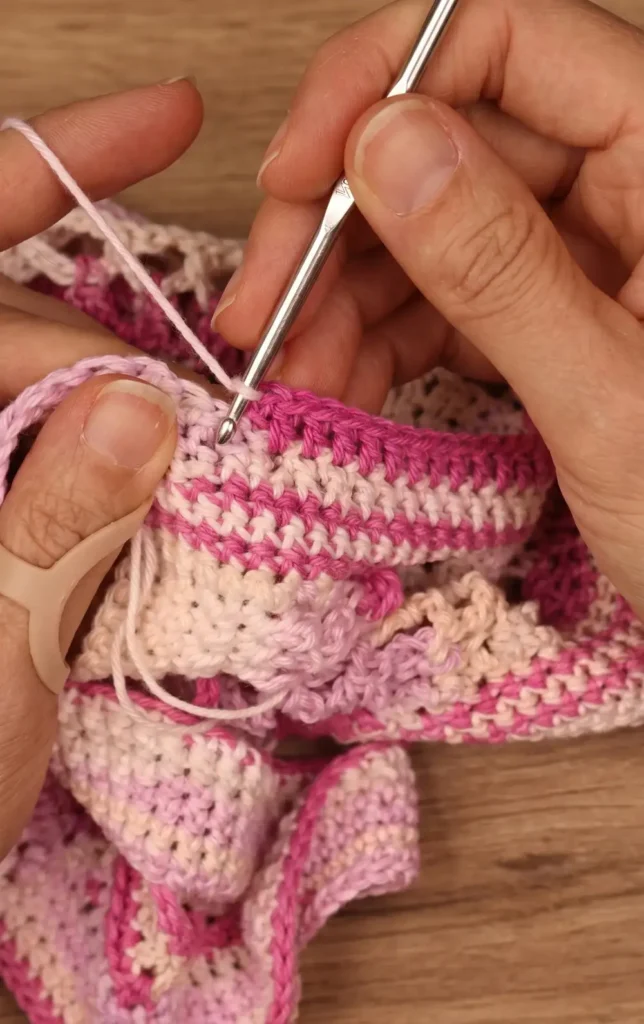
To avoid a visible “step” at the end of your rounds, finish with two slip stitches to smooth out the edge. Cut the yarn, leaving a tail for weaving. For a professional finish, use a needle to create an invisible join by threading the yarn under the next stitch and back through the center of the last stitch. Securely weave the ends through the back of the work, ensuring the yarn does not show through the front.
Video Credits: Maggie May Crochet
Enjoyed This Crochet Tutorial?
And just like that, you have a handmade beach bag that’s ready for the season. The mesh netting lets water drain and air flow through, so you’re not lugging a soggy bag back to your car.
The best part is how easy it is to customize. Adjust the chain count to make it bigger, swap in a bold cotton color, or widen the handles for extra comfort. Make it yours