6 Free Drawstring Crochet Beach Bag Patterns for Handmade Lovers
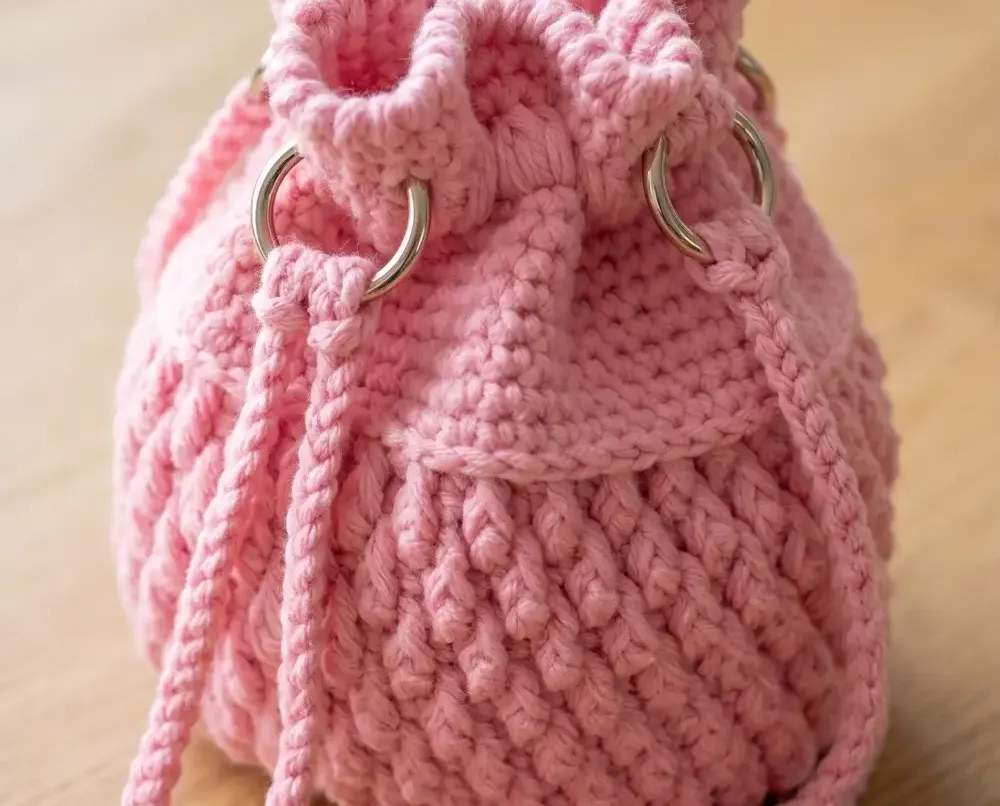
A drawstring bag might be the most useful thing you ever pull off a hook. It holds yarn, produce, gifts, or odds and ends without a single zipper. Once you know the basic shape, you can crochet one for almost any reason you can think of.
This roundup gathers six free patterns, from a simple cotton mesh tote to a sturdy bucket bag with a fabric liner sewn inside. Every pattern uses a different stitch combination, so you’ll pick up new skills with each one. Pick whichever style matches your stash and your mood, then get hooking.
1: How to Crochet a Lovely Mesh Drawstring Bag
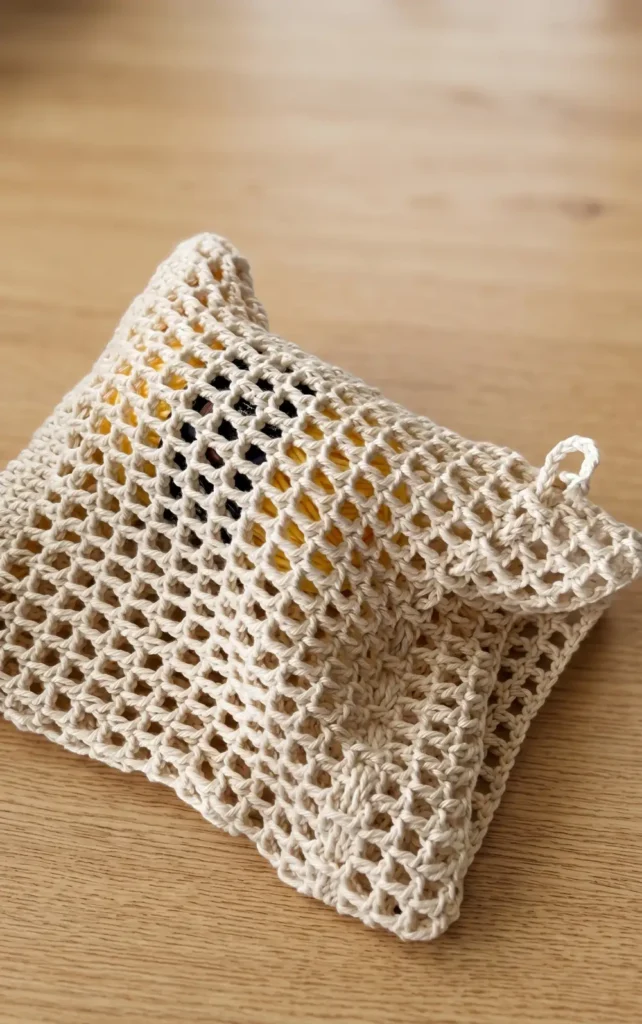
This beginner-friendly project is fully customisable in size and works perfectly as a produce bag or a carrier for crochet projects. You can use any type of yarn you have available to adjust the bag as you go.
Essential Materials
To complete this project, you will need the following items:
- 100% cotton yarn: Approximately 60 metres of yarn was used in the source example.
- 3.5 mm crochet hook: This size is recommended for the cotton yarn used.
- Scissors: Necessary for cutting yarn.
- Darning needle: Used to weave in your ends for a professional finish.
Creating the Foundation and Base
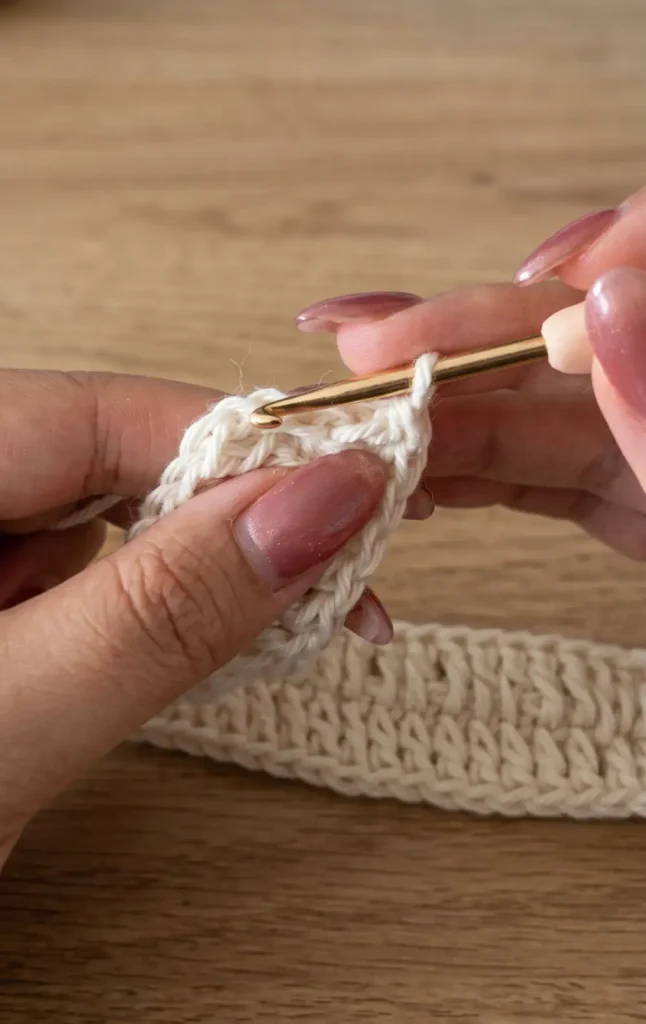
To start your bag, create a slip knot and insert your hook. You will begin by chaining the width of your bag. This can be any number of chains as long as it is an odd number; for instance, 37 chains will create a width of about 20 cm.
Once you have your desired width, chain three more stitches. You will then work a double crochet into the fifth chain from the hook. Continue working one double crochet into every chain until you reach the end. In the very last chain, work a total of three double crochets to help form the curve for the base of the bag.
Turn your work and begin crocheting into the underlying chains on the opposite side. Work one double crochet in each chain until you reach the end, then work two double crochets into the final chain. This should mirror the other side, resulting in a total of 76 stitches if you started with 37 chains. Complete the round with a slip stitch into the third chain.
For the second round, chain three (which counts as your first stitch) and then work one double crochet into every stitch all the way around. Finish the round by slip stitching into the third chain.
Working the Mesh Pattern Body
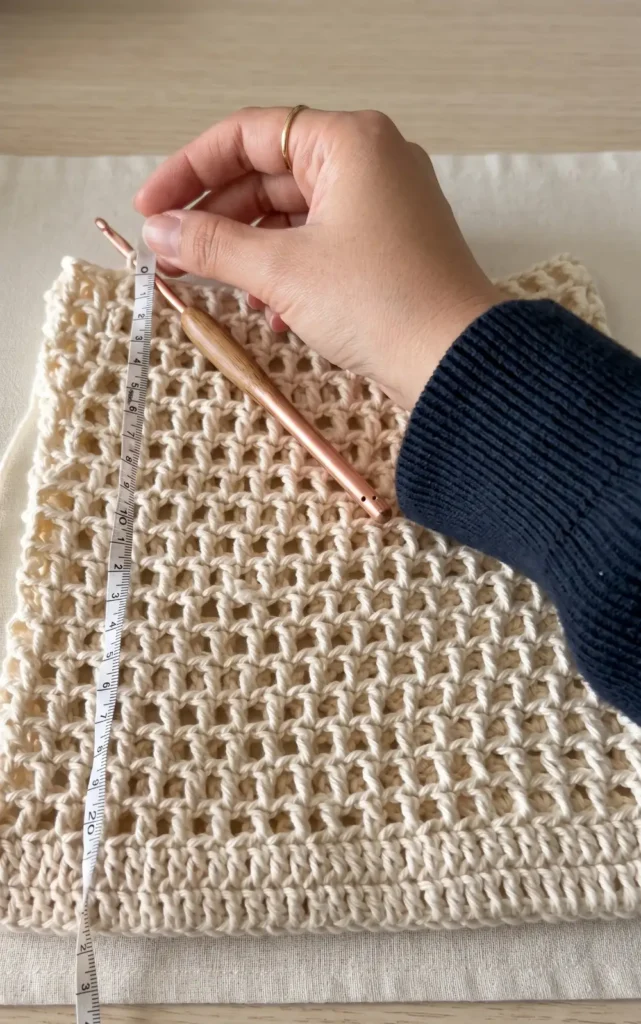
The body of the bag uses a simple mesh pattern. To start a mesh round, chain four, which counts as one double crochet and a chain-one space. Skip the next stitch and work a double crochet into the stitch after that. Follow this with a chain one, skip the next stitch, and work a double crochet into the following stitch.
Repeat this pattern around the entire bag and finish the round with a slip stitch into the third chain of your starting chain-four. For all subsequent mesh rounds, always chain four to start, skip the chain-one space from the previous round, and work a double crochet directly above the double crochet from the last round. This creates a neat, lined-up mesh look. Continue repeating these rounds until you reach your desired height. In the source example, 17 rounds were completed to reach a height of approximately 23 cm. Once finished, chain one and cut your yarn.
Adding Drawstrings and Finishing
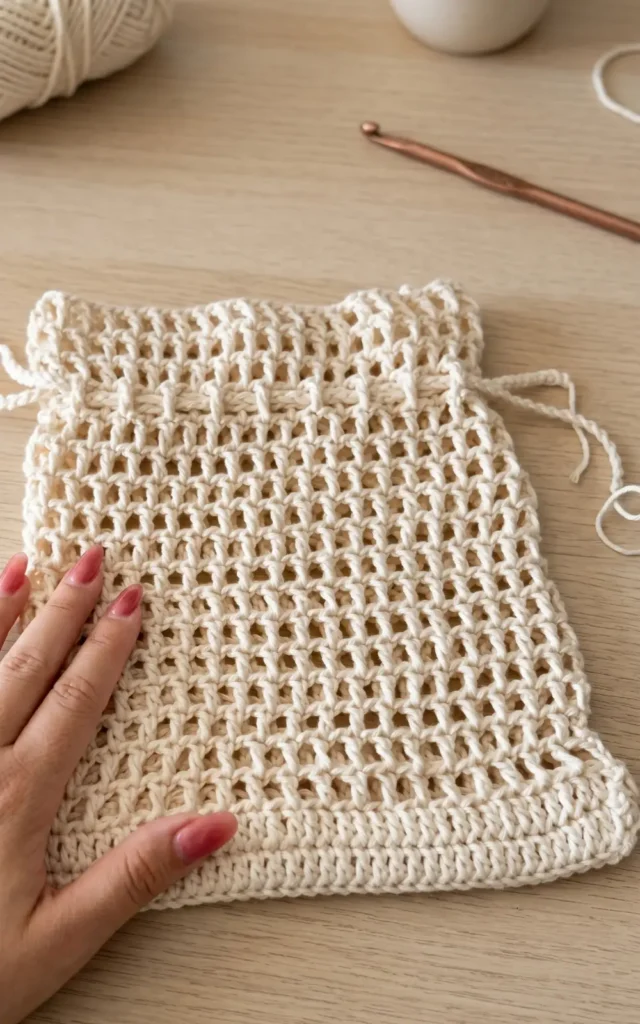
You will need to create two separate drawstrings for this bag. For each string, create a slip knot and chain a length long enough to wrap around the entire bag, both front and back; a total of 85 chains is a good starting point.
To attach the strings, use a darning needle or a crochet hook to weave the first drawstring through the top mesh round in an under and over motion around the double crochet stitches. Go all the way around the bag until you return to the start. Repeat this process with the second drawstring, but start from the opposite side of the bag to ensure the drawstrings pull from both directions.
To finish, tie the ends of each drawstring together in a knot close to the original slip knots and trim the excess yarn. Finally, use your darning needle to weave in the yarn tail inside the bag, securing it with a small knot before cutting the thread. Your drawstring bag is now complete and ready for use.
Video Credits: Alice’s Crochet Corner
2: How to Make a Gorgeous Bucket Bag
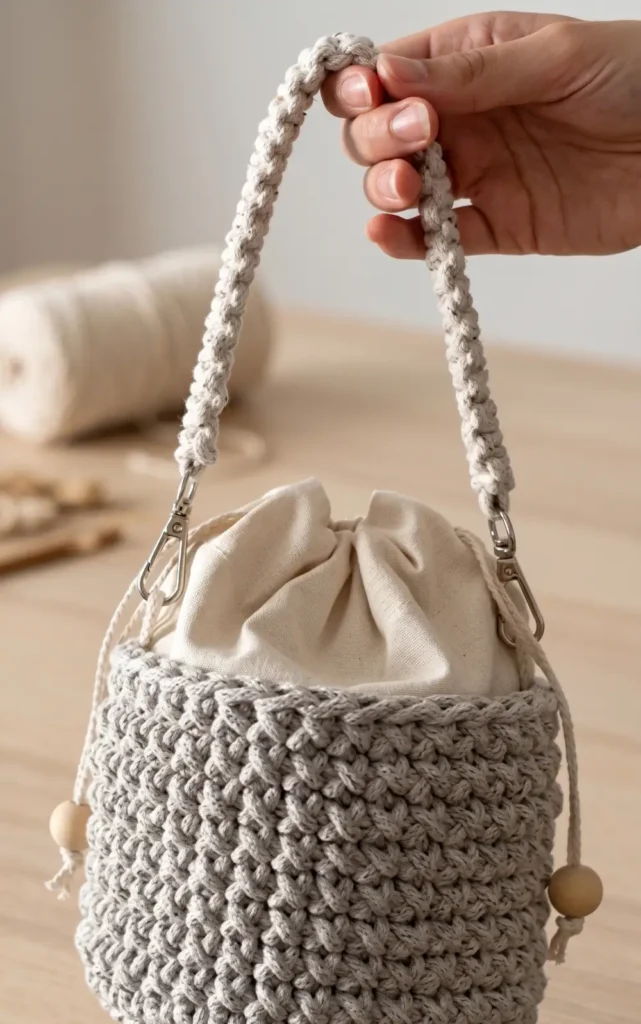
This stylish accessory combines the structure of a crocheted outer shell with the softness of a fabric drawstring liner. By following these steps, you can create a professional-looking bucket bag from scratch.
Essential Materials
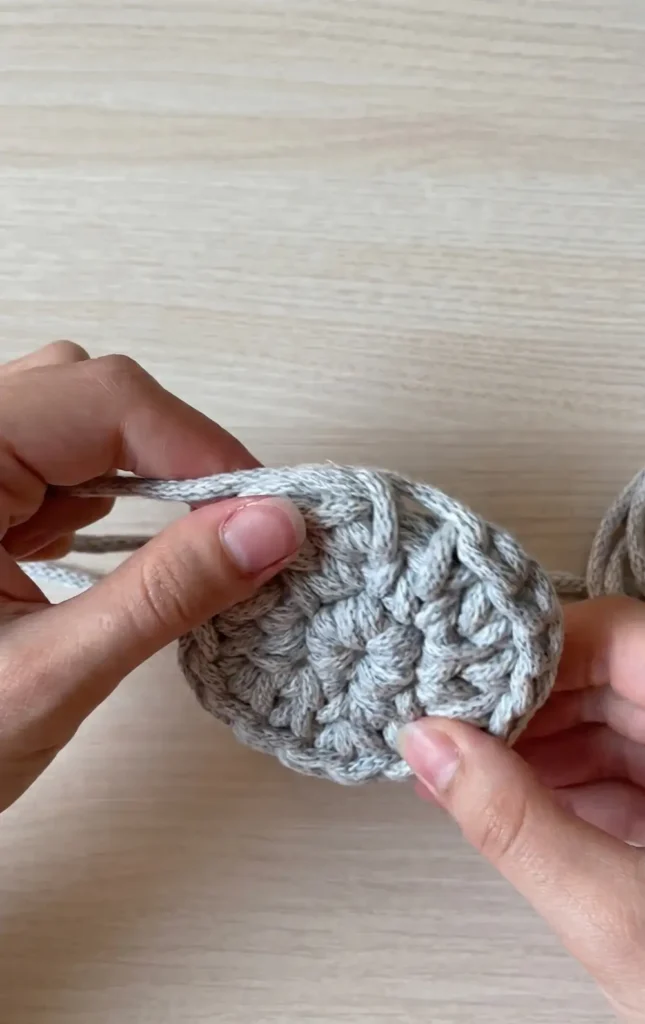
To get started on the crochet portion, you will need 5mm braided macrame cotton cord and an 8mm crochet hook. For the inner fabric bag, prepare fabric of your choice, scissors, a needle, and matching thread.
Crafting the Bucket Bottom
The base of the bag is a perfectly round circle created using a series of increases:
- The Magic Ring: Measure approximately 1.5 metres of cord for a tail. Create a magic ring and work five single crochets around it, then pull the tail to tighten the centre.
- Closing the Rows: To ensure a seamless look, finish every row by completing the last stitch with the short tail rather than the working cord, then pull it through the first stitch of the row from behind.
- Row 2 (Increases): Perform two single crochets into every stitch from the first row to reach a total of 12 stitches.
- Rows 3 to 6 (Tick Crochets): From row three onwards, use tick crochets by inserting the hook directly through the middle of the “V” shape of the previous stitch.
- The Pattern: Continue increasing the circle size. Row three follows a two-one repeat pattern. Row four uses a two-one-one pattern, ensuring increases are only made into single crochets of the previous row to keep the shape round. Row five uses a two-one-one-one pattern, and row six uses two-one-one-one-one.
Building the Bucket Walls
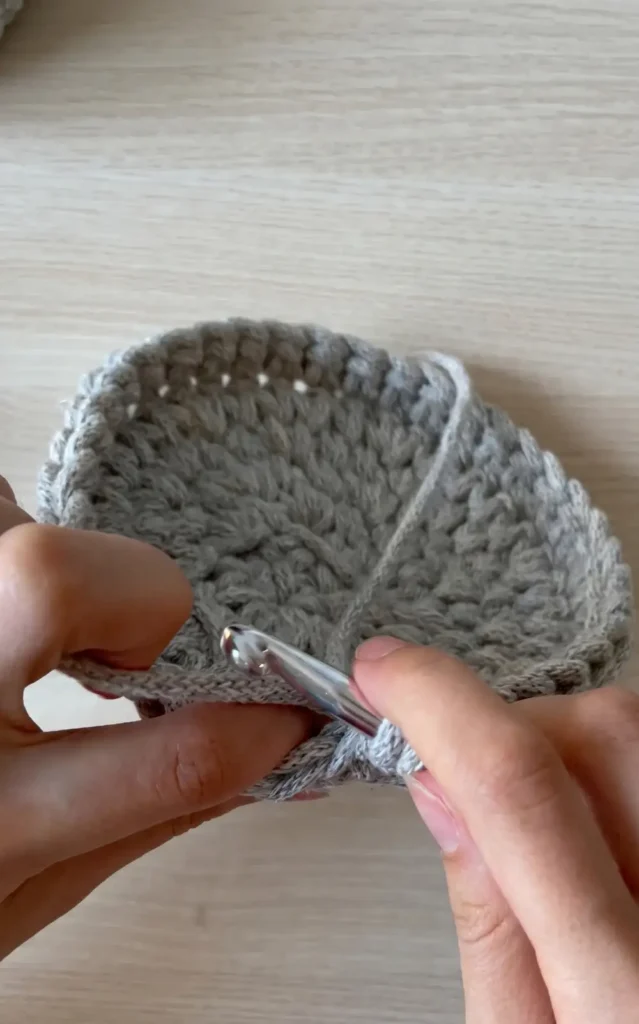
Once the bottom is complete, you will transition to the walls of the bag:
- The Foundation Row: Crochet the first row of the walls through the back wall only of each stitch with no further increases.
- The Cross Mark Pattern: For the remaining rows, hook the cord from the top rather than the bottom to create a unique cross-shaped stitch.
- Height: Complete eight more rows using this cross-stitch method, or adjust the number based on your height preference.
- Strap Loops: Cut two small pieces of cord and sew them onto opposite sides of the bucket walls near the top edge to serve as attachment points for a strap.
Creating the Inner Fabric Bag
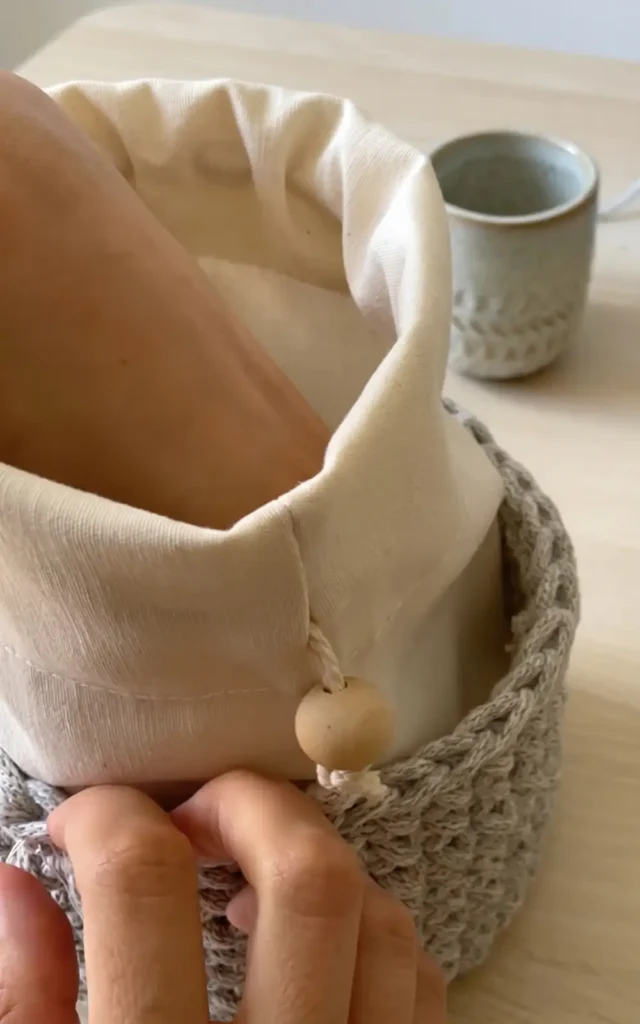
The inner liner provides security for your belongings:
- Measurements: Calculate the width of your fabric based on the bucket diameter. For a 14cm diameter bucket, the width should be roughly 22cm plus a 1cm margin on each side, with a height of approximately 28cm.
- Side Seams: After overcasting the edges, sew the side seams but leave a one-centimetre gap (between the 8cm and 9cm marks from the top) to create holes for the drawstring.
- The Hem: Fold the top six centimetres of the bag inward and sew it down to create a channel for the strings.
- The Drawstring: Thread two strings through the holes using a paper clip. Each string should travel the full circumference and exit through the same hole it entered.
Final Assembly
To finish the bag, insert the fabric liner into the crochet bucket. Secure it by sewing eight connection points at equal intervals around the rim, aligning the side seams of the fabric bag with the crochet loops. Finally, attach a macrame strap to the side loops to complete your gorgeous new bucket bag.
Video Credits: woodori studio
3: Crochet Heart Drawstring Pouch Bag
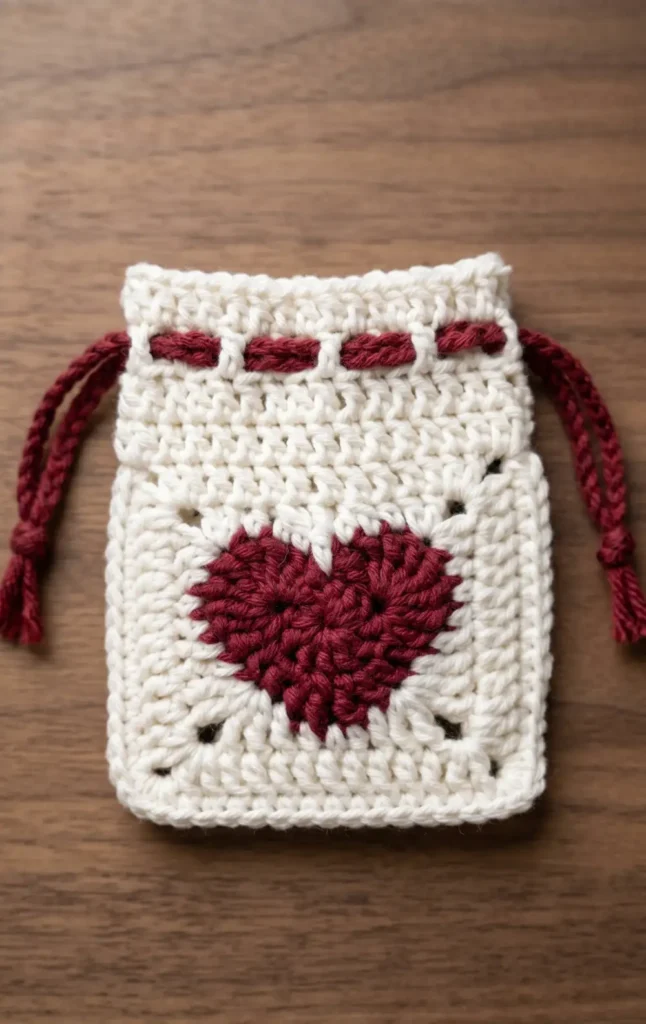
This charming crochet heart drawstring pouch is a quick project that takes just under two hours to complete. It is an ideal gift or a functional accessory for holding everyday essentials. The design is built from heart granny squares that are joined and extended to form a convenient pouch.
Required Materials and Tools
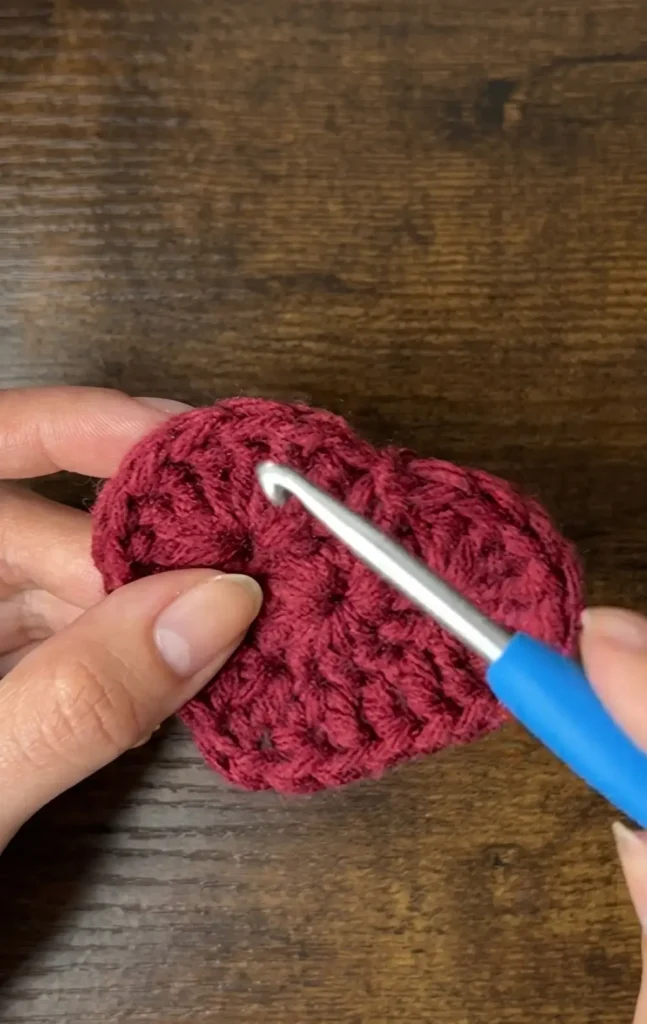
To create this pouch, you will need the following items as specified in the tutorial:
- Yarn: Medium weight acrylic yarn (the source uses Karen Big Cakes in Toffee Brickle and Red Heart Super Saver in White).
- Crochet Hook: A 5 mm hook.
- Other Essentials: Scissors and a yarn needle for weaving in ends.
Creating the Heart Granny Square
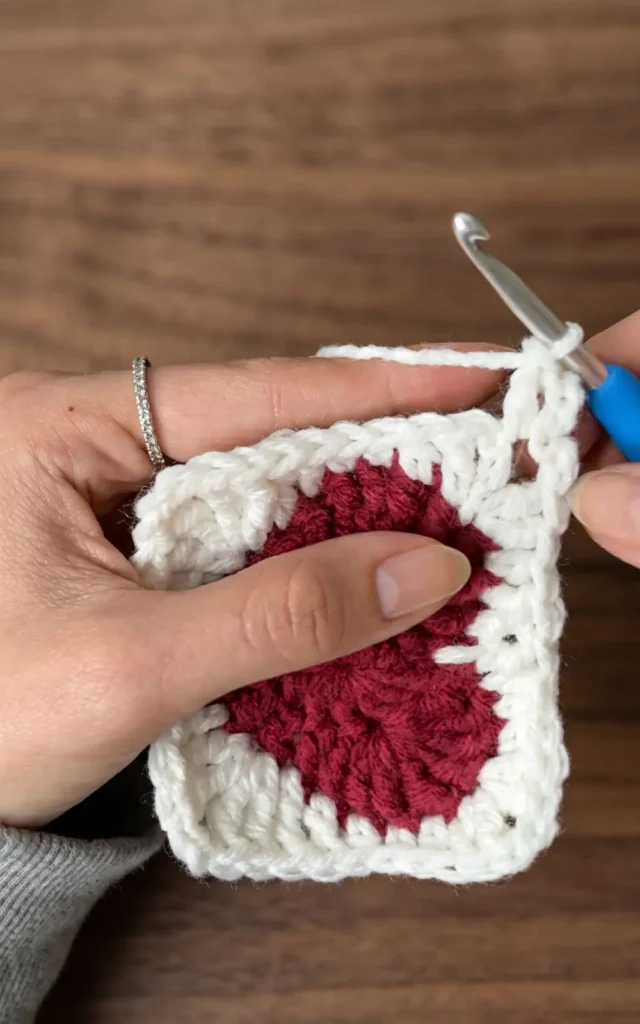
The project begins with a center circle that transforms into a heart and is then squared off.
Round 1: The Base Create a slip knot and chain four (or five if you need more space). Slip stitch to the first chain to form a ring. Chain three, which counts as your first double crochet, and then work 11 more double crochets into the ring for a total of 12. Slip stitch to the top of the chain three to close the round and pull the tail to close the center hole.
Round 2: Shaping the Heart Without chaining, skip the first two stitches and work eight treble crochets into the third stitch. Work one double crochet in each of the next two stitches. In the following stitch, work one double crochet and one treble crochet, then chain one to mark the bottom point of the heart. Mirror the other side by working a treble and a double crochet in the next stitch, double crochets in the next two, and eight trebles in the following stitch. Finish with a slip stitch between the initial chain three and the last stitch of round one.
Round 3: Squaring the Heart Using white yarn, join at the fourth treble crochet (the top left corner). Work a series of stitches of varying heights to create a square:
- Corners: Typically consist of two trebles (or double crochets), chain two, and two trebles in one stitch.
- Sides: These use single crochets, half double crochets, and double crochets to level the edges.
- Top Edge: This involves a “double crochet two together” (dc2tog) decrease and a treble crochet in the center gap to flatten the top of the heart.
Round 4: The Border Chain three and work double crochets in each stitch across the sides. In each corner chain-two space, work two double crochets, chain two, and two double crochets. By the end of this round, you should have 13 stitches on each side.
Assembling the Pouch
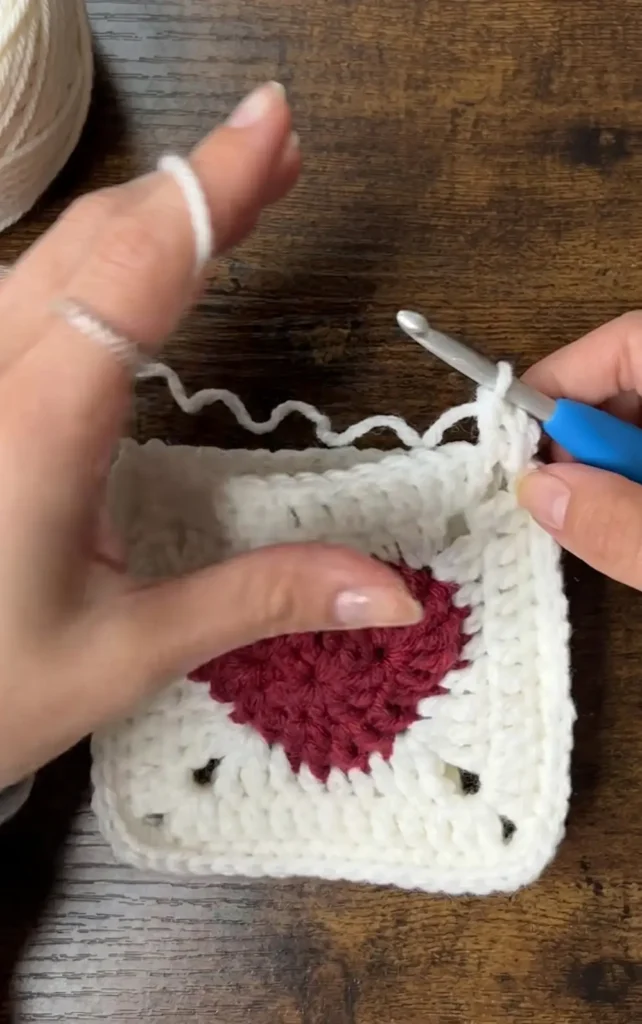
You will need two finished heart granny squares for this project.
Joining the Squares Place the squares with their right sides facing out. Connect them by working single crochets through both layers across three sides. Work four single crochets into the bottom corners to ensure they are secure. Leave the top side open.
Extending the Pouch Body Work around the top opening in rounds of double crochet.
- Round 1: Work two double crochets in the corners and one double crochet in each stitch across (34 total stitches).
- Round 2: Work another round of 34 double crochets.
- Round 3 (Drawstring Holes): Chain four (counts as a double crochet plus chain one), skip a stitch, and double crochet in the next. Repeat this to create 16 chain-one spaces for the drawstring to pass through.
- Round 4: Work a final round of 34 double crochets, placing stitches into both the previous stitches and the chain-one spaces.
Finishing the Drawstrings
Crafting the Strings Create two separate chains of 50. These should be slightly longer than the width of the pouch when folded in half.
Assembly and Weaving Turn the pouch inside out and use a yarn needle to weave in all loose ends by hiding them under existing stitches in different directions. Turn the pouch right side out. Use a crochet hook to weave one string through the chain-one spaces starting from one side, going all the way around, and exiting at the same side. Repeat this with the second string starting from the opposite side. Tie the ends of each string together so that when you pull them, the pouch cinches closed.
Video Credits: VivCrochets
4: How to Make a Super Easy Drawstring Bag
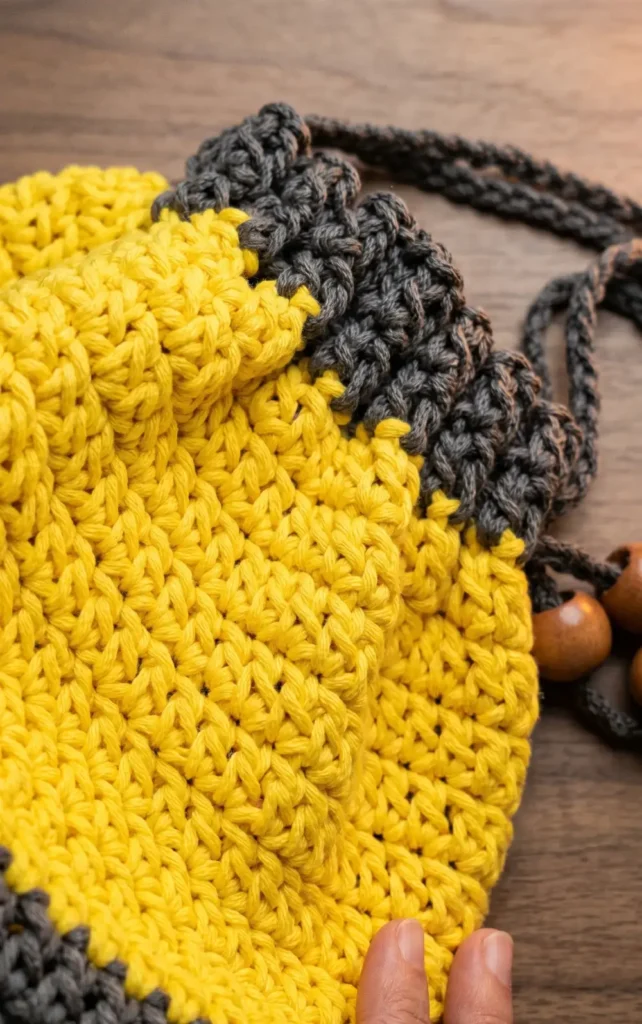
Materials Needed
To begin this project, you will need a six millimeter crochet hook and a pair of scissors. The yarn used in this tutorial is three millimeter braided macrame yarn in two colors, such as yellow and gray, though a single color can also be used. Additionally, you should have a tapestry needle for weaving ends and fifteen millimeter beads for optional decoration.
Step 1: Crocheting the Base
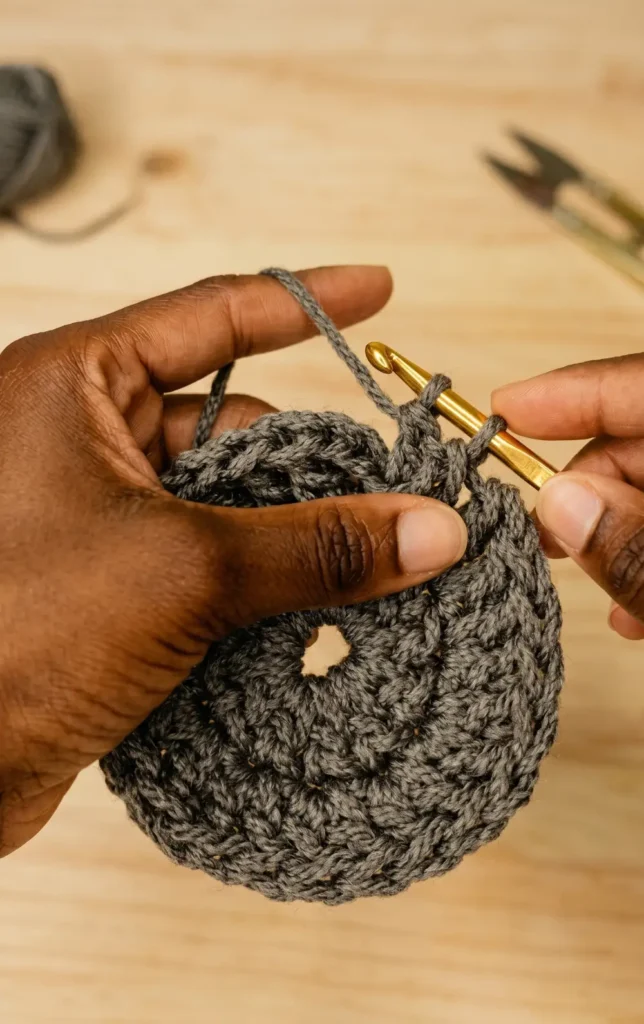
The base of the bag is constructed using double crochet stitches starting with a magic circle. In the first round, chain three to represent your first double crochet and then crochet eleven more double crochets into the ring for a total of twelve stitches. Pull the yarn tail to close the center gap and join the round with a slip stitch.
For the second round, chain three and place another double crochet in the same stitch, then continue placing two double crochets in each stitch around for a total of twenty-four stitches. In the third round, follow a pattern of two double crochets in one stitch followed by one double crochet in the next. The fourth round increases the pattern to two double crochets followed by two single double crochets, while the fifth round consists of two double crochets followed by three single double crochets. To finish the base, crochet one round of one double crochet in every stitch without any further increases.
Step 2: Creating the Sides
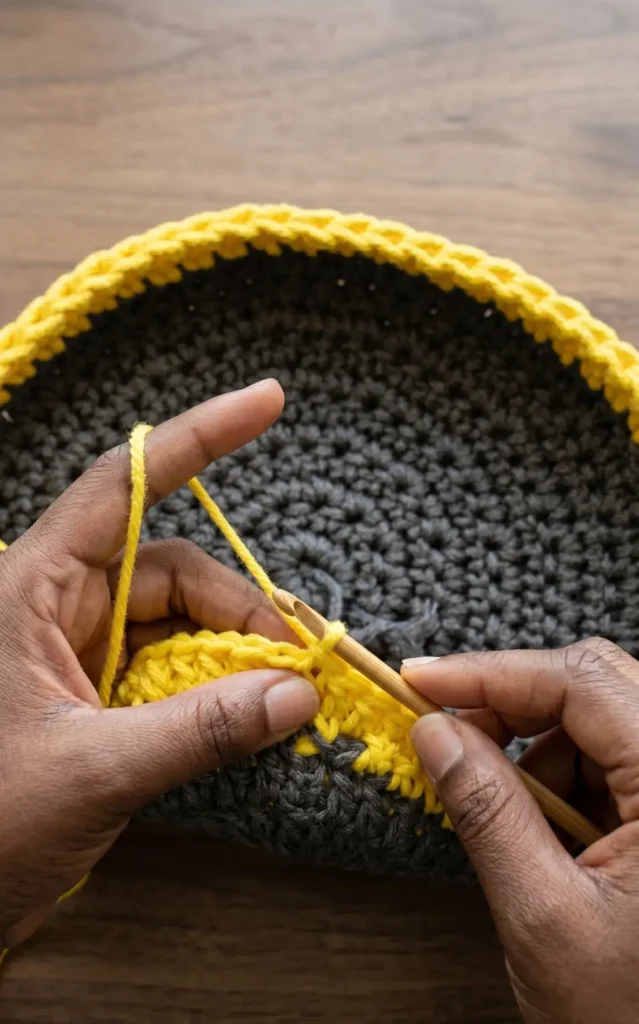
After completing the base, you can introduce a new color to give the bag a decorative twist. Join the new yarn with a slip stitch and crochet one double crochet in each stitch for the entire round. Continue this pattern until you have completed nine rounds in this secondary color. To finish the top section of the bag sides, switch to your original color and crochet two additional rounds of double crochet. The finished bag height should be approximately nine and a half inches.
Step 3: Making and Attaching the Drawstrings
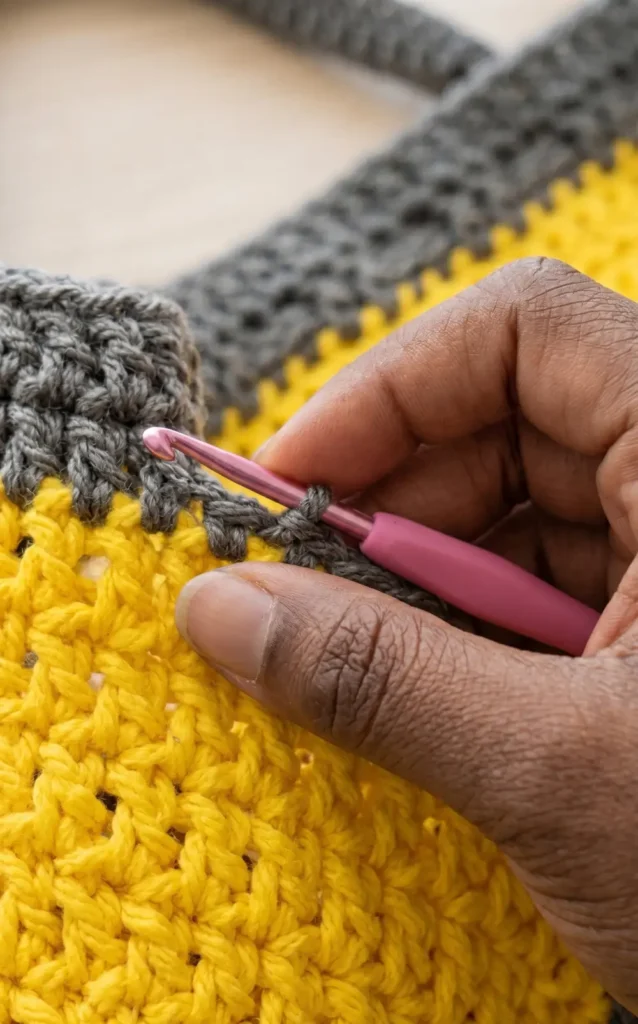
The handles also function as drawstrings for the bag. Crochet two separate chains, each consisting of one hundred and five stitches. Using a tapestry needle, weave the first chain in and out every two double crochets along the second round from the top of the bag. Once you have circled the bag, join the ends of the chain together with the needle and hide the tails along the chain. Repeat this process with the second chain, starting from the opposite side of the bag to ensure the drawstrings pull evenly from both directions.
Step 4: Final Touches
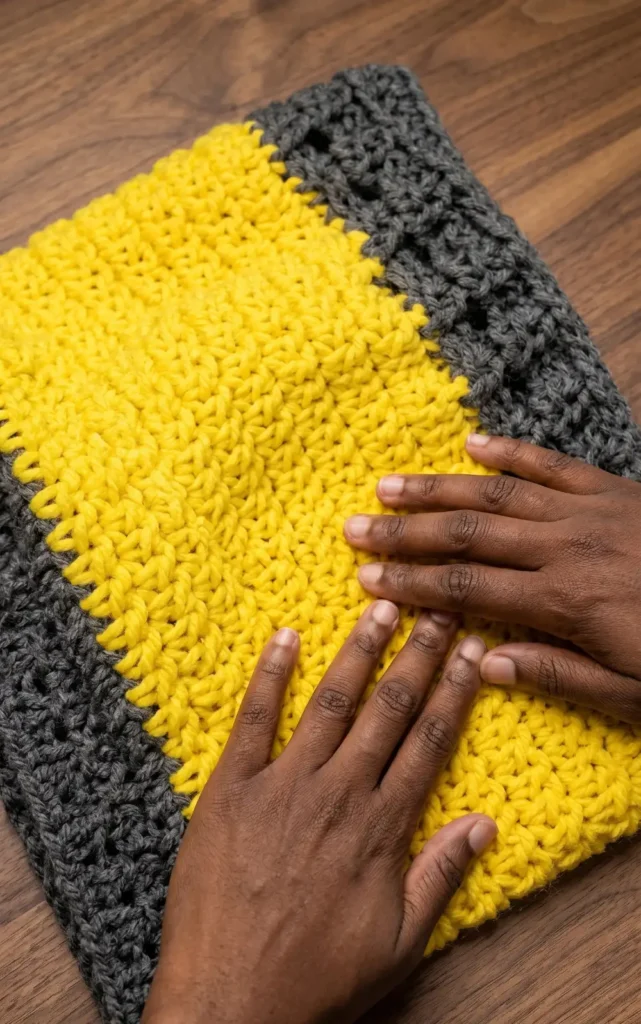
For optional decoration, you can create a small chain of approximately fourteen stitches and thread three decorative beads onto it. Tie this beaded chain securely to one of the double crochets on the side of the bag and fasten it inside. Finally, weave in and fasten off all remaining yarn ends along the edges to complete your handmade drawstring bag.
Video Credits: MirrymasCrafts
5: Starburst Crochet Drawstring Bag
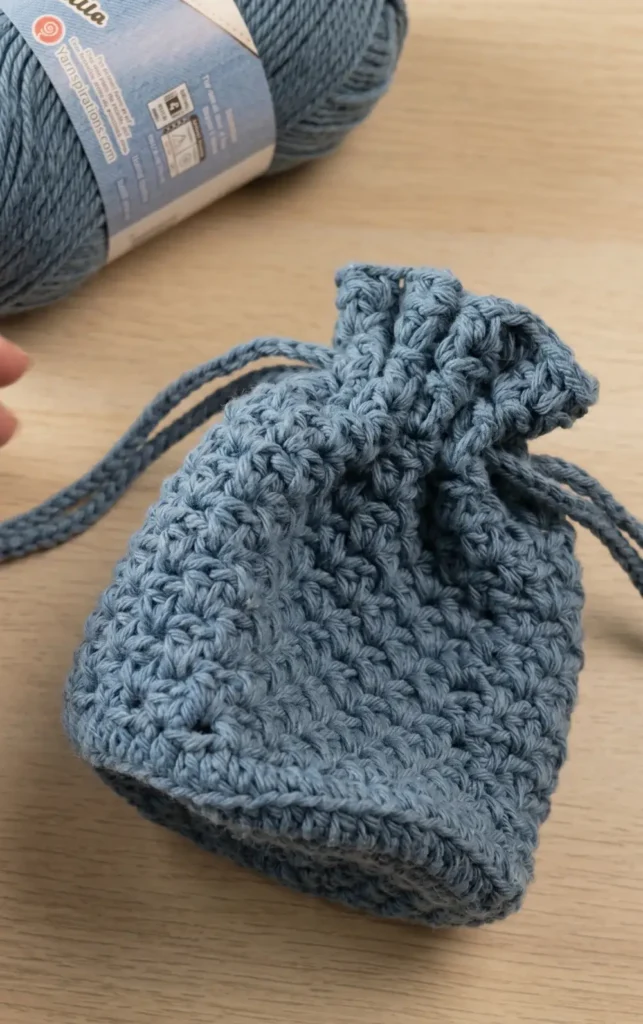
This project creates a signature drawstring bag that is both spacious and stylish, featuring a luxurious finish that resembles a starburst pattern. Designed to be a practical project for using exactly one roll of yarn, it is ideal for those single balls of cotton you may have in your stash.
Materials and Tools
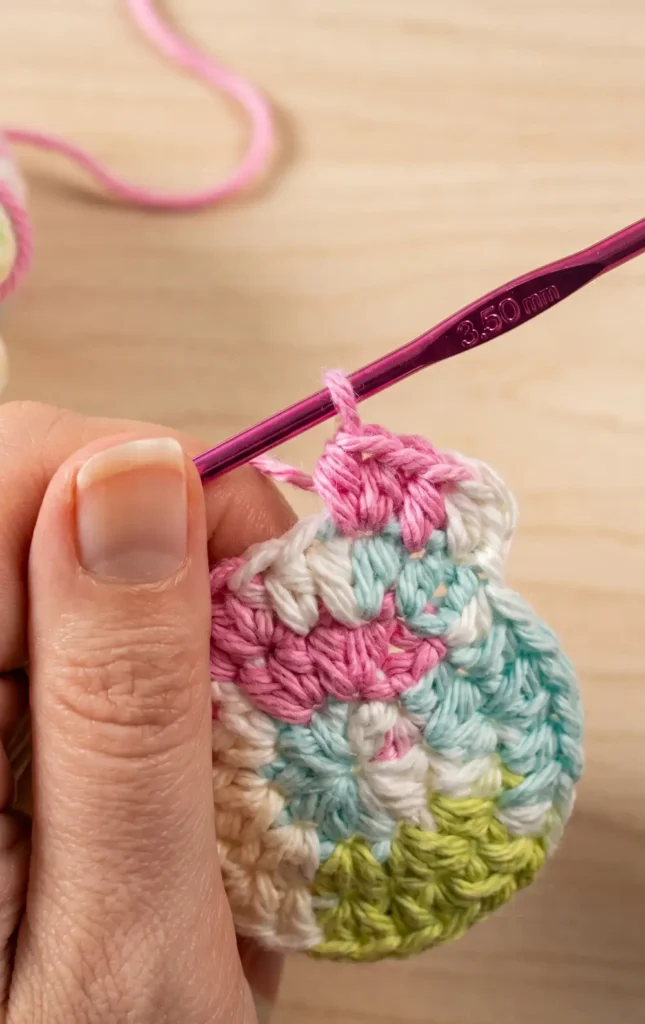
To get started on the Ophelia Bag, you will need the following materials:
- Yarn: One roll of Sugar and Cream denim version (shown in “Blue Jeans”) or a variegated wool like “Lava Lamp”.
- Crochet Hook: A 3.5mm hook is recommended to create a tight, closed stitch, even if the yarn label suggests a larger size.
- Essentials: A needle for weaving in ends and scissors.
Creating the Circular Base
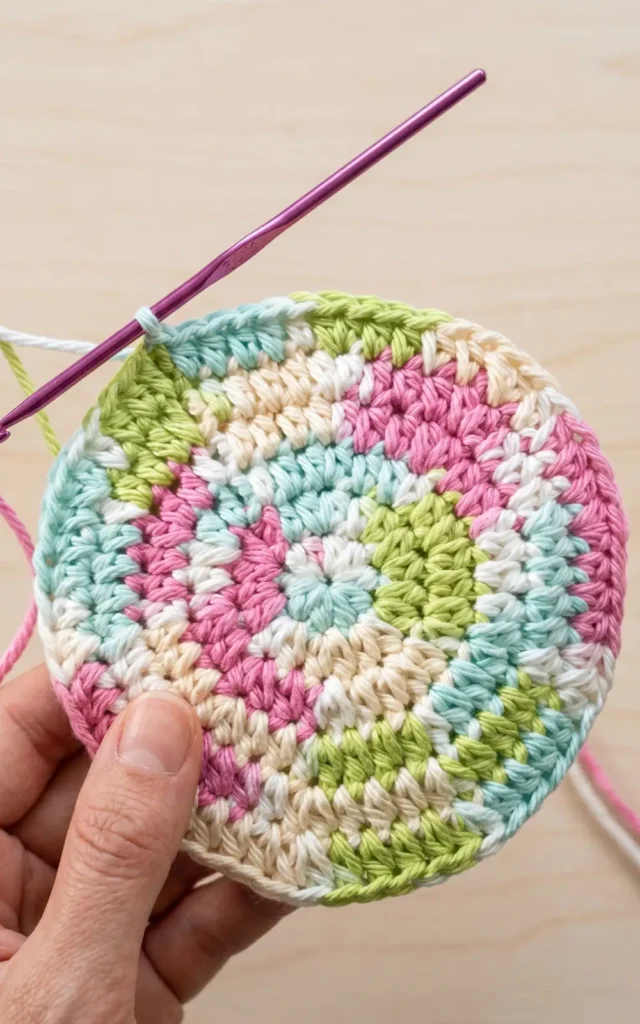
The foundation of the bag is a flat circular base constructed primarily with half double crochet (HDC) stitches.
Starting the Magic Circle
Begin by making a slipknot and chaining three. Use the first chain as your Magic Circle. Work nine HDC stitches into this circle. After pulling the tail to close the hole and finishing with a slip stitch, you should have a total of ten “V” stitches around the edge.
Increasing Rounds
To keep the base flat, you must increase the number of stitches in each subsequent round:
- Round 2: Place two HDC stitches into every stitch around to reach a total of 20 stitches.
- Round 3: Use a ratio of one HDC in the first stitch and two HDC in the next. This round should total 30 stitches.
- Round 4: Follow a ratio of 1, 1, 2 (two single HDC stitches followed by an increase). This results in 40 stitches.
- Round 5: Use a ratio of 1, 1, 1, 2 to reach 50 stitches.
- Round 6: Follow a ratio of 1, 1, 1, 1, 2 to finish the base with 60 stitches.
Constructing the Bag Sides
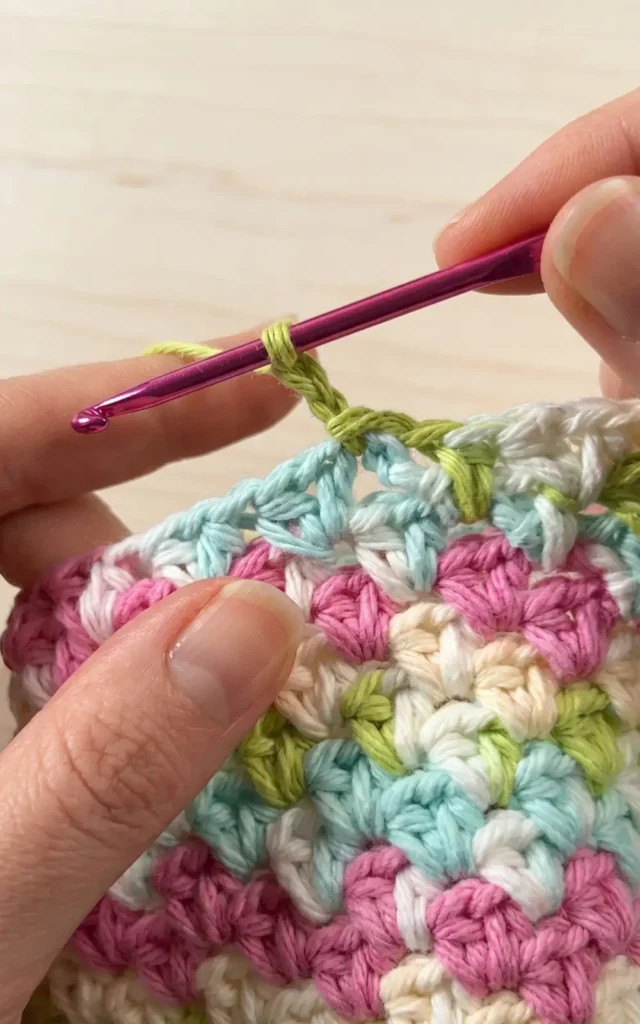
Once the base is complete, the work transitions from a flat circle to the upright sides of the bag.
Transitioning from the Base
Chain two and turn your work slightly to see the top of the “V” stitches. Work one HDC into the top loop only of every stitch around. This technique creates a defined edge that allows the sides to stand up while keeping the bottom flat.
The HDC V-Stitch Pattern
The main body of the bag uses a half double crochet V-stitch cluster. To start this pattern, skip two stitches and work a cluster of (one HDC, chain one, one HDC) into the third stitch. For all subsequent rounds, work these clusters directly into the spaces between the clusters of the previous row. This creates a closer finish so that items cannot fall out of the bag. Continue this pattern for 14 rows of HDC V-stitch clusters.
The Drawstring Section and Finishing
The final stages of the bag involve creating a designated space for the drawstring and adding the decorative top edge.
Creating Holes for the Cord
To create larger openings for the drawstring cord, work one row of V-stitch clusters using double crochets instead of half double crochets. These taller stitches provide the necessary gaps to easily thread the drawstring through the bag.
Final Rows and Weaving Ends
After the double crochet row, complete two final rows of the standard HDC V-stitch clusters to finish the height of the bag. Close the final round with a slip stitch and cut the yarn. To finish, perform an invisible weave to hide the ends, mimicking the appearance of a stitch along the top edge for a professional look.
Video Credits: Ophelia Talks Crochet
6: Textured Cotton Crochet Bag with Rope Handles
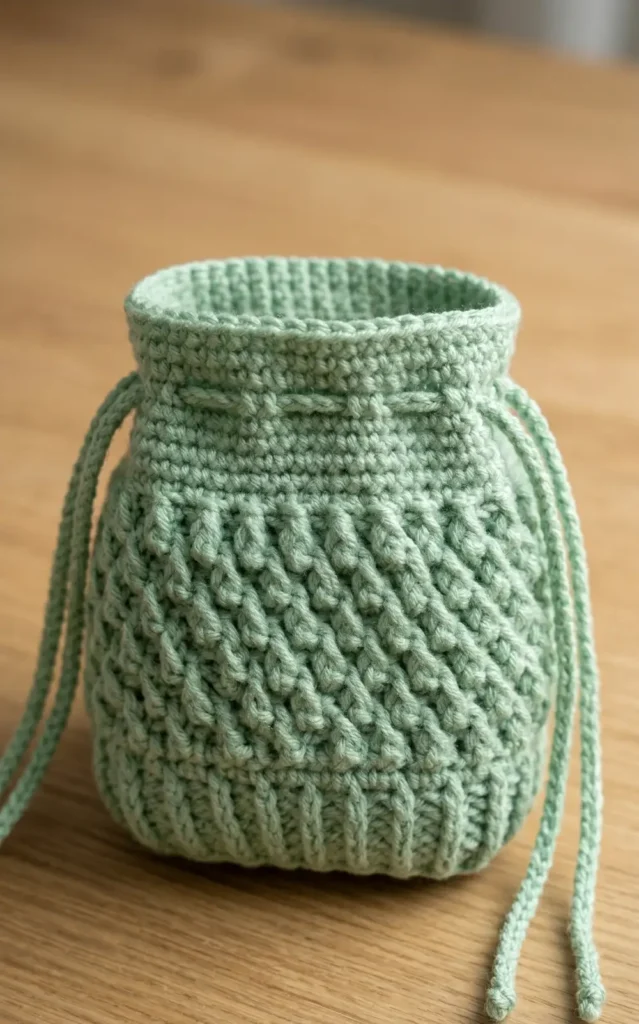
Creating this beautiful crochet bag requires a few specific materials and a series of structured steps to ensure the final product is both durable and stylish.
Materials Needed
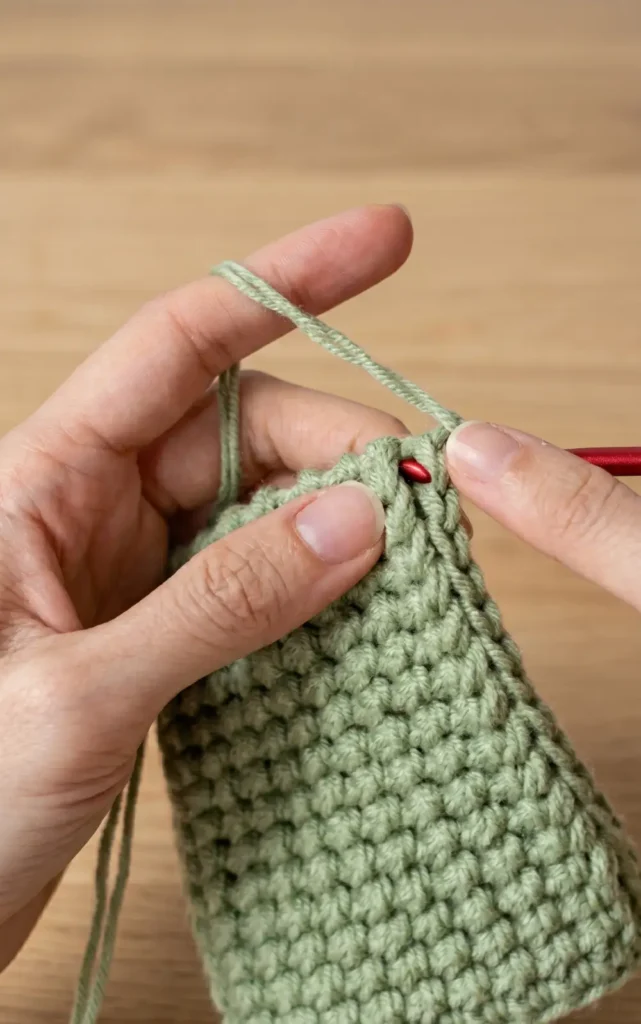
To begin this project, you will need the following items:
- M cotton yarn
- 4.0 mm crochet hook
- Iron hardware for attaching the handles
Creating a Strong Base
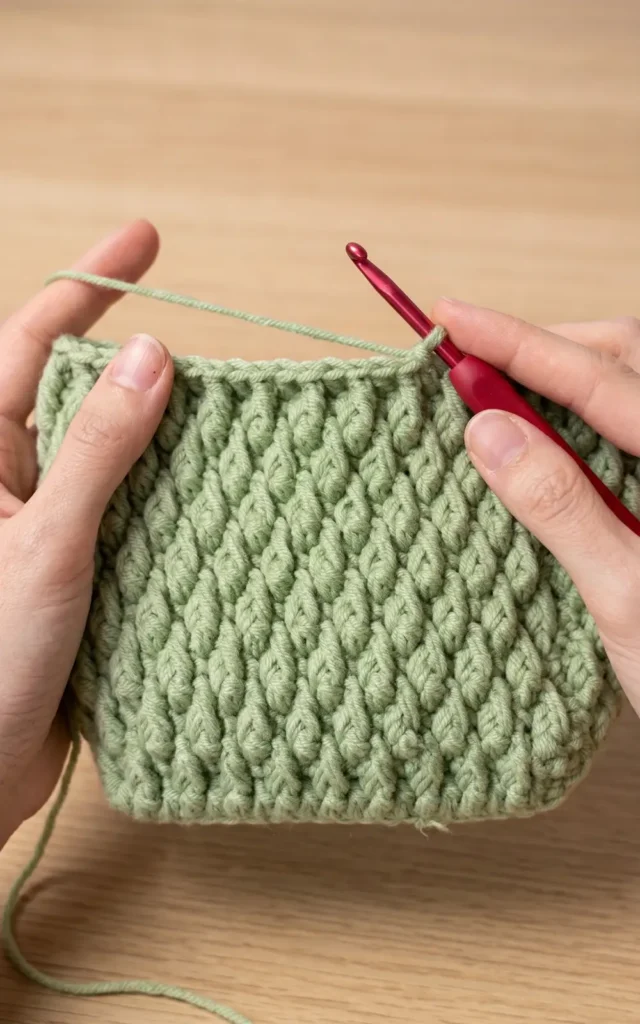
The construction starts with a sturdy base to support the weight of the bag’s contents.
- Initial Chains: Create a slip knot and make 20 chains.
- First Row: Starting in the second hole, complete 19 slip stitches.
- Second Row: Make one reverse chain, then work 19 single crochets by taking the yarn from the back.
- Third Row: Make one reverse chain and work 19 single crochets, this time taking the yarn from the back and the bottom.
- Reinforcement: Continue this pattern by combining both sides to increase the thickness and strength of the bag’s bottom. Repeat until you reach the 20th row.
Building the Bag Body
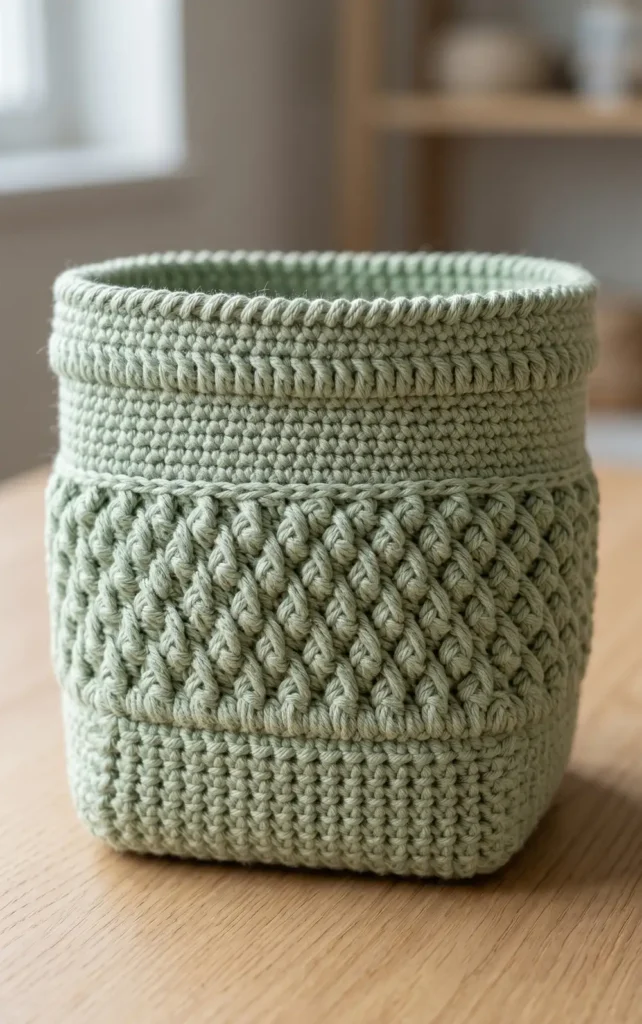
Once the base is finished, you will transition to knitting the sides and the main body.
- Transition Row: Work around the edges of the base using double crochets. This includes 19 double crochets on the long sides and 11 on the short sides, totaling 60 double crochets for the round.
- Body Pattern: The body uses a alternating pattern to create texture.
- Row 1: Work 60 single crochets.
- Row 2: Alternate between one double crochet and one Front Post Double Crochet (FPDC) for a total of 60 stitches.
- Row 3: Work 60 single crochets.
- Row 4: Repeat the alternating pattern, placing an FPDC where the previous row had a double crochet.
- Completion: Continue following this sequence until you reach the 17th row, then finish the body with 60 slip stitches in the 18th row.
Finishing the Top and Drawstring
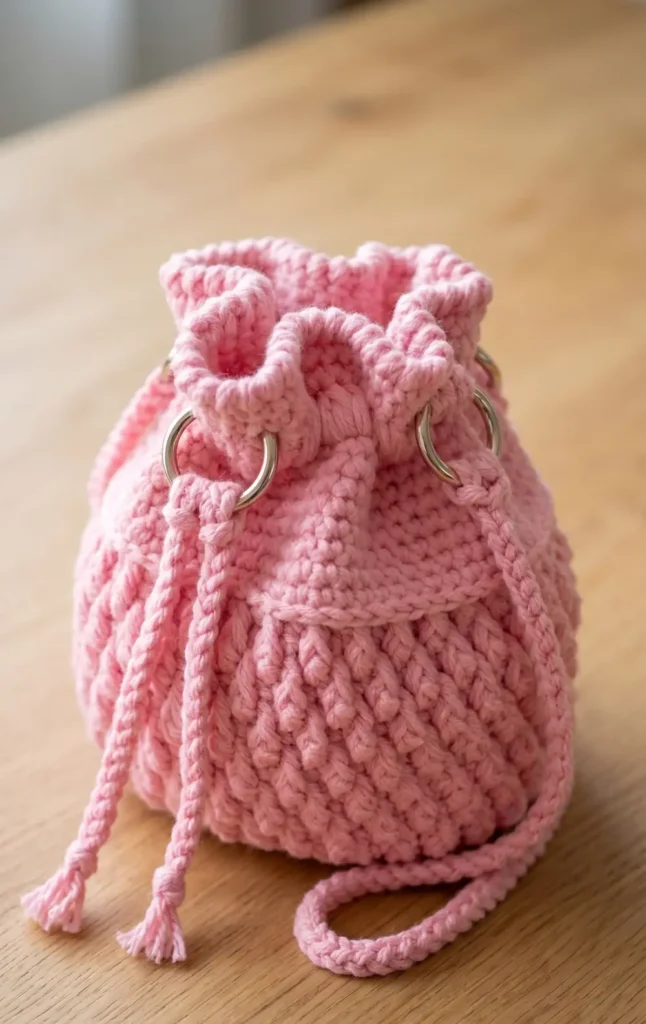
The top of the bag provides the structure for the closure system.
- Top Layers: Work several rows of 60 single crochets up to the 13th row.
- Decorative Edge: In the 14th row, work single crochets in a reverse fashion to create a finished look.
- Drawstring: Prepare two crocheted chain sections to act as the drawstring. These should be inserted between the layers of double crochet and tied off.
Crafting and Attaching the Handles
The final step is creating a durable rope handle.
- Rope Construction: Start with two chains and one single crochet in the first chain. Continue by inserting the hook into the threads at the bottom, pulling the yarn through, and repeating this process until the handle reaches your desired length.
- Assembly: Use iron hardware to combine the rope with the bag and sew it securely in place to finish the tutorial.
Video Credits: Vita Crochet
Which Crochet Bag Inspires?
Six bags, six different personalities, all built for sun and sand. There’s truly something here whether you want delicate mesh or solid structure.
Cotton yarn is your best friend for these projects. It breathes better than acrylic and won’t trap heat against your skin on a hot beach day.
Don’t overthink the drawstring closure either. A simple cord or even thick cotton twine works just fine for cinching these shut.
Pick your favorite, grab a hook, and get stitching. Summer doesn’t wait around for unfinished projects.