22 Handmade Crochet Cat Amigurumi Ideas to Add to Your Collection
If you love crochet and you love cats, this list is for you. Amigurumi cats are some of the most fun projects to make. They work up quickly, use small amounts of yarn, and every single one turns out with its own personality.
Whether you are new to amigurumi or you have made a dozen plushies already, there is something here for you. Grab your hook and let’s get into it.
1. Jumbo Sleepy Cat Amigurumi Pattern
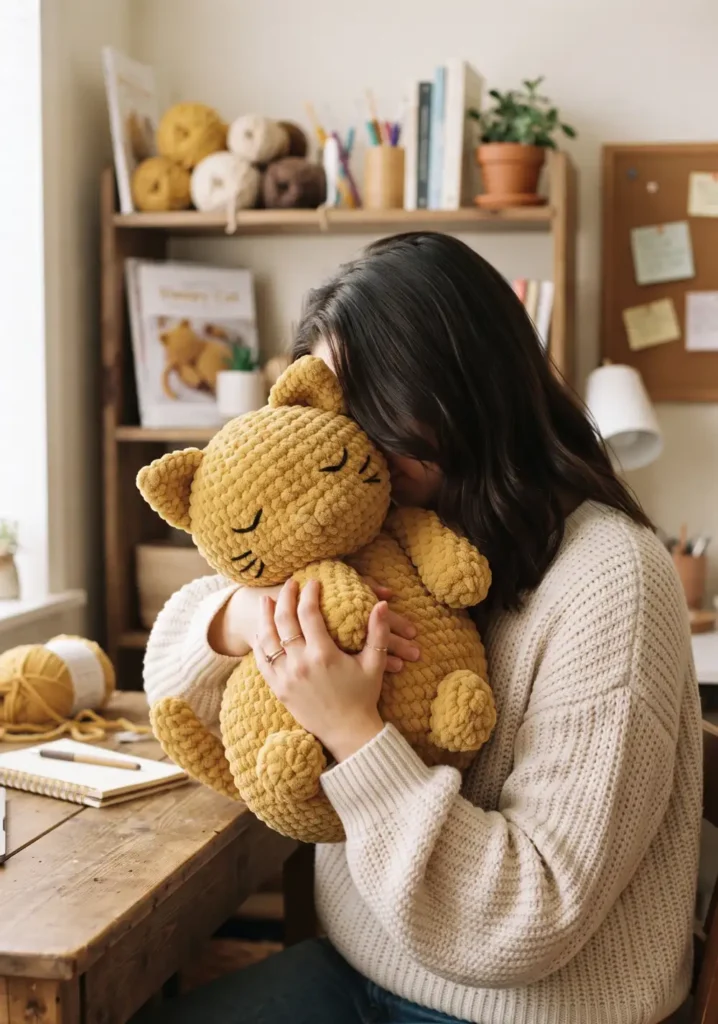
Materials: bulky weight yarn in your chosen color, 6mm hook, fiberfill stuffing, yarn needle, stitch marker, black embroidery thread for the face.
Start the head with a magic ring of 6 single crochets. Increase every stitch on round 2 to reach 12, then increase every other stitch on round 3 to reach 18. Keep increasing gradually every few rounds until the head measures about 5 inches across, then work several rounds even before starting your decreases.
The body is worked the same way but larger, since this cat is meant to be oversized and huggable. Curl the body slightly by decreasing more on one side than the other in the final rounds, which naturally pulls it into a sleeping position. Stuff firmly but not too tight, since a soft squishy feel is what makes this design so cuddly. Finish with closed, embroidered eyes using simple straight stitches instead of safety eyes for that peaceful sleeping look.
2. Tiny Pocket-Sized Crochet Kitten
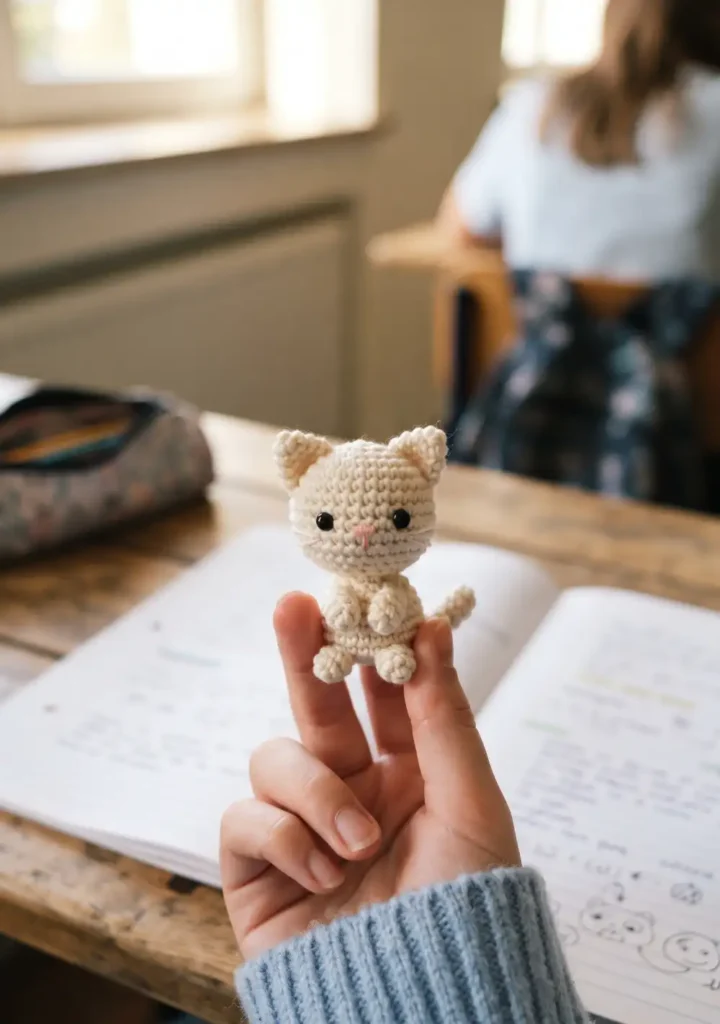
Materials: fingering or sport weight yarn, 2.5mm hook, small amount of stuffing, safety eyes sized 3mm or smaller, yarn needle.
Because this pattern is so small, tension is everything. Start the head with a magic ring of 6, increasing to 12 on round 2. From there, work only one or two increase rounds total before switching to straight rounds, since a tiny kitten head doesn’t need much shaping. Keep your stitches tight and even so stuffing doesn’t peek through the gaps.
The body, legs, and tail are all worked as tiny tubes of just 4 to 6 stitches around. Stuff lightly with small pinches of fiberfill using a crochet hook or chopstick to push it into place. Assembly is quick since the pieces are so small, but take your time sewing the face on since even a slight misplacement is noticeable at this scale.
3. Chubby Loaf Cat Plushie
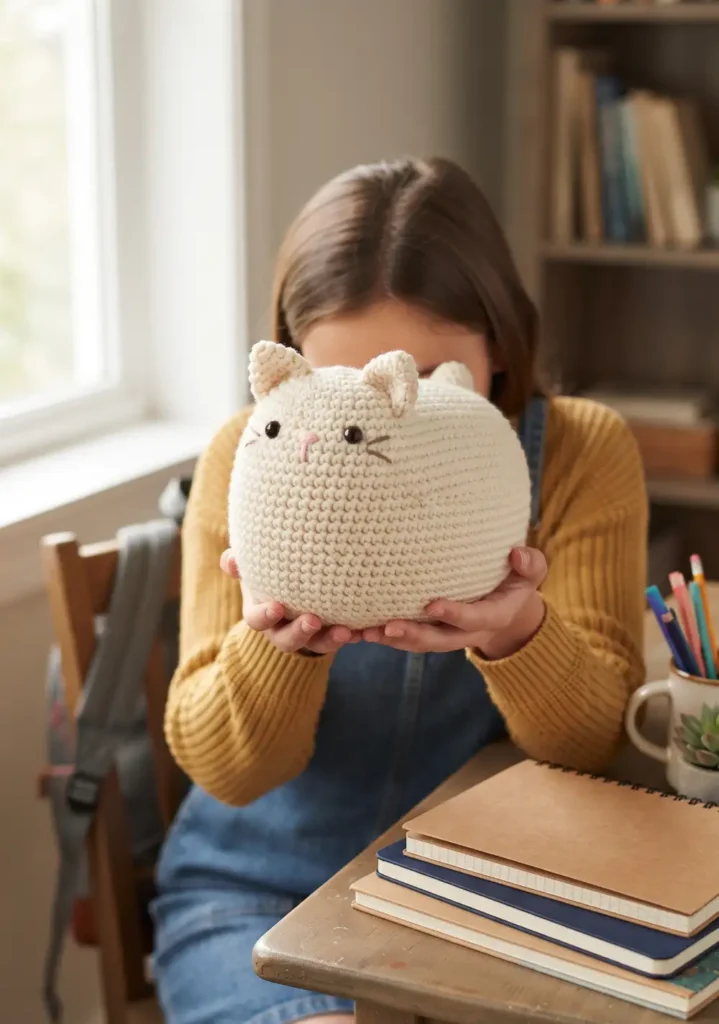
Materials: worsted weight yarn, 4mm hook, fiberfill stuffing, safety eyes, stitch markers to track rounds.
Start this pattern with a flat oval base rather than a round one. Chain 8, then single crochet around the chain, increasing at both ends to create an oval shape. Work 2 to 3 rounds flat before turning up the sides, since the flat base is what gives the loaf its signature grounded shape.
Once the base is complete, work the sides upward in straight rounds without much increasing. Keep the height low and the width generous, since a loaf cat should look wider than it is tall. Stuff generously right before closing the top so the shape stays firm and doesn’t sag. A short row of ears and a simple face are all you need to finish, since the charm here comes from the shape itself.
4. Realistic Sitting Cat Amigurumi
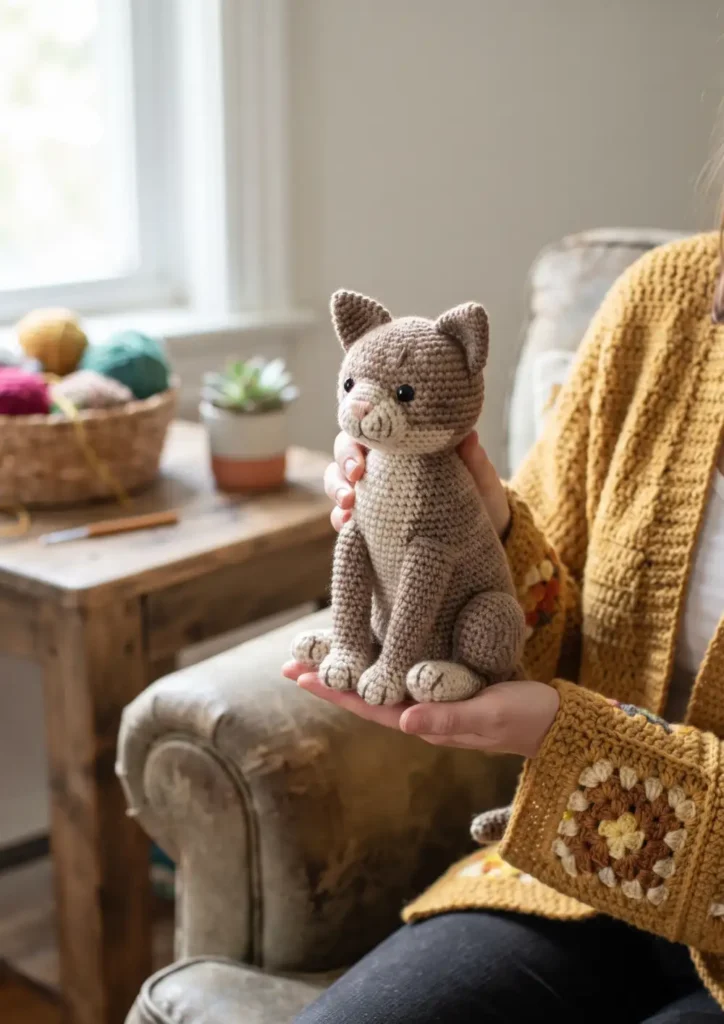
Materials: two shades of worsted weight yarn for shading, 4mm hook, safety eyes, fiberfill, wire or pipe cleaner for optional leg support, yarn needle.
The body for this pattern is worked taller and slightly elongated compared to a standard round amigurumi shape. Start with a magic ring of 6, increase steadily through the first 5 rounds to reach about 30 stitches, then work several rounds straight before beginning gradual decreases toward the neck. This creates the elongated torso that makes the pose look natural.
The back legs are crocheted separately as bent tubes, worked flat on one side using short rows to create the angle of a sitting position. Attach them to the lower body with the bend facing forward. Use your second yarn color to add subtle shading around the muzzle, paws, and tail tip with either surface crochet or light embroidery, which is what pushes this pattern from cute to realistic.
5. Black Halloween Cat Crochet Design
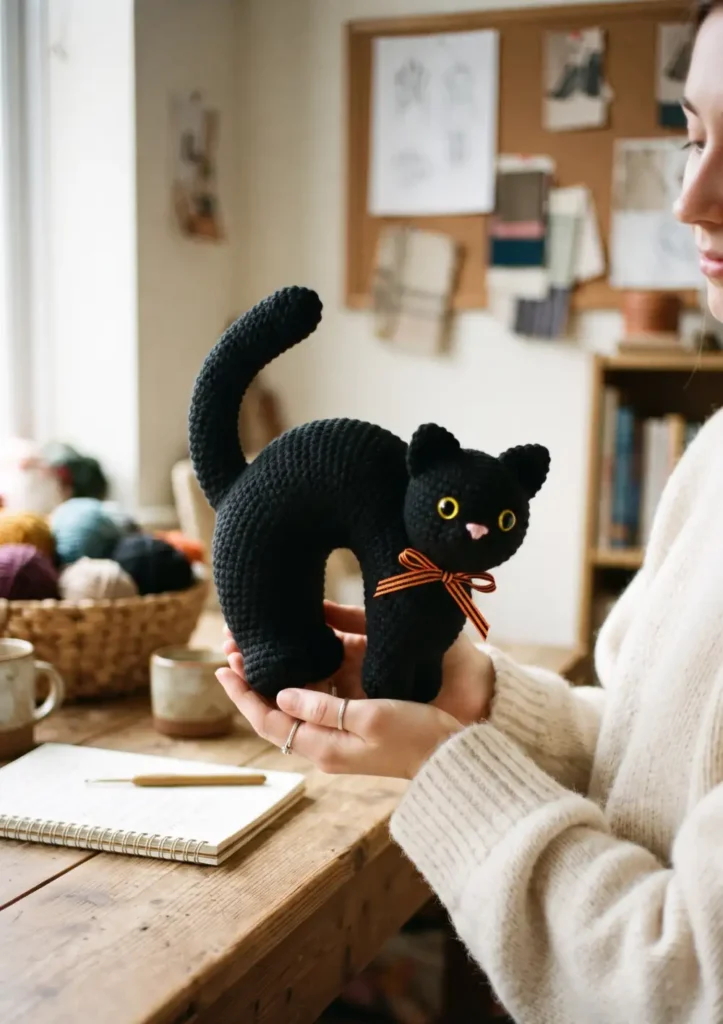
Materials: black worsted weight yarn, 4mm hook, yellow or green safety eyes, fiberfill, small piece of ribbon for a bow.
This design starts the same as a standard amigurumi body but with one key difference. Instead of increasing evenly on all sides, increase more heavily along the back edge during rounds 4 through 7. This uneven increasing naturally curves the spine into that classic spooky arched shape.
Once the arch is set, work the rest of the rounds evenly and finish with a rounded bottom for stability. Legs are kept short and simple, worked as small stubby tubes since they are barely visible under an arched pose. Finish with bright eyes for contrast against the black yarn, and tie a small ribbon bow around the neck for a finishing touch.
6. White Persian Cat with Fluffy Tail
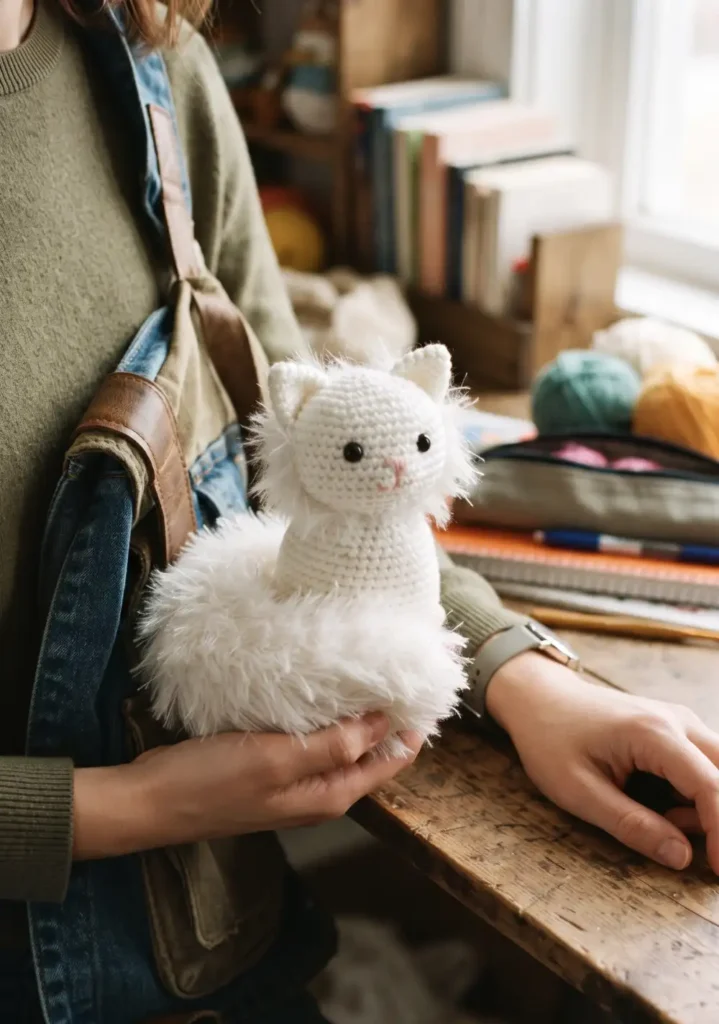
Materials: smooth white worsted yarn for the body, fuzzy or eyelash yarn for the tail and face trim, 4mm hook, fiberfill, safety eyes.
Work the head and body in your smooth white yarn using standard amigurumi shaping, increasing gradually to about 24 to 30 stitches for the body depending on your desired size. Keep this part of the pattern simple, since the texture contrast is what carries this design.
Switch to your fuzzy yarn for the tail, working it as a long tube of about 15 to 18 rounds without any shaping needed. For the face, add a few rounds of the fuzzy yarn around the outer edge of the head after the smooth base is complete, brushing it out gently with a pin brush once finished for that classic Persian fluff.
7. Orange Tabby Cat Amigurumi Pattern
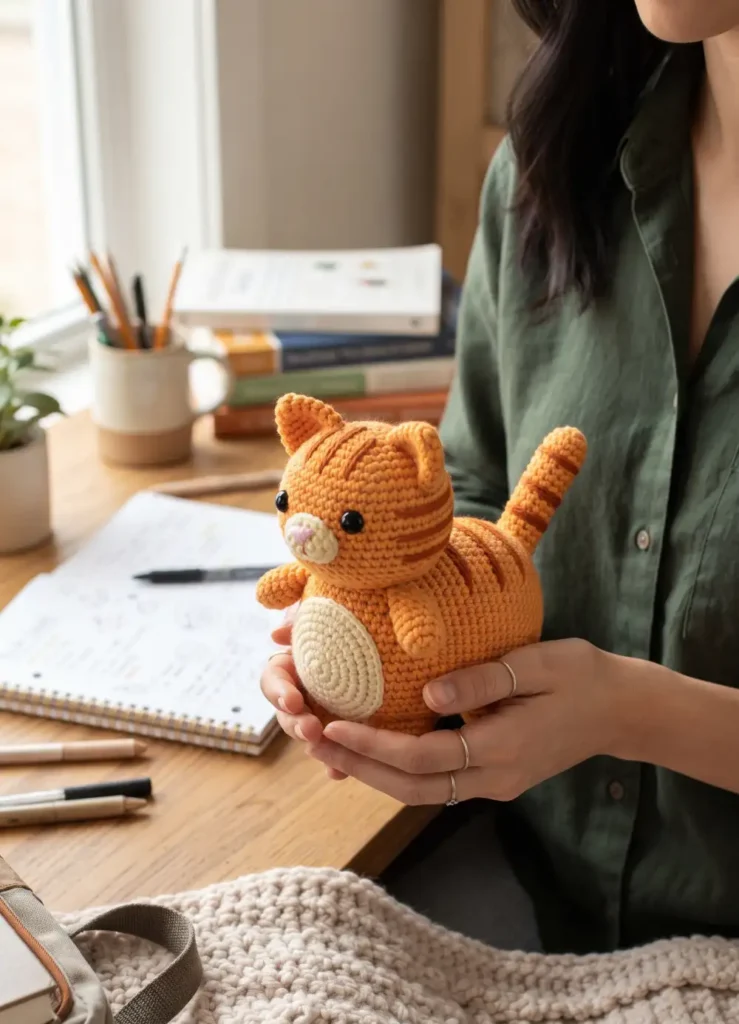
Materials: orange and cream or white worsted yarn, 4mm hook, fiberfill, safety eyes, yarn needle for embroidery.
Crochet the base body entirely in orange using standard amigurumi increases, working from a magic ring of 6 up to your desired size over 6 to 8 rounds. Leave the belly area for cream yarn if you want a two-tone tabby look, switching colors mid-round using a simple color change technique.
Once the base shape is complete, add tabby stripes using either surface slip stitch or embroidered lines in a darker orange or brown. Work these in short curved lines along the back, tail, and forehead, since real tabby stripes are never perfectly straight. This step can be done freehand, so don’t worry about making every stripe identical.
8. Gray British Shorthair Crochet Cat
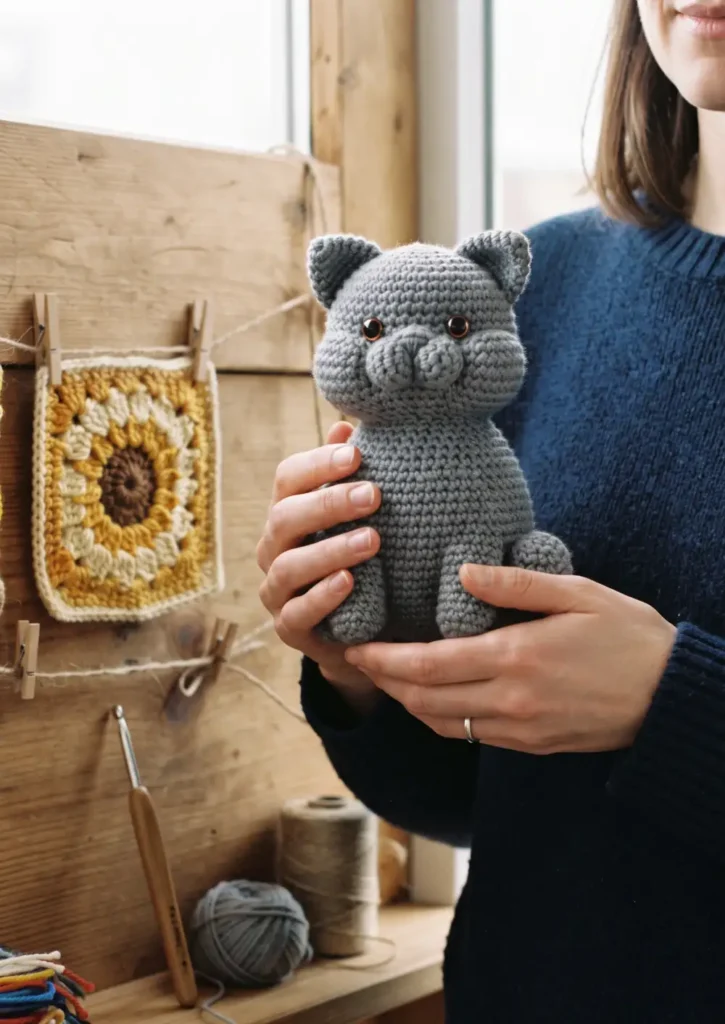
Materials: gray worsted weight yarn, 4mm hook, fiberfill, gold or copper safety eyes, yarn needle.
This breed is known for its round face, so increase your head rounds slightly more than usual, aiming for about 30 to 36 stitches at the widest point before starting decreases. This extra width is what creates the signature chubby cheek look.
Keep the ears small, rounded, and set slightly wide on the head rather than pointed and close together. The body should stay compact and stocky rather than elongated, so limit your increase rounds to 4 or 5 before working straight. Copper or gold eyes finish the look nicely against the gray yarn.
9. Calico Cat Plush with Color Patches
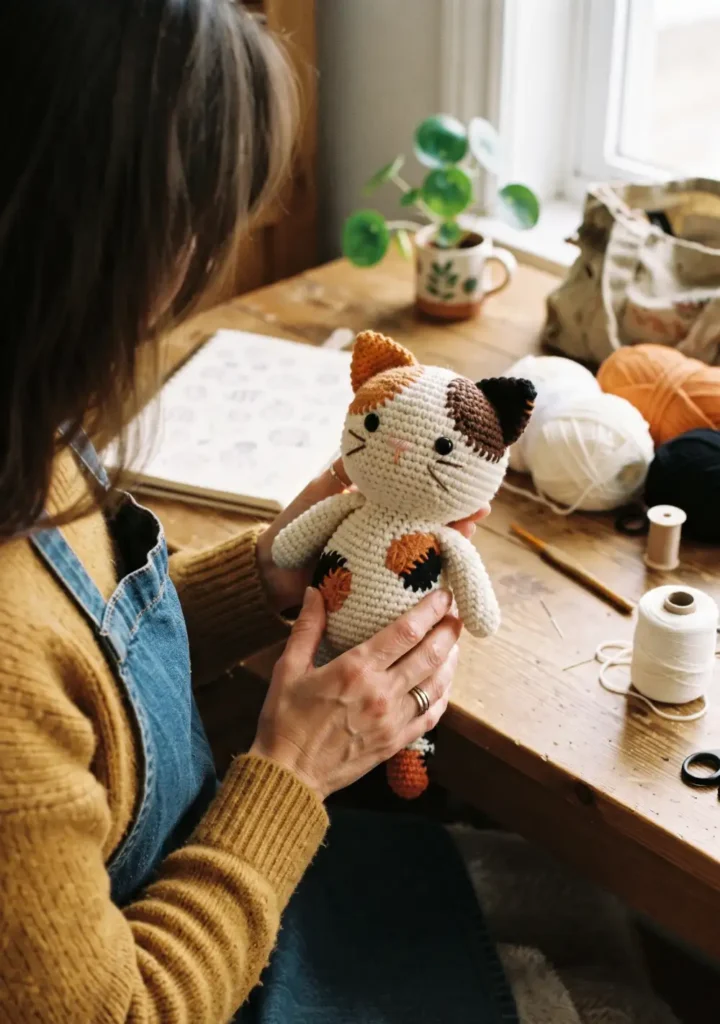
Materials: white, orange, and black or brown worsted yarn, 4mm hook, fiberfill, safety eyes.
Start the entire base in white, working the standard amigurumi shaping from a magic ring through your desired body size. This gives you a blank canvas to build your patches onto, which is much easier than trying to plan color changes mid-round.
Once the base is stuffed and mostly assembled, crochet small irregular patches separately in orange and black using simple flat rounds or ovals. Pin them onto the body first to plan your layout, then sew each patch into place with a whip stitch around the edges. No two calico cats look the same in real life, so feel free to place your patches wherever feels right.
10. Siamese Cat Amigurumi with Blue Eyes
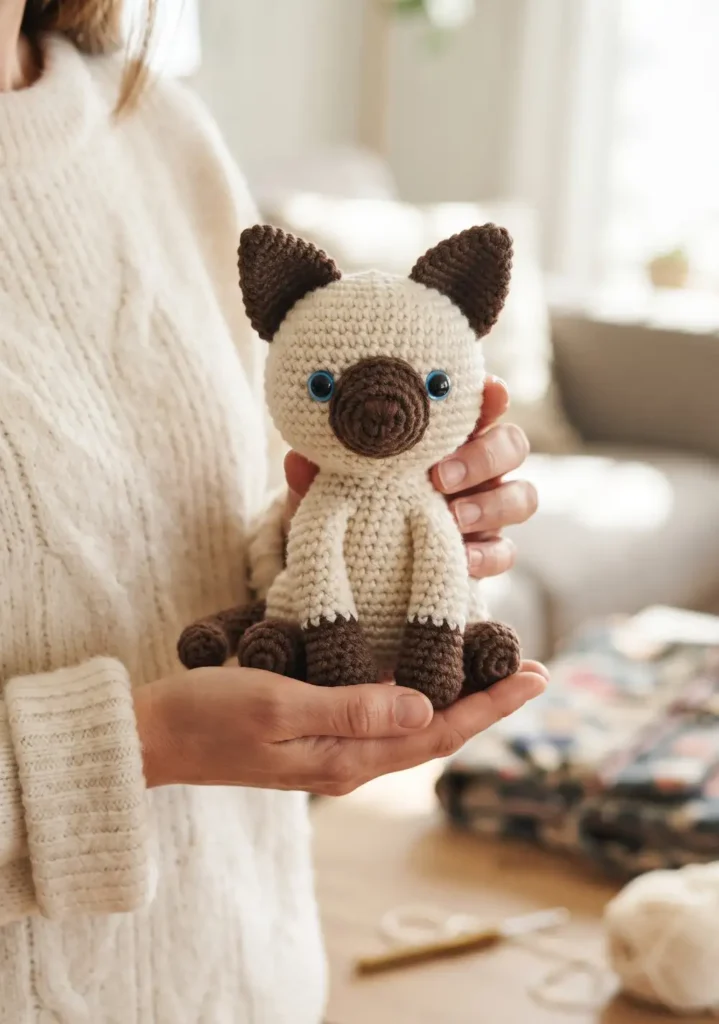
Materials: cream and dark brown or gray worsted yarn, 4mm hook, fiberfill, blue safety eyes.
Crochet the main body and head in cream yarn using standard shaping. The ears, however, should be worked entirely in your darker color from the start, since Siamese cats have solid dark ears rather than tipped ones.
For the face mask, work a small oval shape in the dark color and stitch it over the lower face and nose area. The paws and tail should also be crocheted in the dark shade, either as separate pieces or by color-changing partway through if you’re comfortable with that technique. Bright blue safety eyes are essential here, since they’re the most recognizable feature of this breed.
11. Heart-Holding Valentine Cat Crochet
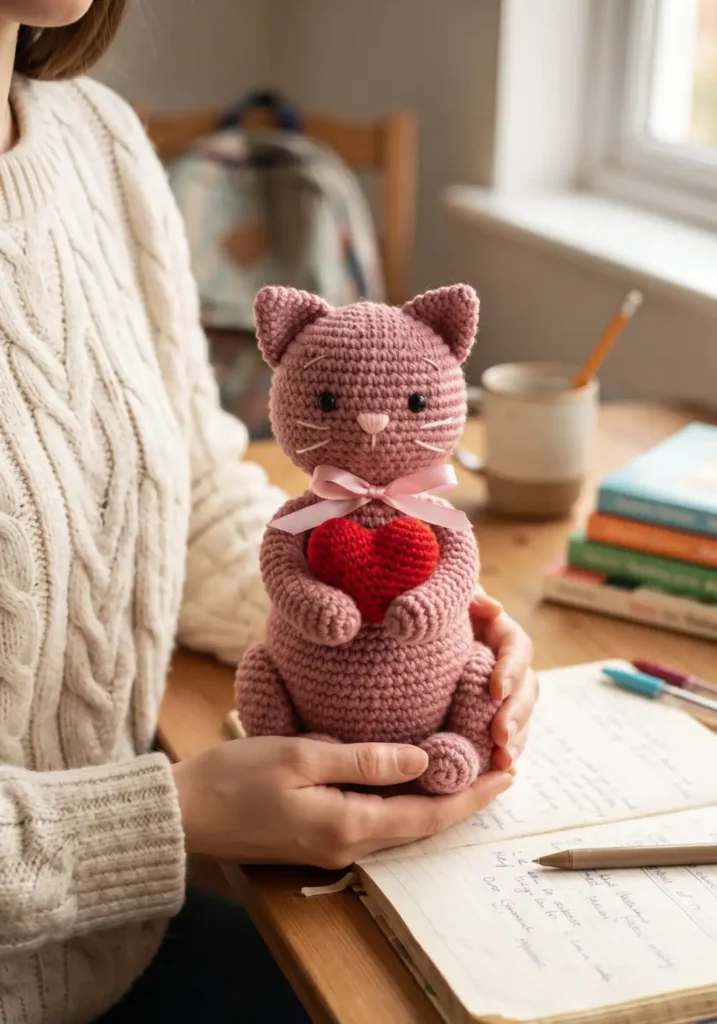
Materials: worsted weight yarn in your cat’s color, red or pink yarn for the heart, 4mm hook, fiberfill, small ribbon.
Crochet your base cat using a standard sitting or standing amigurumi pattern, with the paws positioned close together in front of the body. Leave the arms slightly loose and unstuffed near the paw area so there’s room to attach the heart later.
For the heart, chain 2 and work two small increasing circles side by side to form the top lobes, then join them and decrease evenly to a point at the bottom. This small piece works up in just a few rounds. Stuff it lightly and stitch it directly between the cat’s paws so it looks like it’s being held. A ribbon bow at the neck adds a nice finishing touch.
12. Strawberry Hood Cat Amigurumi
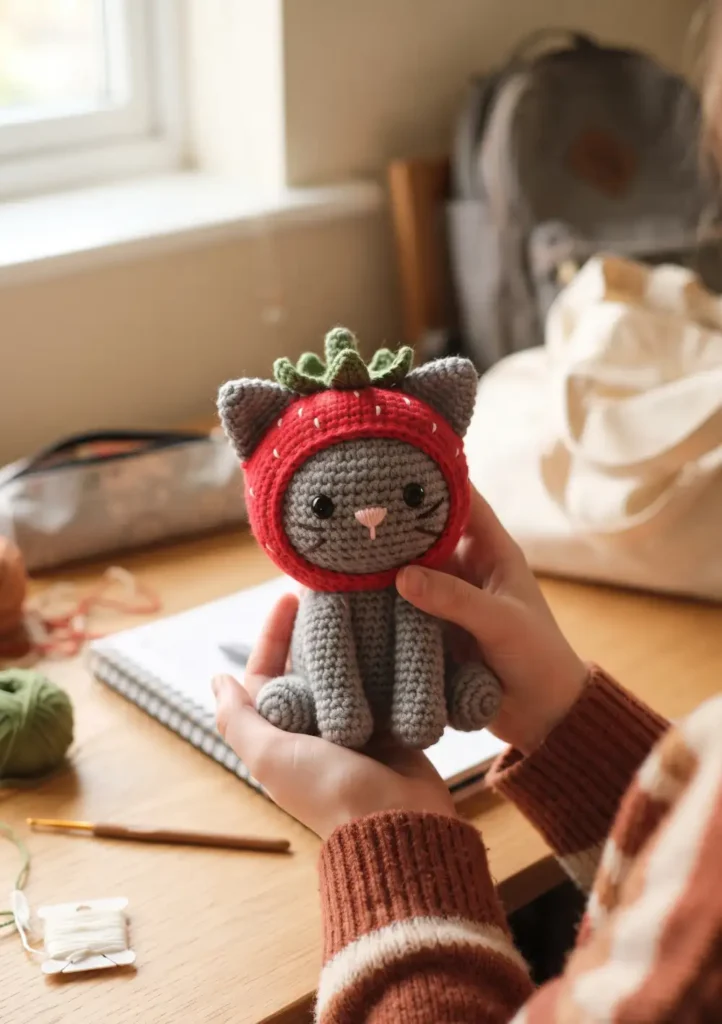
Materials: red yarn for the hood, green yarn for the leaves, worsted weight yarn for the base cat, 4mm hook, fiberfill.
Build your base cat using any standard amigurumi pattern, keeping the head a normal round shape since the hood will sit over it. Once the cat is complete, set it aside and start the hood as its own piece.
Crochet the hood starting from the top point, increasing steadily in red to form a dome shape similar to a small strawberry-sized cap. Add small white or yellow dots using embroidery for the classic strawberry seed look. For the leaves, work a small green round with 4 to 5 pointed sections at the front edge. Slip the finished hood over the cat’s head and tack it in place with a few discreet stitches at the back.
13. Bee Costume Crochet Cat Plush
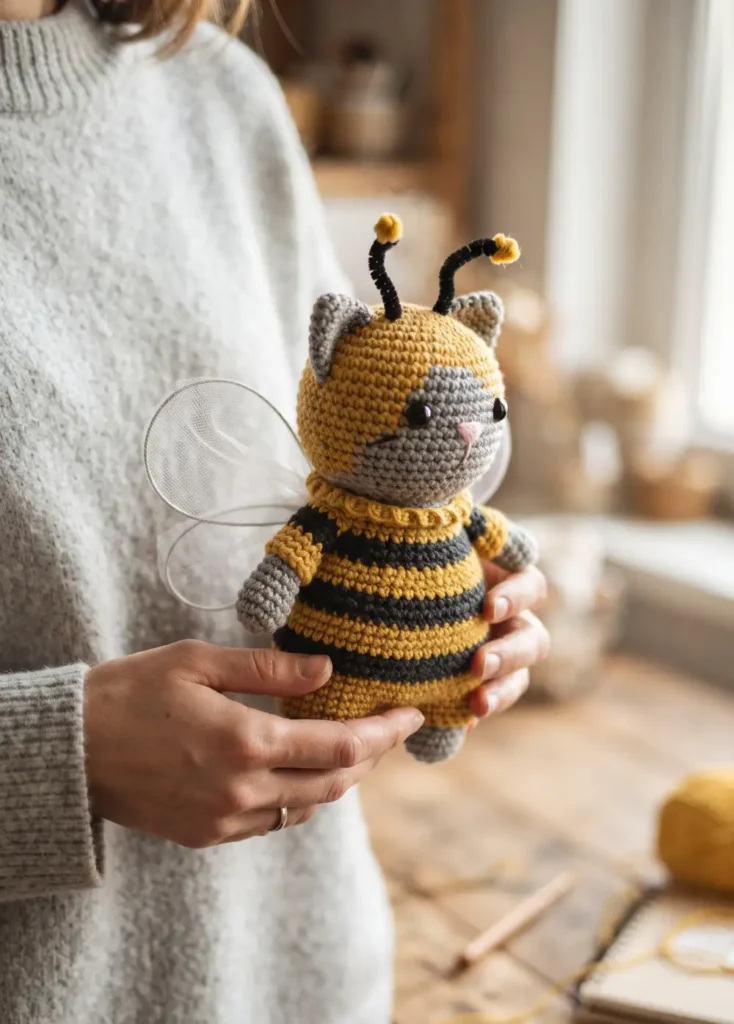
Materials: yellow and black yarn, wire or pipe cleaners for wing support, tulle or stiff yarn for wings, 4mm hook, fiberfill.
Crochet a simple tube shape to fit over your base cat’s body, working alternating stripes of yellow and black by changing colors every one or two rounds. This piece should be worked a little looser than the body itself so it slips on easily like a onesie.
For the wings, crochet two small teardrop shapes flat, using a stiffer yarn or doubling your yarn strand for extra structure. If you want them to stand up on their own, insert a thin piece of wire along the edge before sewing them closed. Attach the wings to the back of the striped costume, then add small antennae using twisted pipe cleaner wrapped in yarn.
14. Frog Hoodie Cat Amigurumi
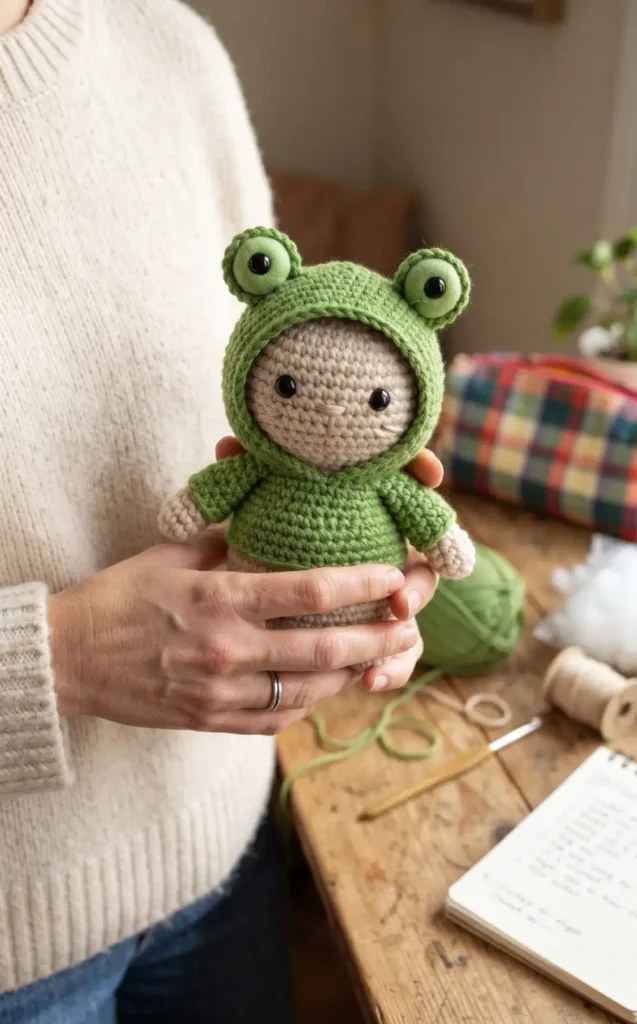
Materials: green yarn, worsted weight yarn for the base cat, 4mm hook, fiberfill, small safety eyes for the hood details.
Just like the strawberry hood, start with your base cat completed first. The frog hood is worked separately from the top down, increasing in green until it’s wide enough to fit over the cat’s head comfortably.
The key detail here is the two round eye bumps on top of the hood. Crochet two small circles separately, stuff them lightly, and sew them onto the top front of the hood before attaching small safety eyes to each one. This gives the hood that classic wide-eyed frog face. Finish by slipping the hood on and securing it at the back with a few stitches.
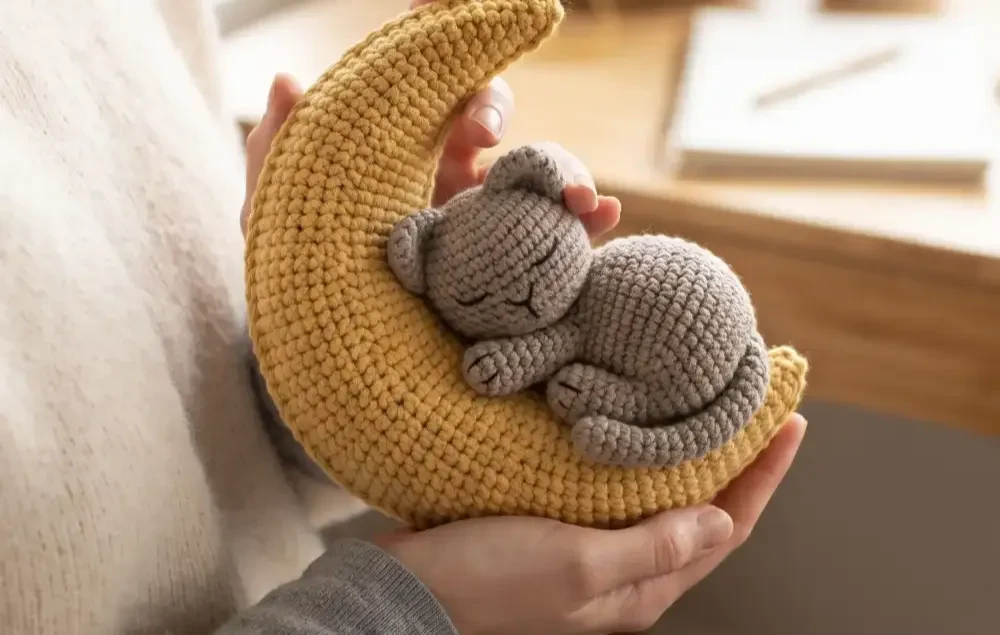
15. Sleeping Crescent Moon Cat Pattern
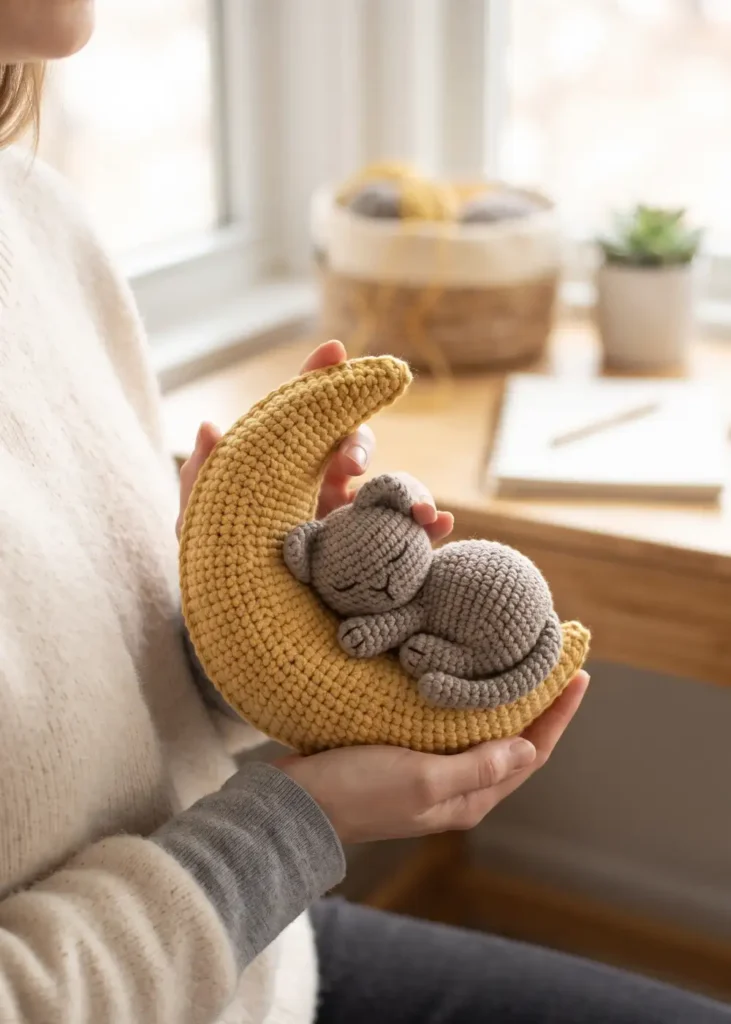
Materials: yellow or gold yarn for the moon, yarn for your cat’s color, 4mm hook, fiberfill, small amount of stuffing for the moon.
The moon is worked as a flat piece first. Start with a half circle shape by working increases only along the curved edge over several rows, then curve the inner edge inward using decreases to create the crescent shape. Work two layers and whip stitch them together with a little stuffing in between for a slightly puffy moon.
The cat itself is crocheted in a curled sleeping position, similar to the jumbo sleepy cat but smaller. Keep the legs and tail tucked in close to the body rather than crocheted as separate pieces, using embroidery to suggest their outline instead. Once both pieces are finished, stitch the sleeping cat onto the top curve of the moon so it looks like it’s resting inside.
16. Lucky Maneki Neko Crochet Cat
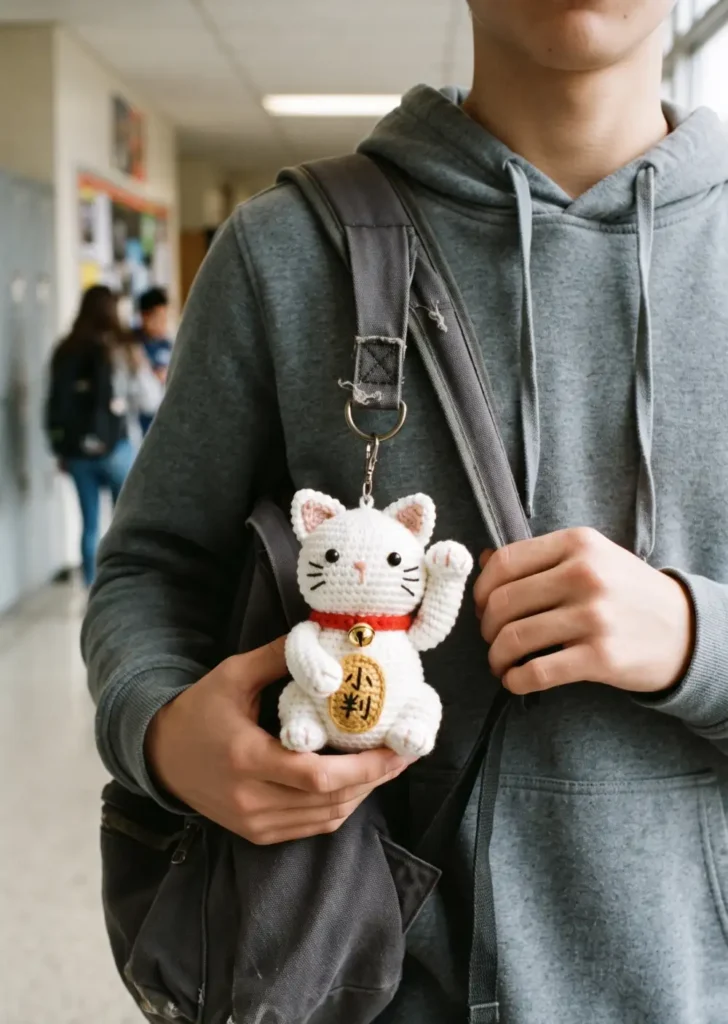
Materials: white yarn for the body, red and gold accent yarn, 4mm hook, fiberfill, small bell, safety eyes.
Crochet the body in a standard seated amigurumi shape, keeping the posture upright and straight rather than curled. This pattern relies on a confident, formal-looking pose, so avoid too much slouching in your shaping.
The raised arm is the signature detail here. Crochet it separately as a slightly bent tube, working a few short rows partway through to create the bend at the elbow. Attach it near the top of the head in a raised position rather than down at the body. Add a small red collar with a crocheted bell at the neck, and finish with a gold coin shape stitched onto the chest or paw for the traditional lucky cat look.
17. Christmas Cat with Santa Hat
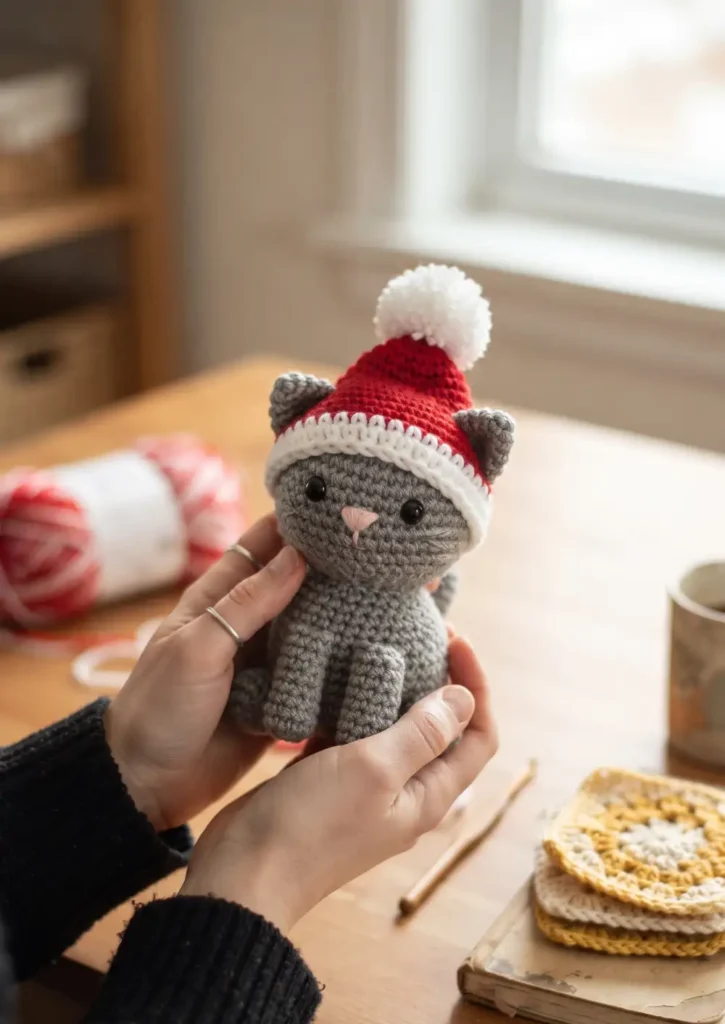
Materials: red and white yarn, worsted weight yarn for the base cat, 4mm hook, small amount of stuffing for the pom pom.
This is a great beginner project since the hat alone is quick and satisfying. Start the hat with a magic ring of 6 in red, increasing steadily over 4 to 5 rounds until it’s wide enough to fit your cat’s head, then work several rounds straight to create the triangular point at the top.
Switch to white yarn for the last round to form the brim, working slip stitches or a small round of single crochet for a clean, defined edge. Add a stuffed white pom pom at the very tip using a few wraps of yarn cut and fluffed into a small ball. Slip the finished hat onto your base cat and stitch it in place at the brim.
18. Witch Cat Amigurumi for Halloween
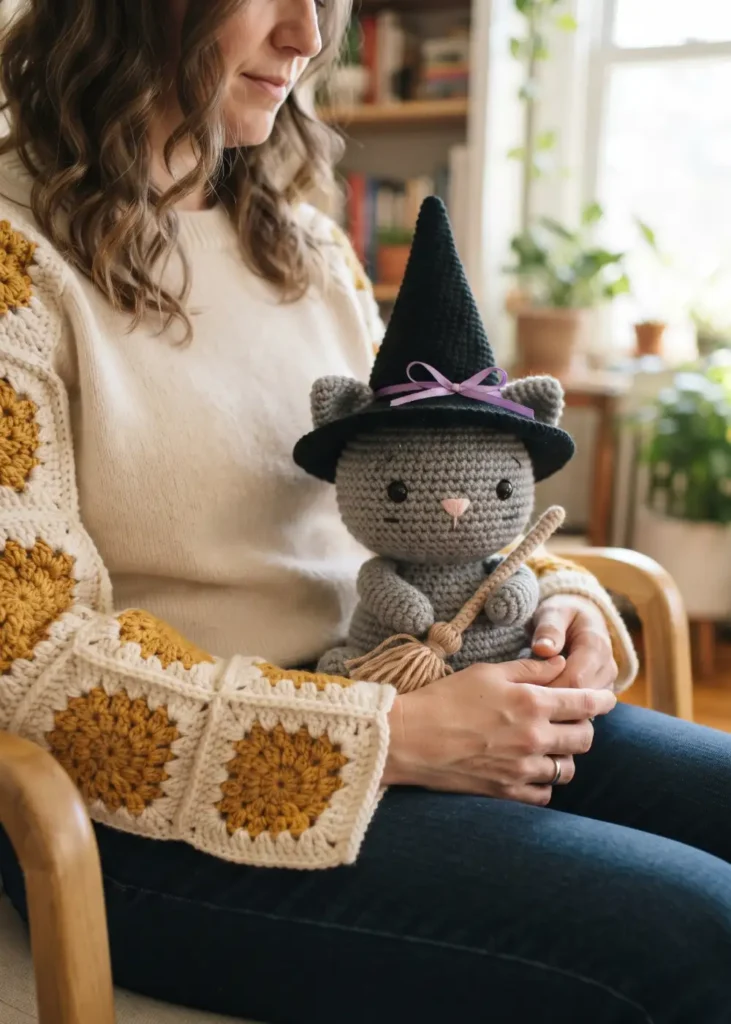
Materials: black or purple yarn for the hat, worsted weight yarn for the base cat, 4mm hook, small amount of stuffing, thin yarn for the broom handle.
The hat uses the same basic triangle shaping as the Santa hat but taller and without a folded brim. Increase steadily over the first few rounds, then work many more straight rounds than usual before decreasing to a point, since a witch hat needs extra height to look right.
For the brim, work a wider flat round at the base of the hat using single crochet with a few extra increases to make it flare out. For the broom, crochet a thin tube for the handle and attach loose strands of yarn at one end, trimmed and separated to look like bristles. Tie a small ribbon around the base of the hat for extra detail.
19. Mini Keychain Cat Amigurumi
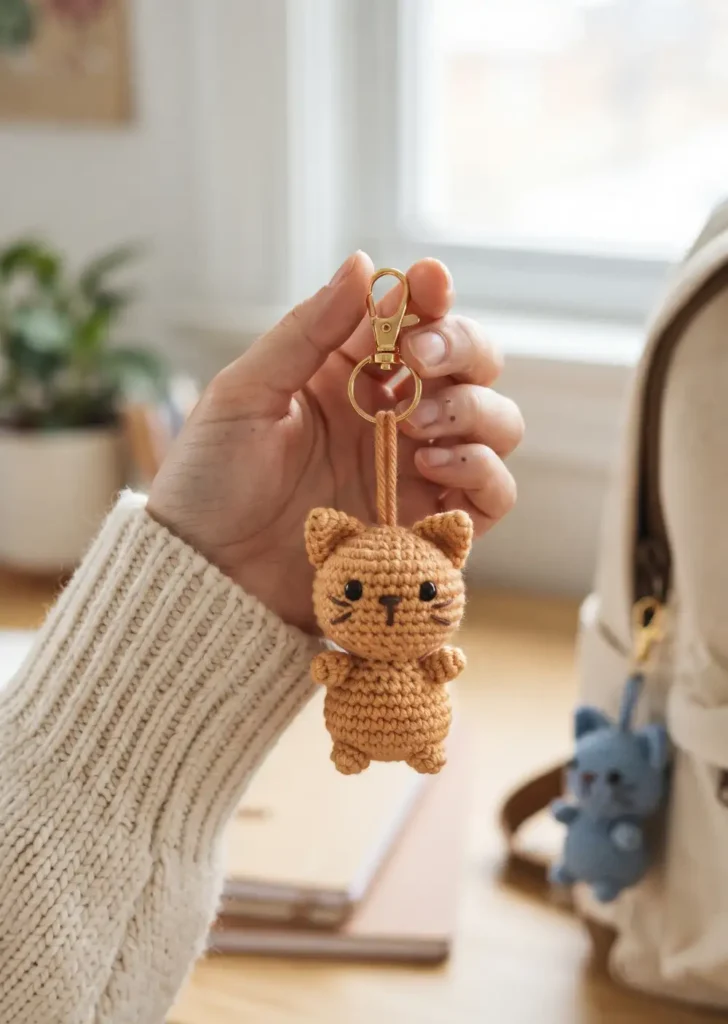
Materials: fingering weight yarn, 2.5mm hook, small amount of stuffing, keyring or lobster clasp, safety eyes sized 3mm or smaller.
Work the head and body as one continuous piece rather than two separate parts, since keeping the pattern simple is what makes this project so quick. Start with a magic ring of 6, increase to about 18 stitches over 2 rounds, then work a few rounds straight before decreasing to close.
Skip heavy stuffing here, using just enough to hold the shape without adding bulk or weight. Before closing the final round, insert a small loop of yarn or a jump ring through the top few stitches so you have something to attach your keyring to. This whole project can usually be finished in under an hour, making it a great one for gifts.
20. Cat Holding a Fish Crochet Plush
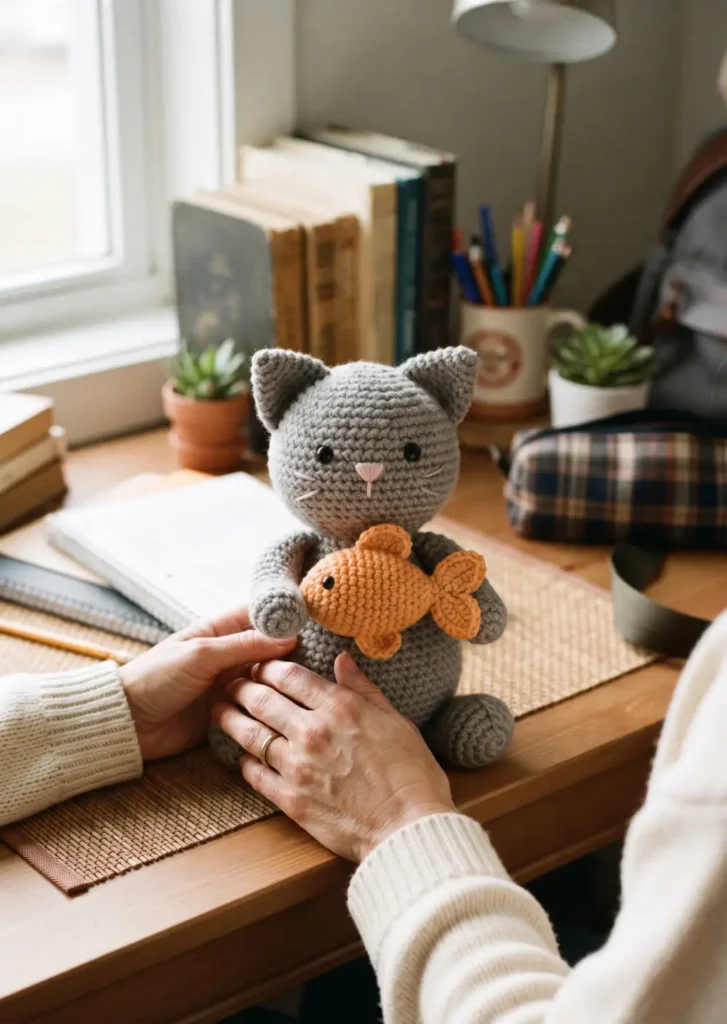
Materials: worsted weight yarn for the cat, silver or orange yarn for the fish, 4mm hook, fiberfill, small black yarn for fish details.
Crochet your base cat in a seated or standing position with the paws positioned forward, similar to the heart-holding design. This gives the fish something natural to rest against once it’s attached.
For the fish, start with a magic ring of 6 and increase to form a rounded body shape, then decrease toward the tail end over a few rounds. Flatten the last few rounds slightly and fan them out to create the tail fin shape. Add a small triangle for the top fin and stitch on simple eye details. Once finished, stuff lightly and sew it into the cat’s paws so it looks like a little catch.
21. Flower Crown Cat Amigurumi
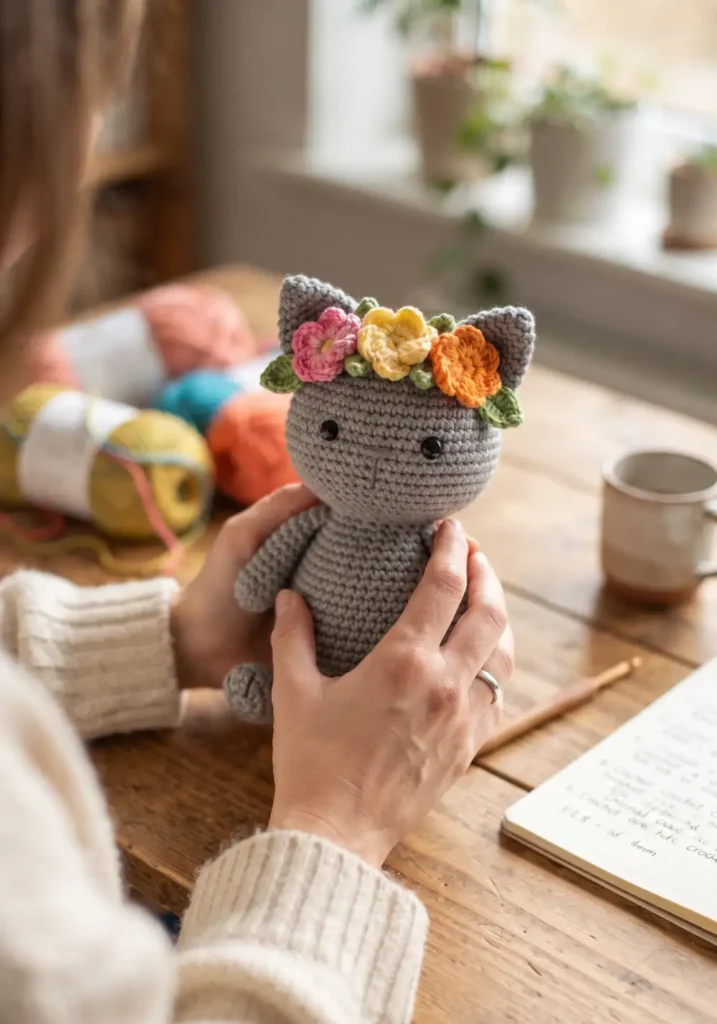
Materials: worsted weight yarn for the cat, small amounts of yarn in 2 to 3 flower colors, green yarn for leaves, 4mm hook, fiberfill.
Crochet your base cat using any standard pattern, leaving the area around the ears accessible for attaching the crown afterward. The flowers are the real focus of this design, so keep the base simple.
Each flower starts with a magic ring of 5, working 5 petals using a repeated chain, single crochet, half double crochet, single crochet, chain, slip stitch sequence into each stitch around. Make 3 to 4 flowers total, then join them together side by side using a whip stitch to form a small arc. Add a few small leaf shapes between the flowers, then slip the finished crown over the cat’s head and secure with a few stitches near the ears.
22. Long-Legged Kawaii Crochet Cat Doll
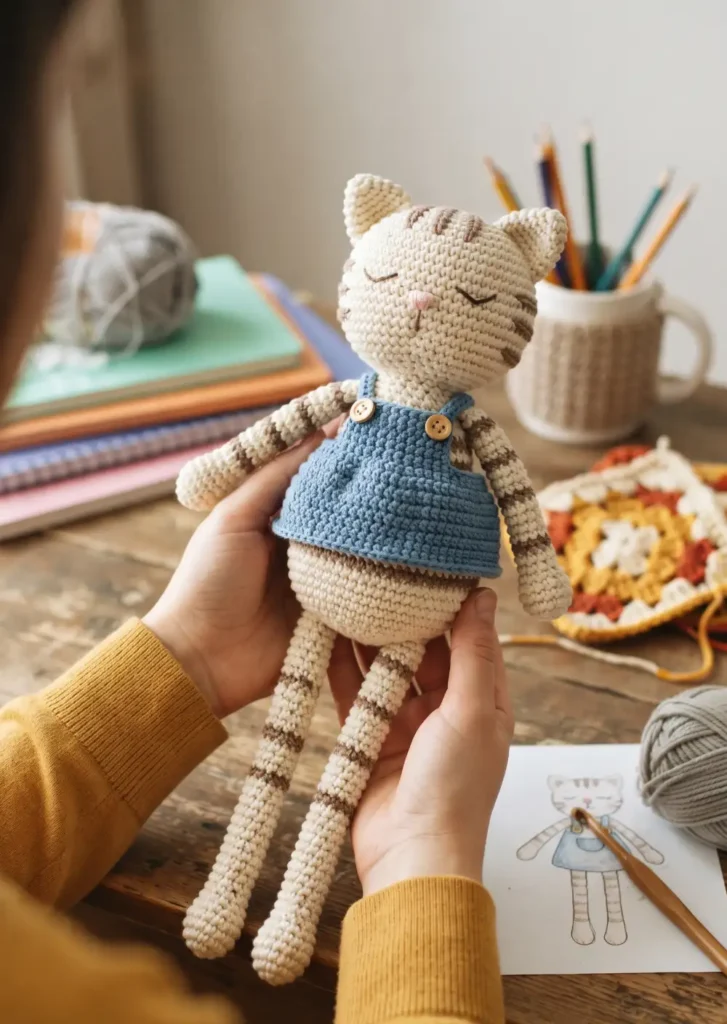
Materials: worsted weight yarn, 4mm hook, fiberfill, safety eyes, pipe cleaner or wire for optional leg posing.
Keep the head noticeably small compared to the body for this style, since that size contrast is what gives kawaii dolls their signature look. Start with a magic ring of 6, increase to about 24 to 30 stitches, then decrease relatively quickly to keep the head compact.
The arms and legs are the defining feature here, worked as long thin tubes of 15 to 20 rounds each with almost no shaping, unlike the short stubby limbs on a typical amigurumi. Insert a thin wire or pipe cleaner inside each limb before stuffing if you want the doll to be posable. Keep stuffing light throughout the limbs so they stay soft and bendable rather than stiff.
FAQs
What yarn weight is best for amigurumi cats?
Worsted weight yarn is the most common choice. It’s easy to work with and gives good stitch definition for beginners.
What hook size should I use for amigurumi?
Use a hook one or two sizes smaller than the yarn label recommends. This keeps your stitches tight so stuffing doesn’t show through.
Do I need safety eyes for these patterns?
No, but they do give a nice finished look. You can also embroider eyes with yarn if you prefer a softer expression.
How long does it take to crochet an amigurumi cat?
Small ones can take an hour or two. Larger, detailed patterns like the jumbo sleepy cat can take several hours spread over a few days.
Can beginners make these patterns?
Yes. Start with a simple design like the loaf cat or the keychain cat. Once you’re comfortable with basic shaping, the more detailed patterns become much easier.