How to Crochet Flower Bouquet: Easy Step-by-Step Tutorial
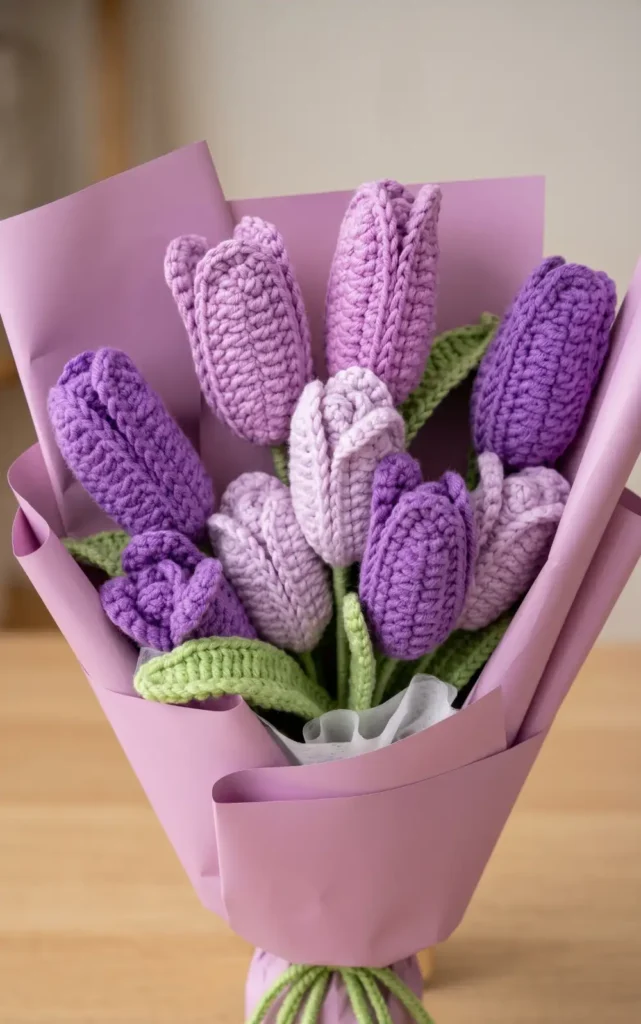
If you’ve ever wanted to give someone flowers that never wilt, this tulip bouquet pattern is exactly what you’ve been looking for. Real tulips last a week. These last forever.
This pattern walks you through every petal, leaf, and assembly step in a clear, beginner-friendly way. You’ll work with simple stitches like single crochet and half double crochet, plus a fun wire technique that gives the leaves their natural curve. By the end, you’ll have a stunning handmade bouquet you can keep, gift, or display anywhere.
Crochet Tulip Bouquet Pattern
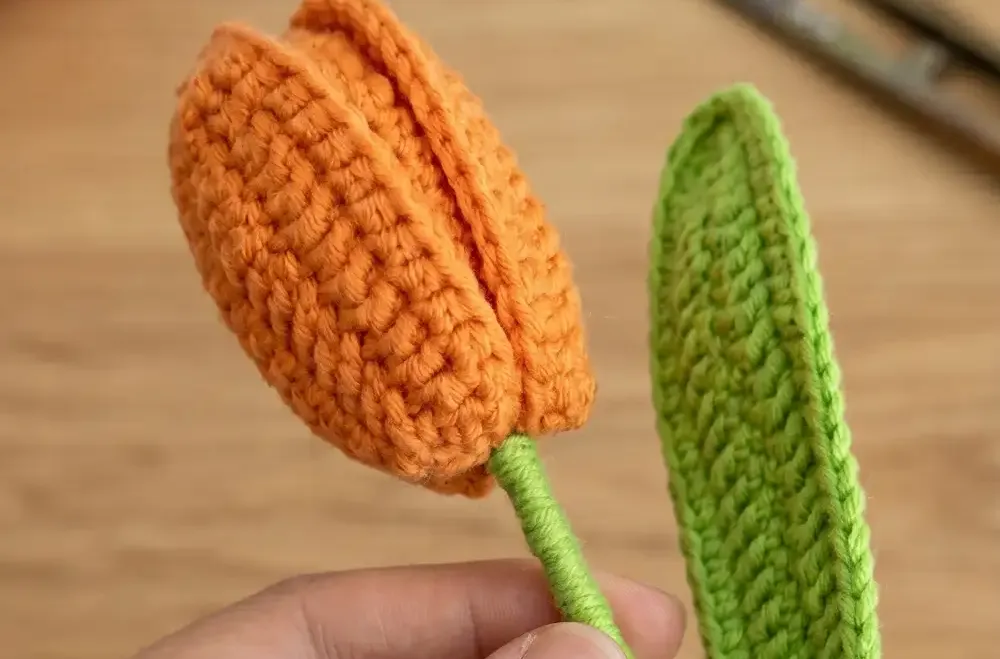
To create these beautiful flowers, you will need yarn in your chosen colors, such as orange for the petals and green for the foliage. Additionally, you will need craft wire to provide structure and support for the leaves. All of these materials are used to create the individual components that are eventually assembled into a full bouquet.
Step 1: Create the Small Petal Foundation
Using your petal yarn, start with a slip knot and work 13 chains. To begin the first round of stitches, find the second space from your hook.
Step 2: Stitch the First Side of the Small Petal
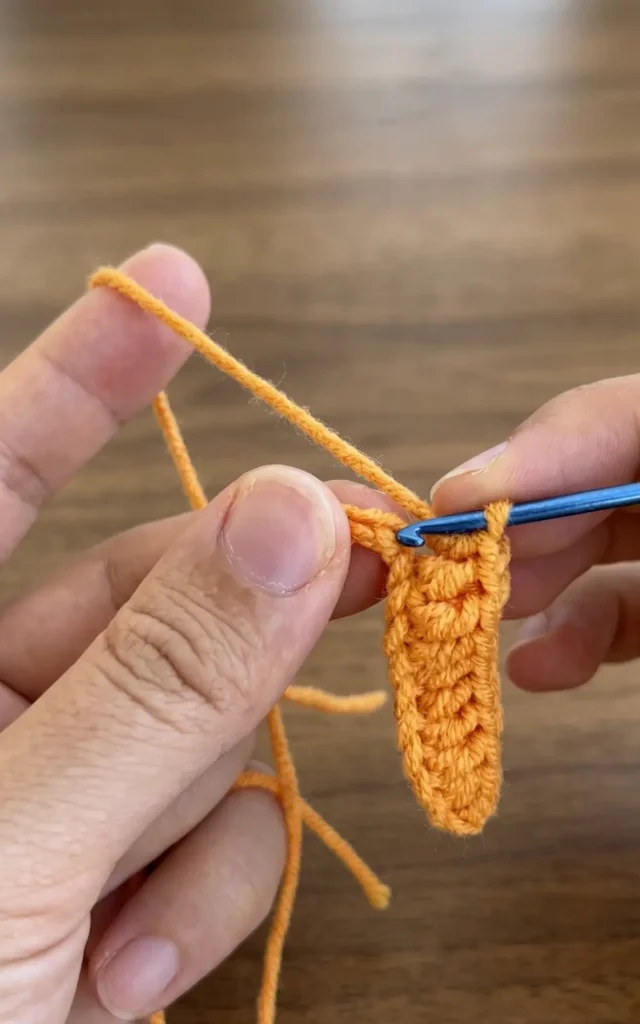
In that second space, work one single crochet. Follow this with one half double crochet in the next space, and then work one double crochet in each of the next seven spaces.
Step 3: Turn and Complete the Small Petal Round One
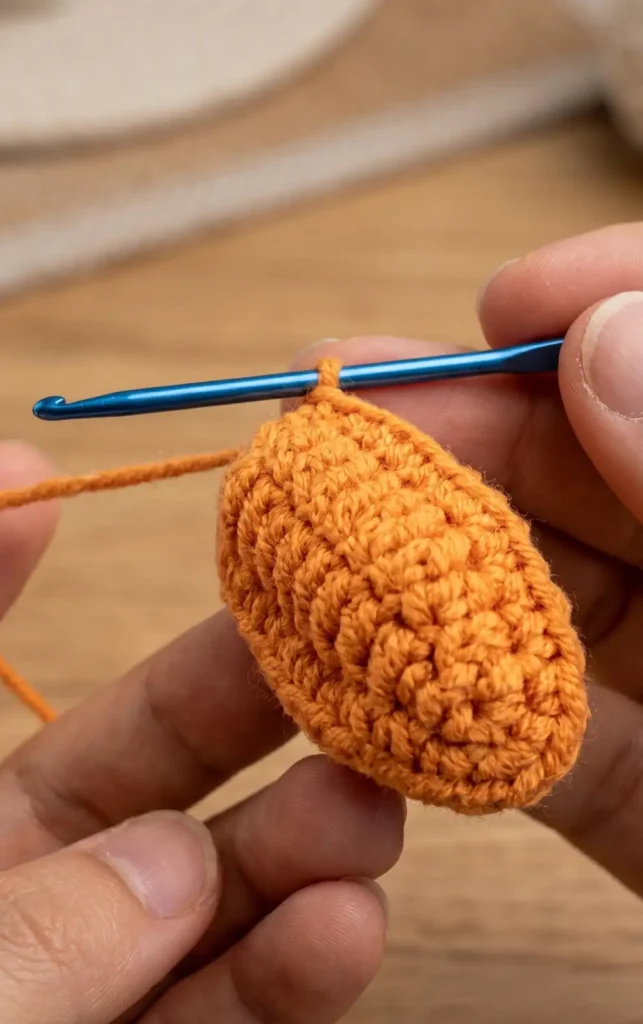
Work one half double crochet followed by one single crochet in the next two spaces. In the very last space, work three single crochets to turn the work, then repeat the stitch pattern down the other side before closing with a slip stitch.
Step 4: Work Round Two for the Small Petal
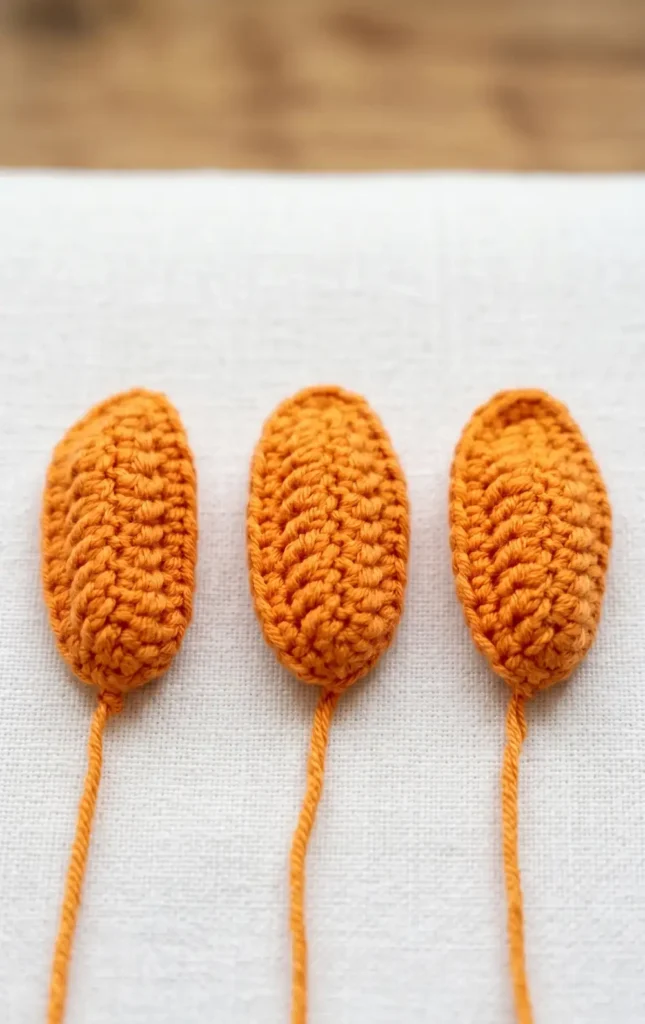
Chain one to start the second round and work one single crochet in every space until you reach the top stitch. In the top space, work three single crochets, then continue with one single crochet in each of the next 12 spaces. Slip stitch to close and secure the end. You will need three small petals for each tulip.
Step 5: Start the Large Petal Foundation
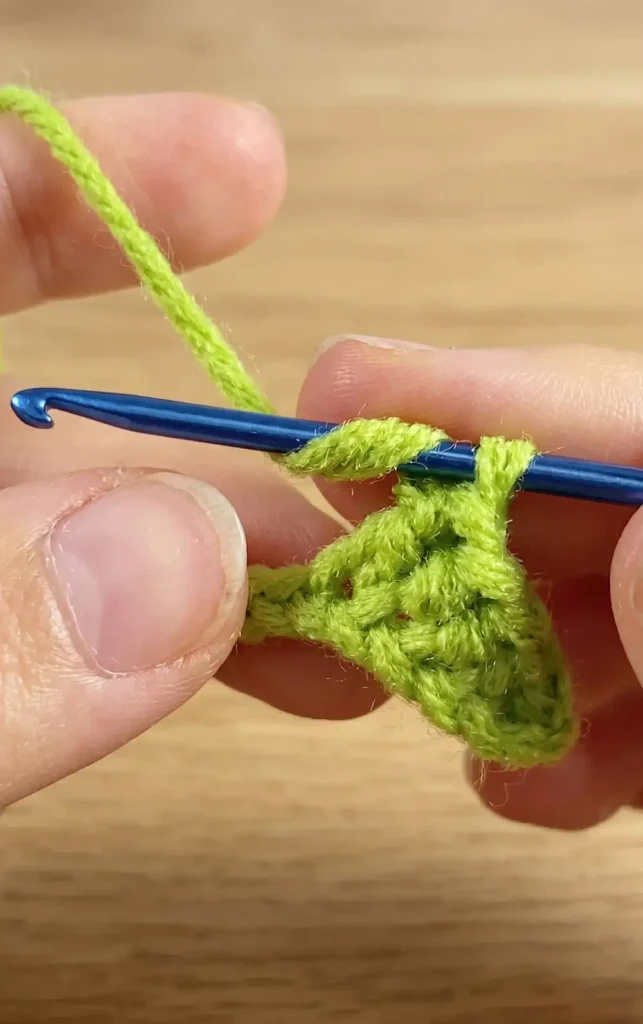
The large petal follows a similar logic but starts with a foundation of 15 chains. You will work the first round in a similar pattern to the small petal to establish the base shape.
Step 6: Crochet Round Two for the Large Petal
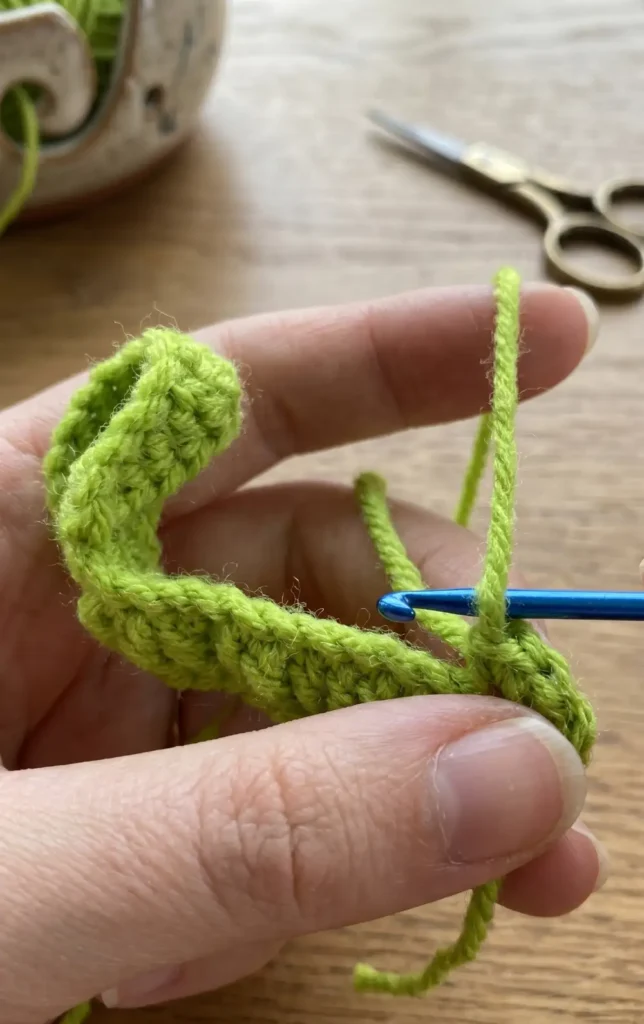
Chain two to begin the second round and work 14 half double crochets until you reach the top. Place three half double crochets in the top stitch, then work 14 half double crochets down the other side. Close with a slip stitch and secure your yarn. Like the smaller version, you need three large petals per flower.
Step 7: Begin the Leaf Foundation
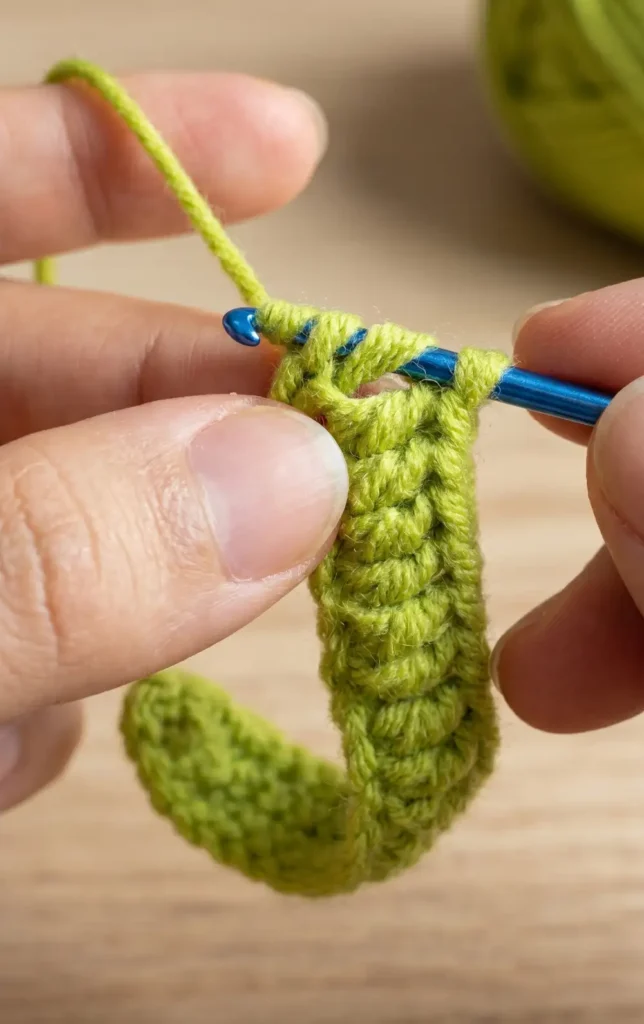
Switch to green yarn and start with a slip knot, then work 28 chains. In the second space from the hook, work one single crochet, followed by another single crochet in the next space.
Step 8: Shape the Leaf with Mixed Stitches
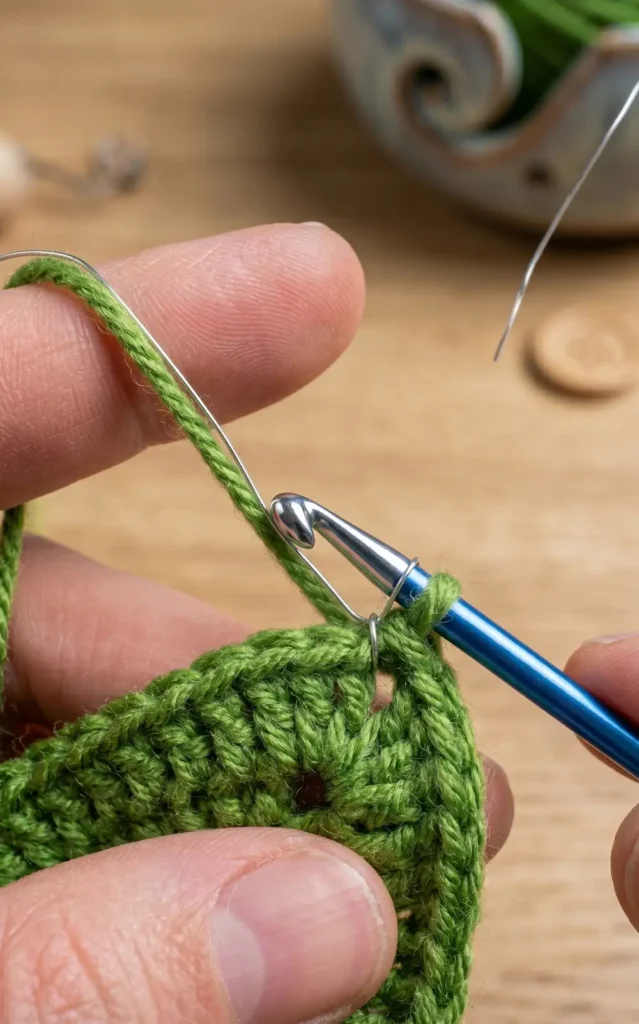
Work one half double crochet in each of the next two spaces. Next, work one double crochet in each of the following 20 spaces to create the length of the leaf.
Step 9: Complete the Leaf Round One
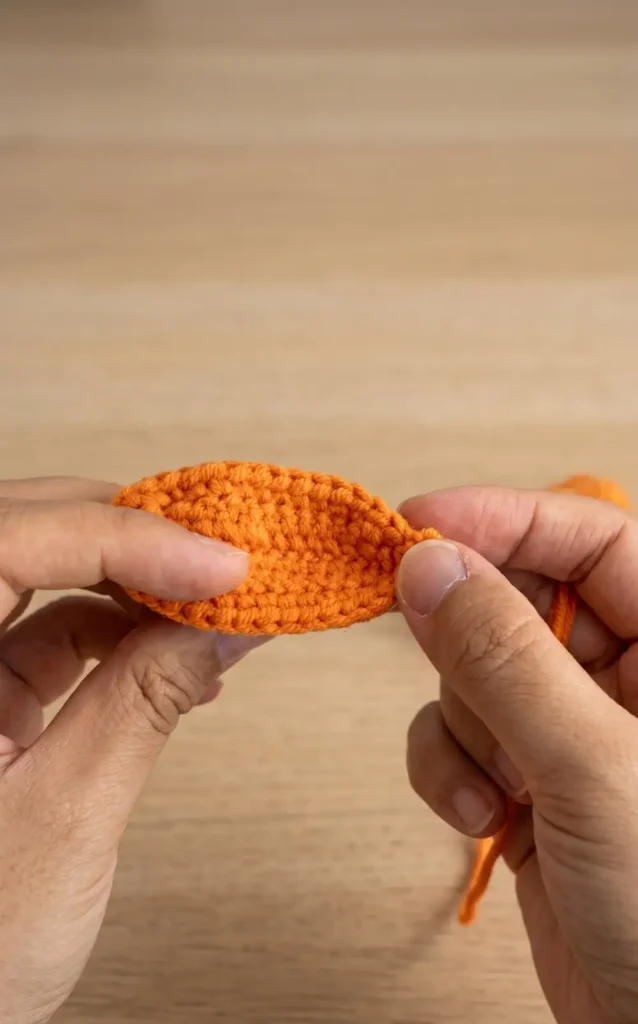
In the last three spaces, work two half double crochets and then one single crochet. Work three single crochets in the final space to move to the other side, repeat the pattern, and close with a slip stitch.
Step 10: Prepare for Leaf Support
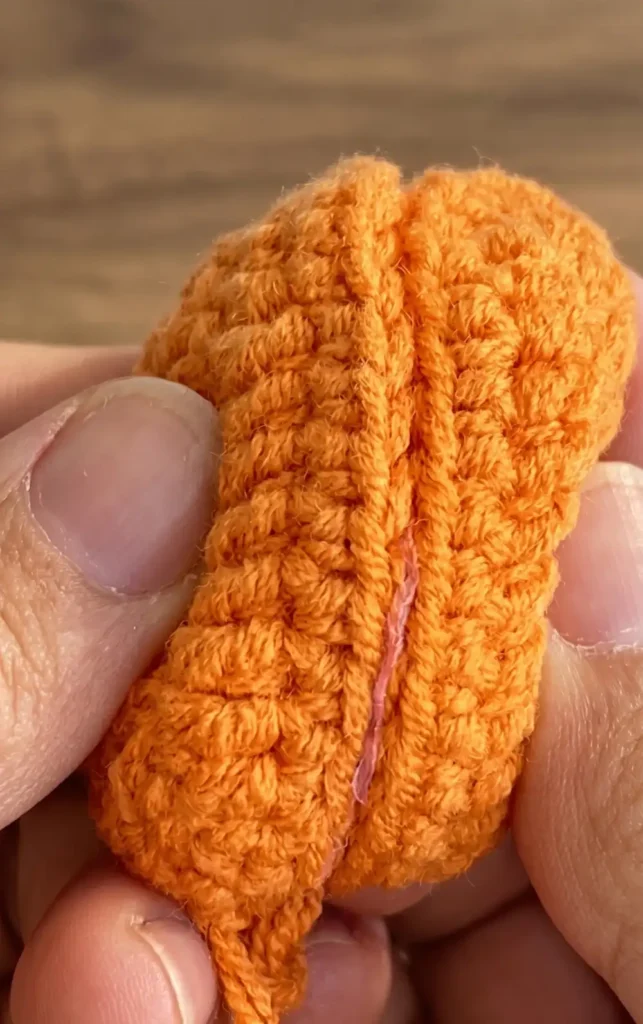
Chain one to start the second round and insert your craft wire. This round consists of working one single crochet in each space while wrapping the yarn around the wire to hide it.
Step 11: Create the Leaf Tip
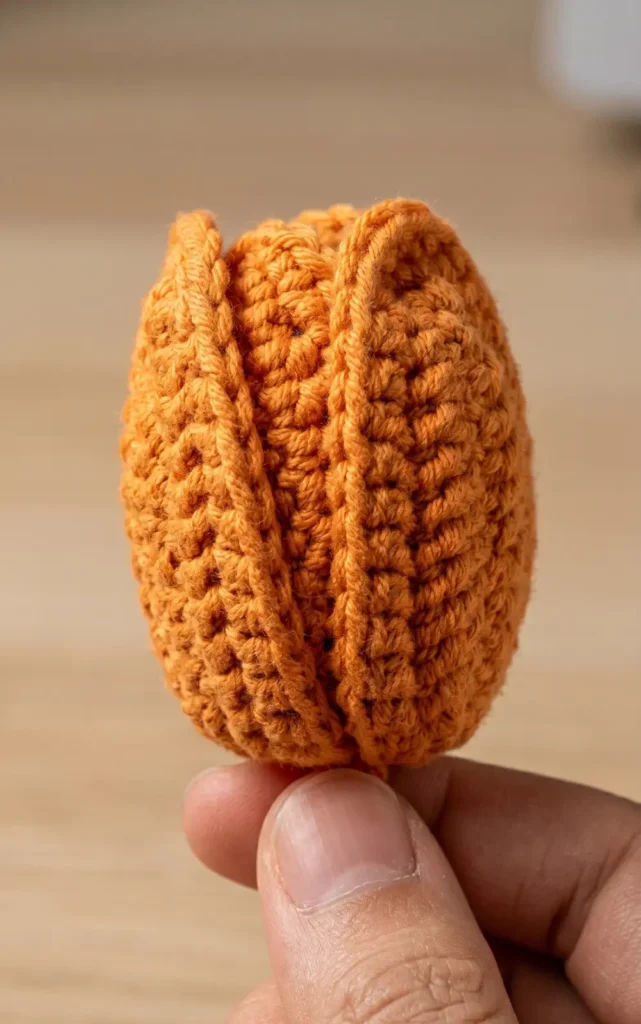
When you reach the middle stitch of the three worked at the top, work one single crochet, chain one, and then a picot stitch (a slip stitch) to create a pointed tip. Work another single crochet into that same space to continue the round.
Step 12: Finish the Leaf and Assemble
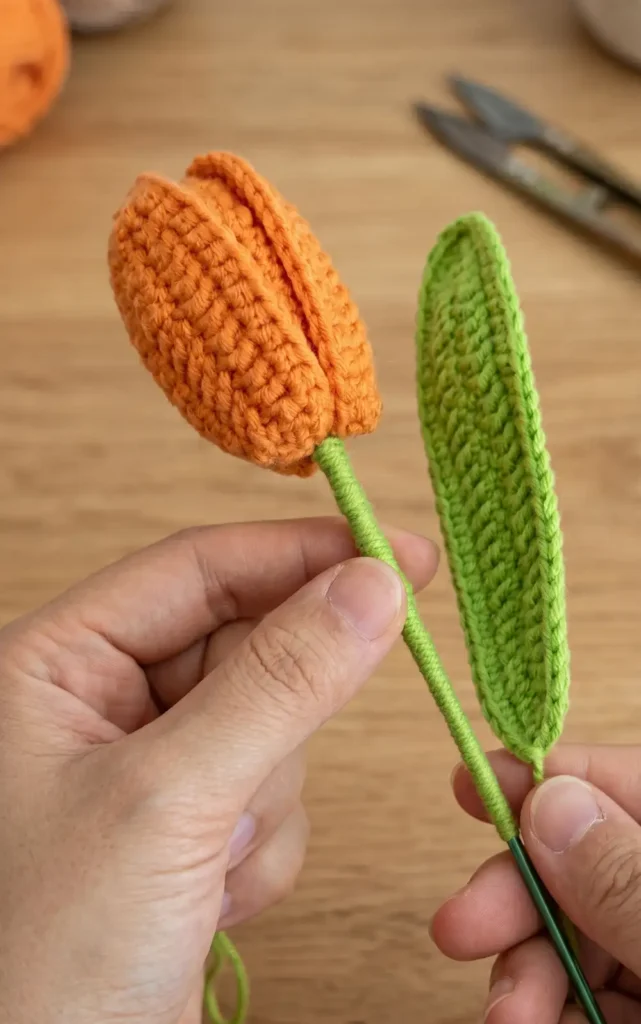
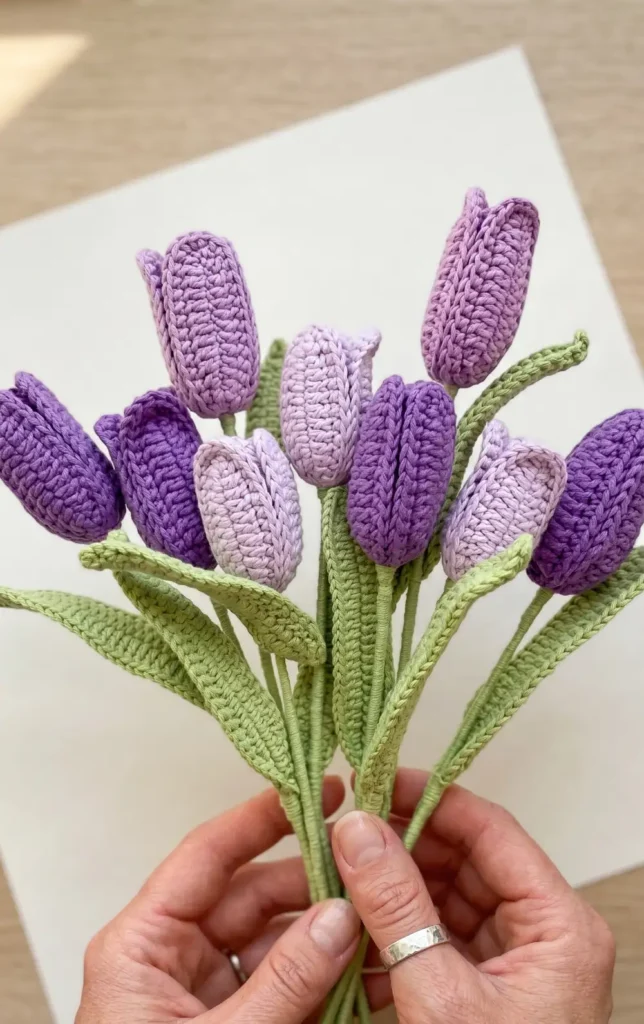
Continue with single crochets until you reach the end, ensuring the craft wire is fully wrapped. Close with a slip stitch and cut the yarn. Finally, assemble your three small petals, three large petals, and finished leaves to complete your tulip.
Video Credits: Lingzhi Handmade
Ready to Share Your Bouquet?
You just crocheted a tulip bouquet that will never lose its petals or need water. That’s the magic of making flowers by hand. Whether you’re keeping this one for yourself or gifting it to someone special, it’s a piece that will genuinely last.
Now it’s your turn to pick your colors and start stitching. Share your finished bouquet in the comments below. We’d love to see what you create.