35 Crochet Back-to-School Ideas Students Will Love
Back to school season means fresh notebooks, sharpened pencils, and a whole lot of crochet inspiration. If you love making cozy little projects, this is the perfect time to whip up something fun and useful for the classroom.
These 35 ideas are beginner friendly and come with real details on materials, stitches, and rows so you can follow along step by step. Grab your hook and let’s get started.
1. Crochet Pencil Case Pattern
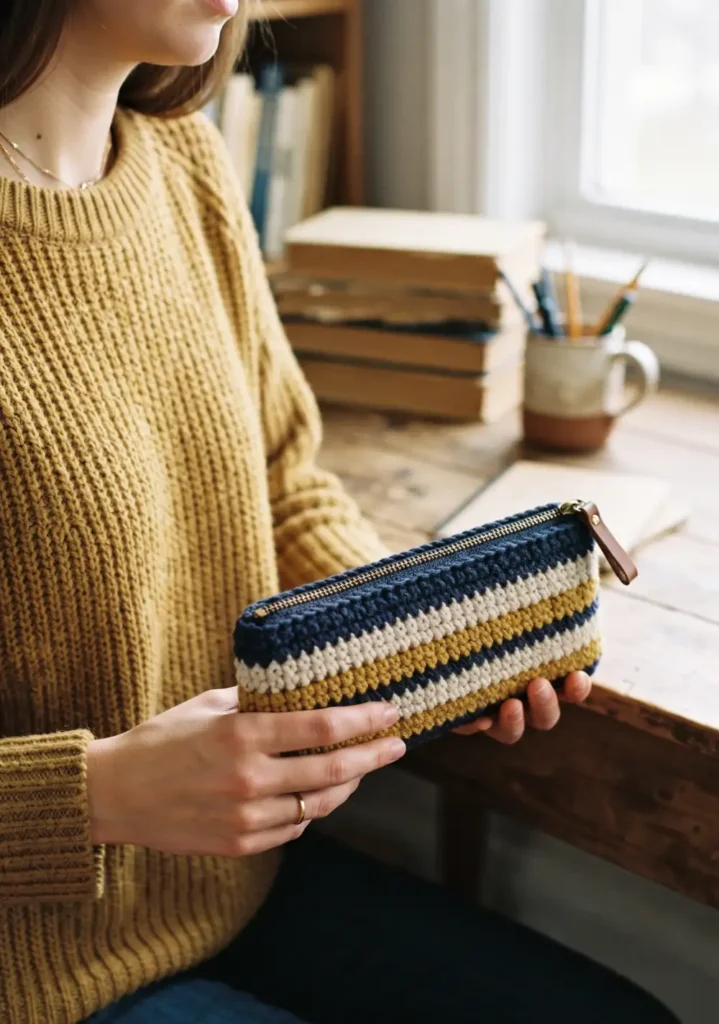
For this one you will need worsted weight yarn, a 5mm hook, a yarn needle, and a zipper about 8 inches long. Start with a foundation chain of 24 stitches, then single crochet across in rows until your rectangle measures about 8 inches long.
Fold the rectangle in half and single crochet the two side seams together, leaving the top open. Sew the zipper along the opening using a whip stitch and your yarn needle. Weave in any loose ends and your case is ready for pencils and erasers.
If you want extra durability, work in the back loops only for a ribbed texture that holds its shape better over time.
Hey there! Some links on this page may be affiliate links which means that, if you choose to make a purchase, I may earn a small commission at no extra cost to you.
2. Crochet Backpack Charm Ideas
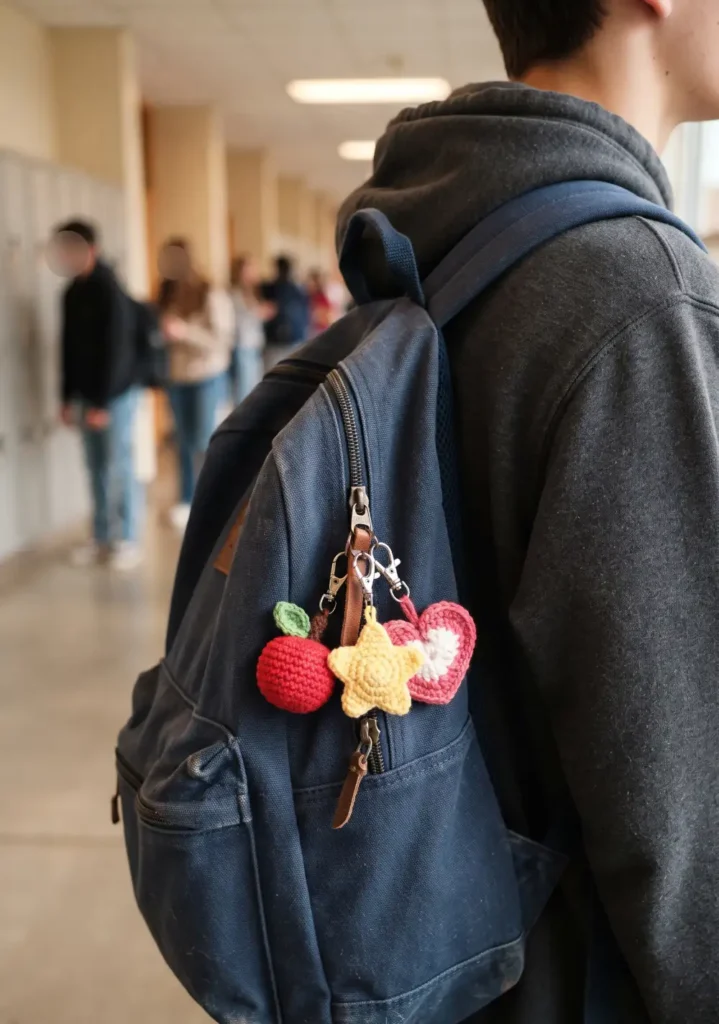
Charms are worked in the round using worsted weight yarn and a 4mm hook, since a smaller hook keeps stitches tight enough to hold stuffing. Start with a magic ring, then work 6 single crochets into the ring for round 1.
Increase evenly in round 2 to reach 12 stitches, then work a few rounds even depending on your shape, whether it is a star, heart, or fruit. Decrease back down over the final two rounds, stuff lightly with polyester fiberfill, and close the opening.
Attach a short chain of 5 stitches at the top and clip on a keyring. These are quick enough to make a whole set in an afternoon.
3. Crochet Apple Keychain
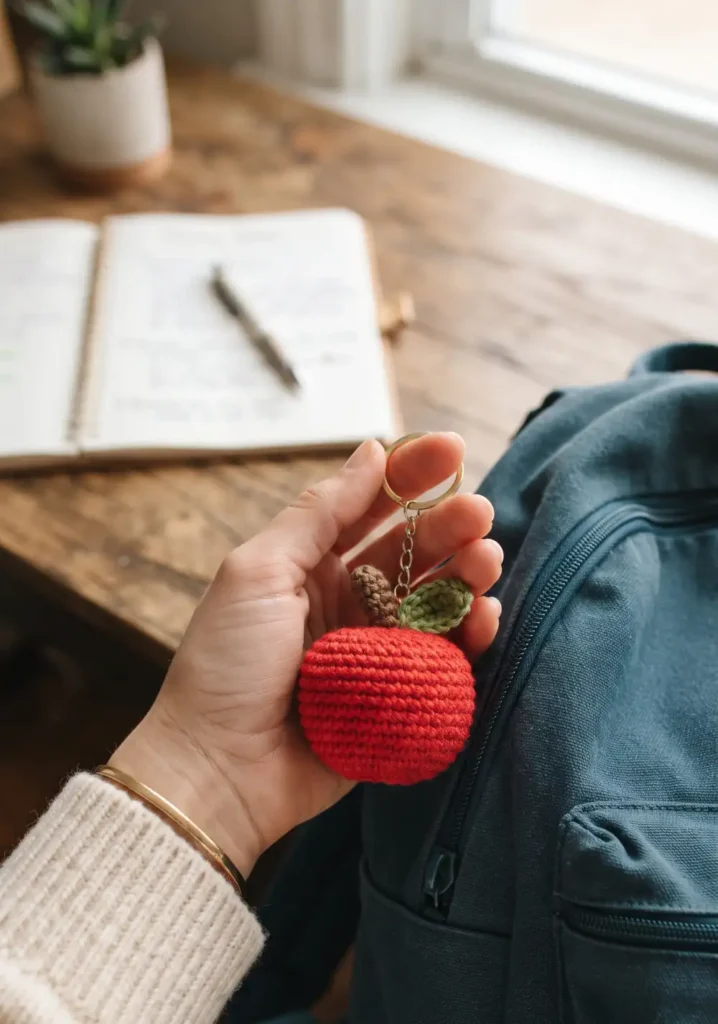
Use red worsted weight yarn and a 4mm hook for the apple body. Start with a magic ring and 6 single crochets, increasing each round until you reach 18 stitches around row 3, which gives a nice rounded apple shape.
Work even for 2 rounds, then begin decreasing gradually over 3 rounds until the opening is small. Stuff as you go and close the top tightly.
For the stem, chain 6 in brown yarn and attach it to the top. Add a small green leaf using a simple chain and single crochet oval shape, then sew it beside the stem along with a keyring loop.
4. Crochet Notebook Cover
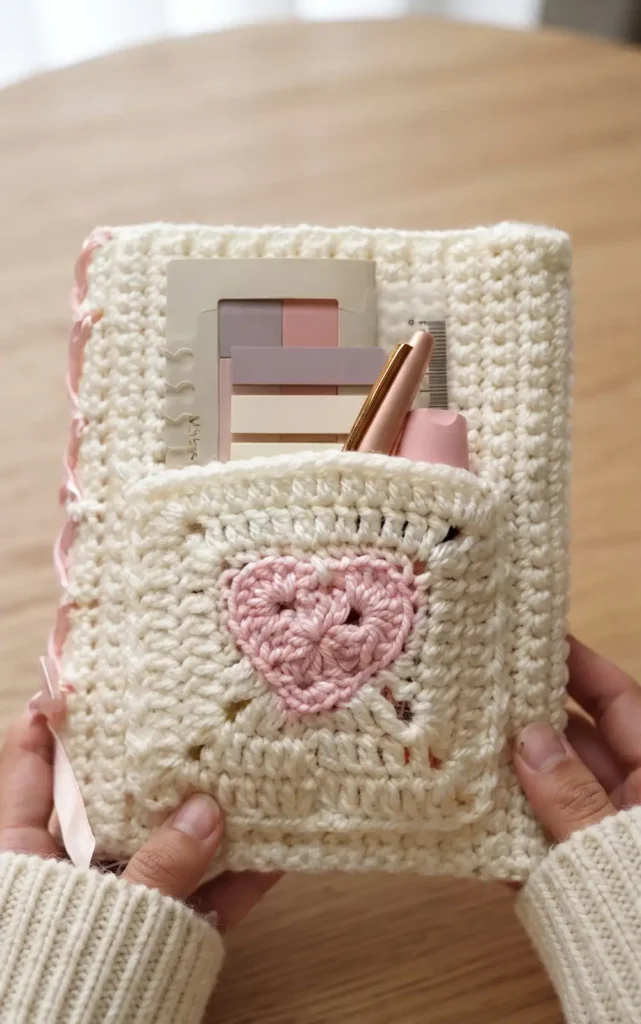
Measure your notebook width and height before starting, then chain enough stitches to match, usually around 40 for a standard notebook using worsted weight yarn and a 5mm hook. Single crochet across in rows until the piece measures the full height of the notebook plus an inch for ease.
Fold both short ends in to create front and back pockets, about 3 inches each, and single crochet the top and bottom edges of these folded sections to secure them in place. This creates pockets the notebook covers slide into.
Add a button and loop closure on the front flap if you want it to stay shut, or leave it open for a simple slip on cover.
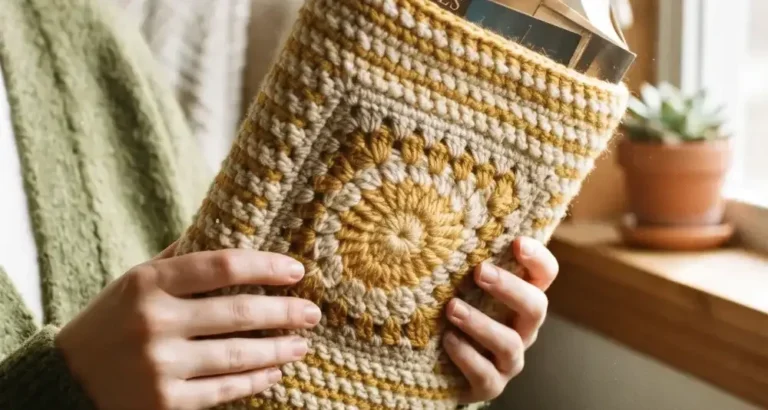
5. Crochet Book Sleeve Pattern
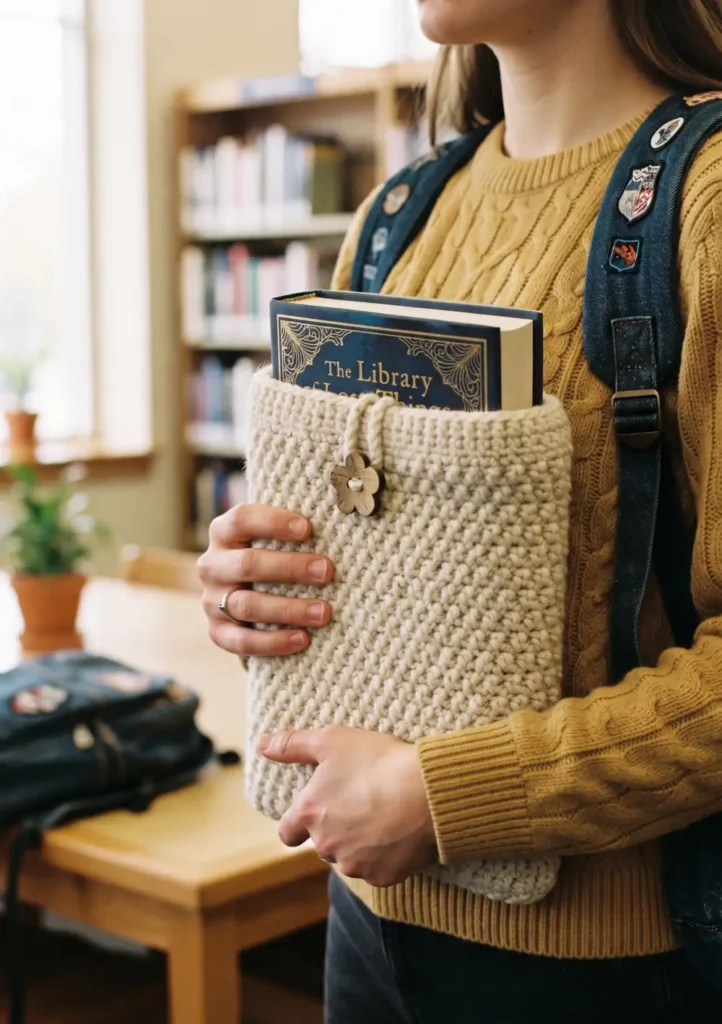
Grab worsted weight yarn and a 5mm hook for a sturdy sleeve. Chain enough stitches to match the width of your book, then work in rows using single crochet or half double crochet until the piece is long enough to wrap around and cover the book with a couple inches to spare for a flap.
Fold the rectangle so the bottom two thirds forms a pocket, then seam the sides together using slip stitch or single crochet. Leave the top third as a flap that folds over.
Add a button on the front and a loop on the flap so it closes securely. This pattern also works great for tablets if you size it up slightly.
6. Crochet Pencil Plushie
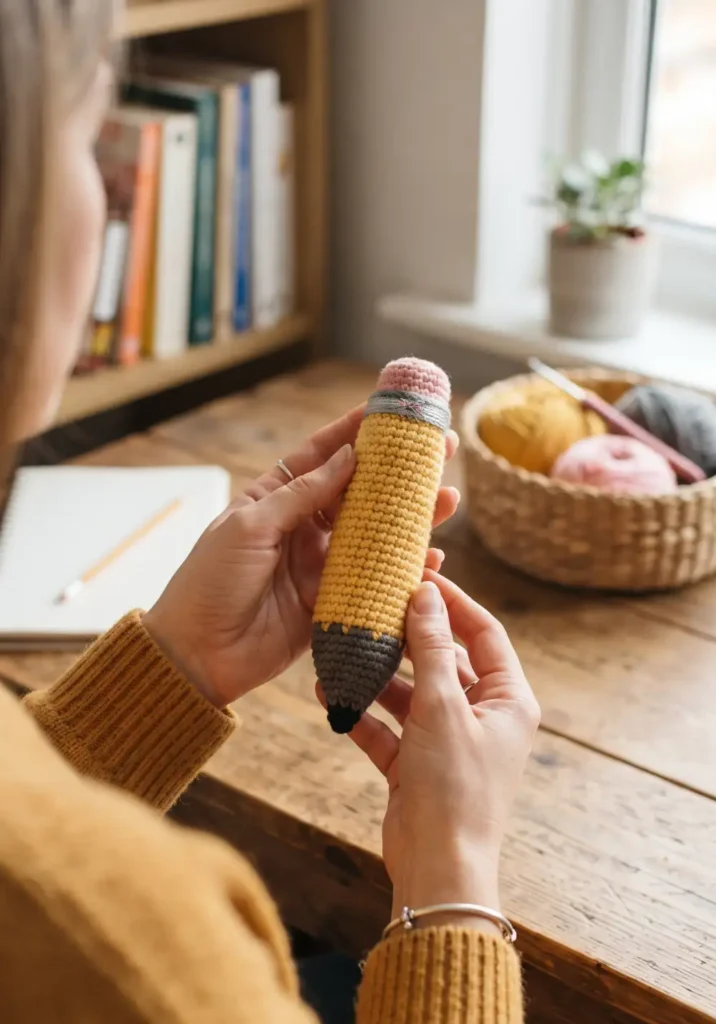
You will need yellow, pink, gray, and black worsted weight yarn along with a 4mm hook. Start the yellow body with a magic ring, work 6 single crochets, then increase to 12 stitches in round 2.
Work even in rounds for about 10 to 12 rows to create the long pencil body, then switch to pink yarn for 2 rounds to form the eraser section. Decrease gradually and stuff the body firmly as you close it up.
For the tip, start a small pointed cone shape in gray yarn with a black dot at the very end, then attach it to the opposite end of the yellow body using your yarn needle.
7. Crochet Highlighter Holder
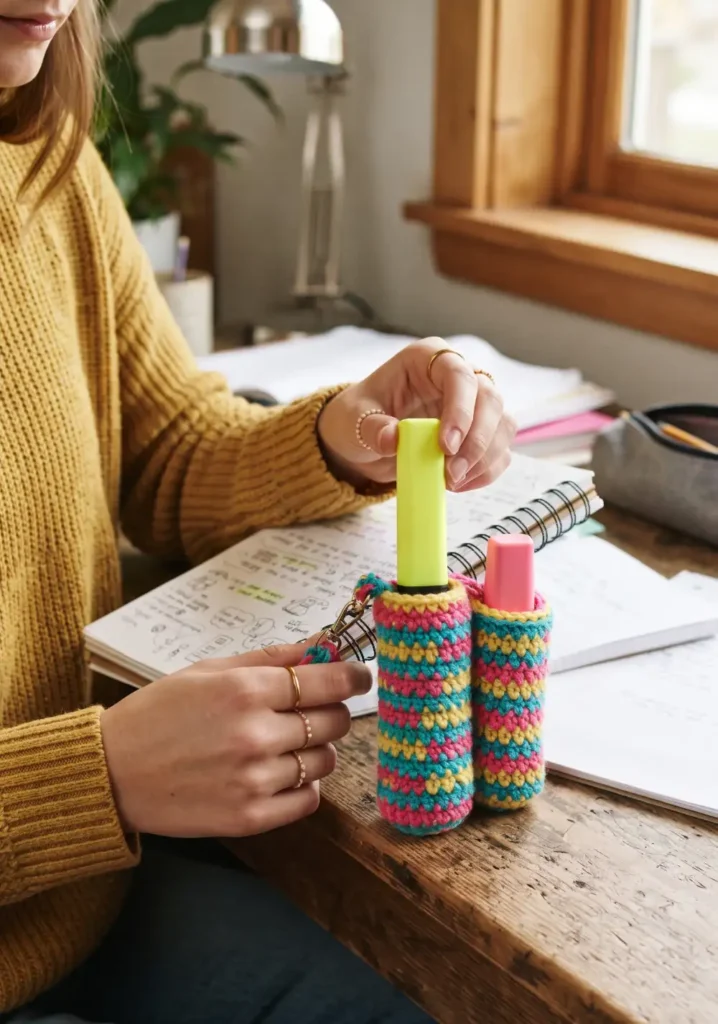
Use bright yellow or your favorite color worsted weight yarn with a 4mm hook. Chain 4 and join into a ring, then work 8 single crochets into the ring for round 1.
Work even in single crochet for about 10 rounds without increasing, creating a straight tube shape sized to fit a standard highlighter. Leave the top open so the highlighter slides in and out easily.
Attach a small chain loop at the top edge so it can clip onto a bag zipper or pencil case ring, keeping your highlighter always within reach.
8. Crochet Mini Calculator Cozy
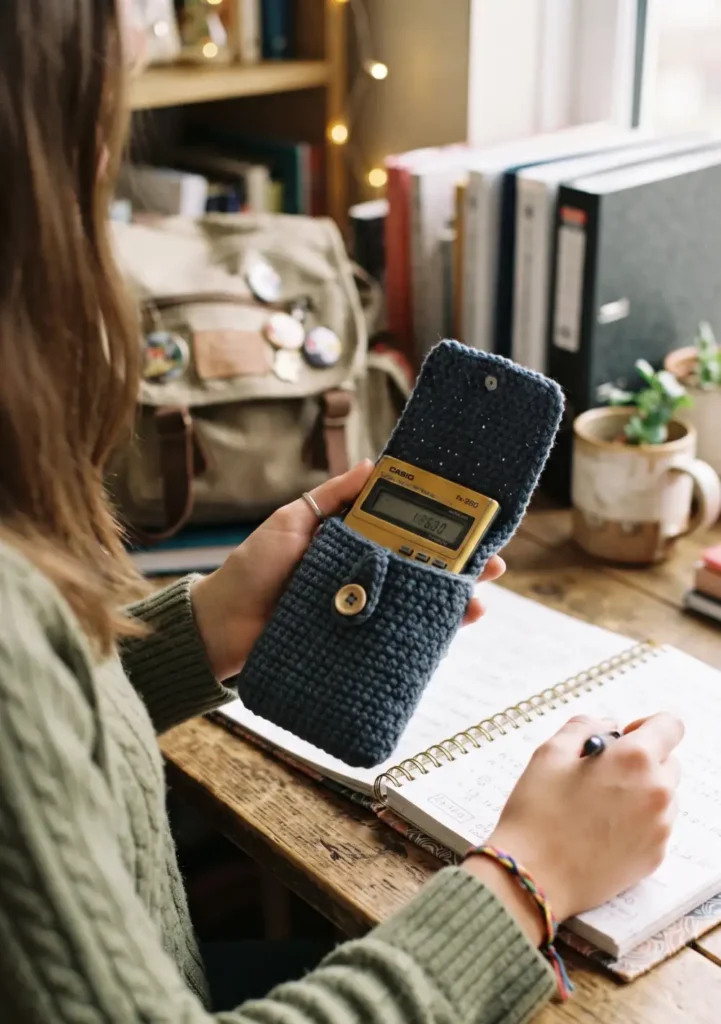
Worsted weight yarn and a 5mm hook work well here. Chain 14 stitches, then single crochet across in rows for about 12 rows to create a flat rectangle sized slightly larger than your calculator.
Fold the rectangle in half and single crochet the two side seams, leaving the top open. This forms a snug pouch shape that protects the calculator from scratches inside a backpack.
Add a flap by continuing a few extra rows on the back panel before folding, then sew on a small button so the flap closes over the top opening.
9. Crochet Bookmark with Tassel
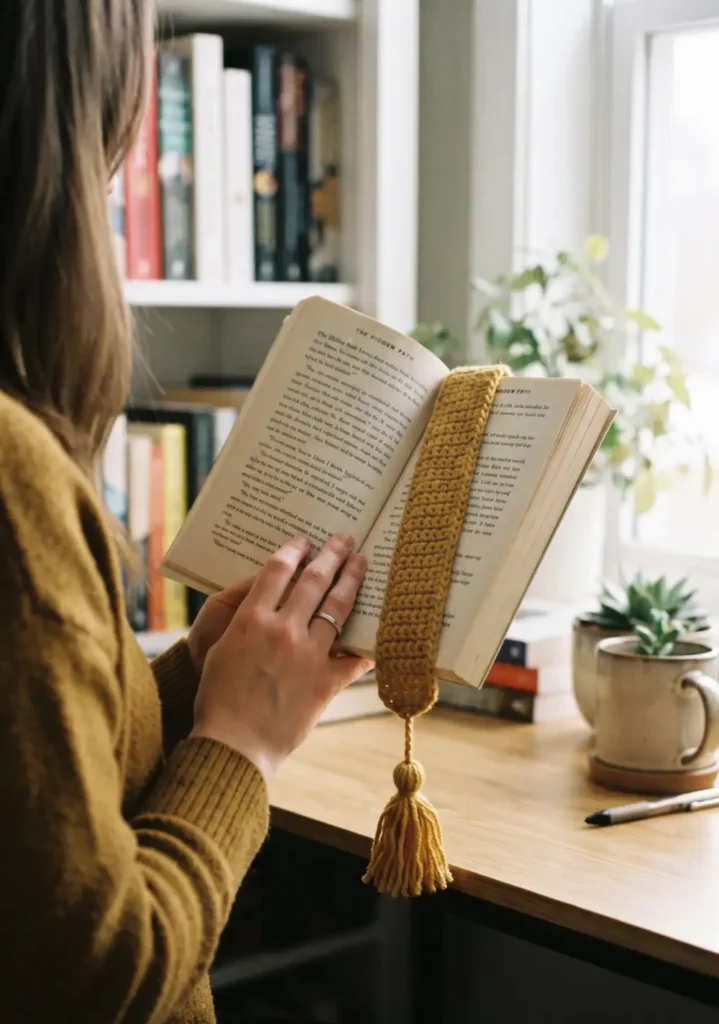
This one is simple and quick using worsted weight yarn and a 4mm hook. Chain 8 stitches, then single crochet back across the row. Repeat this for about 15 to 18 rows until your strip measures roughly 7 inches long.
Fasten off and weave in the end at the top. At the bottom, cut several strands of yarn about 6 inches long, fold them in half, and loop them through the last stitch to create a tassel.
Trim the tassel evenly with scissors for a clean finish. This pattern is a great way to use up small amounts of leftover yarn.
10. Crochet Spiral Notebook Sleeve
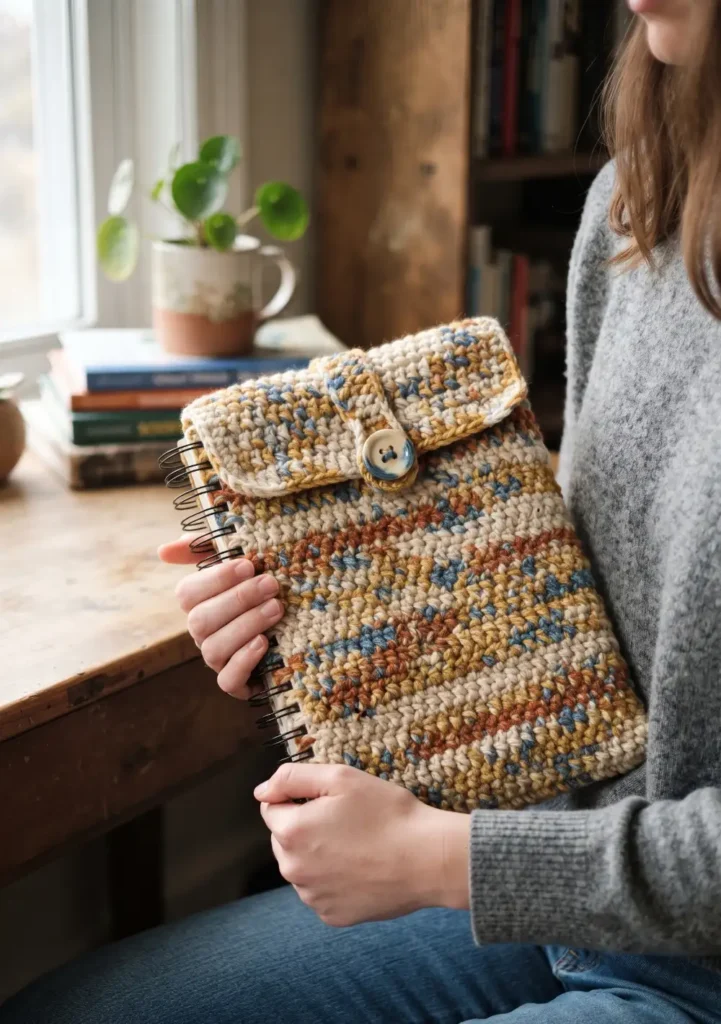
Use worsted weight yarn and a 5mm hook for this cover. Chain stitches to match the height of your spiral notebook, then single crochet in rows until the piece is wide enough to wrap fully around the front, spine, and back.
Leave a narrow gap of unworked stitches along the section that will sit over the spiral binding, so the coils can peek through without being covered. This keeps the notebook easy to flip open.
Add a strap on one side with a button closure to keep everything secure while tossed around in a backpack.
11. Crochet Name Tag Holder
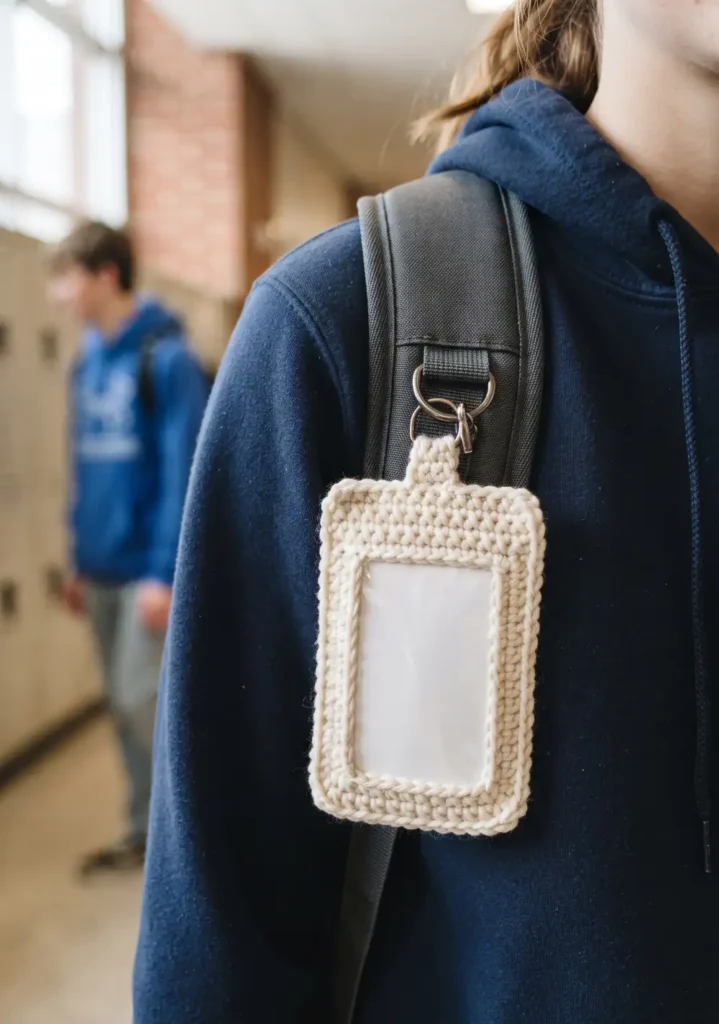
Chain 10 stitches using worsted weight yarn and a 4mm hook, then single crochet across in rows for about 8 rows to form a small rectangle. This becomes the base of your name tag holder.
Sew a small clear vinyl pocket onto the front of the rectangle using a whip stitch, leaving the top open so a name card can slide in and out easily.
Add a lanyard style loop at the top using a chain of about 20 stitches, then attach both ends to the top corners of the holder so it hangs comfortably around the neck.
12. Crochet Lanyard Pattern
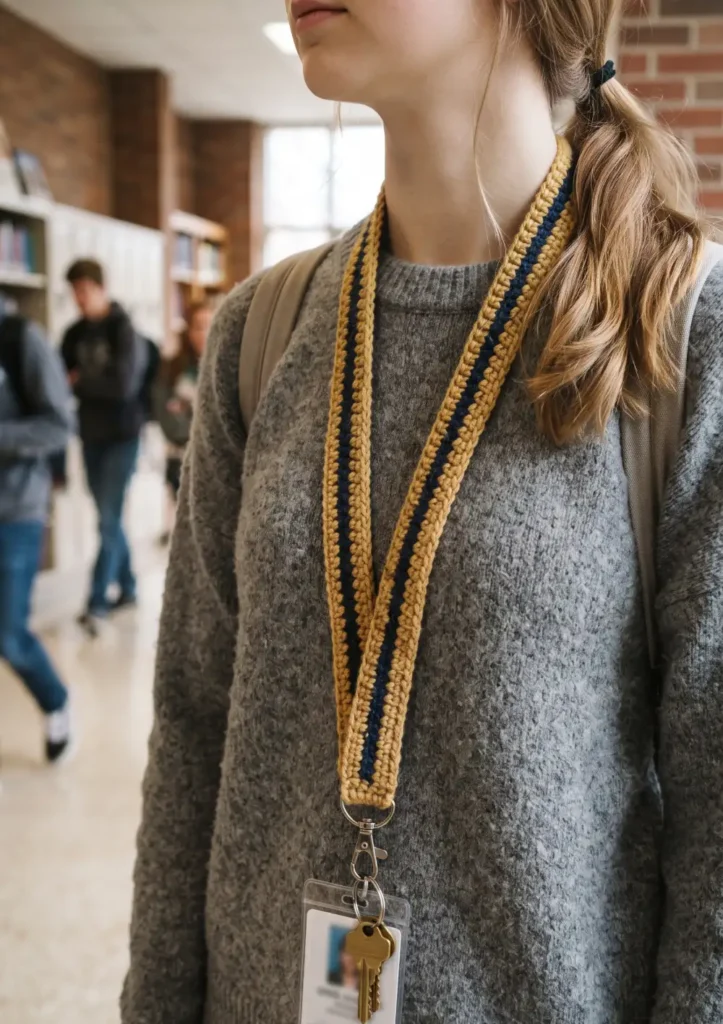
For a sturdy lanyard, use worsted weight yarn and a 4mm hook. Chain 6 stitches and join into a ring, then single crochet around the ring for a rounded cord effect, working in a spiral without joining each round.
Continue working the cord in rounds until it reaches your desired length, usually around 20 inches for a comfortable neck loop. Fasten off and weave in ends.
Attach a metal clip or keyring to one end using a small chain loop, then join the two ends together or leave it as an open strap depending on your preference.
13. Crochet Water Bottle Holder
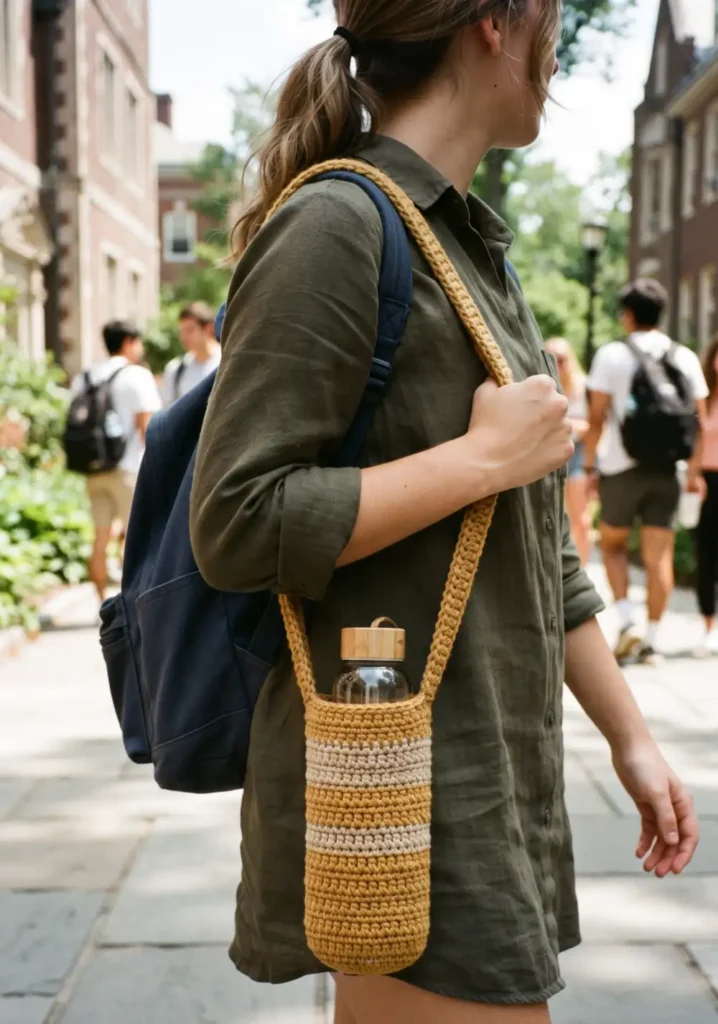
Use worsted weight yarn and a 5mm hook for durability. Start with a magic ring and work 8 single crochets in round 1, increasing evenly over the next 2 rounds until you reach a circumference that matches your bottle base.
Work even in single crochet for about 15 to 18 rounds to build up the height of the holder, checking the fit against your bottle as you go.
Add a strap by chaining a long length and attaching it to two sides of the holder, then finish with a drawstring or elastic top edge so the bottle stays snug inside.
14. Crochet Earbud Case
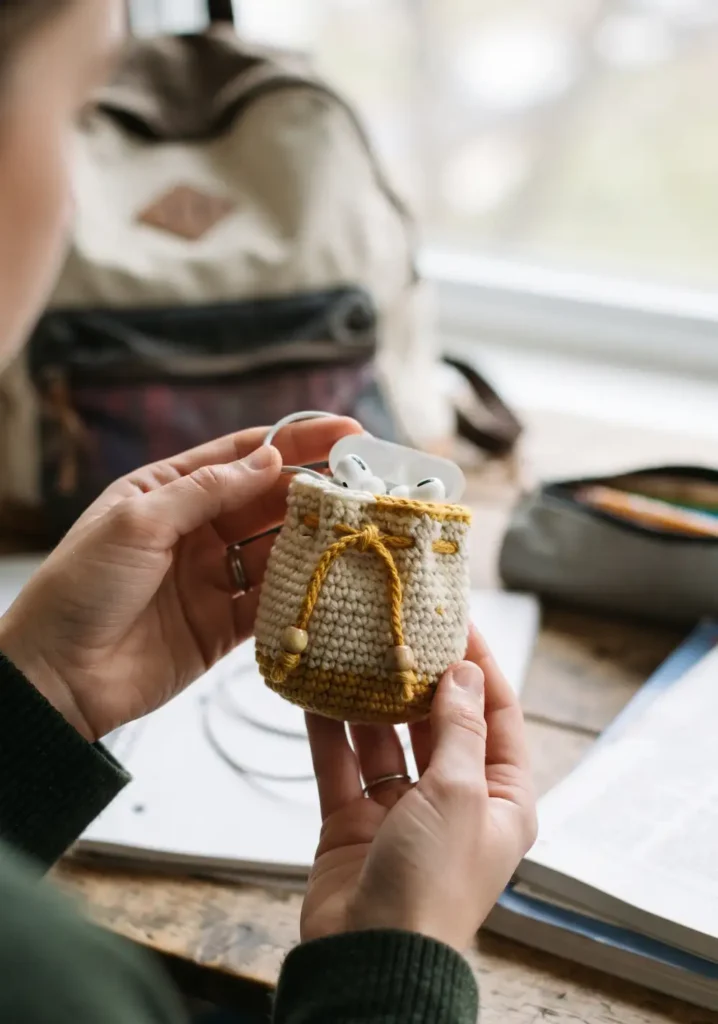
This tiny pouch uses worsted weight yarn and a 4mm hook. Start with a magic ring, work 6 single crochets, then increase to 12 stitches for a small round base.
Work even in rounds for about 6 to 8 rows without increasing, creating a small cup shape. Leave the top open for now.
Add a drawstring by working single crochets around the top edge with small chain gaps, then thread a length of yarn or ribbon through the gaps to cinch the opening closed.
15. Crochet Tablet Sleeve
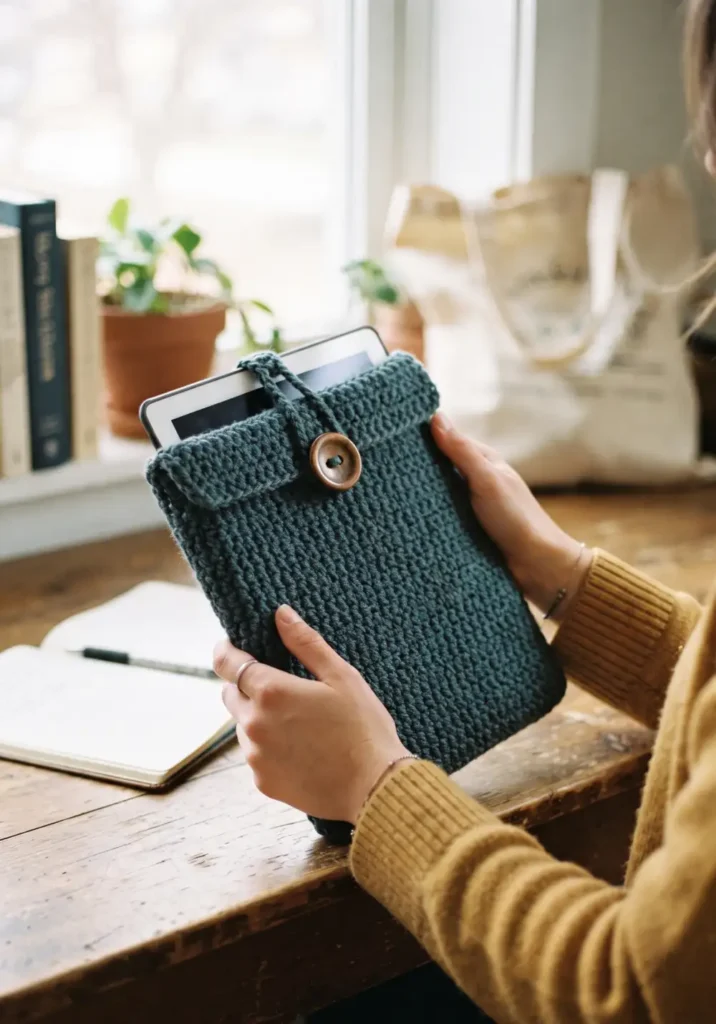
Use worsted weight yarn doubled for extra thickness, along with a 6mm hook. Chain stitches to match your tablet width plus an inch, then single crochet in rows until the rectangle is twice the tablet height plus a couple inches.
Fold the rectangle in half and single crochet the two side seams together, leaving the top open. Working in the back loops only throughout gives extra padding and a nice ribbed texture.
Weave in ends and add a button or velcro strip at the top opening if you want added security while carrying it around.
16. Crochet Laptop Sleeve Pattern
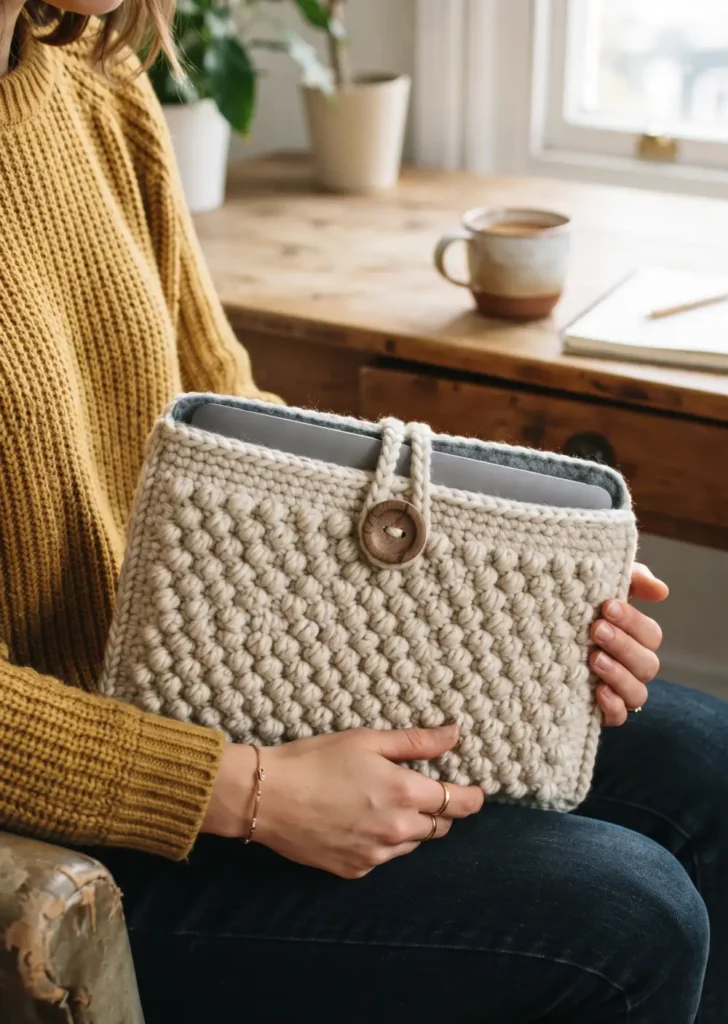
This works the same as the tablet sleeve but sized up. Use worsted weight yarn doubled, or a bulky weight yarn, with a 6mm or 7mm hook for a firmer fabric that protects well.
Chain stitches to match your laptop width plus 2 inches, then single crochet in rows until the piece is twice the laptop height plus 3 inches for extra coverage. Fold in half and seam the sides, leaving the top open.
For extra cushioning, add a layer of thin foam or batting inside before sewing the final seam. This makes the sleeve much more protective for everyday use.
17. Crochet ID Card Holder
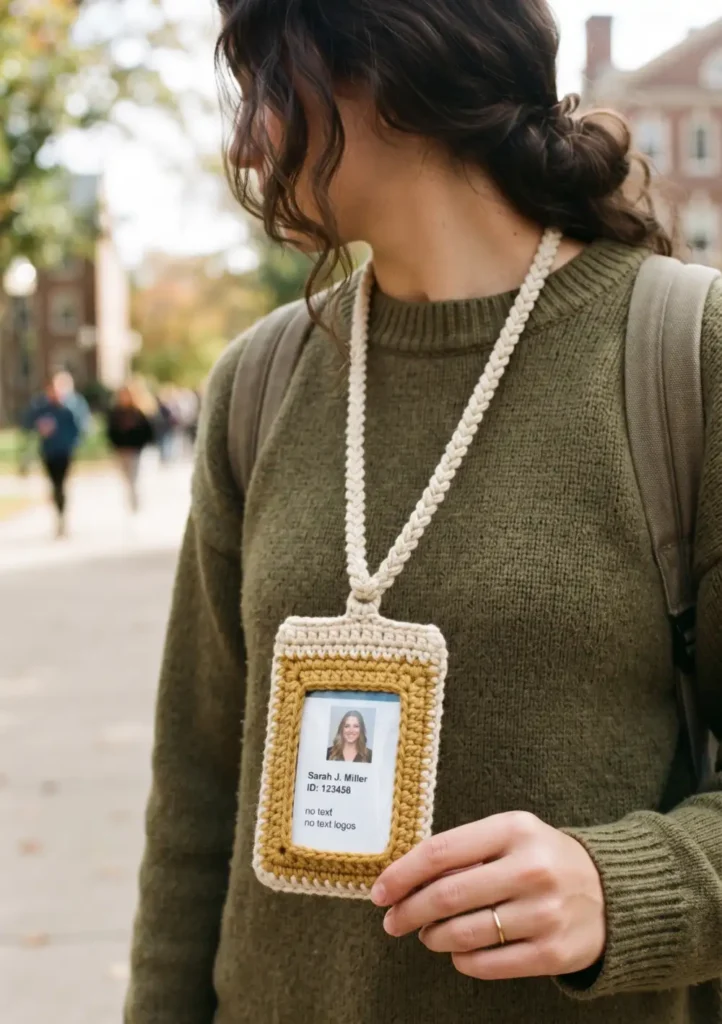
Chain 10 stitches using worsted weight yarn and a 4mm hook, then single crochet across in rows for 12 rows to create a small rectangle. Fold it in half to form a pocket shape and seam the two sides together.
Sew a small clear vinyl window onto the front if you want the ID visible without removing it, using a simple whip stitch around the edges.
Attach a short strap or clip at the top corner so it can connect to a lanyard, backpack zipper, or belt loop.
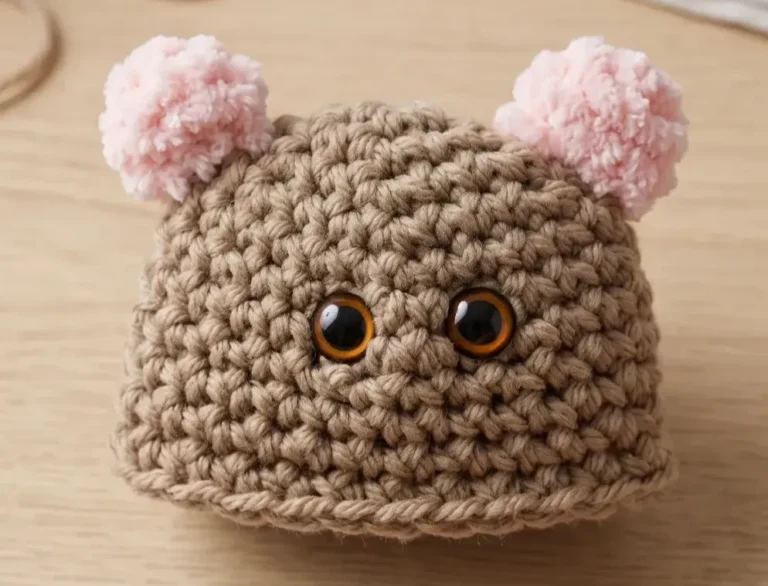
18. Crochet Pencil Topper Animals
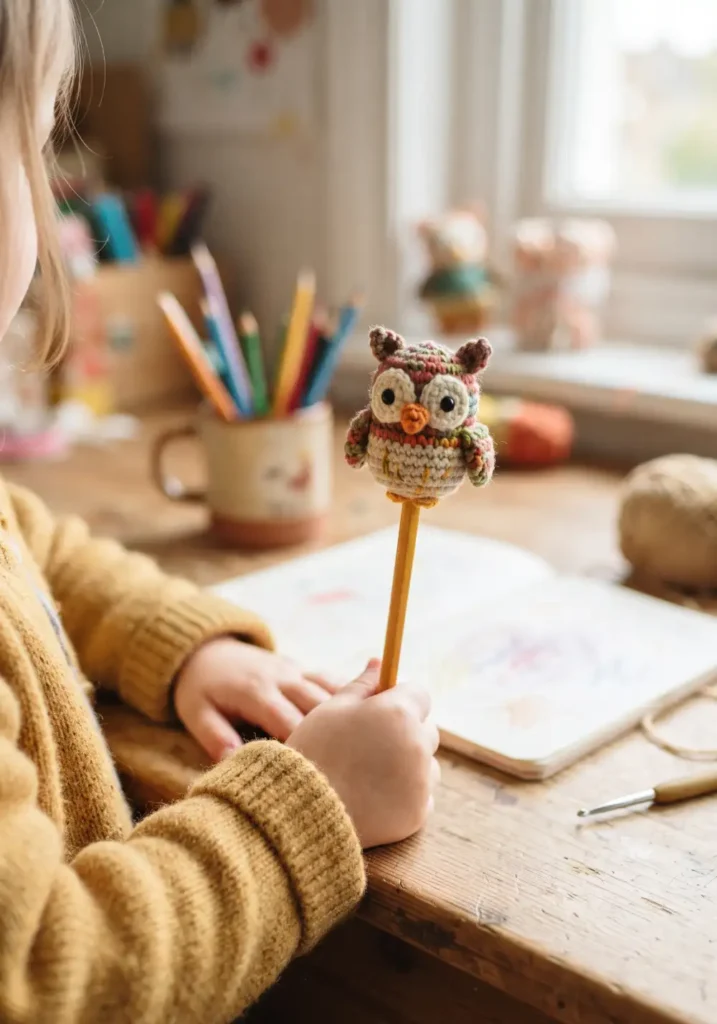
Use worsted weight yarn in your chosen animal colors and a 4mm hook. Start with a magic ring, work 6 single crochets, then increase to 12 stitches in round 2 and 18 stitches in round 3 for a rounded head shape.
Work even for a couple rounds, then add small details like ears, eyes, and a nose using contrasting yarn colors and a yarn needle. Leave the bottom opening unworked.
Do not stuff the topper, since it needs to slide over the end of a pencil. Simply weave in ends and it is ready to use.
19. Crochet Rainbow Bookmark
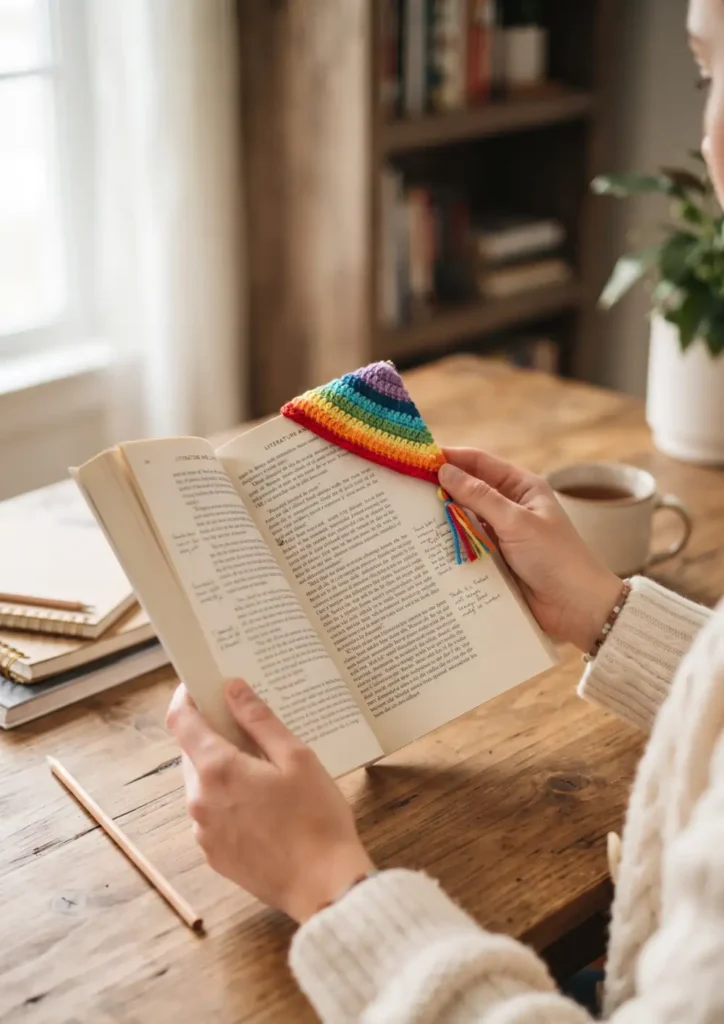
Use worsted weight yarn in red, orange, yellow, green, blue, and purple, along with a 4mm hook. Chain 8 stitches, then single crochet back across in red for row 1.
Switch colors every row, working through the rainbow order, for about 12 to 14 rows until your strip measures roughly 6 inches long. Carry unused colors loosely along the side or cut and rejoin each time.
Finish with a tassel at the bottom using leftover strands from each color for a fun, colorful touch.
20. Crochet Mini Backpack Keychain
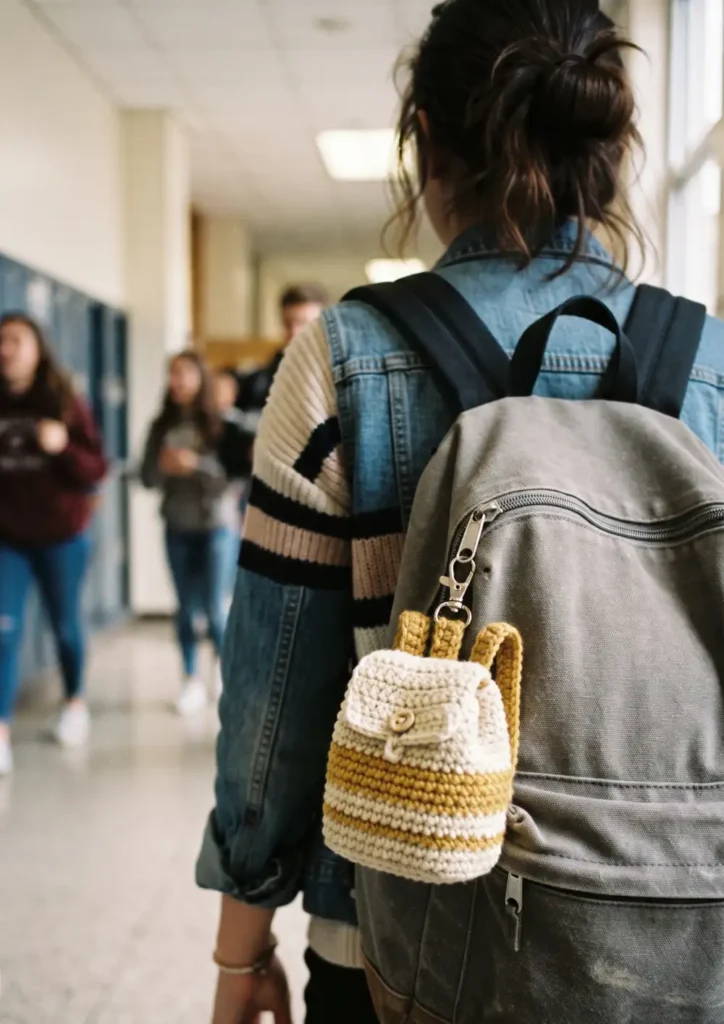
Use worsted weight yarn and a 4mm hook for this tiny accessory. Start the main body with a magic ring, work 6 single crochets, then increase to 12 stitches and work even for 4 to 5 rounds to form a small rectangular pouch shape.
Add two small straps using a short chain and single crochet strip, then sew them onto the back of the backpack shape. Stuff lightly before closing the top.
Attach a keyring loop at the top and add a tiny front pocket detail using a small oval piece of yarn sewn on for extra cuteness.
21. Crochet Owl Pencil Holder
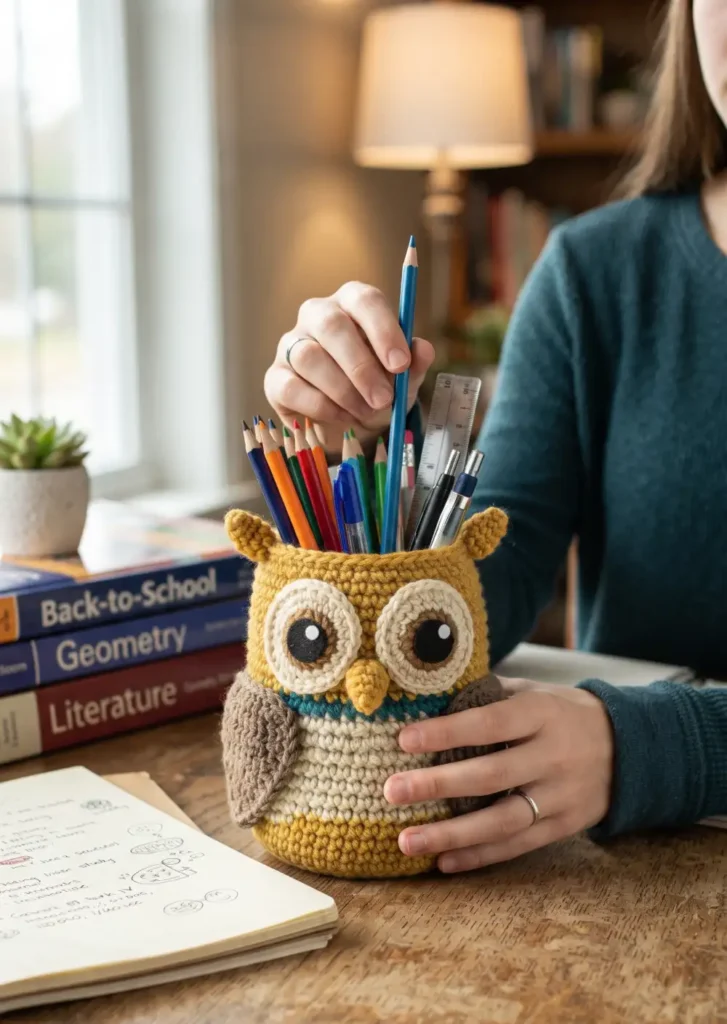
Use worsted weight yarn and a 5mm hook for a sturdy base. Start with a magic ring and 8 single crochets, then increase evenly over 2 rounds until the base measures about 4 inches across.
Switch to working even in single crochet without increasing for about 10 rounds to build up the sides into a cup shape tall enough to hold pencils and pens.
Add owl details on the front, including two round eyes, a small triangle beak, and wing shapes on the sides, using a yarn needle to sew them in place.
22. Crochet Desk Organizer Basket
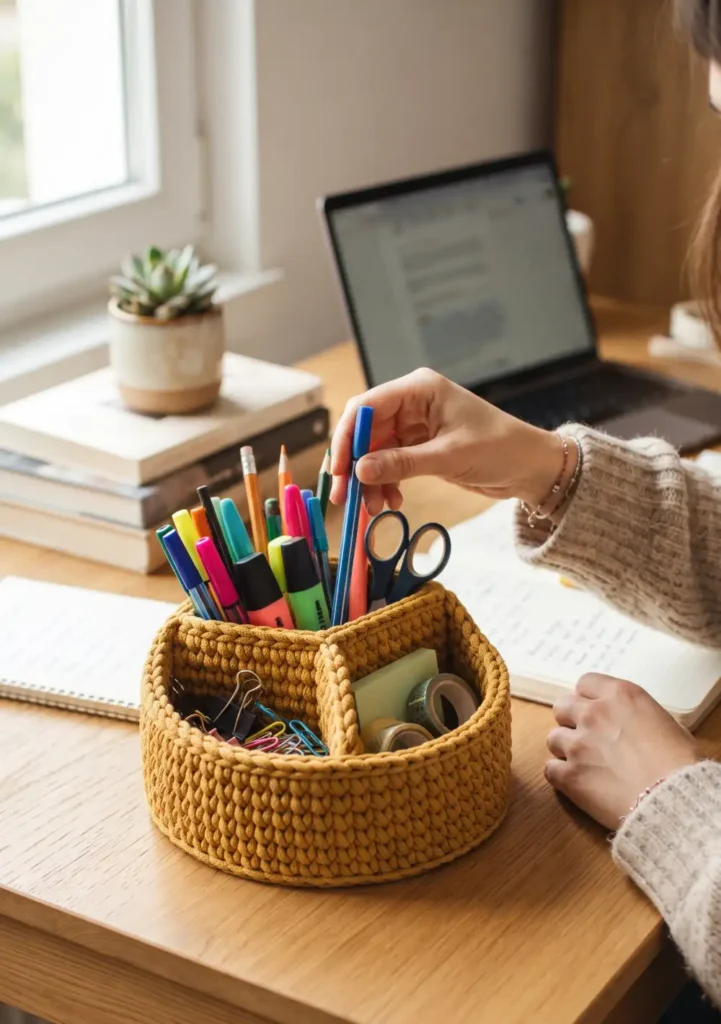
Use worsted weight or sturdy cotton yarn with a 5mm hook for structure. Start with a magic ring and 6 single crochets, increasing evenly each round until the base reaches your desired width, usually around 5 to 6 inches across.
Once the base is complete, work even in single crochet for about 8 to 10 rounds to build up the sides. Working in the back loops only helps the basket hold its shape better.
If you want extra dividers inside, crochet a couple small strips and sew them across the inside base to separate pens, clips, and sticky notes.
23. Crochet Lunch Bag Pattern
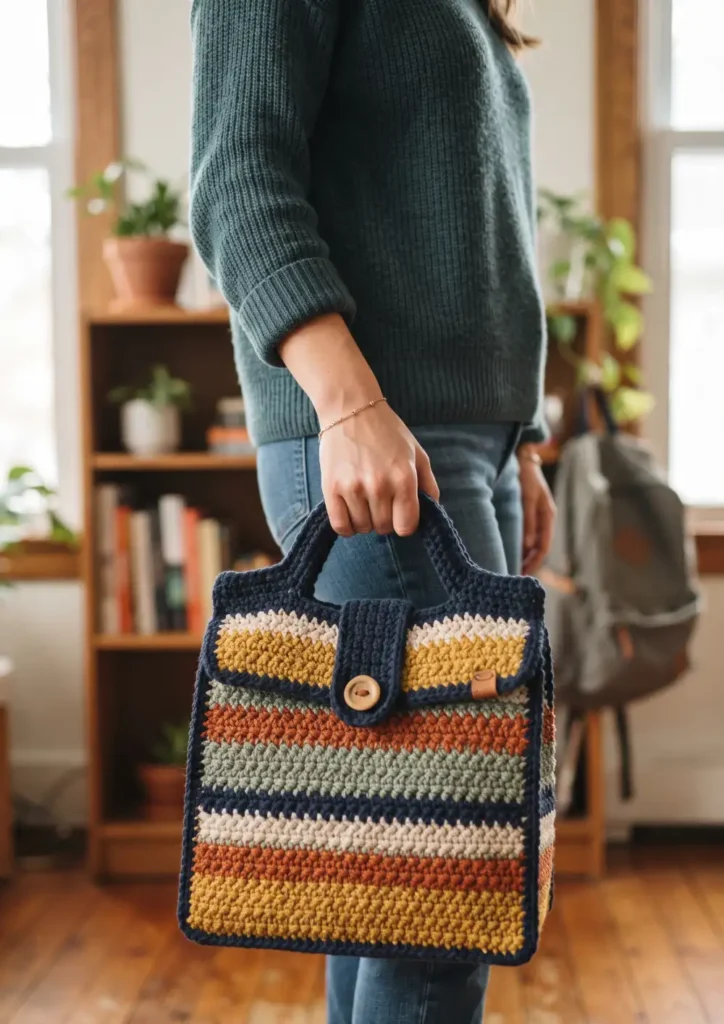
Use sturdy worsted weight yarn and a 5mm hook. Chain enough stitches to create a rectangular base about 6 by 10 inches, then single crochet across in rows to build the base shape.
Continue working single crochet rounds upward from the base edges to form the sides of the bag, working about 10 to 12 rounds until the bag reaches a comfortable height.
Add two handles by chaining long strips and attaching them to opposite sides of the top opening. This creates a reusable, eco friendly lunch bag that holds up well.
24. Crochet Tissue Pouch
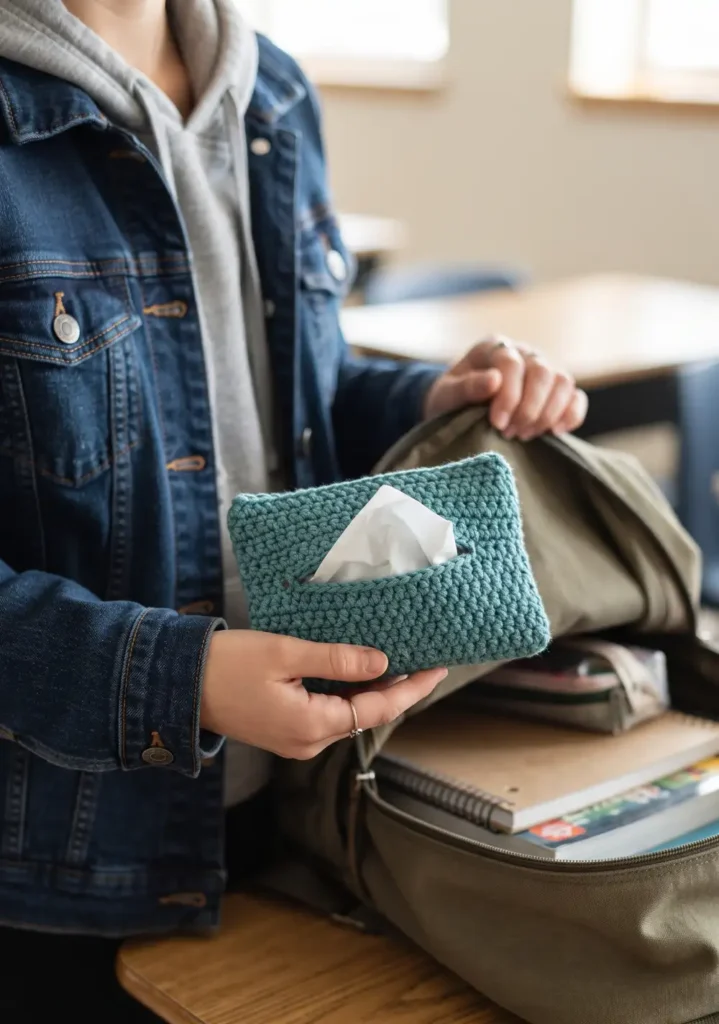
Use worsted weight yarn and a 4mm hook. Chain 12 stitches, then single crochet across in rows for about 10 rows to form a rectangle sized for travel tissue packs.
Fold the rectangle in half and seam the two side edges together using single crochet, leaving a small slit opening on top for pulling tissues out.
Weave in all loose ends and your pouch is ready to toss into a backpack or bag for quick access.
25. Crochet Coin Purse for Lunch Money
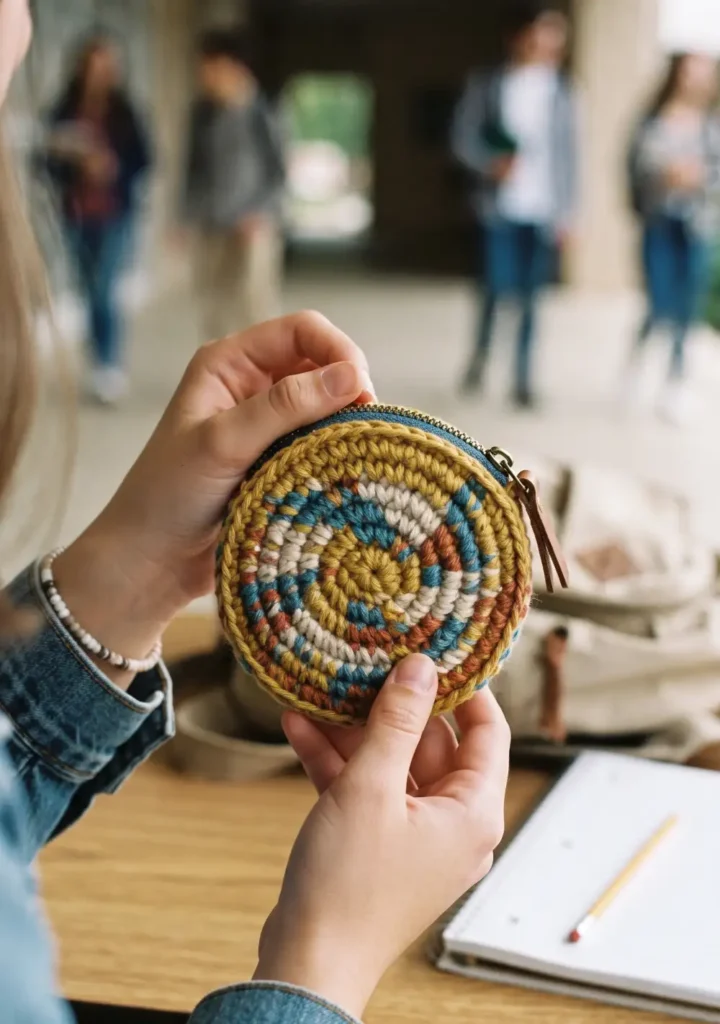
Use worsted weight yarn and a 4mm hook. Start with a magic ring and work 6 single crochets, increasing evenly over the next few rounds until you reach a small oval or round shape about 4 inches across.
Work even for several rounds to build up the sides into a small pouch, then switch to your zipper or snap closure attachment for the top opening.
Sew the zipper in place using a whip stitch and yarn needle, then weave in any remaining ends for a neat finish.
26. Crochet Glasses Case
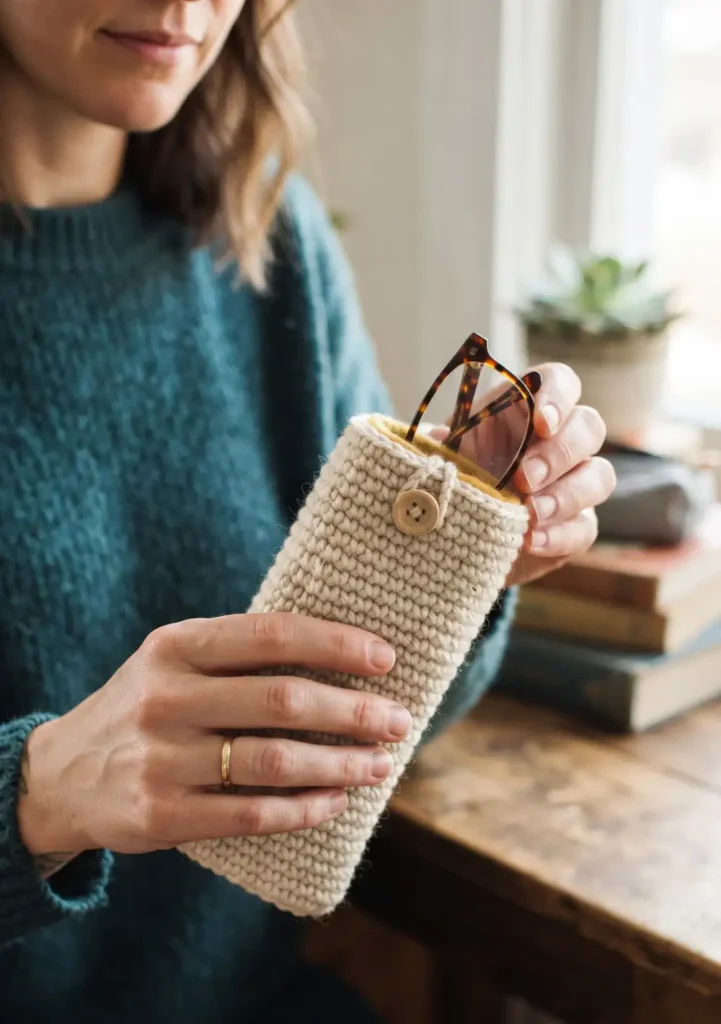
Use worsted weight yarn and a 5mm hook for good structure. Chain stitches to match the length of your glasses plus an inch, then single crochet across in rows until the rectangle is wide enough to wrap around the glasses with extra padding.
Fold the rectangle in half lengthwise and single crochet the two side seams together, leaving the top open for sliding glasses in and out.
Work in the back loops only throughout for a slightly padded, ribbed texture that helps protect against scratches.
27. Crochet Ruler Sleeve
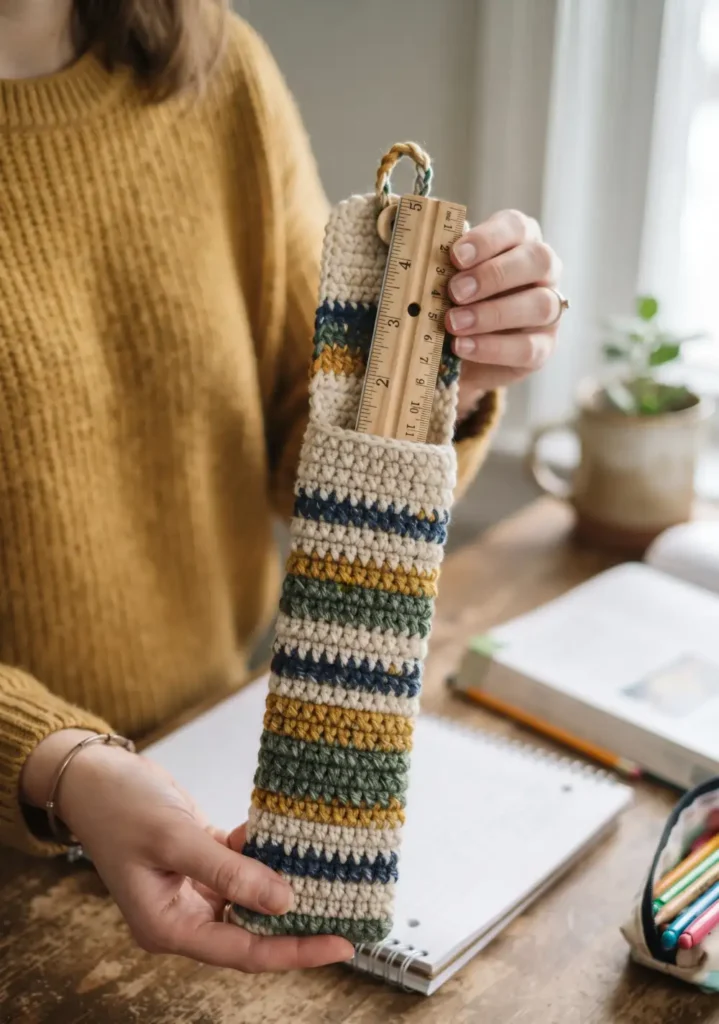
Use worsted weight yarn and a 4mm hook. Chain 6 stitches and join into a ring, then work single crochet in a spiral for a long narrow tube shape.
Continue working even in rounds until the tube reaches the full length of a standard ruler, usually around 12 inches. Keep the tube snug but not too tight so the ruler slides in easily.
Leave one end open for inserting the ruler and fasten off at the closed end, weaving in ends neatly.
28. Crochet Mouse Pad Cover

Use worsted weight yarn and a 5mm hook. Start with a magic ring and single crochet 8 stitches into it, then increase evenly each round until the circle or rectangle matches the size of your mouse pad.
Work a border round in single crochet around the outer edge for a clean, finished look. If your mouse pad is rectangular, chain a foundation row instead and work straight rows to match its shape.
Attach the cover with a few small stitches at the corners, or leave it detachable so it can be removed and washed easily.
29. Crochet Stress Ball Amigurumi
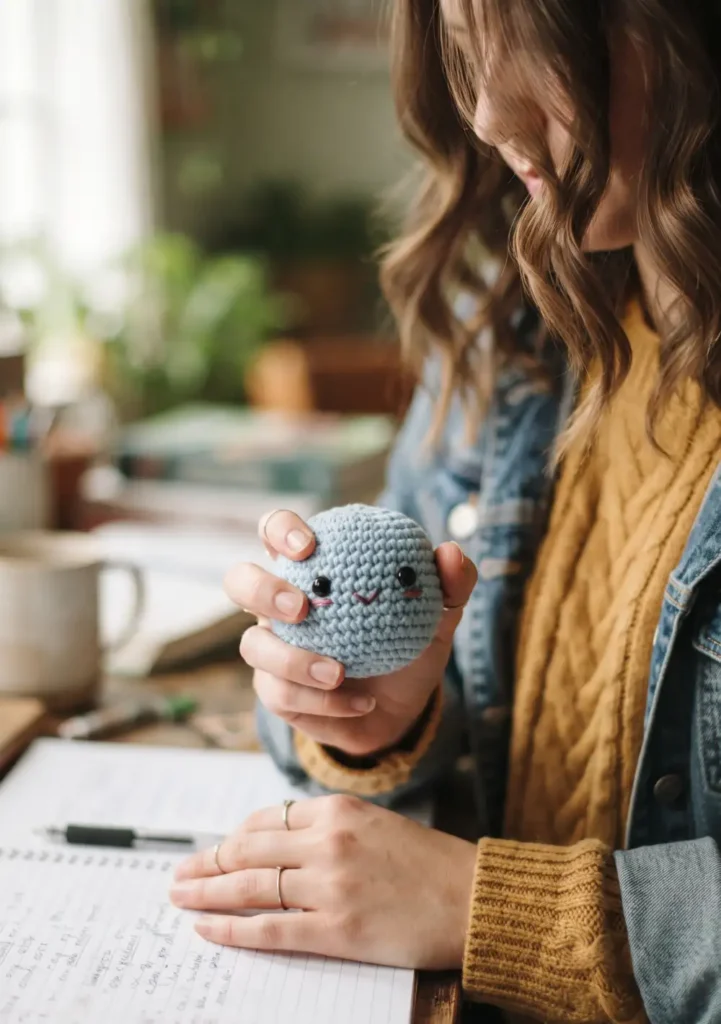
Use worsted weight yarn and a 4mm hook. Start with a magic ring and 6 single crochets, increasing each round until you reach about 18 stitches by round 3.
Work even for 2 to 3 rounds, then begin decreasing gradually over the following rounds. Stuff firmly with polyester fiberfill mixed with a bit of rice or dried beans for extra weight and squish.
Close the opening tightly and weave in ends. This makes a great little stress reliever for study sessions or exam week.
30. Crochet Graduation Cap Keychain
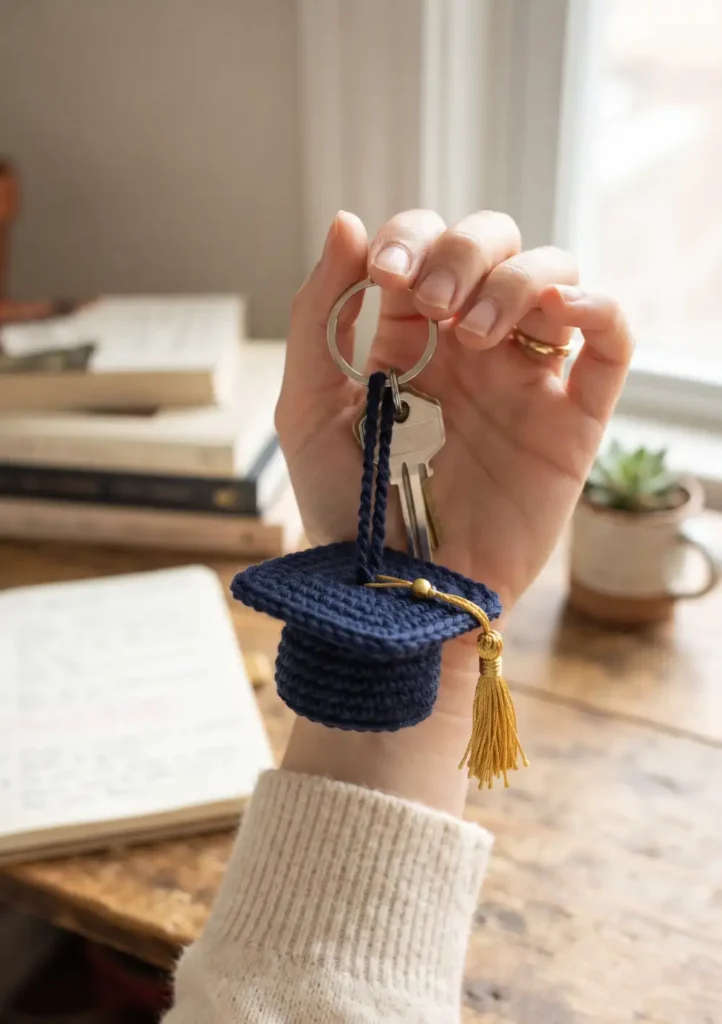
Use black worsted weight yarn and a 4mm hook. For the cap top, chain 8 stitches and single crochet a small flat square, about 4 rows, using single crochet stitches throughout.
For the base, start with a magic ring and 6 single crochets, increasing to 12 stitches, then work even for 2 rounds to form a small rounded dome. Sew the flat square on top of the dome.
Add a small tassel using yellow or gold yarn attached to the center of the cap top, along with a keyring loop for hanging.
31. Crochet Locker Organizer Basket
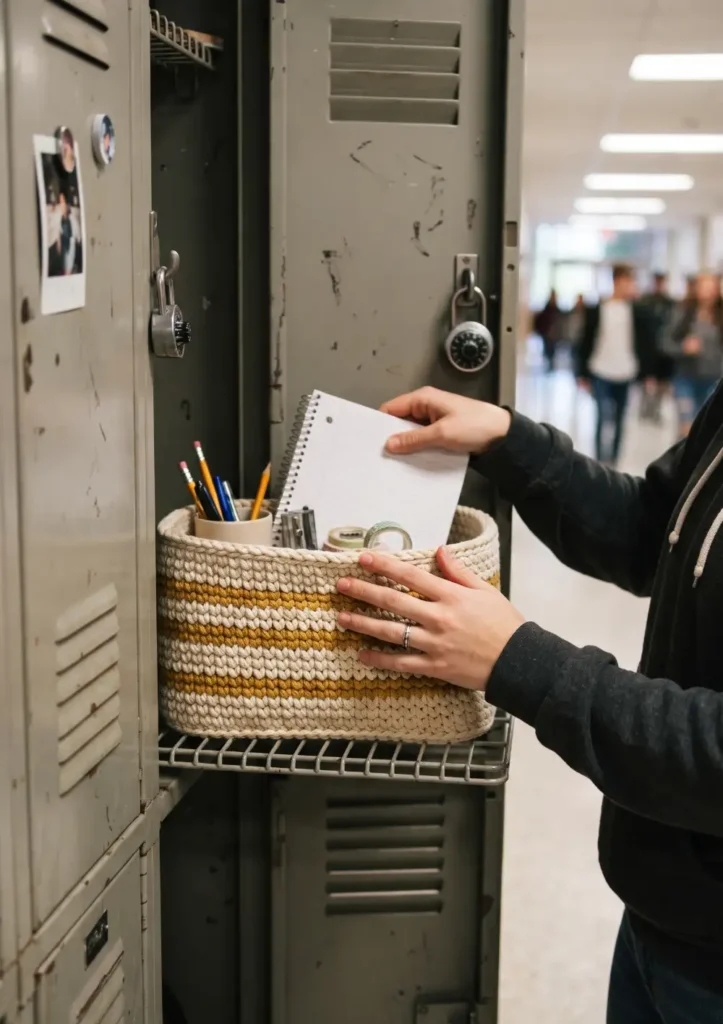
Use sturdy worsted weight yarn and a 5mm hook for structure. Chain a foundation row to create a rectangular base sized to fit inside a locker shelf, then single crochet across in rows to complete the base.
Work single crochet rounds upward from the base edges to build the sides, continuing for about 8 rounds until the basket reaches a useful height for holding supplies.
Add a couple of internal dividers by crocheting small strips and sewing them across the inside, separating pens, index cards, and other small items.
32. Crochet Mini Flower Garland for Locker
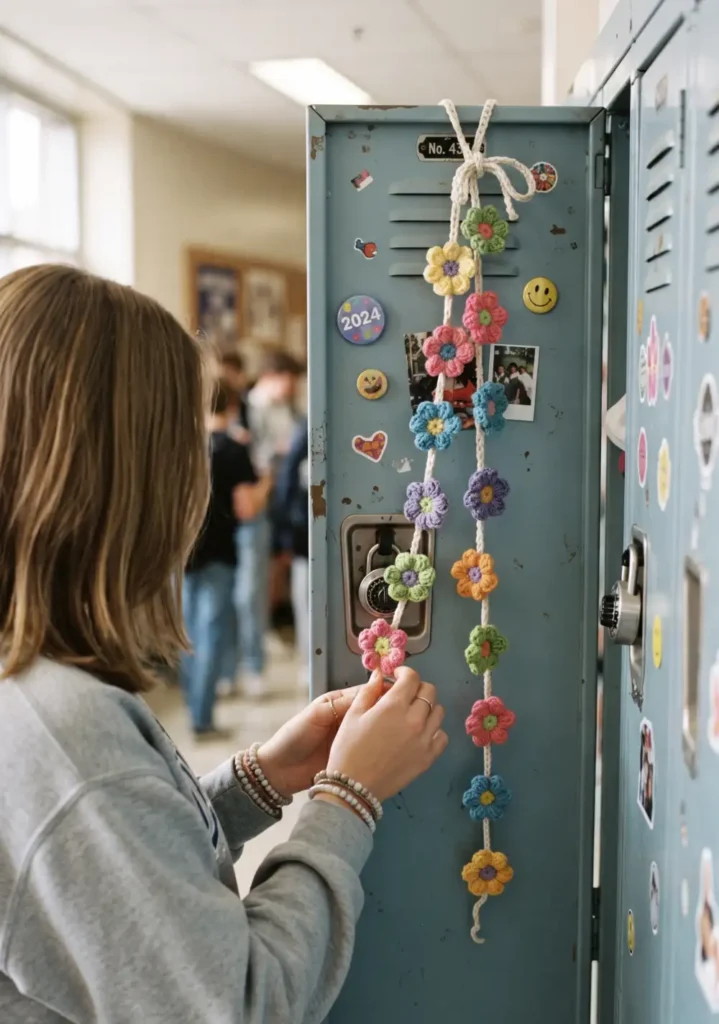
Use worsted weight yarn in a few different colors and a 4mm hook. For each flower, chain 4 and join into a ring, then work 5 petals into the ring using a chain 3, double crochet 3, chain 3, slip stitch sequence for each petal.
Make as many flowers as you like, then chain a long length of yarn to serve as the garland string. Attach each flower along the chain using a few small stitches or a knot.
Hang the finished garland along the top of a locker for a cheerful, personalized touch.
33. Crochet Teacher Gift Apple Coaster
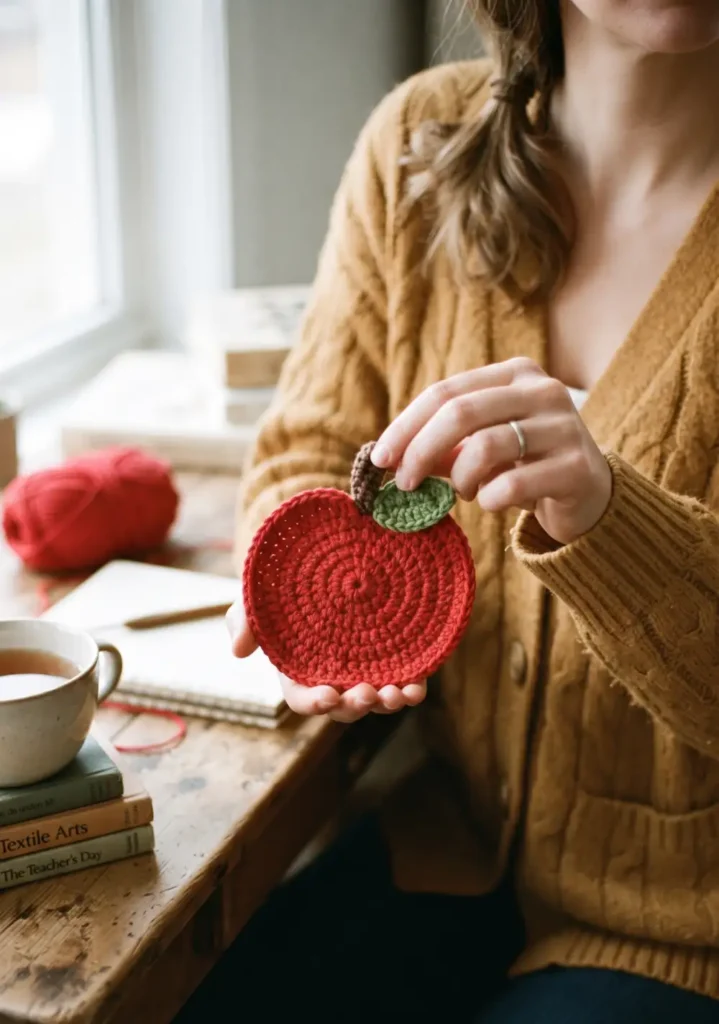
Use red and green worsted weight yarn with a 5mm hook. Start with a magic ring and 6 single crochets, increasing evenly each round until the circle measures about 4 inches across, usually by round 4 or 5.
Shape the top of the circle into an apple silhouette by working a small indent at the top center, then attach a short chain stem in brown yarn and a small leaf shape in green.
Weave in all ends and press flat if needed. This makes a sweet, handmade gift that teachers can actually use on their desks.
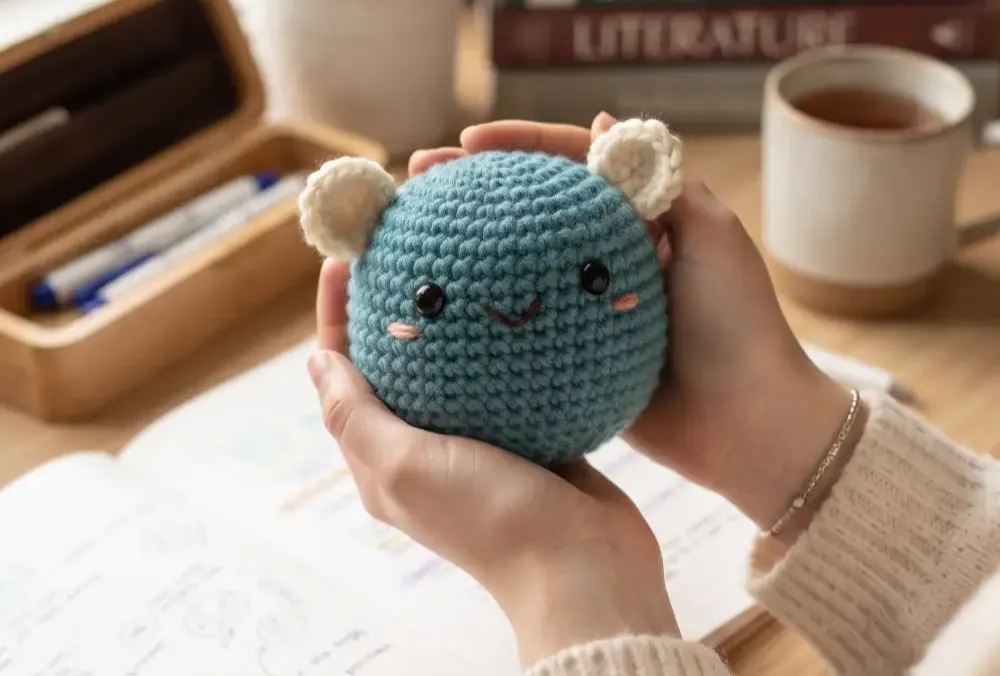
34. Crochet Study Buddy Amigurumi
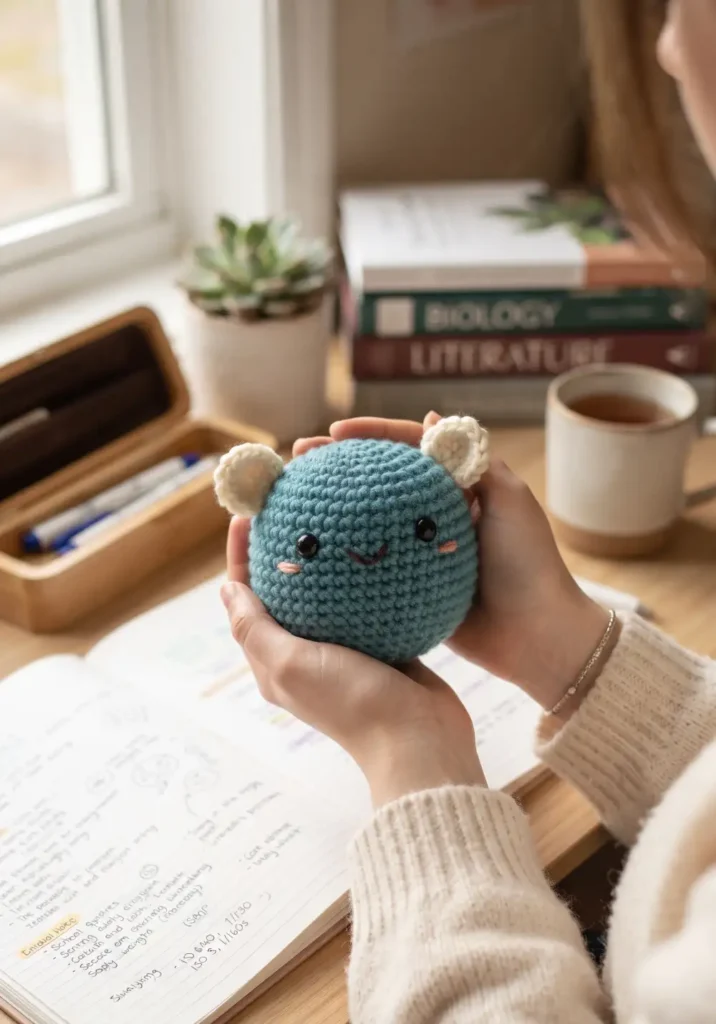
Use worsted weight yarn and a 4mm hook. Start the body with a magic ring and 6 single crochets, increasing each round until you reach about 24 stitches by round 4 for a nice round body shape.
Work even for several rounds, then decrease gradually while stuffing firmly with polyester fiberfill as you close the top.
Add simple features like embroidered eyes, a small smile, and tiny arms or ears using a yarn needle and contrasting yarn colors. Keep the shape soft and huggable for desk companionship during homework time.
35. Crochet School Bus Plushie
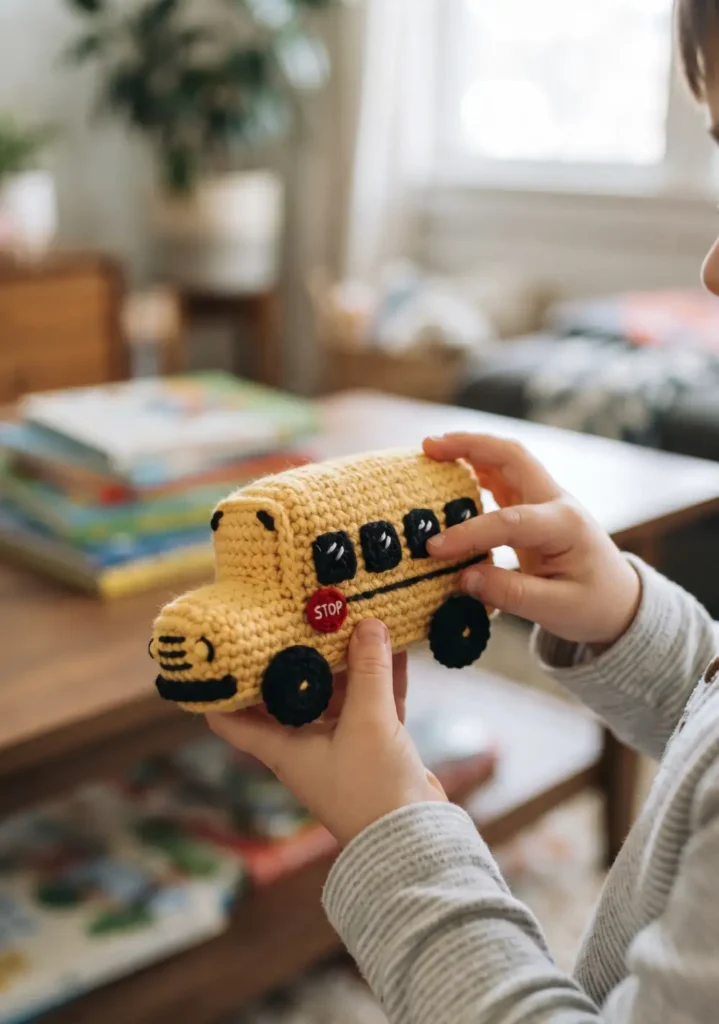
Use yellow, black, and white worsted weight yarn with a 5mm hook. Chain a foundation row to create a rectangular base for the bus body, then single crochet in rows to build up both the front and back panels to match in size.
Work the sides and top in single crochet rounds, leaving a small opening for stuffing. Add black wheel circles using a magic ring shape, along with small white window rectangles sewn onto the sides.
Stuff the body firmly with polyester fiberfill before closing the final seam, then weave in all ends for a fun plushie that celebrates the first day of school.
FAQs
What yarn weight is best for school themed crochet projects?
Worsted weight yarn works well for most of these projects. It is easy to handle and creates sturdy, durable results.
What hook size should I use for most patterns?
A 4mm or 5mm hook covers the majority of these ideas. Smaller accessories work well with 4mm, while bags and covers often need 5mm or larger.
Do I need advanced skills to make these projects?
No. Most of these ideas use basic stitches like single crochet, increases, and decreases, making them beginner friendly.
How long does a small project like a keychain take?
Most small accessories like keychains or bookmarks can be finished in under an hour once you know the pattern.
Can I use scrap yarn for these ideas?
Yes. Many of these projects are small enough to use up leftover yarn from other projects.