How to Make a Large Crochet Turtle Plush Amigurumi: Easy Techniques
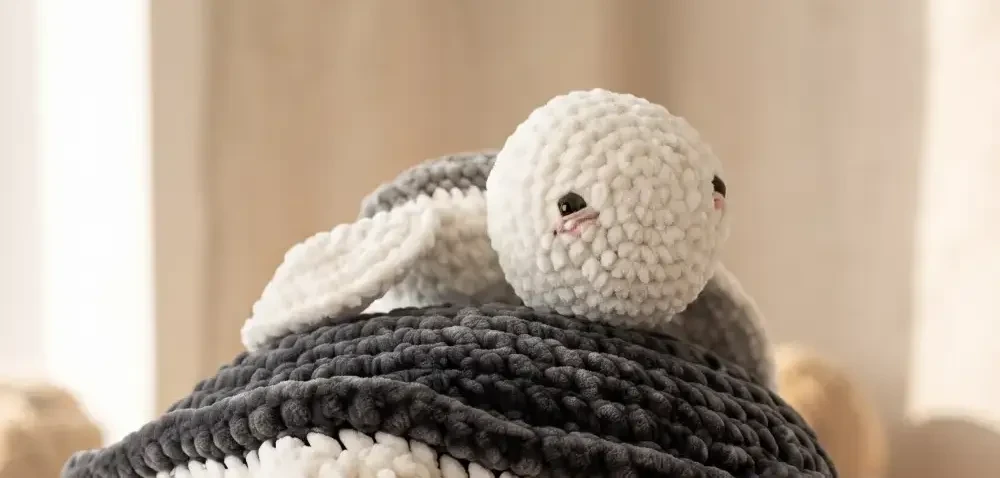
If you’ve ever wanted a crochet project that goes big, literally, this jumbo amigurumi turtle is it. Standing in at roughly six pounds and built with thick chenille yarn, this squishy sea creature turns a classic amigurumi pattern into an oversized, huggable plush the size of a small child.
In this tutorial, I’ll walk through every step, from shaping the rounded head to assembling the shell, fins, and tail, so you can create your own giant turtle companion using simple, beginner-friendly techniques.
Large Crochet Turtle Plush Tutorial
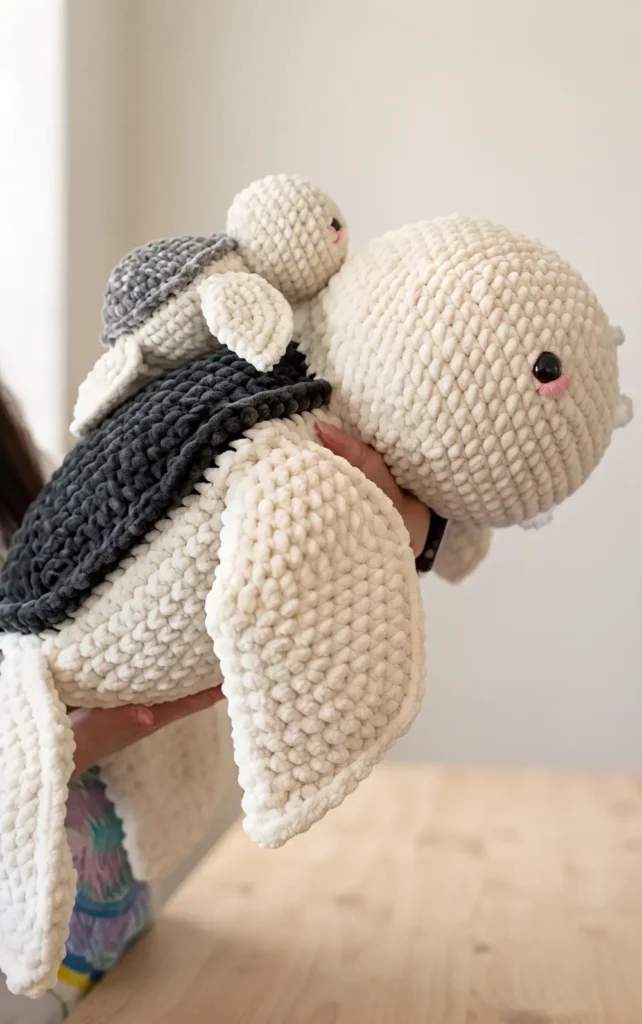
Creating a jumbo amigurumi turtle requires a significant amount of yarn and patience, but the result is a massive, huggable plushie that resembles a small child in size. This project is a scaled up version of a standard turtle pattern, using thicker yarn and a larger hook to achieve its impressive dimensions.
Essential Materials
To complete this jumbo turtle, you will need the following supplies:
- Yarn: Five skeins of jumbo chenille yarn (such as Sweet Snuggles). You will need four skeins for the body colour (e.g., white) and one skein for the shell colour (e.g., dark green).
- Hook: A 9 mm crochet hook.
- Eyes: 30 mm safety eyes.
- Stuffing: A large quantity of polyester fibre fill to give the turtle its shape and weight.
- Notions: Scissors and a yarn needle for assembly.
Step by Step Instructions
1. Prepare your workspace
Given the size of this project, ensure you have plenty of room. The finished turtle can weigh approximately six pounds and may take up an entire desk during assembly.
2. Start the jumbo head
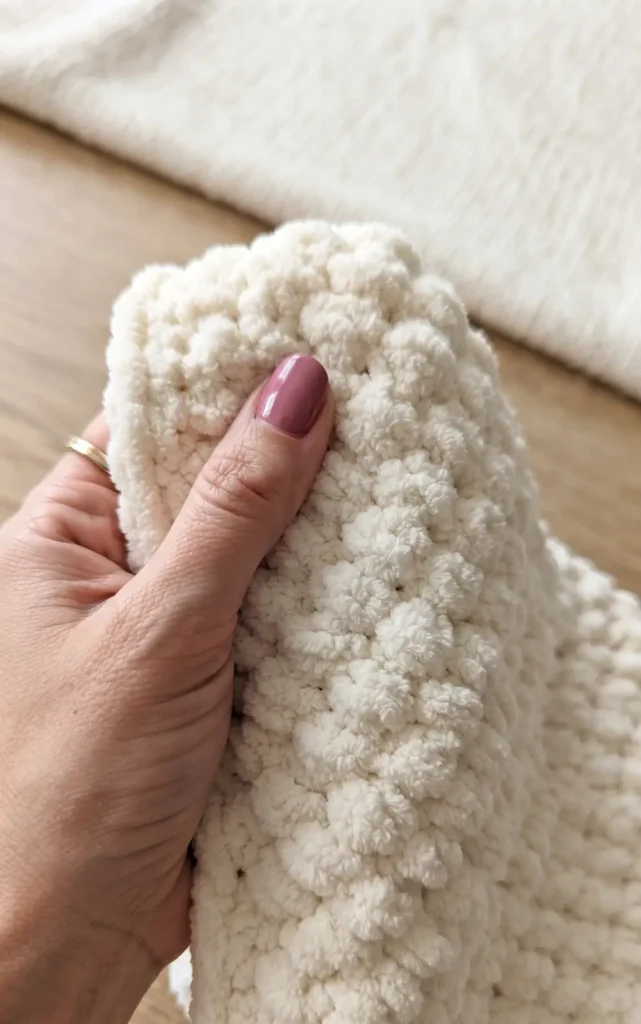
Begin with a standard amigurumi head base of 36 stitches.
3. Increase for volume
Continue increasing until you reach 8 increases per round, which brings the total stitch count to 60.
4. Build the head height
Crochet approximately 7 rounds of 60 stitches each. This helps the head maintain a rounded shape rather than becoming too rectangular or boxy.
5. Decrease to finish the head
Gradually decrease the head. The creator found that decreasing down to 6 increases (rather than the standard 2 or 4) provided the best proportions for this size.
6. Crochet the large front fins
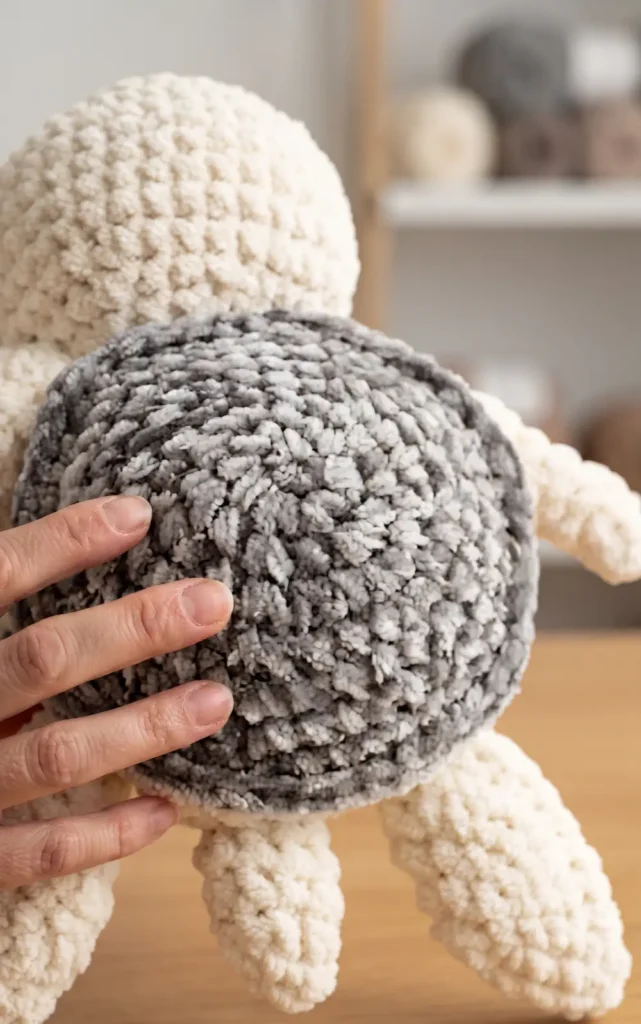
Create two large front fins using 8 increases. These are worked flat and do not require stuffing.
7. Crochet the smaller back fins
Create two slightly smaller back fins using 7 increases each.
8. Finish the fins
Once the rounds are complete, fold the fins in half and single crochet them flat to close them up.
9. Freehand the tail
Crochet a small, pointed tail. There is no strict pattern for this; simply work until it looks proportional to the massive head and fins.
10. Begin the dark green shell
Using your shell colour, work your increases until you reach 12 increases around. While initially estimated at 96 stitches, the final count for a symmetrical shell is 84 stitches.
11. Shape the shell
Add extra rounds of single crochet to create the depth or bulge of the shell.
12. Add the shell ridge
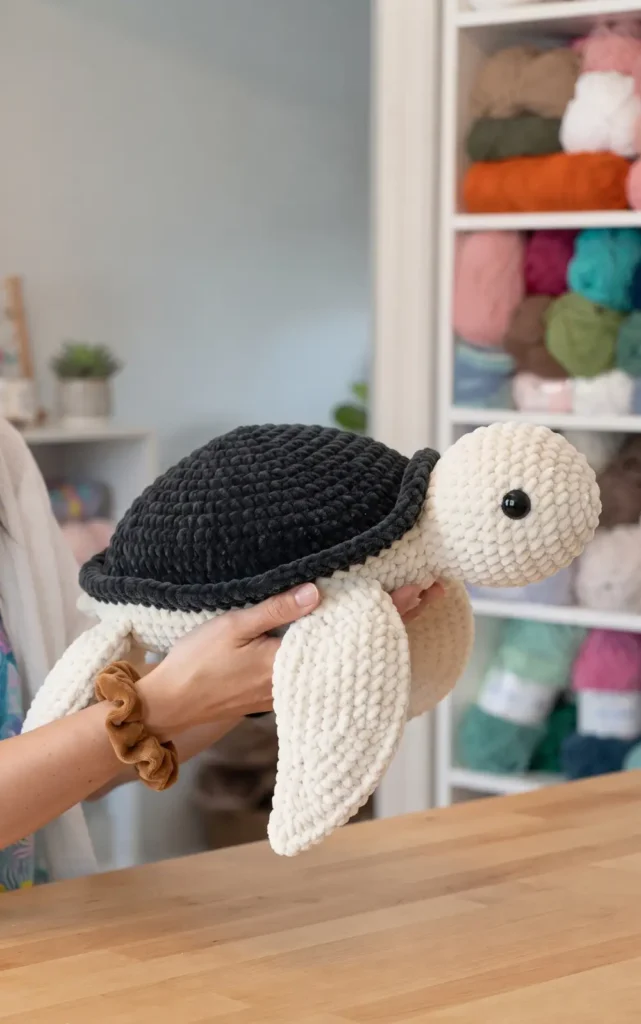
Crochet a decorative ridge around the edge of the shell to give it a defined border.
13. Transition to the body colour
Attach the white yarn to the shell. Use long tails and secure them with triple knots, as thick chenille yarn can easily unwrap or slip.
14. Create fin and tail gaps
Crochet a round that includes specific gaps for the two front fins, two back fins, and the tail. It is vital to ensure these gaps are symmetrical before proceeding.
15. Attach the limbs
Sew the four fins and the tail into the designated gaps on the body.
16. Stuff the body and head
Fill the body and head firmly with stuffing. Because of the scale, the turtle will become quite heavy as you add the fibre fill.
17. Final assembly
Place the 30 mm safety eyes and any facial details like blush on the head. Finally, sew the head securely onto the body to complete your jumbo turtle.
Video Credits: CrochetByGenna
Finished Your Jumbo Plushie?
That’s it. Your jumbo turtle is stuffed, stitched, and ready for cuddles. The chenille yarn gives it that soft, squishy feel that makes it hard to put down. And trust me, once you see it sitting there at full size, you’ll understand why this pattern is worth the extra yarn and time.
Don’t be surprised if this turtle becomes the favourite toy in the house. Its size alone makes it a showstopper, and the sturdy construction means it can handle years of hugs. Try switching up the shell colour or fin size next time to make your own signature version.
Frequently Asked Questions
How much yarn do I need to make a jumbo crochet turtle?
You’ll need five skeins of jumbo chenille yarn total, four skeins for the body color and one skein for the shell color. A 9 mm hook works best with this thickness of yarn.
How big does the finished turtle end up being?
The finished plush weighs approximately six pounds and is large enough to resemble a small child in size, so make sure you have plenty of workspace during assembly.
What size safety eyes should I use for this pattern?
This pattern calls for 30 mm safety eyes, which are proportional to the oversized head and give the turtle its expressive face.
Do the fins need to be stuffed?
No, the front and back fins are worked flat and left unstuffed. Once crocheted, you fold them in half and single crochet them closed instead of filling them with fibre fill.
Why use triple knots when switching yarn colors?
Thick chenille yarn tends to unravel or slip more easily than standard yarn, so securing long tails with triple knots when transitioning from the shell color to the body color helps keep everything in place.
Is there an exact pattern for the tail?
Not really. The tail is worked freehand, so you simply crochet a small, pointed shape until it looks proportional to the turtle’s oversized head and fins.