How to Crochet an Amigurumi Cat Plushie: Easy Tutorial
That cat plushie will not sit flat and boring on a shelf. It has real weight to it. Eleven inches of chunky velvet stitched into something you actually want to squeeze.
Most amigurumi patterns skip the details that make a plushie feel finished. This one does not. You will shape sharp pointed ears, sculpt real paws, and give your cat a tail with proper heft. Grab your hook. Let’s build something worth keeping.
How to Crochet a Cat Plushie
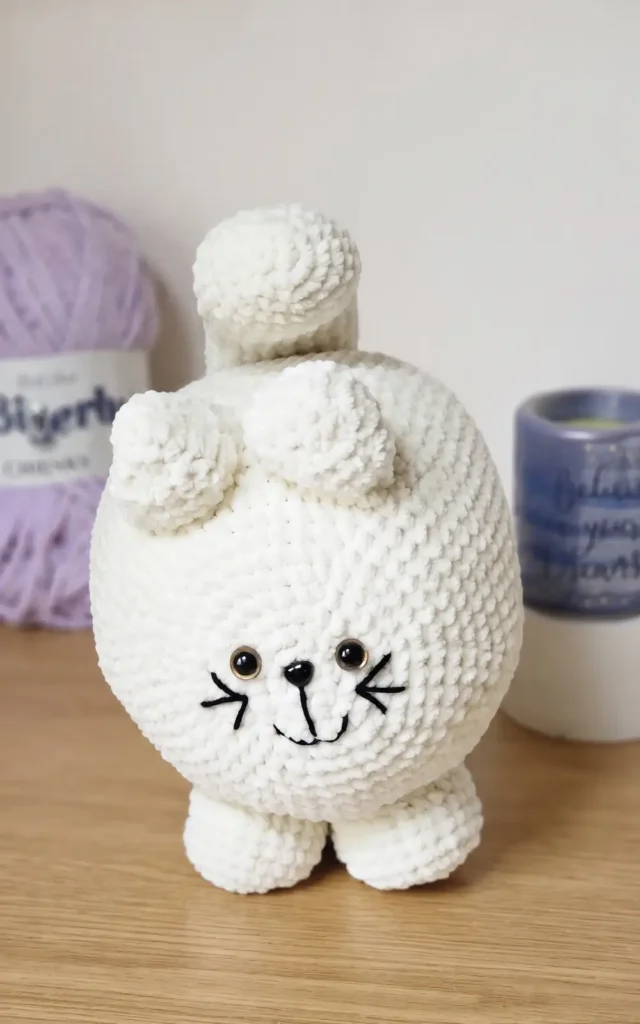
This tutorial guides you through creating a large, squishy cat plushie that measures approximately 11 inches from head to tail and 8 inches in height. The pattern is designed to be beginner friendly by primarily using the UK double crochet stitch, which is equivalent to the US single crochet.
Step-by-Step Tutorial
1. Gather your supplies.
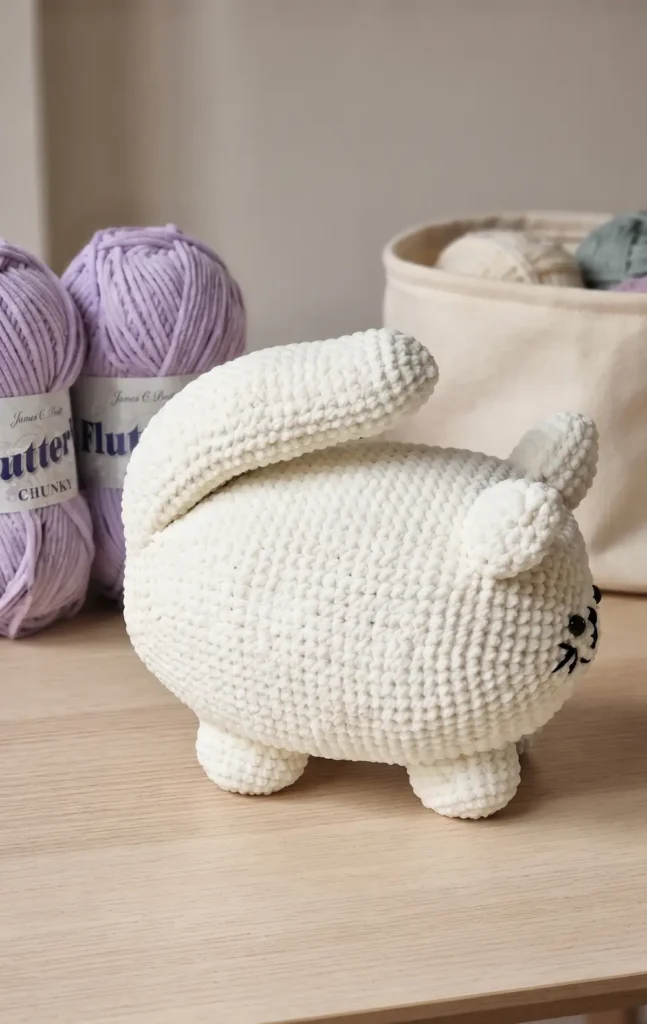
Ensure you have your chunky velvet yarn, 4mm hook, and all safety features ready before beginning.
2. Crochet the base for the ears.
Start by making a slip knot and chaining nine. Work rows of UK double crochet, incorporating decreases to create a triangular shape.
3. Add an edging to the ears.
Work double crochets evenly around the sides of the triangle to create a clean finish. Place three stitches in each corner to help the piece pivot naturally.
4. Assemble the ear components.
You will need to make four identical triangles in total. Sandwich two triangles together with the wrong sides facing out and mattress stitch them together along the sides.
5. Turn the ears right side out.
Once sewn, flip the ears so the correct side is showing and ensure you have a sharp point at the top. Repeat this for the second ear.
6. Start the paws.
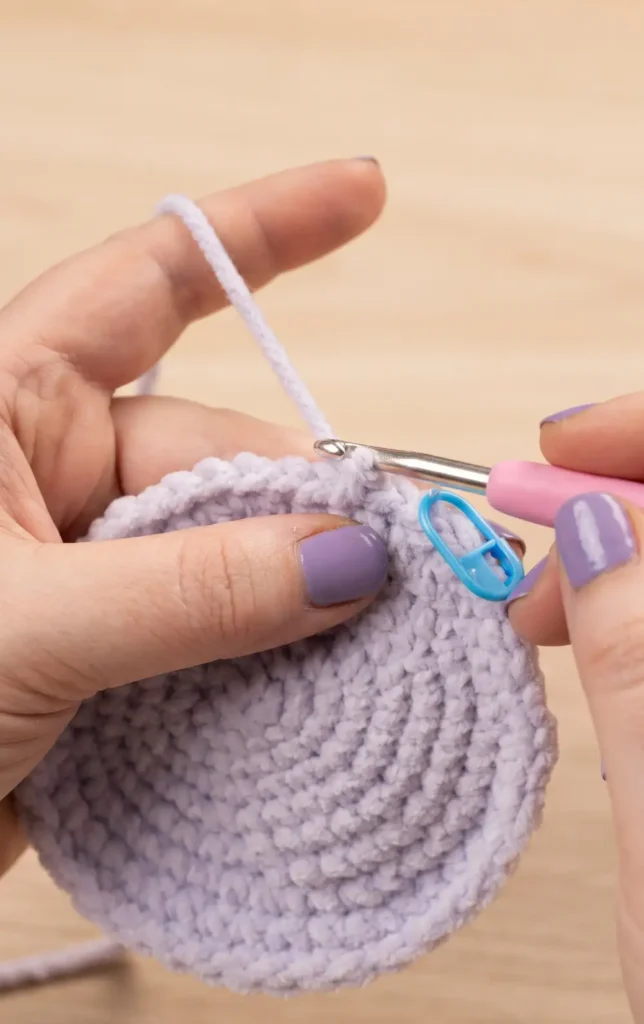
Create a slip knot and chain two, then place six double crochets into the second chain from the hook. Work in a continuous spiral rather than joining rows with a slip stitch.
7. Increase the paw size.
In the following rounds, perform increases until you reach a stitch count of 24.
8. Complete the paw length.
For rounds five through eight, place one double crochet in every stitch around. Fasten off with a long tail for sewing and repeat this process to create four paws in total.
9. Crochet the tail.
Begin the tail exactly like the paws, but continue working in a spiral for 32 rounds total. Fasten off once the tail reaches the desired length.
10. Begin the body and head.
Start with a chain two and six double crochets in the first chain. Gradually increase the number of stitches in each round.
11. Shape the body rounds.
To keep the body circular and avoid a hexagonal shape, stagger the placement of your increases in rounds six through eleven. Continue until you reach 72 stitches in round twelve.
12. Install the facial features.
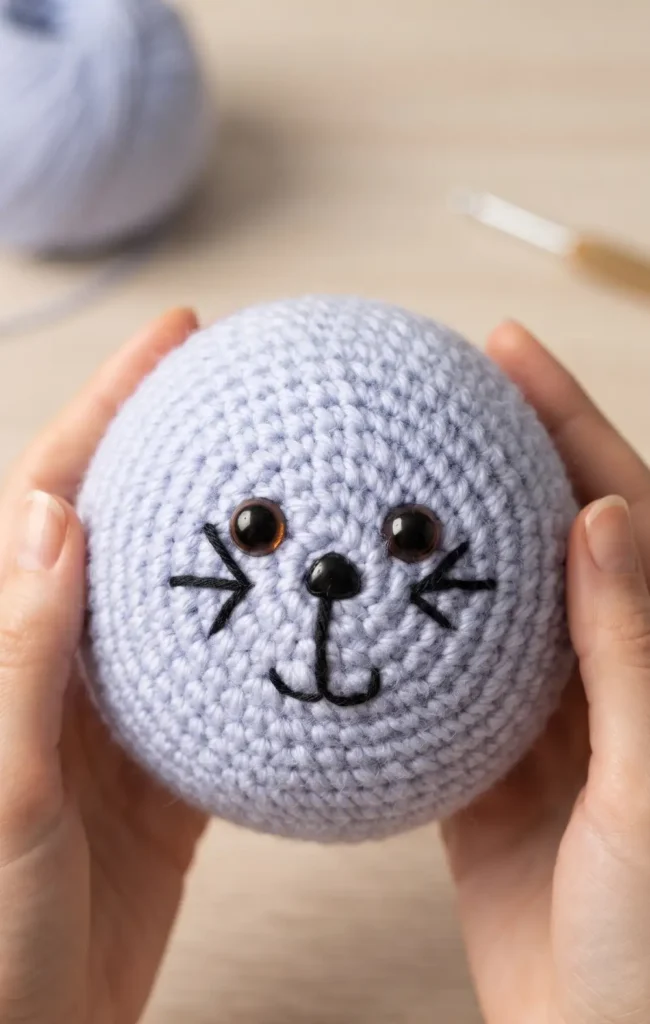
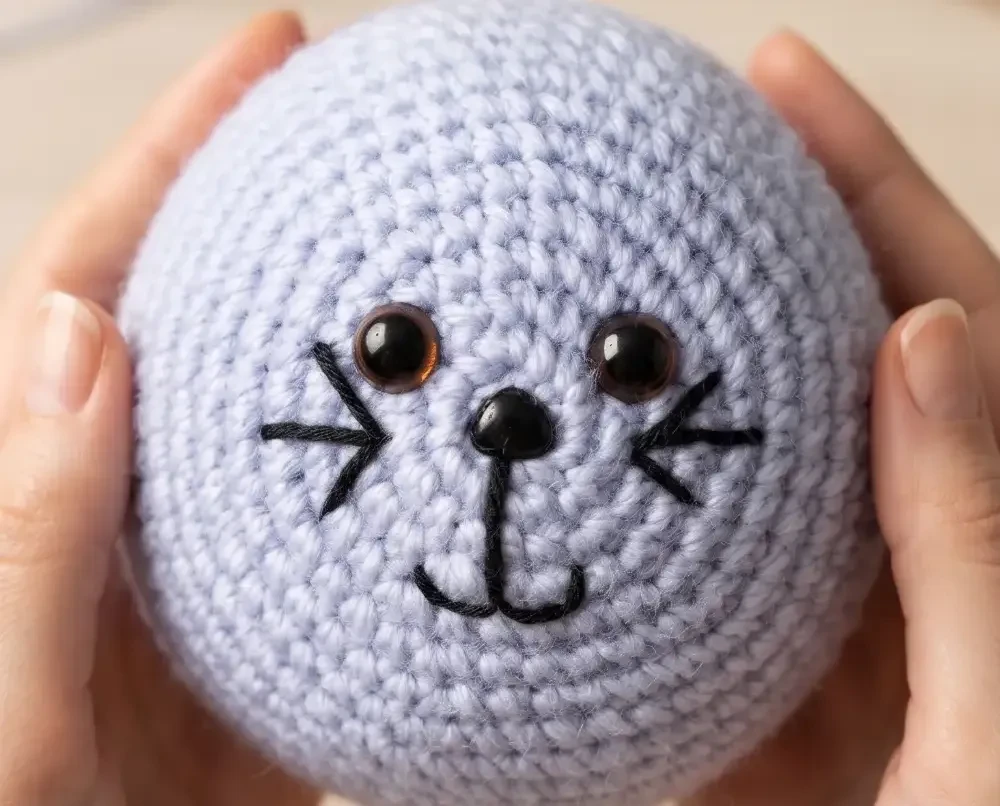
Position the 12mm nose in the centre of the starting circle and place the safety eyes two rows above. Embroider the mouth and three whiskers on each side using the black Aran cotton before securing the safety backs.
13. Grow the body length.
From round 13 through round 37, simply place one double crochet into every stitch around, maintaining a consistent count of 72 stitches.
14. Decrease and stuff the body.
Begin decreasing the stitch count across subsequent rounds to close the shape. Firmly pack the body with toy stuffing when the opening is still wide enough to work through.
15. Final closure and assembly.
Complete the final decreases until only six stitches remain, then weave the yarn tail through to pull the hole shut. Finally, mattress stitch the ears, paws, and tail onto the body to finish your cat plushie.
Video Credits: Rocco Baby Crochet
Which Cat Comes Next?
That’s your cat plushie done, ears, paws, tail, and all. The UK double crochet keeps this pattern approachable, but the shaping and finishing give it a professional look. Once you’ve stuffed and sewn that last seam, you’ll have a squishy, sturdy companion built to last.
Try this pattern again in a different yarn colour or add stripes for a tabby look. You could also size it up or down once you’re comfortable with the stitch counts. Whatever you choose, you now have the skills to make cats of your own design.