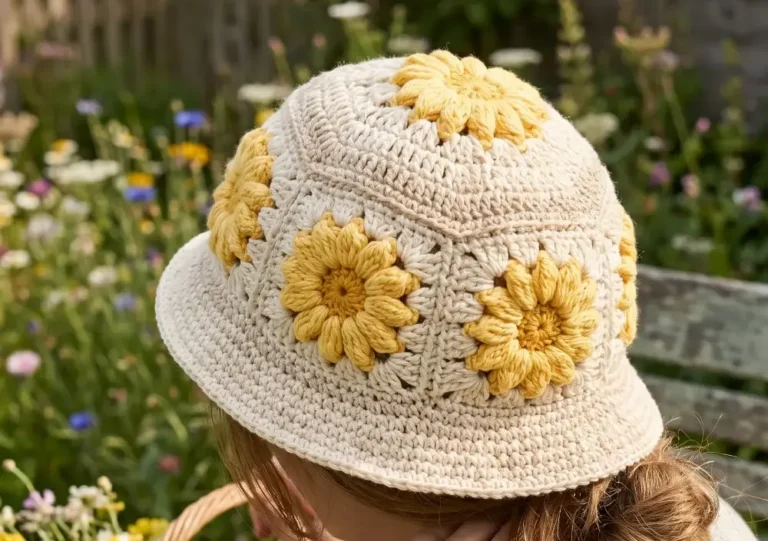
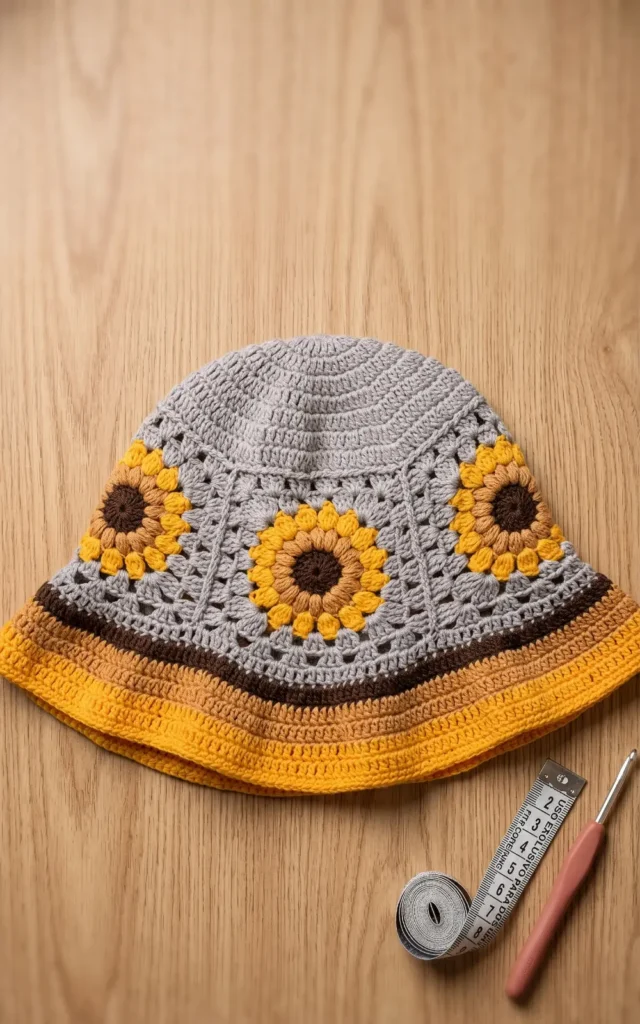
How to Crochet a Sunflower Bucket Hat: Step-by-Step Tutorial

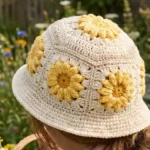
If you have been looking for a crochet project that feels fresh, wearable, and genuinely fun to make, this sunflower bucket hat is the one. It combines a classic bucket hat silhouette with decorative sunflower granny squares and a ruffled brim, making it one of those pieces that looks impressive but is completely achievable for anyone comfortable with basic crochet stitches.
This tutorial breaks down every step of the process, from the circular top base to the finishing touches on the brim. Whether you are a confident beginner or an intermediate crafter looking for a satisfying weekend project, you will find everything you need right here.
What You Will Need
Before you start crocheting, gather all your materials. Having everything on hand before you begin makes the process much smoother.
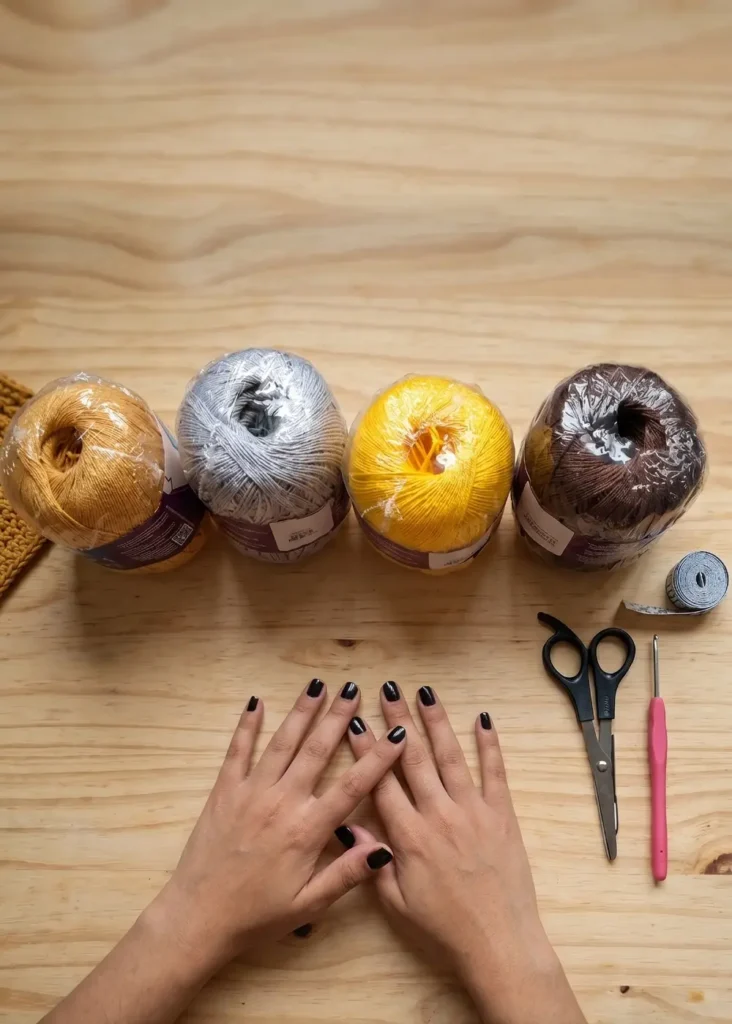
Yarn
This hat uses four yarn colors to capture that warm, golden sunflower palette:
Tabaco (7311) is a deep brown used for the sunflower centers. It grounds the floral design and gives it a realistic, earthy look.
Canário (1889) is a bright, cheerful yellow used for the sunflower petals. It brings the flowers to life and gives the hat its signature pop of color.
Mostarda (7030) is a warm mustard yellow, also used in the petals and brim. It adds depth and dimension when paired alongside Canário.
Pedreira (8008) is a neutral tone used for the hat base, background sections of the granny squares, and the brim foundation. It ties everything together without competing with the floral elements.
Tools
You will need a size 3 crochet hook for this project. Alongside that, keep a pair of scissors, a tape measure, and a tapestry needle nearby. The tape measure is especially useful when checking the diameter of your circular top base, and the tapestry needle is essential for sewing the squares together and weaving in all your ends cleanly at the finish.
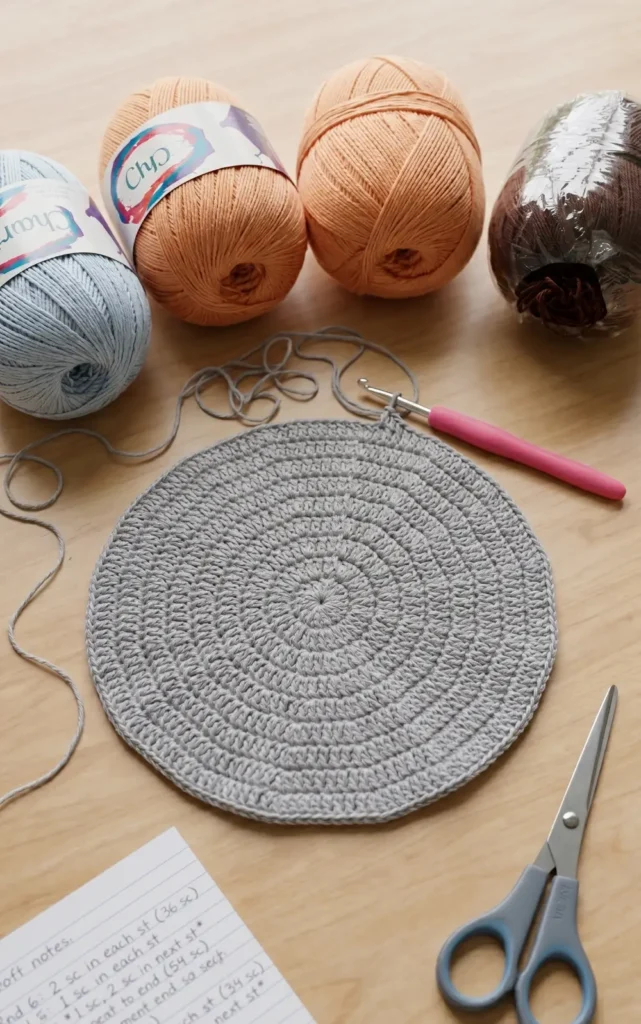
Step 1: Crocheting the Circular Top Base
The hat starts from the top down, beginning with a flat circle that will sit on the crown of the head. Getting this piece right sets up everything that follows, so take your time and check your measurements as you go.
Starting the Magic Ring
Begin with a magic ring and work 16 double crochets into the center. Join with a slip stitch to close the round. This is your foundation, and the magic ring keeps that center hole tight and neat.
Building the Circle With Increases
From here, the circle grows outward through a series of increase rounds. Each round adds more stitches in a calculated pattern so the circle lies flat rather than curling or puckering.
Round 2: Increase in every stitch. You will end this round with 32 double crochets.
Round 3: Alternate between one increase and one regular double crochet all the way around.
Round 4: Work one increase followed by two double crochets, repeating to the end of the round.
The pattern continues with the same logic. Each new round adds one extra double crochet between increases. So Round 5 would be one increase followed by three double crochets, Round 6 would be one increase followed by four, and so on.
Checking Your Diameter
Keep measuring your circle as you work. You are aiming for a finished diameter of approximately 18 cm, which suits most adult head sizes. If your gauge runs smaller or larger than average, you may need to add or reduce a round to hit that measurement.
Finishing the Base
Once your circle reaches the right size, work one final round of double crochets with no increases. This flat round creates a clean, stable edge for attaching the sunflower square band in the next step.
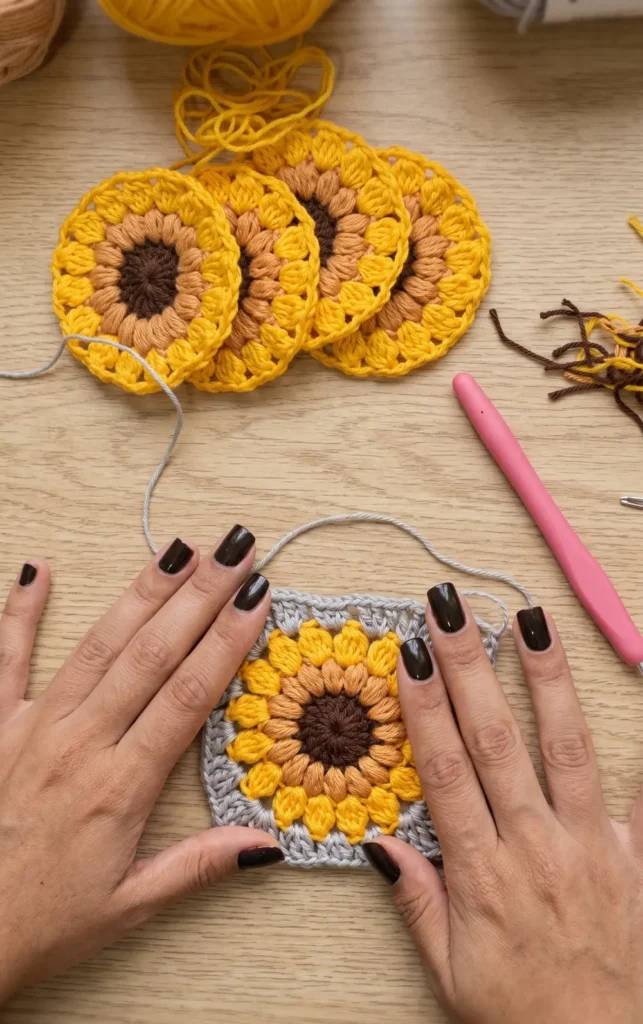
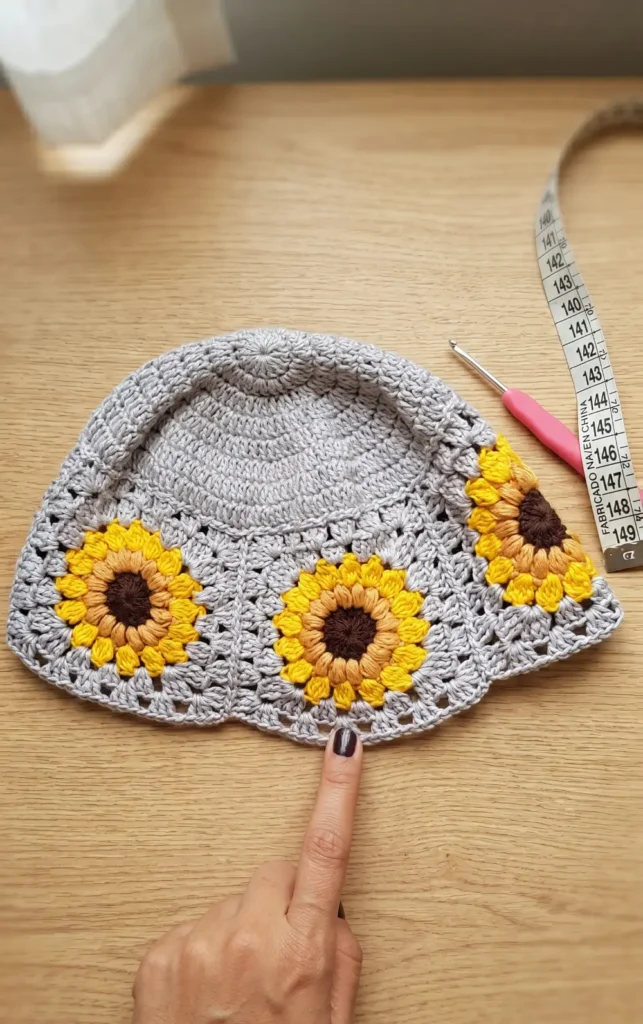
Step 2: Making the Sunflower Granny Squares
This is the section that gives the hat its personality. The sides of the hat are made up of individual sunflower granny squares joined into a band, rather than crocheted in the round as a single piece. That approach is what makes the sunflower motif so crisp and defined.
How Many Squares Do You Need?
You will need five sunflower squares to complete the band that wraps around the circumference of the hat. This number works for a standard adult size, but if you have crocheted a slightly larger or smaller top base, you may want to check the fit of your band before committing to five.
Constructing Each Square
Each square is worked in the traditional granny square format, but with color choices that create the sunflower effect:
Use Tabaco for the center of the square. This forms the dark brown seed circle at the heart of each flower.
Switch to Canário and Mostarda for the petal rounds. Working these two yellows in alternating rounds, or mixing them within a single round, gives the petals that rich, layered look you see in real sunflowers.
Fill in the background corners and connecting sections with Pedreira. This neutral tone frames each flower cleanly and makes the yellows really stand out.
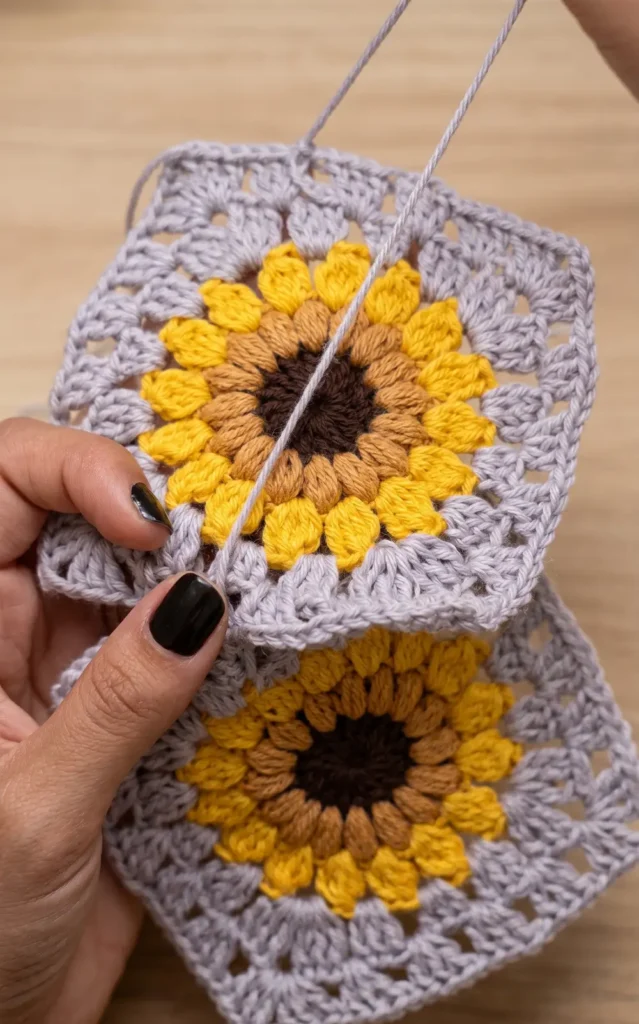
Joining the Squares Into a Band
Once you have all five squares completed, join them into a single horizontal strip. You can do this with your tapestry needle using a whipstitch or mattress stitch, or you can use a join-as-you-go method if you prefer working it directly into the crochet.
The goal is a band that forms a complete loop when you close the two ends together. Before sewing the final seam, wrap the band around your head to check the fit. It should sit comfortably without being tight or gapping.
Attaching the Band to the Top Base
With your square band complete, sew it onto the edge of the circular top base you made in Step 1. Work your way around the entire circumference, making sure the attachment is even and the band hangs straight. Test the fit again once it is attached. The transition from the top circle to the square band should feel seamless, with no puckering or pulling at the join.
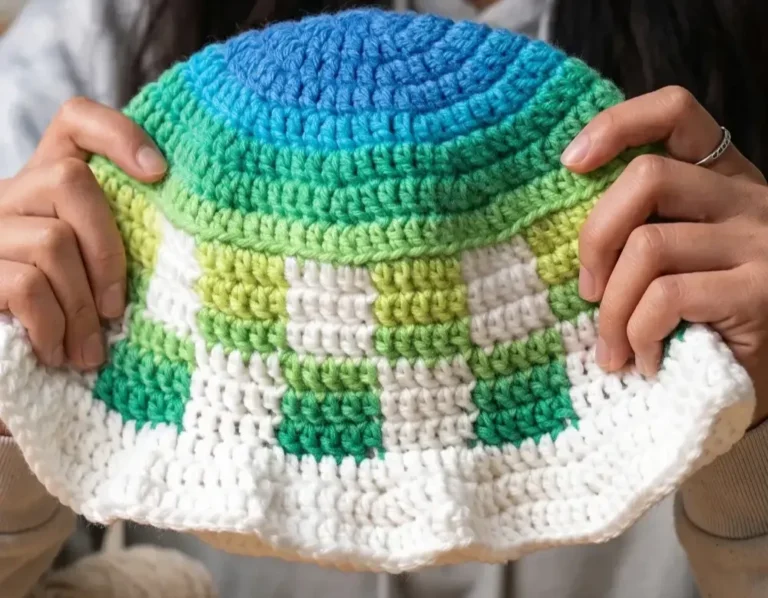
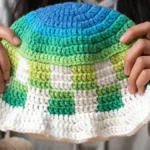
Step 3: Crocheting the Brim
The brim is what transforms this from a simple floral decoration into a wearable bucket hat. It also gives you a chance to work with the sunflower color palette in a more playful, textured way through strategic color changes and a ruffled increase round.
Foundation Round
Start the brim by working a full round of double crochets directly into the bottom edge of the sunflower square band. Do not add any increases in this round. You are simply establishing a clean, even base for the brim to build from.
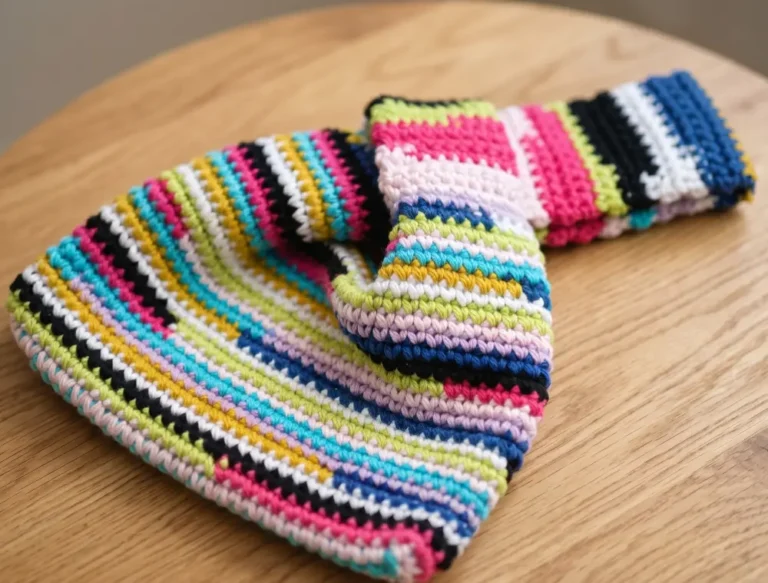
Adding Color Changes
This is where the brim really comes to life. As you work the rounds of the brim, switch between Tabaco, Mostarda, and Canário to echo the colors of the sunflower squares above. There is no single rule for how to sequence the colors. You can do one round of each color in a repeating stripe, or you can vary the order based on what looks good to your eye. Either way, those color changes tie the brim into the rest of the hat beautifully.
Creating the Ruffle
To get that soft, feminine ruffled flare that makes this hat so distinctive, you will work one dedicated increase round. In this round, work three increases followed by one double crochet, repeating all the way around.
That jump in stitch count forces the fabric to fan outward, creating the ruffle effect. The more increases you pack in, the more dramatic the flare. Three increases to one double crochet is the recommended ratio for a gentle, wearable ruffle.
Continuing the Brim
After the ruffle round, return to regular double crochets with no increases. Continue working rounds until the brim reaches your preferred length. A finished brim between 5 cm and 7 cm is the target range for most adult sizes. A shorter brim gives the hat a more structured, fitted look. A longer brim leans more sun hat than bucket hat, which is entirely up to you.
Finishing Your Sunflower Bucket Hat

The finishing stage is quick but important. A well-finished hat holds its shape, wears comfortably, and lasts much longer than one where the ends were just tucked in carelessly.
Final Edge Round
Work a complete round of single crochets along the very last row of the brim. Single crochet creates a tighter, denser edge than double crochet, which prevents the brim from stretching out over time and gives it a neat, professional finish.
Securing and Hiding Your Ends
Cut your yarn, leaving a tail of around 15 cm, and pull the end through the final loop to lock it off. Thread your tapestry needle with the tail and split the yarn strands where you insert the needle. Tying off through split strands rather than whole plies makes the knot far more secure.
Weave the remaining tail back through several stitches in different directions, then trim closely. If you want extra peace of mind, a small dot of fabric glue applied to the hidden knot will keep everything locked in place, even through washing.
Go back through the rest of the hat and weave in all remaining yarn tails from your color changes and square joins. Taking the time to do this properly is what separates a finished piece from a finished-looking piece.
Tips for Getting the Best Results
Check your gauge early. The 18 cm diameter for the top base is the most critical measurement in this pattern. Crochet a small swatch before starting and measure your double crochets per inch. Adjusting hook size slightly is much easier than frogging a completed circle.
Block your granny squares before joining. Wet blocking each square individually and pinning it to the same dimensions before drying means they will all be consistent in size. This makes joining them into a neat band much easier and produces a much cleaner finished hat.
Be mindful of tension when joining the band to the base. It is easy to either pull too tight, which makes the join pucker, or leave it too loose, which creates a visible gap. Work slowly and pin the band in place before sewing if you need to.
Customize the brim length for function. If you are making this hat for sun protection rather than pure style, erring toward the 7 cm end of the brim length will give you noticeably more shade coverage without losing the bucket hat shape.
Video Credits: Luana Santos Crochê
Frequently Asked Questions
What happens if I use a thicker yarn?
A thicker yarn will produce a larger hat, so you will likely need fewer rounds to reach the 18 cm diameter for the top base. You will also need to adjust your hook size accordingly. Keep measuring as you go rather than relying solely on round counts.
Can I use a thinner yarn?
Yes, but thinner yarn will require more rounds to reach the right size and will produce a lighter, more delicate fabric. This can work beautifully for a summer hat but may not hold its shape as firmly through regular wear.
What measurements should I aim for?
For a toddler or young child, aim for a top base diameter of around 13 to 15 cm rather than 18 cm. Stop your increase rounds earlier to hit that measurement, and reduce the number of sunflower squares to four rather than five if the band is too wide.
Does anything else in the pattern change?
The brim length can also be shortened to 3 to 4 cm for a better-proportioned fit on a smaller head. Everything else in the construction process remains the same.
Do I have to use these exact shades?
Not at all. The construction of this hat works with any color combination. The sunflower palette is part of what makes this particular design so charming, but the same granny square structure works just as well with other floral combinations, or even a completely different color scheme altogether.
What should I keep in mind when substituting?
Try to keep your yarn weights consistent across all the colors you use. Mixing different yarn weights in a single project can cause uneven tension and make it harder to get the squares to line up correctly.
Can I machine wash it?
That depends entirely on the yarn fiber content. Check the label of whichever yarn you use. Many acrylic yarns are machine washable on a gentle cycle, but wool or cotton blends may require hand washing.
How should I dry it?
Reshape the hat while it is still damp and allow it to air dry flat or over a head-shaped form. Avoid putting it in the dryer, as heat can distort the shape of the brim and cause the fabric to felt or shrink.