4 Easy Crochet Amigurumi Keychain Free Patterns You’ll Love
Tiny projects, big results. Amigurumi keychains are my favorite way to burn through yarn scraps without ending up with another dishcloth. You get a finished, polished piece in a couple of hours, and it actually lives somewhere useful.
These four free patterns, a mini monster, a dog, a baby elephant, and a penguin, are all beginner friendly and built on the same core techniques. Master the magic circle and invisible decrease once, and the rest clicks into place fast. Grab your hook and whatever sport or cotton yarn you have sitting around.
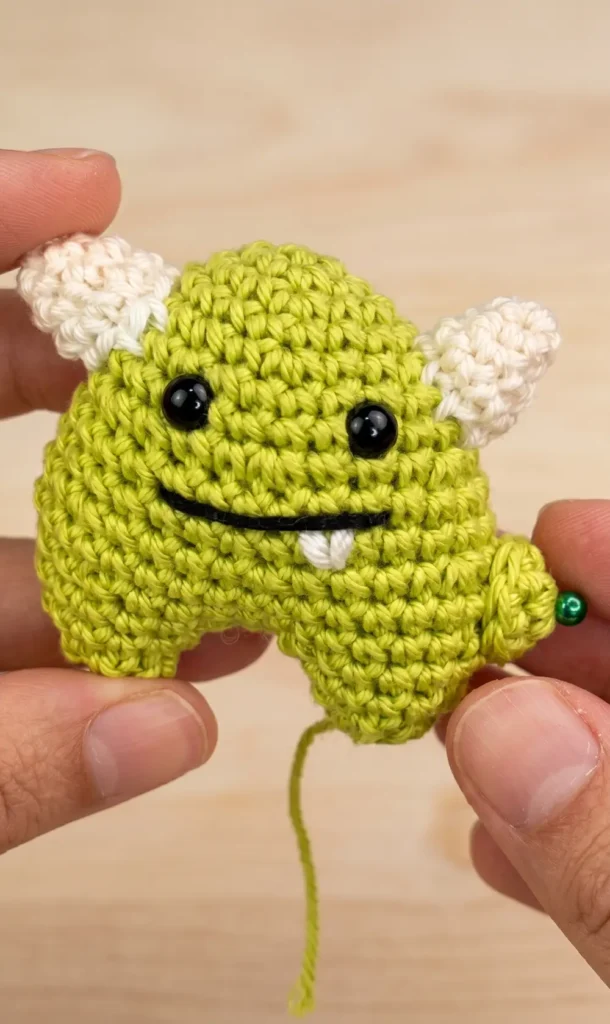
1. Mini Monster Amigurumi Crochet Keychain Pattern
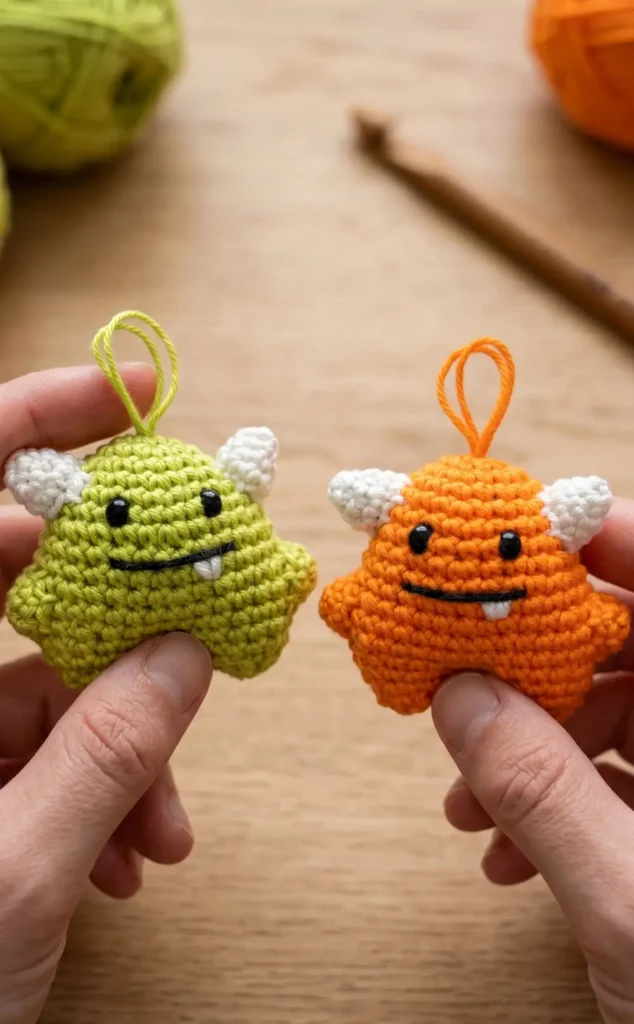
This adorable mini monster project is an excellent choice for beginners who want to practice fundamental Amigurumi techniques while creating a functional accessory.
Essential Materials and Tools
To create this keychain, you will need sport weight yarn and a corresponding crochet hook. You will also require stuffing to give your monster its shape and a small tool, such as a chopstick or the back of a paintbrush, to help push the stuffing into the small limbs. To keep track of your progress, use a small piece of marking yarn to indicate the start of each round. For the keychain attachment, you can use two strands of yarn tied securely with a knot inside the body.
Crafting the Body
The construction begins with a Magic Circle, which serves as the foundation for the monster. You will start by making six single crochet stitches into this circle.
- Round 2: Perform an increase in every stitch, resulting in two single crochets in each stitch from the previous round.
- Expansion: Continue growing the body by following a pattern of single crochets followed by an increase (for example, one single crochet in the first two stitches and an increase in the third).
- Tapering: To finish the body, you will use invisible decreases. This involves inserting your hook only into the front loops of two stitches and crocheting them together to minimize gaps.
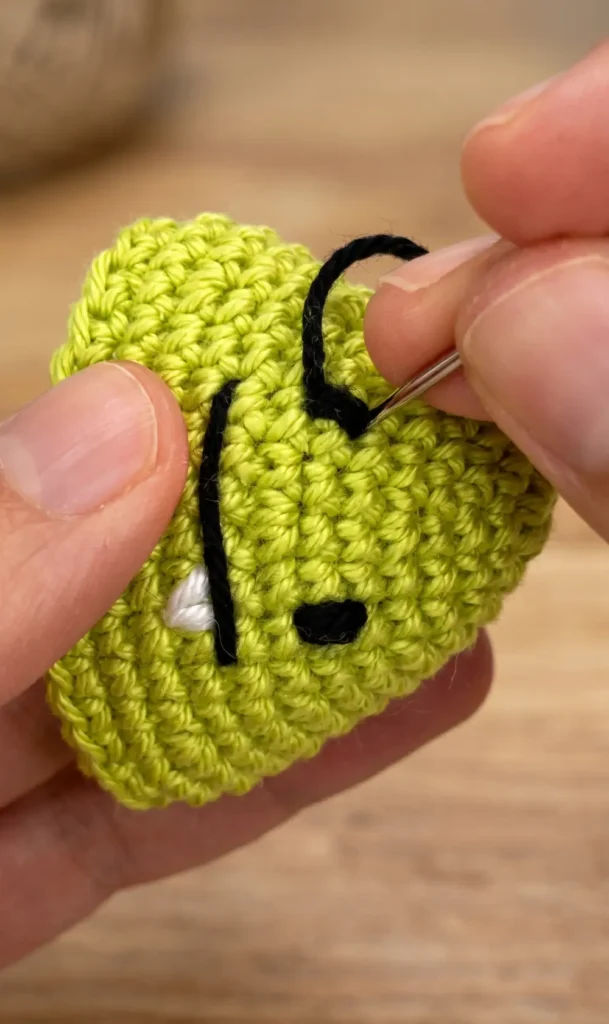
Creating the Face
The monster’s personality is defined by its facial features, which should be added before the body is completely closed.
- The Tooth: Sew the tooth between the 15th and 16th stitches of the head area, going over it a few times to create a distinct shape.
- The Eyes: Position the eyes with approximately four stitches between them. Use knots on the inside of the body to secure the yarn before turning the work right-side out.
- The Mouth: The mouth is typically embroidered across six stitches between the eyes.
Legs and Horns
The legs are crocheted directly onto the body. You will crochet a specific number of stitches and then skip others to form the leg opening, continuing to crochet in a round to create the leg’s shape. After adding enough stuffing, close the leg by sewing through the front loops of the final round and pulling tight.
For the horns or arms, start with another Magic Circle of six stitches. Use increases in the second round to create a slightly pointy shape. Once finished, these pieces are sewn onto the sides of the body, usually positioned between rounds 10 and 14. To ensure a professional look, hide all remaining yarn tails by weaving them into the inside of the body.
Video Credits: DIY Fluffies
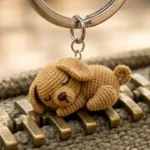
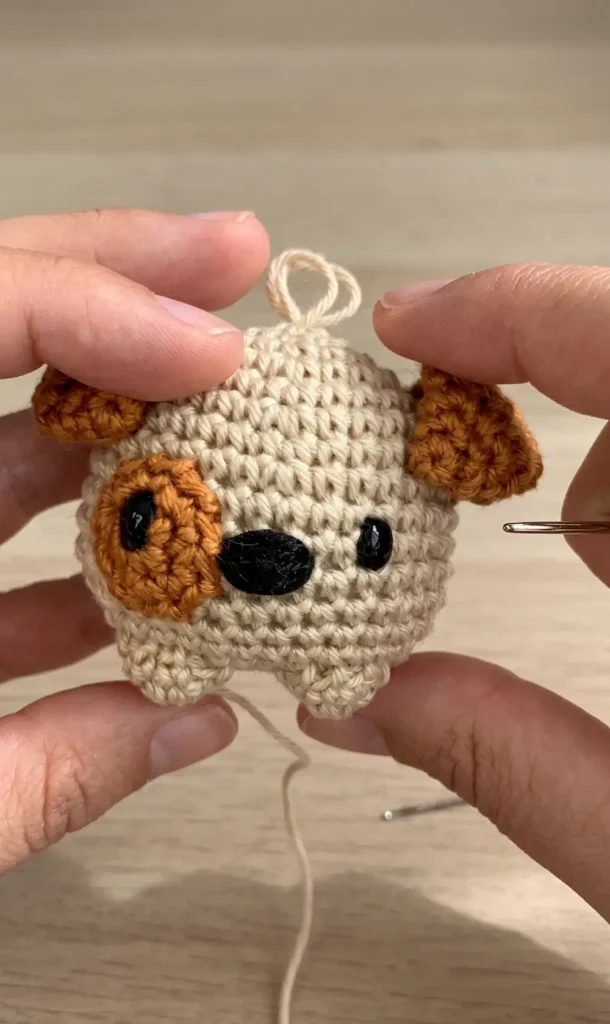
2. Dog Crochet Amigurumi Keychain
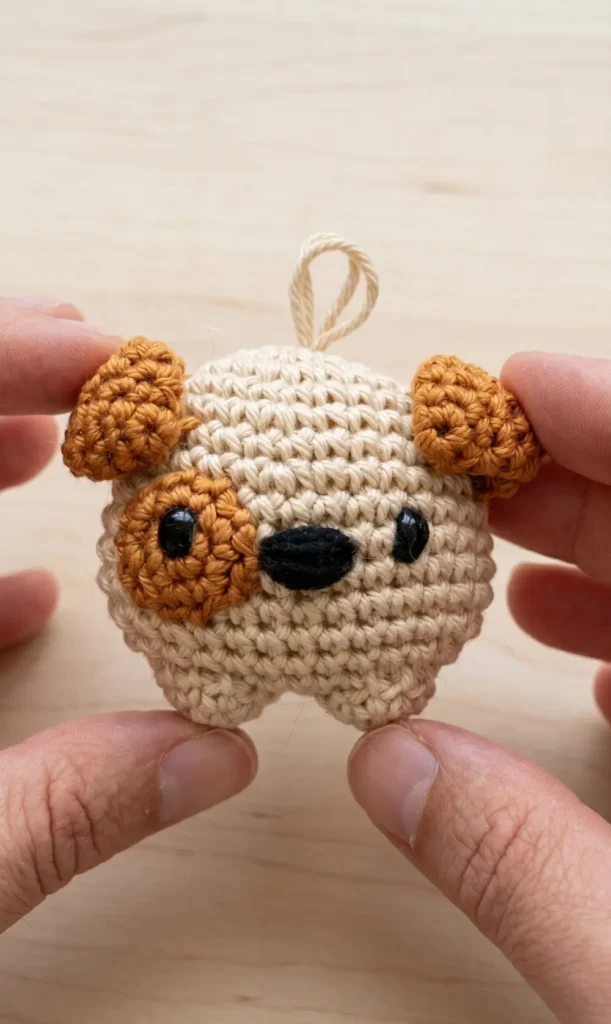
Creating this cute dog amigurumi is an ideal project for beginners. It is relatively quick to complete, typically taking about two hours to finish. You can make a small version using cotton yarn or a larger version using velvet yarn.
Materials Needed
To get started, gather the following supplies:
- Yarn: Cotton yarn for a small dog or velvet yarn for a larger version.
- Crochet Hook: A 2.5 mm hook for cotton yarn or a 3.5 mm hook for velvet yarn.
- Tapestry Needle: For sewing the pieces together and hiding yarn ends.
- Stuffing: To give the dog its shape.
- Black Yarn: For embroidering the nose and eyes.
- Pins: To help position the parts before sewing.
Creating the Body

The body is the main part of the dog and is worked in continuous rounds.
- Start with a Magic Circle: Create a magic circle and work 6 single crochets into it.
- Increase Rounds: In the second round, increase in every stitch to reach 12 stitches. In the third round, increase in every second stitch to reach 18 stitches. In the fourth round, increase in every third stitch to reach 24 stitches.
- Standard Rounds: Work rounds 5 through 12 with one single crochet in every stitch, maintaining 24 stitches.
- Decrease Rounds: Start decreasing to shape the body. In round 13, single crochet in the first 6 stitches and then decrease. In round 14, single crochet in the first 5 stitches and then decrease.
- Stuffing: Before closing the body, firmly fill it with stuffing.
- Final Round: In round 15, single crochet in the first 4 stitches and then decrease. Sew the remaining opening closed and hide the yarn end inside the body.
Crafting the Features
You will need to crochet several smaller pieces to complete the dog’s look.
- The Spot: Start with a magic circle and 6 single crochets. In the second round, increase in every stitch for a total of 12 stitches. Fasten off with a clean finish to keep the shape round.
- Ears (Make 2): Create a magic circle with 6 single crochets. Increase to 9 stitches in the second round and continue working rounds of 9 stitches until round 7.
- Legs (Make 2): Start with a magic circle and 6 single crochets. In the second round, increase in every second stitch to reach 9 stitches. Finish with a slip stitch.
- Tail: Work 6 single crochets into a magic circle and finish with a slip stitch.
Assembling Your Dog
Once all the pieces are ready, it is time to put the dog together.
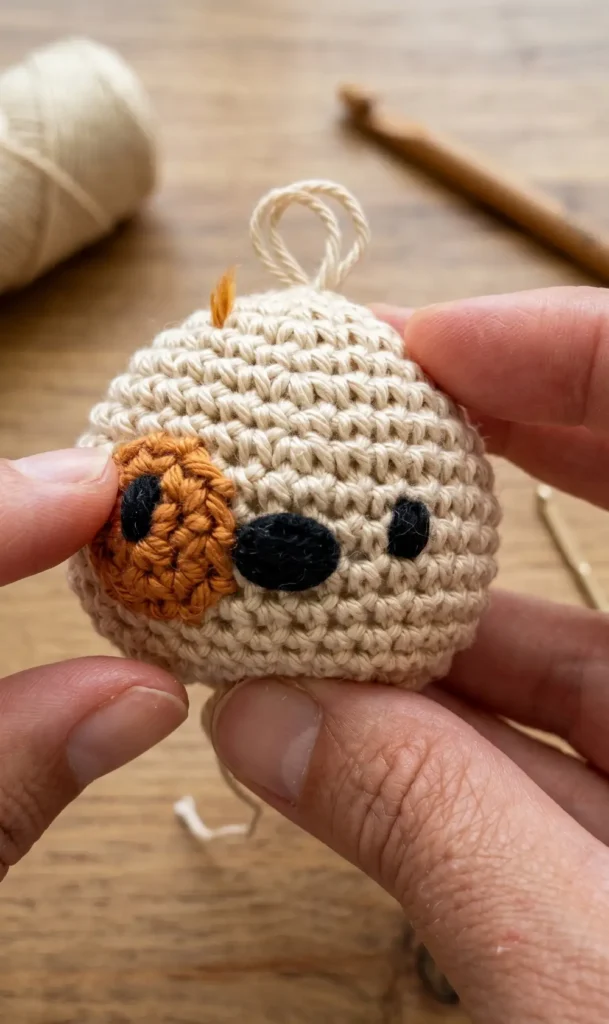
- Face Details: Use black yarn to embroider the nose and eyes between rounds 10 and 11. This defines the dog’s expression.
- The Spot: Pin and then sew the spot onto the body between rounds 8 and 13.
- Ears: Sew the ears onto the sides of the body. The top of the ear should be placed below the fourth round of the body.
- Legs and Tail: Attach the legs to the bottom/back area and the tail to the back of the body. Take your time during assembly to ensure the dog has a nice, symmetrical shape.
Video Credits: DIY Fluffies
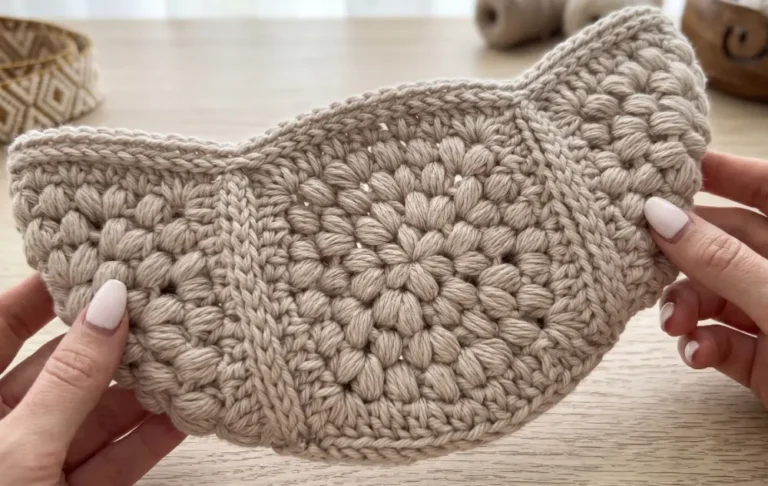
3. Baby Elephant Crochet Amigurumi Keychain
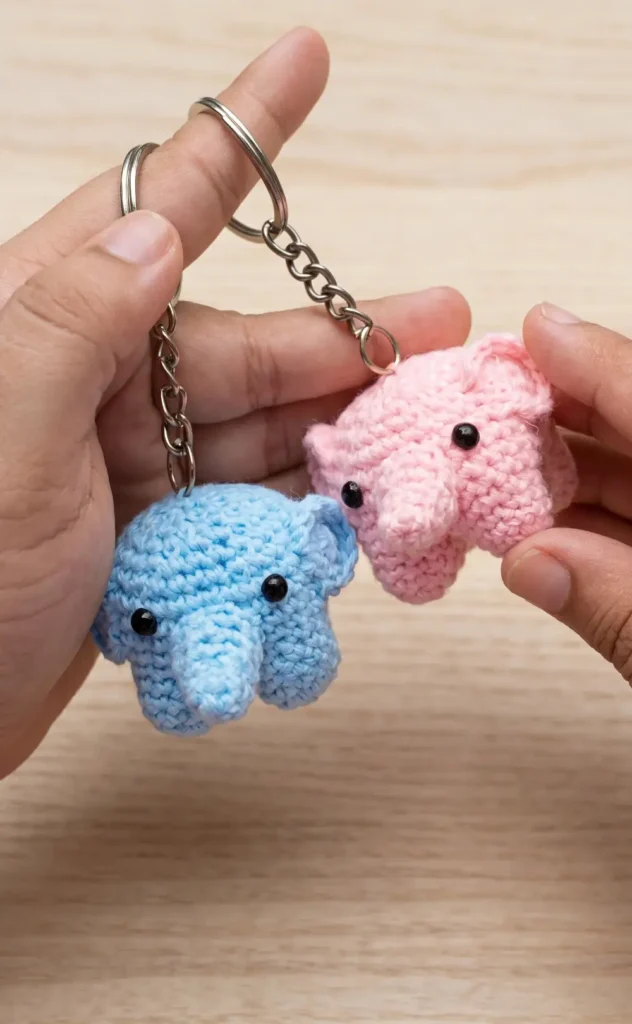
Creating this adorable baby elephant is a beginner friendly project that results in a perfect accessory for your keys or bag. This pattern uses continuous rounds, so keep a stitch marker or paper clip handy to track your progress.
Materials and Tools Needed
To get started, gather the following supplies:
- Yarn: One color of 4-ply yarn for the body (light blue is used in the tutorial).
- Crochet Hook: A 3mm hook, which is slightly smaller than recommended for 4-ply yarn to ensure tight stitches that keep stuffing hidden.
- Eyes: 4mm safety eyes, black beads, or black yarn for embroidery.
- Stuffing: High quality fiberfill for the body and legs.
- Keychain: A blank keychain attachment.
- Essentials: A yarn needle, scissors, pins for positioning, and a stitch marker.
Crafting the Four Legs
The elephant’s legs are made first. You will need to make four identical legs.
- Round 1: Start with a magic circle and place 6 single crochets (sc) into it.
- Round 2: Increase in every stitch around to reach a total of 12 stitches.
- Rounds 3 to 4: Work 1 sc in each stitch (12 stitches total).
- Finishing: For the first three legs, fasten off and leave a small tail. On the fourth leg, keep the yarn attached to begin the body.
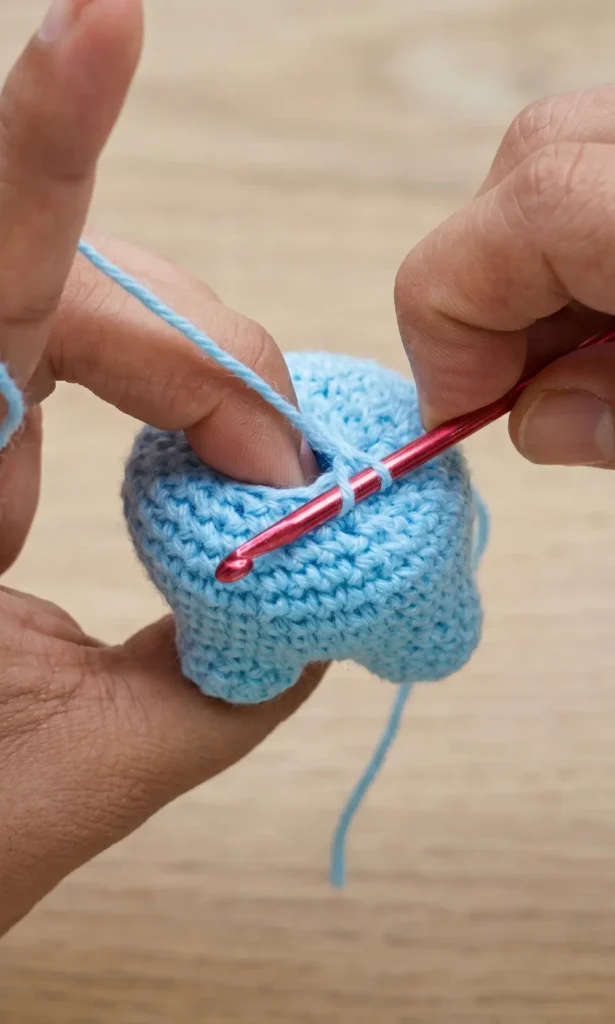
Connecting the Body and Closing the Underbelly
Once the legs are ready, they are joined together to form the base of the body.
- Joining Legs: On round 5, work 9 sc on the leg with the yarn attached, then connect the next leg and work 9 sc. Repeat this until all four legs are joined in a loop, resulting in 36 stitches.
- Body Height: For rounds 6 through 10, work 1 sc in each of the 36 stitches.
- The Underbelly: Use a small amount of reserved yarn to close the gap between the legs. Work across the three unworked stitches in the middle of each leg, stitching them together to seal the bottom. Cinch the center hole closed by weaving the yarn through the front loops.
Placement of Eyes and Shaping the Head
If you are using safety eyes or beads, they should be placed between rounds 9 and 10. Locate the center of the face and place the eyes approximately three stitches away from the center on both the left and right sides.
Starting at round 11, you will begin decreasing to shape the head:
- Round 11: Repeat the sequence of 4 sc followed by an invisible decrease six times (30 stitches).
- Round 12: Repeat 3 sc and an invisible decrease six times (24 stitches).
- Round 13: Repeat 2 sc and an invisible decrease six times (18 stitches).
- Round 14: Repeat 1 sc and an invisible decrease six times (12 stitches).
- Stuffing: At this point, firmly stuff the legs first, then the rest of the body.
- Round 15: Decrease in every stitch (6 stitches remaining), then fasten off and weave the tail to close the hole.
Creating the Trunk and Ears
The trunk is designed with a slight curve to give it character.
- Elephant Trunk: Start with 4 sc in a magic circle. Gradually increase the stitch count over seven rounds to create a pointed tip that widens at the base (ending with 10 stitches). Use your scissors or a hook to push the tip out and define the curve.
- Elephant Ears: Make two ears by starting with 6 sc in a magic circle. Increase in every stitch for round 2 (12 stitches). For round 3, work 1 sc in only the first nine stitches, leaving the rest unworked to create the proper shape.
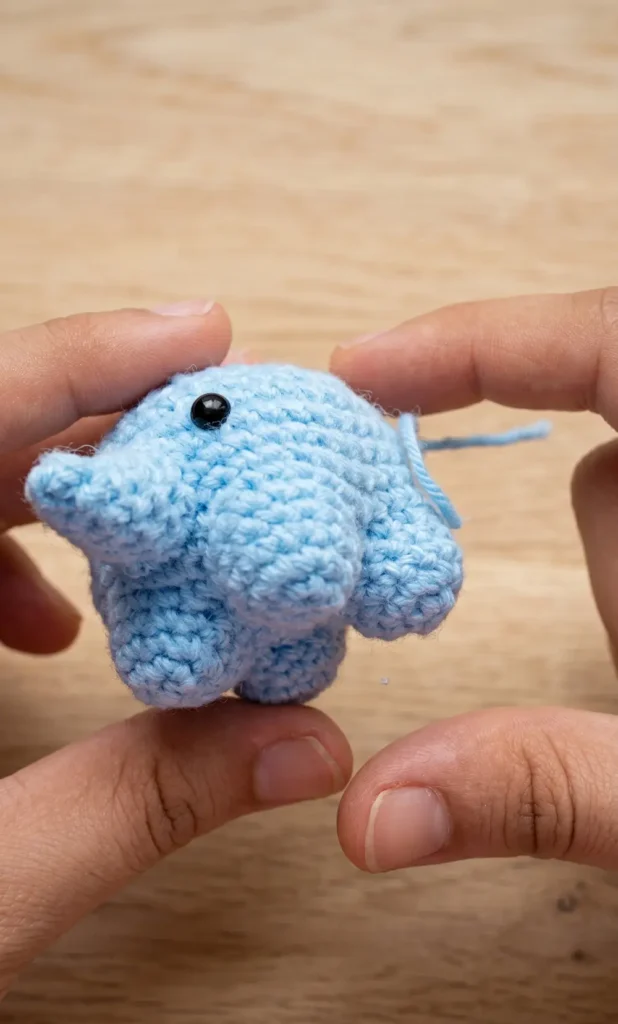
Final Assembly and Tail
To finish your elephant, sew the trunk centered between the eyes with the curve facing upward. Position the ears one stitch away from the eyes and tack them down slightly so they do not stick out too far.
For the tail, attach yarn between rounds 8 and 9 at the back of the body, chain three, and fasten off. Unravel the end of the yarn tail to create a “hairy” effect. Finally, use the remaining yarn tails to securely attach the keychain to the top of the elephant’s head.
Video Credits: Cute Crochet
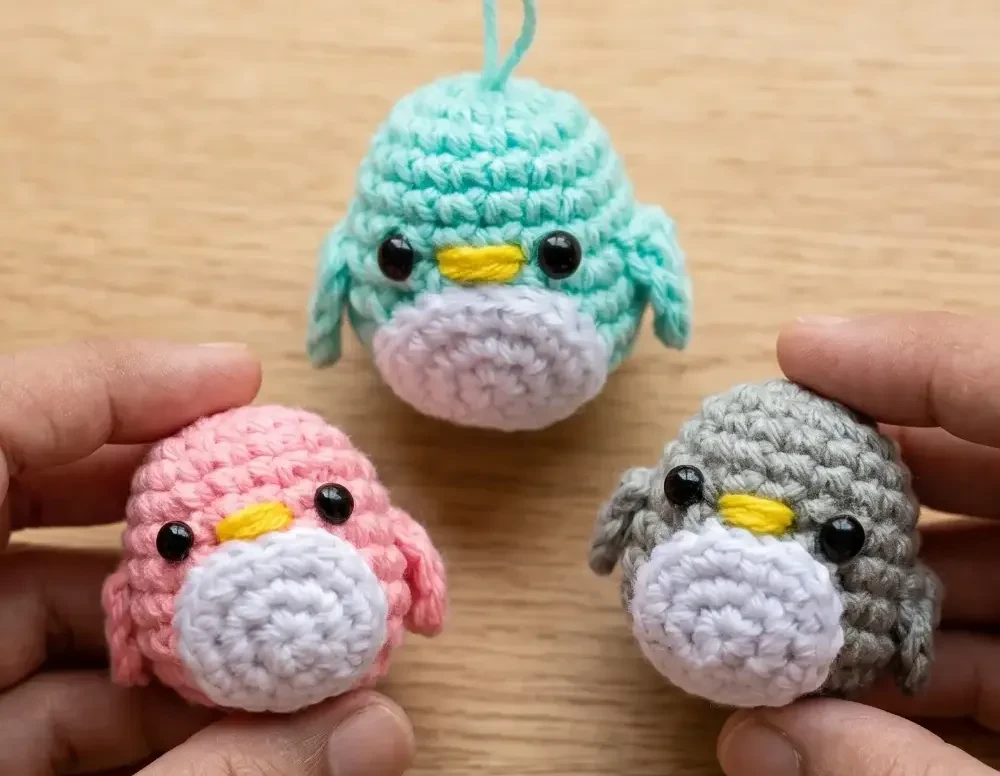
4. Mini Penguin Crochet Amigurumi Keychain
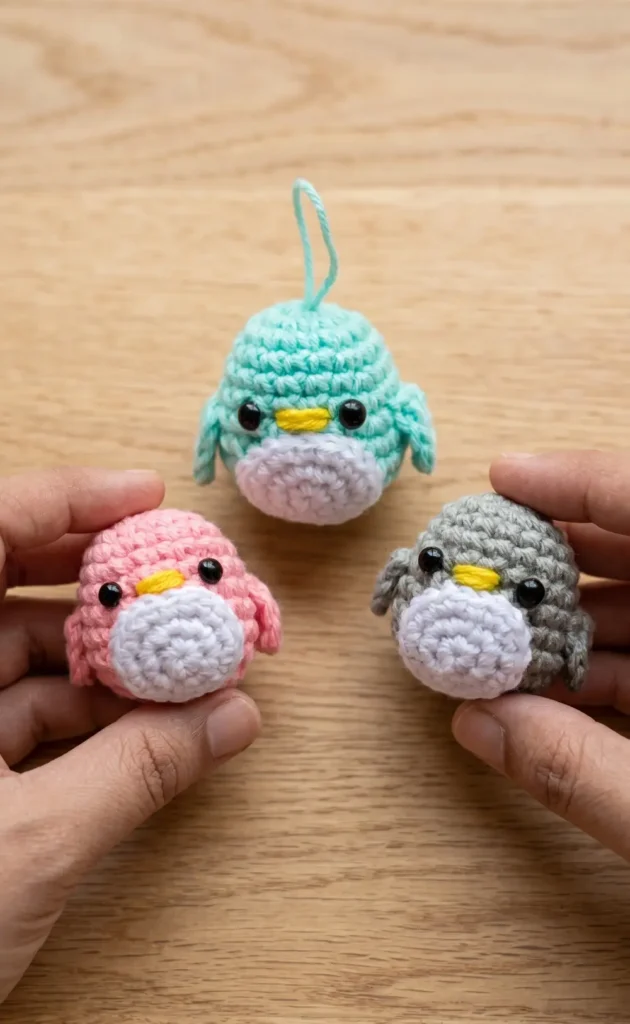
This adorable mini penguin is a beginner-friendly project that works perfectly as a keychain or a holiday ornament. By using a crochet hook slightly smaller than recommended for your yarn, you can ensure the stitches are tight enough to prevent the stuffing from showing through.
Essential Materials and Tools
To begin this project, you will need the following supplies:
- Yarn: One colour for the penguin body (such as steel or teal), white for the belly, and yellow for the beak.
- Crochet Hooks: A 3 mm hook for the body and a 3.5 mm hook for the flippers.
- Eyes: 4 mm black beads, safety eyes, or black yarn for embroidery.
- Other Essentials: Pillow fluff for stuffing, fabric glue, a yarn needle, a stitch marker (or a paper clip), scissors, and a blank keyring.
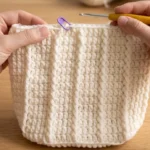
Step-by-Step Instructions for the Body
The body is worked in continuous rounds, so it is vital to mark the last stitch of every round.
- Round 1: Start with a magic circle and make 6 single crochets (sc) into it.
- Round 2: Increase in every stitch around (12 sc).
- Round 3: Repeat a pattern of 1 sc followed by an increase (18 sc).
- Round 4: Place 1 sc in each stitch around (18 sc).
- Round 5: Repeat a pattern of 5 sc followed by an increase (21 sc).
- Round 6: Place 1 sc in each stitch around (21 sc).
- Round 7: Repeat a pattern of 6 sc followed by an increase (24 sc).
- Rounds 8 and 9: Place 1 sc in each stitch around (24 sc).
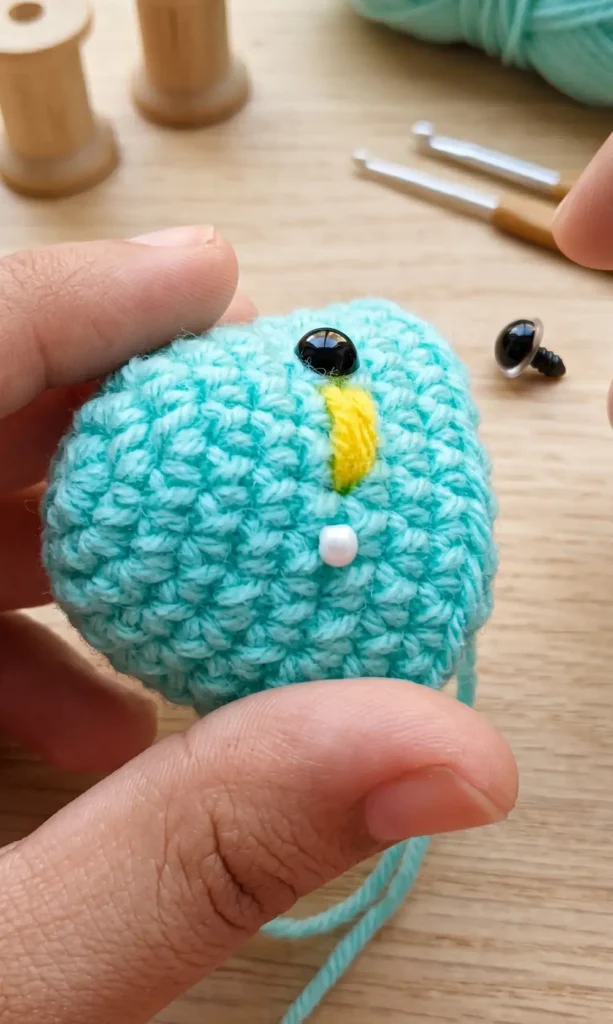
Adding Facial Features
It is easier to add the face before finishing the body.
- Beak: Using yellow yarn, embroider the beak between rounds 6 and 7. Stitch through the same two holes multiple times to build the shape.
- Eyes: Glue 4 mm black beads on either side of the beak using a high-quality fabric glue, or use safety eyes if the toy is for a child.
Finishing the Body and Bottom
- Round 10: Repeat a pattern of 2 sc followed by an invisible decrease (18 sc).
- Round 11: Repeat a pattern of 1 sc followed by an invisible decrease (12 sc).
- Stuffing: Fill the body with pillow fluff, being careful not to overstuff.
- Round 12: Decrease in every stitch around using the back loops only. This creates a flat bottom so the penguin can stand on its own.
- Closing: Cut the yarn leaving a long tail. Weave the tail through the front loops of the final round to cinch the hole closed and pull the yarn through the top of the head.
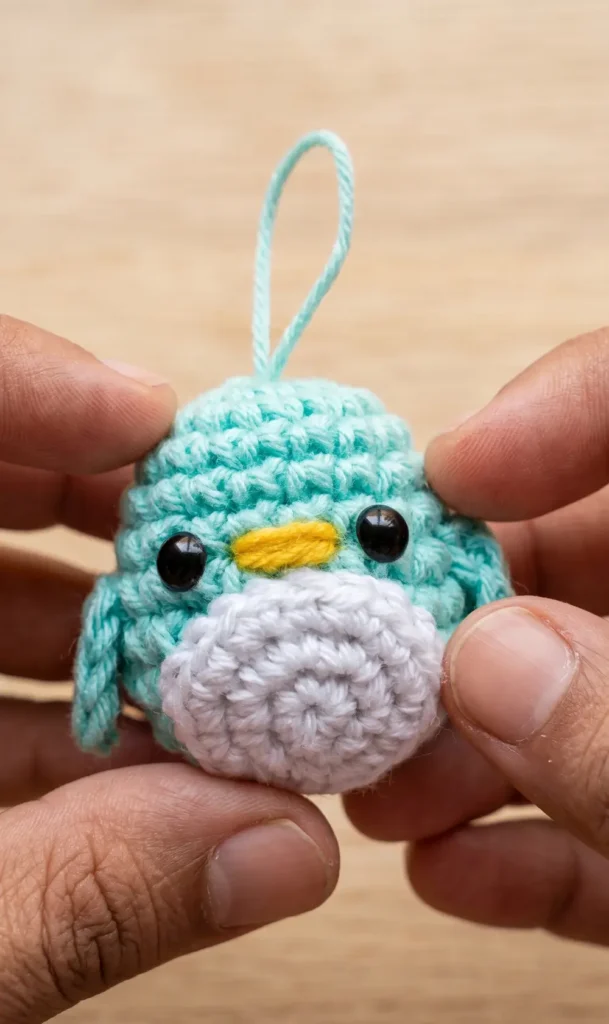
Crafting the Flippers and Belly
- Flippers (Make 2): Using the 3.5 mm hook, chain 4. Skip the first chain and sc in the next two. In the last chain, work 3 sc. Work back down the other side of the chain with 2 more sc.
- Belly: Using white yarn and the 3 mm hook, repeat the first three rounds used for the body to create a small circle (18 sc).
Assembly and Keychain Attachment
To assemble, center the belly between the eyes and sew it onto the lower body. Attach the flippers at round 7, approximately two stitches away from the belly. Finally, to turn it into a keychain, sew the yarn tail from the top of the head through the jump ring of your keyring and secure it with a knot hidden inside the body.
Video Credits: Cute Crochet
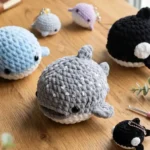
Which Mini Buddy Is Cutest?
Amigurumi keychains are one of those projects that use up your yarn scraps and still produce something worth keeping. Small, portable, and quick to finish, they’re the kind of make you come back to again and again.
These four free patterns cover a mini monster, a dog, a baby elephant, and a penguin. Each one is beginner friendly, works up in a couple of hours, and gives you a finished piece that actually looks polished on your keys or bag.