5 Crochet Granny Square Book Sleeve Patterns for Every Reader
A well-loved book deserves better than a bent cover and coffee stains. That’s exactly why crocheters keep reaching for granny square book sleeves. They protect your pages and turn every read into a handmade accessory.
I pulled together five patterns that prove this craft never gets boring. You’ll find heart motifs, scalloped edges, diamond stitches, and clever pocket details. Whether you’re a beginner or ready for a colorwork challenge, one of these sleeves belongs on your hook next.
1. Crochet Heart Book Sleeve Pattern
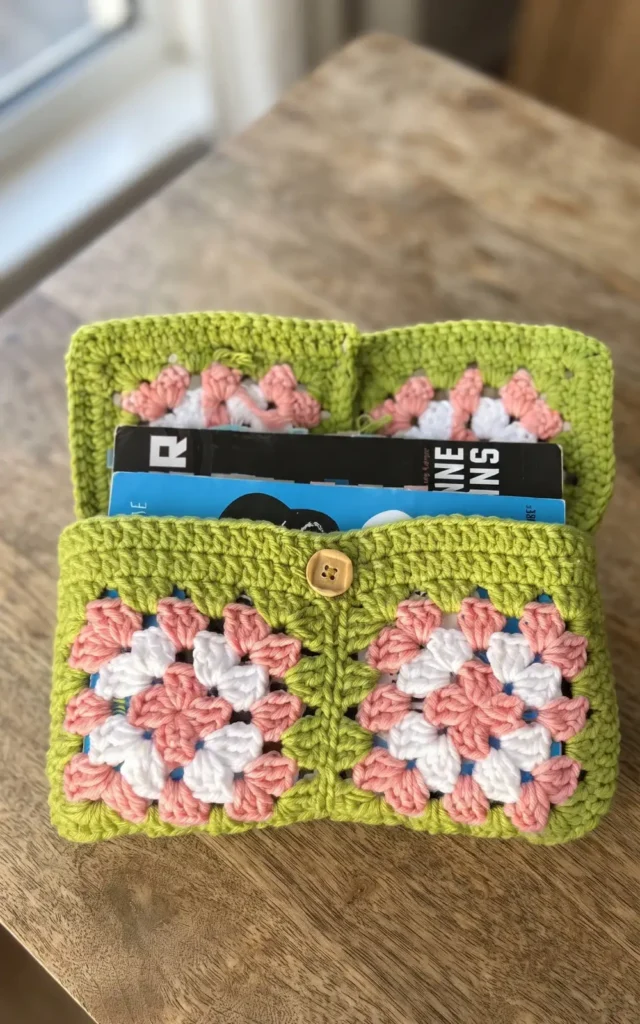
Creating the Emma book cover is a wonderful way to turn a standard book into a “bookish inspired” accessory. This project allows you to personalise covers you might not like while providing protection for your favourite reads.
Essential Materials and Tools
To begin this project, you will need a 4.5 millimetre crochet hook and yarn in a size that is appropriate for that hook. The design traditionally uses two contrasting colours, such as blue and yellow, to highlight the heart motif and the borders.
Step 1: Crafting the Heart Motif
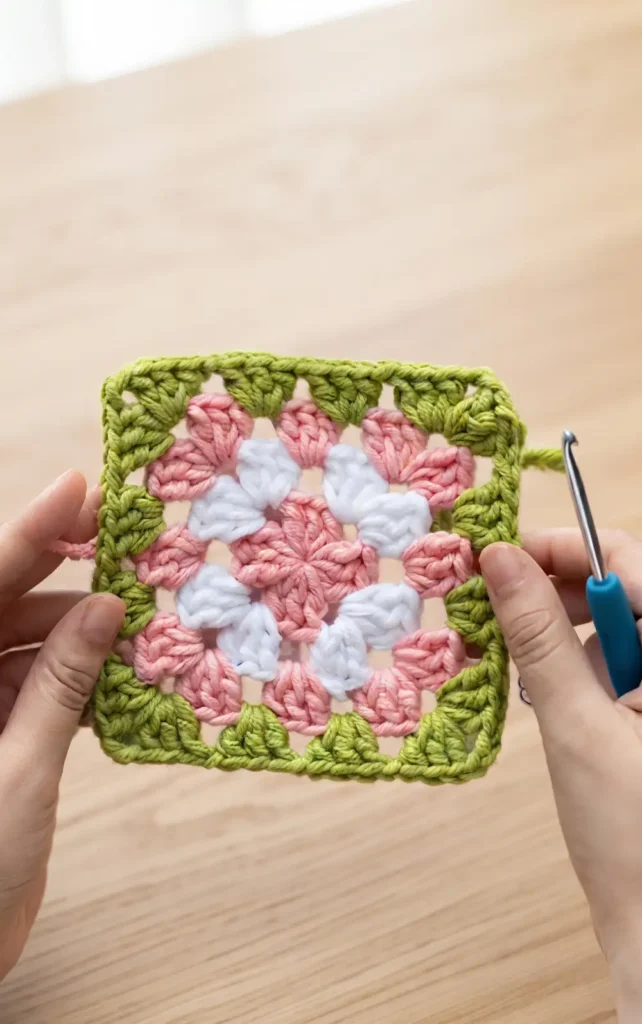
The foundation of the sleeve starts with a magic ring, which is a vital technique for starting crochet projects in the round. Inside this ring, you will chain three and work clusters of double crochets separated by chain two spaces to create a small granny square.
To transform this square into a heart, you must work specifically into the chain spaces, inserting eight double crochets into the first space to create the rounded top. You then create the point of the heart by inserting two single crochets, a chain, and two more single crochets into the middle stitch of the opposite side. Once the heart shape is complete, you finish the motif by slip stitching into the centre and fastening off.
Step 2: Shaping and Sizing the Front Panel
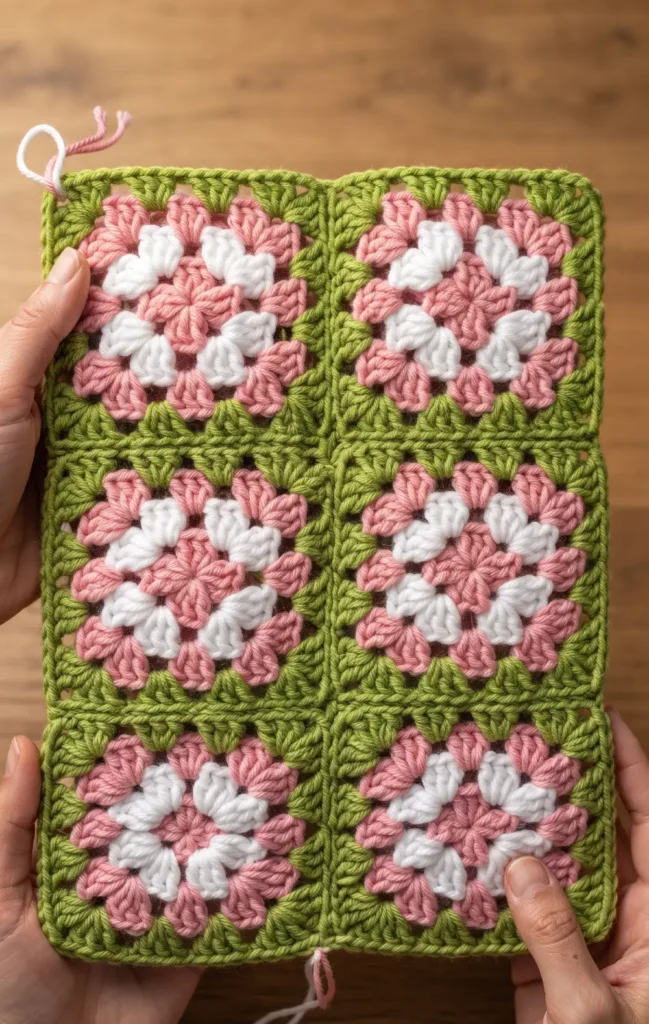
After completing the heart, you must add borders to turn it back into a square or rectangle that fits your book. The first border is worked into the back loops only, using a combination of single, half double, double, and triple crochets to level out the heart’s curves.
Following this, you will add granny square rows consisting of clusters of three double crochets. If your book is rectangular rather than square, you should add extra rows only to the top and bottom of the panel instead of working all the way around. Continue adding rows until the panel covers the front of your book with a small amount of space left at the edges to ensure a snug fit.
Step 3: Crocheting the Spine and Back
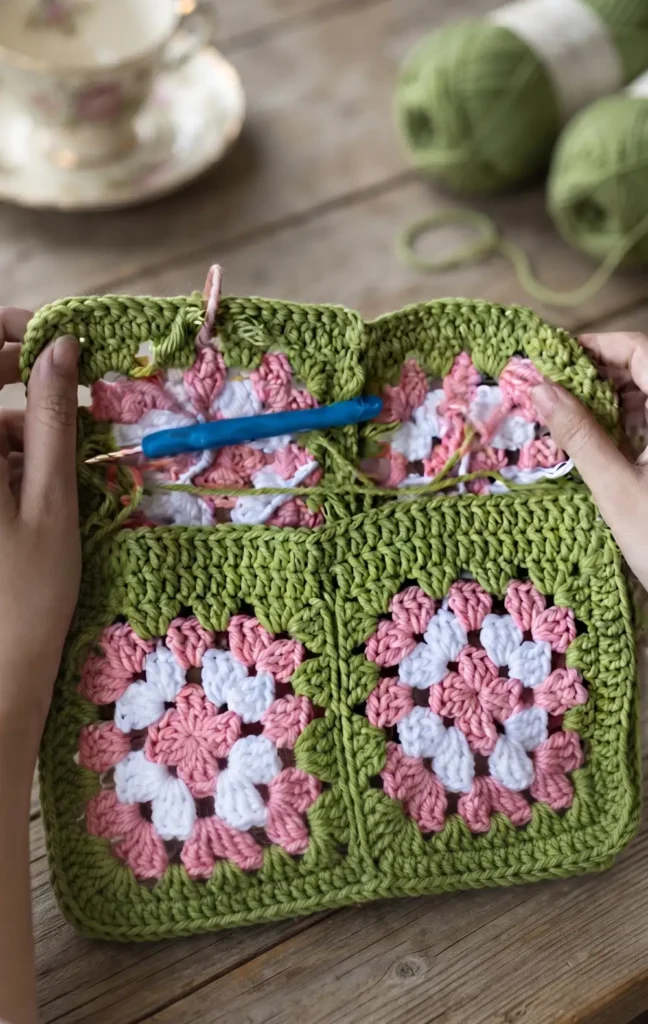
Once the front panel is the correct size, you will transition into working the spine and back cover in rows. The spine is created using single crochet rows, which provide a dense texture that is easily distinguishable from the rest of the sleeve. After the spine reaches the width of your book, you switch to double crochet rows for the back panel.
Using double crochets for the back allows the project to grow faster and creates a pleasant textural contrast against the single crochet spine. You should keep adding rows until the back panel is almost as large as the back of your book.
Step 4: Adding Clasps and Finishing Touches
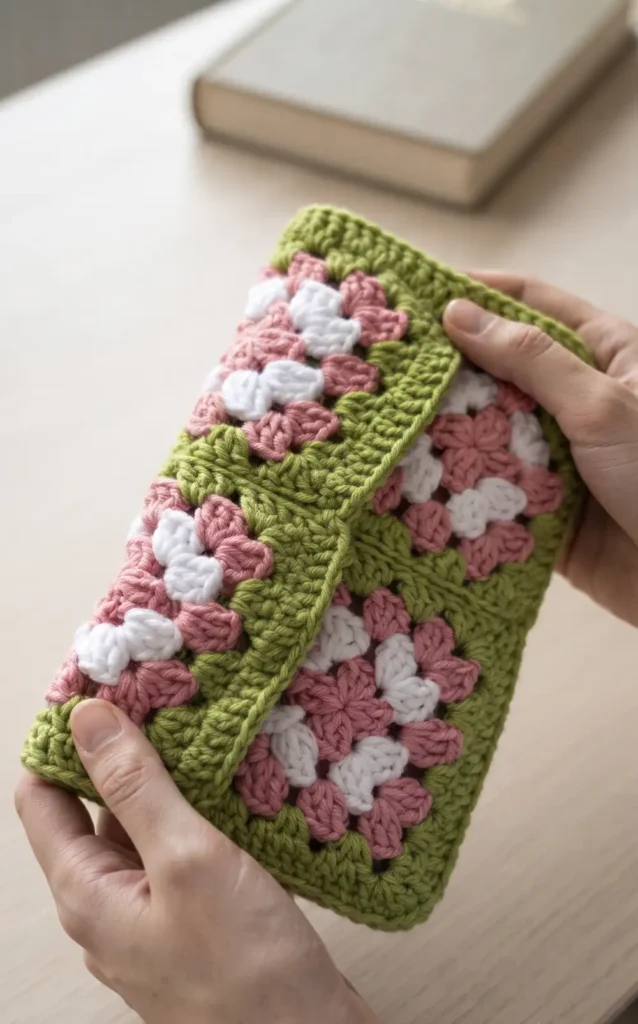
The final step involves securing the cover to the book using corner clasps and a decorative border. You will slip stitch all the way around the edges of the back part of your cover to create a neat finish.
At each corner, create a clasp by chaining three or more stitches and slip stitching back onto the edge to form a loop. These loops slide over the corners of your book to hold the sleeve firmly in place. Finally, fasten off your yarn and weave in any remaining ends to complete your adorable new book cover.
Video Credits: jana
2. Crochet Granny Stripe Book Sleeve Pattern
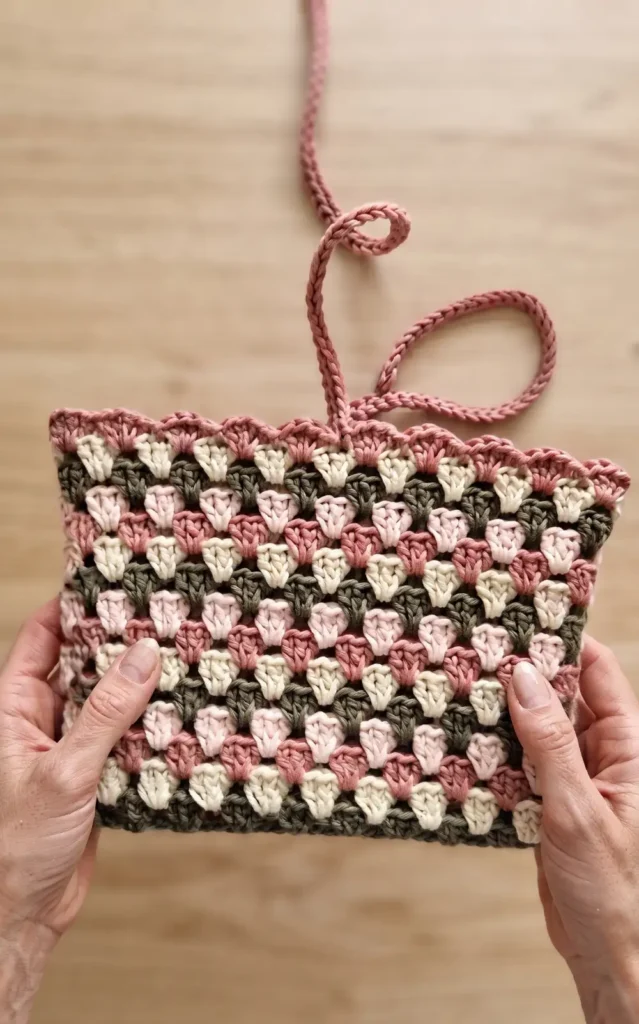
This tutorial guides you through creating a charming granny stripe book cover, complete with a scalloped edge and functional ties to keep your book secure. The design is worked from the bottom up and allows for multiple colour changes to suit your personal style.
Essential Materials
To begin this project, you will need the following items:
- 5 mm crochet hook (and a 6 mm hook if your foundation cord is too tight)
- Scissors
- Stitch marker or a scrap piece of yarn
- Cotton yarn: The tutorial uses four colours of Drops Paris 100% cotton (Colours 59, 25, 57, and 17)
Step 1: Creating the Foundation Cord
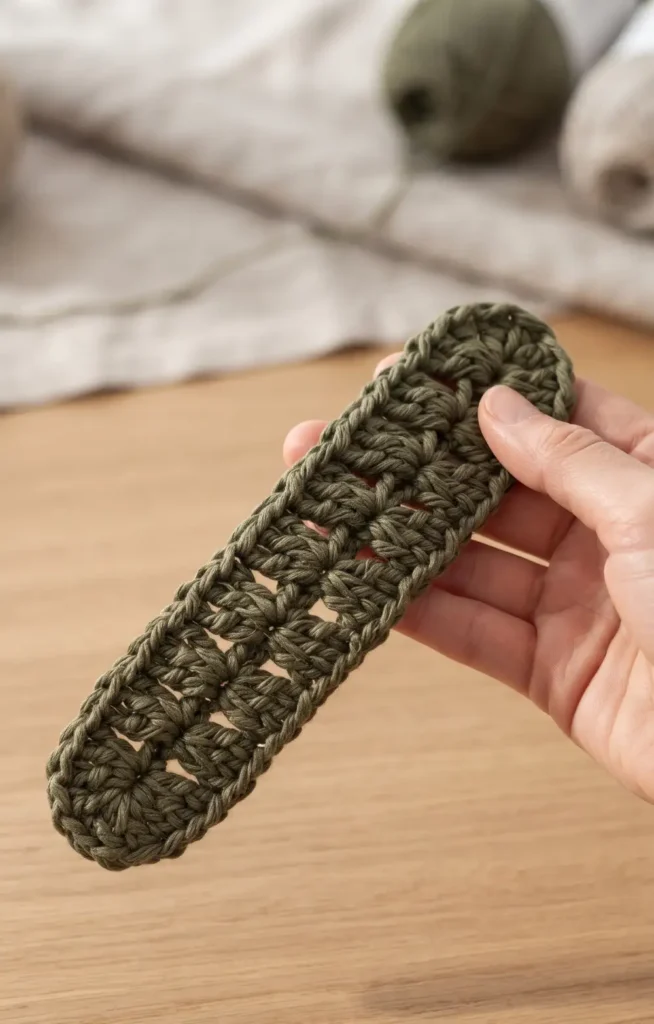
Instead of a standard chain, start with a foundation cord chain for a sturdier base. Measure out approximately 80 cm (32 inches) of yarn for the tail end before making your slip knot.
Loop the tail yarn over the hook, yarn over with the working yarn, and pull through both loops. Continue this process until you have 27 foundation stitches.
Step 2: Building the Initial Round
To start the first round, chain three, which counts as your first double crochet, then place two more double crochets into the first foundation space.
Continue by making three double crochets into the next space, then skip two foundation spaces and repeat the three-double crochet pattern all the way to the end. Work along both sides of the foundation cord until you have 20 groups of three double crochets in total. Join the round with a slip stitch into the top of the starting chain three and cut your yarn.
Step 3: Crocheting the Body and Changing Colours
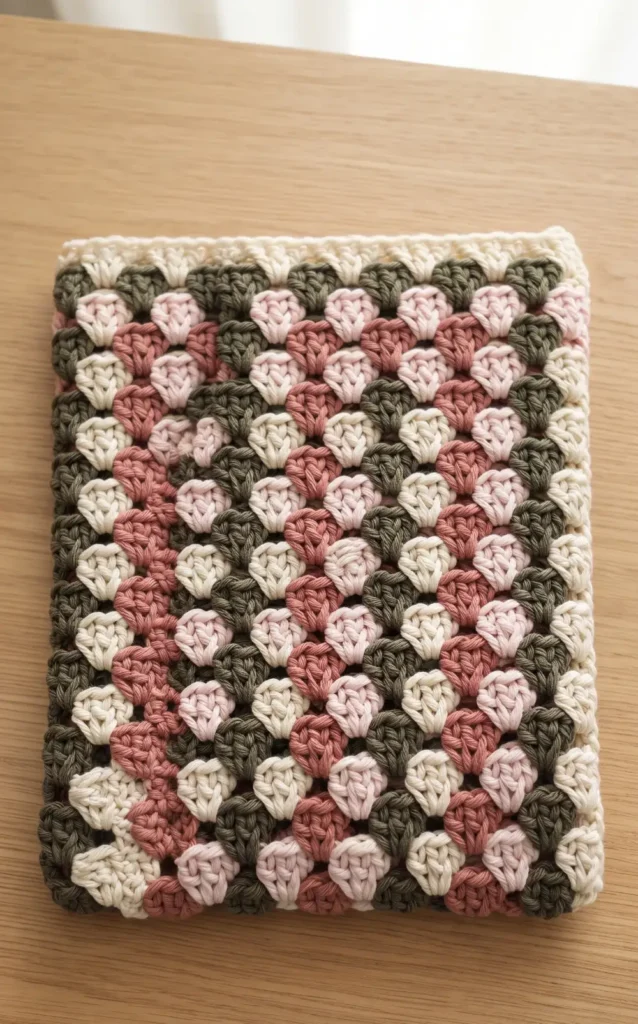
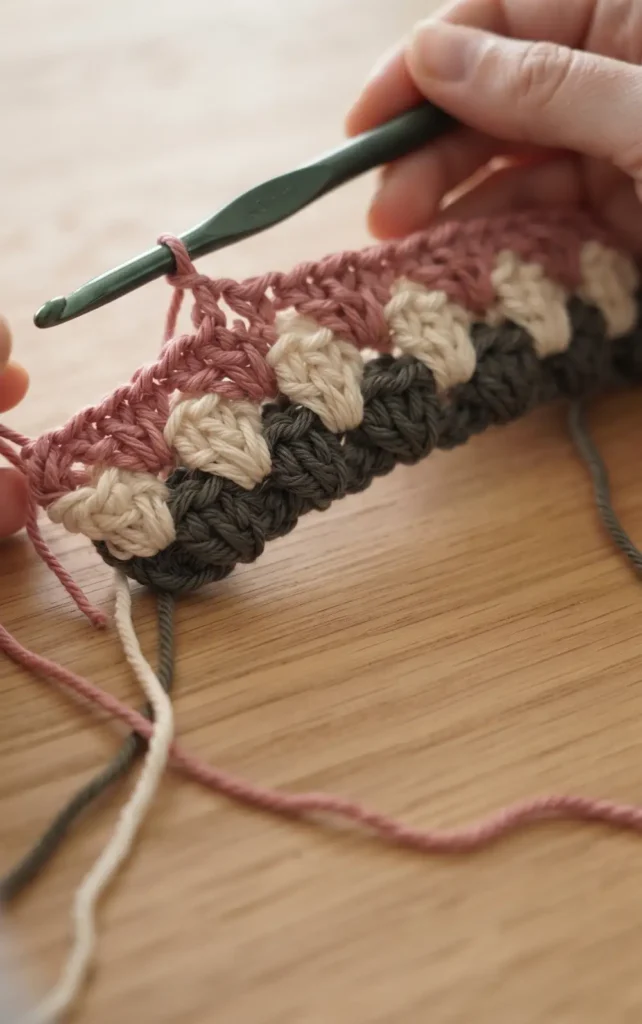
For subsequent rounds, use a standing double crochet to join a new colour in the space between any two groups of three double crochets. To avoid bulk, alternate the starting point of each round on opposite sides of the sleeve.
As you work, you can tie the tail ends together in a double knot and crochet over them in the next round to hide them without weaving in every single end. Repeat this process until you have reached a total of 14 rows.
Step 4: Adding the Scalloped Border and Ties
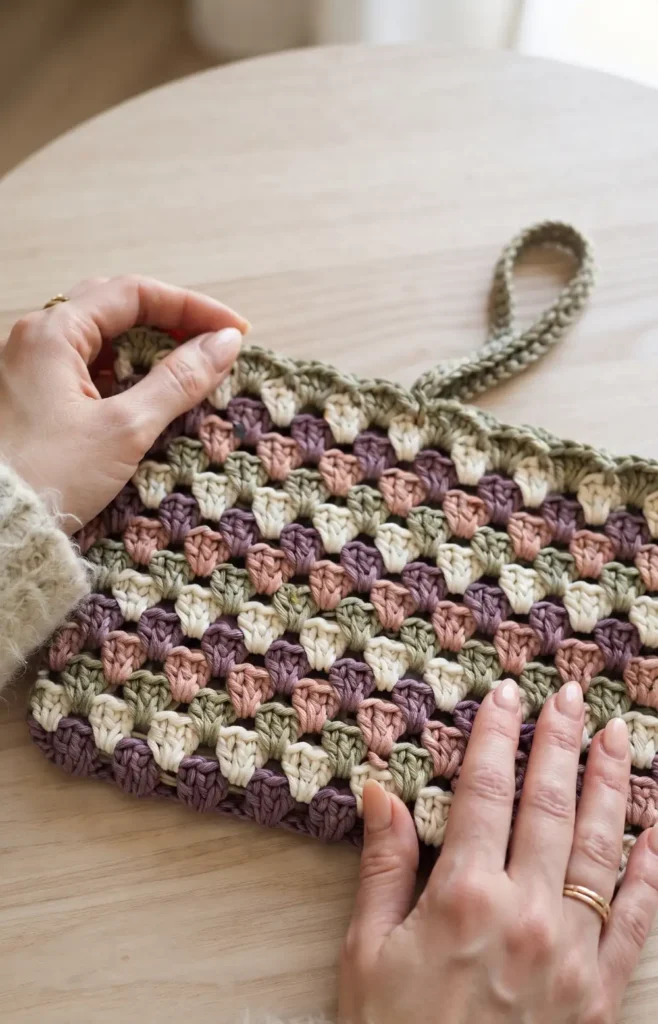
To create the decorative scalloped border, attach your final colour with a slip stitch into the middle double crochet of a group. Work four double crochets into the space between groups, followed by a slip stitch into the second double crochet of the next group.
To add the ties, find the centre of the front and back of the sleeve. At these centre points, chain 41 and then make slip stitches back down the bumps of the chain. Secure the tie with another slip stitch into the same base stitch and continue the scalloped pattern until the round is complete. Fasten off and weave in any remaining ends to finish your book sleeve.
Video Credits: Blossom and Yarn
3. Crochet Button Book Sleeve Pattern
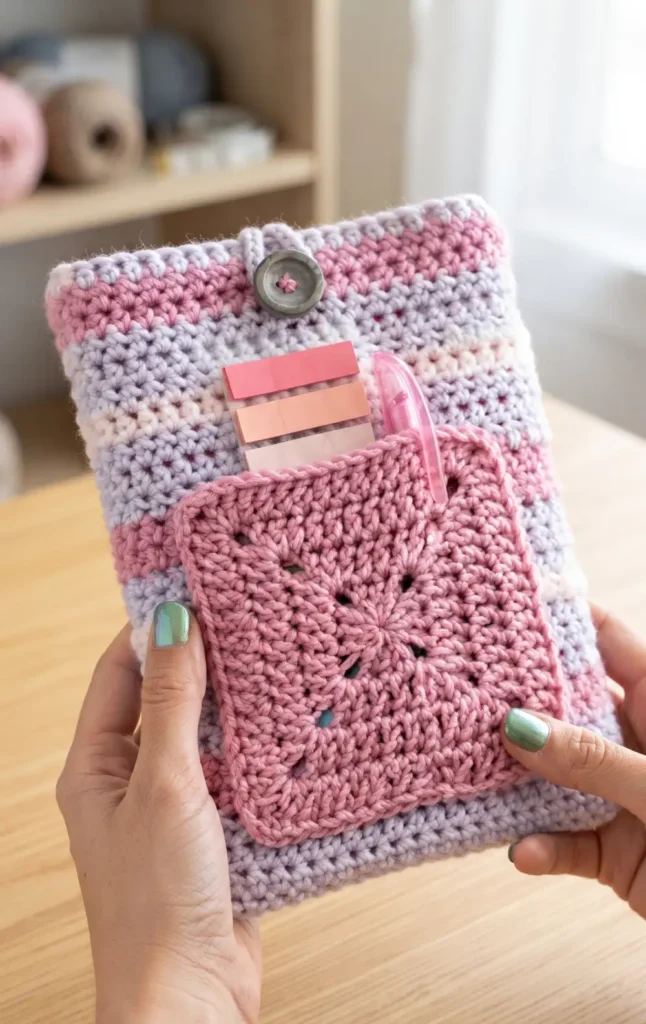
This beginner friendly project is highly versatile and allows you to create a protective cover tailored to any book size. To get started, you will need a 5 mm crochet hook, medium weight acrylic yarn, a yarn needle, scissors, and the book you intend to cover to ensure an accurate fit.
Step 1: Establish the Base and Width
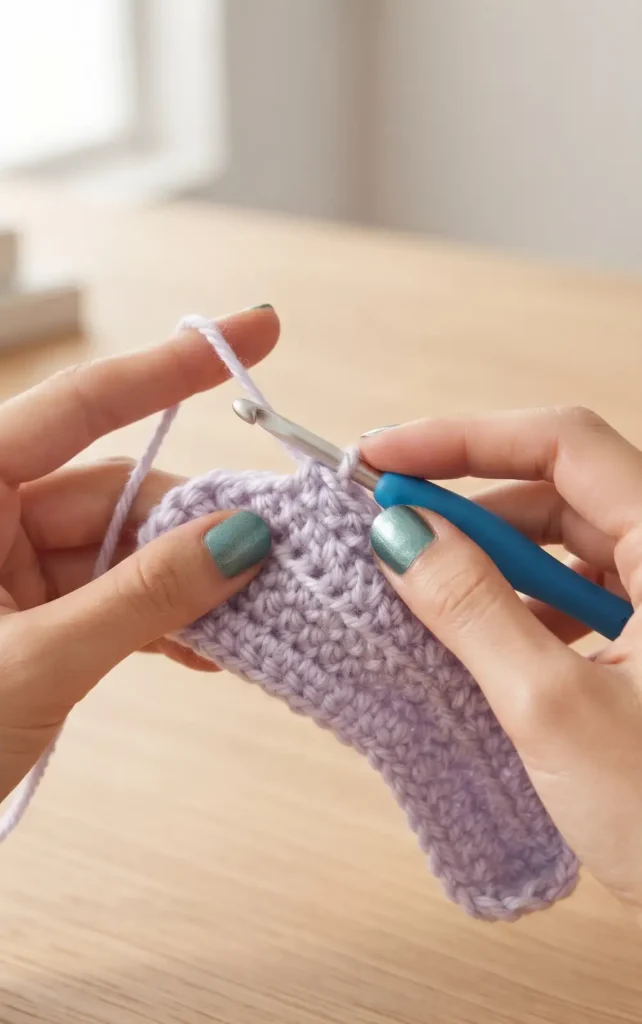
Begin by making a slip knot and creating an initial chain that matches the width or height of your book. The tutorial suggests chaining 20 for a standard width, but you should adjust this number based on your specific book.
Half double crochet (hdc) into the second chain from the hook and in every subsequent chain. At the end of the row, chain one, turn your work, and continue adding hdc rows until the piece matches the thickness of your book’s spine.
Step 2: Build the Sleeve Body
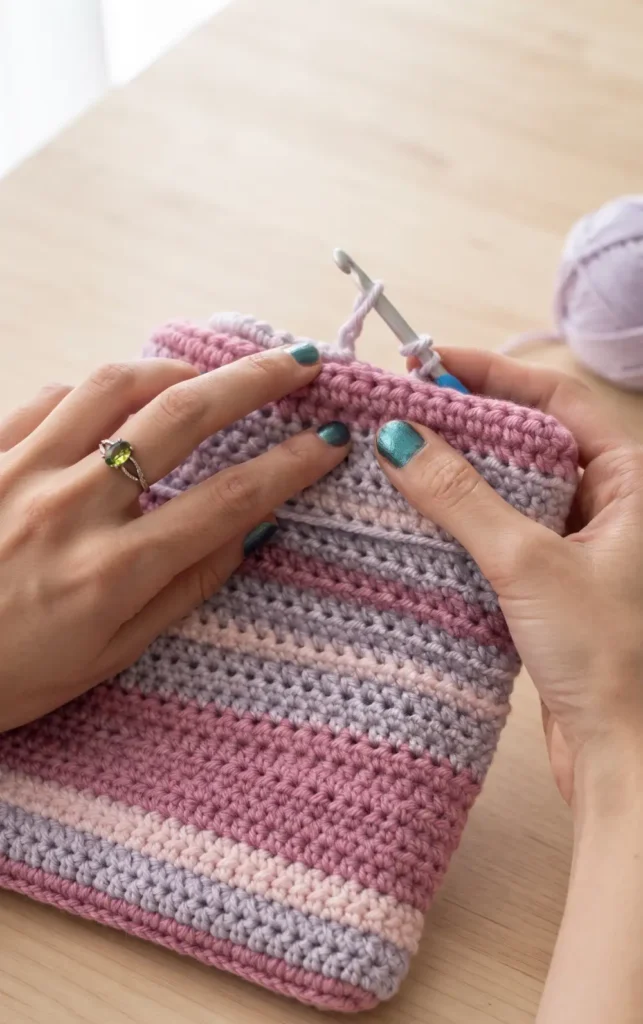
Once the base is the correct width, you will transition to working in rounds to create the “sleeve” shape. Work one hdc into the side of each row you just created, then continue with one hdc into every stitch along the bottom of your foundation chain. Complete the round by working up the other side.
To finish every round, slip stitch into the first stitch, chain one, and turn your work. Continue this pattern until the sleeve reaches your desired height. If you wish to change colors, join the new yarn during the final pull-through of your last hdc stitch.
Step 3: Secure the Button and Loop Closure
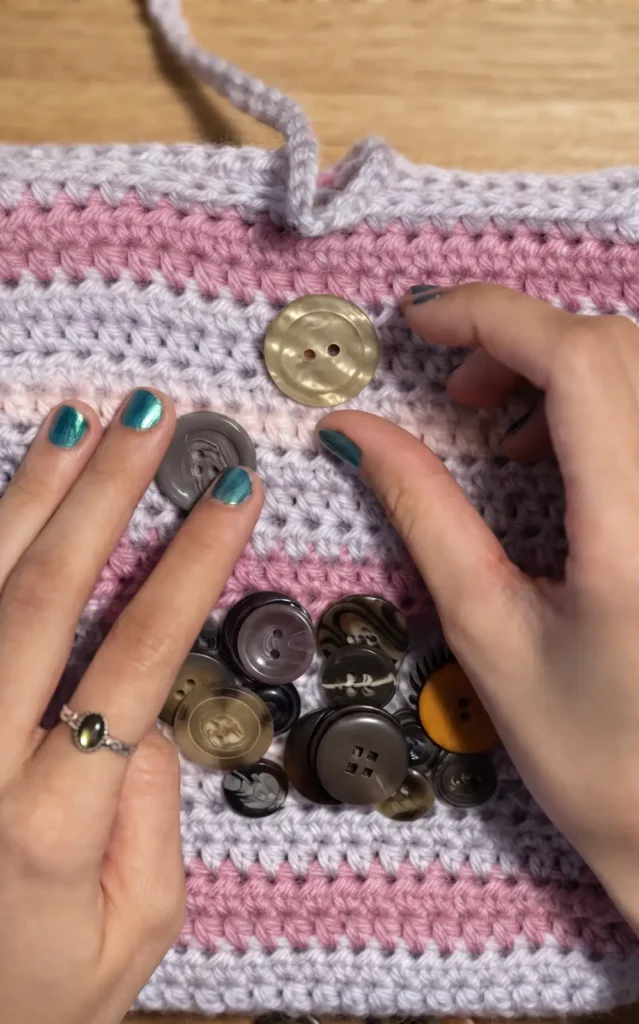
On your final row, work your hdc stitches until you reach the center point of the sleeve. From here, create a chain long enough to loop over a button, typically about 20 chains, and then hdc into the very next stitch to secure it.
Complete the row, slip stitch to finish, and weave in your ends. Finally, select a button and sew it onto the front of the sleeve using a yarn needle and matching yarn, ensuring it aligns perfectly with your crocheted loop.
Step 4: Attach a Custom Pocket
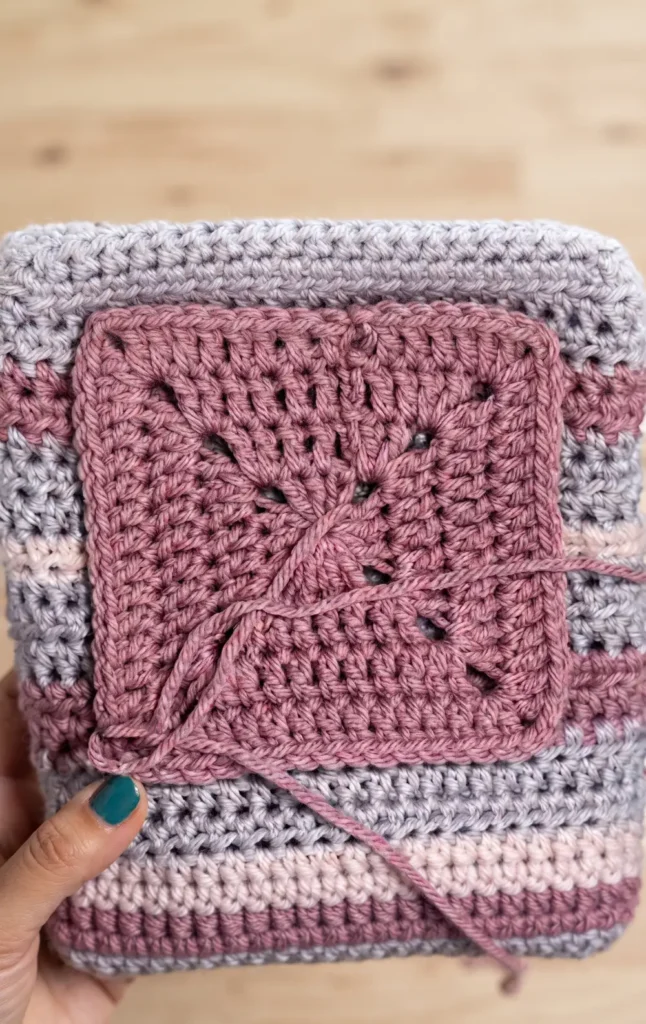
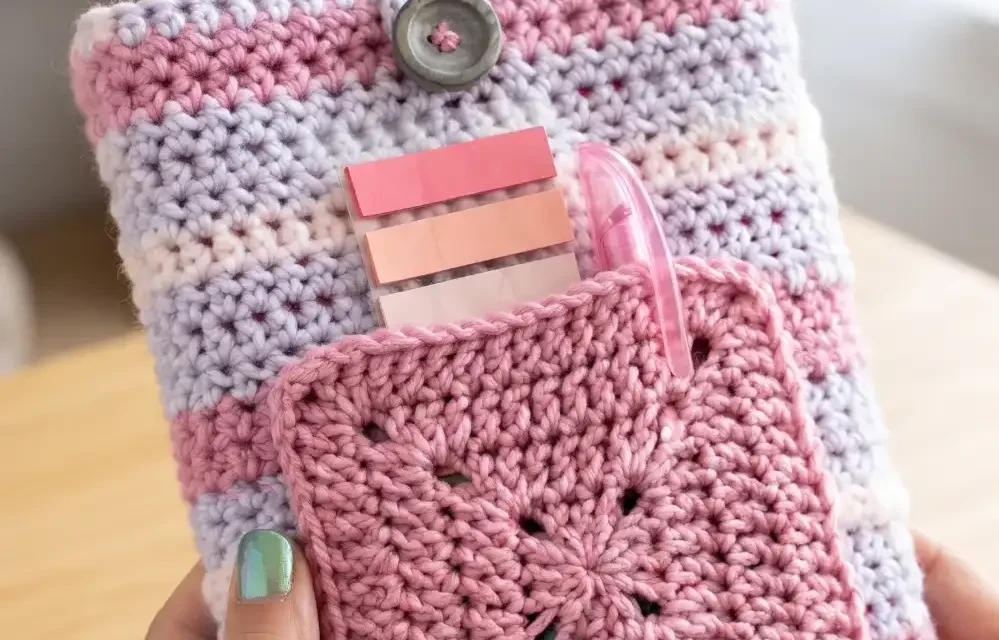
For added functionality, you can add a pocket to hold annotation tabs, pens, or highlighters. You can crochet a simple square or a solid granny square to serve as your pocket.
To attach it, use a long piece of yarn and a yarn needle to sew the pocket onto the front of the sleeve. Secure it along the left, bottom, and right sides, but leave the top edge open so you can easily slide your accessories inside. Once finished, tie off the yarn with a double knot and weave in any remaining ends.
Video Credits: Strong Earth Creations
4. Crochet Diamond Stitch Book Sleeve Pattern
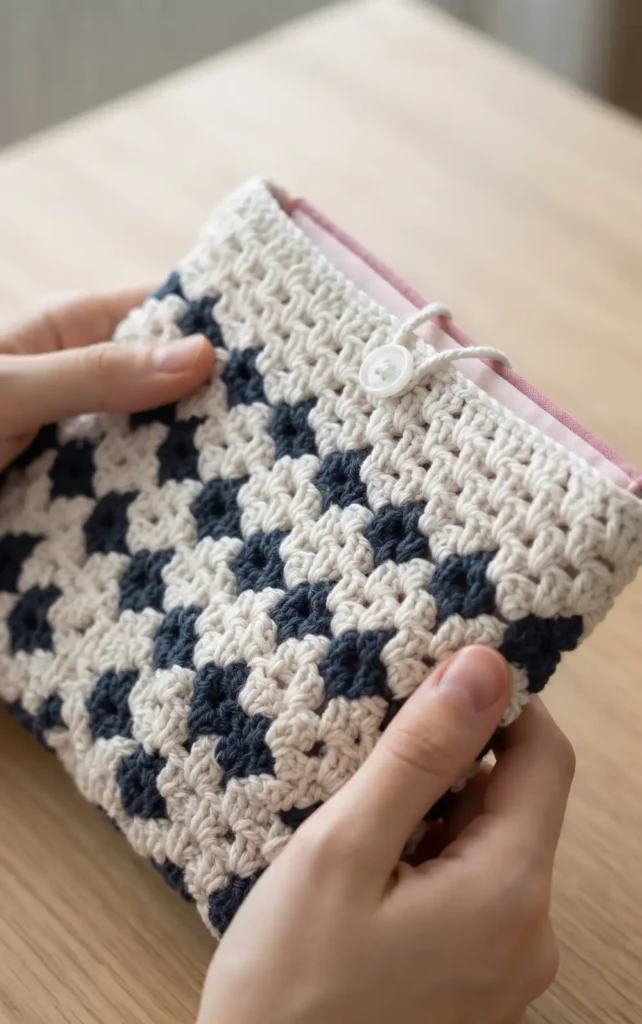
Creating a handmade book sleeve is a wonderful way to protect your favorite reads while adding a stylish, personal touch. This beginner friendly project uses a textured diamond pattern and is easily customizable to fit any book size.
Necessary Materials
Before you begin, gather the following supplies:
- Yarn: Two different colors of yarn (100% cotton is recommended).
- Crochet Hook: A 3mm hook or a size that matches your chosen yarn label.
- Cross-stitch Needle: This will be used for sewing the bottom shut.
- The Book: You will need the book on hand to measure the sleeve as you work.
Step 1: Create the Foundation Chain
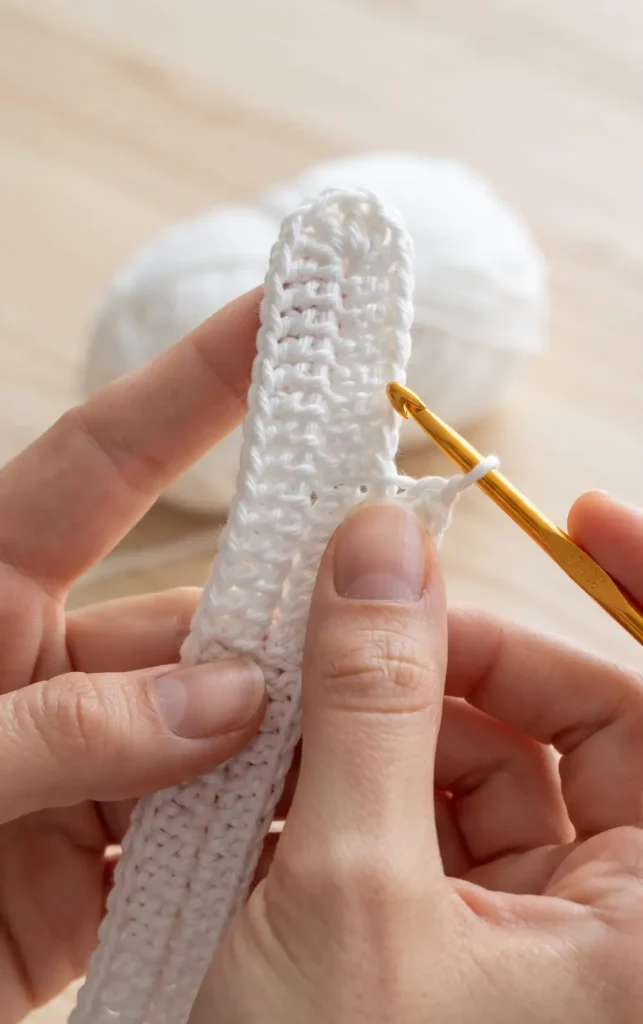
Start by making a slip knot and placing it on your hook. Create a foundation chain by wrapping the yarn over your hook and pulling it through the loop. Keep adding chain stitches until the length of the chain matches the spine of your book. It is important that your total number of chains is a multiple of three minus one, such as 11, 14, or 17, to ensure the pattern works correctly.
Step 2: Build the Base Rows
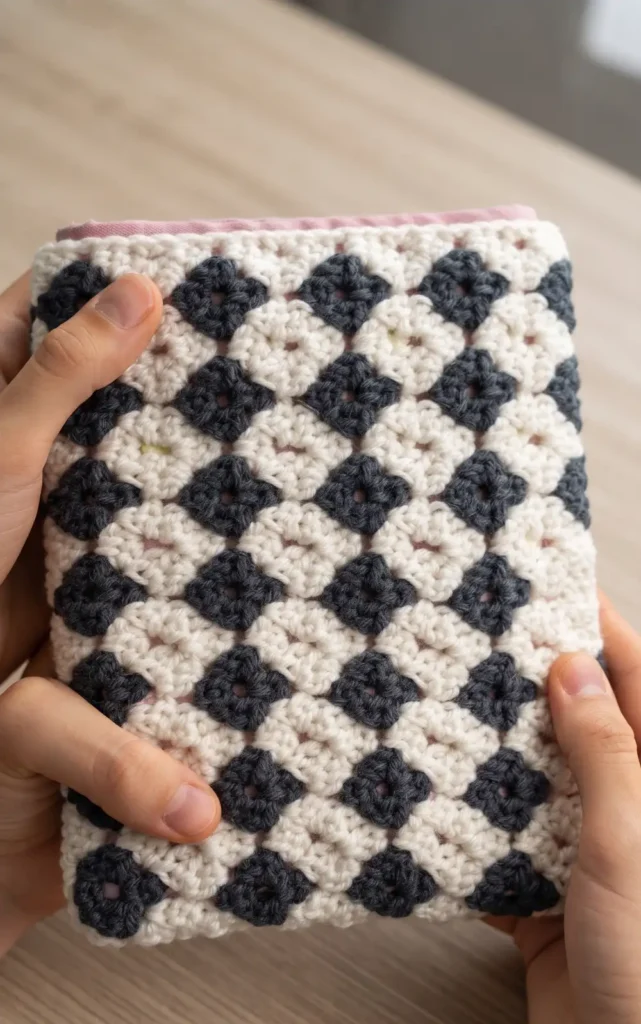
To begin the first row, skip the first three chains and work double crochets across the entire foundation row. When you reach the very last stitch, work five double crochets into that single stitch to create a rounded corner.
Turn your work and continue double crocheting along the opposite side of the foundation chain. Finish the row by placing five double crochets in the last stitch of that side and joining the round with a slip stitch into the top of your starting chain.
Step 3: Work the Diamond Stitch Pattern
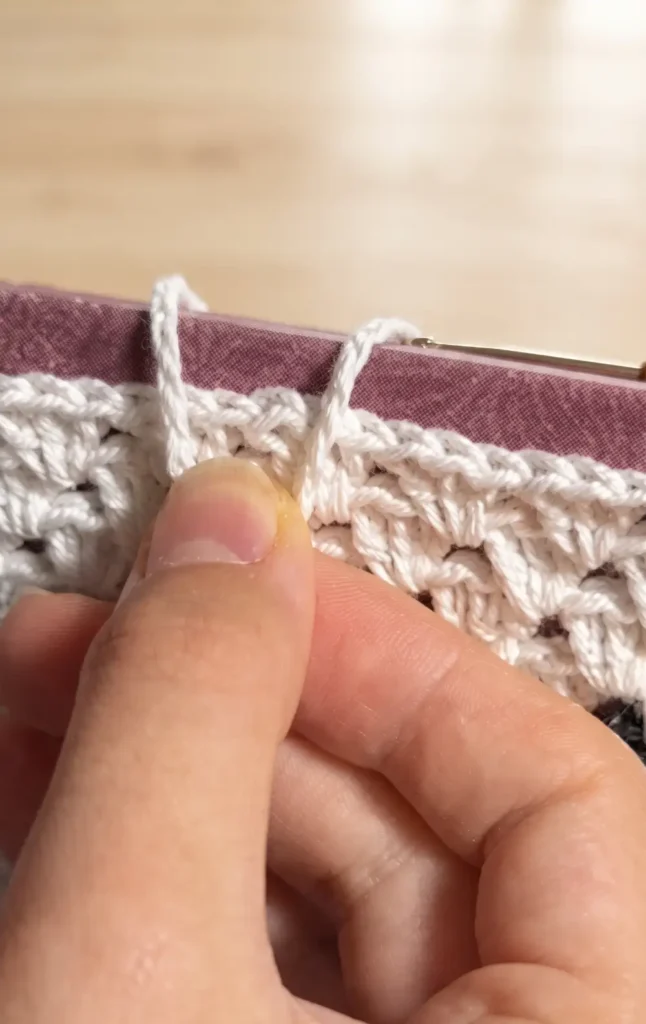
For the second row, chain three and work two more double crochets into the same stitch. To create the diamond effect, you will change colors every three stitches.
When making the third double crochet of a set, leave two loops on your hook and pull the new yarn color through to complete the stitch. In the following row, you will work sets of three double crochets into the gaps between the sets from the previous row without changing colors.
Continue alternating between these color-changing rows and solid-color rows until the sleeve is long enough to fit your book.
Step 4: Finish with a Clasp and Seam
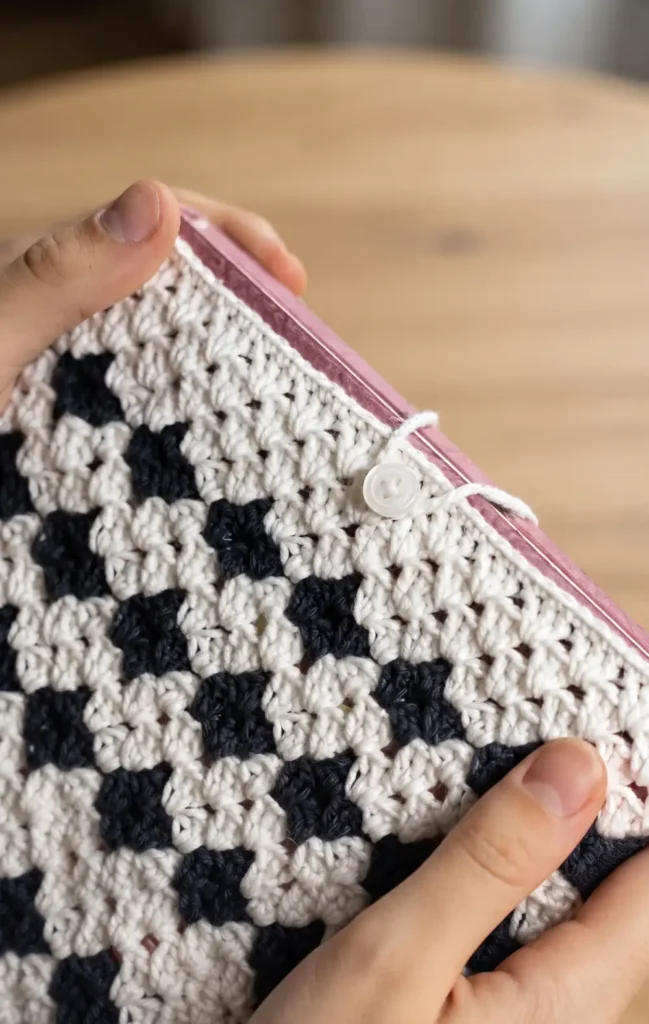
Once you reach the desired length, you can add a solid section of color or proceed directly to the clasp. To make the clasp, create a chain long enough to reach from the top of the sleeve to where a button would be, then secure it at the center with a slip stitch.
Work single crochets across the top edge of the sleeve to finish the rim. Finally, use your cross-stitch needle to sew the bottom of the sleeve shut, ensuring your book will stay securely inside.
Video Credits: dariarsii
5. Crochet Heart Granny Square Book Cover Pattern
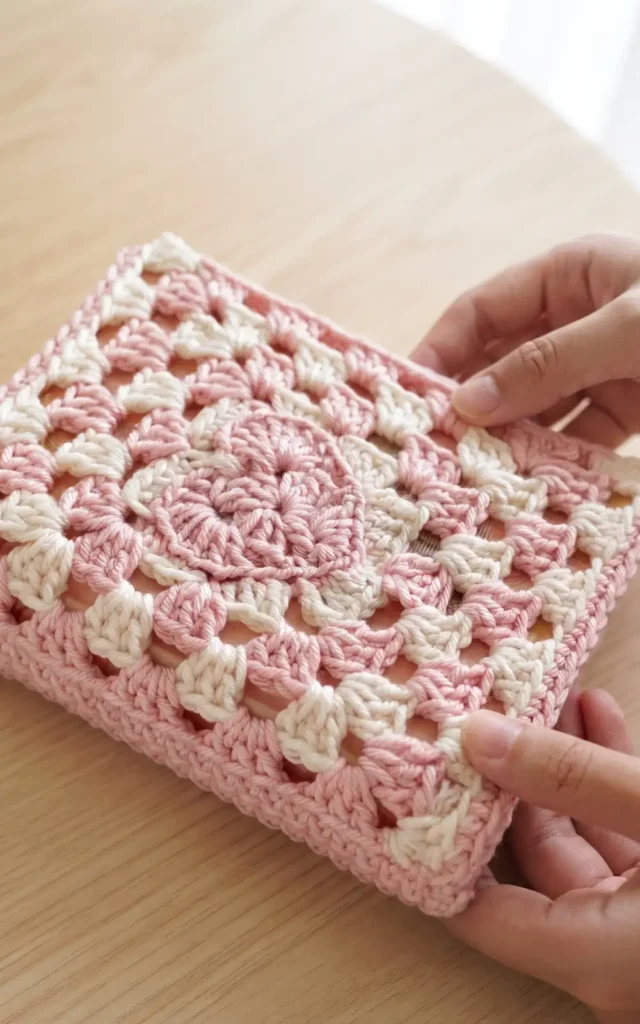
This adorable crochet project, known as the Emma book cover, is perfect for customising your favourite reads and turning everyday objects into something much cuter. Whether you want to hide a cover you do not like or simply protect your books, this heart-themed design is a classic choice for any “bookish” crafter.
Essential Materials
To begin this project, you will need the following items:
- Crochet Hook: A 4.5 mm hook.
- Yarn: Size-appropriate yarn for your hook (the creator uses blue and yellow).
- Tools: Scissors and a tapestry needle for weaving in ends.
- The Book: The specific book you intend to cover to ensure a perfect fit.
Step 1: Create the Heart Centre
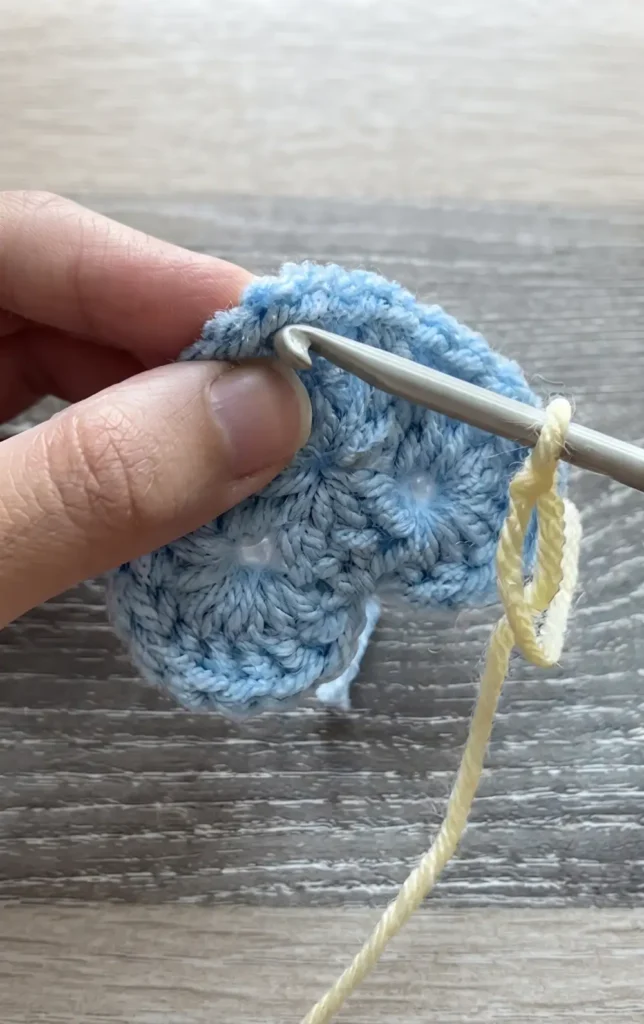
The foundation of this cover is a heart-shaped granny square. Start by making a magic ring. Chain three (this counts as your first double crochet) and then work two double crochets into the ring. Continue the pattern of “three double crochets, chain two” three more times until you have four sides, then slip stitch into the third chain to form a small square.
To transform this square into a heart, chain one and work eight double crochets into the first corner chain space. Chain one and single crochet into the next corner space. In the middle double crochet of the next side, work two single crochets, chain one, and two more single crochets to create the heart’s bottom point. Chain one, single crochet in the next corner, chain one, and work eight double crochets in the final corner space. Finish by slip stitching into the centre and fastening off.
Step 2: Square the Heart and Add Borders
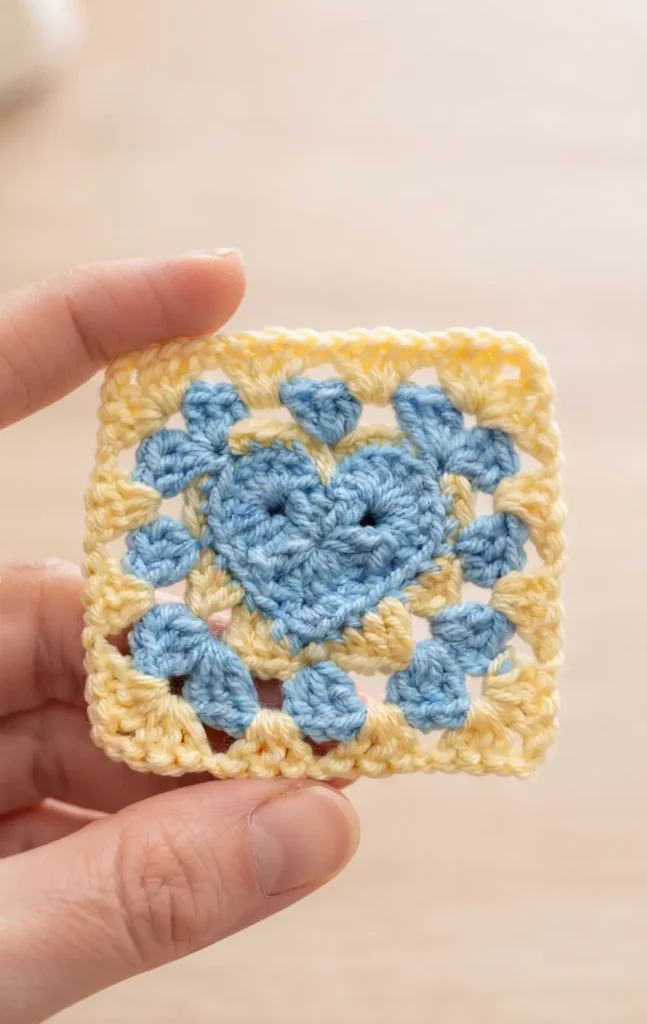
To turn the heart back into a square, attach a new colour of yarn to the back loops of the heart. Working only in the back loops, follow a sequence of single, half double, double, and triple crochets to level out the heart’s curves into a square border. Once this border is complete, begin traditional granny square rows.
Work in clusters of three double crochets, separated by a chain one. In the corners (the chain two spaces), work a corner cluster consisting of three double crochets, chain two, and three double crochets. Continue adding rows until the square is wide enough to cover the front of your book.
Step 3: Customise the Size for Rectangular Books
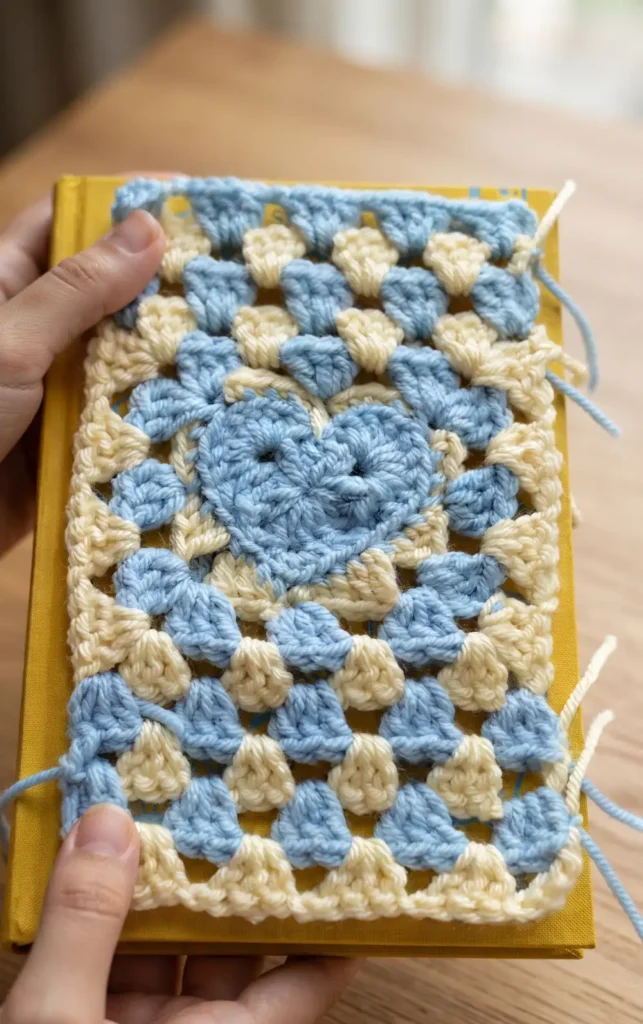
If your book is rectangular rather than square, you must add extra length to the top and bottom. Instead of working all the way around the square, attach your yarn to a corner and work rows of clusters across only the top or bottom edges.
To keep the edges straight while adding this length, you may need to substitute certain stitches with chains or turn your work after each row. Repeat this process on both the top and bottom until the piece matches the height of your book, leaving a small amount of space at the edges so the final cover is not too loose.
Step 4: Construct the Spine, Back, and Clasps
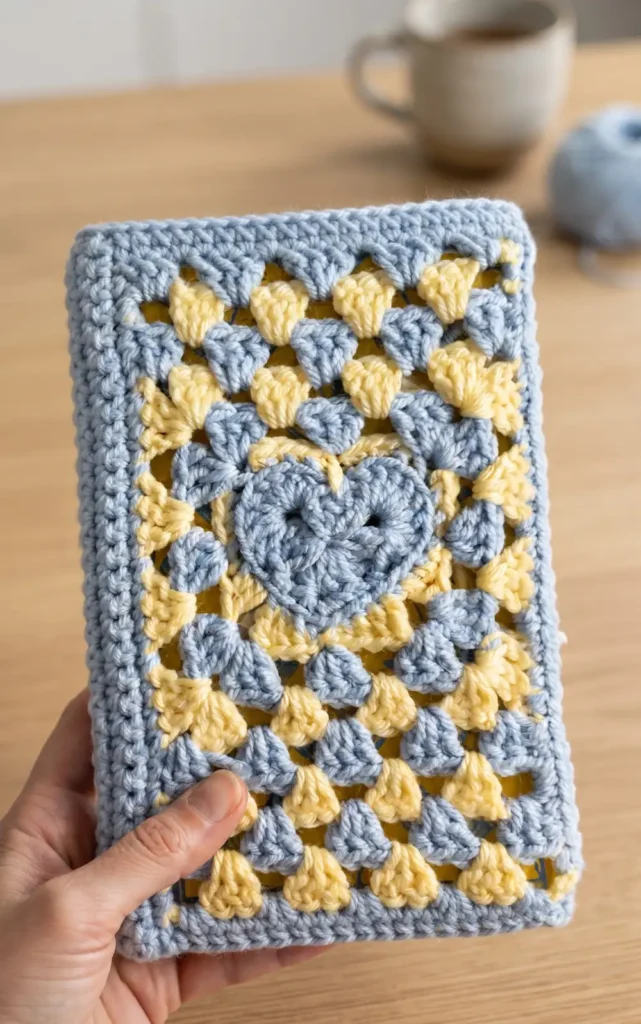
Once the front panel is ready, create a single crochet border along the bottom. During this process, create corner clasps by chaining three at the corners to form loops that will slide over the book’s cover. From the side of your front panel, work rows of single crochet to create the spine. This texture difference helps distinguish the spine from the rest of the cover.
After the spine reaches the correct width, switch to double crochet rows to build the back panel. Double crochets are used here because they are larger and allow the work to progress faster. To finish, slip stitch around the entire back panel to create a neat border and add two more chain-loop clasps at the back corners. Weave in all remaining ends to complete your book cozy.
Video Credits: mahum
What Colors Will You Choose?
Five patterns, endless color combinations. That’s the beauty of a granny square book sleeve. Pick shades that match your personality or your current read, then grab your hook.
Your next favorite book deserves a cover made with your own two hands. Try one of these patterns this week. Your bookshelf will thank you.