How to Crochet a Granny Square Book Sleeve from Start to Finish
Your books deal with a lot. Backpacks, coffee spills, and rough handling on the bus. A crochet book sleeve fixes that problem while adding real charm to your reading routine. This granny square inspired cover is sturdy, stitched with care, and finished with a scalloped border that looks anything but basic.
This pattern walks you through every stage, from the foundation chain to the final bow. You will build flaps that hold your book snugly in place, then dress up the edges with a shell stitch border and a threaded accent line. No fancy techniques required, just steady stitches and a bit of patience. By the end, you will have a cover that protects your book and shows off your crochet skills at the same time.
Easy Crochet Book Cover for Beginners
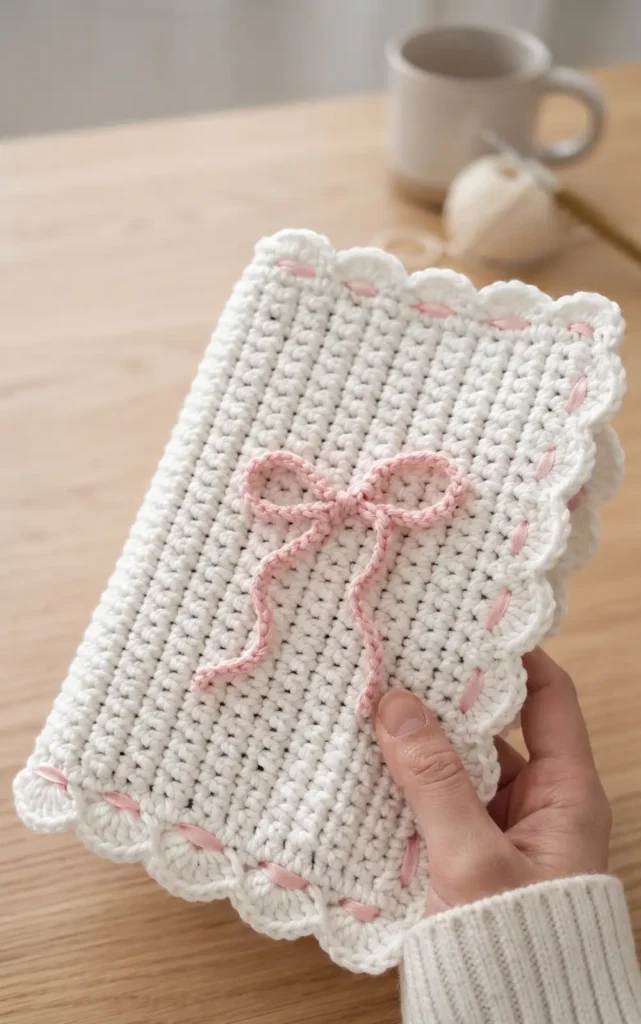
This simple and customisable project allows you to create a beautiful protector for your favourite books in any size. Using basic stitches, you can craft a cover that includes decorative borders and a charming bow.
Materials You Will Need
To begin this project, gather the following supplies:
- Yarn: A base yarn (4 mm recommended) and accent colours for the borders.
- Crochet Hook: A 4 mm hook, or a size that matches your chosen yarn.
- Needle: A yarn needle for sewing the flaps and weaving in ends.
- Scissors: To cut your yarn when finishing sections.
- Optional: A 3.5 mm hook for the bow and glue to secure it.
Step-by-Step Instructions
Follow these 15 steps to complete your handcrafted book cover.
Step 1: Create the Foundation Chain
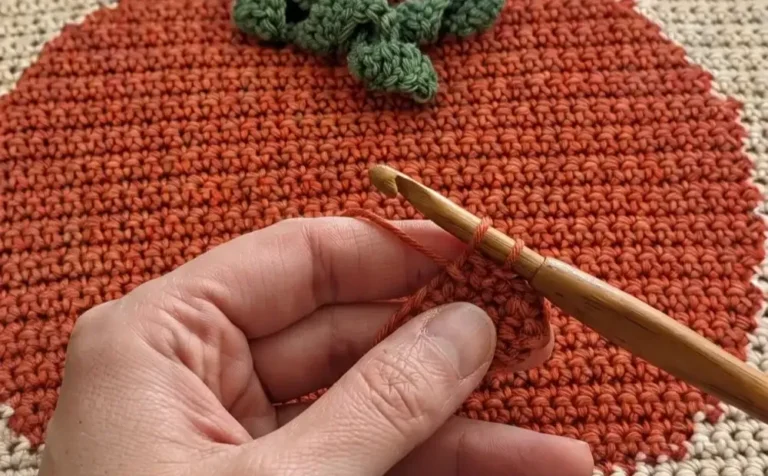
Start by making a slip knot and then begin chaining until your work matches the height of your book. Ensure the chain is slightly longer than the book height so the cover fits comfortably.
Step 2: Complete the First Row
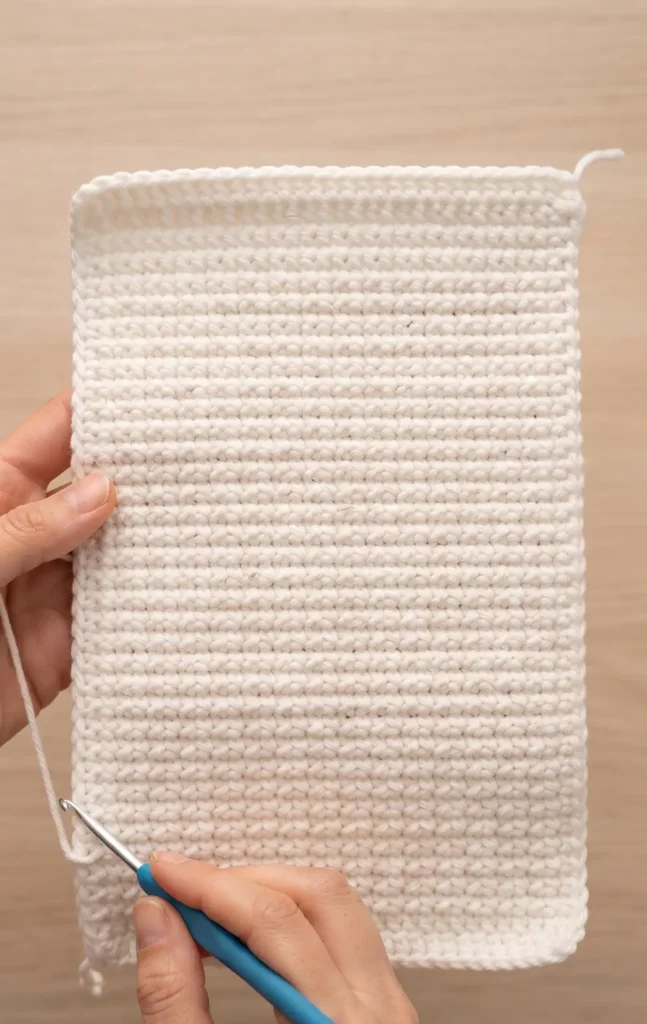
Skip the first chain from your hook and make one single crochet in every remaining chain. Check to make sure the row still reaches the full height of your book.
Step 3: Build the Body of the Cover
Chain one and turn your work to begin the second row. Continue making one single crochet in each stitch for every subsequent row until the piece is wide enough to wrap around your entire book.
Step 4: Add the Flaps
Once the base covers the book, you must add four or more extra rows to each side. These additional rows will be folded over to create the pockets that hold the book in place.
Step 5: Fasten Off the Base
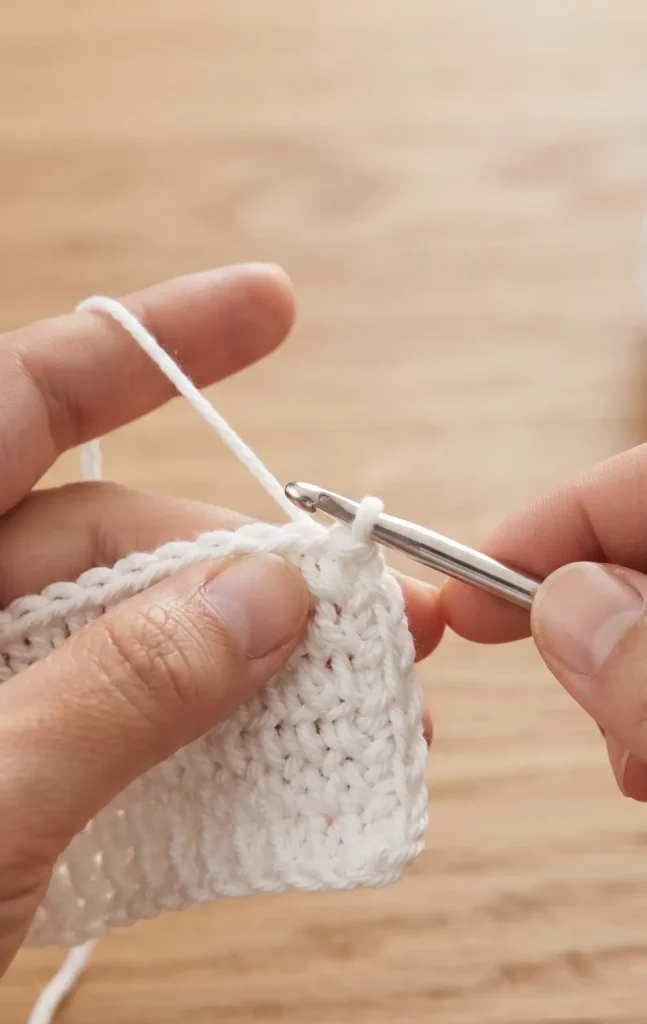
After completing the extra rows, chain one and pull the yarn through. Cut the yarn to finish the base piece.
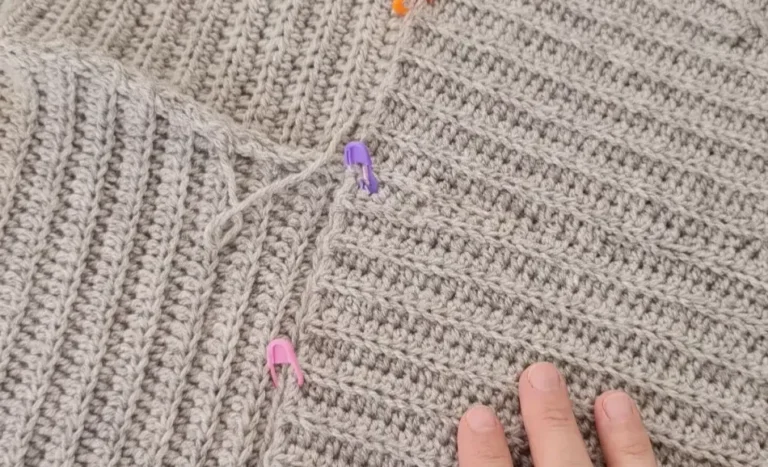
Step 6: Sew the Flap Corners
Fold the extra rows inward to form the pockets. Using your needle and yarn, sew through the top stitches of both layers and secure them with a knot.
Step 7: Finish the Remaining Corners
Repeat the sewing process for the other three corners of the flaps. This creates the internal pockets where the book covers will be inserted.
Step 8: Hide the Yarn Ends
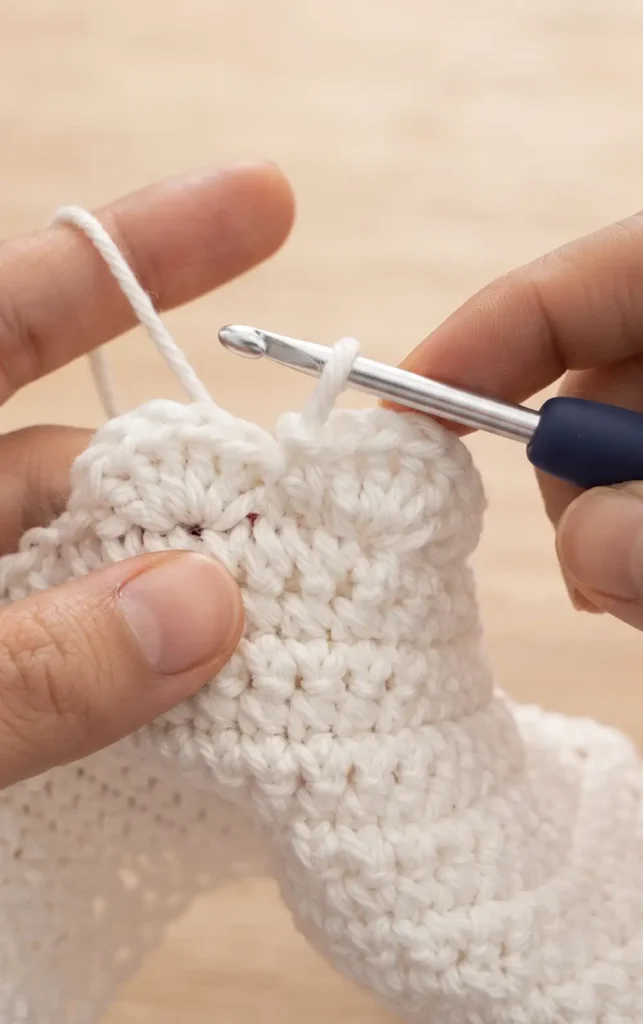
Use your needle to weave all the leftover yarn tails through the back side of the work to hide them. This ensures your base cover looks neat and professional.
Step 9: Start the First Border
Flip your work so the face side is towards you and join a new colour of yarn with a slip knot. Chain one and make one single crochet in every stitch along the entire outer edge of the cover.
Step 10: Work Across the Flaps
When you reach the folded side sections, continue single crocheting through the stitches of those rows. Once you return to the start, slip stitch into the first single crochet and cut the yarn.
Step 11: Begin the Scalloped Border
Join your next chosen colour with a slip knot in any stitch of the previous border. Chain one, skip one stitch, and then work five half double crochets into the same stitch to create a shell.
Step 12: Complete the Scallop Pattern
Skip the next stitch and make one slip stitch in the following one. Repeat this pattern, skip one stitch, five half double crochets, skip one stitch, and one slip stitch, all the way around the border.
Step 13: Add the Threaded Accent
Using a needle and a contrasting yarn, weave the thread in and out of the stitches just below the scalloped border. Pass the needle through every two stitches to create a dashed line effect around the cover.
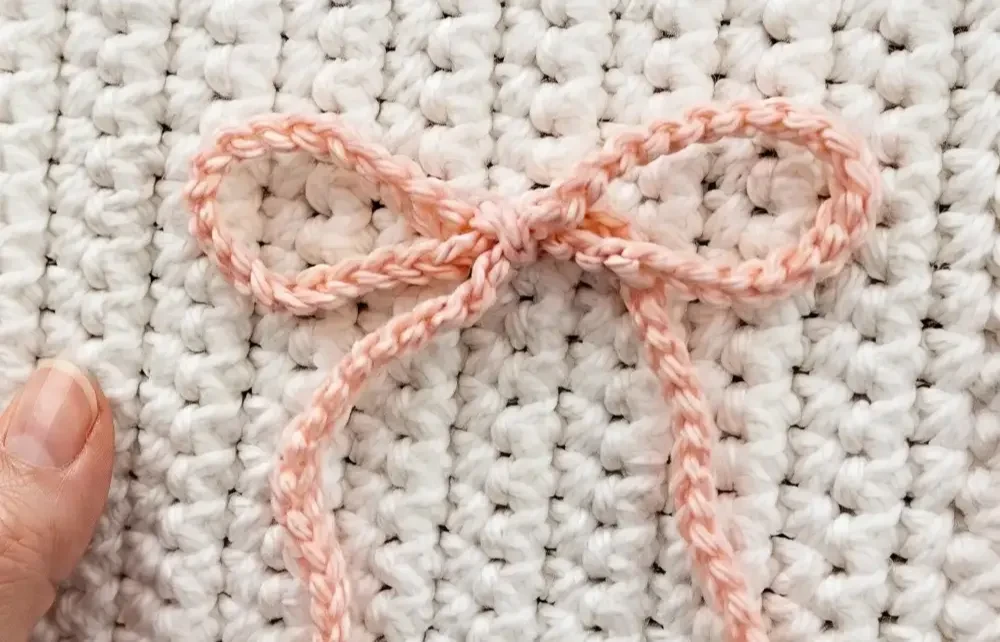
Step 14: Crochet the Decorative Bow
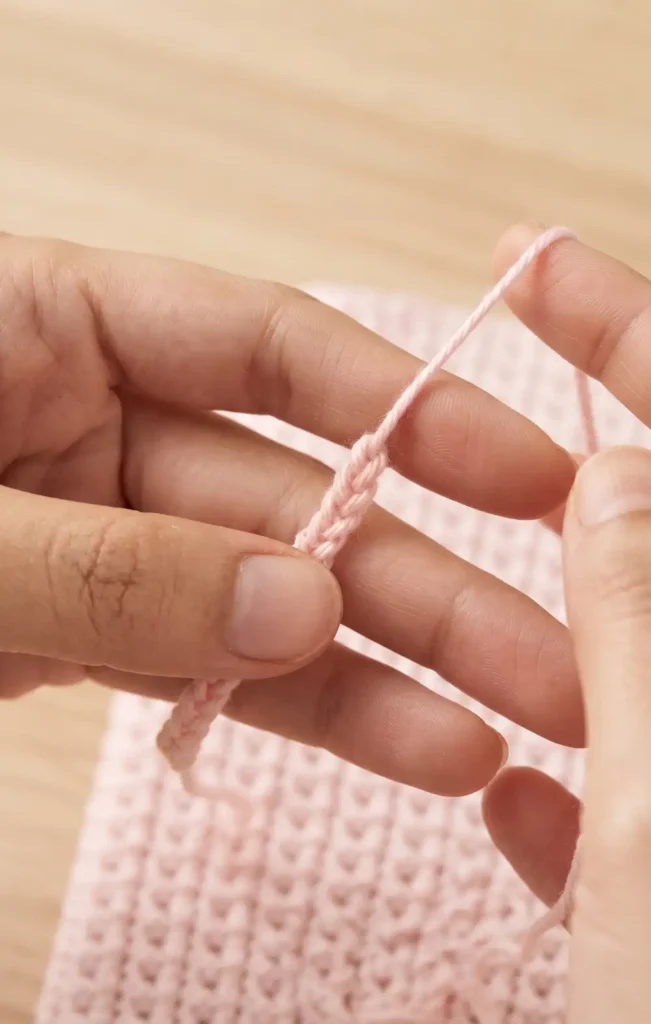
If you wish to crochet a bow, use a thinner yarn and a 3.5 mm hook to make a slip knot. Create a long chain until it is sufficient to tie into a bow shape, then fasten off and hide the ends.
Step 15: Attach the Bow to the Cover
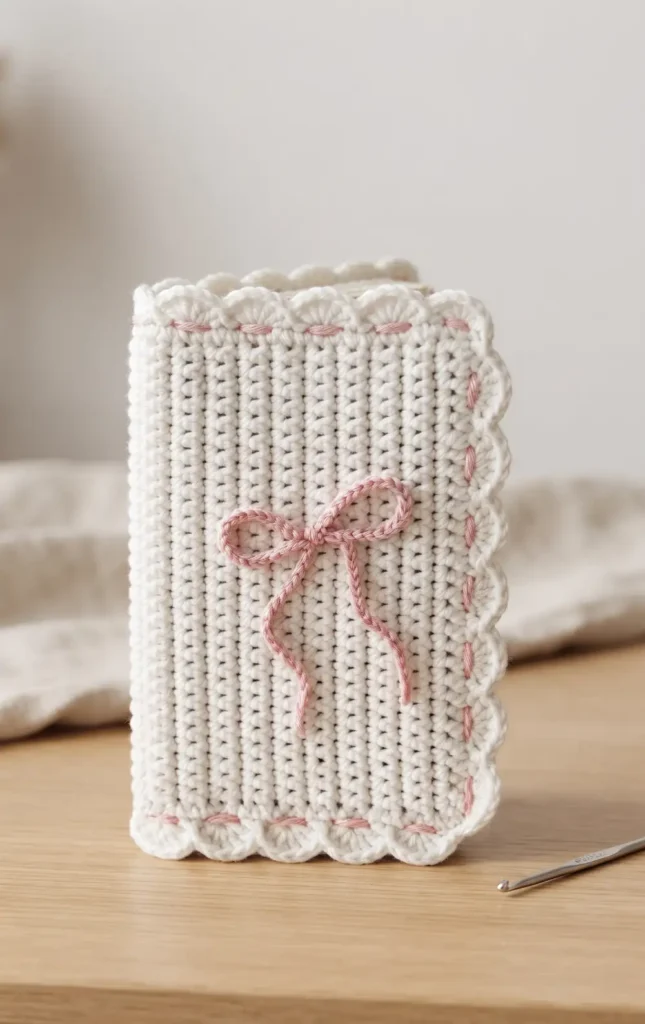
You can either glue the tied bow to the centre of the cover or pull the chain through a stitch in the centre and tie it directly onto the piece. Secure it with a small amount of glue if necessary to keep it in place.
Video Credits: byyynicolette
Finished Your Book Sleeve?
Your book sleeve is finished, and it shows real craftsmanship. That scalloped border and threaded accent turn a simple pocket into something worth showing off. Slide your current read inside and enjoy a cover that protects it in style.
This pattern works for any book size once you adjust your foundation chain, so feel free to make a few in different colours. They make thoughtful handmade gifts for the readers in your life. Snap a photo of your finished sleeve and keep it close for your next read.