How to Crochet a Fall Throw Pillow with an Easy Free Pattern
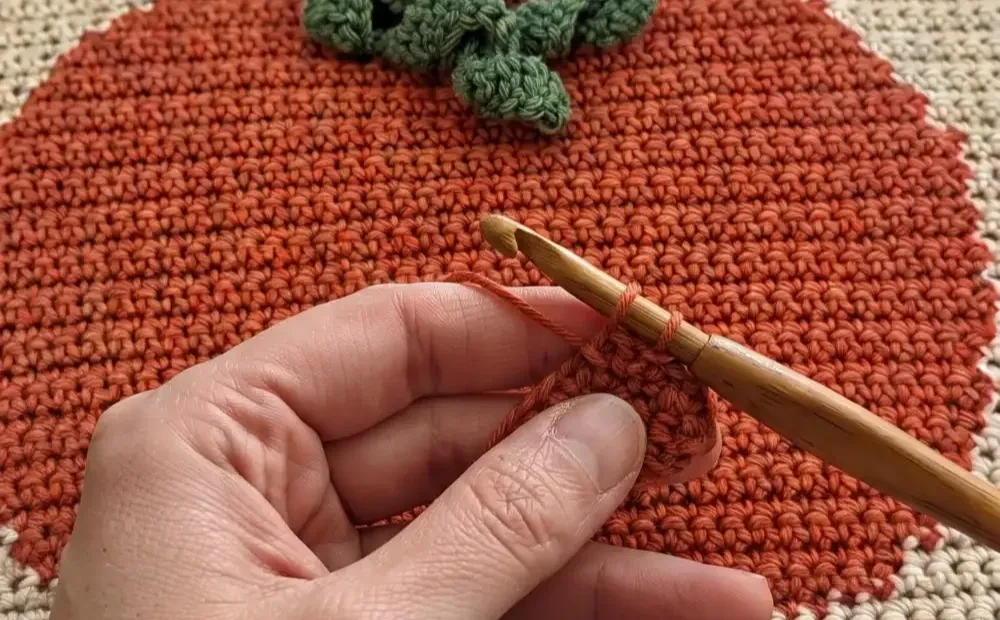
There’s a fall in October afternoon light, when the leaves finally turn and your porch starts begging for something cozy. This crochet pumpkin pillow answers that call. It combines a textured single crochet base with an intarsia-style pumpkin motif, giving you a statement piece that looks far more complex than it actually is.
You don’t need years of colorwork experience to pull this off. Basic single crochet, a little float management, and some patience with color changes are all it takes. Grab your H hook and your favorite pumpkin-colored yarn, and let’s get this cushion on your couch before the season slips away.
The Crochet Pumpkin Pillow
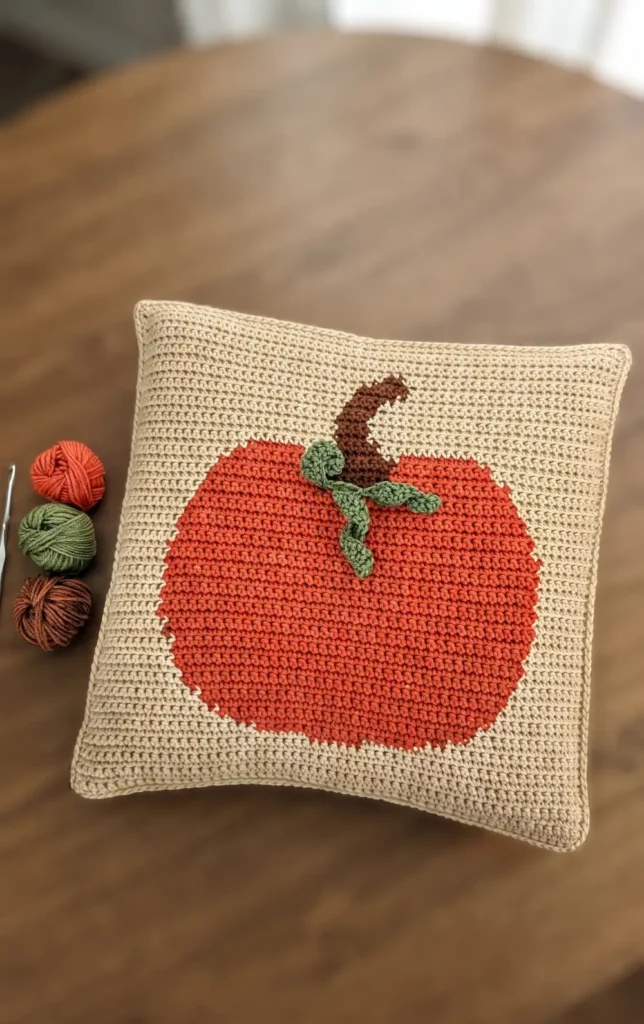
This adorable crochet pumpkin pillow is a perfect addition to your autumn decor or makes a thoughtful handmade gift. The project uses simple stitches and a color-changing technique to create a beautiful textured front panel with a festive pumpkin motif.
Materials and Tools Needed
To create this pillow, you will need the following materials:
- Yarn: Any size 4 medium weight yarn. The tutorial uses Heather or Soft Taupe for the background (Color A), Pumpkin for the pumpkin (Color B), Walnut for the stem (Color C), and Forest green for the leaves.
- Hook: An H (5.0 mm) crochet hook.
- Pillow Insert: An 18 by 18 inch pillow insert, or a 16 by 16 inch insert if you crochet tightly.
- Additional Supplies: Scissors, a yarn needle, stitch markers, and pins for assembly.
Hey there! Some links on this page may be affiliate links which means that, if you choose to make a purchase, I may earn a small commission at no extra cost to you.
Step by Step Tutorial
Follow these 17 steps to crochet and assemble your pumpkin pillow:
1. Start the Front Panel:
Create a slip knot and chain 57 using your background color (Color A).
- Complete Row 1: Single crochet in the second chain from the hook and in each chain across to achieve 56 stitches.
- Build the Base: For rows 2 through 8, chain one, turn, and single crochet in each stitch across. After row 8, your work should measure approximately 17 inches wide.
4. Introduce the Pumpkin Color:
On row 9, single crochet with Color A for 24 stitches, then switch to Color B (pumpkin) by pulling the new color through the last two loops of the 24th stitch.
5. Catch the Floats:
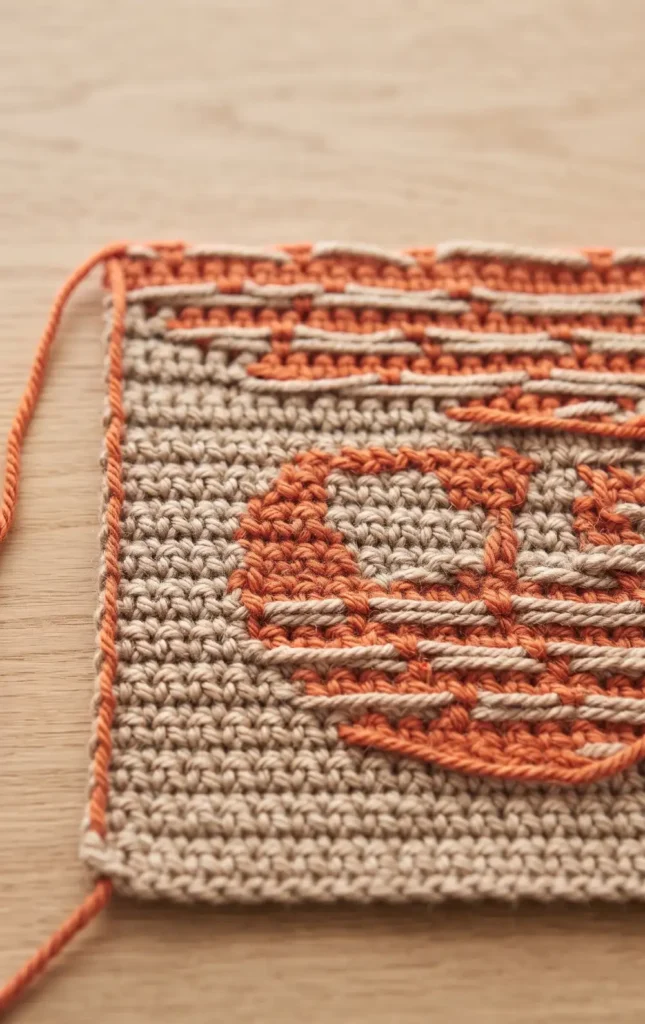
As the pumpkin grows, “trap” the non-working yarn (the float) every 4 to 6 stitches by placing it over your hook before yarning over with your working color.
6. Progress Through the Pumpkin:
Continue following the pattern for rows 10 through 38, widening and narrowing the pumpkin shape by changing colors as indicated.
7. Add the Stem Color:
At row 39, introduce Color C (walnut) for the stem.
8. Manage Three Colors:
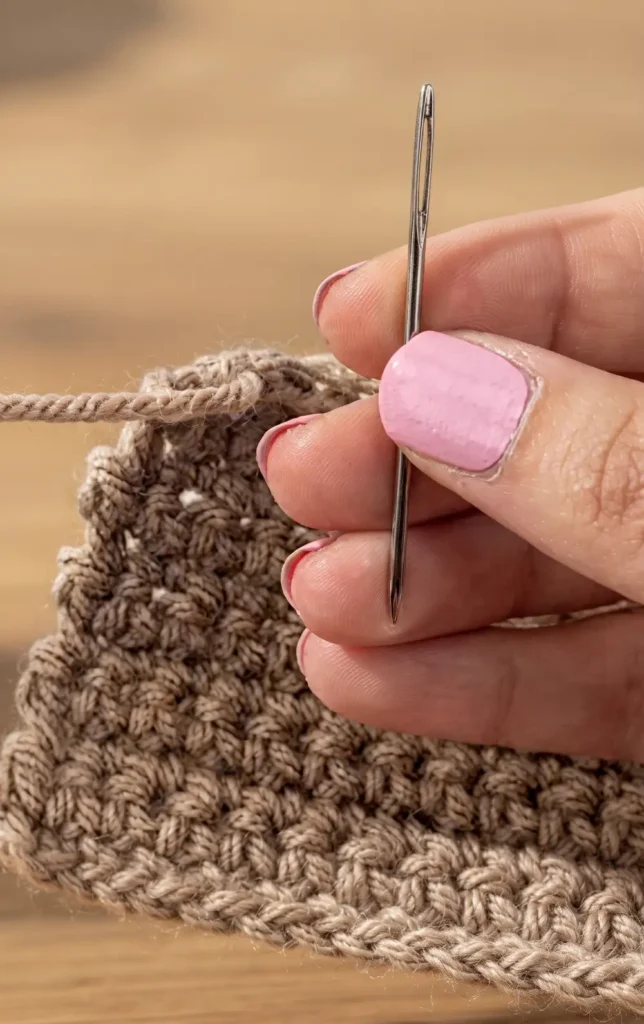
When working with three colors simultaneously, catch both floats (Color A and Color B) in separate stitches to prevent the work from becoming too bulky.
9. Finish the Pumpkin and Stem:
Fasten off Color B after row 43 and continue working with just Colors A and C according to the pattern.
10. Complete the Front Panel:
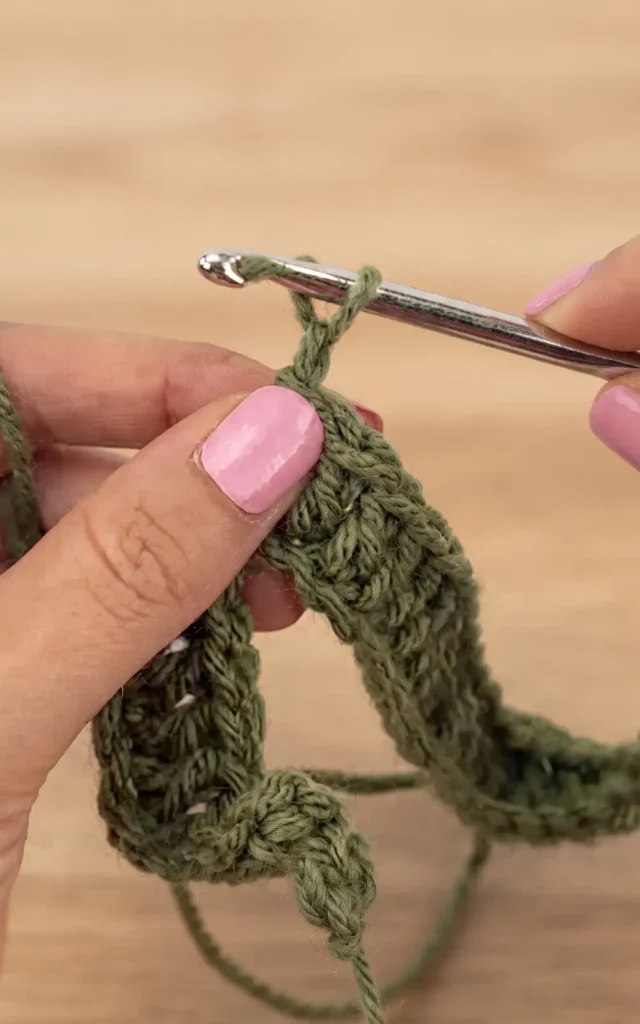
After row 54, fasten off the stem color and finish the remaining rows (up to row 60) in the background color, then weave in all loose ends.
11. Crochet the First Leaf:
Using green yarn, chain 12 and double crochet in the third chain from the hook and each chain across for 10 double crochet stitches.
12. Create Additional Leaves:
Without fastening off, chain 19 for the second leaf and double crochet back (17 stitches), then chain 15 for the third leaf and double crochet back (13 stitches).
13. Attach the Leaves:
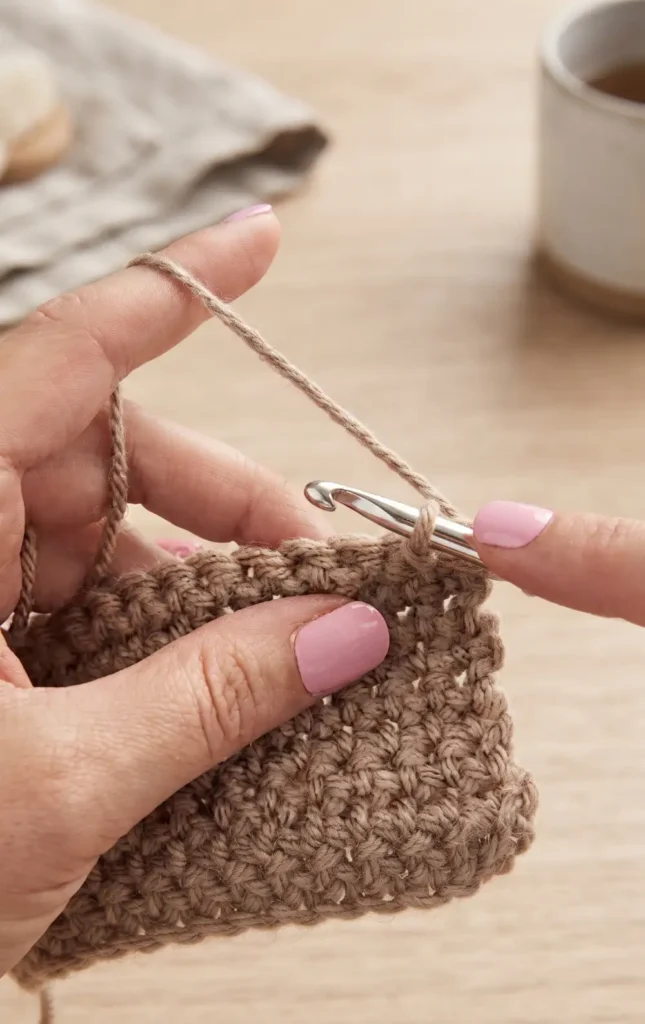
Use a 12 inch yarn tail to sew the leaves to the front panel right where the stem meets the pumpkin.
14. Prepare Back Piece B:
Create the bottom back panel by chaining 57 and repeating the single crochet rows until the piece is 12 inches high (approximately 50 rows).
15. Prepare Back Piece C:
Create the top back panel by repeating the single crochet rows for 24 rows, then add a final row of double crochet stitches; the finished piece should be 6 inches high.
16. Pin for Assembly:
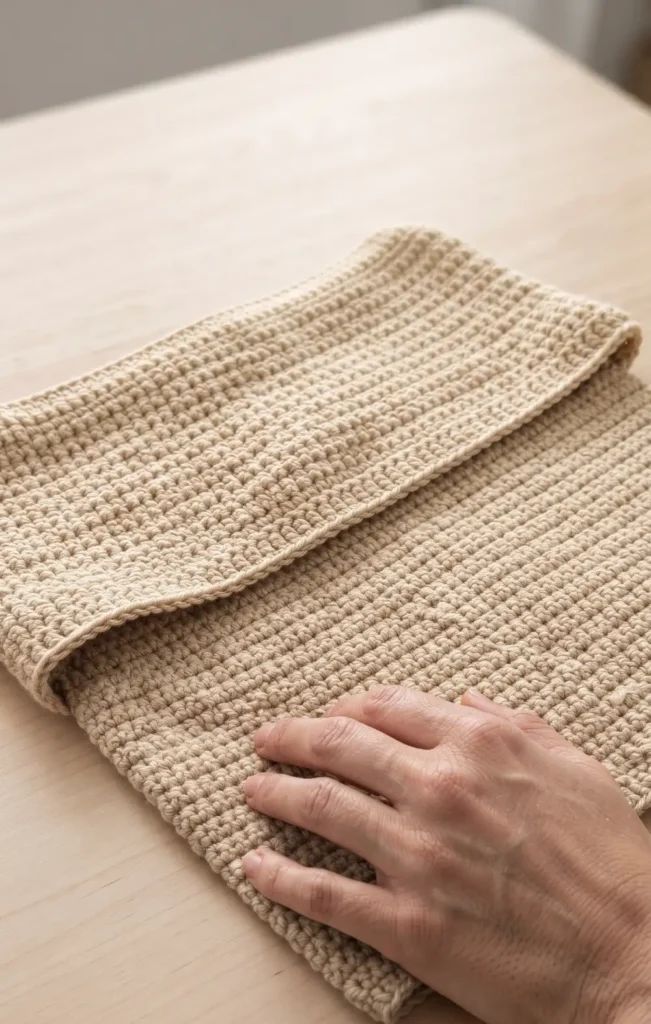
Place the front panel face down and layer back Piece B on top, followed by Piece C so that they overlap in the middle.
17. Join the Panels:
Single crochet around the entire perimeter through all layers, making three single crochet stitches in each corner to turn, then insert your pillow.
Video Credits: Jo to the World Creations
Which Colors Will You Choose?
Heather and pumpkin are a classic pairing, but this pattern is forgiving enough to make your own. Swap in a deep rust, a mustard, or even a moody burgundy for the pumpkin itself. Whatever you pick, you’ll end up with a piece that’s unmistakably yours.