6 Textured Crochet Blanket Free Patterns for Cozy Home Decor
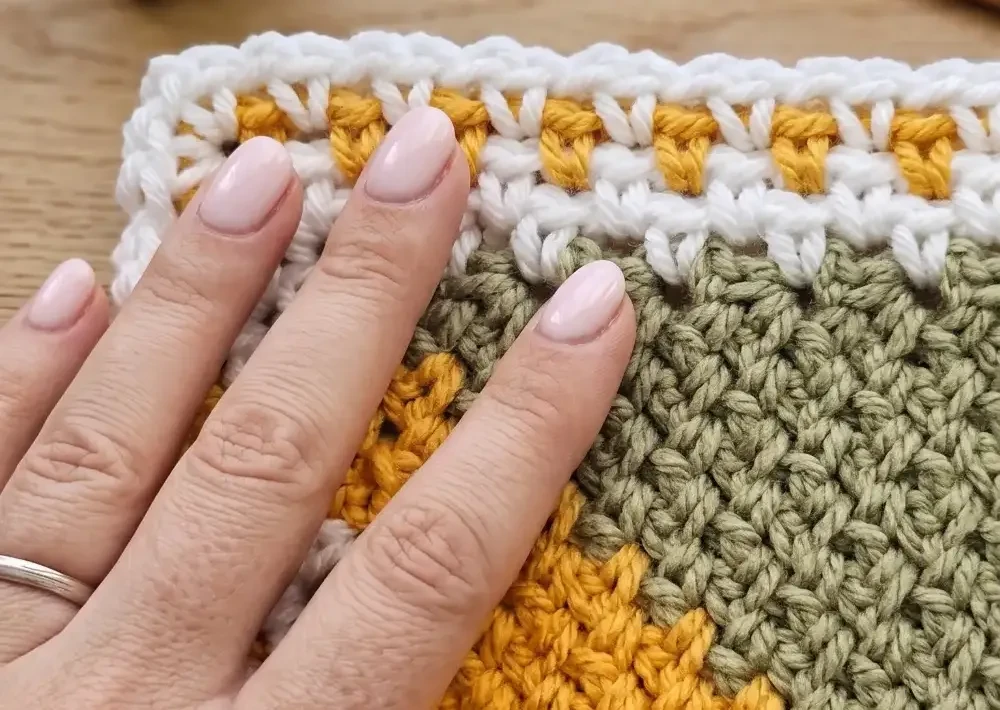
There’s something magical about a blanket with real texture. You can feel the difference the moment you wrap up in one. That extra dimension turns a simple throw into a statement piece for your home.
I have gathered six free patterns that prove texture is easier to create than most crocheters think. From moss stitch to waffle stitch to puffy Tunisian post stitches, each one brings its own personality to your decor. Grab your hook and let’s get stitching.
1. C2C Moss Stitch Rectangle Crochet Blanket Pattern
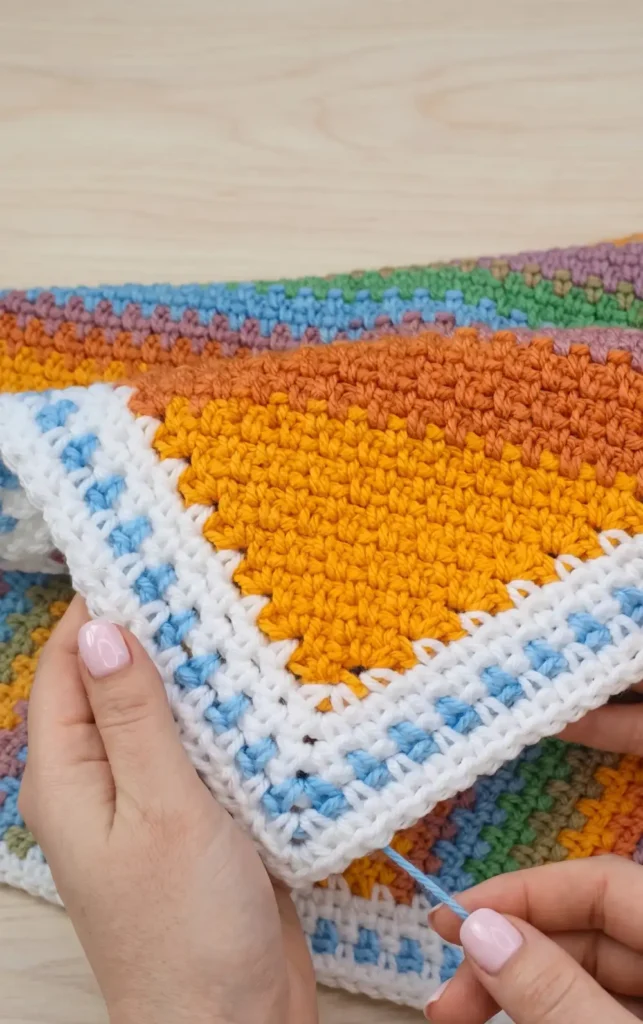
The corner to corner (C2C) Moss Stitch is a beautiful technique that creates a lovely draped fabric with a woven appearance. This tutorial focuses on creating a rectangular shape, allowing you to customize the dimensions of your blanket perfectly.
Essential Materials
To begin this project, you will need your chosen yarn and two different crochet hook sizes. It is recommended to use a hook one size larger than what the yarn’s ball band suggests for the main body of the blanket.
For the border, you should go up another hook size (two sizes larger than the ball band recommendation) because the Moss Stitch border can be quite tight. Other helpful tools include a stitch marker to help identify spaces in the beginning rows and a pair of scissors for finishing.
Step 1: Building the Width through Increases
The project begins at one corner and grows into a triangle to establish the width of your blanket. Start by making a slip knot and chaining three. Work a single crochet into the back bump of the very first chain. For the second row, chain three and turn, then work an increase (single crochet, chain one, and another single crochet) into the small space between the skipped chains and the first single crochet.
Continue growing the triangle by chaining three and turning at the start of each row. Work a single crochet into the first chain one space, then chain one and work your way across the row by placing single crochets into every subsequent chain one space.
Always end the row by working an increase (single crochet, chain one, single crochet) into the large chain three gap at the end. Repeat this process until the short edge of your triangle matches the desired width of your blanket.
Step 2: Creating the Rectangle Midsection
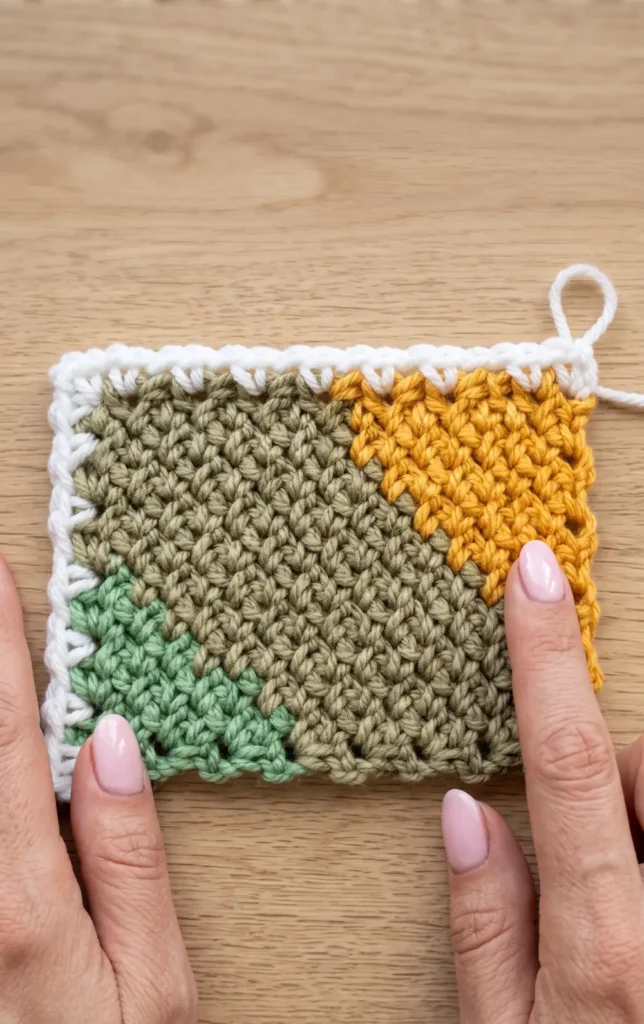
Once you reach your desired width, you must transition from a triangle to a rectangle by increasing on one side while decreasing on the other. First, work a setup row: chain three, work the Moss Stitch across as usual, but end the row by working two single crochets (with no chain between them) into the final chain three space. This stops the increase on that specific side.
The midsection follows a two row repeat.
- Row 1 (Decrease Side): Chain two and turn. Skip the first two single crochets and work your first single crochet into the first available chain one space. Work the Moss Stitch across and end with an increase in the chain three gap at the opposite end to continue growing the length.
- Row 2 (Increase Side): Chain three and turn, working an increase in the first space as usual. Work across the row, but end by placing one single crochet in the last chain one space and one single crochet directly into the chain two space (with no chain between them).
Repeat these two rows until the long edge of your work reaches your desired blanket length.
Step 3: Closing the Blanket with Decreases
After reaching the target length, you will begin decreasing on both sides to bring the rectangle to a point. To do this, chain two and turn, skip the first two single crochets, and work a single crochet into the first chain one space. Work the Moss Stitch across the row. When you reach the end, do not chain after your last single crochet; instead, work one single crochet into the final gap (either a chain three or chain two space).
Repeat this decrease row until only two single crochets remain in your row. For the final tiny row, chain one and turn, skip the two single crochets, and work one single crochet into the final chain two gap. Fasten off your yarn, leaving a tail for weaving.
Step 4: Adding the Moss Stitch Border
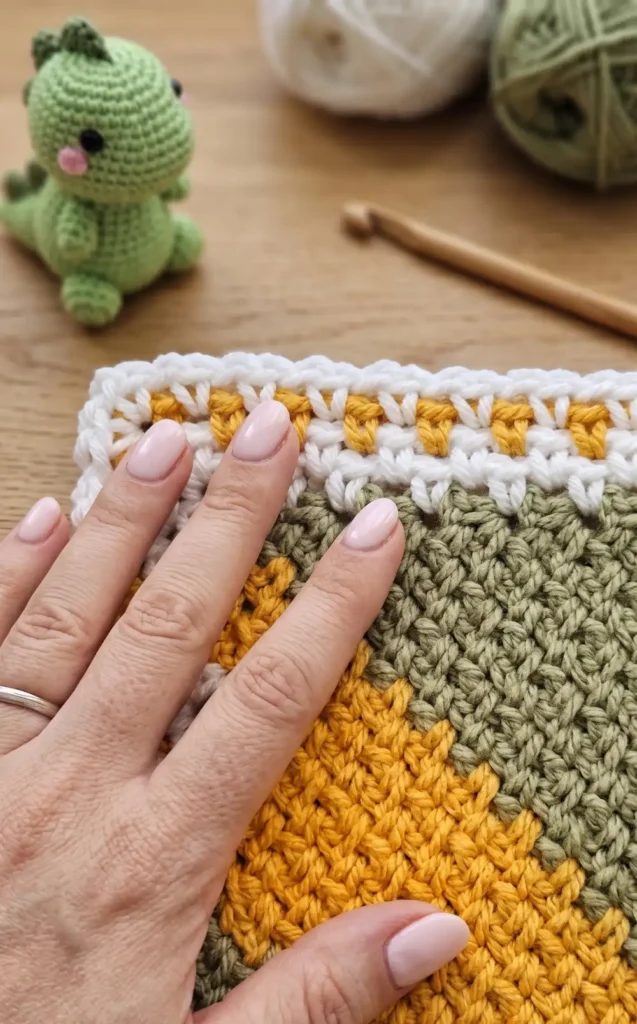
To finish the project, add a Moss Stitch border using your larger hook size. Attach your yarn to any corner with a standing single crochet, then chain two and work another single crochet into the same spot to form the first corner. Work the Moss Stitch (single crochet, chain one) all the way around the blanket.
In the first row of the border, place your stitches where they naturally fall along the side edges, aiming for a flat edge that does not ruffle or pull tight. For all subsequent corners, work a single crochet, chain two, and single crochet into the corner space.
Continue for as many rounds as you like. On your very last round, it is recommended to only chain one in the corners instead of two; this helps neaten the edges and prevents the corners from curving. Slip stitch to the beginning, fasten off, and weave in all ends to complete your blanket.
Video Credits: Hooked by Robin
2. Suzette Stitch Crochet Blanket Pattern
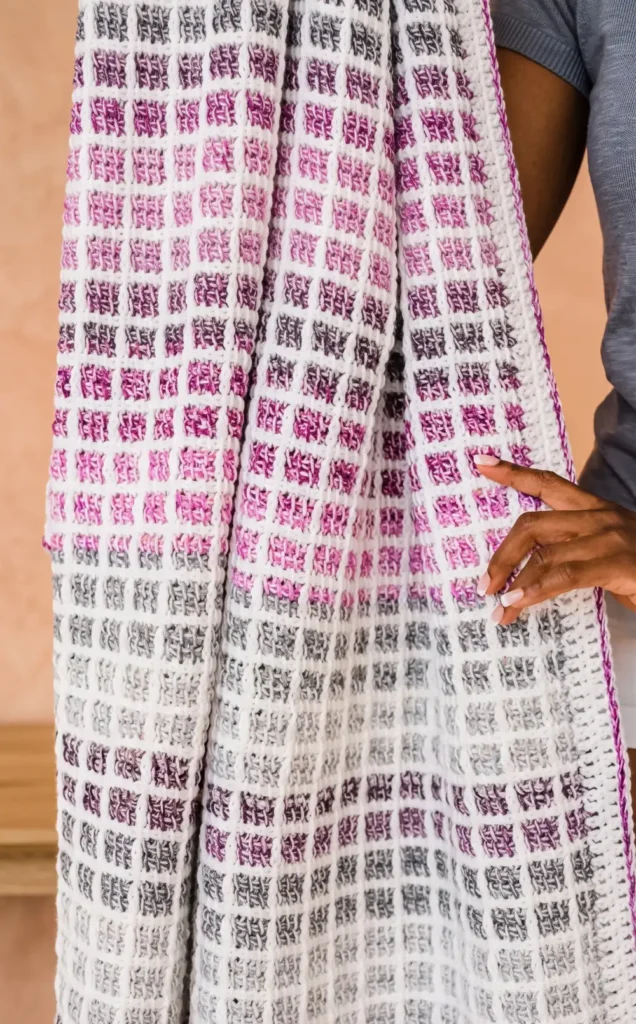
The following instructions detail how to create the Mulberry Afghan, a beginner friendly Tunisian crochet project that features a beautiful ombre pattern and textured post stitches.
Essential Materials
To complete this blanket, you will need the following materials and tools:
- Main Color Yarn: Three skeins or 550 yards of white category 4 worsted weight acrylic yarn.
- Accent Color Yarn: Two cakes or 620 yards of category 4 worsted weight ombre acrylic yarn.
- Tools: A six and a half millimeter Tunisian crochet hook equipped with a 32 inch cord, scissors, and a tapestry needle for weaving in ends.
Step 1: Foundation and Initial Color Change
Begin with your main color by creating a chain of 119, which follows a multiple of four plus three. To create the foundation row, rotate the chain to find the back bumps and pull up a loop in the second chain from the hook and every subsequent chain.
This is known as the forward pass. For the return pass, yarn over and pull through one loop, then yarn over and pull through two loops repeatedly until only two loops remain on your hook. At this point, join your accent color by pulling it through the remaining two loops to complete the first color change.
Step 2: Working the Pattern Rows and Post Stitches
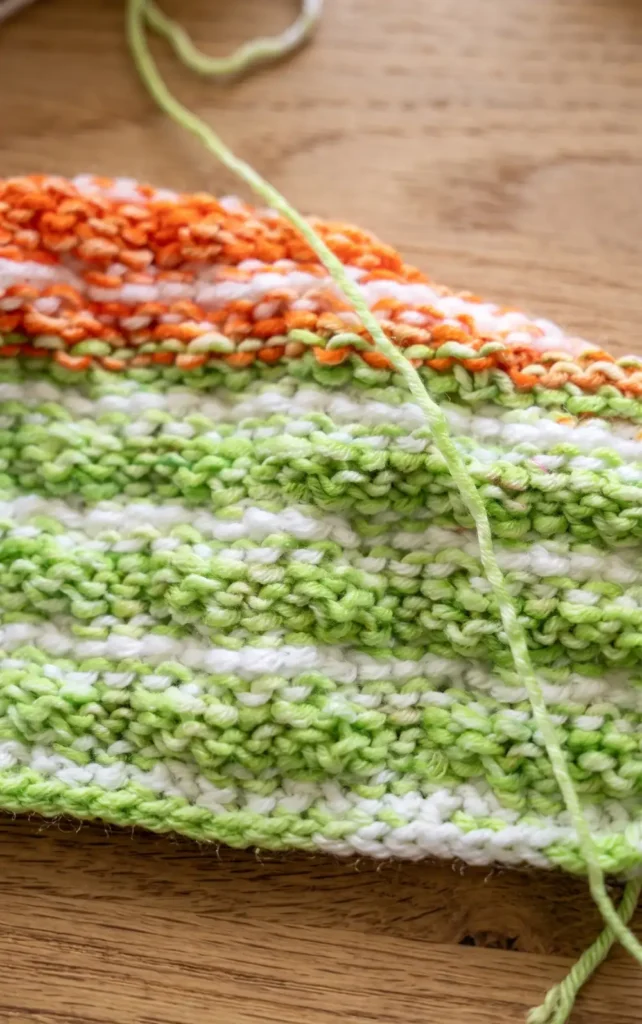
Using the accent color, work two rows of Tunisian simple stitch by inserting your hook from right to left under the vertical bars. Always ensure you insert your hook under both loops of the very last stitch in a row to maintain a clean edge. After the second row, change back to the main color. In this row, you will work two simple stitches followed by a post stitch.
To make a post stitch, identify the loops three rows below, yarn over, insert your hook under both loops, pull up a loop, yarn over and pull through one, then yarn over and pull through two. Continue the pattern of two rows in the accent color and one row in the main color until you have a total of 111 rows.
Step 3: Binding Off and Finishing the Body
After completing the final row of post stitches in the main color, perform a basic slip stitch bind off to finish the blanket body. Fasten off your accent color, leaving a long tail to weave in.
To bind off, insert your hook into the next vertical bar, yarn over, and pull up a loop, then immediately pull that loop through the one already on your hook. Repeat this across the entire row, making sure to catch both loops of the final stitch. It is vital to keep these slip stitches loose to avoid any gathering or bunching at the top of your work.
Step 4: Adding the Multi Round Border
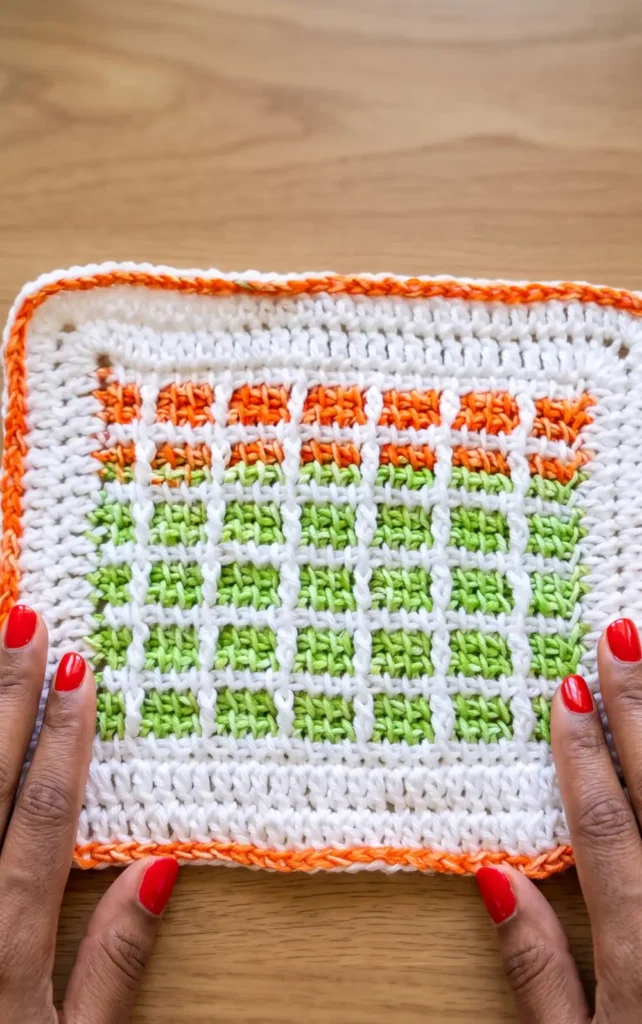
The final stage involves a three round border starting with your main color. In the first round, place five double crochets in the corner stitch and work one double crochet into every row end or stitch around the perimeter.
For the second round, double crochet in each stitch around, but place five double crochets into the third stitch of each five double crochet corner group from the previous round. Finally, join your accent color and work one round of loose slip stitches around the entire border to tie the design together. Once finished, weave in all ends and block your blanket to achieve the final desired shape.
Video Credits: TL Yarn Crafts
3. Crochet Hygge Powder Puff Blanket Pattern
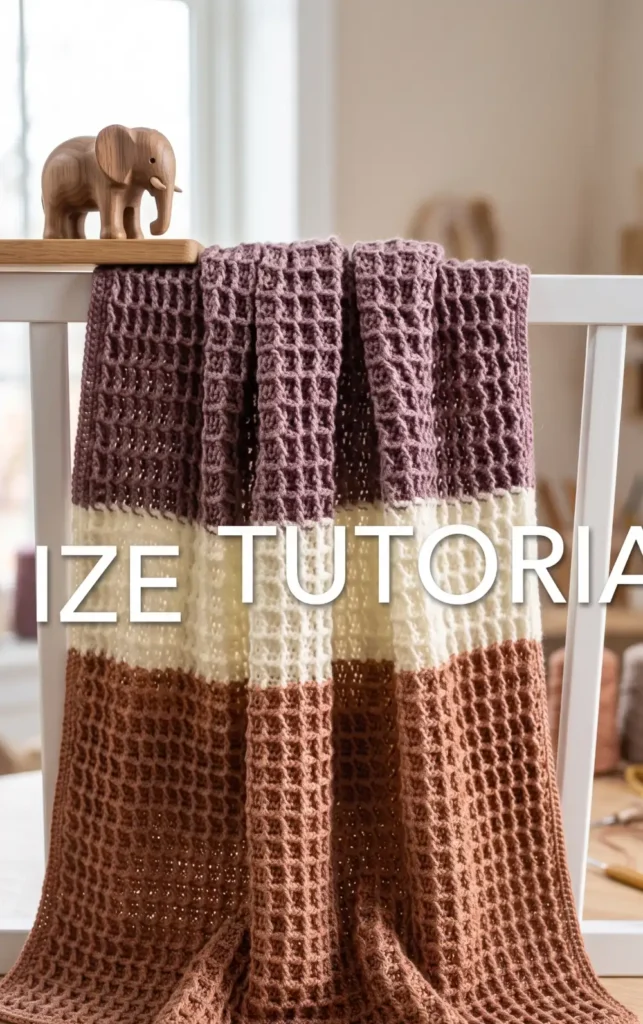
This beautiful striped blanket features a deep texture created by the waffle stitch, making it an ideal project for a cozy baby gift. To begin, you will need Mary Maxim Melospun DK yarn in colors such as cream, mauve, dusty peach, and soft pink. For the main body of the blanket, use a 5 mm hook, and switch to a 4.5 mm hook for the border.
Step 1: Foundation and Setup Row
The blanket is worked in multiples of three plus one. For a standard baby size, you should chain a total of 154. To create a clean edge, turn your chain and work single crochets into the back bumps across the entire row, resulting in 153 stitches. This setup row serves as the right side of your work.
After completing the setup, you will begin Row 1 on the wrong side by performing a stacked double crochet in the first stitch, followed by double crochets in every stitch across.
Step 2: Mastering the Waffle Stitch Pattern
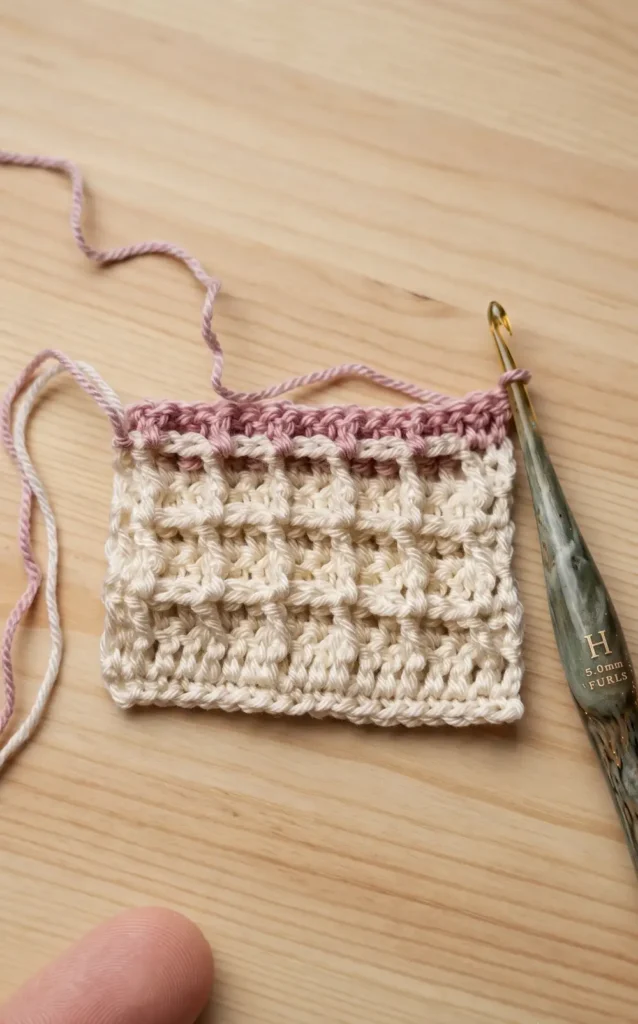
The waffle texture is created by repeating two specific rows. On Row 2 (Right Side), start with a stacked double crochet, then work one front post double crochet around the next stitch. Following this, work a double crochet in the next two stitches, then repeat the (front post double crochet, two double crochets) sequence across the row.
On Row 3 (Wrong Side), work a stacked double crochet in the first stitch and a double crochet in the next. The repeat for this row is two front post double crochets followed by one double crochet. You will repeat these two rows to build the distinctive grid like pattern.
Step 3: Managing Striped Color Blocks
This pattern uses a striped block sequence to transition between colors. The standard layout begins with 12 rows of cream, followed by 24 rows of a contrasting color like pink or peach. You will then alternate back to 12 rows of cream between every 24 row color block.
To ensure a seamless transition, change your yarn color on the last two loops of the final stitch in a row. You can choose to carry the cream yarn along the side or cut and weave in your ends as you progress through the different sections.
Step 4: Adding the Border and Final Blocking
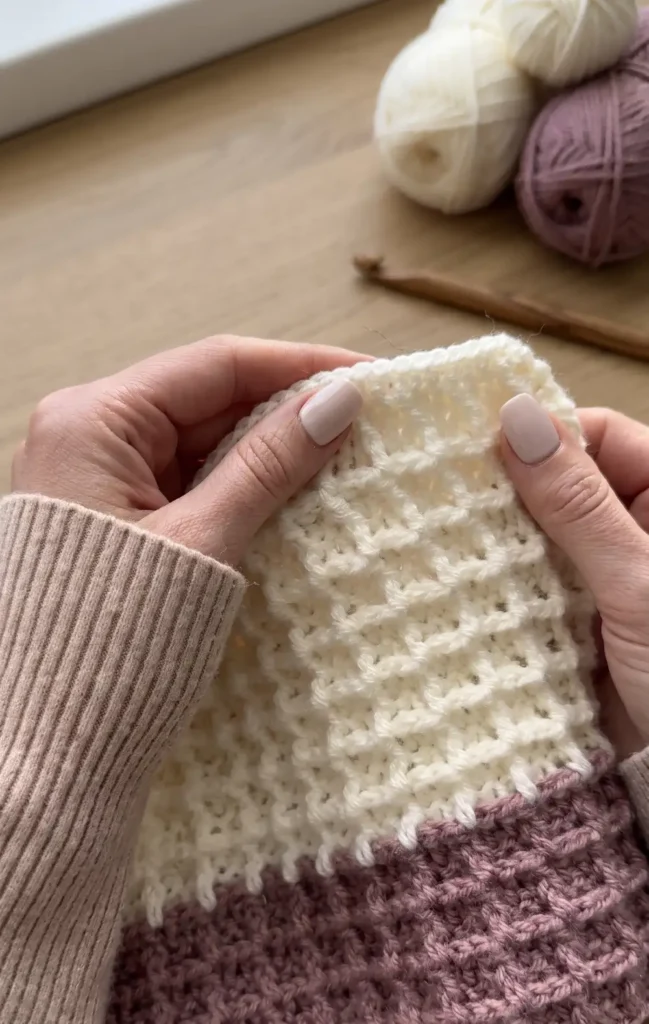
Once the main body is complete, finish with a final row of single crochet and switch to your 4.5 mm hook for the border. Work one single crochet into every stitch along the ends. For the corners, use a single crochet, chain two, and single crochet sequence to turn. Along the sides, work two single crochets per row of waffle stitch to keep the edging even.
To give the blanket a professional finish, blocking is highly recommended. Soak the blanket in lukewarm water with mild baby soap for about 25 minutes, rinse, and squeeze out excess water using a towel. Finally, pin the blanket out to its specific measurements on foam mats and allow it to dry completely.
Video Credits: MJ’s Off The Hook Designs
4. Crochet Hygge Powder Puff Blanket
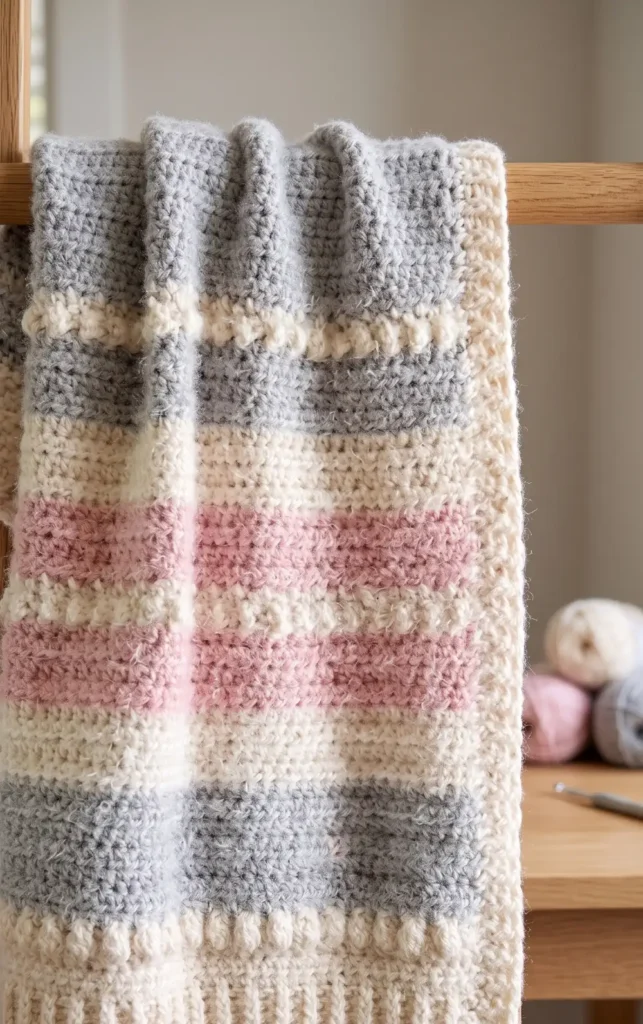
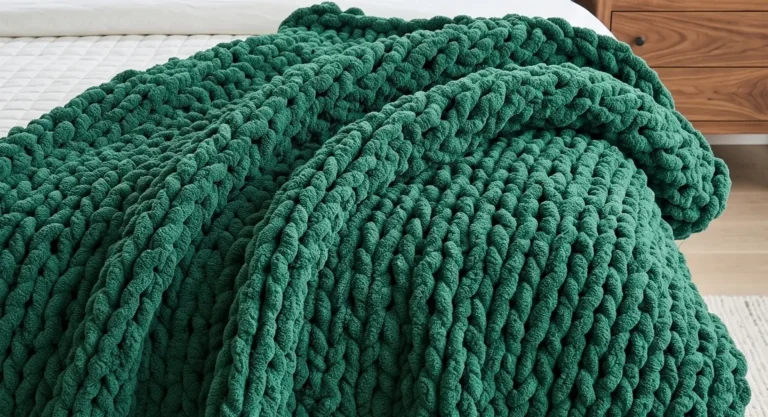
This incredibly soft and beginner friendly baby blanket uses a unique fuzzy yarn to create a texture that feels like a stuffed animal. The design is reversible and features delightful puff stitches that stand out on both sides of the work.
Materials Needed
To achieve the same look as the tutorial, you will need Red Heart Hygge yarn in colors such as Powder, Pearl, and Cloud. This is a size five bulky weight yarn, so a size K 10.5 (6.5 mm) crochet hook is recommended. You will also need a tapestry needle for weaving in any remaining ends.
Step 1: Create the Foundation and Base Rows
Start by making an even number of chains. While the tutorial uses twelve chains for a small swatch, you can make your chain any length as long as the total count remains even. For a full blanket, the finished dimensions are typically 38 inches wide by 42 inches long. Begin your first row by working a half double crochet into the third chain from the hook. Continue working half double crochet stitches across the row, and then chain two and turn. Complete a total of four rows of half double crochet in your first color.
Step 2: Manage Color Changes and Carry Yarn
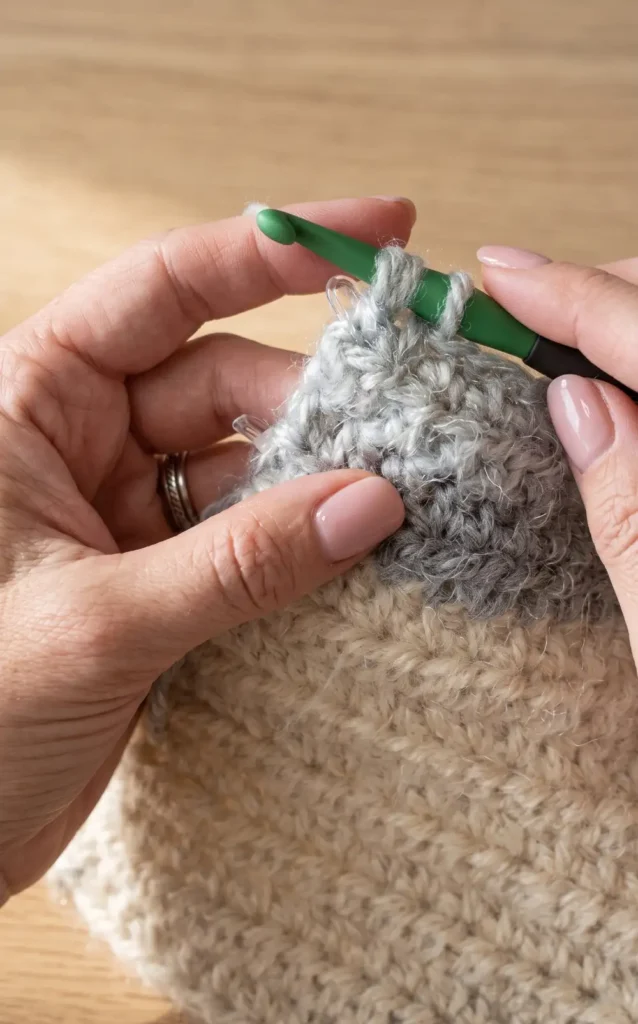
When you reach the end of your fourth row, pull up the new color on the final step of the last stitch. A helpful tip is to leave the old color attached rather than cutting it; you can carry the yarn up the side of the blanket as you work. This method significantly reduces the number of ends you will need to weave in later. Work four rows of half double crochet in the new color before preparing for the texture rows.
Step 3: Work the Powder Puff Texture Rows
The signature texture is created using a combination of treble crochets and single crochets, sometimes referred to as a crunch stitch. To begin a puff row, yarn over twice and work a treble crochet into the very first stitch. Follow this with a single crochet in the next stitch. Repeat this pattern across the row, ensuring you end with a single crochet so that the final puff pops out correctly. Work two rows of this pattern so that the puffs appear on both sides of the blanket. After the texture rows, return to working four rows of half double crochet.
Step 4: Add the Ribbed Border
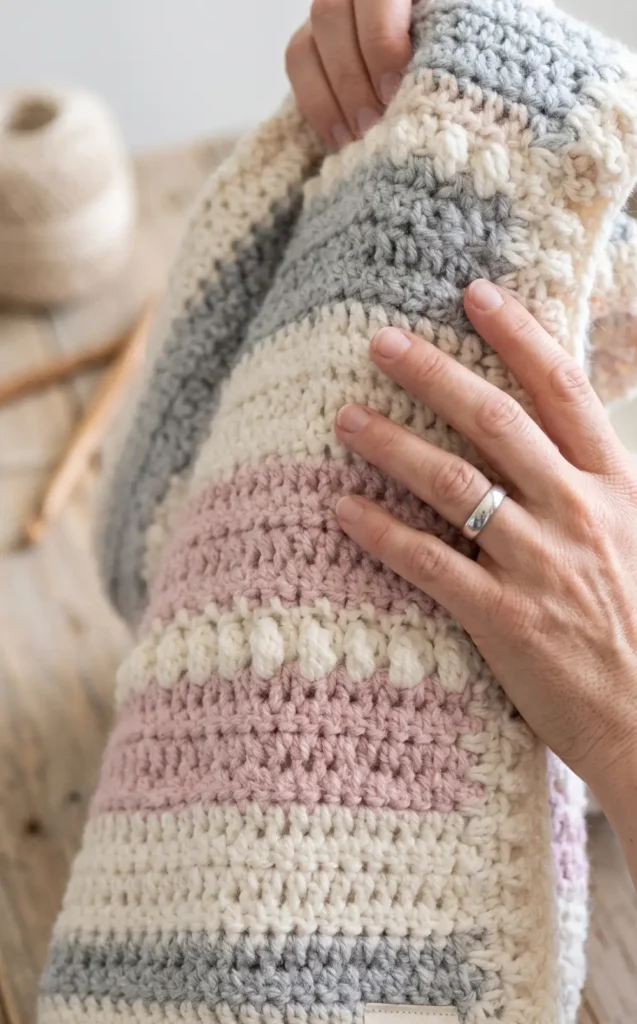
Once the body of the blanket is complete, you will add a professional ribbed border. Start by working one round of double crochet around the entire edge, placing three double crochets into each corner to help the blanket lay flat. For the second and third rounds, alternate between front post and back post double crochets. When turning corners during the ribbing rounds, work three stitches (back post, front post, back post) around the middle stitch of the previous corner. To finish, simply slip stitch, tie off, and weave in your final ends.
Video Credits: Daisy Farm Crafts
5. Beginner Crochet Baby Blanket Pattern
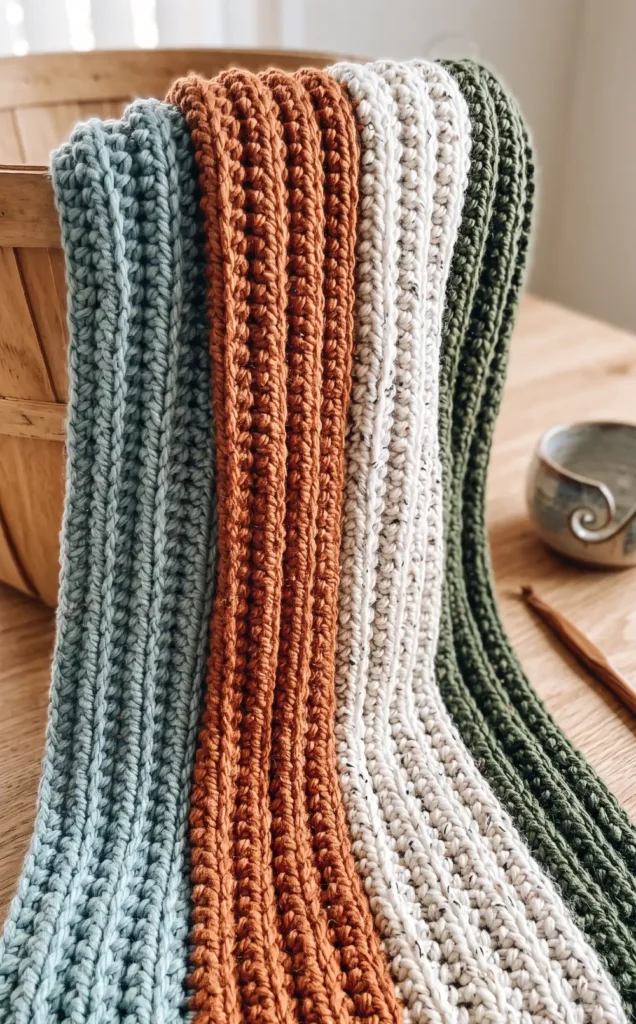
This project is 100% beginner-friendly and uses a single, simple stitch combined with a thoughtful color palette to create a beautiful result. While the tutorial uses a specific color combination, you can choose any colors to make the blanket your own.
Essential Materials
Before starting, gather the following supplies:
- 10 mm crochet hook.
- Four skeins of category 6 super bulky yarn (the example uses Wool-Ease Thick and Quick in Grey Color Flax, Oatmeal, Cilantro, and Succulent).
- Tapestry needle.
- Scissors.
Instructions in 4 Simple Steps
Step 1: Create the Foundation Chain
Begin by making a slip knot and then work a foundation chain of 56 stitches. Once you have finished the 56 chains, add one extra chain to provide the necessary height to begin your first row.
Step 2: Work the Half Double Crochet Rows
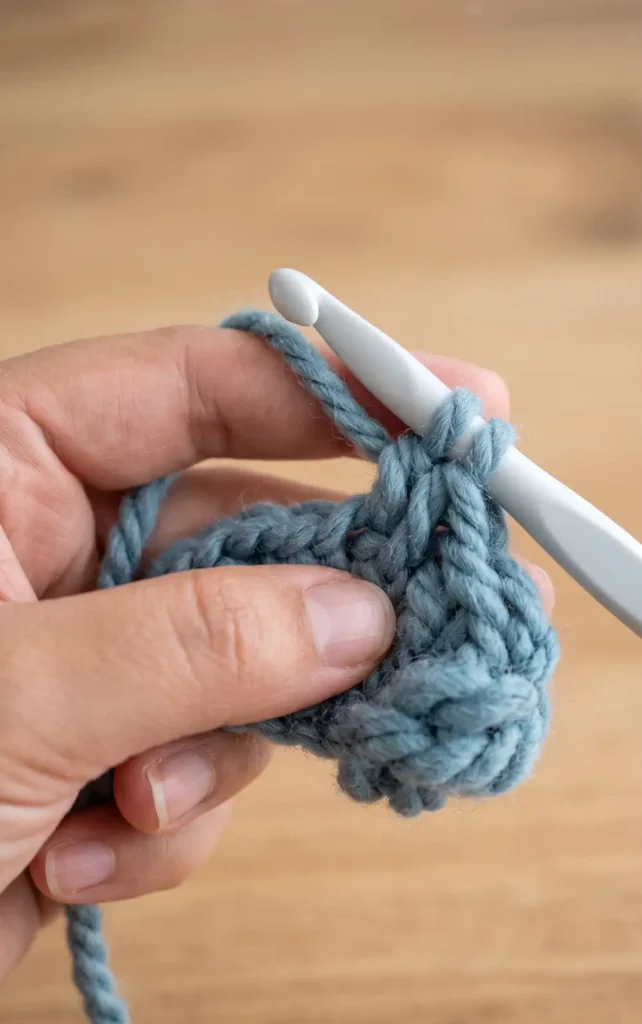
Starting in the second chain from the hook, work a half double crochet (HDC) into every stitch across the row. For the next row and all following rows, continue using the HDC stitch but insert your hook into the back loop only. Grabbing only the back loop is what creates the textured horizontal lines seen throughout the blanket.
Step 3: Execute Invisible Color Changes
Continue crocheting with your first color until you are near the end of the yarn, ensuring you stop at the end of a row. To change colors, begin your last HDC stitch as normal, but before you pull the yarn through the final three loops to close the stitch, grab the new color and pull it through instead. This technique provides an invisible transition between the color blocks.
Step 4: Weave in the Ends for a Professional Finish
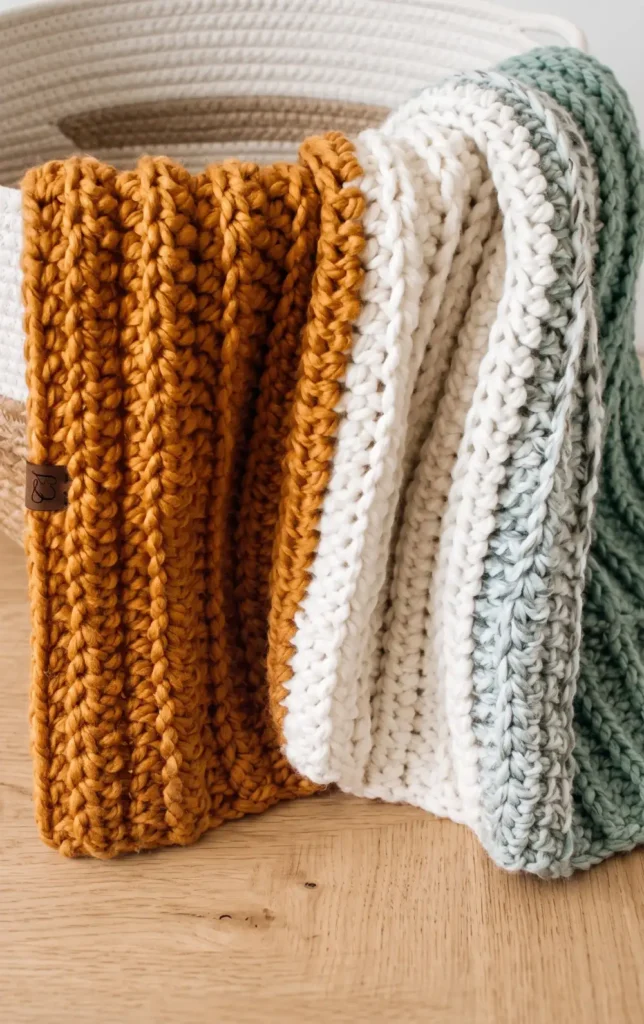
Once you have completed all four color panels, you must secure the loose yarn tails. Use a tapestry needle to carefully weave in the ends. It is important to take your time with this step to ensure the yarn is positioned correctly and will not come undone when the blanket is eventually put through a washing machine.
Video Credits: CJ Design
6. Crochet Diamond Blanket Pattern
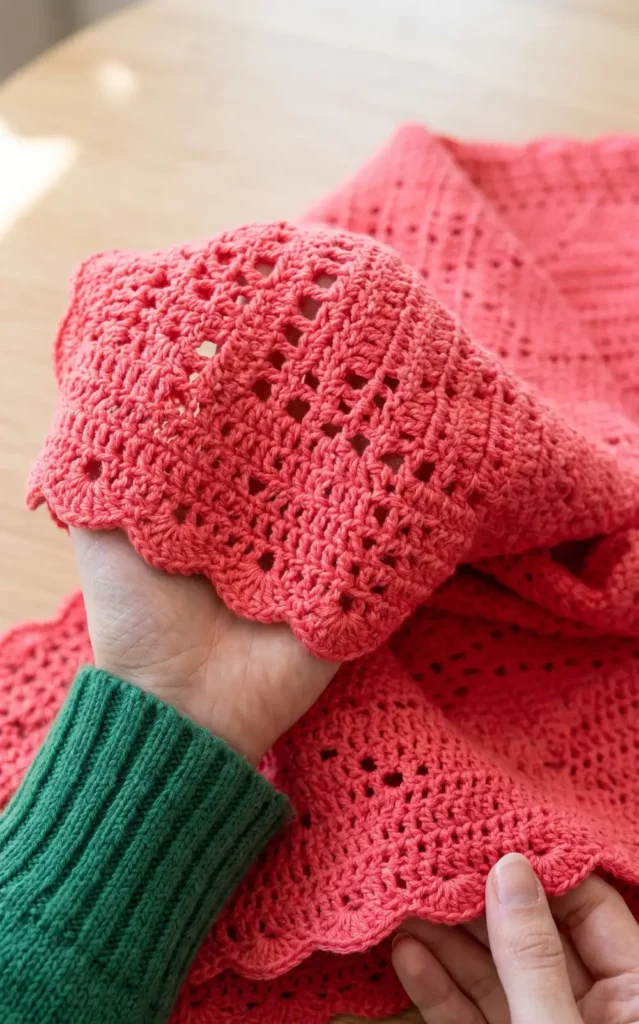
Materials and Tools
To create this Afghan, you will need cotton yarn, which is recommended for its texture and durability. You should use a 4.5 mm crochet hook to ensure the stitches have the proper definition.
4 Steps to Crochet the Diamond Pattern
1. Foundation Chain and Initial Setup
The first step is to create a slipknot and work a foundation chain in multiples of 24, plus an additional 8 chains worked only one time. For a standard project, you might complete 48 chains followed by the extra 8 chains. To begin the first row, skip the first 6 chains and place a double crochet into the 7th chain from the hook.
2. Establishing the Base Row
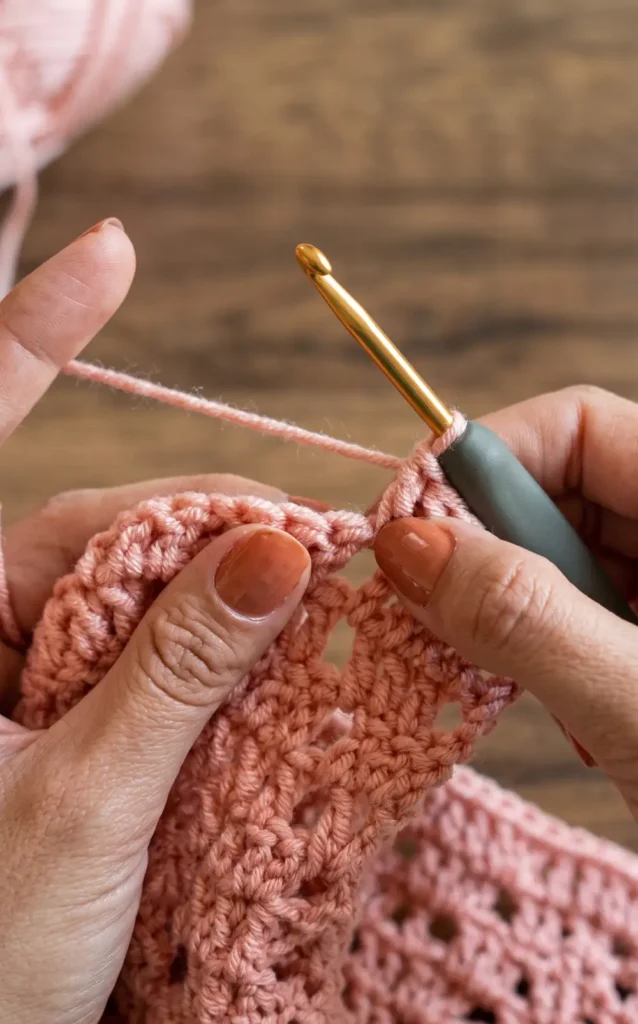
After the initial double crochet, work 10 more double crochets for a total of 11 stitches in that block. Chain 1, skip one chain, and then work another set of 11 double crochets. You will continue this sequence across the row to create the foundation sets for the diamond motifs. To finish the row, chain 2, skip 2 chains, and place a final double crochet before turning your work.
3. Shaping the Diamonds
The diamond shapes are formed by increasing or decreasing the number of double crochets in each subsequent row. As you close one diamond by decreasing the stitches from 9 to 7, you will simultaneously start a new diamond by working into the chain spaces.
The pattern alternates between solid diamonds and those with decorative holes, which are created by chaining 1 and skipping a stitch within the diamond area. When you reach the widest middle section of a diamond, you will work 11 double crochets across the set.
4. Repeating the Sequence and Finishing
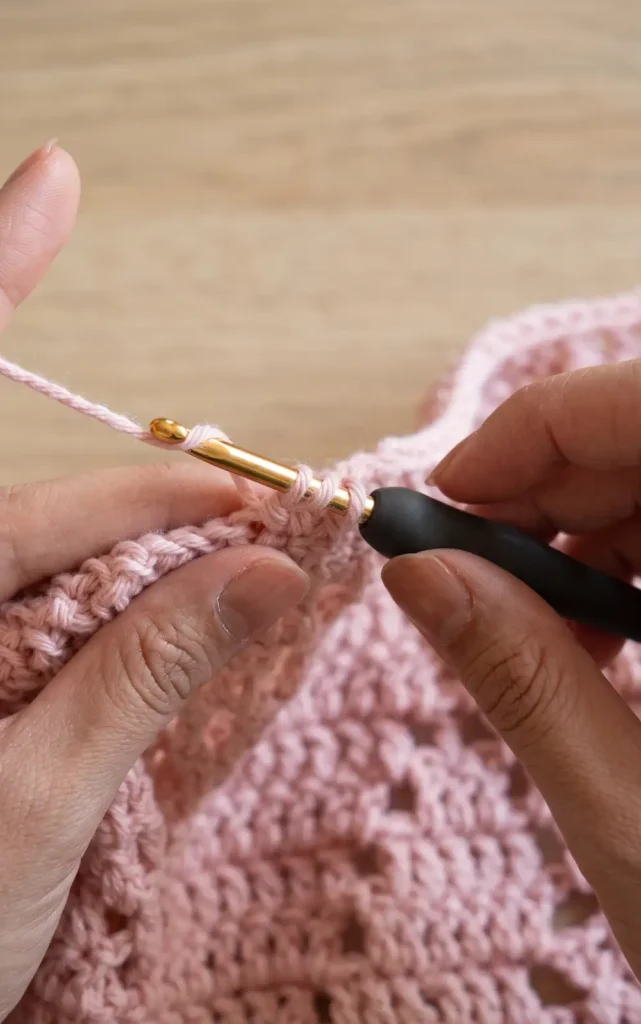
The pattern consists of a 12 row sequence that you must repeat to reach your desired blanket length. Once you complete row 12, you return to the logic used in the first row to begin the next set of diamonds. After the main body of the Afghan is finished, you can complete the look by adding a decorative border around the edges. If you have questions during the process, you can reach out to the creator on social media or in the video comments.
Video Credits: Sirin’s Crochet
Now Go Make Something Cozy
Textured blankets have a way of turning a plain couch into something that actually looks put together. Any of these six patterns will get you there, and none of them require you to be an expert. Pick your favorite stitch, grab the yarn, and just start stitching. The coziness kind of takes care of itself from there.