28 Adorable Amigurumi Animal Crochet Projects with Free Patterns
If you love crochet and you love cute things, amigurumi is where those two loves collide. These little stuffed animals are quick to make, endlessly customizable, and honestly kind of addictive once you start.
I put together this list of 28 amigurumi animals to keep your hook busy for months. Each one uses basic stitches like single crochet, increases, and decreases. You just need a few tools and a little patience.
Grab your yarn and let’s get stitching.
What You Need Before You Start
Most amigurumi projects use the same core supplies. Worsted weight yarn works best for beginners because it holds its shape and hides small mistakes.
You’ll also want a hook one or two sizes smaller than the yarn label suggests. This keeps your stitches tight so stuffing doesn’t peek through. Safety eyes, polyester fiberfill, a yarn needle, and stitch markers round out your toolkit.
1. Classic Teddy Bear Amigurumi
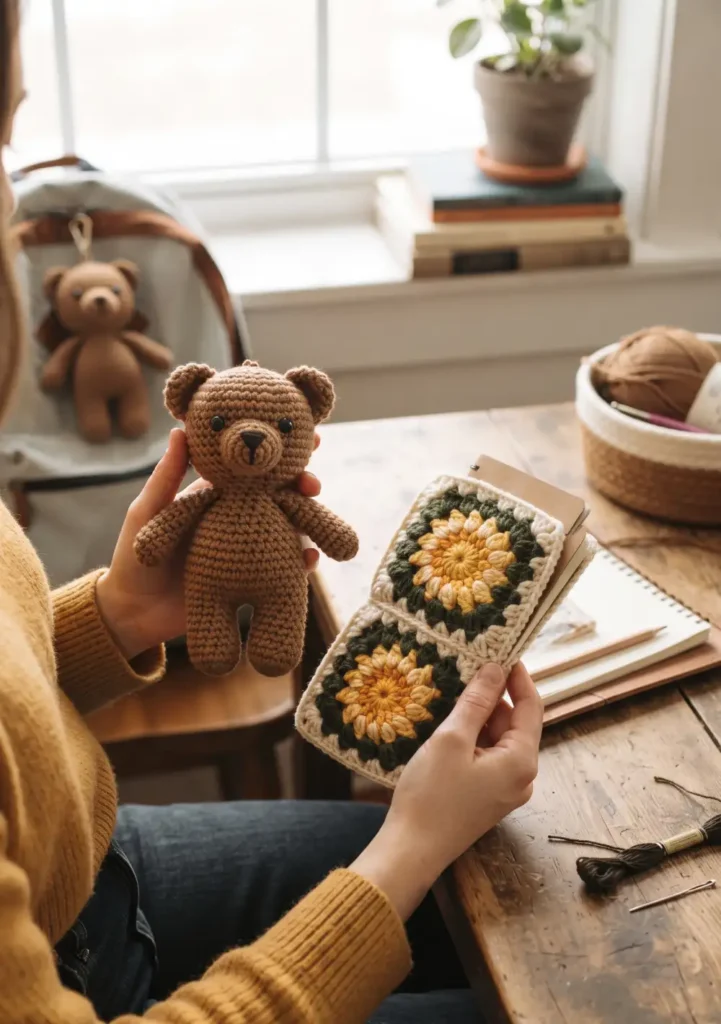
A teddy bear is the perfect first amigurumi project. It uses simple round shapes and teaches you the core skills you’ll reuse in almost every pattern on this list.
You’ll need worsted weight yarn in tan or brown, a 3.5mm hook, 12mm safety eyes, black embroidery thread for the nose, and fiberfill.
Start the head with a magic ring of 6 single crochets, then increase every round until you reach 30 stitches around row 5. Work even for a few rounds, then decrease back down and stuff firmly before closing. The body follows the same shape but slightly smaller. Arms and legs are simple tubes worked in the round, sewn on once stuffed.
2. Sleepy Fox Crochet Plush
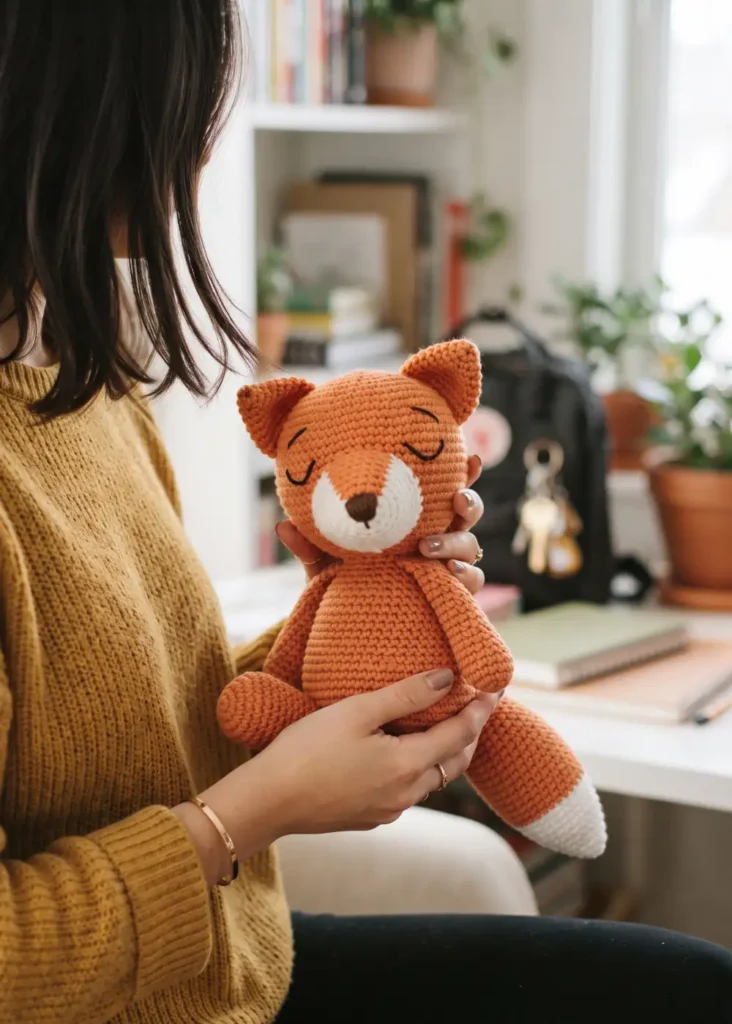
This fox has a curled, sleeping pose that makes it look extra sweet on a shelf or in a nursery.
Materials include orange and white yarn, a 3.5mm hook, small black beads or embroidery thread for closed eyes, and fiberfill.
The body is worked as one long oval shape rather than a separate head and body. Start with a magic ring, increase to 24 stitches, then work even for about 10 rounds before decreasing at the tail end. The tail is stuffed separately and curled around the body during assembly. Ears are small triangles sewn flat against the head.
3. Tiny Bunny with Floppy Ears
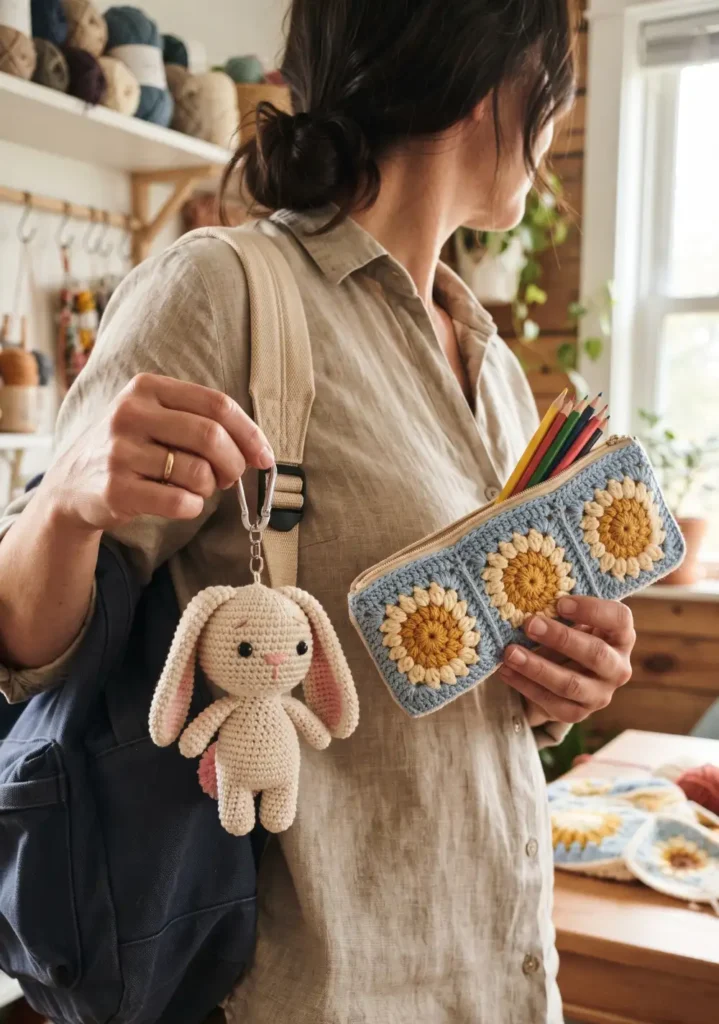
Floppy ears give this bunny a soft, relaxed look that’s different from the usual upright bunny amigurumi.
You’ll need white or pastel yarn, a 3.25mm hook, 9mm safety eyes, and fiberfill.
The head starts with a magic ring of 6, increasing every round to about 24 stitches by round 4. The ears are worked flat in rows rather than in the round, using single crochet back and forth for about 8 rows, then folded and sewn on so they drape down naturally. The body is a simple rounded shape with short stubby arms and legs.
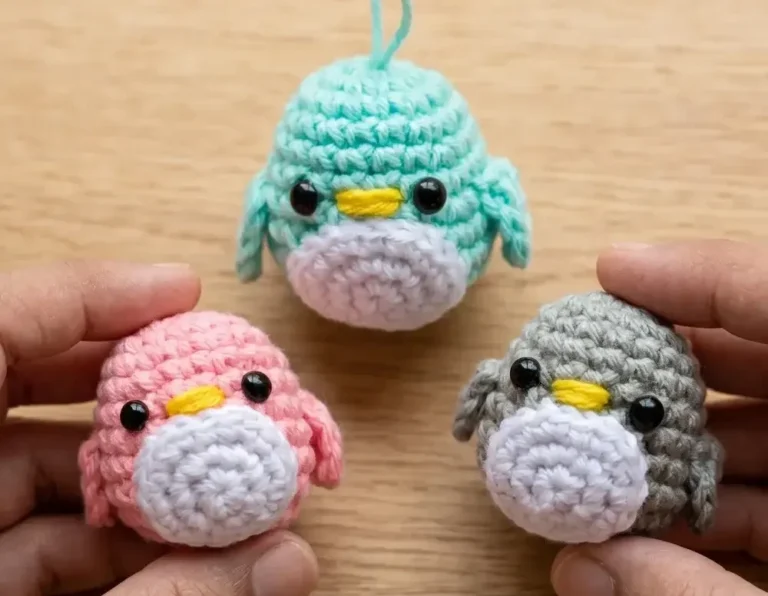
4. Chubby Penguin Amigurumi
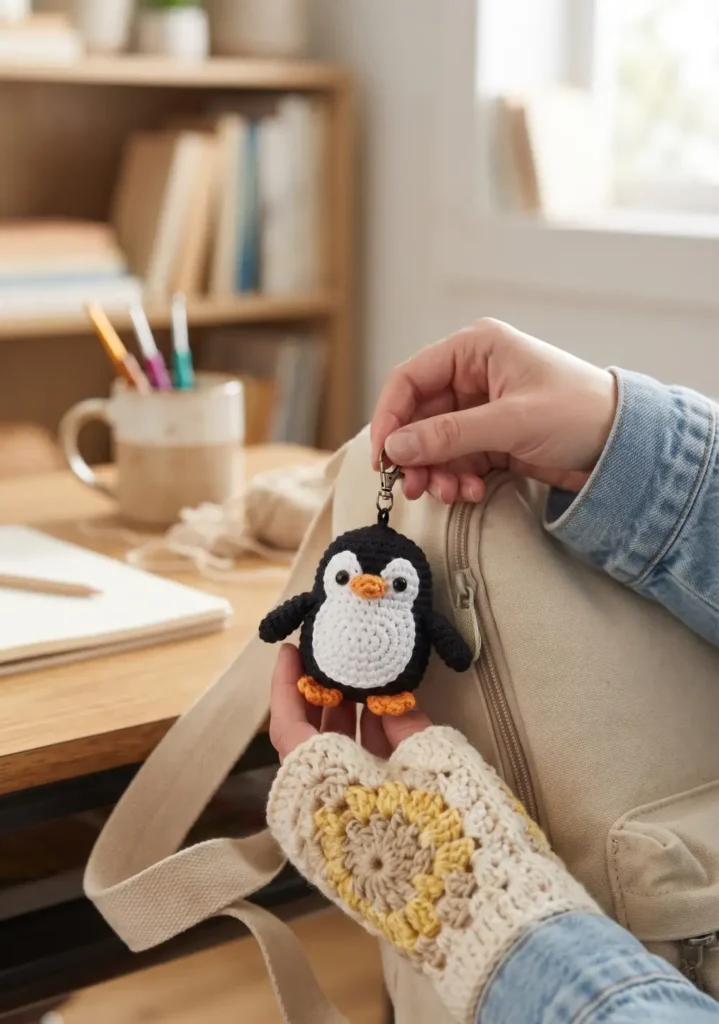
This penguin’s rounded belly makes it one of the more satisfying shapes to crochet because the color change is so visual.
Materials are black and white yarn, orange for the beak and feet, a 3.5mm hook, and safety eyes.
Start the body in black, working a magic ring up to 30 stitches by round 6. Switch to white for the belly panel, worked as a separate oval piece and sewn on afterward, or crocheted in with color changes if you’re comfortable with that technique. The beak is a tiny triangle in orange, and the feet are flat ovals stitched to the base.
5. Mini Highland Cow Plush
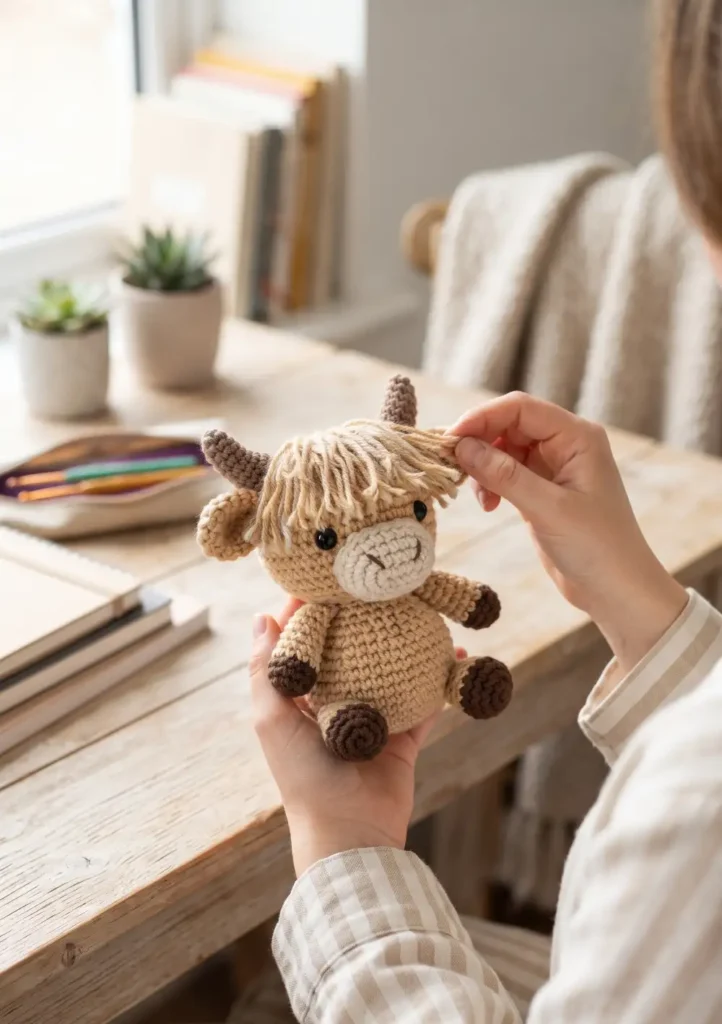
Highland cows are having a moment right now, and this shaggy little version captures that fluffy charm.
You’ll need light brown or cream yarn, a 3.5mm hook, small yarn scraps for horns, and fiberfill.
The head and body are worked as separate pieces, both starting from a magic ring and increasing to around 24 to 30 stitches depending on size. The signature look comes from adding loop stitch or fun fur texture across the forehead and body, which takes a bit of practice but transforms the whole plush. Horns are small crocheted cones stuffed lightly and sewn on with a slight upward curve.
6. Cute Baby Elephant Crochet Pattern
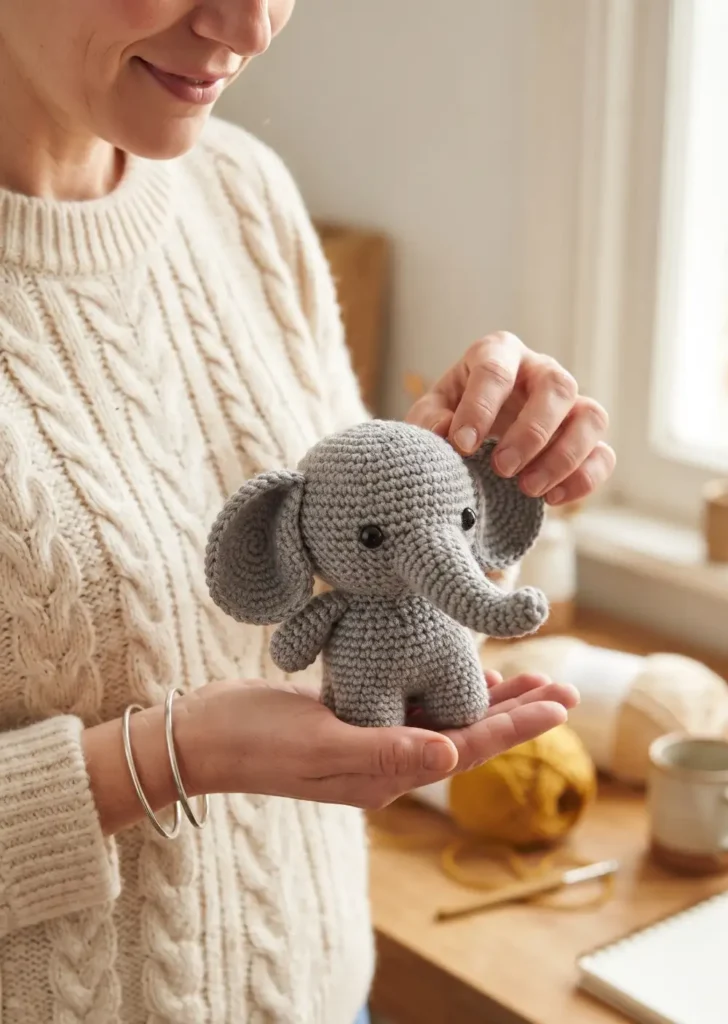
An elephant amigurumi is a great project for practicing shaping, since the trunk and ears both require some extra technique.
Materials include gray or lavender yarn, a 3.5mm hook, safety eyes, and fiberfill.
The head starts as a standard magic ring increase up to 30 stitches, but the trunk is worked separately as a long narrow tube that curves slightly, then stuffed and attached to the face. Ears are large flat fan shapes made with rows of single crochet, increasing width gradually so they hang wide and floppy on either side of the head.
7. Woodland Raccoon Amigurumi Friend
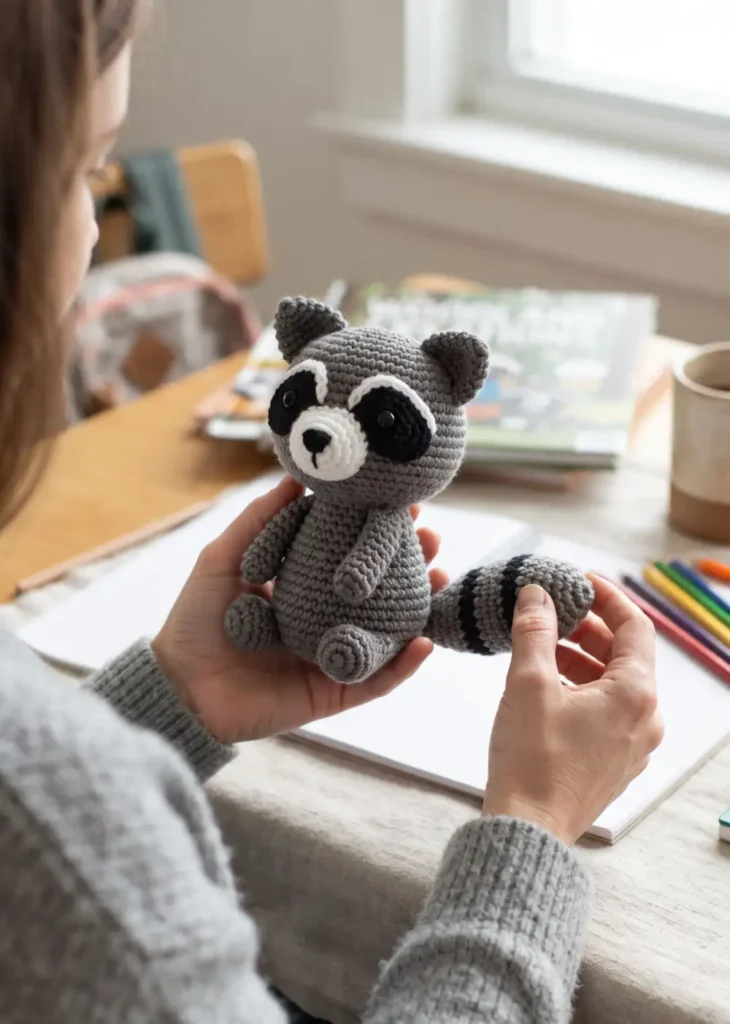
The mask-like face pattern is what makes this raccoon so recognizable, and it’s achieved with a simple color change technique.
You’ll need gray and white yarn, black for the mask, a 3.5mm hook, and fiberfill.
Work the head in gray up to about round 5, then add a horizontal band of black yarn across the eye area before continuing in gray again. The striped tail is worked as a long tube with alternating gray and black rounds, which is a nice way to practice clean color changes without carrying yarn awkwardly.
8. Pocket-Sized Hedgehog Crochet
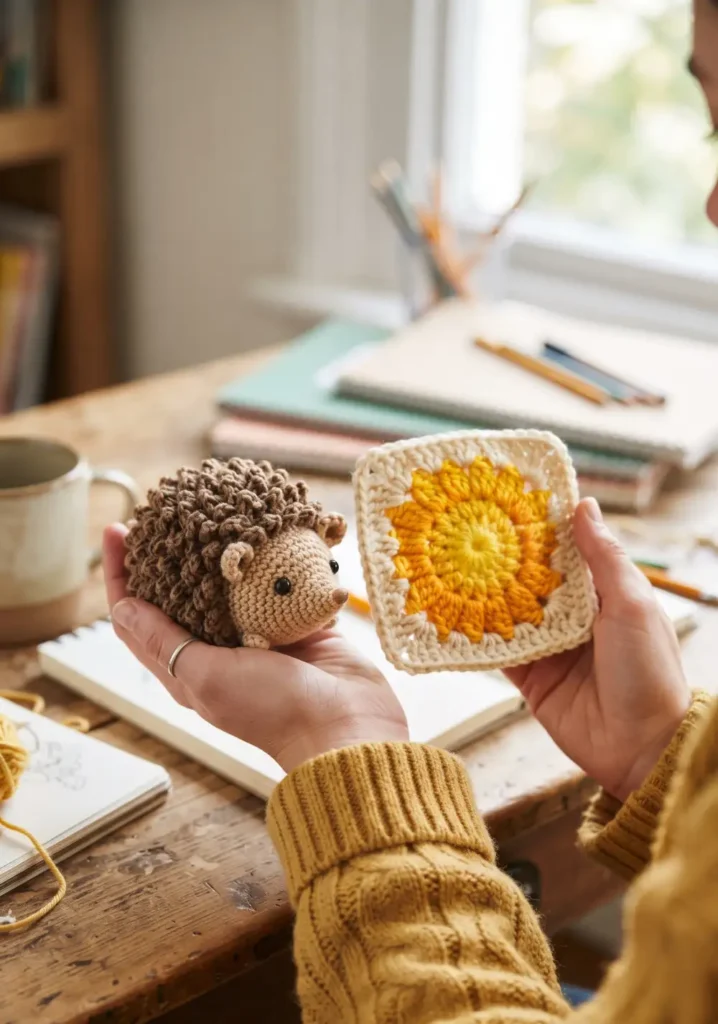
This hedgehog is small enough to finish in an evening, making it a great gift project when you’re short on time.
Materials are brown or tan yarn for the spikes, a lighter shade for the belly, a 3.5mm hook, and small safety eyes.
The body starts as a half-dome shape using a magic ring increased to about 24 stitches, then worked even. The spiky texture comes from working loop stitches or picot stitches across the back rounds instead of plain single crochet. The face and belly stay smooth for contrast, keeping the shaping simple even though the texture looks advanced.
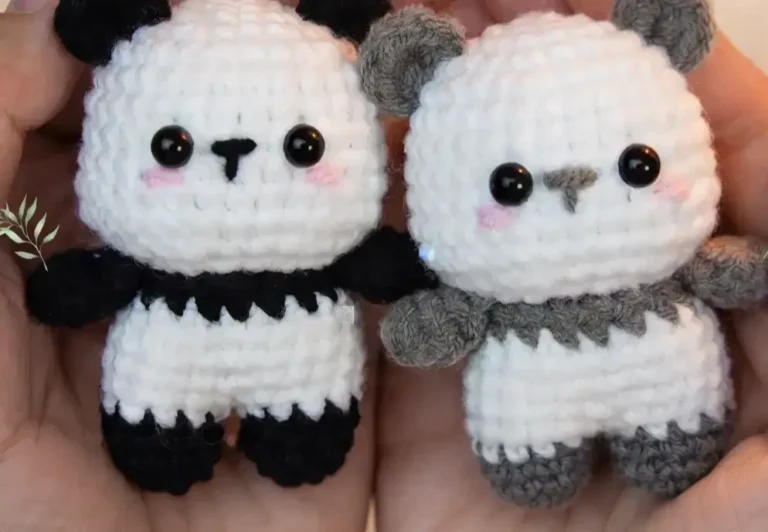
9. Adorable Panda Bear Plush
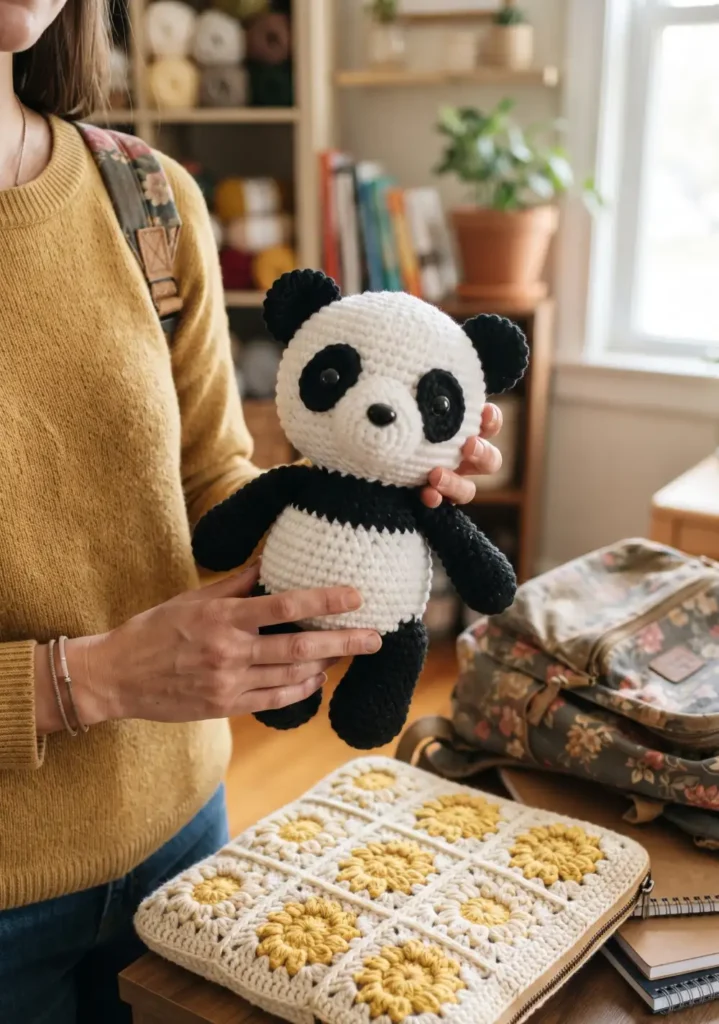
Pandas are one of the most requested amigurumi patterns because the black and white contrast photographs so well.
You’ll need black and white yarn, a 3.5mm hook, 12mm safety eyes, and fiberfill.
The head is mostly white with black ear patches and eye patches added as small separate pieces sewn on top. Start the head with a magic ring increased to 30 stitches by round 6, then work even for the face. The black eye patches are simple ovals, easier to crochet flat and stitch on than trying to color change mid round.
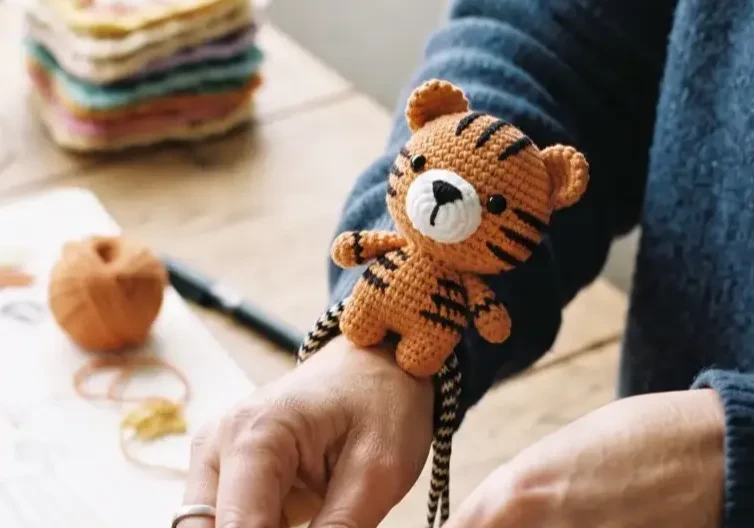
10. Striped Tiger Cub Amigurumi
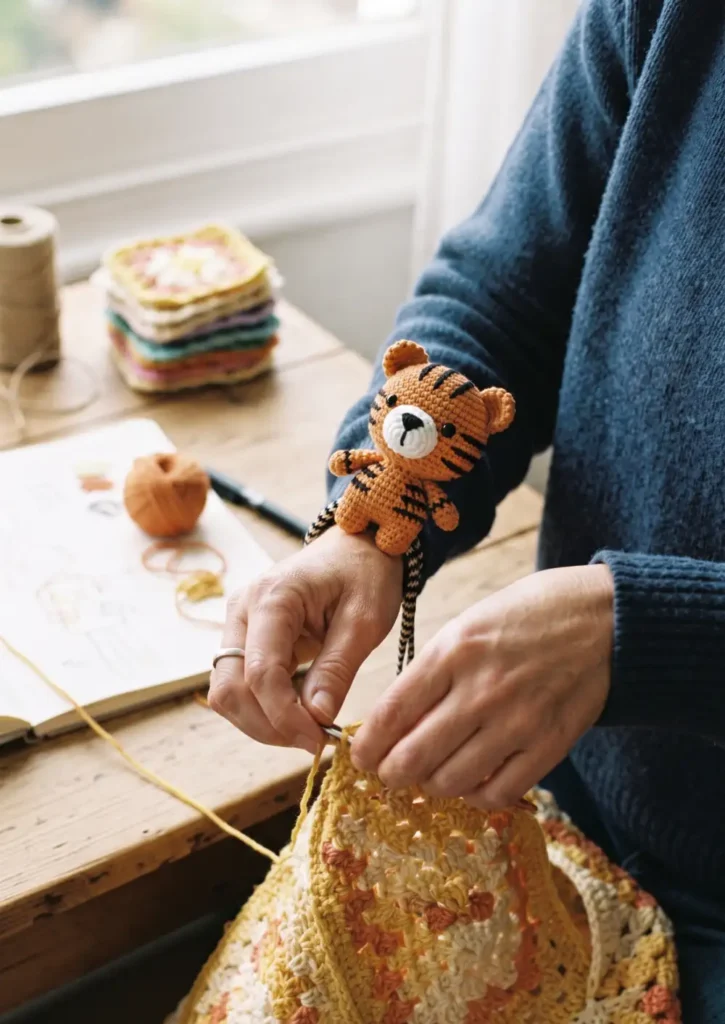
Stripes take this tiger from cute to genuinely impressive looking, even though the technique behind them is beginner friendly.
Materials include orange, white, and black yarn, a 3.5mm hook, and fiberfill.
Work the body in orange as your base, then add black stripes using surface slip stitch after the piece is complete rather than color changing every round. This method is much easier for beginners and still gives crisp, clean stripes. The white belly panel is a separate flat oval sewn on before the stripes are added.
11. Little Koala Tree Hugger
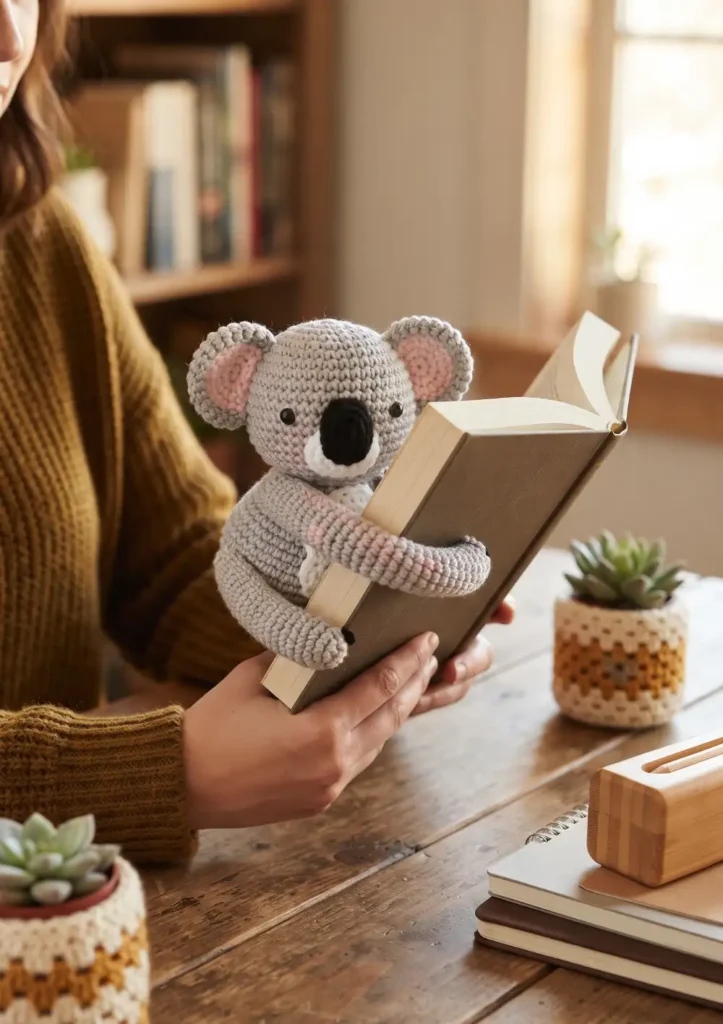
This koala is designed to wrap its arms around a pencil, mug handle, or branch, which makes it extra fun to display.
You’ll need gray yarn, a lighter gray or white for the belly, a 3.5mm hook, and fiberfill.
The round fluffy ears are the standout feature here, made using loop stitch across a simple circular base. The arms and legs are worked longer than usual, about 6 to 8 rounds each, so they can wrap fully around an object. Curve the arms slightly with your fingers while stuffing to help them hold the hugging shape.
12. Kawaii Duckling Crochet Toy
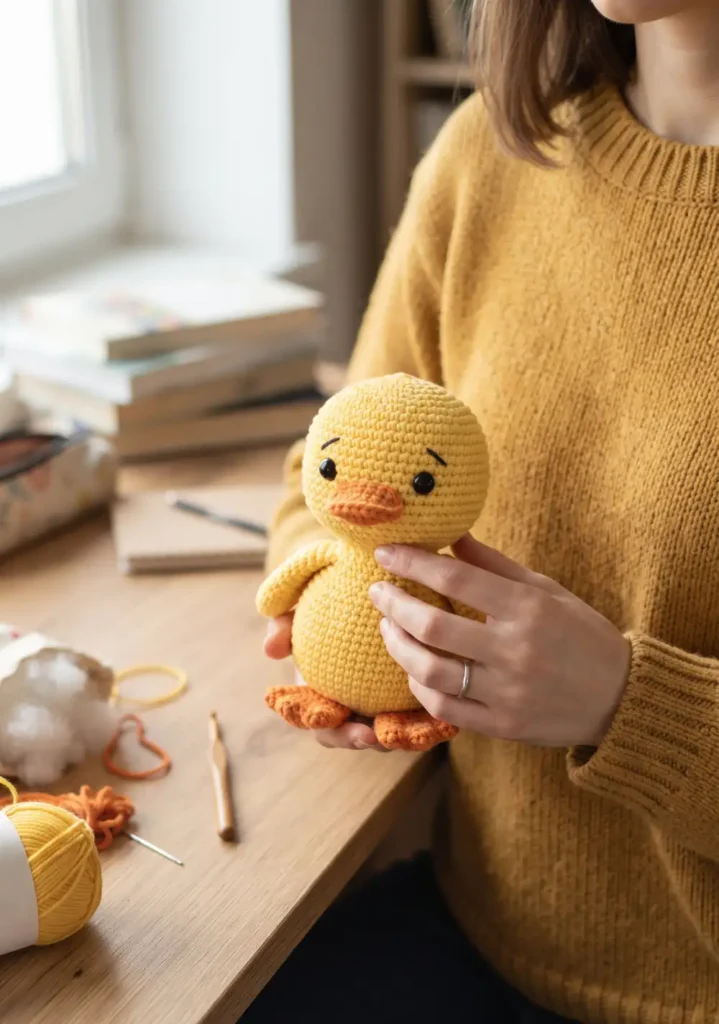
A duckling is one of the simplest shapes on this list, making it a great confidence builder if you’re newer to amigurumi.
Materials are yellow yarn, orange for the beak and feet, a 3.5mm hook, and fiberfill.
The body is one continuous piece from head to tail, worked as a single oval with a slight neck taper around round 6. The beak is a tiny flat triangle folded and sewn in place, and the wings are small flat teardrop shapes stitched on either side of the body.
13. Playful Puppy Amigurumi Pattern
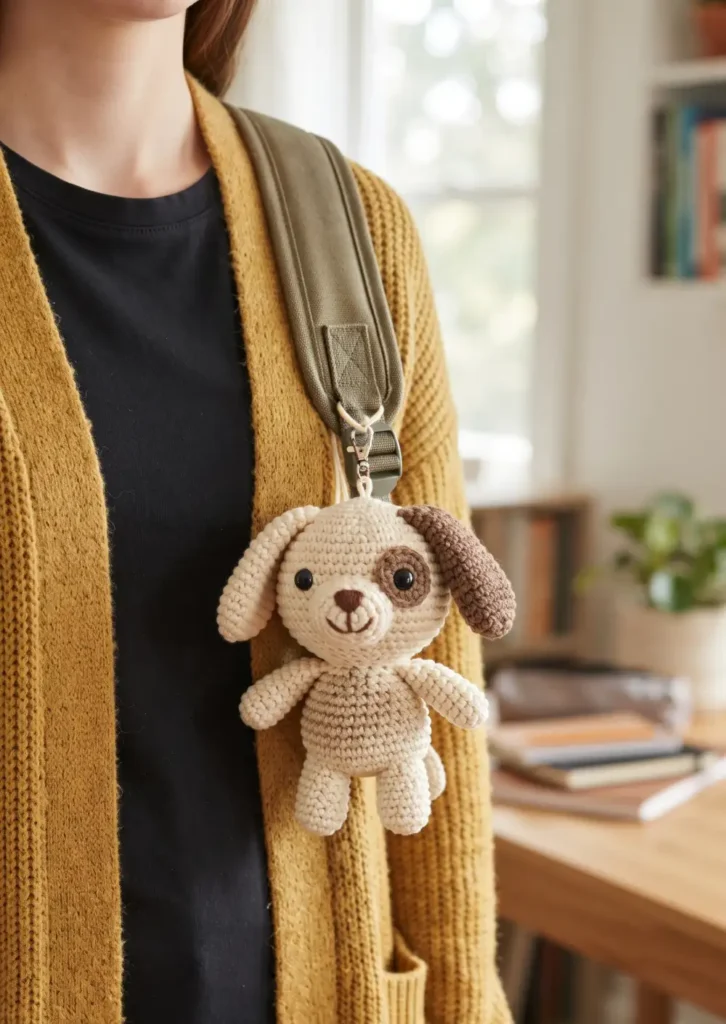
Floppy ears and a wagging pose give this puppy a lot of personality for a fairly quick project.
You’ll need brown or spotted yarn, a 3.5mm hook, safety eyes, and fiberfill.
The head and muzzle are worked as two separate pieces, with the muzzle being a small rounded shape sewn onto the lower half of the face. Ears are worked flat in rows, increasing in width before being sewn on at an angle so they hang naturally. The tail is a short curved tube stuffed lightly.
14. Sweet Kitten Crochet Plush
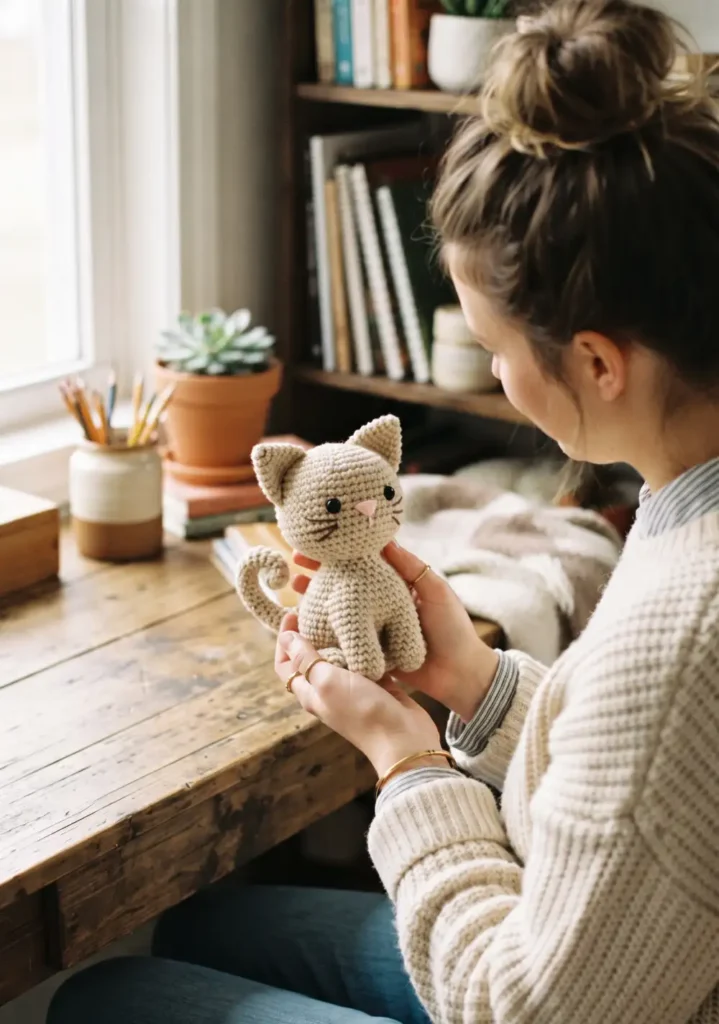
This kitten pattern focuses on getting that classic pointed ear shape right, which is easier than it looks once you know the trick.
Materials include your choice of yarn color, a 3.5mm hook, small safety eyes, and fiberfill.
Ears are worked as small triangles using decreases on both sides of each row until you reach a point. The body and head are standard rounded amigurumi shapes, and whiskers can be added at the end using embroidery thread stitched straight through the face for a clean, simple finish.
15. Gentle Giraffe Amigurumi
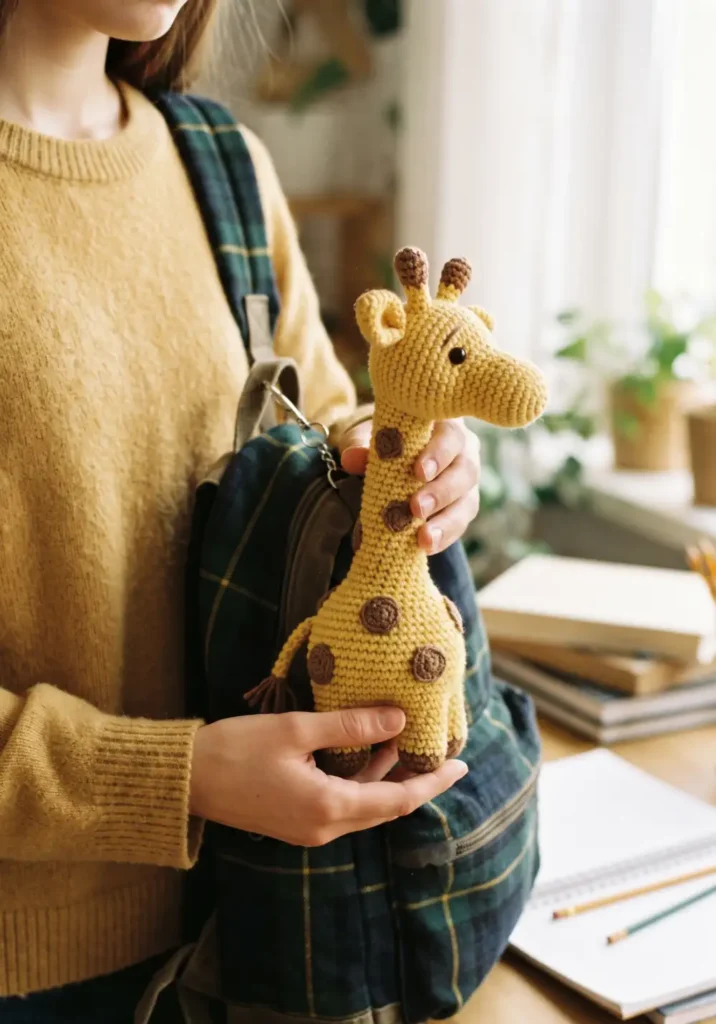
A giraffe is a fun challenge because of the long neck, which is worked as its own separate tube piece.
You’ll need yellow or tan yarn, brown for the spots, a 3.5mm hook, and fiberfill.
Work the neck as a straight tube for about 10 to 12 rounds before attaching it between the head and body. Spots are small circles crocheted separately and sewn on, or embroidered directly onto the finished piece if you prefer a flatter look. The horns are two tiny stuffed nubs on top of the head.
16. Cozy Sloth Hanging Plush
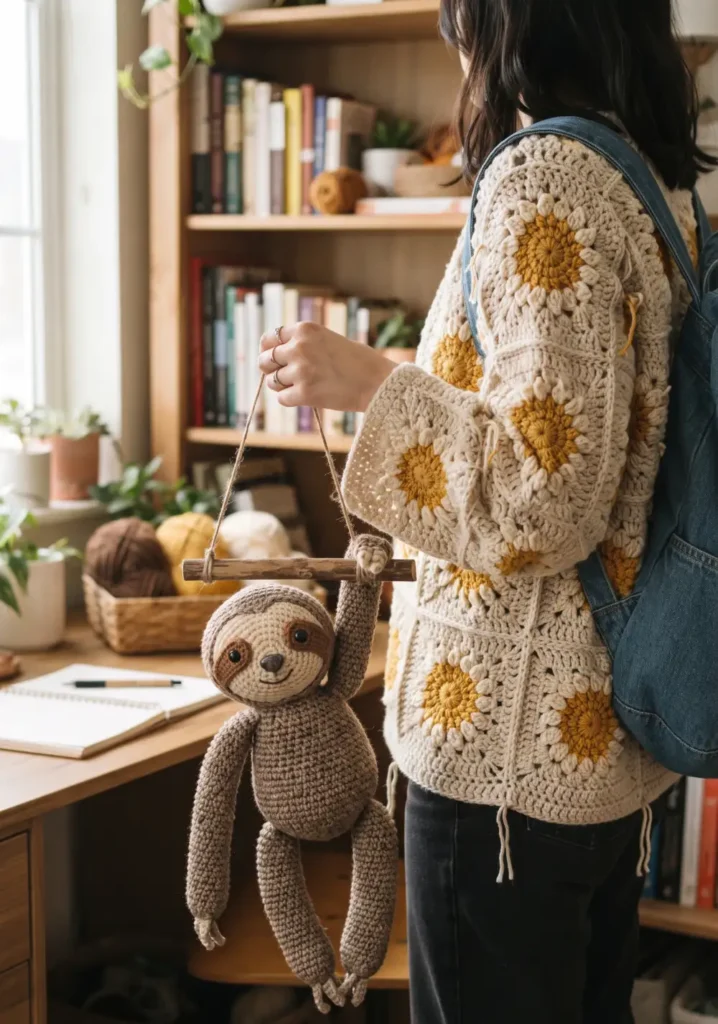
This sloth is designed with long arms so it can hang off a shelf or curl around a branch.
Materials are brown and tan yarn, a 3.5mm hook, safety eyes, and fiberfill.
The arms and legs are worked much longer than a typical amigurumi, often 8 to 10 rounds each, since the whole design relies on that draped, lazy look. The face uses a lighter tan color patch sewn over the brown head, and simple curved eyebrows embroidered above the eyes give the sloth its sleepy expression.
17. Baby Dinosaur Amigurumi Project
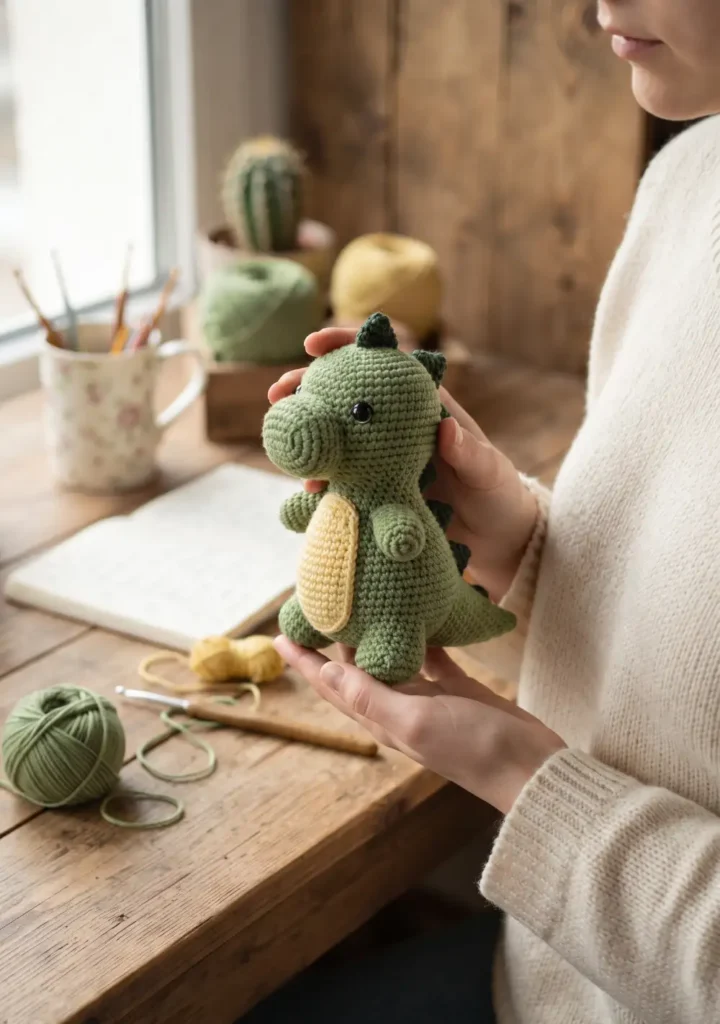
Dinosaurs are a favorite for kids’ rooms, and this one has a simple spiked back that adds just enough detail.
You’ll need green yarn, a contrasting color for the spikes, a 3.5mm hook, and fiberfill.
The body is a standard rounded shape, but a row of small triangle spikes is crocheted separately and sewn down the spine from head to tail. The tail tapers gradually using decreases every other round rather than every round, which keeps the shape long and smooth instead of stubby.
18. Tiny Hamster Crochet Friend
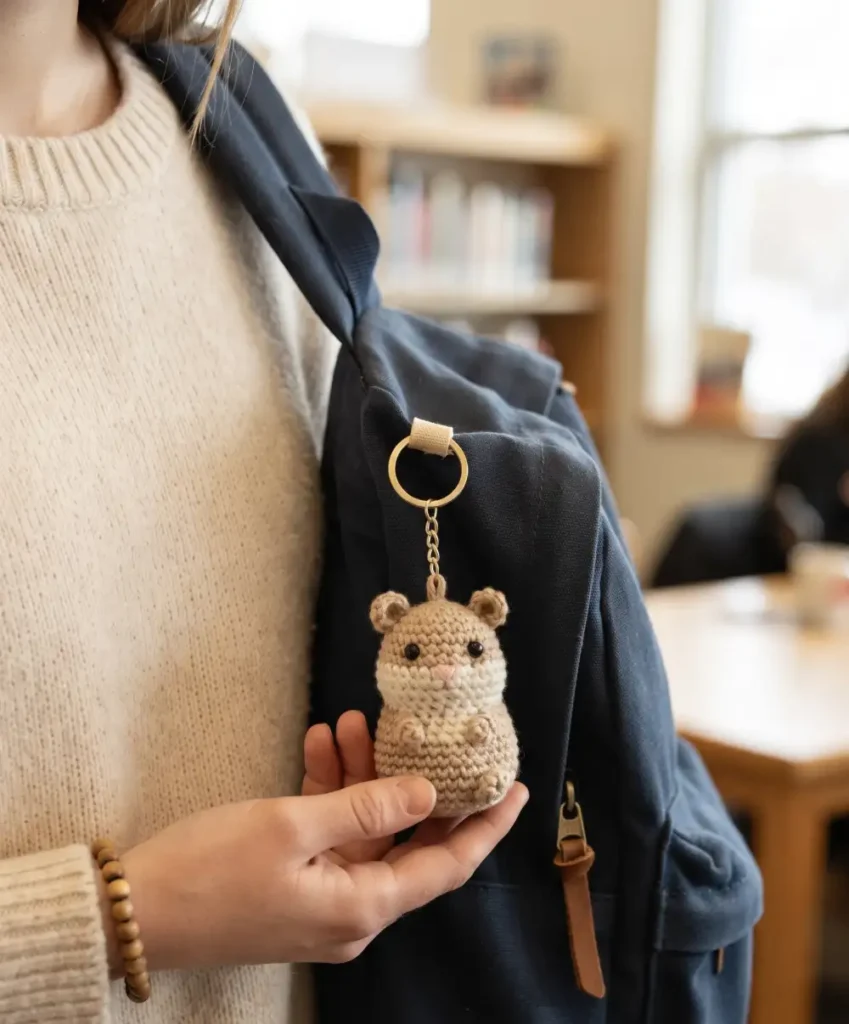
This is one of the fastest projects on the list, perfect for using up small amounts of leftover yarn.
Materials include beige or brown yarn, a 3.5mm hook, tiny safety eyes, and fiberfill.
The body is a single rounded shape with almost no separate pieces, just small flat ears and stubby limbs. Because hamsters are naturally round and compact, you can finish the whole increase and decrease sequence in under 15 rounds total, making this a great project to practice speed and even tension.
19. Fluffy Sheep Crochet Pattern
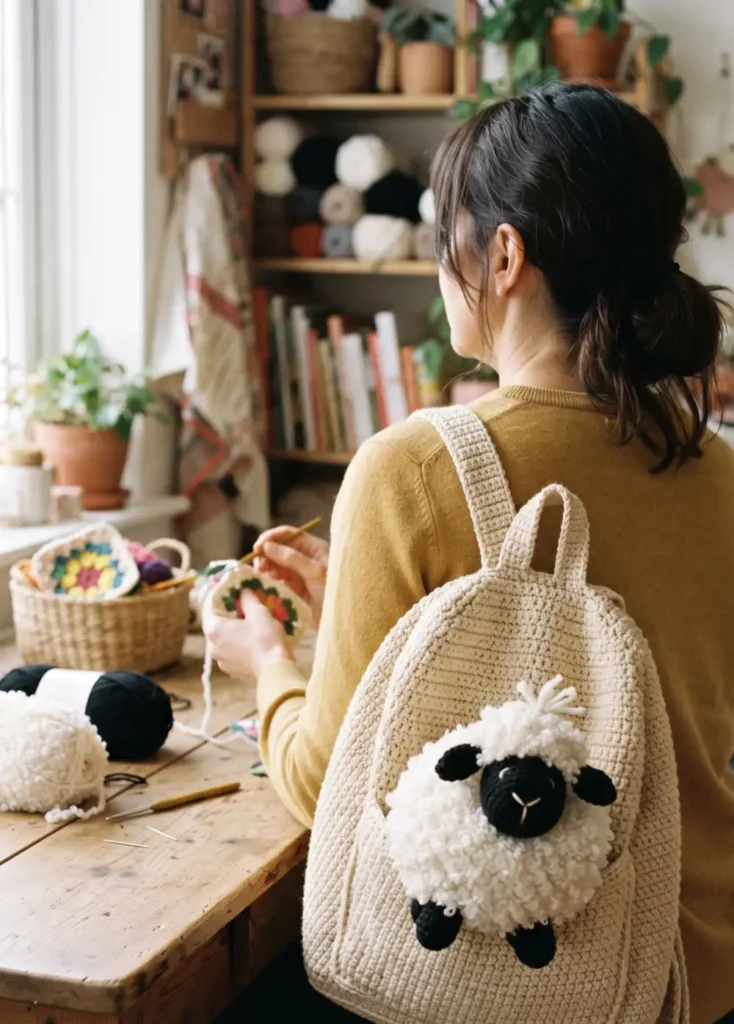
The bobbly wool texture is what makes this sheep pattern stand out, and it uses a stitch technique that’s simpler than it looks.
You’ll need white or cream yarn, black for the face and legs, a 3.5mm hook, and fiberfill.
The body is worked using bobble stitch or popcorn stitch across most rounds to create that classic woolly texture. The face and legs stay smooth in black yarn for contrast, worked as a plain rounded shape with no bobbles. This mix of textures is what gives the finished sheep its charm.
20. Cheerful Frog Amigurumi Toy
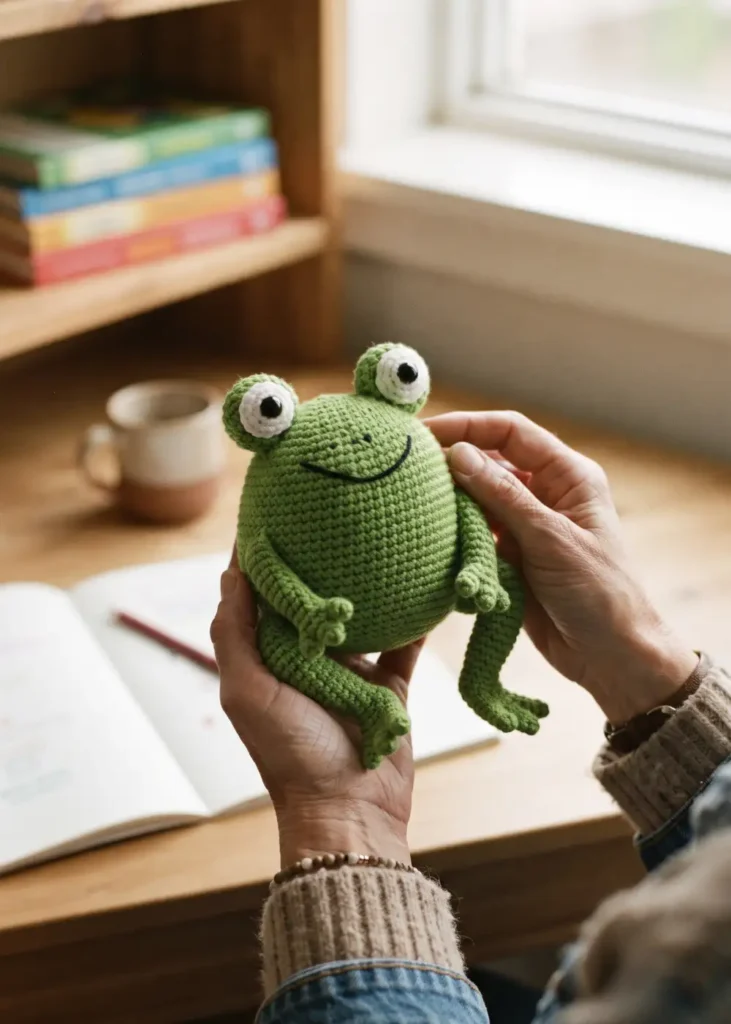
A frog amigurumi is a fun way to practice working with bright, bold colors.
Materials are green yarn, a lighter green or white for the belly, a 3.5mm hook, and large safety eyes.
The eyes sit on top of raised eye stalks, which are small separate pieces crocheted as short tubes and sewn on top of the head. The body is a wide, slightly flattened oval rather than a perfect sphere, achieved by working extra rounds even before starting the decrease sequence.
21. Mini Owl Woodland Plush
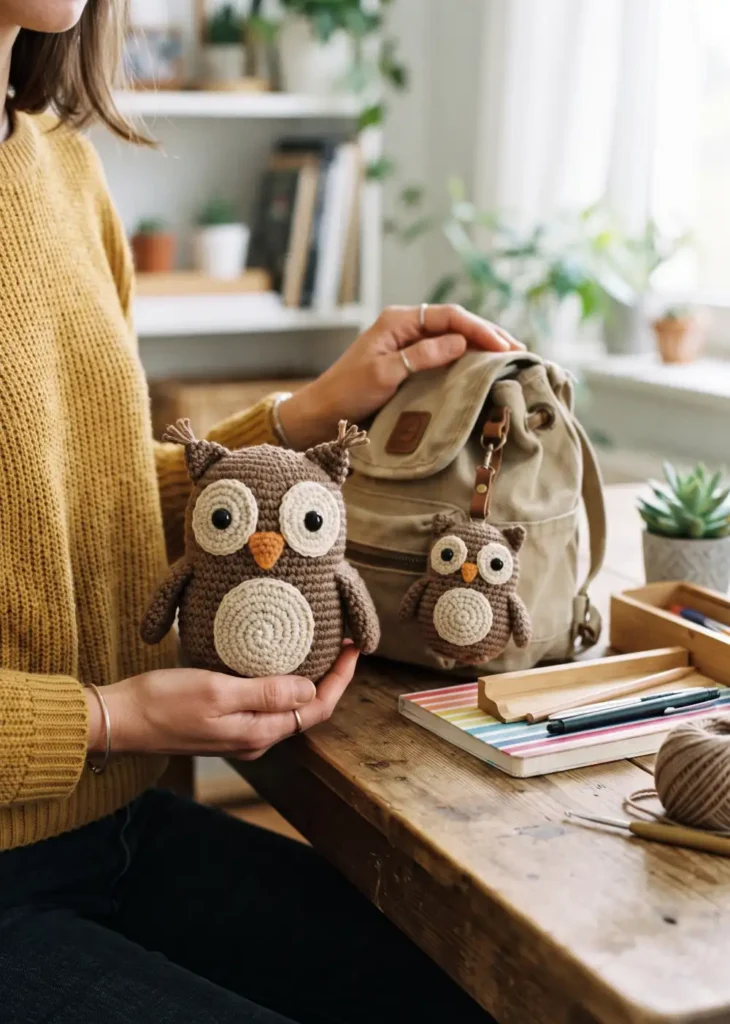
Owls are a classic amigurumi subject because the round eyes and layered wings give you room to get creative with color.
You’ll need two or three yarn colors, a 3.5mm hook, large safety eyes, and fiberfill.
The body is one simple rounded shape, but the wings are worked flat with rows of shell stitch or scalloped edges to mimic feathers. Ear tufts are two small pointed pieces sewn to the top of the head, and a tiny triangle beak sits between the eyes.
22. Sea Turtle Amigurumi Pattern
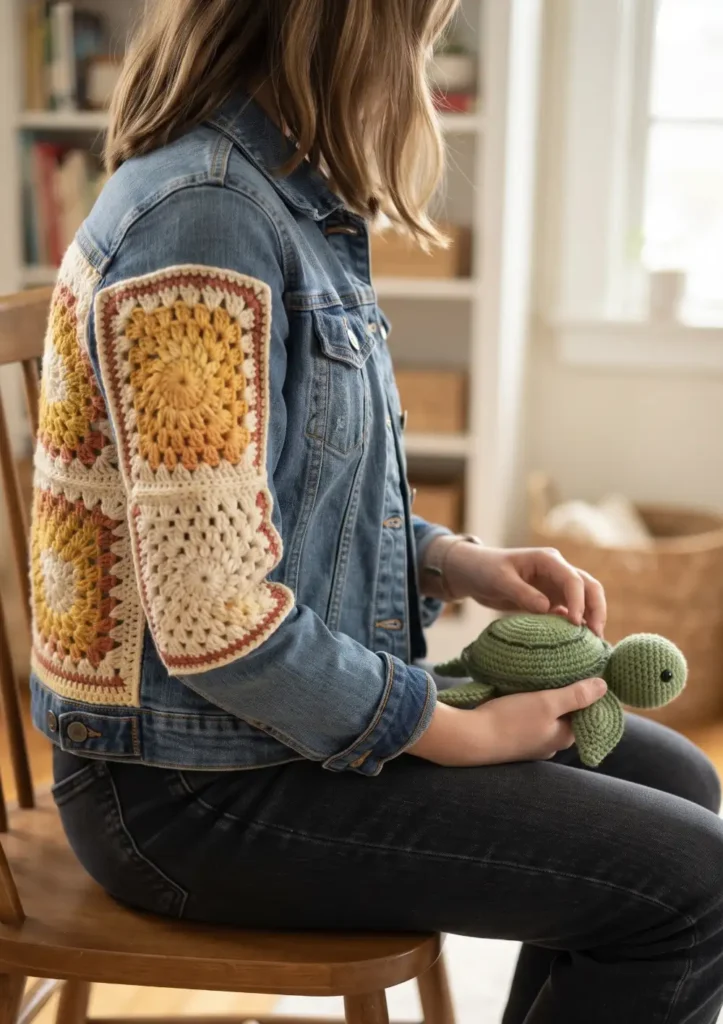
This turtle’s shell is the most interesting part of the pattern, using a color change technique to create a segmented look.
Materials include green yarn for the body, a mix of greens or browns for the shell, a 3.5mm hook, and fiberfill.
The shell is worked as a separate domed piece, often using a granny square style color change every few rounds to create panel sections. The flippers are flat, slightly curved oval shapes attached at each corner of the body, and the head extends out from under the front of the shell.
23. Hummingbird Amigurumi
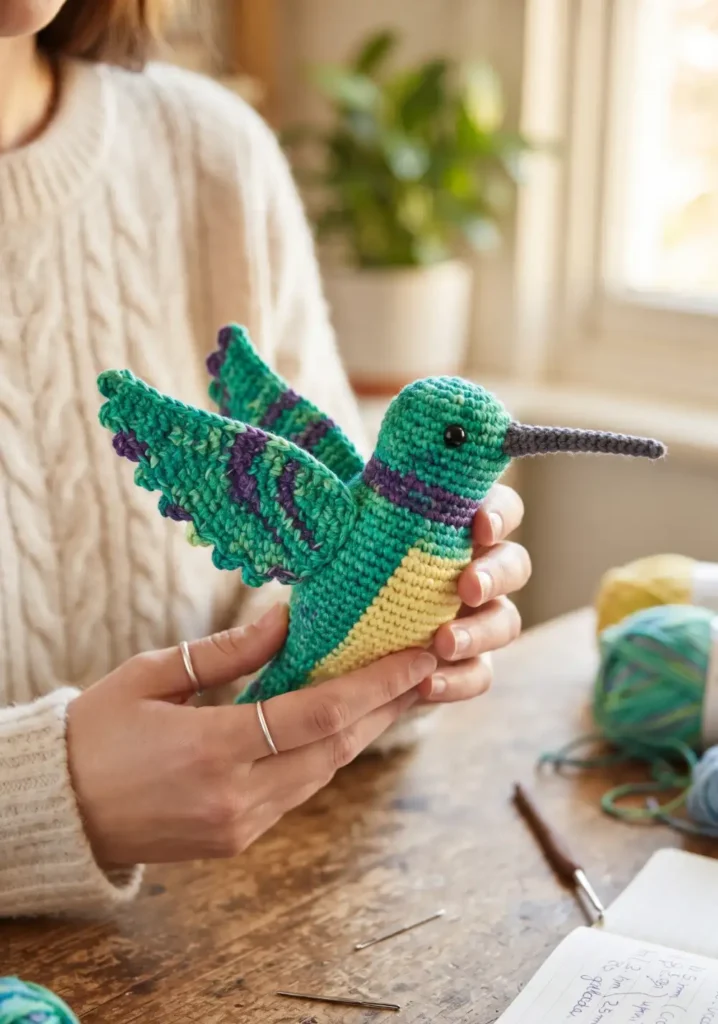
A hummingbird is a great project for practicing shaping since the body is more oval and elongated than most amigurumi animals.
You’ll need bright yarn for the body, a contrasting color for the belly, a 3.5mm hook, and small safety eyes.
The wings are worked flat and angled, using increases along one edge to create a curved, swept back shape. The beak is a thin crocheted cone or can be made from felt if you want a sharper point than yarn allows. Keep stuffing light so the body stays slim rather than round.
24. Polar Bear Crochet Plushie
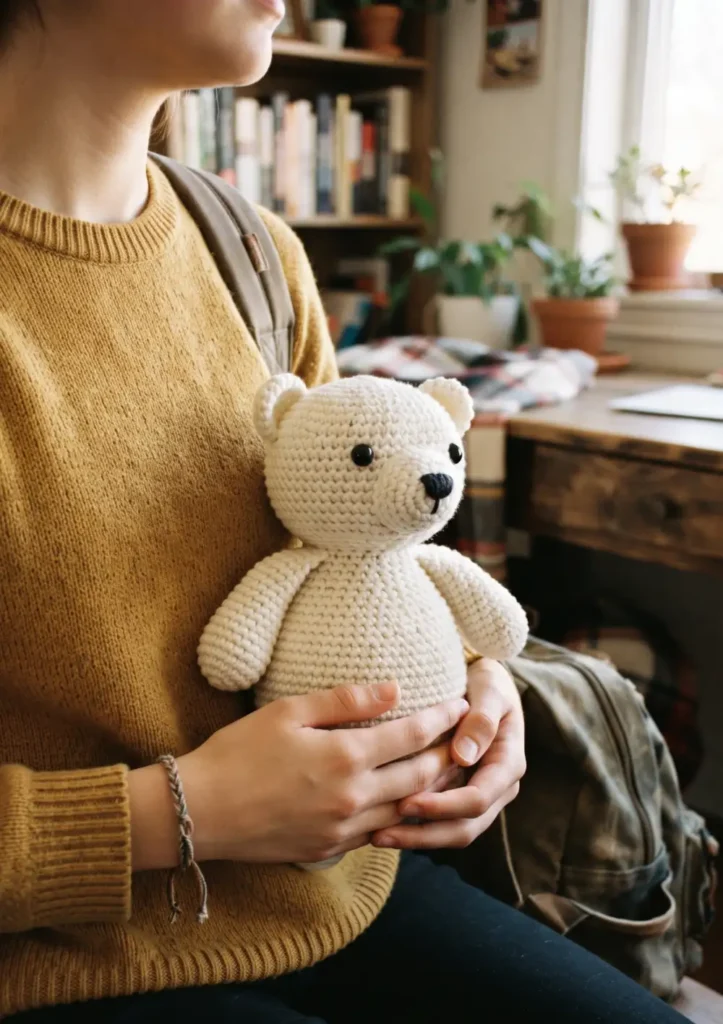
This polar bear uses the same basic shaping as the classic teddy bear, making it an easy second project once you’ve made bear number one.
Materials are white or cream yarn, a 3.5mm hook, black safety eyes, and fiberfill.
Because there’s no color changing involved, this pattern is mostly about getting even tension across a large area of a single color, which shows every inconsistency. Working slightly smaller stitches than usual helps keep the surface smooth and gives the finished bear a soft, snowy look.
25. Little Monkey Amigurumi Pattern
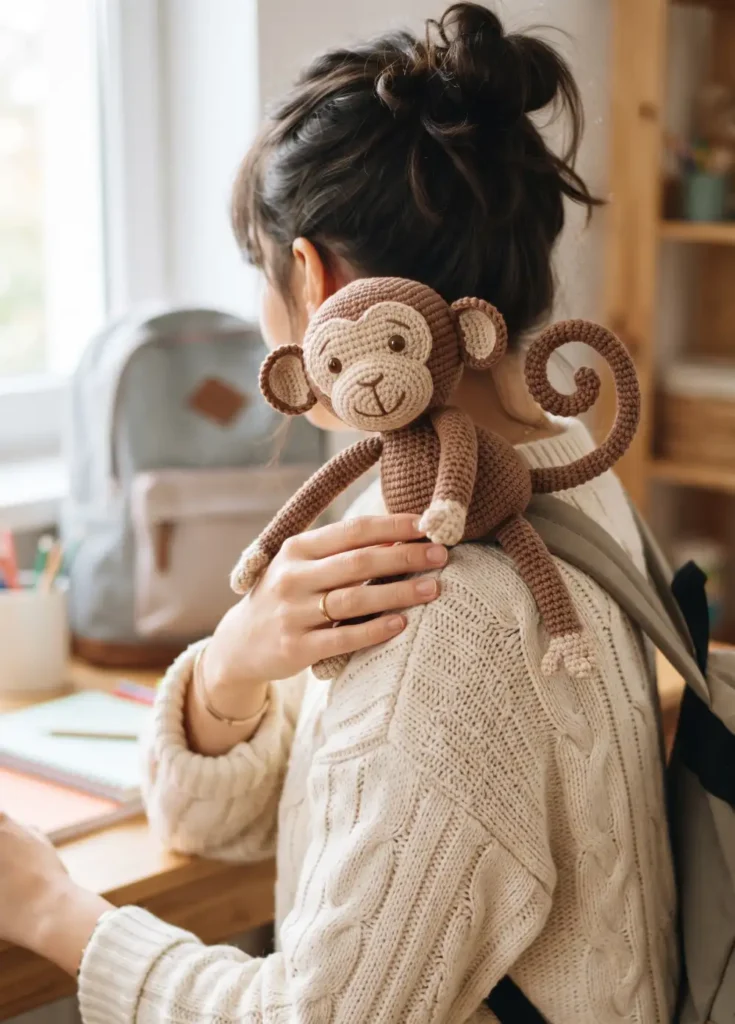
Long arms and a curled tail give this monkey a playful, hanging pose similar to the sloth pattern earlier on this list.
You’ll need brown yarn, a lighter tan for the face and belly, a 3.5mm hook, and fiberfill.
The face is a separate flat oval piece sewn onto the front of the head, which keeps the shaping simple even though it looks detailed. The tail is a long, lightly stuffed tube that can be curled and tacked in place with a few stitches once assembly is finished.
26. Whimsical Unicorn Animal Plush
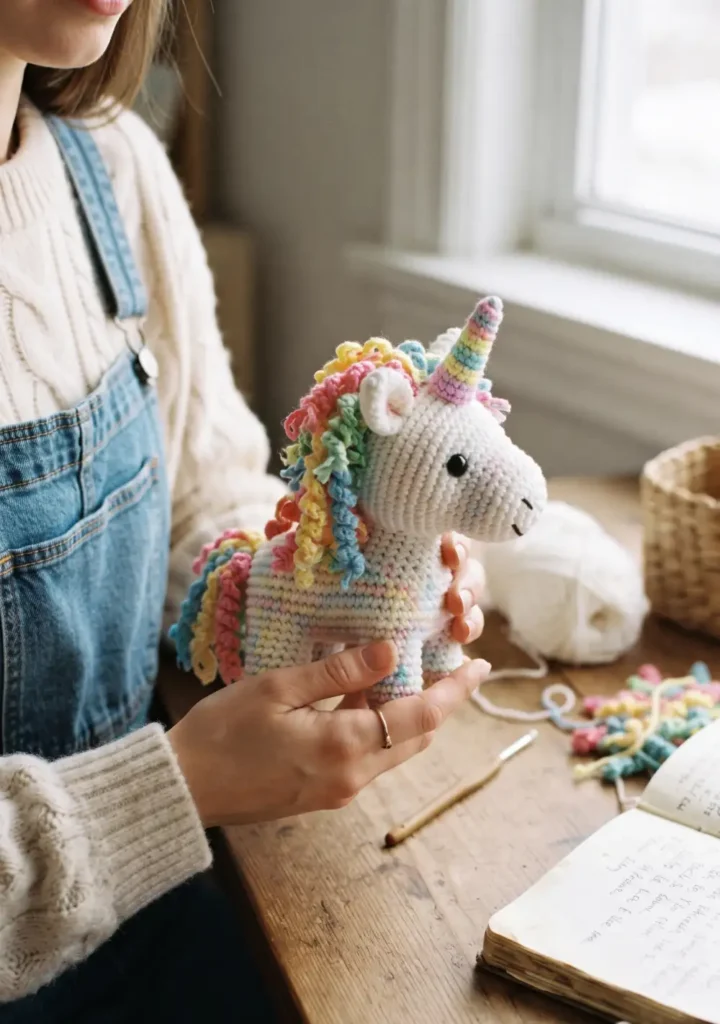
This unicorn combines a simple horse-like body shape with a few fantasy details that make it feel special.
Materials include white or pastel yarn, rainbow scraps for the mane, a 3.5mm hook, and safety eyes.
The horn is a small spiral cone, worked by increasing slightly at the start then decreasing steadily to a point. The mane and tail are made using fringe technique, cutting yarn strands and knotting them directly into the stitches rather than crocheting them, which is much faster than it sounds.
27. Cute Deer Fawn Crochet Project
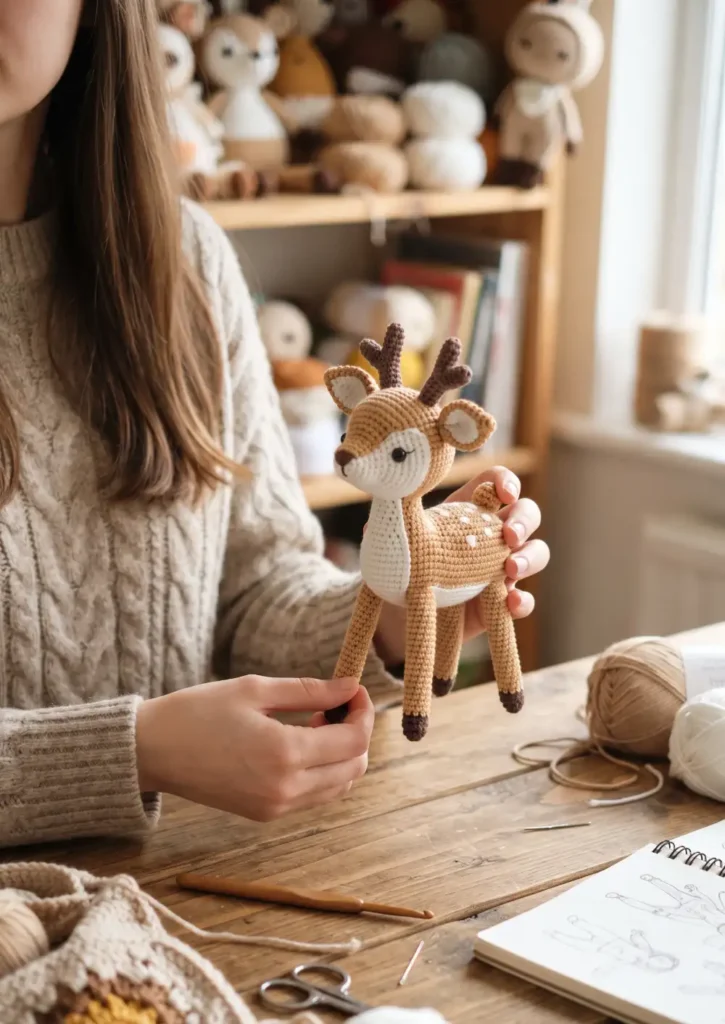
This fawn pattern focuses on delicate legs and small antlers, giving it a slightly more elegant look than other animals on the list.
You’ll need tan yarn, white for the belly and spots, a 3.5mm hook, and fiberfill.
Legs are worked thinner than usual, using fewer stitches around so they taper naturally without needing heavy decreases. Antlers are made from a simple chain and single crochet branch shape rather than a solid crocheted piece, keeping them lightweight and easy to attach.
28. Baby Otter Amigurumi with Fish
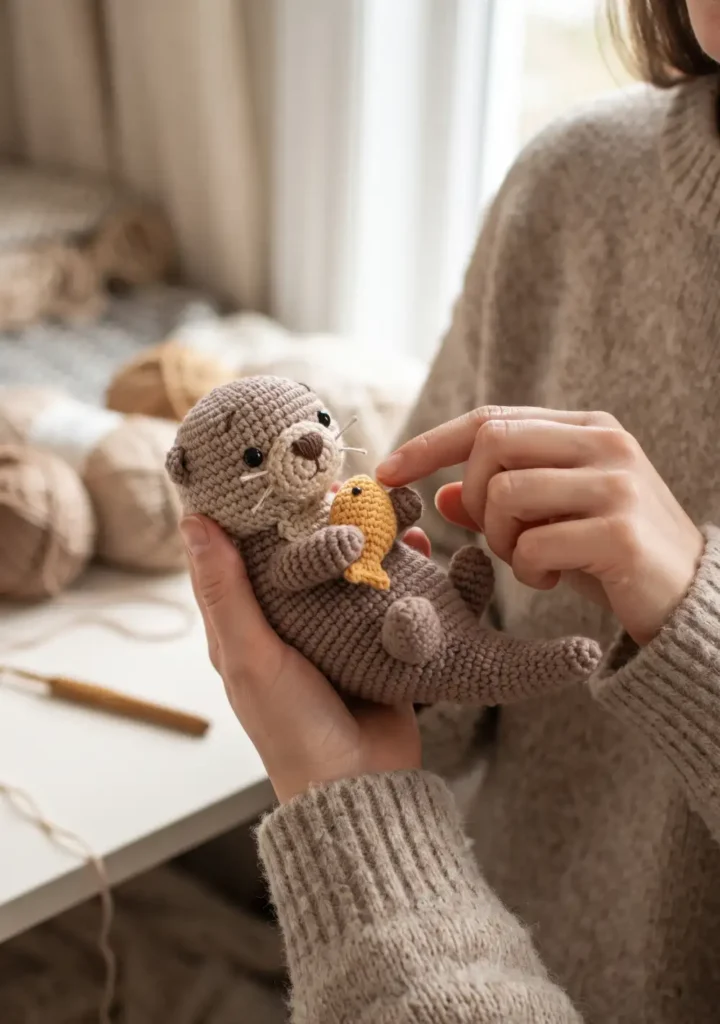
This otter comes with a tiny crocheted fish accessory, which makes it one of the more fun projects to gift.
Materials are brown yarn, a lighter tan for the belly, small amounts of yarn for the fish, a 3.5mm hook, and fiberfill.
The otter’s body lies in a slightly flattened, floating position rather than standing upright, achieved by working the base a bit wider before starting the increase rounds. The fish is a tiny separate amigurumi, just a few rounds total, that gets tucked into the otter’s paws once both pieces are stuffed.
FAQs
What size hook works best for amigurumi?
A 3.25mm to 3.5mm hook is standard for worsted weight yarn. Using a smaller hook than usual keeps stitches tight.
Do I need safety eyes or can I embroider them?
Either works. Safety eyes are quick and durable, while embroidered eyes are safer for very young children.
How much yarn do I need per animal?
Most small amigurumi use less than one full skein. Larger animals like the giraffe or sloth may need a bit more.
What stuffing should I use?
Polyester fiberfill is the standard choice. It’s washable, holds its shape, and stays soft over time.
Can beginners really make these?
Yes. Every pattern here uses the same core stitches. Once you learn the basic shaping, the rest is just repetition.