5 Crochet Cat Amigurumi Free Patterns for Beginners
If you’re new to amigurumi, cats are the perfect place to start. Their shapes are forgiving, their features are simple, and they come together fast. These five patterns prove that a cuddly cat is closer than you think.
Each one uses a different technique, so you’ll walk away with real skills, not just a finished toy. From plush chenille bodies to a realistic calico coat, this roundup has something for every beginner crocheter. Grab your hook and let’s get started.
1. Plush Chenille Crochet Cat Pattern
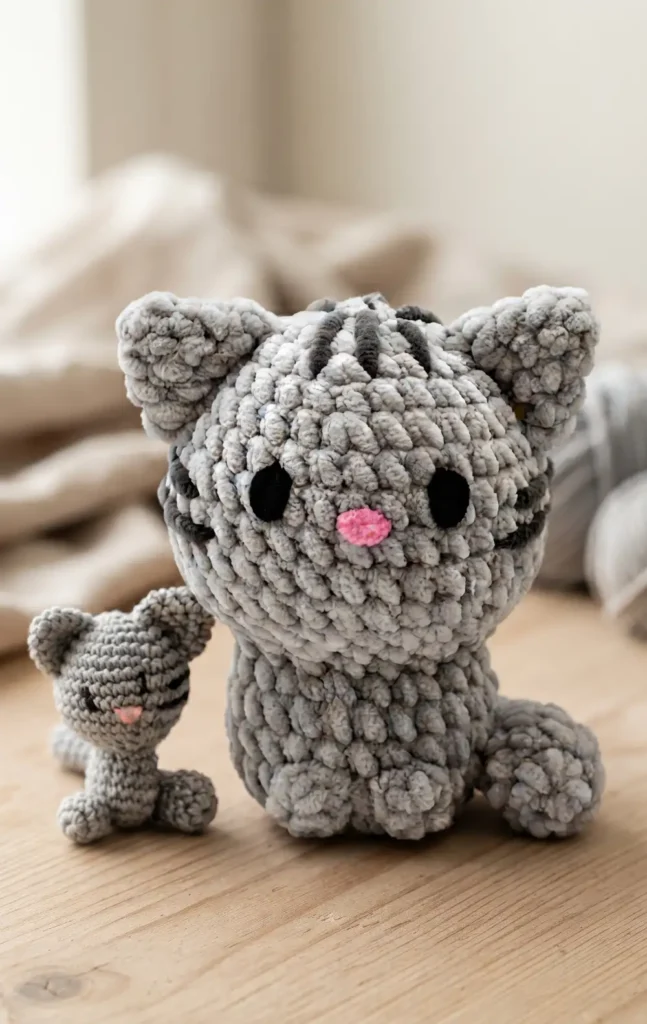
Making a Lily the Cat amigurumi with chenille yarn results in a soft, huggable plush that is significantly larger than one made with cotton yarn. This project is designed to be quick and beginner friendly, often taking around one hour to complete. While the video demonstrates the stitches using cotton yarn for better visibility, the steps remain identical for your chenille version.
Essential Materials
To begin your plush cat, you will need the following items:
- Chenille or Velvet Yarn: Choose any colour you prefer for your plush.
- 5.0 mm Crochet Hook: This larger hook size is specifically recommended for chenille yarn.
- Stuffing: To give your cat its shape.
- Blunt-point Needle: For sewing pieces together.
- Scissors and Pins: For cutting yarn and holding pieces in place during assembly.
Step 1: Crocheting the Body
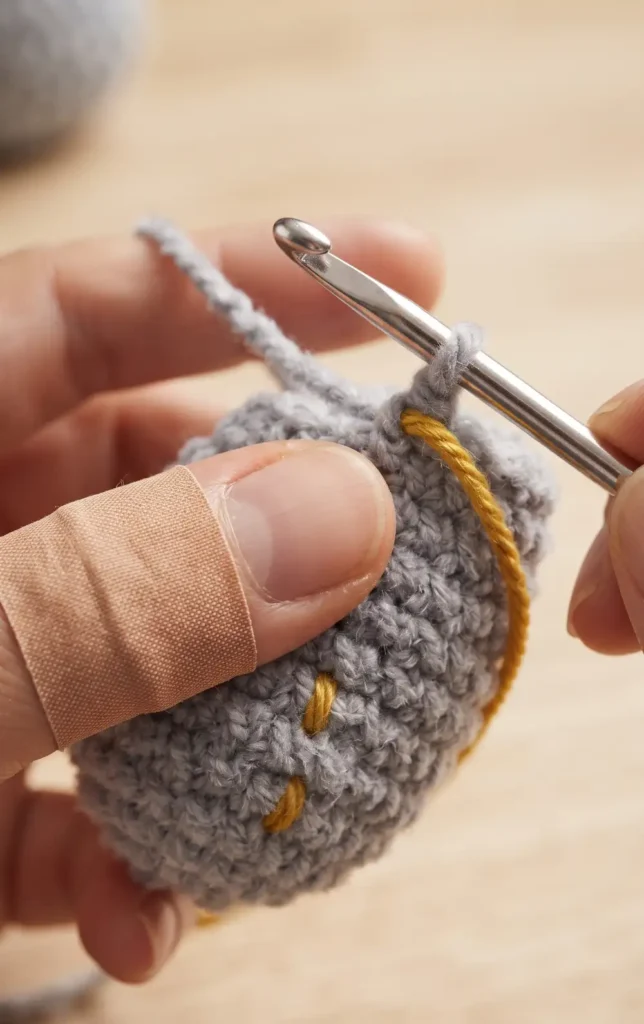
The project starts with the body, which is worked from the top down. Begin by creating a magic circle and crocheting six single crochet stitches into it. You will then increase the number of stitches in subsequent rounds to widen the body, reaching 18 stitches and beyond as you progress.
Once the desired width is achieved, crochet several rounds of single crochet to add length to the body. Before finishing, begin decreasing your stitches to taper the bottom, and firmly pack the body with stuffing while the opening is still large enough for your fingers.
Step 2: Adding Facial Features and Stripes
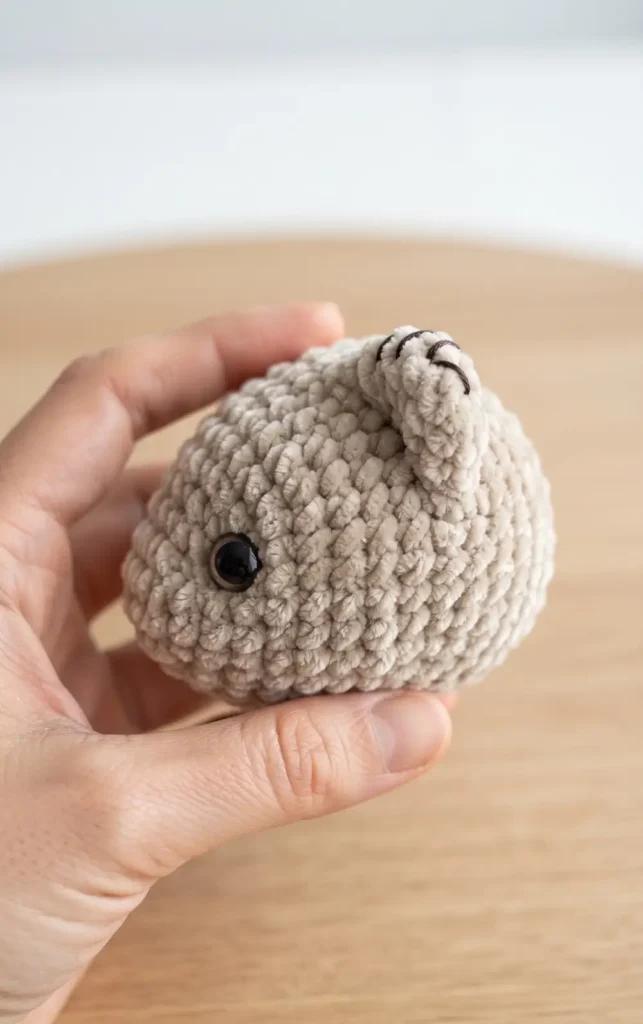
Before closing the body entirely, it is easier to sew on the decorative details. Position the eyes about five stitches apart on the front of the head. You can also add character by sewing stripes onto the back and sides of the head.
These stripes are typically two to four stitches long and help give the cat its unique look. Using pins to mark the placement of the eyes and stripes before sewing ensures everything is symmetrical.
Step 3: Crafting the Ears and Tail
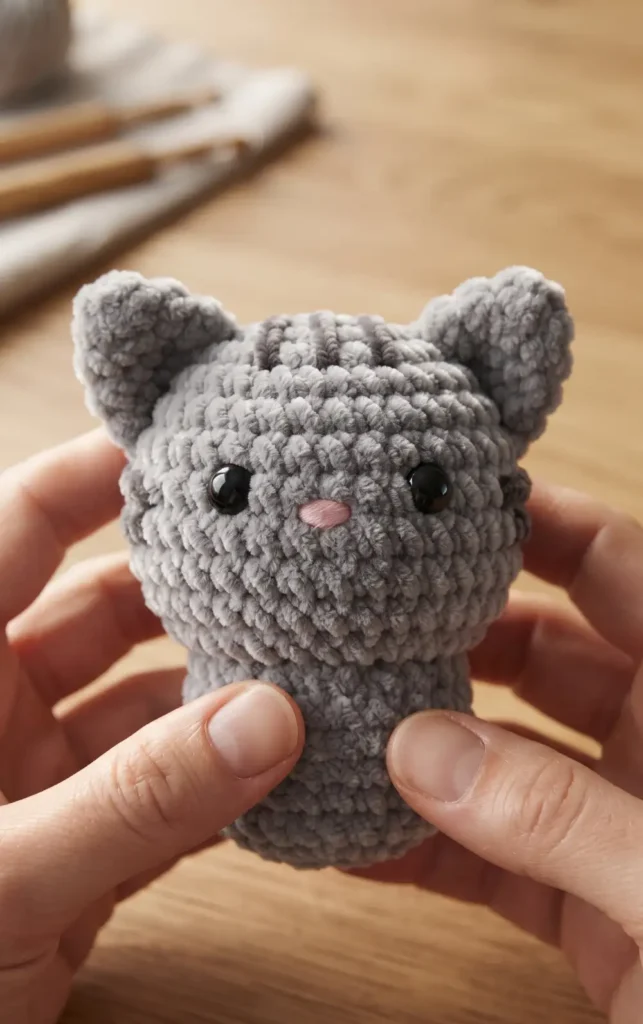
The ears and tail are crocheted separately and then attached to the body. For each ear, start with a magic circle and increase the stitches over a few rounds to create a small triangle shape.
The tail also begins with a magic circle of six stitches, followed by several rounds of single crochet to create its length. Once finished, use your needle to sew the ears onto the top of the head, approximately four stitches away from the eyes. The tail should be positioned on the back of the body, usually between rounds 8 and 10.
Step 4: Finishing with Feet and Final Assembly
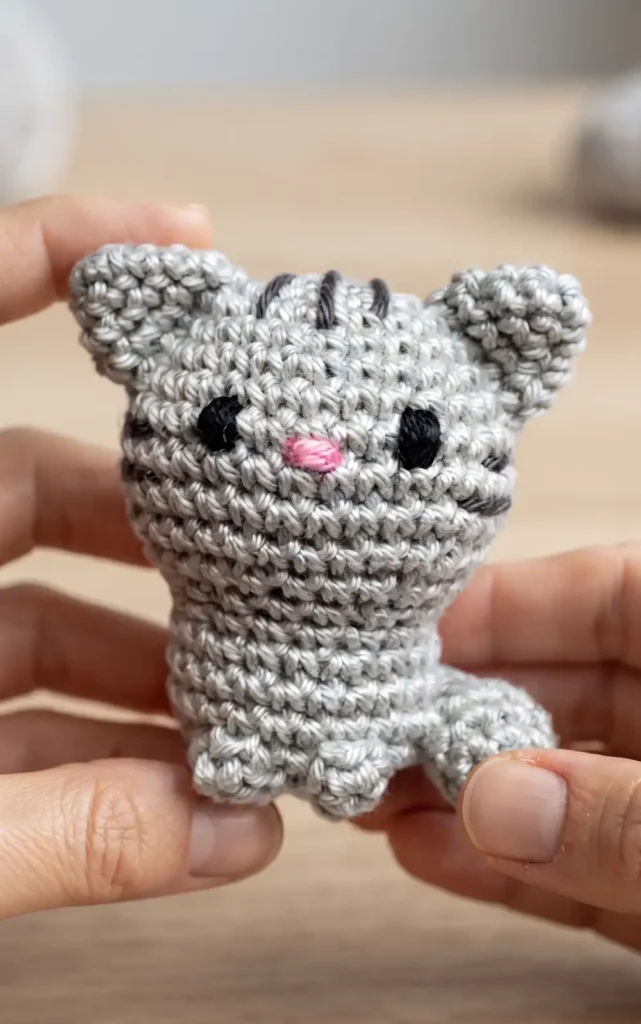
The final pieces to create are the feet. Like the other parts, these start with a magic circle of six stitches. Once you have crocheted the feet, pin them to the bottom of the body to check their placement. Once you are happy with how they look, sew them securely into place. Finally, ensure all yarn ends are woven in or knotted securely inside the body to finish your cute amigurumi cat.
Hey there! Some links on this page may be affiliate links which means that, if you choose to make a purchase, I may earn a small commission at no extra cost to you.
Video Credits: DIY Fluffies
2. Crochet Sleeping Cat Amigurumi Pattern
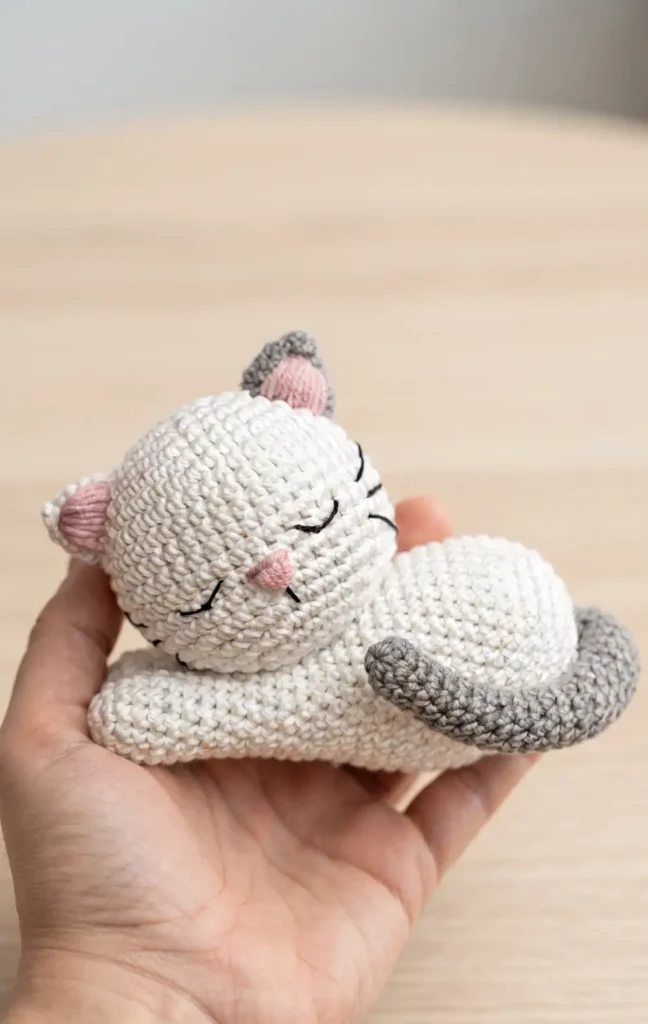
This charming sleeping cat is a popular project that measures approximately 12 cm long and 8 cm high. It is a perfect pattern for those looking to create a peaceful, curled-up feline companion.
Step 1: Gather Materials and Prepare
Before starting your crochet journey, ensure you have all the necessary supplies gathered. For this project, you will need approximately 30 to 40 grams of white or grey cotton yarn.
To add character, prepare small amounts of light pink, dark pink, and black embroidery thread; a finer thread like Perlé is recommended for the delicate facial details. You will also need a 2.2 mm crochet hook, scissors, a yarn needle, and high-quality stuffing to give your cat its shape.
Step 2: Crochet the Head and Body
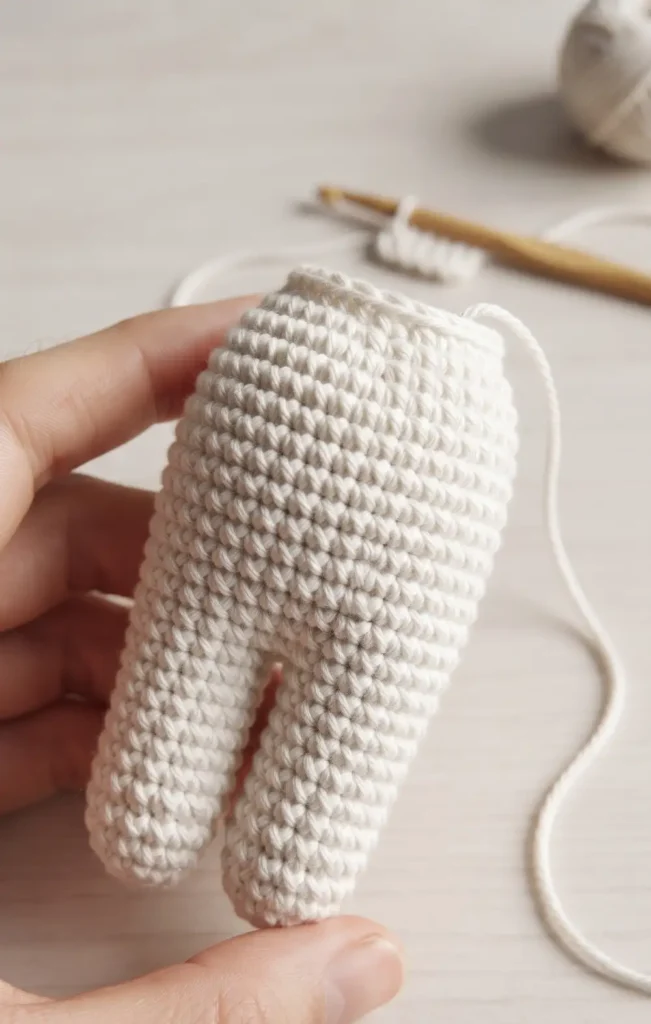
The head begins with a magic ring of 6 stitches, increasing gradually each round until you reach 42 stitches by round 7. After working several even rounds from 8 to 16, you will begin the decreases to close the head, finishing with 8 stitches and leaving a long tail for assembly. Remember to stuff the head firmly before completing the final round.
For the body, you must first crochet two separate legs, each starting with a magic ring of 6 and expanding to 12 stitches for 14 rounds. These are joined in round 15 to form the base of the body. The body shape is created by specific increases on one side to form a belly, reaching 35 stitches by round 19. After working even rounds until round 30, you will decrease to shape the back of the cat and close the piece with a magic circle finish.
Step 3: Craft the Ears and Tail
The ears are small and pointed, requiring two pieces that can be made in different colors for a mottled look. Start with a magic ring of 4 stitches and increase by two stitches in each round until you have a total of 12 stitches by round 5.
The tail is a long, thin tube that adds to the cat’s cozy aesthetic. Begin with a magic ring of 8 stitches. Continue working even rounds from round 2 through round 24 without further increases or decreases, creating a slender tail that will eventually be stuffed and attached to the body.
Step 4: Assembly and Facial Details
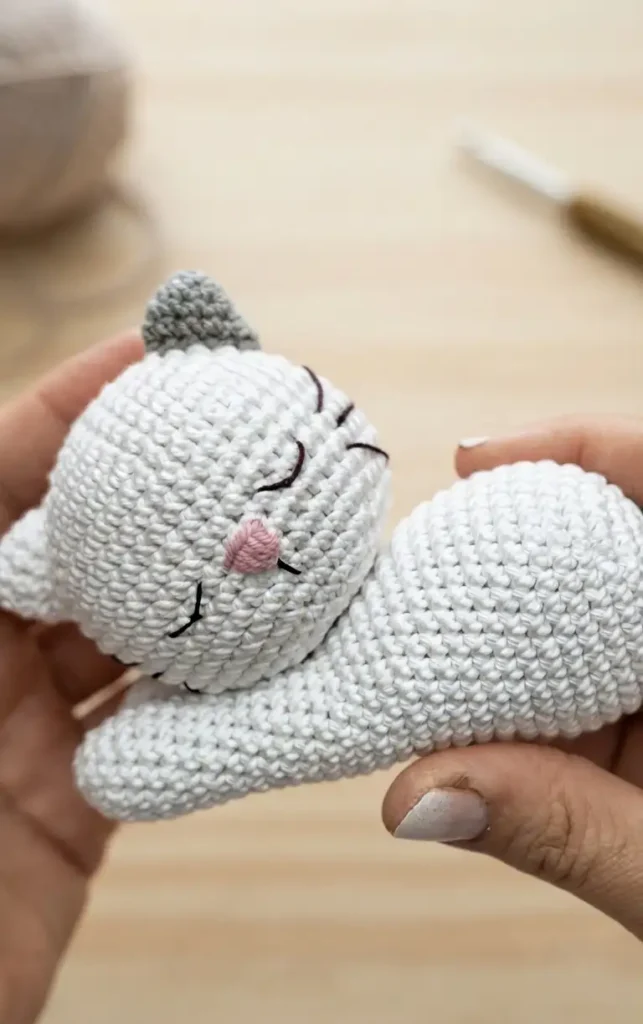
The personality of your sleeping cat comes through in the assembly. Use the pink thread to embroider a small V-shaped nose around round 14 of the head. For the eyes, use black thread to create simple closed lines three stitches wide, adding a slight downward curve to indicate sleep. You can also add small whiskers and a vertical line under the nose for extra detail.
To assemble, sew the ears onto the head starting at round 5. When attaching the head to the body, position it at an angle over the front legs to mimic a natural sleeping posture. Finally, stuff the tail and sew it to the back of the body where the final closure was made. For a final touch, you can add small pink V-shaped markings inside the ears to complete the look.
Video Credits: Jennita de Amor
3. Crochet Kawaii Cat Plush Pattern
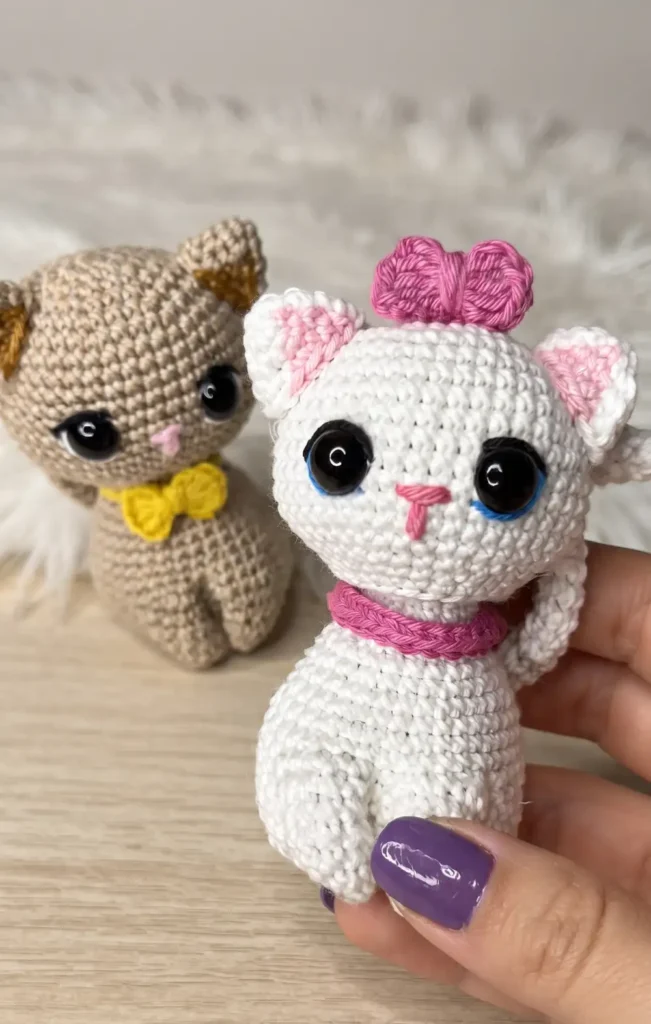
To begin this project, you will need cotton thread in your chosen colors and a 2 mm crochet hook. Essential materials include 10 mm safety eyes, stuffing, a wool needle, silicone glue, a small piece of cardboard for stability, and a 14 cm wire for the tail.
Step 1: Crafting the Head and Face
The process starts with a magic ring containing eight single crochets. You will increase the stitches across several rounds until you reach a total of 40. After completing rounds 6 to 9 with 40 stitches, you will add increases in round 10 to shape the cheeks.
Between rounds 11 and 12, place the safety eyes approximately seven stitches apart. Continue decreasing the stitch count and fill the head with stuffing before closing the final round. Once closed, carefully push the bottom part of the fabric inward to create the finished head shape. Finally, use black, white, and pink thread to embroider the eye details and the nose.
Step 2: Making Ears and Legs
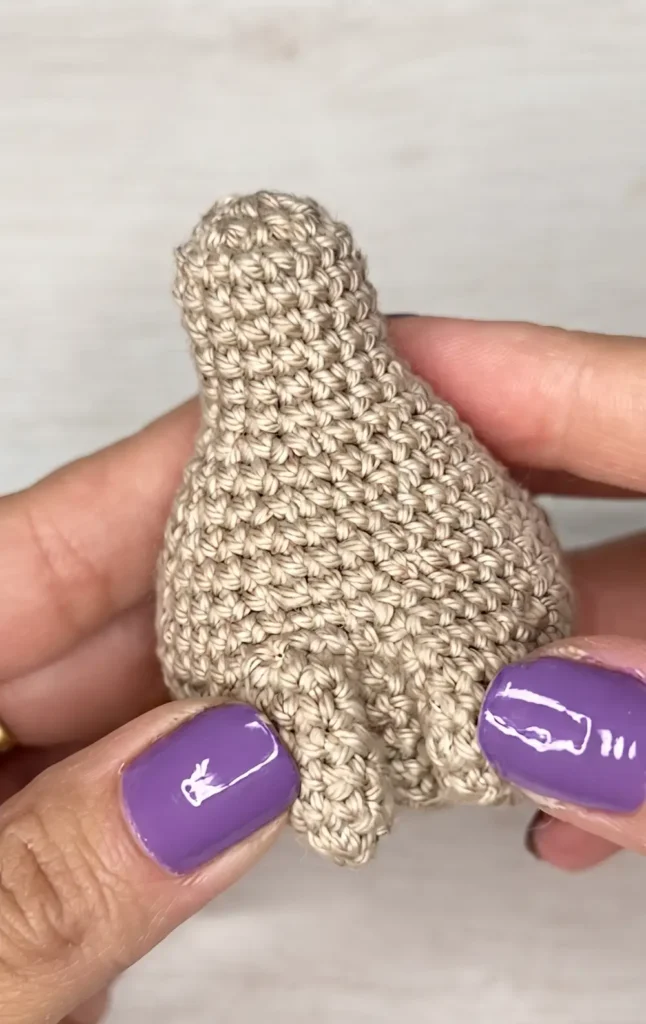
For the ears, start with a magic ring of six single crochets and incorporate a color change to create a patterned look. You will increase the ear to 13 stitches before cutting a long tail for sewing. Make two identical ears and position them between rounds four and ten on the head. To make the legs, start with a magic ring of seven single crochets. Work through six rounds, increasing until you have ten stitches, and then finish the edges so they can be joined to the body later.
Step 3: Building the Body and Joining Pieces
The body begins with an eight-stitch magic ring that increases to 40 stitches by round five. To ensure the kitten stands upright, glue a circular piece of cardboard to the base using a generous amount of silicone. In round 10, you will join the two legs to the body by crocheting through both pieces for five stitches each.
Continue working the body rounds, decreasing the stitch count according to the pattern, and stuffing the piece firmly as you go. Once the body is closed, you can choose to glue or sew the legs further for better positioning.
Step 4: Adding the Tail and Accessories
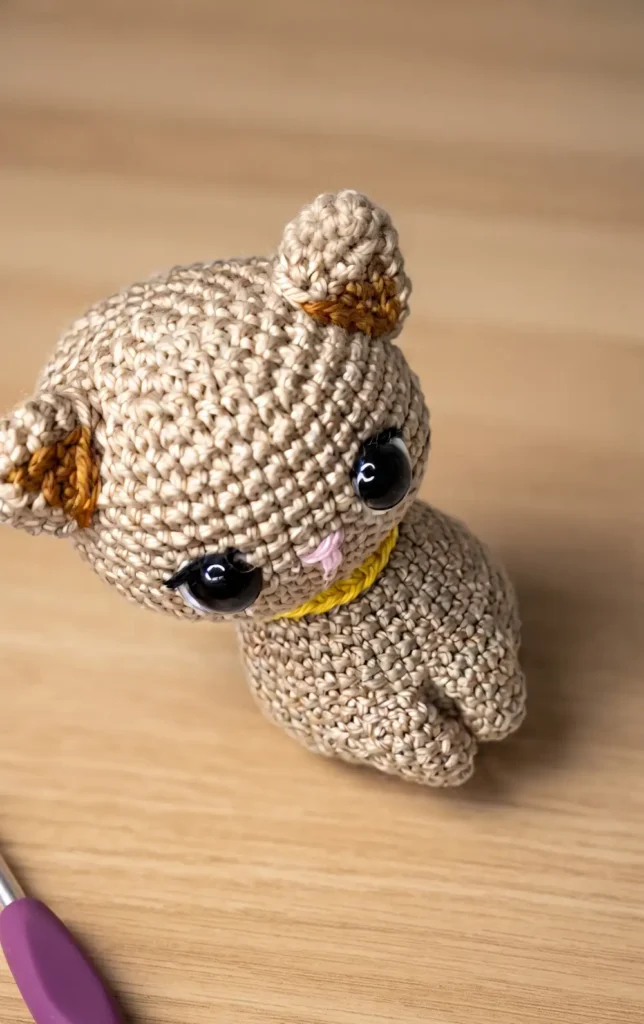
To create the tail, crochet 20 rounds of six single crochets. Insert a 14 cm wire with taped ends into the tail to make it poseable, then sew it between rounds seven and eight of the body. For the collar, crochet a chain of 25 and work single crochets into the back loops to create a textured look.
Create a small bow by working double crochets into a magic ring and wrapping thread around the center. Complete your kitten by joining the head to the collar and body, then glue the bow to the head or the collar as a final decorative touch.
Video Credits: Mundo Crochet
4. Crochet Chubby Cat Amigurumi Pattern
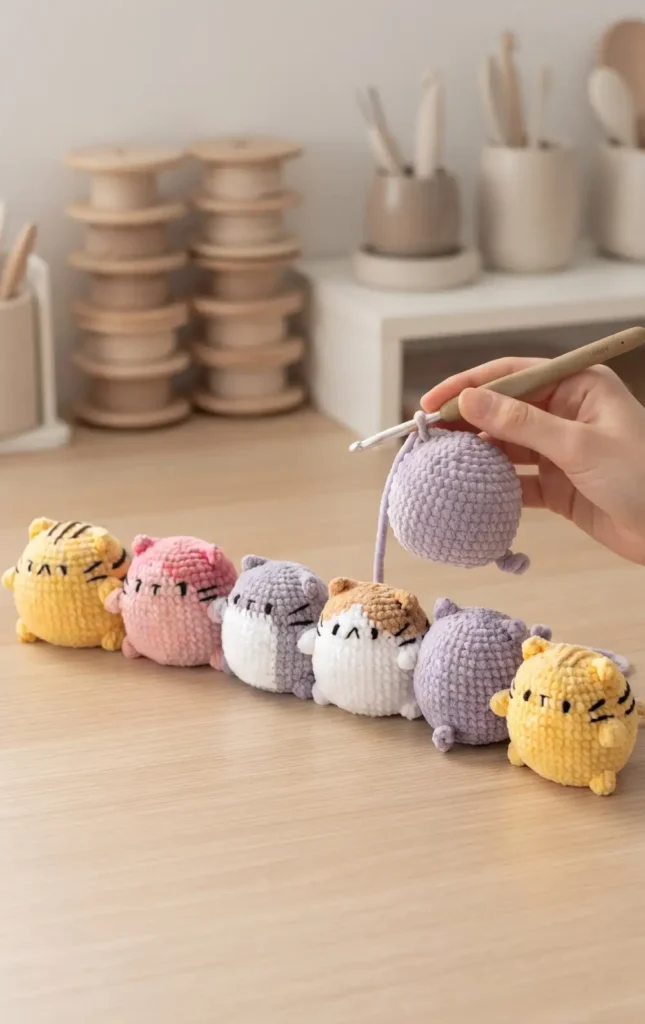
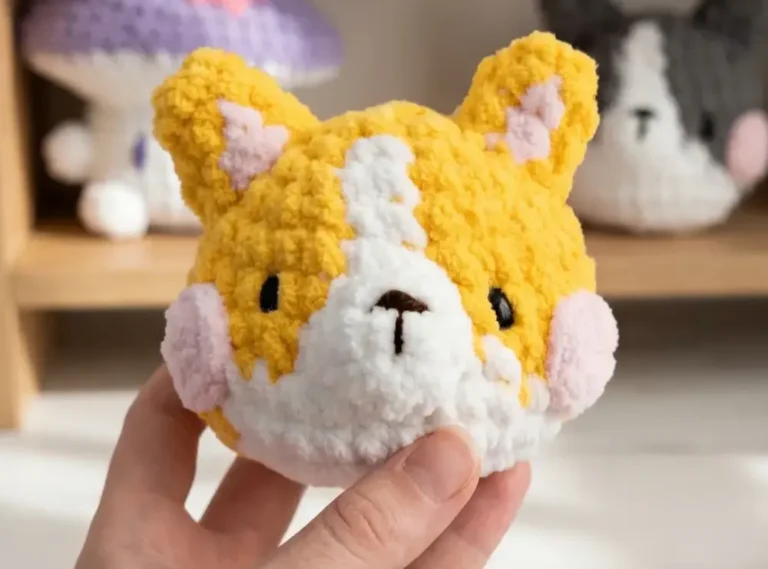
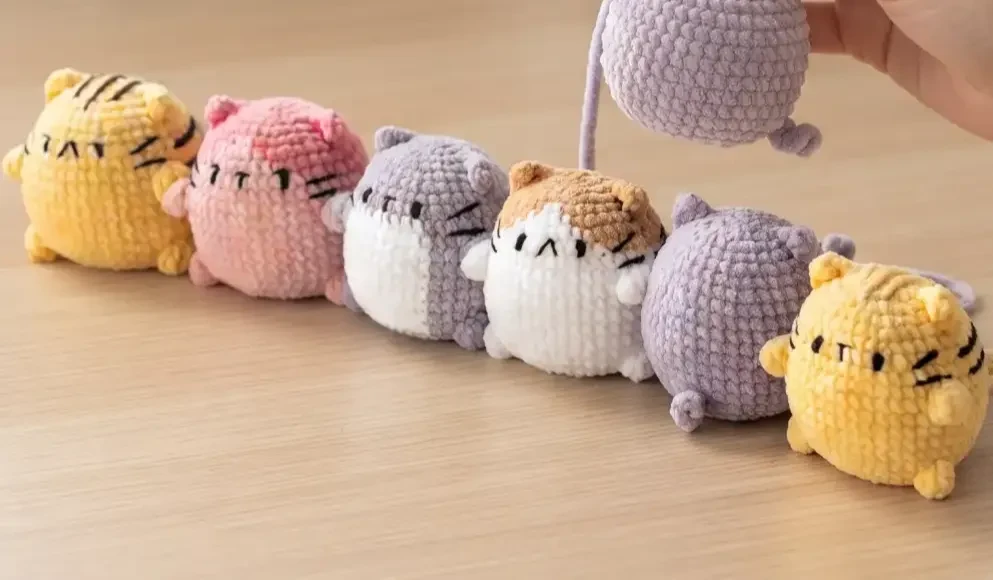
Creating these squishy, no-sew cats is a quick project that results in a very soft and tactile toy. To begin, you will need chenille yarn, a 2.5 mm crochet hook, a stitch marker, fiberfill stuffing, and a needle for embroidery. While the basic shape remains the same for all styles, you can choose between a patchy brown and white version, a purple cat with a white belly, or a striped yellow cat.
Step 1: Foundations and Initial Increases
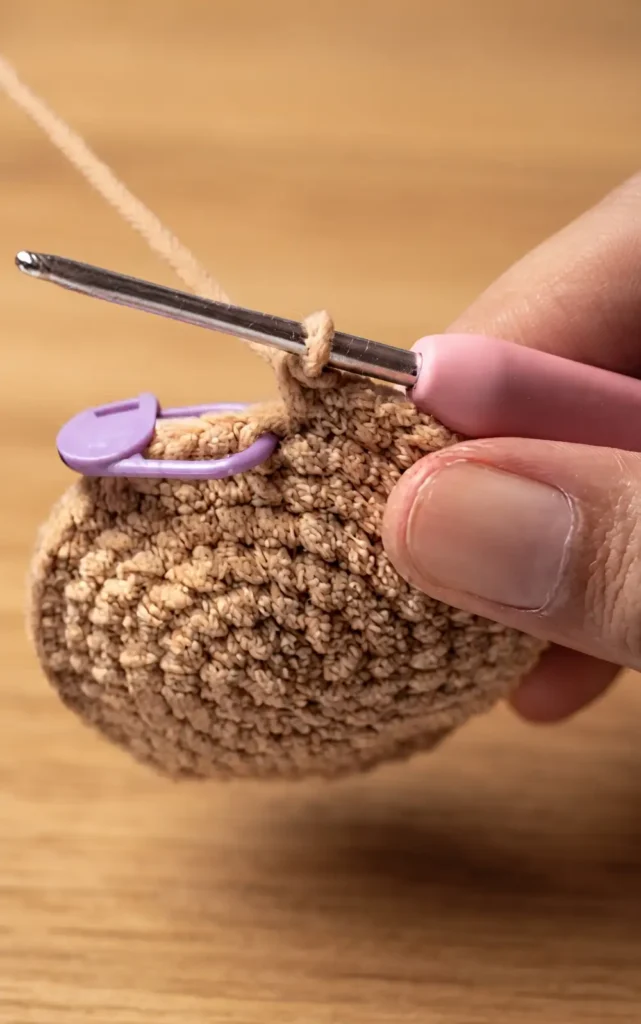
The project begins with a magic ring containing eight single crochet stitches. To expand the head of the cat, round two consists of eight increases, resulting in 16 stitches. In round three, you will work a pattern of one single crochet followed by an increase for a total of 24 stitches.
Round four follows a similar pattern of two single crochets and one increase, bringing the total stitch count to 32. These first four rounds are identical for all three cat styles.
Step 2: Body Pattern and Colour Variations
From round five to round ten, the stitch counts continue to increase to 48, but this is where the colour patterns diverge.
- The Brown Cat: Introduces white patches on the face and body by switching between brown and white yarn at specific stitch intervals.
- The Purple Cat: Maintains a solid purple colour until round nine, where a white section is introduced in the middle of the round to create a tummy patch.
- The Yellow Cat: Remains solid yellow through these rounds, as its stripes are added later via embroidery.
Step 3: Integrating No-Sew Limbs and Stuffing
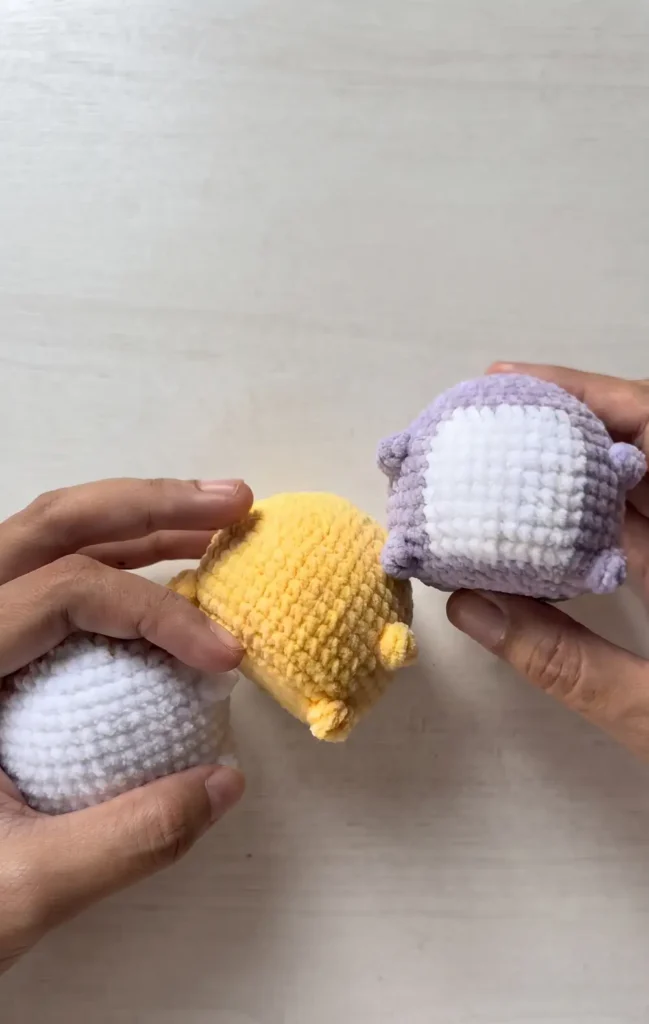
The most unique feature of this pattern is the four triple crochet cluster, which creates the legs directly onto the body without needing to sew them on later. These clusters are worked at round 11 for the front legs and round 17 for the back legs.
Between these rounds, you will work simple single crochet rounds to add height to the body. After round 17, the pattern uses invisible decreases to narrow the base. Once the opening is small enough, you must firmly stuff the cat with fiberfill before finishing the final decreases and using a needle to close the bottom hole.
Step 4: Facial Details and Finishing Touches
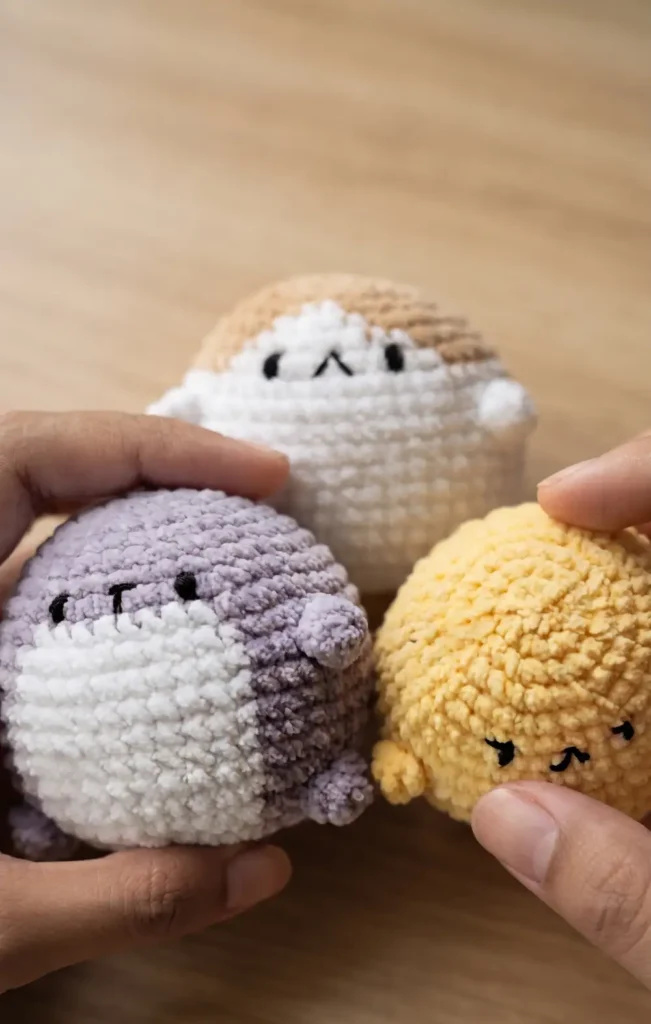
The final step involves adding character to your chubby cat through embroidery and surface crochet:
- Face: Use black yarn to embroider the eyes and nose at round eight. Whiskers are added at round nine, approximately three stitches away from the eyes.
- Ears: The ears are crocheted directly onto the head between rounds two and seven. Each ear is formed by making four chains and then working a single crochet, a half double crochet, and a double crochet back down the chain.
- Tail: Attach the yarn at the back of round 17, make seven chains, and work six single crochets back towards the body.
- Stripes: For the yellow cat, use a darker yarn to embroider stripes on the head and sides for a classic tabby look.
Video Credits: Chubby Cheeks
5. Crochet Realistic Sitting Cat Pattern
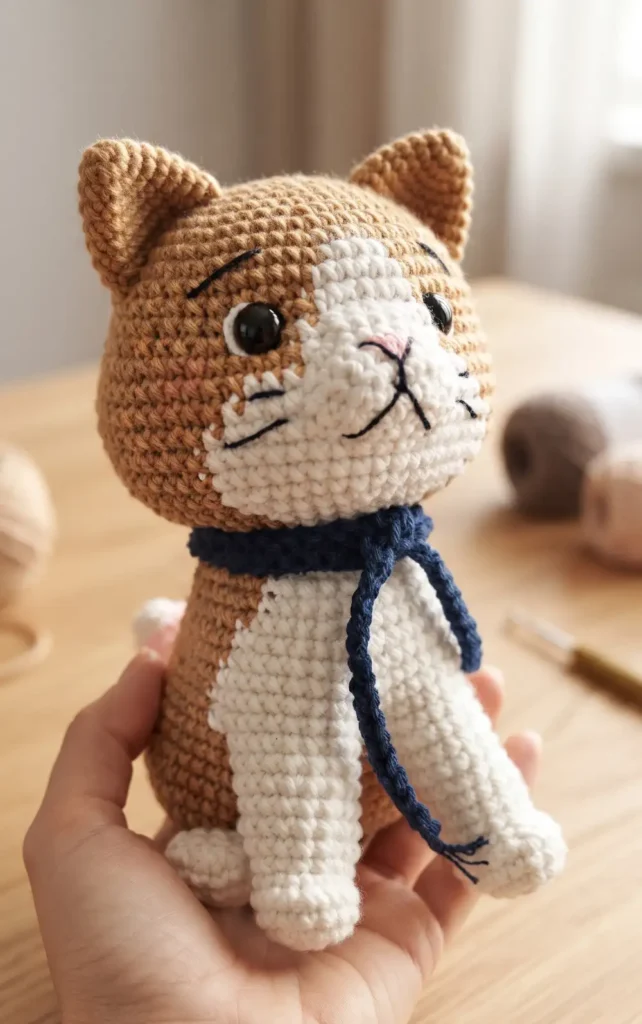
This section outlines the specific steps needed to crochet the body and color patterns for a realistic sitting cat, focusing on the intricate color transitions between brown and white yarn.
Materials Required
To complete this portion of the pattern, you will need the following materials identified in the tutorial:
- Brown Yarn: Used for the primary body color.
- White Yarn: Used for the accent patches on the cat’s body.
- Standard Amigurumi Tools: While not explicitly listed in this snippet of the transcript, standard projects typically require a crochet hook, fiberfill stuffing, and a yarn needle (please verify these requirements independently).
Step 1: Initiating the Calico Pattern
In Round 20, you begin the complex process of shaping the body while alternating colors to create a realistic look. Start with 21 single crochet (sc) stitches using brown yarn.
Switch to white yarn to perform a decrease, followed by 7sc and another decrease. Finally, switch back to brown yarn to complete a sequence of a decrease, 2sc, and one last decrease, bringing your total stitch count for this round to 34.
Step 2: Building Solid Color Blocks
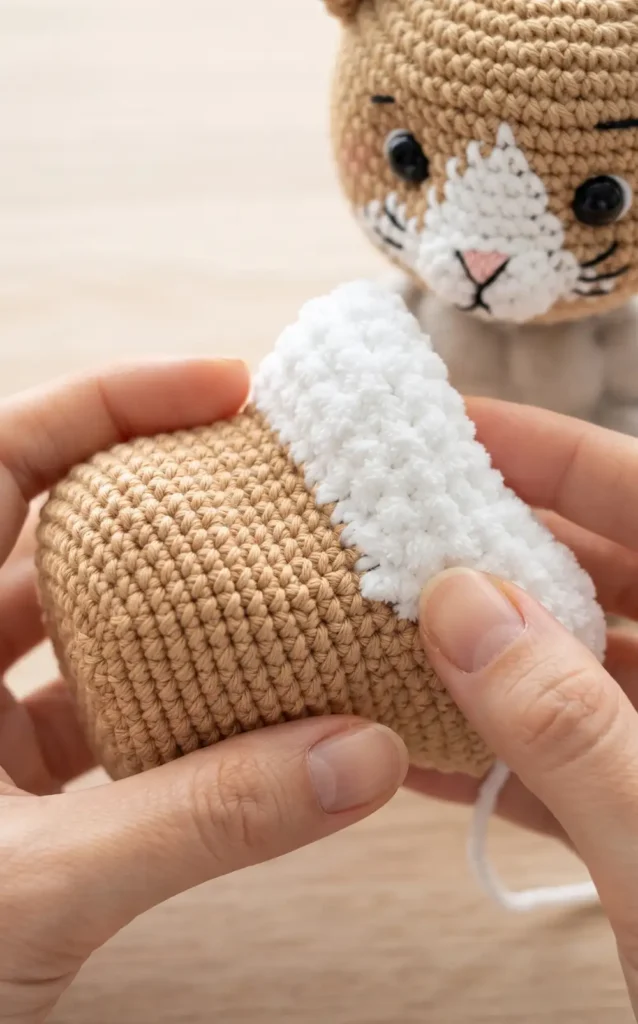
Round 21 focuses on maintaining the stitch count while solidifying the color patches. You will work 21sc using the brown yarn to continue the main body color. Then, transition to the white yarn for a stretch of 9sc. Finish the round by switching back to brown yarn for the final 4sc, maintaining a total of 34 stitches.
Step 3: Tapering the Body Shape
For Round 22, you will begin reducing the size of the piece to create a more realistic silhouette. Using brown yarn, repeat a sequence of 4sc and a decrease two times, then follow with 9sc. Switch to the white yarn for 9sc. Complete the round with 4sc in brown yarn, which reduces your total stitch count to 32.
Step 4: Maintaining the New Stitch Count
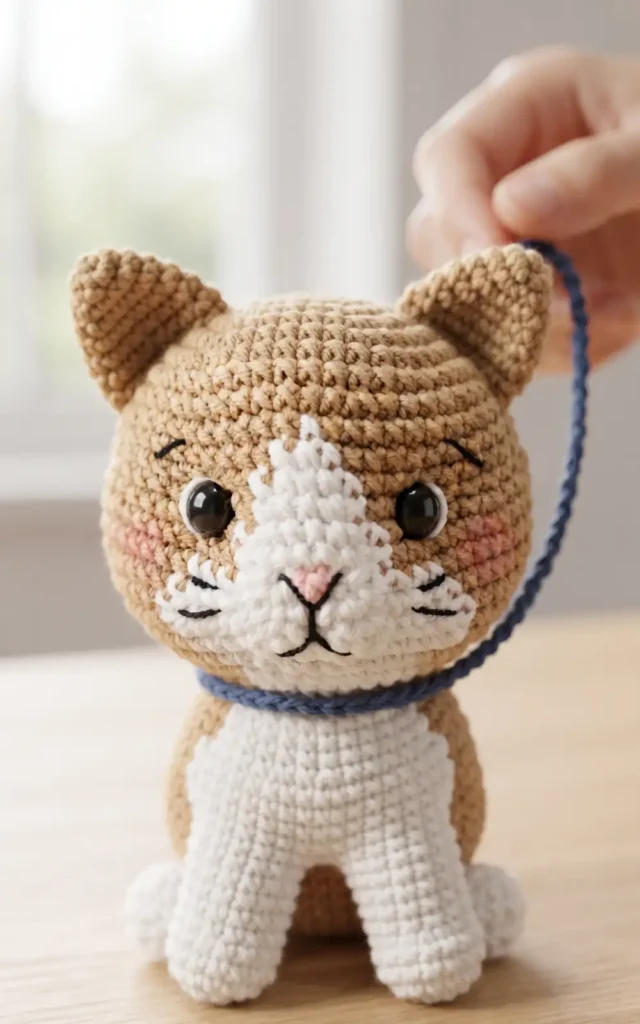
Round 23 stabilizes the shape established in the previous step. Work 19sc using the brown yarn. Switch to white yarn for the next 9sc. Finish the round with 4sc in brown yarn. This round ensures the color patches remain aligned while keeping the total stitch count at 32.
Pattern Credits: Crochet with Aybi
Ready For Your Next Project?
These five patterns show just how much variety fits inside one simple word: cat. Whether you want a quick chenille cuddle buddy or a detailed calico sitting cat, each project builds real amigurumi skills you’ll use again and again.
Pick the one that matches your mood, grab your yarn, and start stitching. Once you finish your first cat, you’ll be hooked. Literally.