How to Crochet a Cat Amigurumi with a Free Beginner Pattern
Meet Cecil. This little amigurumi cat has stolen the hearts of beginner crocheters everywhere, and once you see him, you’ll understand why. He’s got that perfect sitting pose, curious button eyes, and a tail you can actually pose. Best of all, you can make him with basic stitches you already know.
I’ve made dozens of amigurumi animals over the years, and Cecil is one of my favorite patterns to teach with. He hits that sweet spot where every technique matters, from safety eye placement to invisible decreases, but nothing is too tricky for a first project. Grab your hook and yarn. By the end of this pattern, you’ll have a cat worth showing off.
How To Crochet An Amigurumi Cat
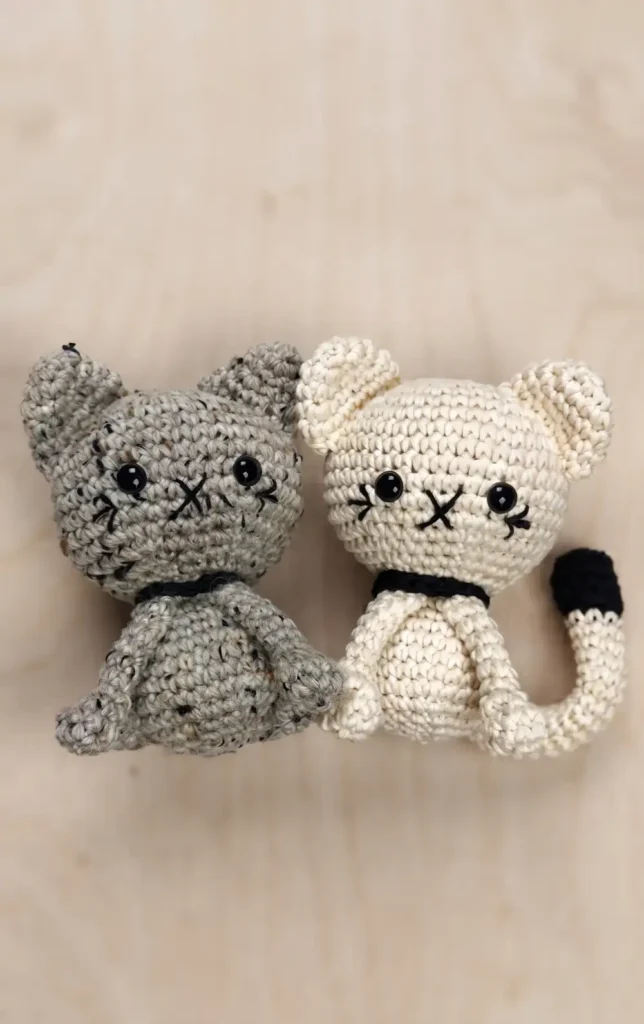
Creating Cecil the Cat is a rewarding project for beginners looking to dive into the world of amigurumi. This guide will walk you through the entire process, from gathering your supplies to final assembly.
Essential Materials
To get started, you will need the following items:
- Worsted weight yarn in your primary and contrasting colors.
- 3.5 mm crochet hook.
- Two 9 mm safety eyes.
- Fiberfill stuffing.
- Yarn needle and a pair of scissors.
- Stitch markers and pins for assembly.
- Embroidery needle and black thread for facial details.
Hey there! Some links on this page may be affiliate links which means that, if you choose to make a purchase, I may earn a small commission at no extra cost to you.
Step-by-Step Instructions
Follow these 17 steps to bring your little cat to life:
1. Prepare Your Foundation:
Start the head by creating a Slip Knot and chaining two, or use a Magic Circle if you prefer.
2. Begin Round One:
Crochet six single crochet (sc) stitches into the second chain from the hook or into your magic circle. Place a stitch marker in the last stitch to keep track of your rounds.
3. Increase the Head:
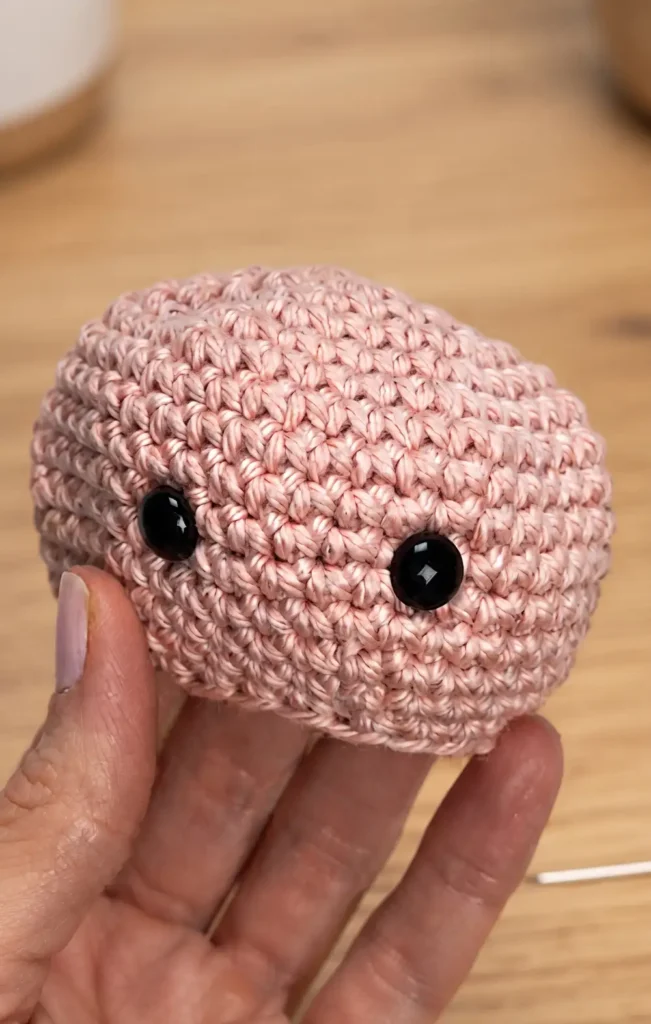
For Round 2, increase in every stitch to reach 12 stitches. Continue increasing in subsequent rounds until you reach 42 stitches by the end of Round 7.
4. Add Height to the Head:
Crochet one sc in each stitch around for Rounds 8 through 13. This creates the main shape of the face.
5. Start Decreasing:
In Round 14, begin using the invisible decrease technique. A common pattern for this stage is to decrease then sc in the next five stitches. Continue decreasing through Round 16.
6. Place the Safety Eyes:
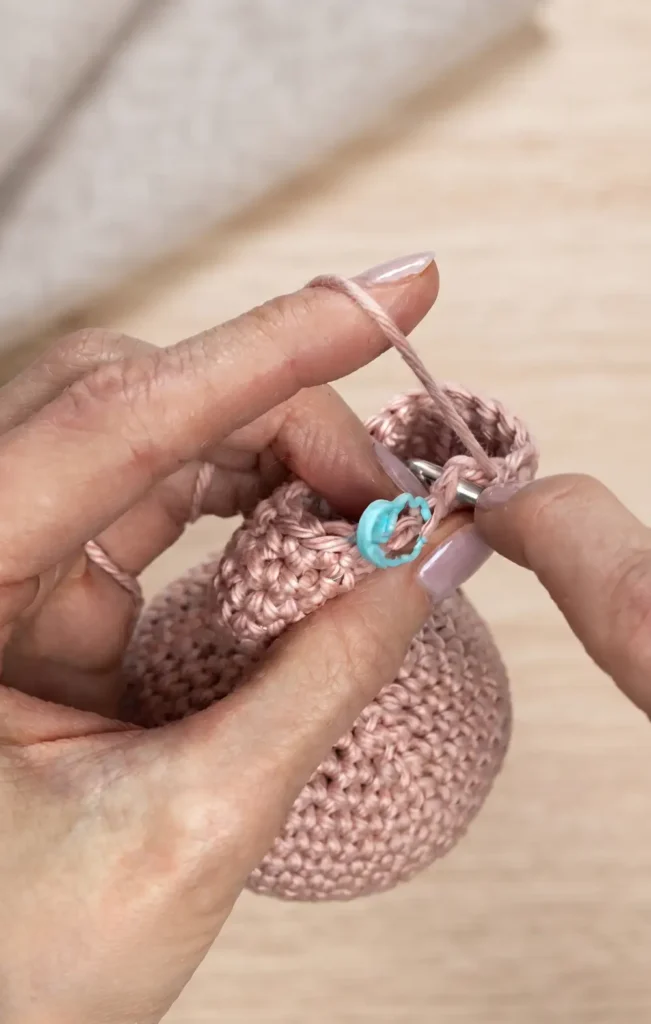
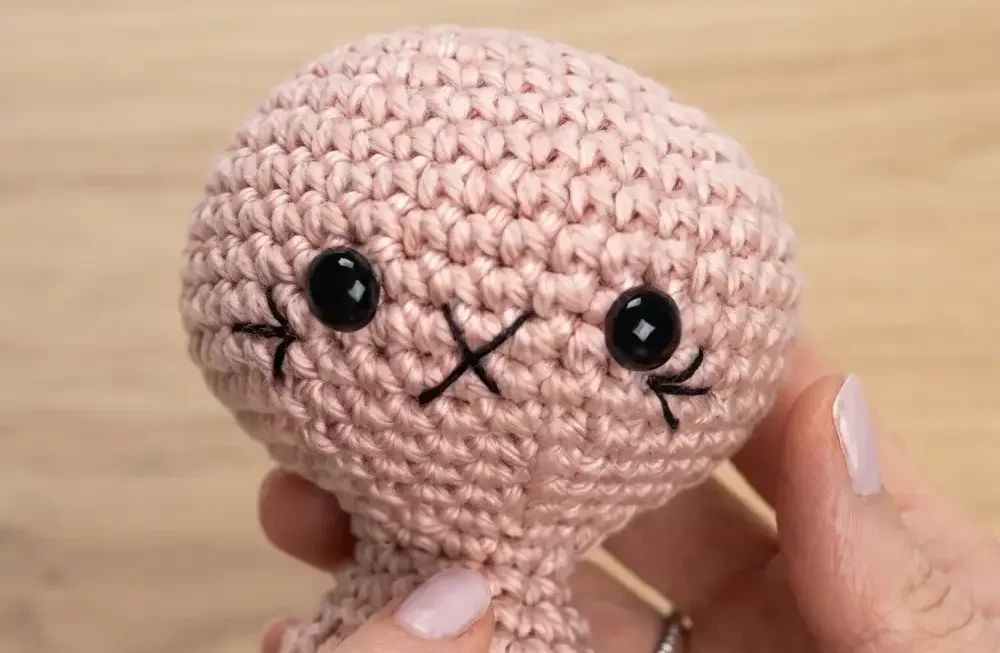
Pause your crochet work and insert the 9 mm safety eyes between Rounds 11 and 12, leaving five stitches open between them. Do not secure the backs yet.
7. Embroider Facial Details:
Using your embroidery needle and thread, sew a small nose and whiskers. The nose should sit between Rounds 11 and 14, while whiskers are placed near the corner of the eyes.
8. Secure and Stuff the Head:
Snap the backings onto your safety eyes. Fill the head with fiberfill stuffing, being careful not to overstuff, which can cause “holy” stitches.
9. Finish the Head and Start the Neck:
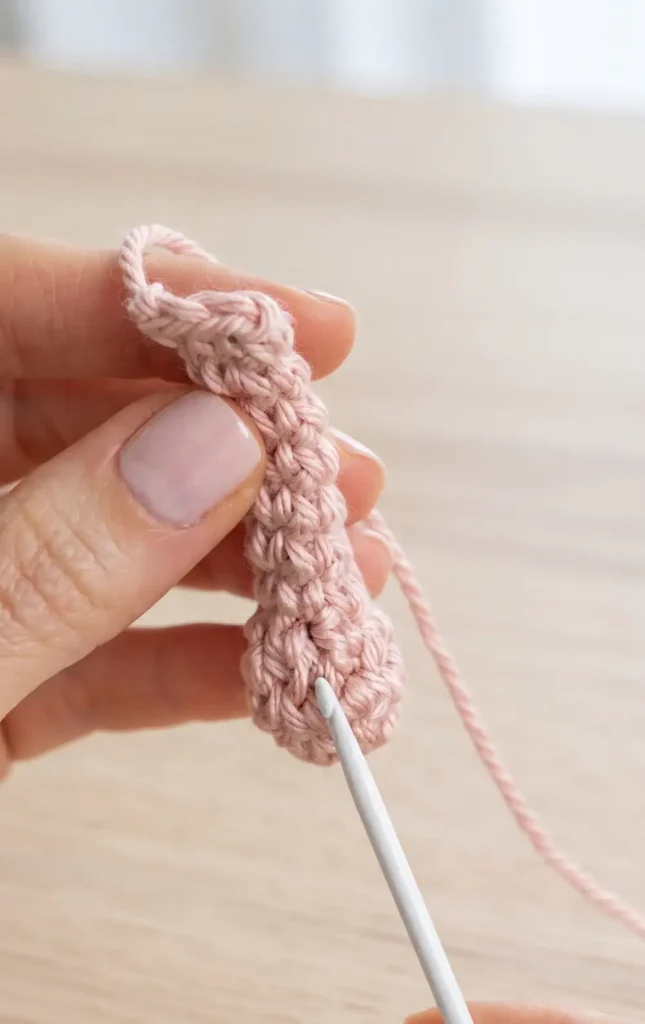
Complete Rounds 17 and 18 with further decreases to narrow the piece. Round 19 consists of 12 sc stitches, forming the neck.
10. Expand into the Body:
Begin increasing again in Round 20 to start the body. By Round 23, you should have 30 stitches.
11. Shape the Body:
Crochet Rounds 24 through 26 with one sc in each stitch. In Round 27, begin decreasing again to taper the bottom of the cat.
12. Close the Body:
Stuff the body as you go. Complete Round 31 by decreasing in every stitch until only five stitches remain. Fasten off, leaving a long tail to weave through the final loops and pull tight.
13. Crochet the Ears:
Make two ears starting with 4 sc in a magic circle. Increase to 15 stitches over six rounds. Whip stitch the bottom of the ears shut.
14. Create the Front Feet:
Crochet two front legs starting with 5 sc. These legs feature a slight curve created by specific decreases in Round 4. Crochet until Round 11 and fasten off.
15. Craft the Back Feet:
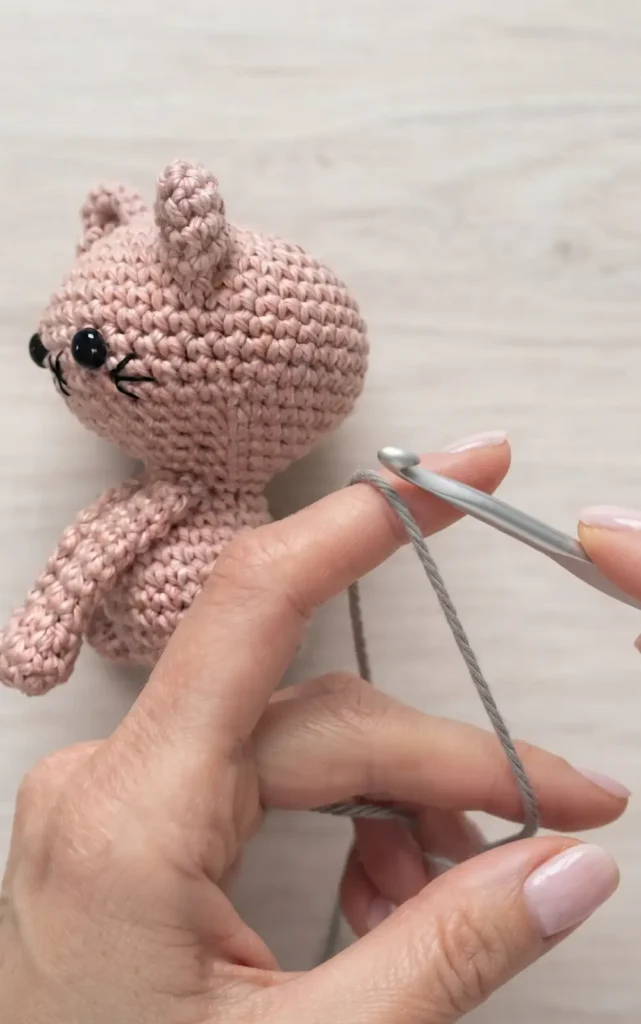
Make two back feet starting with 4 sc. These are worked into an awkward shape to mimic a sitting position. Whip stitch these vertically rather than horizontally.
16. Crochet the Tail:
Start with a contrasting color for the tip, then color change to your main yarn at Round 6. Continue until Round 29. You can optionally insert a pipe cleaner to make the tail poseable.
17. Final Assembly and Collar:
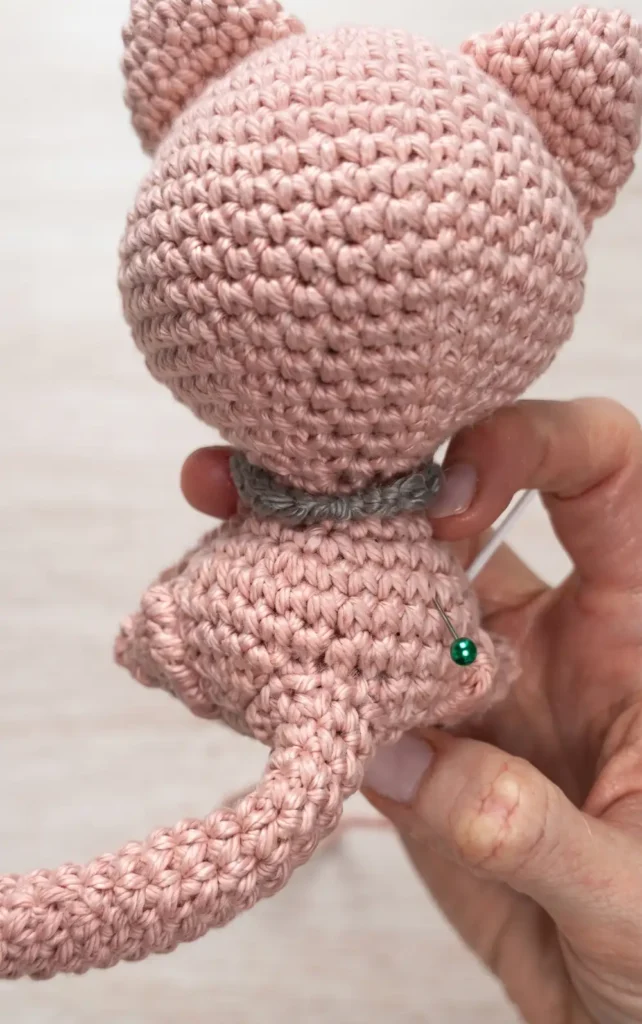
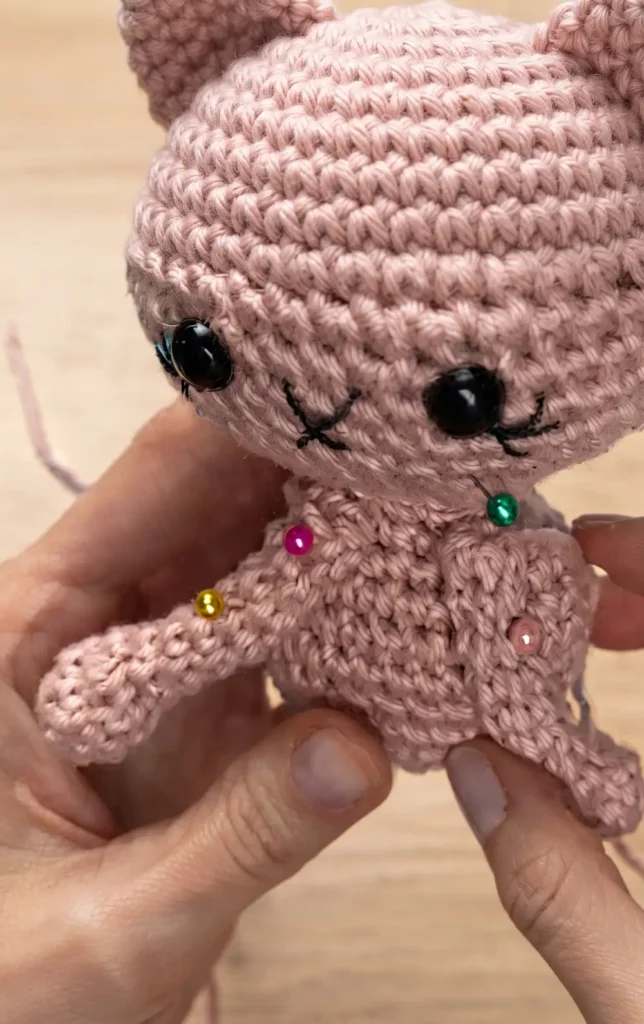
Use pins to position the ears (Rounds 3 to 10), legs (Rounds 19 to 20), and tail (Rounds 24 to 29). Sew them securely using a whip stitch. Finish by chaining a small contrasting collar to tie the look together.
Video Credits: Yarn Society
What’s Your Favorite Color?
Cecil is ready to find his spot on your shelf. You’ve worked through increases, decreases, safety eyes, and assembly, and that’s no small feat for a first amigurumi project. Give yourself credit for that.
Now for the fun part. What color will your Cecil be? A classic orange tabby, a sleek black cat, or something totally unexpected? Whatever you choose, I’d love to see him. Snap a photo and share your finished cat with me.