How to Crochet a Bat with an Easy Beginner Pattern
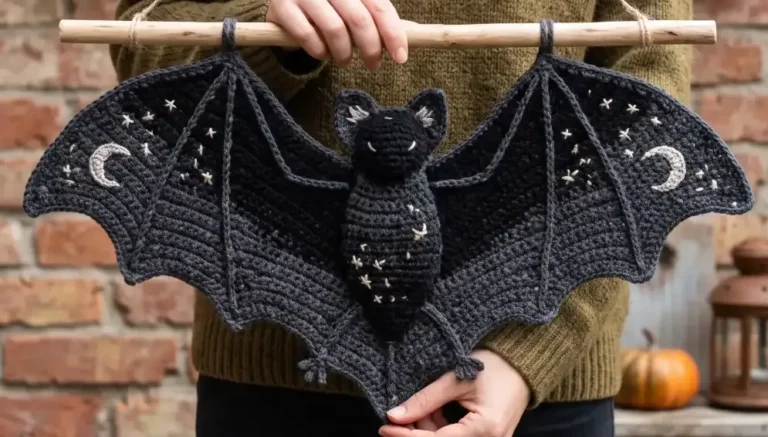
Halloween decor doesn’t have to mean another store bought skeleton. This bat ghost wind spinner brings a playful twist to the season, and you can make it with stitches you probably already know. It’s proof that beginner friendly crochet can still look genuinely impressive on your porch or in a window.
Don’t let the word “intermediate” scare you off. The stitches themselves are simple single crochets and increases. The only real challenge is the sewing at the end, and I’ll walk you through every step. Grab your hook and let’s bring this little ghost to life.
How to Crochet Bat Ghost Wind Spinner
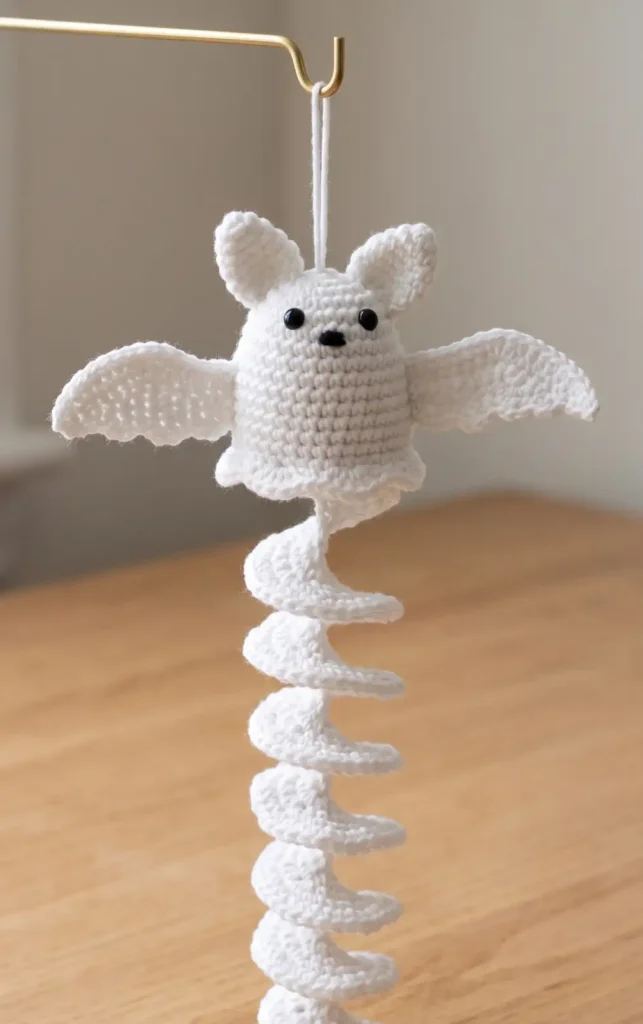
This beginner friendly tutorial guides you through creating a festive bat ghost wind spinner for your Halloween decor. While the crochet stitches are basic, the project is rated as intermediate due to the sewing required for assembly. Once completed, the wind spinner measures approximately 12 inches long.
Essential Materials and Tools
To begin this project, you will need the following items:
- White Yarn: Worsted weight 100% acrylic yarn.
- Black Yarn: A small amount for embroidering the mouth.
- Crochet Hook: 4.5 mm (or a hook one to two sizes smaller than recommended for your yarn).
- Safety Eyes: Two 8 mm eyes.
- Stuffing: Polyester fiber fill.
- Notions: Scissors, yarn needle, and stitch markers.
Step-by-Step Crochet Guide
1. Start the Main Body Create a magic circle and work 8 single crochet (sc) stitches into it. Pull the tail to close the ring tightly. For round two, work 2 sc into every stitch around to reach a total of 16 stitches.
2. Expand the Body In round three, follow a pattern of 2 sc in the first stitch and 1 sc in the next, repeating this until you have 24 stitches. Secure the magic circle tail on the inside with a knot and pull it through the top center to serve as a hanger later.
3. Shape the Ghost Head
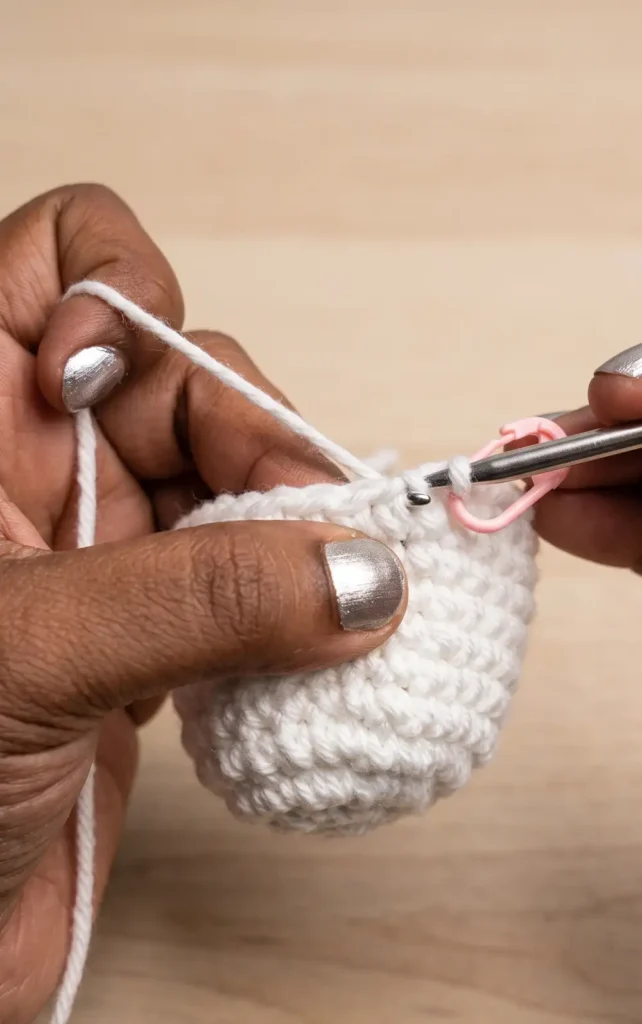
For round four, work a repeat pattern of 2 sc in the next stitch followed by 1 sc in the next 7 stitches (27 stitches total). From rounds five to ten, simply work 1 sc in every stitch around, maintaining the 27-stitch count for each round.
4. Form the Lower Body and Wavy Edge Continue expanding the body through rounds 11 to 14 by increasing your stitch count to 32. At the end of round 14, join with a slip stitch in the front loop only (FLO) of the next stitch. For round 15, work a wavy pattern in the FLO: (half double crochet, double crochet, half double crochet, slip stitch) repeated all the way around.
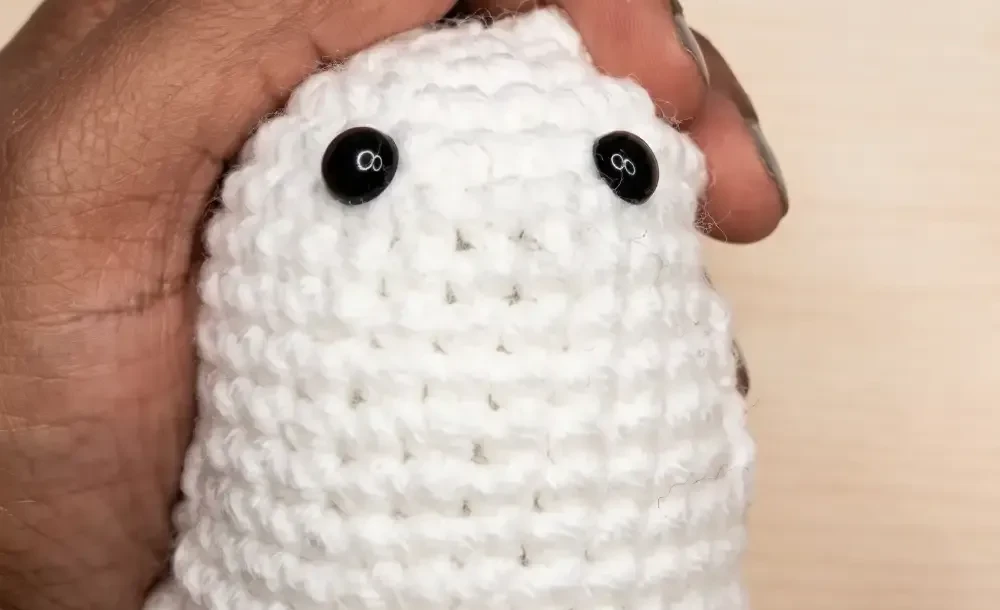
5. Add the Facial Features Insert the 8 mm safety eyes between rounds four and five, spacing them roughly four stitches apart. Secure them with washers on the inside. Use your black yarn and needle to embroider a mouth between rounds five and six.
6. Crochet the Base The base is a flat circle. Start with 8 sc in a magic circle. Increase in each round: round two (16 sc), round three (24 sc), and round four (32 sc). Finish with a slip stitch and leave a long tail for sewing.
7. Create the Bat Ears
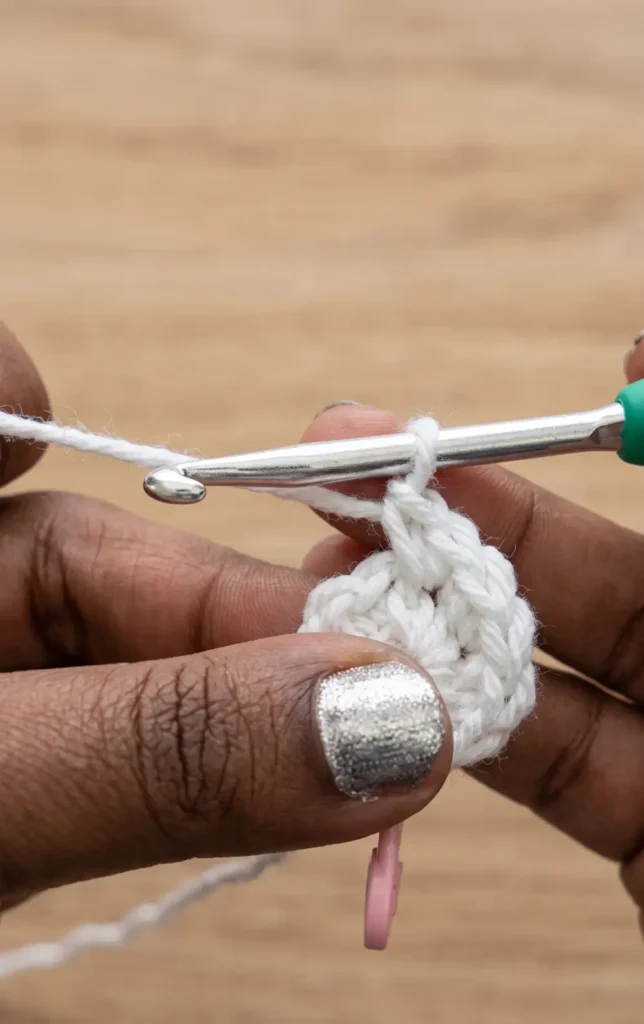
Make two ears starting with 4 sc in a magic circle. Round two: (2 sc in next, 1 sc in next) for 6 stitches. Round three: (2 sc in next, 1 sc in next 2) for 8 stitches. Round four: (2 sc in next, 1 sc in next 3) for 10 stitches. Round five: 1 sc in every stitch. Fasten off with a long tail.
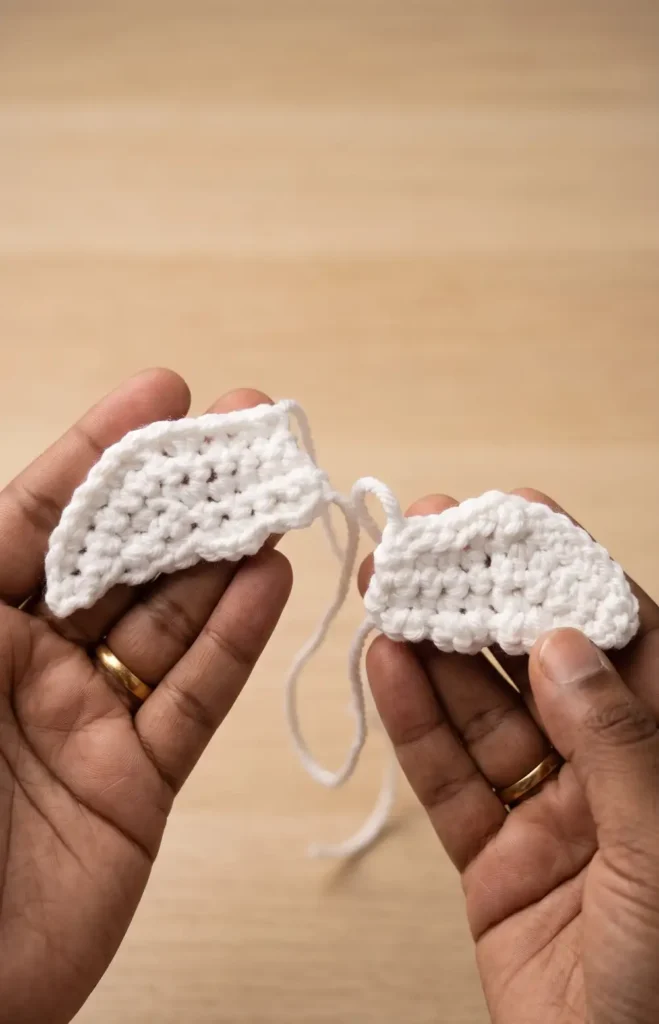
8. Begin the Wings Start with 15 chains. For row one, slip stitch in the second chain from the hook, sc in the next 5 chains, work two single crochet decreases (sc2tog), and finish with 4 slip stitches.
9. Finish Wing Shaping Rows two through five involve turning the work and using a combination of sc, sc2tog, and slip stitches to create a pointed bat wing shape. Repeat this process to create a second wing, leaving long tails for attachment.
10. Crochet the Wind Spinner Foundation Create a slip knot and work 41 chains. For row one, work 1 sc in the second chain from the hook and in each remaining chain across for a total of 40 sc stitches.
11. Add Volume to the Spinner Chain three (this counts as your first double crochet) and turn. Work another double crochet in the same stitch, then work 2 double crochets in every remaining stitch across. This round will have 80 double crochet stitches and will begin to curl.
12. Create the Wavy Spinner Edge
For the final row, work three stitches into every stitch across to create a very wavy edge. The pattern alternates between (sc, hdc, sc) and (hdc, dc, hdc) in each stitch. Fasten off, leaving a long tail.
13. Assemble the Ghost Body Stuff the body with polyester fiber fill. Position the base at the bottom of the ghost, aligning it with the back loops left behind from round 14. Sew the base to these back loops using your yarn needle.
14. Final Assembly and Attachment
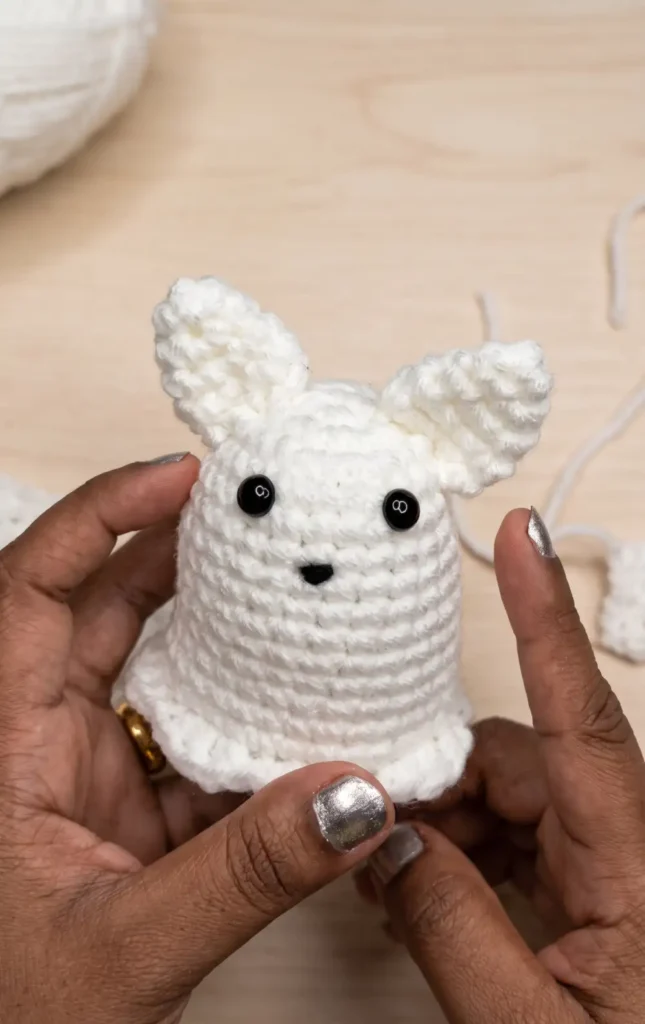
Flatten the ears and sew them to rounds 2 through 4. Attach the wings to the sides of the body between rounds 8 and 12. Finally, sew the top of the wind spinner to the center of the base at the bottom of the ghost.
Pattern Credits: Crafty Crochet Castle
Which Design Comes Next?
And there you have it, your very own bat ghost wind spinner ready to greet trick or treaters. This little guy proves that a few basic stitches can turn into something truly charming with the right shape and a bit of sewing. Hang it by your door and watch it spin all season long.