5 Crochet Fall Amigurumi Free Patterns You’ll Want to Make
Fall and crochet go together like pumpkins and porches. There is no better way to welcome the season than by stitching up a few cozy little amigurumi using yarn scraps you already have on hand.
This roundup covers five free fall patterns for every skill level, from a quick no-sew ghost to a detailed fox amigurumi. Grab your hook and let’s get started.
1. Crochet No-Sew Ghost Pattern
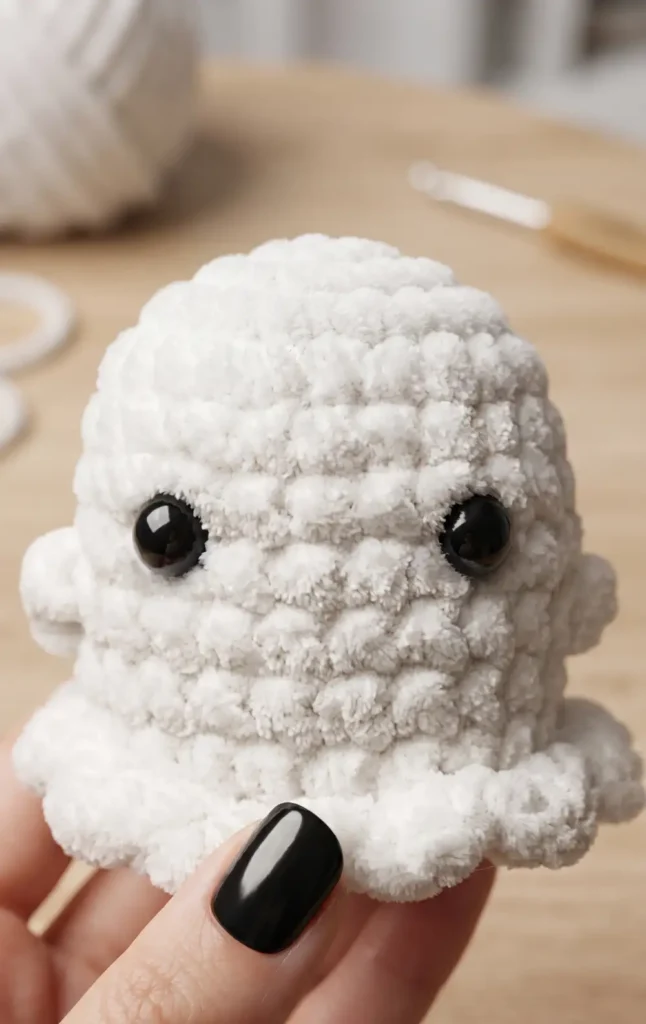
This beginner friendly pattern creates a charming plush ghost without the need for sewing separate pieces together. It is designed to work up quickly using bulky yarn, making it perfect for last minute Halloween decorating.
Materials You Will Need
Before starting, gather white chunky or super chunky plush yarn and a US G crochet hook that matches your yarn weight. You will also need polyfill stuffing, safety eyes, scissors, a yarn needle, and stitch markers to keep track of your rounds. The pattern utilizes basic stitches such as the magic ring, single crochet, half double crochet, increases, and decreases. You will also work in the front loops and back loops specifically to create the ghost’s signature ruffle.
Step 1: Form the Head and Body
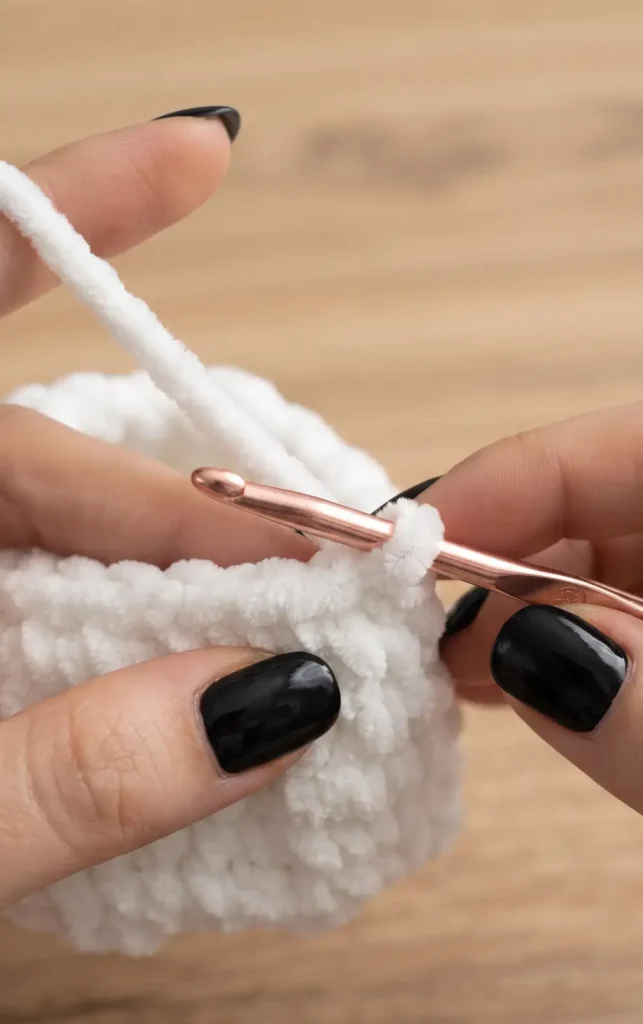
Begin by making a magic ring and placing six single crochet stitches inside for round one. For round two, perform an increase in every stitch to reach a total of twelve. Continue expanding the head in round three by alternating one single crochet and one increase, and in round four by alternating two single crochets and one increase to reach twenty four stitches.
Once the increases are finished, work four rounds of twenty four single crochet stitches without any further increases to build the height of the ghost’s body.
Step 2: Add Arms and Facial Features
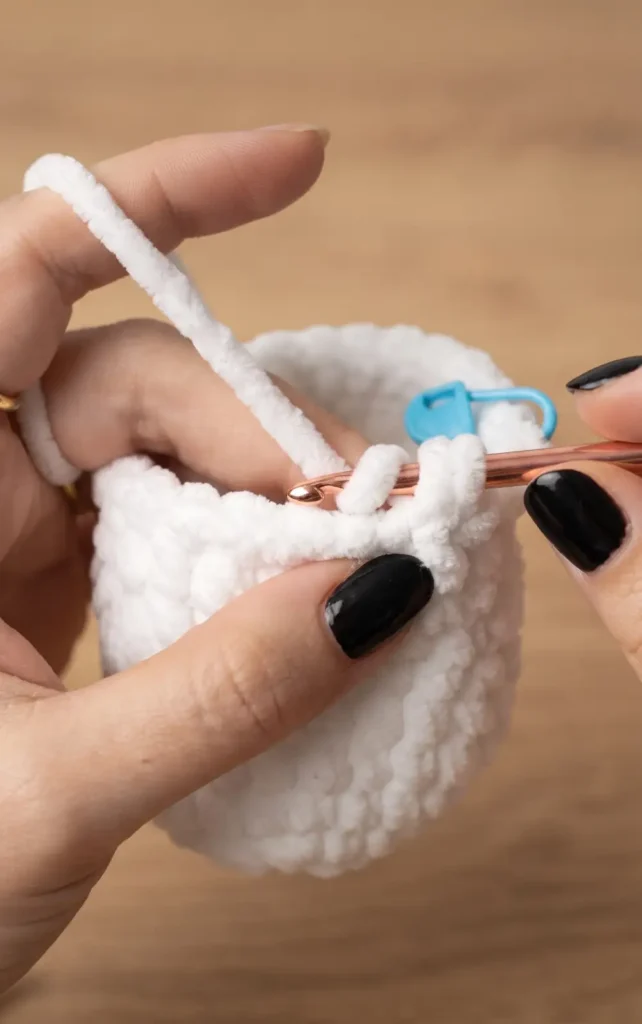
In round nine, you will create the ghost’s arms using bobble stitches. Crochet six single crochet stitches, then work a bobble stitch into the next stitch by yarning over and pulling through five times into the same loop. After the first arm, crochet ten single crochet stitches across the body, create a second bobble stitch for the other arm, and finish the round with six single crochets.
At this point, insert the safety eyes between rounds seven and eight, roughly five stitches apart and centered between the arms. Follow this by crocheting two rounds of twenty four single crochet stitches, being careful when working into the tops of the bobble stitches.
Step 3: Crochet the Decorative Ruffle
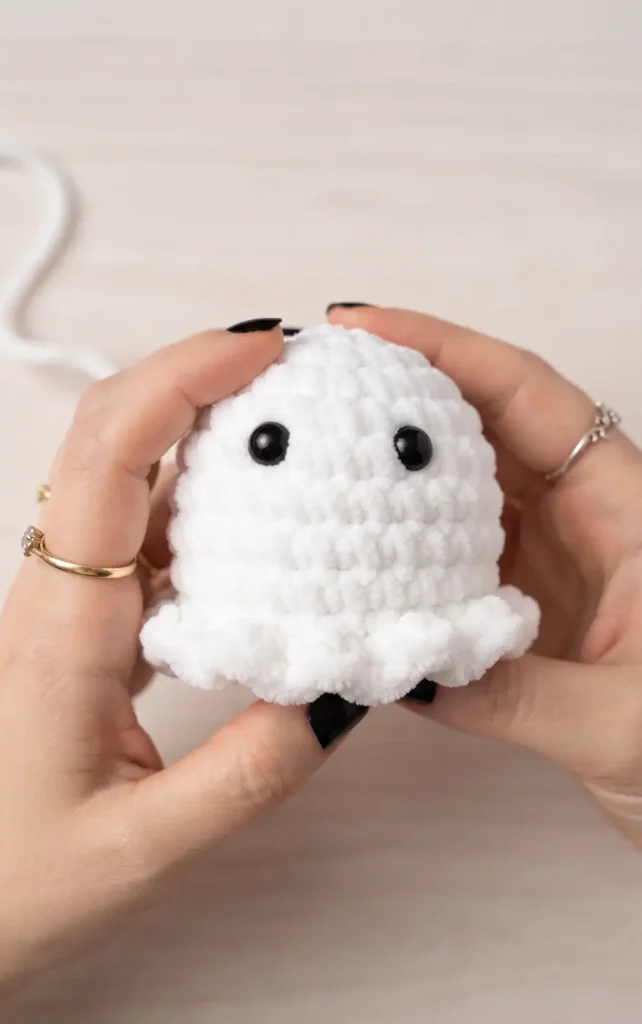
To create the wavy bottom edge, work round twelve in the front loops only. In each front loop, you will alternate a pattern of one single crochet, one half double crochet, and one single crochet all in the same stitch, followed by a slip stitch in the next loop.
This sequence repeats twelve times around the base to create the frills. Once the ruffle is complete, work round thirteen by placing single crochet stitches into the back loops that were left unworked from the previous section. Marking the first and last back loops of round eleven earlier can help you find these stitches more easily.
Step 4: Stuff and Close the Ghost
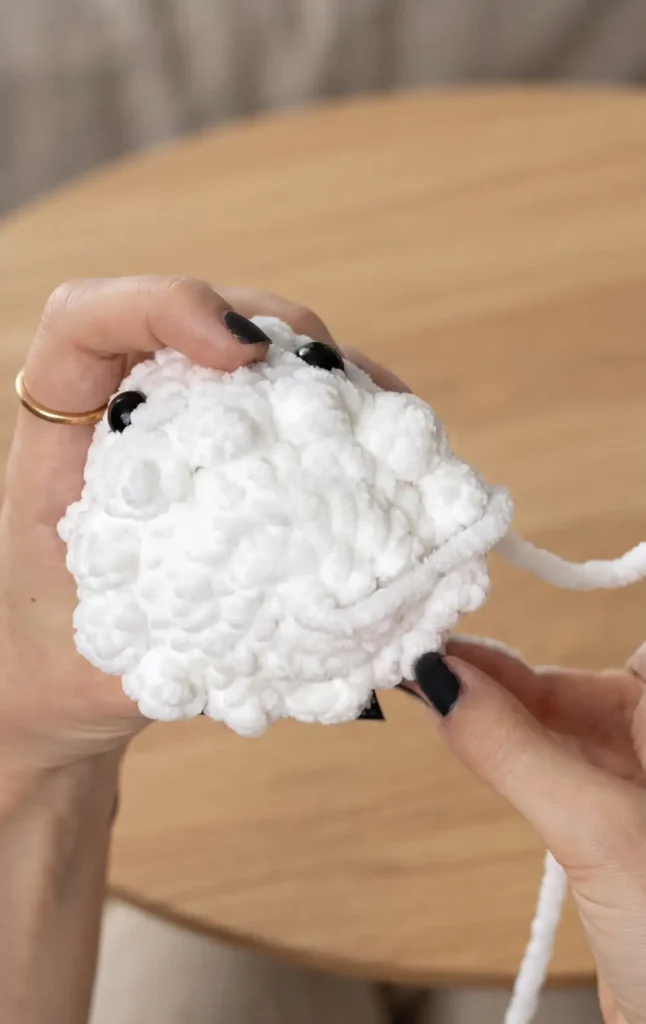
In round fourteen, work through both loops again to perform a sequence of one single crochet and one decrease eight times. Before the opening becomes too small, firmly stuff the ghost with polyfill and remember to push out the bobble stitches so the arms are visible.
Complete the final round by performing eight decreases, then cut your yarn and leave a tail. Use your yarn needle to weave the tail through the front loops of the remaining eight stitches, pull tight to close the hole, and secure the end inside the body.
Hey there! Some links on this page may be affiliate links which means that, if you choose to make a purchase, I may earn a small commission at no extra cost to you.
Video Credits: Rose and Lily Crochet
2. Crochet Mini Pumpkin Pattern
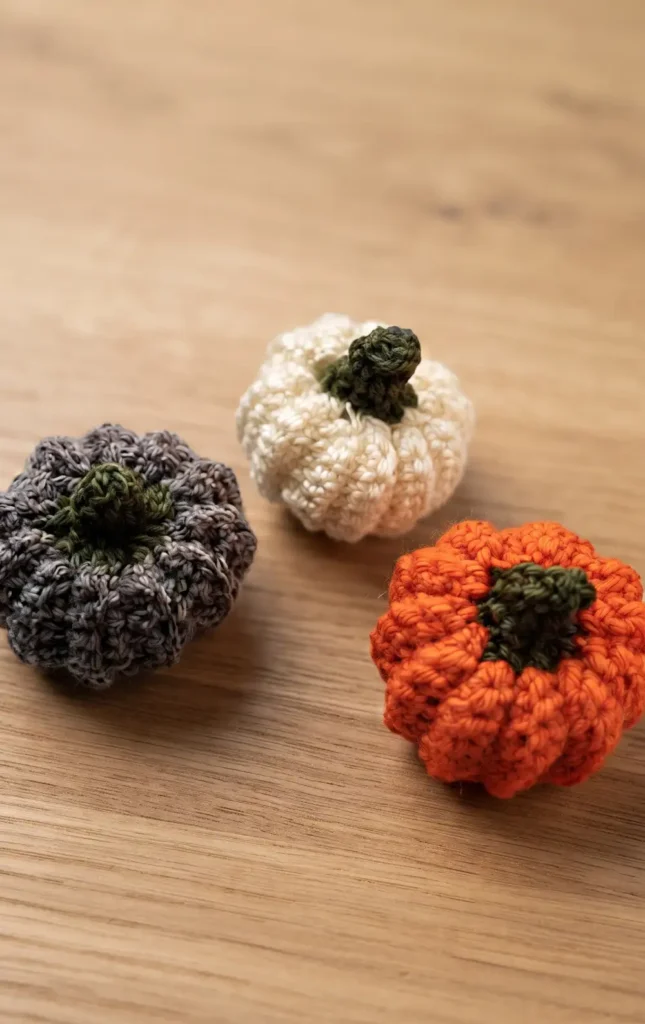
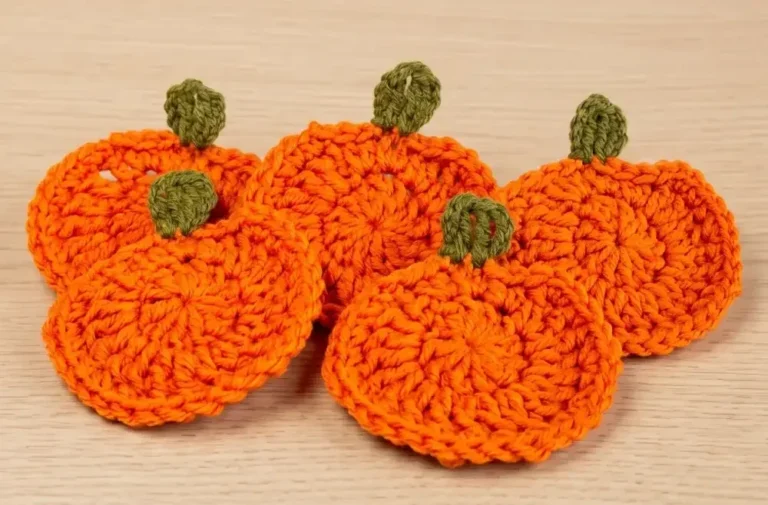
This quick crochet project is perfect for using up scrap yarn and creating festive decorations. Following this simple four step process, you can create a textured, stuffed pumpkin in no time.
Required Materials
Before starting, gather the following supplies:
- Yarn: Approximately 40 yards (15 grams) of size 4 medium acrylic yarn in a pumpkin color and a small amount of green or brown for the stem.
- Crochet Hook: A 4.5 mm hook (also known as a US 7 or UK 7).
- Stuffing: You can use polyester fiberfill, cotton balls, or even chopped up leftover yarn ends.
- Tools: A pair of scissors and a yarn needle for seaming and finishing.
Step 1: Crochet the Ribbed Body
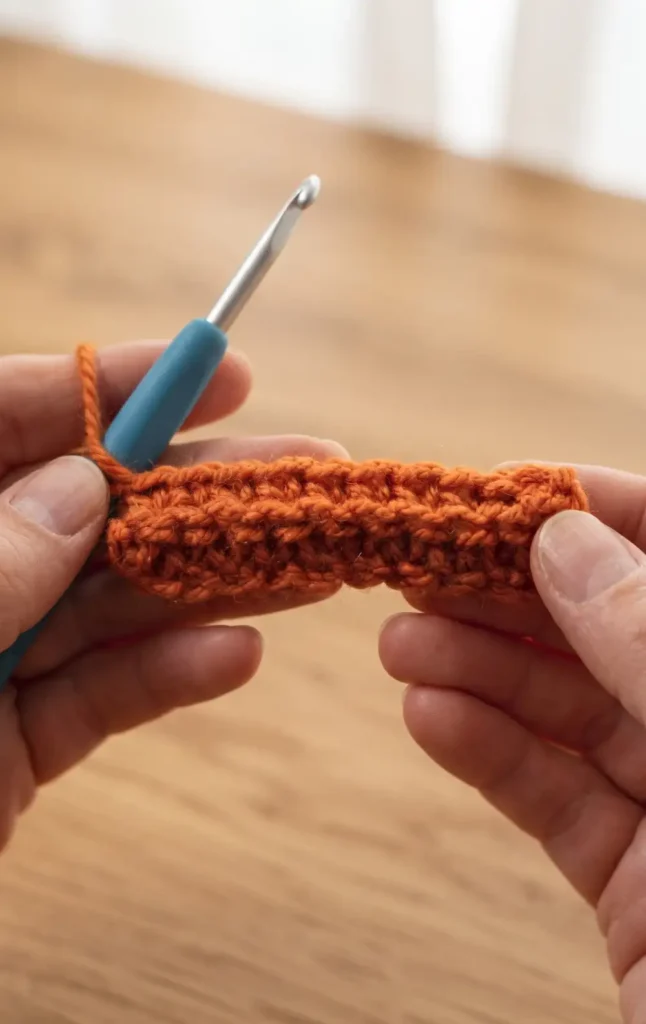
To begin the pumpkin body, use your main color to create a slip knot and chain 11. Skip the first chain from the hook and single crochet into the second chain and every chain across for a total of 10 stitches. At the end of every row, chain 1 and turn.
For the remainder of the body, work single crochet stitches into the back loops only. The back loop is the one farthest away from you. Continue this pattern until you have completed 22 rows in total, which creates a ribbed fabric that provides the pumpkin’s signature texture.
Step 2: Seam and Cinch the Bottom
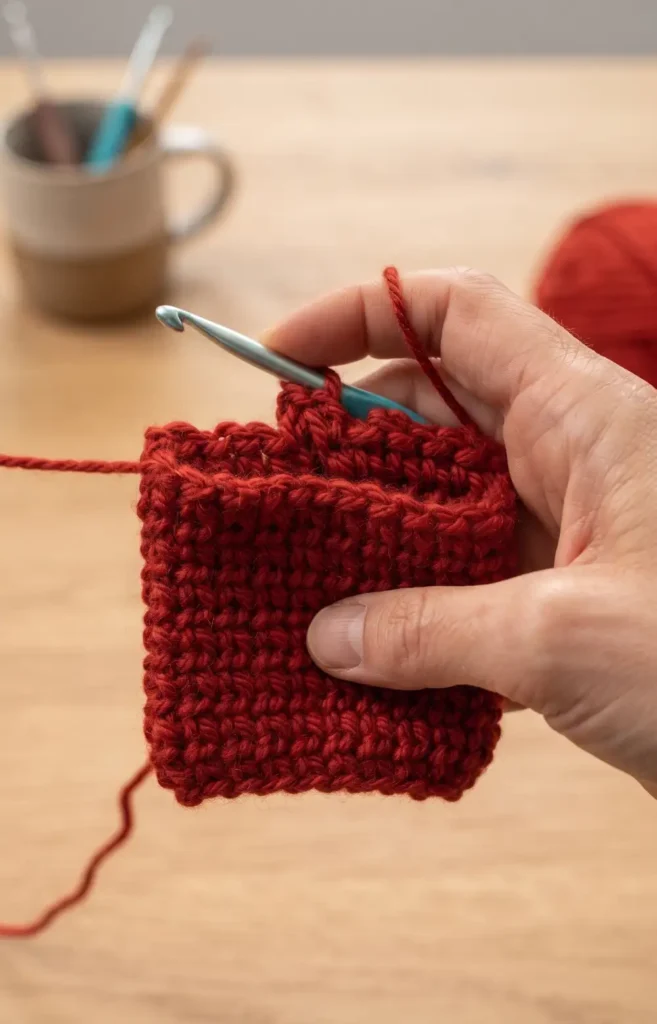
Once you have 22 rows, do not turn after your final chain 1. Instead, bring the two short ends of your fabric together. Work 10 slip stitches through the back loops of the last row and the corresponding loops of the foundation chain to seam the pumpkin into a tube.
Cut your yarn, leaving a tail of about 30 centimeters (12 inches), and fasten off. Thread this tail onto your yarn needle and weave it in and out of the loops along one open edge of the tube. Gently pull the yarn to cinch the bottom shut. Secure it by running the needle through the edge loops again, then tie a knot on the inside to keep it tight.
Step 3: Attach the Stem and Add Stuffing
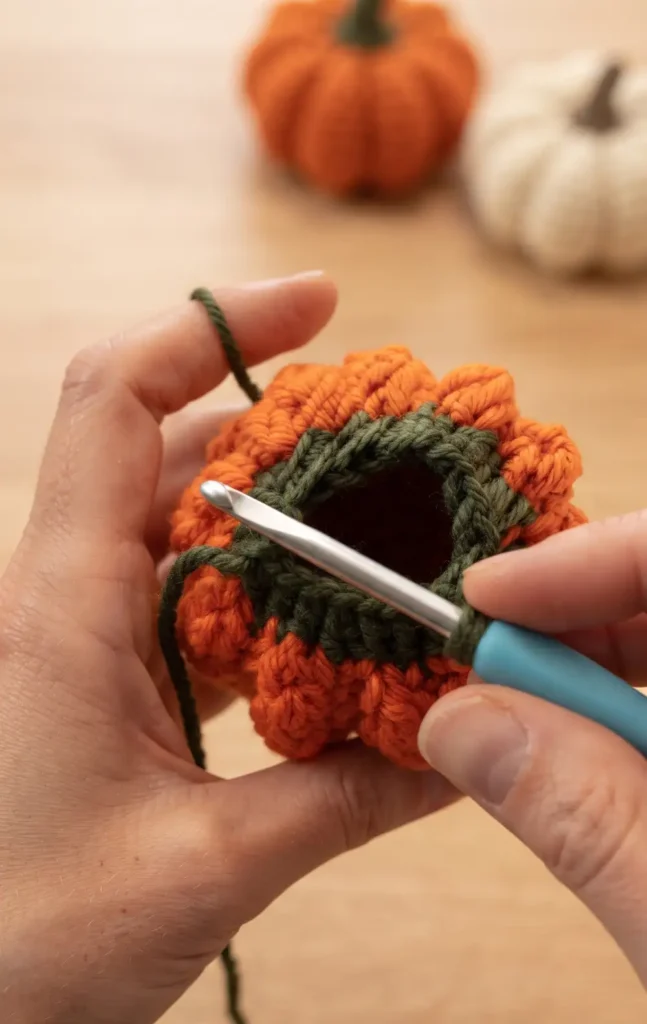
Switch to your stem color and join it to the top edge of the pumpkin with a slip knot. Work single crochet two together (sc2tog) stitches all the way around the top edge to begin closing the opening. This decrease helps the top of the pumpkin cinch inward.
After completing the first round of the stem, pause to add your stuffing. Fill the pumpkin until it has a nice, round shape, but ensure it remains squishy enough to be molded. Once stuffed, return to your hook and work a second round of single crochet two together stitches to narrow the stem further.
Step 4: Finish the Stem and Final Shaping
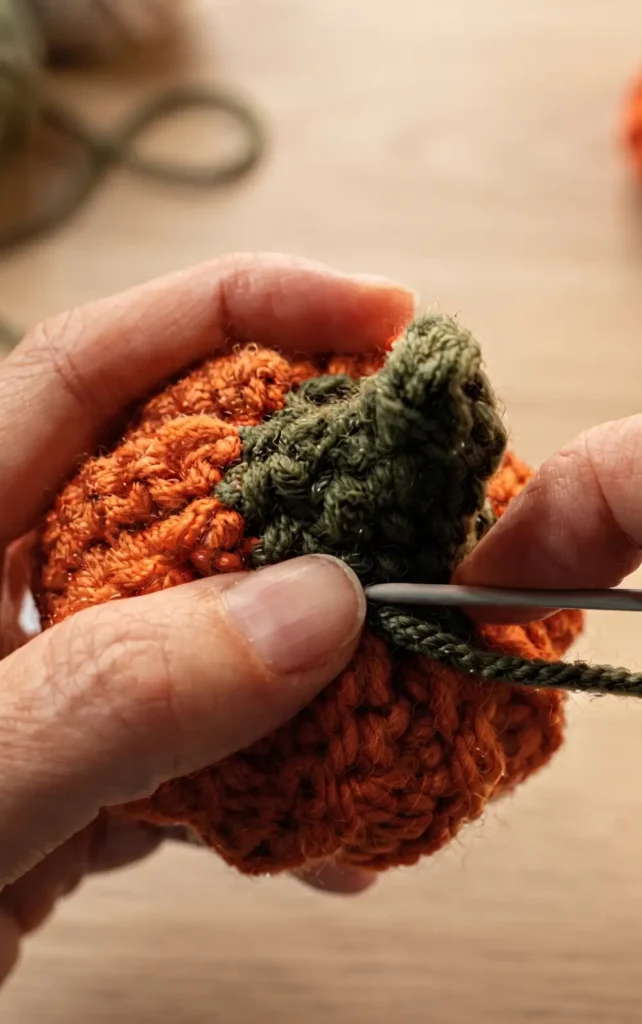
To complete the stem, work two rows of straight single crochet stitches without any further decreases. To close the very top, work a few slip stitches around the posts of the stitches in the final row. Fasten off and leave a tail for finishing.
Thread the tail onto a needle and pass it down through the center of the stem, exiting at the base where the green meets the pumpkin color. Pulling this tail slightly can help pull the stem down for a more natural look. Weave the needle under the first row of green stitches and cinch them tight to further define the top of the pumpkin. Tie a small, tight knot and hide the remaining yarn tail inside the pumpkin body.
Video Credits: Jayda InStitches
3. Crochet Pumpkin Keychain Pattern
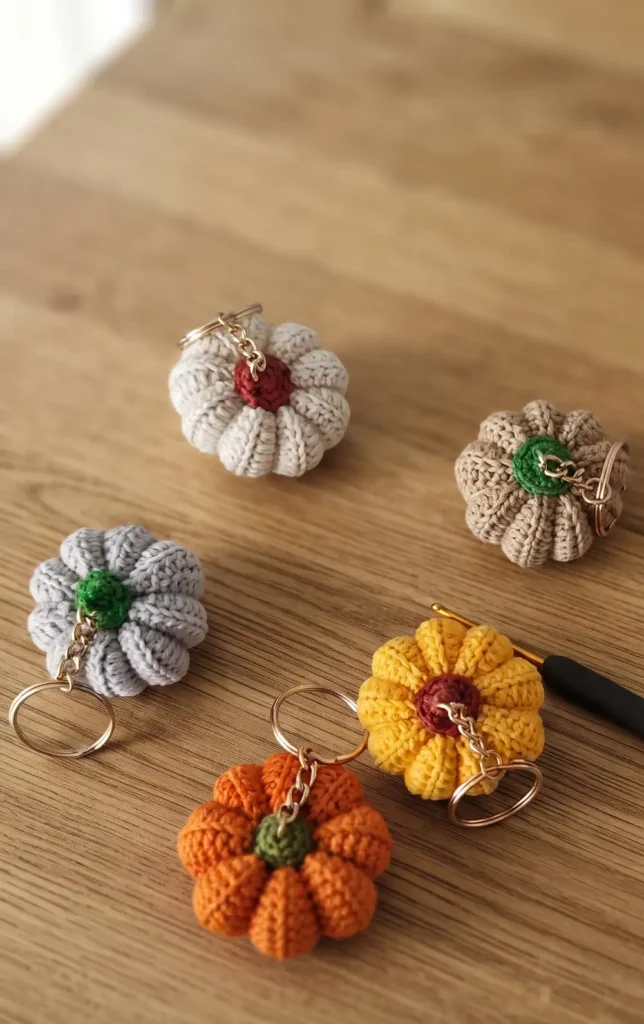
This pumpkin amigurumi project is an ideal choice for autumn because it is simple, quick, and highly customisable. You can choose any pumpkin colours you like to match your seasonal decor or to create personalised gifts for friends and family.
Essential Materials
Before you begin, gather the following items:
- Cotton yarn for the pumpkin body
- Brown or green cotton yarn for the stem
- A 2.5mm crochet hook
- Fiber beads for stuffing
- A needle and scissors
- One keychain clip
Step 1: Crocheting the Rectangular Body
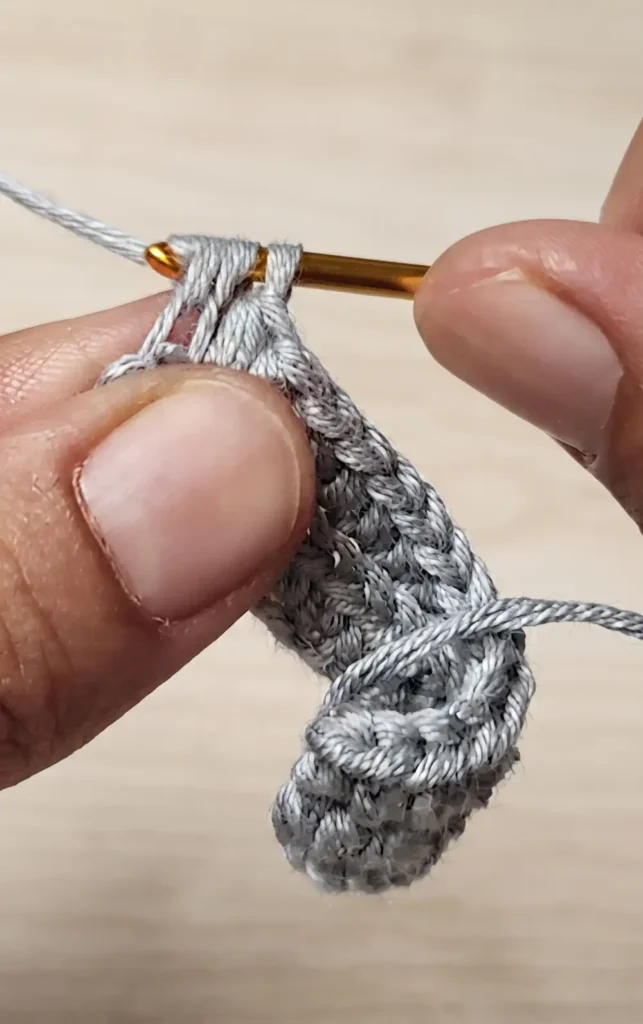
To start your pumpkin, make 18 chains that are not too tight, which should measure approximately 8 cm. For the first row, create 16 half double crochets (HDC) starting from the third chain from your hook. For every following row, chain 2 and turn the pattern.
You will work 16 HDC into the back loops of the previous stitches to create a textured effect. Continue this pattern until you have completed 18 rows in total. This rectangular piece determines the width of your finished pumpkin, while your initial chain determines its height.
Step 2: Joining and Stuffing
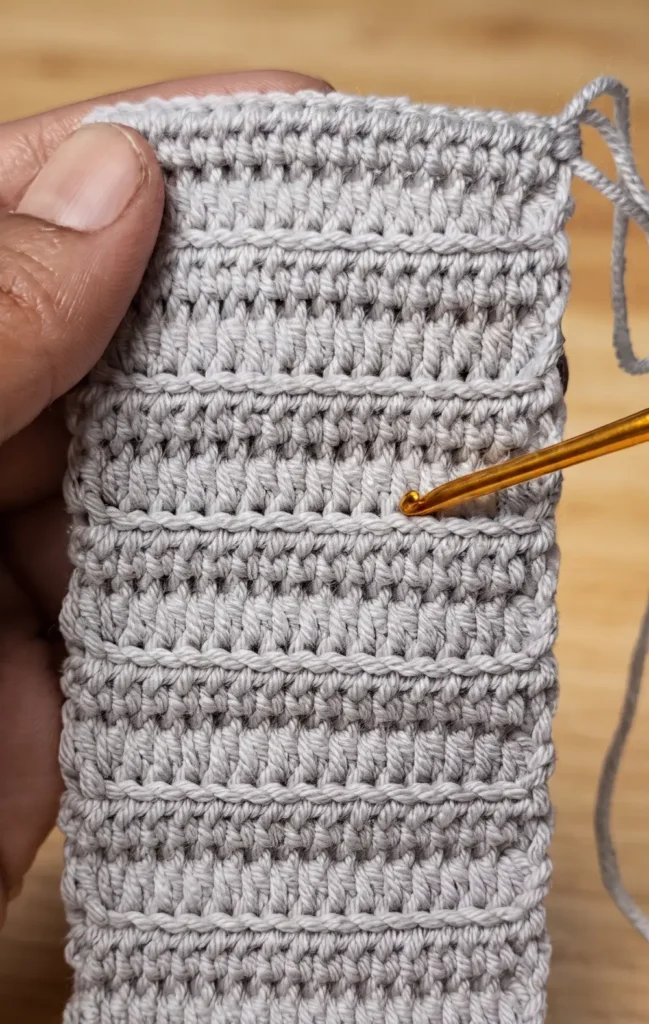
Once your rectangle is complete, fold it in half and join the two ends together by making slip stitches through the back loops. This process transforms the rectangle into a cylinder. Turn the cylinder inside out so the seam is on the interior.
Using your needle and yarn, perform a zigzag stitch through the top loops to pucker one end shut. Fill the inside of the pumpkin with fiber stuffing and then repeat the zigzag puckering process on the remaining open end to close the shape.
Step 3: Creating the Pumpkin Nodes
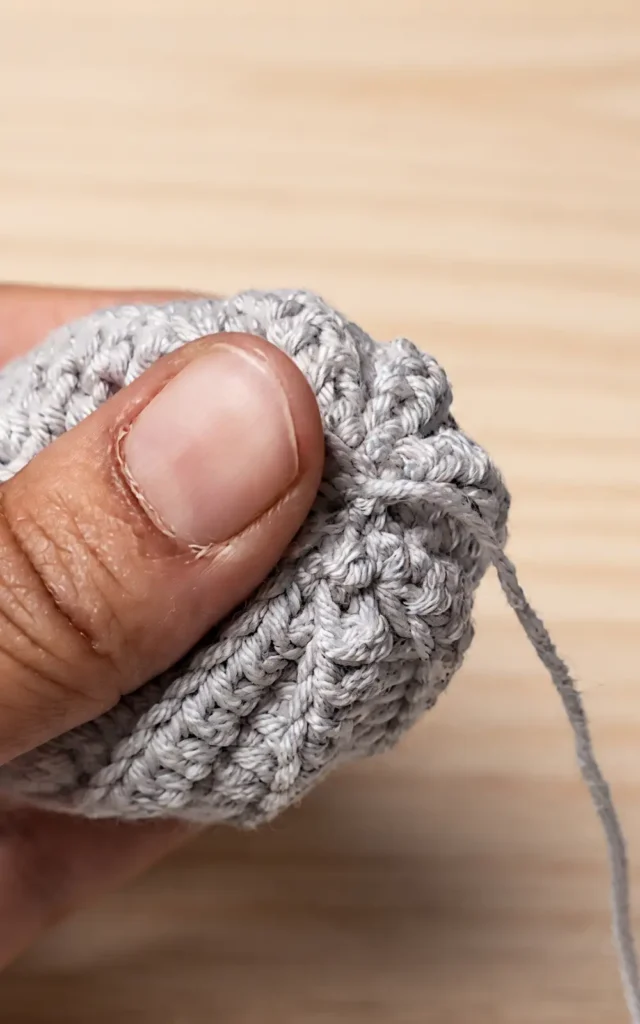
To achieve a realistic look, you must define the nodes of the pumpkin. The horizontal lines that formed every two rows on your crocheted rectangle serve as the guides for these nodes. If you followed the 18 row pattern, you will create a total of 8 nodes.
Secure your yarn and wrap it around the outside of the pumpkin between these lines, pulling it through the centre to create the proportional, knotted sections characteristic of a pumpkin.
Step 4: Making the Stem and Finishing Touches
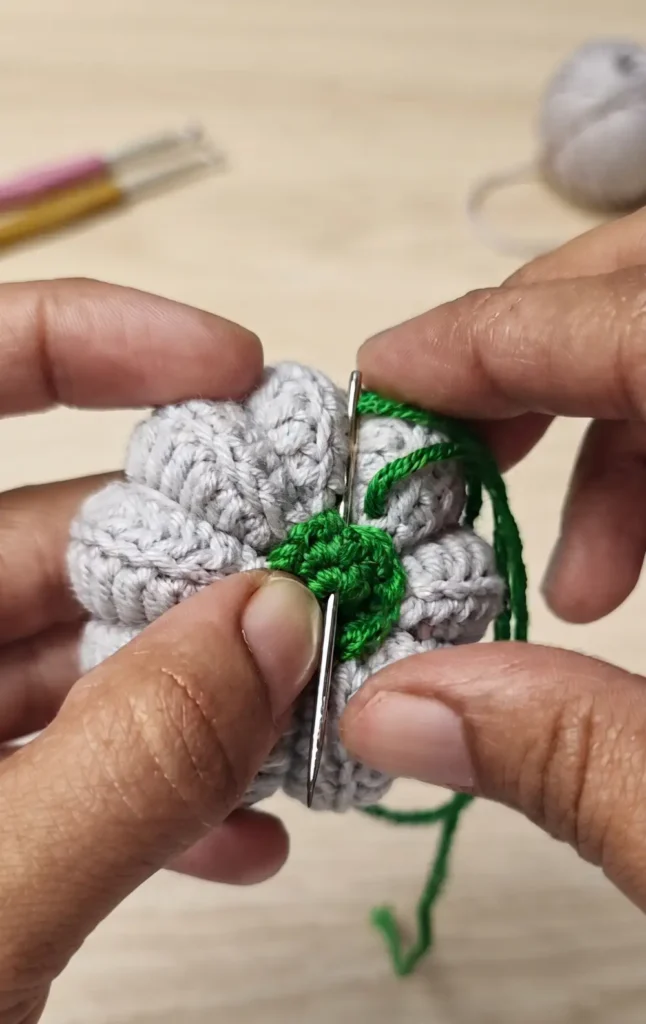
The final piece of the project is the stem. Create a magic ring and place 8 single crochets (SC) inside it. For the next round, follow an “increase, single crochet” pattern (1v, 1x) until you reach a total of 12 single crochets. Finish with a slip stitch and cut the yarn, leaving a tail for sewing. Sew this green or brown circle onto the top of your pumpkin and attach your keychain clip to complete the project.
Video Credits: Tuba Crochet
4. Crochet Bat Plush Keychain Pattern
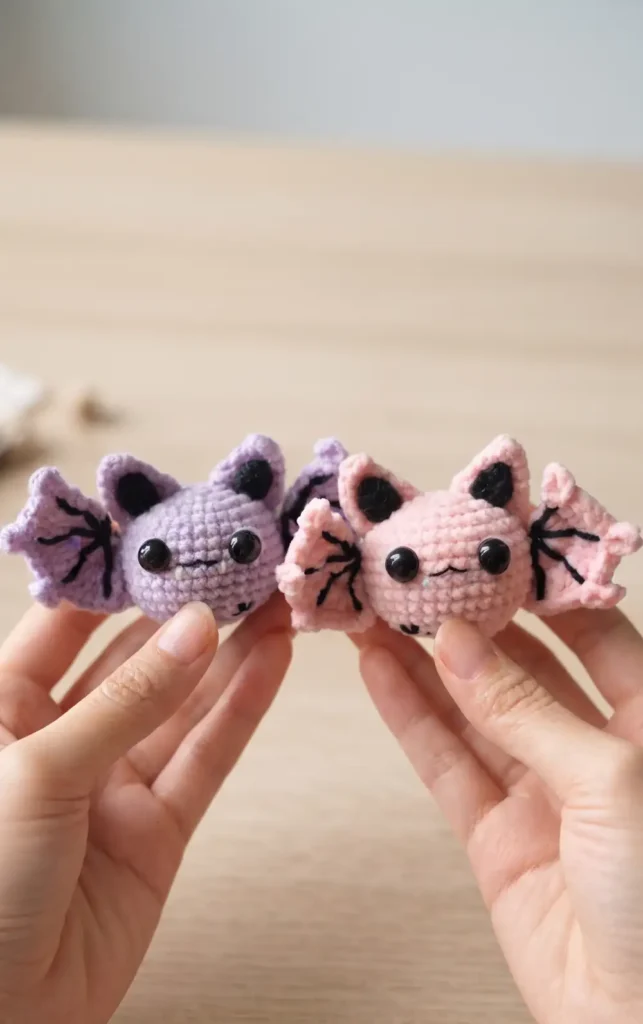
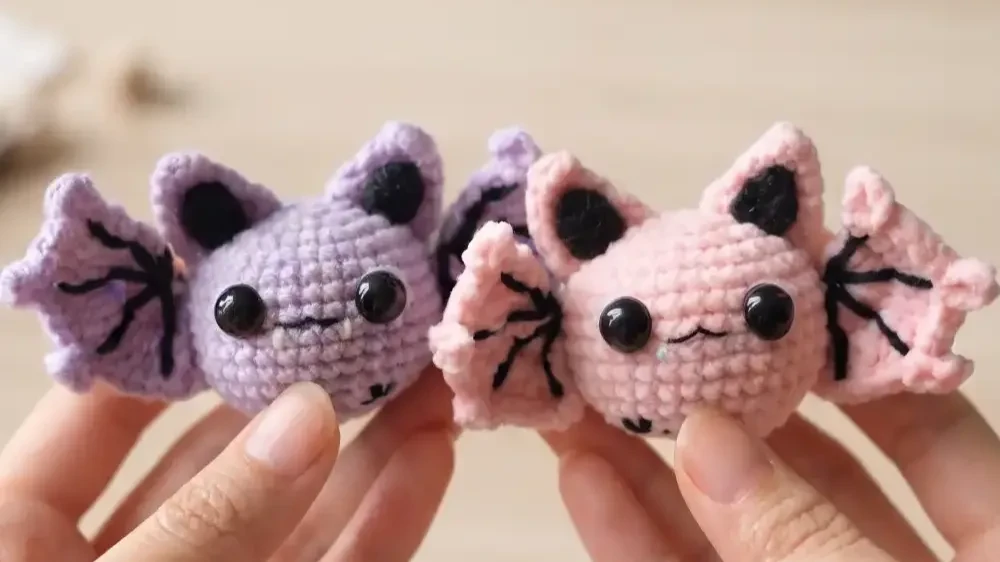
This tutorial will guide you through the process of creating an adorable amigurumi bat keychain, perfect for Halloween or as a cute accessory.
Essential Materials
While the specific yarn brand and hook size are listed in the video description, you will generally need the following items to complete this project:
- Crochet yarn in your choice of color for the body and wings.
- A crochet hook suitable for your yarn weight.
- Stitch markers to track the start of your rounds.
- Cotton stuffing to fill the plushie.
- Black embroidery thread or yarn for wing details.
- A tapestry needle for assembly and hiding yarn ends.
Step 1: Crocheting the Body
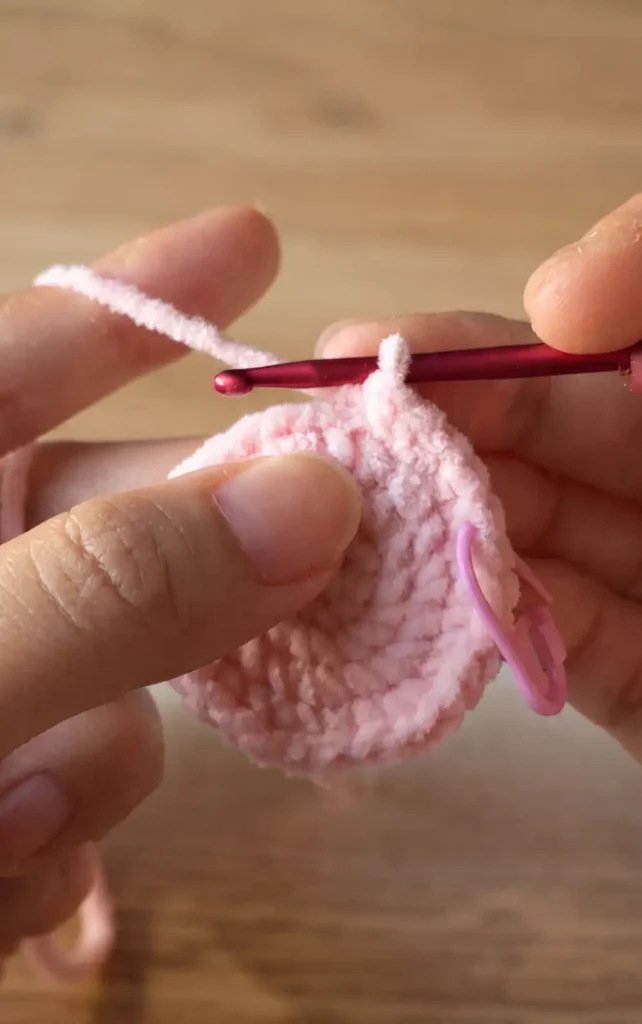
To begin the bat’s body, create a magic ring and work six single crochet stitches into it. In the second round, work an increase in each stitch to reach twelve stitches total.
For the third round, follow a pattern of one single crochet followed by one increase stitch. The fourth round uses a sequence of one single crochet, one increase, and one single crochet. In round five, crochet three single stitches then one increase stitch, repeating this order until the end of the round.
From round six through round twelve, simply work one single crochet into every stitch. Once you reach round thirteen, begin the decreases by crocheting three single stitches followed by one decrease stitch. Round fourteen follows a pattern of one single crochet, one decrease, and one single crochet.
In round fifteen, crochet one single stitch then one decrease. At this point, stuff the body tightly with cotton. To finish, round sixteen consists of seven decrease stitches before fastening off and leaving a long tail.
Step 2: Creating the Ears
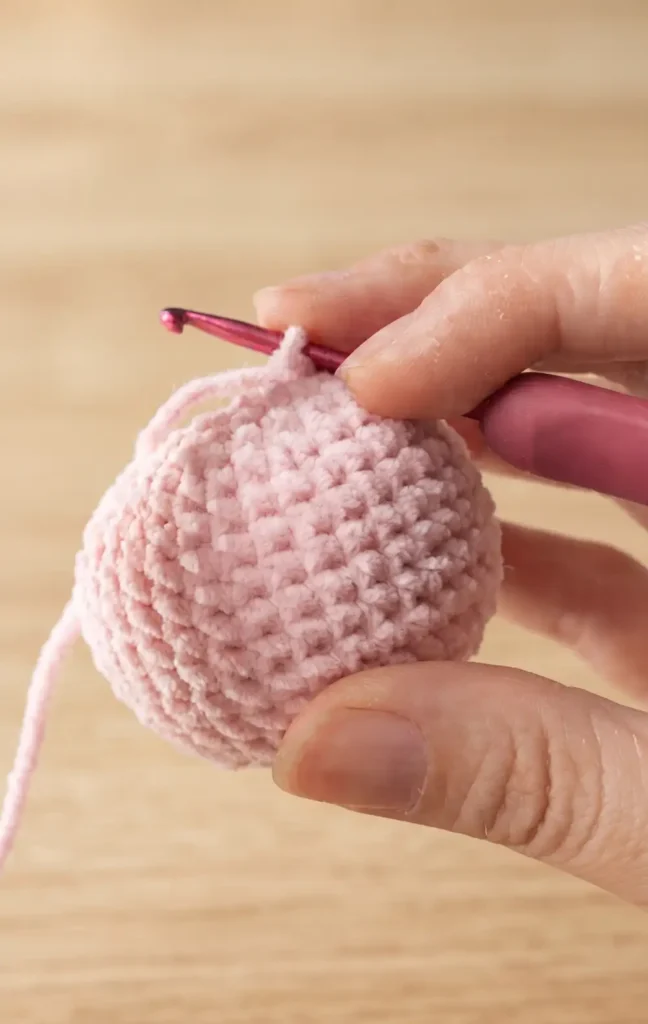
You will need to make two large ears and two small ears to give the bat its characteristic look.
The Large Ears
Start with a magic ring and work two single crochet stitches into it. Chain one and turn to the other side to begin the second row. Work one single crochet in the first stitch and an increase in the second. For row three, chain one, turn, and work an increase followed by two single crochets. In row four, chain one, turn, work three single crochets, and then one increase. Finally, for row five, chain one, turn, work one increase, and then four single crochets.
The Small Ears
The small ears follow a simpler pattern. Create a magic ring and work two single crochet stitches into it. Chain one and turn the work. In the next row, crochet one single stitch in the first stitch and one increase in the second. Cut the yarn and hide the excess pieces inside.
Step 3: Making the Wings
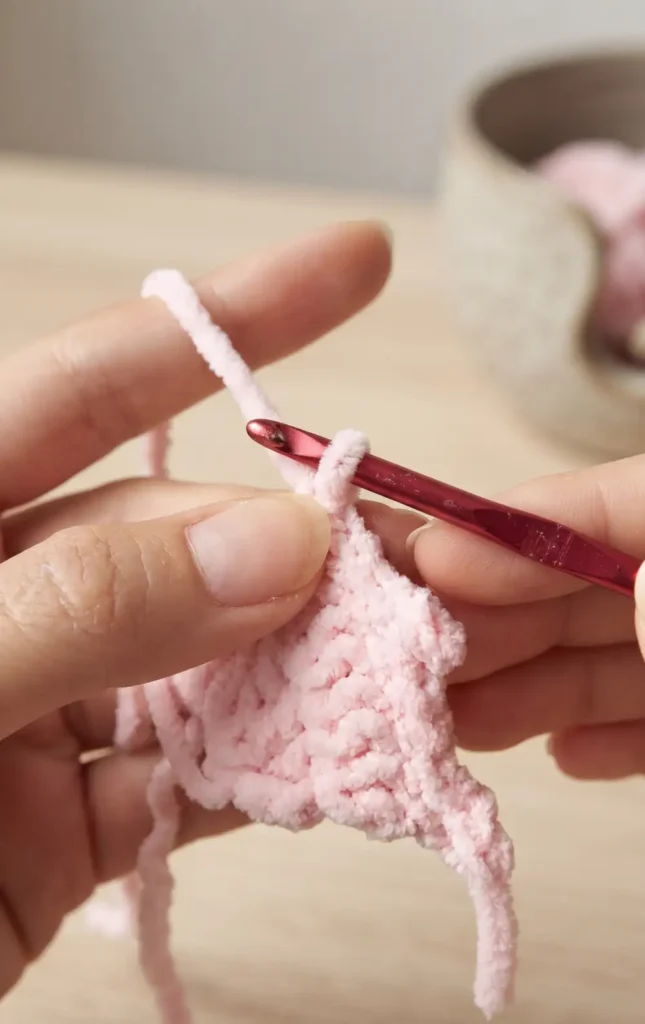
The wings are worked in rows and then finished with a spiked edge to create the bat wing shape.
The Left Wing
Start with a magic ring, chain two, and work seven double crochet stitches into the ring. For the second row, chain two, turn, and work two double crochets into every stitch. To create the spikes in the third row, chain five and work four slip stitches back down the chain. Slip stitch into the wing, chain five again, and work another slip stitch into the same base stitch. Continue working slip stitches and chain five peaks across the edge of the wing as instructed.
The Right Wing
The right wing begins the same way as the left, with the first two rows being identical. However, to ensure the peaks are symmetrical, you will leave a long yarn tail after row two and then reinsert your hook through the first stitch on the opposite side. From there, you will work the chain five peaks and slip stitches across the row to mirror the left wing.
Step 4: Assembly and Final Details
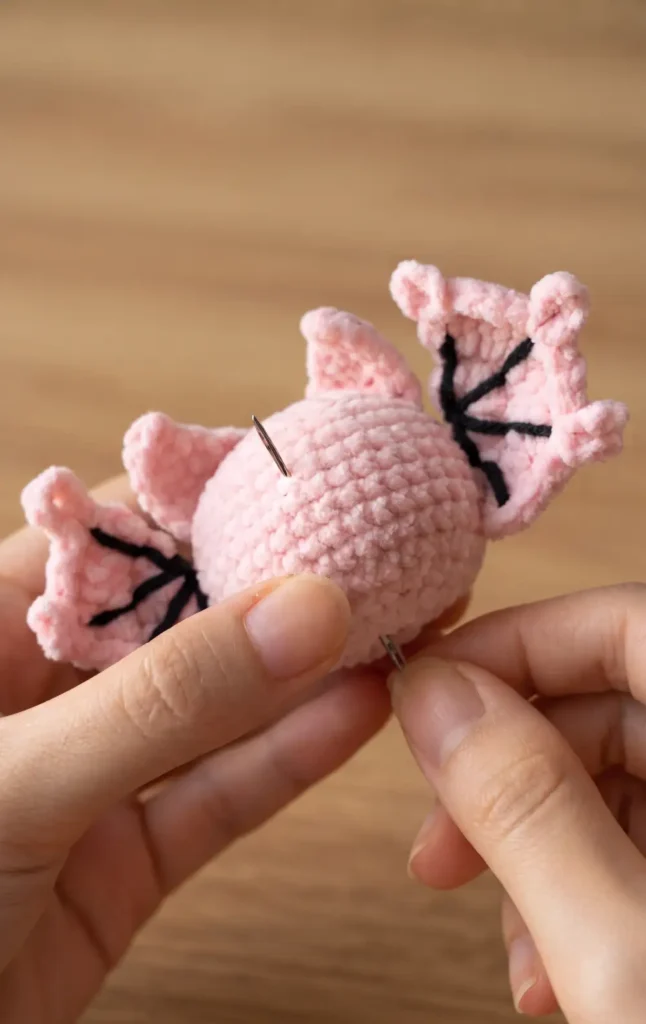
The final step involves adding decorative touches and putting all the pieces together. Use black yarn to embroider decorative lines onto both the left and right wings. Once the embroidery is finished, hide all excess yarn tails inside the wings or body to keep the project neat. Securely sew the large ears, small ears, and wings onto the stuffed body to complete your bat keychain.
Video Credits: Kiwy Crochet
5. Crochet Fox Amigurumi Pattern
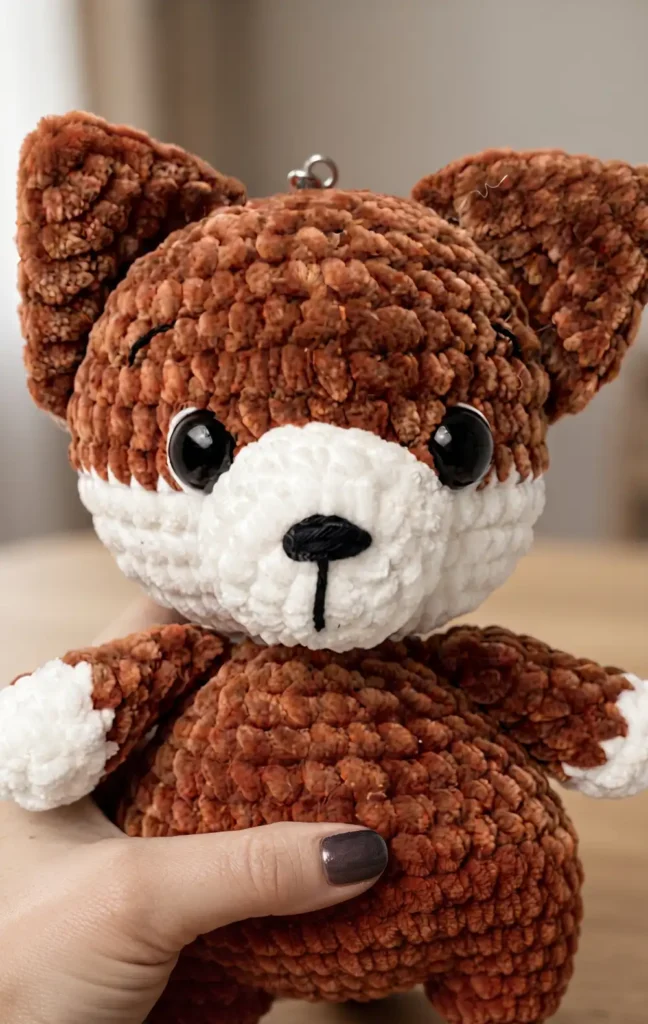
To begin this project, you will need chunky or super chunky plush yarn in orange for the body and white for the paws, tail, and snout. You also need medium weight yarn in black for the eyebrows and nose, and white for the area behind the eyes.
Essential tools include a US G crochet hook (or one that matches your yarn), poly fill, safety eyes, scissors, a yarn needle, stitch markers, and pins. Before starting, ensure you know how to perform a magic ring, single crochet, slip stitch, chain stitch, increase, and decrease.
Step 1: Crafting the Legs
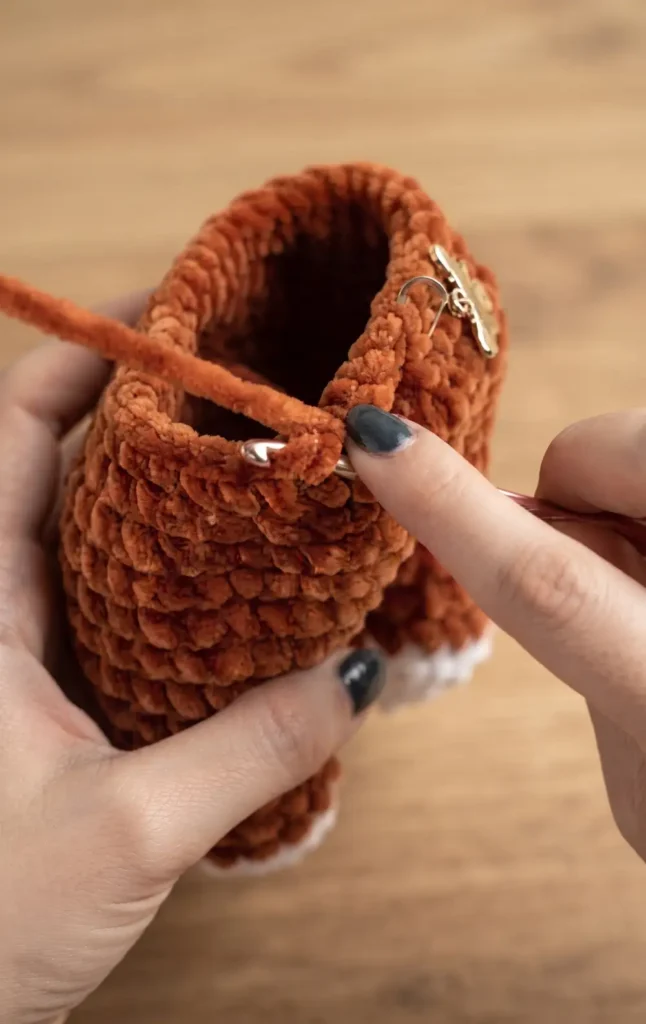
Start with white yarn by placing six single crochet stitches into a magic ring. In the second round, perform six increases to reach 12 stitches, and in the third round, work a pattern of three single crochet stitches followed by an increase three times to reach 15 stitches.
Change to orange yarn and complete four rounds of 15 single crochet stitches each. For the first leg, close with a slip stitch and cut the yarn; for the second leg, do not cut the yarn as you will use it to join the pieces together.
Step 2: Joining the Legs and Building the Lower Body
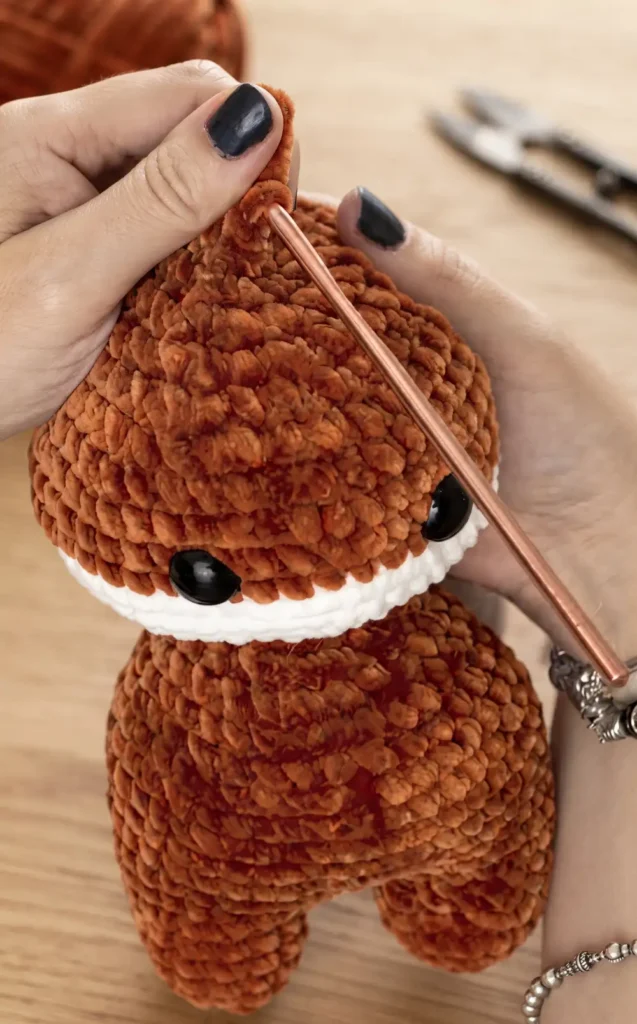
Chain three from the second leg and join it to the first leg with a single crochet. Work 14 more single crochet stitches around the first leg, three stitches into the joining chain, 15 stitches around the second leg, and three more into the opposite side of the chain.
This forms the base of the belly. In the next round, work a pattern of five single crochet stitches and one increase six times to reach 42 stitches. After five rounds of 42 stitches, begin decreasing the body by working five single crochet stitches followed by an invisible decrease six times. Continue this decrease pattern in subsequent rounds, ensuring you add stuffing to the legs as the opening narrows.
Step 3: Shaping the Upper Body and Neck
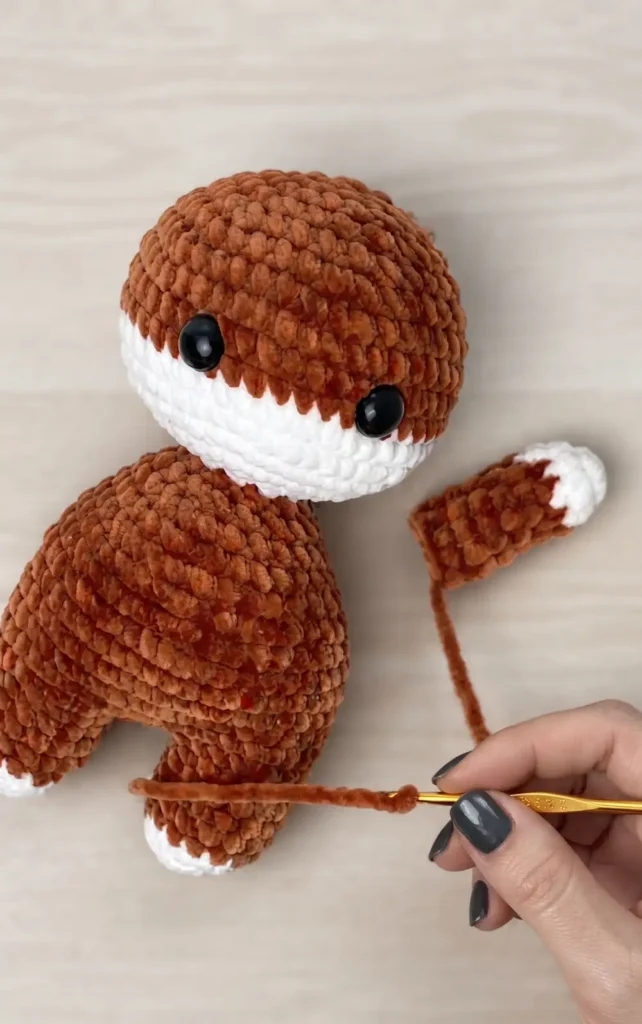
Continue decreasing the body through rounds 12 to 14 until you have 12 stitches remaining. It is important to add stuffing to the top of the body during these rounds. At the very end of round 14, perform a color change back to white yarn to begin the head. Round 15 consists of 12 single crochet stitches, and round 16 involves 12 increases to bring the stitch count to 24.
Step 4: Forming and Finishing the Head
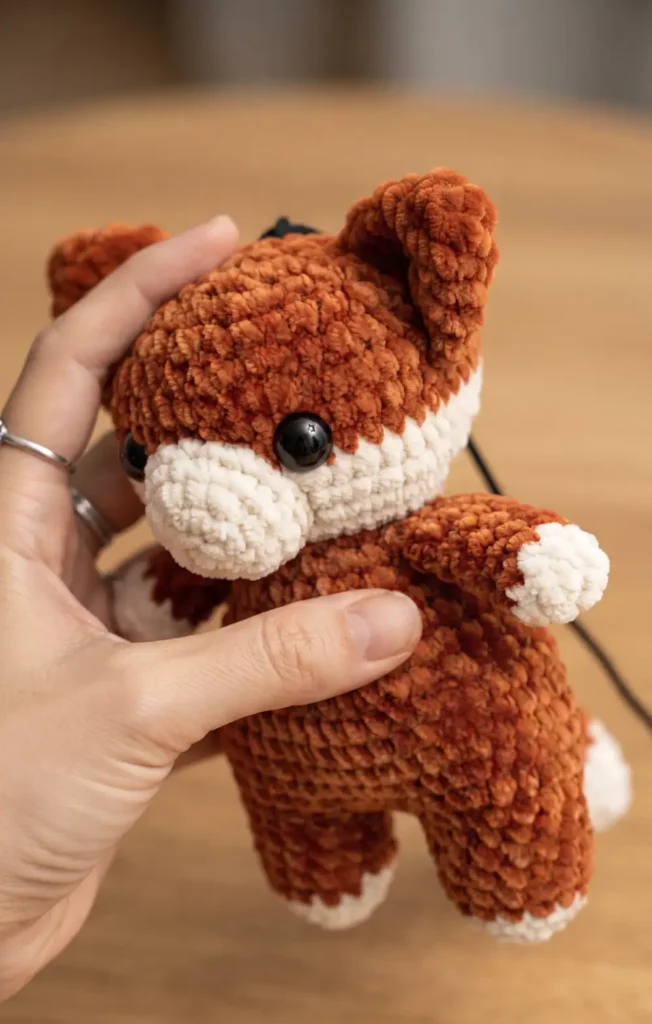
Continue increasing the head size until you reach 48 stitches in round 19. Work two rounds in white, then switch back to orange yarn for three rounds of 48 stitches. At this point, attach safety eyes between rounds 22 and 23, placing them approximately eight stitches apart.
Begin decreasing the head by working patterns of six, five, four, three, and then two single crochet stitches followed by a decrease. Stuff the neck and head firmly to ensure the head does not wobble. Finish with a round of single crochet and decrease, followed by six final decreases. Cut the yarn, weave it through the front loops of the last six stitches to close the hole, and secure the end.
Video Credits: Rose and Lily Crochet
Make Something Magical This Fall
Fall is the perfect season to pick up your hook and stitch something a little spooky or sweet, and these five projects prove you don’t need much yarn or time to make something truly special. Whether you start with the quick no-sew ghost on a quiet weeknight or challenge yourself with the detailed fox amigurumi over the weekend, each one makes a satisfying addition to your autumn décor or gift pile.
The beauty of amigurumi is that even a small scrap of bulky yarn can turn into something you’ll want to display all season long. So brew a warm drink, find your coziest chair, and let the fall making begin.