4 Textured Crochet Baby Blanket Patterns Perfect for Beginners
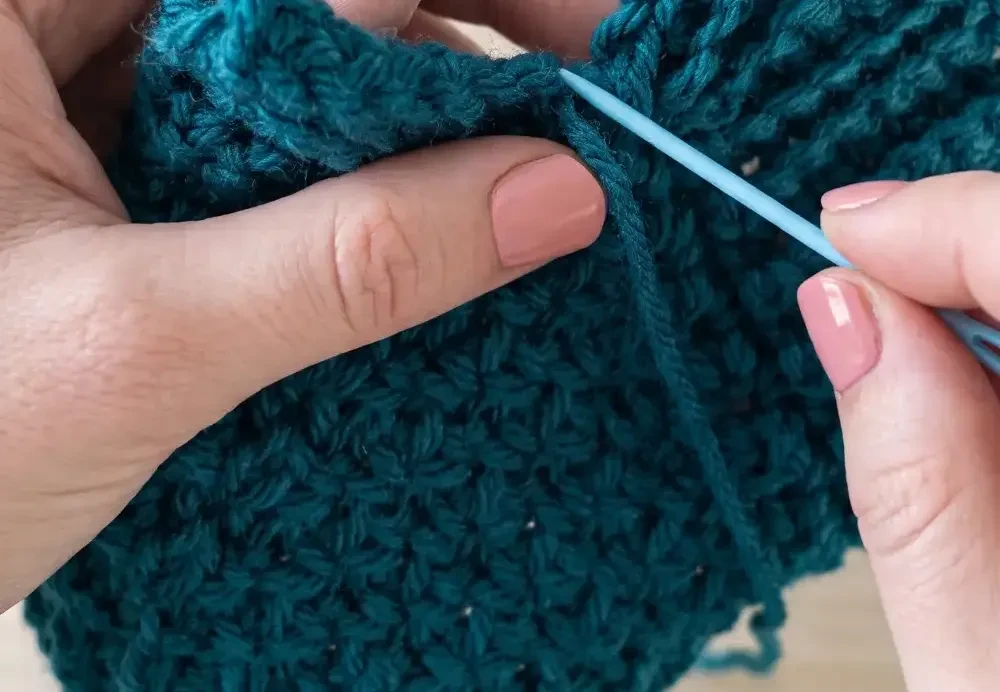
Beginners, listen up. You don’t need years of experience to crochet a blanket that looks like it took months to make. Texture does all the heavy lifting here, turning simple stitches into something that reads as advanced.
These four patterns prove that point beautifully. Waffle, alpine, moss, and Celtic weave each bring their own personality to a baby blanket, yet none of them demand a skill level you don’t have yet. Pick one, grab your hook, and get ready to make something that looks far harder than it actually is.
1. Easy Crochet Waffle Baby Blanket Pattern
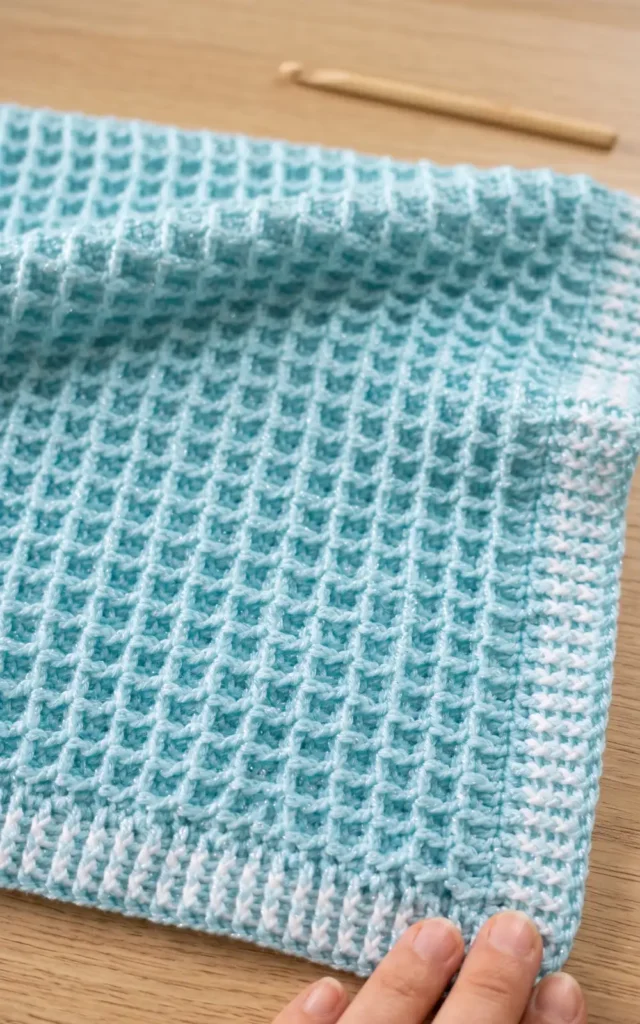
This guide demonstrates how to create a beautiful and soft waffle stitch baby blanket that features a deep, squishy texture. The project is simple enough for those who are not total beginners and results in a stunning finished piece.
Materials Needed
To complete this blanket, you will need approximately 100 grams of size 2 yarn (320 meters or 350 yards). The creator recommends a yarn that is soft to the touch, even if it includes sparkles for added visual interest. You will also need two different crochet hook sizes: a 5 mm hook for the main body of the blanket and a 4.5 mm hook for the borders.
Step 1: Foundation and Initial Row
Begin your project by making a slip knot and chaining 130. If you wish to adjust the size, ensure your chain count is a multiple of three plus two. To start the first row, skip the first two chains and insert your hook into the third chain from the hook to make a double crochet. Continue by making one double crochet into every chain across the row until you reach the end,.
Step 2: Mastering the Waffle Stitch Repeat
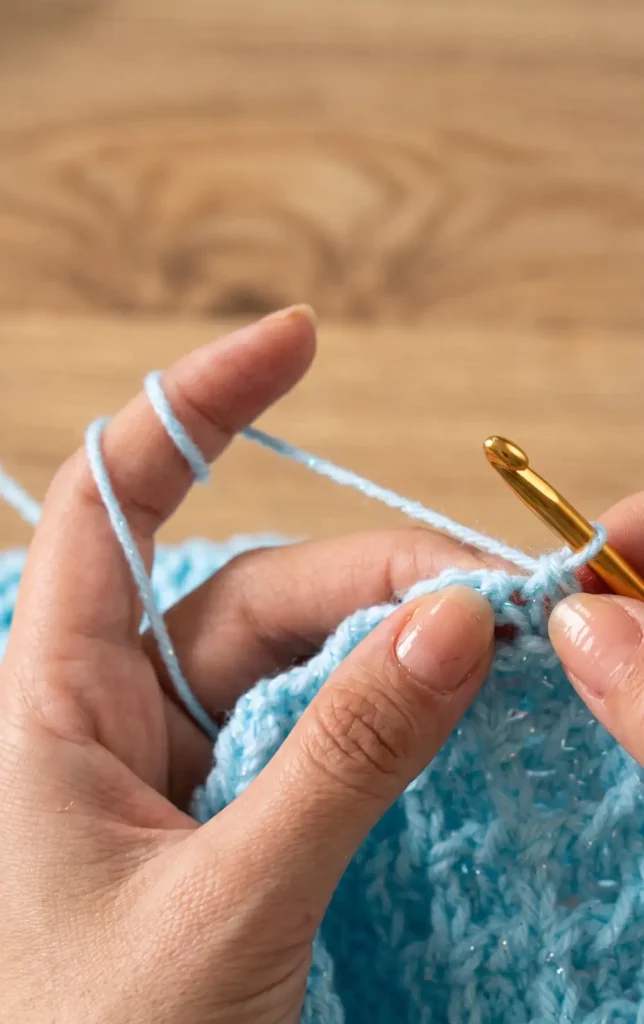
The waffle texture is created using a simple two row repeat. For Row 2, chain two and turn, then make a double crochet into the first stitch. Work a front post double crochet around the next post, followed by two regular double crochets in the next two stitches. For Row 3, chain two and turn, then work two regular double crochets followed by two front post double crochets around the next two posts. Continue repeating these two rows until the blanket reaches your desired length, such as 22 inches,.
Step 3: Preparing the Border Foundation
Once the main body is complete, switch to your 4.5 mm crochet hook and, if desired, a contrasting yarn color like white. Start the border by working double crochets along the edge of the blanket. It is important to maintain an odd number of stitches on each side to simplify the upcoming ribbing,. When you reach a corner, work three double crochets into the same stitch to allow the border to turn smoothly.
Step 4: Adding the Ribbed Edging
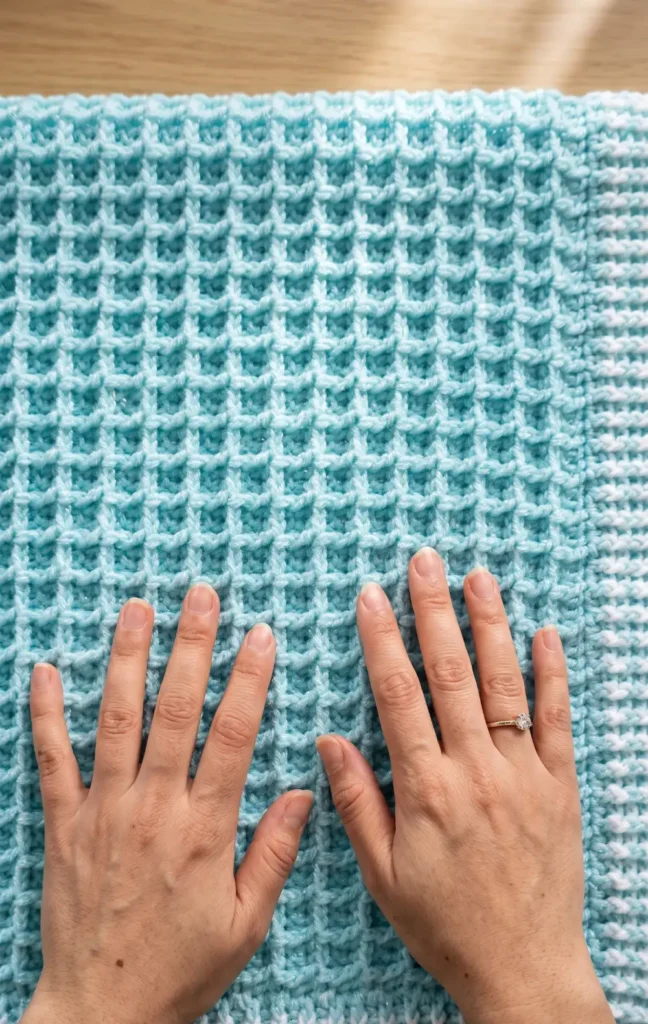
The final touch involves creating a ribbed effect by alternating between back post double crochets and front post double crochets,. In the corners, work a sequence of post stitches into the middle stitch of the previous row’s corner to keep the shape consistent,. Repeat this process for a total of five rows. To finish, join the final row with a slip stitch, cut the yarn, and hide the remaining tails for a clean look.
Video Credits: Sirin’s Crochet
2. Alpine Stitch Blanket Crochet Pattern
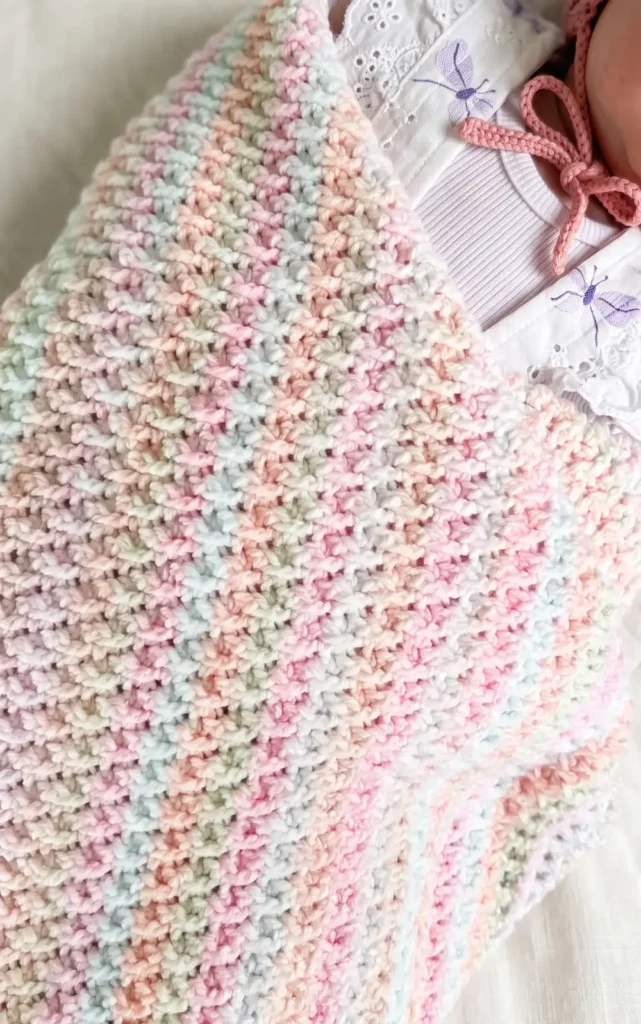
Create a beautiful, textured Rainbow Peaks baby blanket using the elegant alpine stitch. This project is perfect for gifting or adding a cozy touch to a nursery.
Materials and Sizing
To achieve the look featured in the tutorial, you will need Hershner’s Sweet Swirls yarn in the color Little Lullabi, which is a DK weight rainbow shade. The pattern requires two hook sizes: a 4 mm and a 5 mm hook. For the baby size blanket, the final measurements will be approximately 32 by 38 inches.
Step-by-Step Instructions
Follow these four primary steps to complete your blanket:
Step 1: The Foundation Row
Using your 5 mm hook, begin by chaining a total of 115 stitches for the baby blanket size. If you wish to adjust the size, use a multiple of 2 + 1. Work a double crochet into the second chain from the hook and continue to double crochet in every stitch across the row.
Step 2: Establishing the Initial Texture
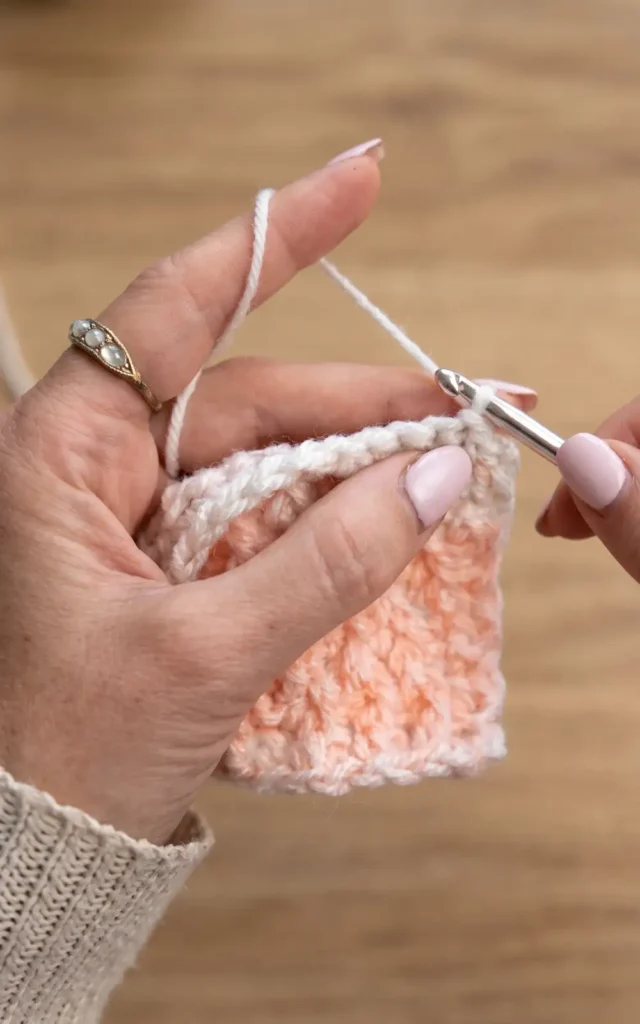
For row two, chain one and work one single crochet into every stitch across. Row three introduces the texture. Start with a stacked single crochet in the first stitch to keep the edges clean. You will then alternate between a front post double crochet (worked around the double crochet from two rows below) and a regular double crochet across the entire row. Row four is another row of single crochets worked on the wrong side.
Step 3: Creating the Alpine Pattern Repeat
In row five, you will offset the texture. Start with a stacked single crochet and a double crochet, then work a front post double crochet around the double crochet from two rows below. This alternating placement creates the peak effect. Row six is a single crochet row. Continue repeating rows three through six until you have completed a total of 146 rows for the baby size.
Step 4: Border and Finishing
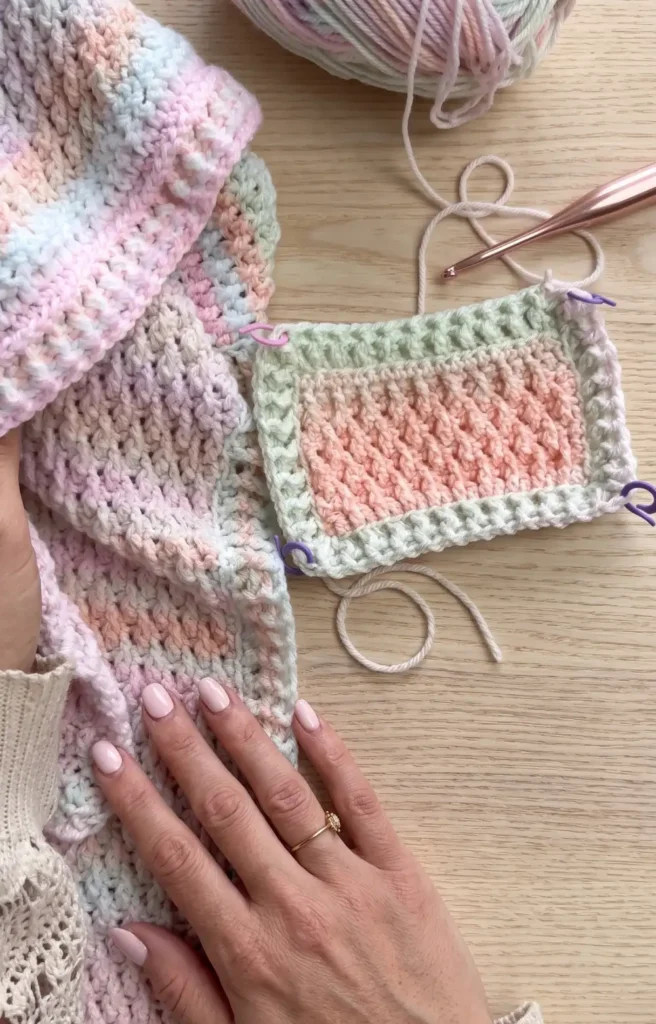
To finish, use the larger hook to work a slip stitch border around the entire edge, placing three stitches in the corners to prevent curling. Switch to the 4 mm hook and work rounds of alternating front post and back post double crochets to create a ribbed frame. Finally, it is essential to block the blanket using wool wash or delicate soap to ensure it lays flat and maintains its shape.
Video Credits: MJ’s Off The Hook Designs
3. Crochet Modern Moss Stitch Baby Blanket
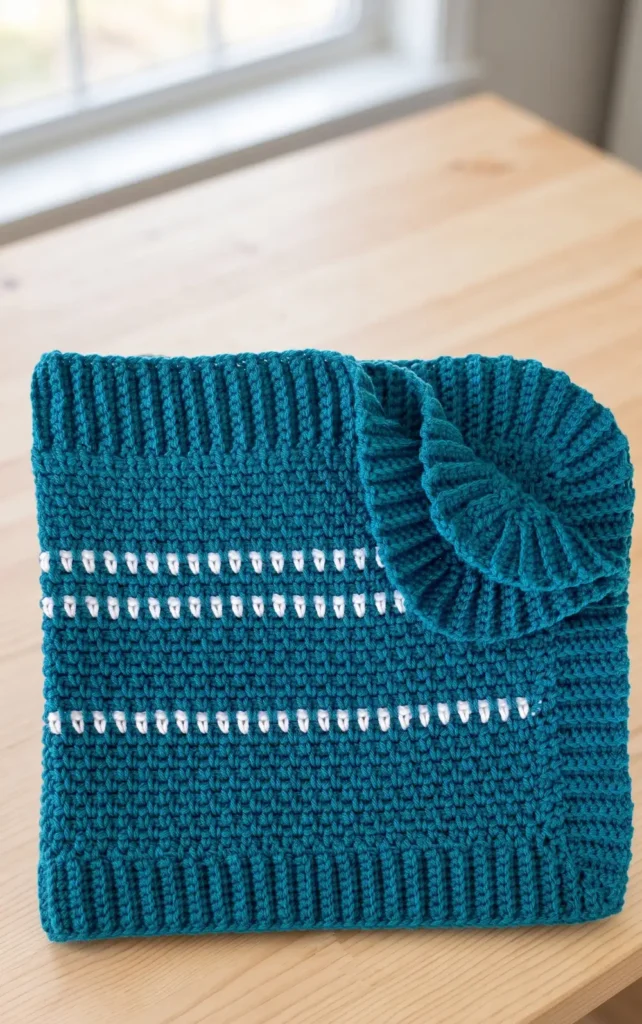
This modern take on a classic design creates a beautiful, textured baby blanket that is easily customizable to any size. By using a simple repeat and strategic color changes, you can achieve a sophisticated look that is perfect for gifting.
Materials and Preparation
To complete this project, you will need Red Heart With Love yarn and a size K 6.5 mm crochet hook. For a standard baby blanket measuring approximately 32 inches wide, you should start with a base chain of 100. If you choose to adjust the size, simply ensure your starting chain is any even number.
Step 1: Establish the Foundation Row
Begin your work in the fourth chain from the hook. Insert your hook to complete a single crochet, then chain one and skip the next chain in your foundation. Continue this pattern of one single crochet followed by a chain one and skipping a stitch across the entire row. When you reach the very last chain, work a final single crochet and chain two before turning your work.
Step 2: Mastering the Moss Stitch
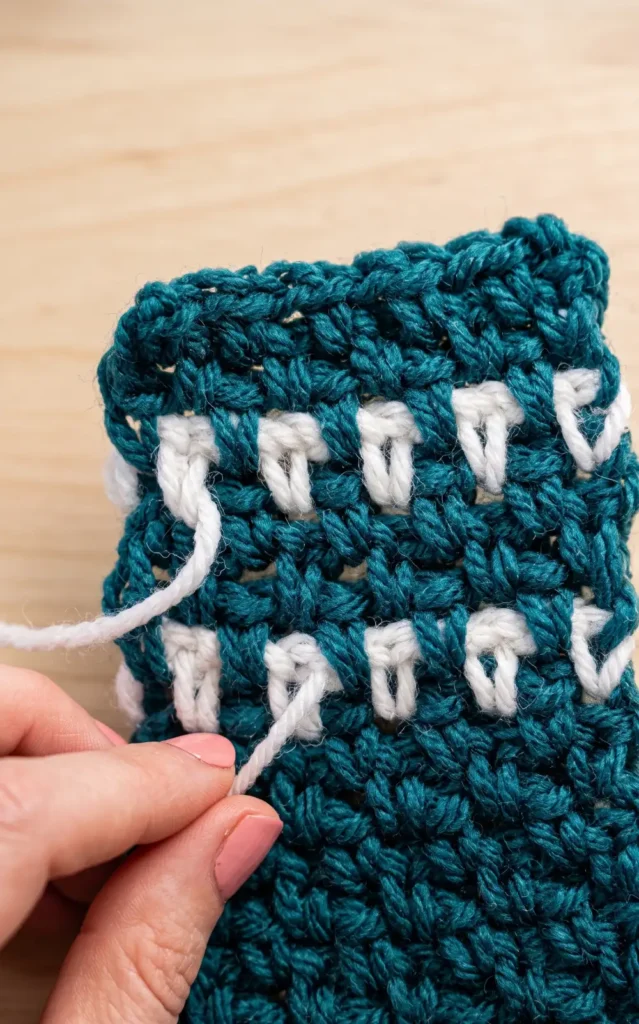
The moss stitch is formed by working specifically into the chain one spaces created in the previous row. Insert your hook into the space between the single crochet stitches, work a single crochet, and then chain one. It is important to ensure you do not miss the final space located between the last stitch and the turning chain at the end of each row. Finish every row with a single crochet in that final space and a chain two to turn.
Step 3: Incorporating Color Changes and Stripes
The signature look of this blanket involves a specific striped sequence. Work nine rows of the moss stitch in teal, then transition to white for a single row. To change colors smoothly, pull the white yarn through when you have two loops remaining on your hook during the final teal single crochet.
You can carry the teal yarn along the back while working the white row to minimize the number of ends you need to weave in later. After the single white row, work three rows of teal and another single row of white before starting the next nine row block of teal.
Step 4: Adding the Ribbed Border
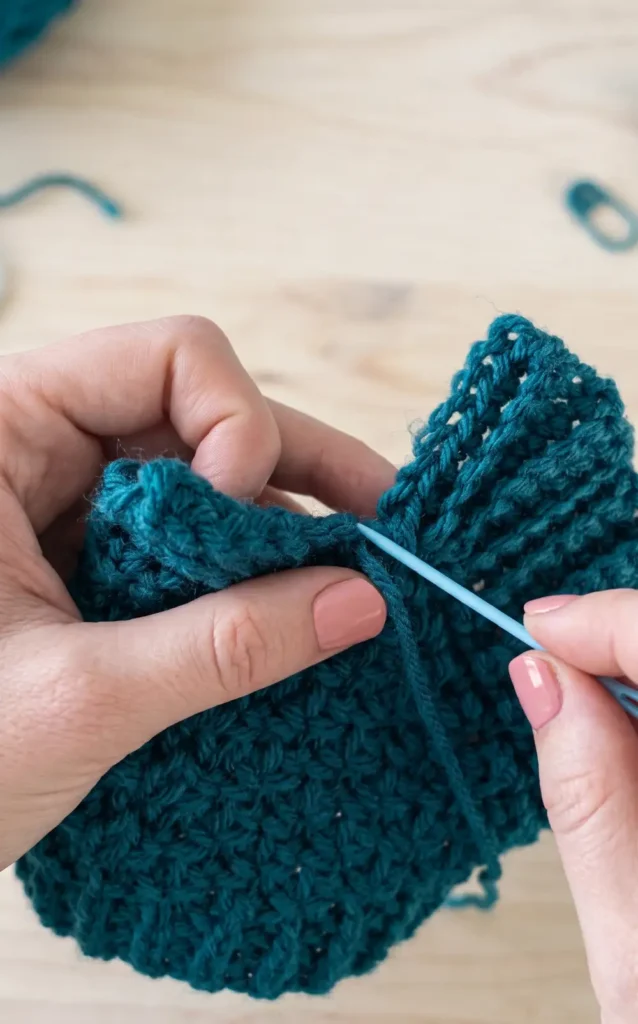
Once the main body is complete, work one round of the moss stitch around the entire edge of the blanket to create a base for the border. In each corner, work a sequence of one single crochet, a chain one, and another single crochet into the same space.
To create the ribbed effect, chain eight and work seven single crochets back toward the blanket. Slip stitch into the next two stitches of the blanket edge, turn, and work back loop only single crochets for seven stitches to create the texture. At the corners, slip stitch into the same corner space three times to allow the ribbing to fan out. Finish by sewing the final corner edges together and weaving in all remaining tails with a tapestry needle.
Video Credits: Daisy Farm Crafts
4. Celtic Weave Crochet Baby Blanket Pattern
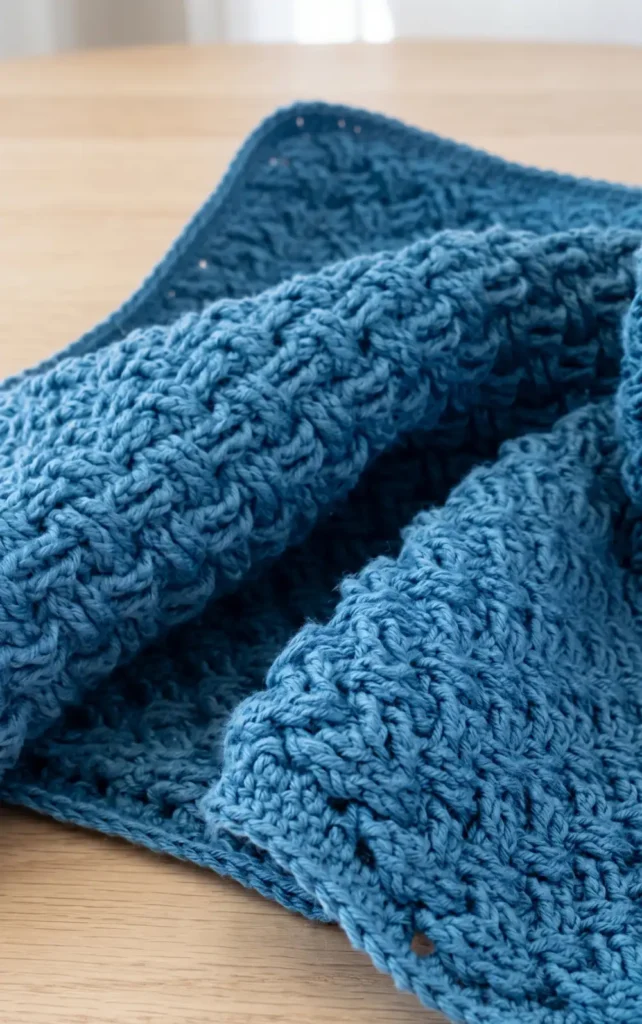
The Celtic weave stitch creates a beautiful, textured pattern that is perfect for a cozy baby blanket. This project results in a blanket approximately 60 centimetres wide and 65 centimetres long.
Step 1: Gather Materials and Chain the Foundation
To begin this project, you will need a 4 millimetre crochet hook, a yarn needle, a measuring tape, and scissors. The recommended yarn is a Cotton Merino blend (50% cotton and 50% wool), which is ideal for baby items.
Start by making a slip knot and chaining 129. If you wish to adjust the size, ensure your starting chain is a multiple of four plus five extra chains. For the first row, make a double crochet in the fourth chain from the hook and continue with one double crochet in each chain across. The initial skipped chains count as your first double crochet.
Step 2: Working the Front Post Rows
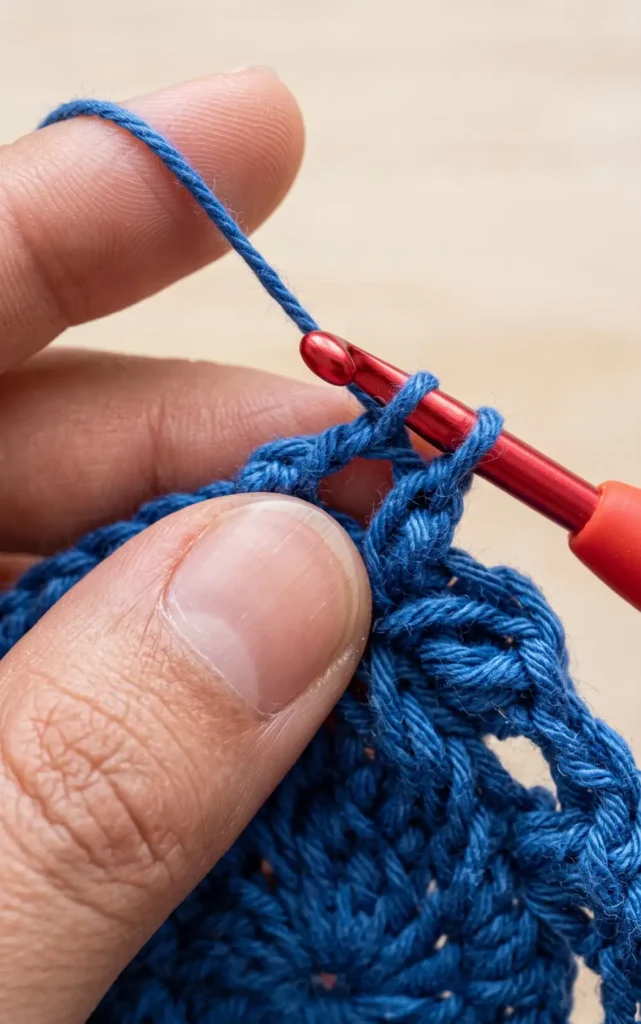
The Celtic weave pattern is created using double treble crochets to form a crossed texture. At the end of your first row, chain three and turn.
In the second row, you will work with groups of four stitches using front post double treble crochets. Skip the first two stitches of the group and work into the third and fourth stitches first. Then, go back to work into the first and second stitches. This creates the characteristic “X” shape of the weave. Repeat this series across the row. To maintain the pattern, finish the row with two single double treble crochets and one final double crochet in the turning chain space.
Step 3: Working the Back Post Rows and Repeating the Pattern
The third row introduces back post double treble crochets to create depth. Chain three and turn, then identify your groups of four stitches. Similar to the previous row, work into the third and fourth stitches from the back, then return to work the first and second stitches. These stitches can be slightly hidden, so be patient while locating them.
You will alternate between front post and back post rows as you build the blanket. Every row should end with two single double treble crochets and one double crochet into the end hole to keep the edges straight. Continue this alternating pattern until the blanket body reaches 60 centimetres in length.
Step 4: Adding the Border and Finishing
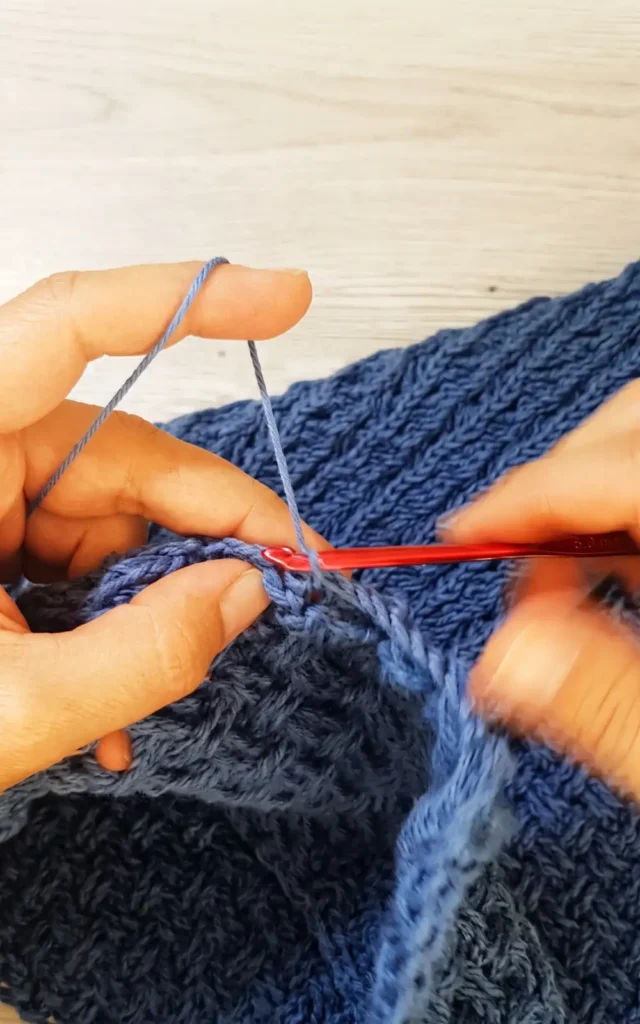
The final step is to add a three-row single crochet border, which adds about 5 centimetres to the total length.
- Border Row 1: Work single crochets around the entire edge. Along the sides, place two single crochets in larger holes and one single crochet in smaller holes. In every corner, work three or four single crochets into the same space to keep the corners flat.
- Border Rows 2 and 3: Work one single crochet in every stitch around the blanket, continuing to place three or four stitches in each corner.
Once the border is complete, finish with a slip stitch and use your yarn needle to weave all tails into the blanket for a clean look. You can also choose to add a decorative bow or flower to finish the piece.
Video Credits: Tommy’s sheep crochet and knitting
Which Blanket Will You Make?
Textured stitches turn a plain blanket into something special. Each of these four patterns proves you don’t need fancy techniques to create real depth and dimension. Just a few simple repeats, and you’ve got a blanket worth showing off.
So which one calls to you? Maybe it’s the squishy waffle stitch, or perhaps the rainbow peaks of the alpine pattern. Whichever you choose, you’re about to make a baby blanket that looks like it came from a much more advanced crocheter.