4 Free Crochet Baby Toy Patterns That Are Easy to Make
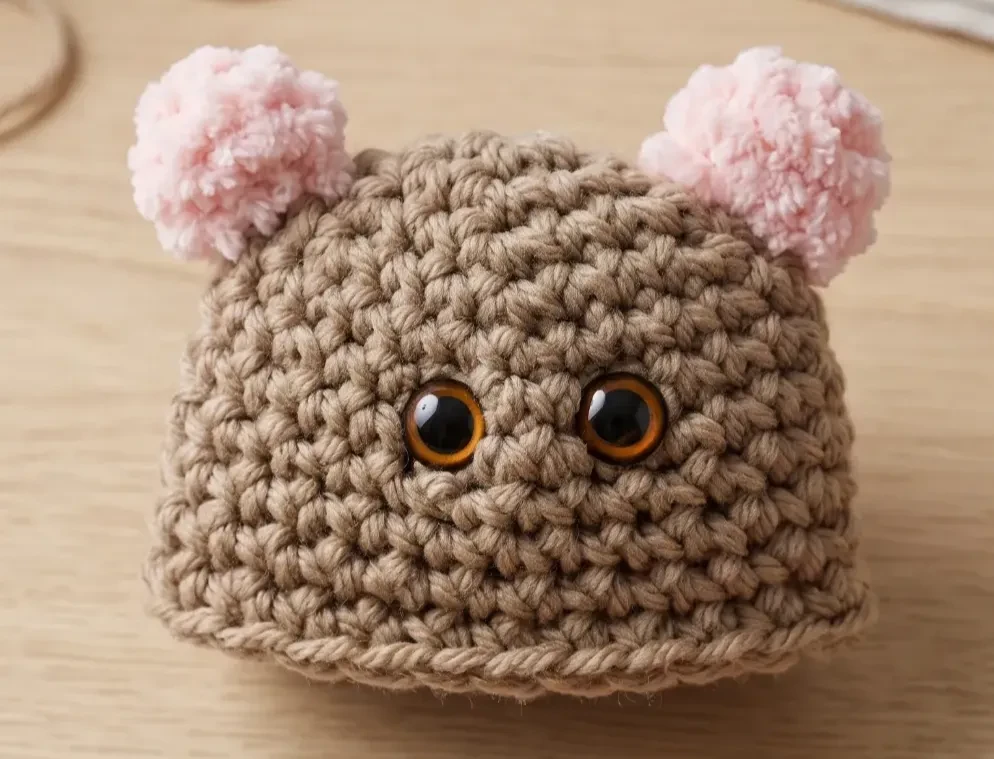
Babies don’t need fancy toys. They need something soft, safe, and made with love, and that’s exactly what a handmade crochet toy delivers.
These four free patterns cover everything from bear rattles to a fluffy axolotl, all beginner-friendly and baby-safe. Whether you’re a new crocheter or just looking for a quick gift project, you’ll find something here worth making.
1. Crochet Baby Bear Rattle Amigurumi Pattern
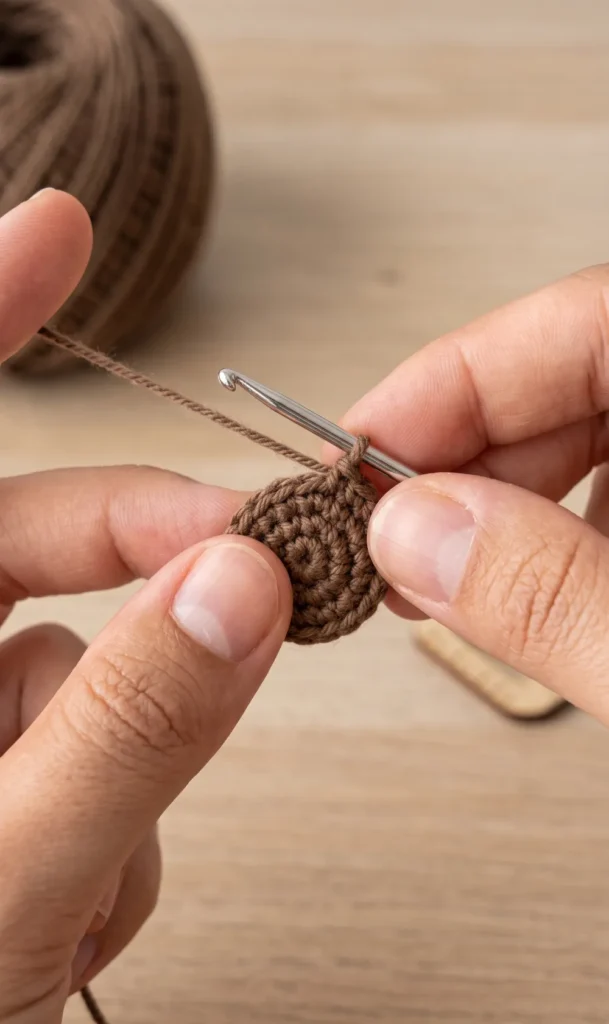
This guide provides a comprehensive tutorial for creating an adorable bear baby rattle, starting with the necessary materials and the detailed process for crocheting the head. This pattern is based on a free bear toy tutorial available online, which has been modified to create this specific teether design.
Essential Materials and Tools
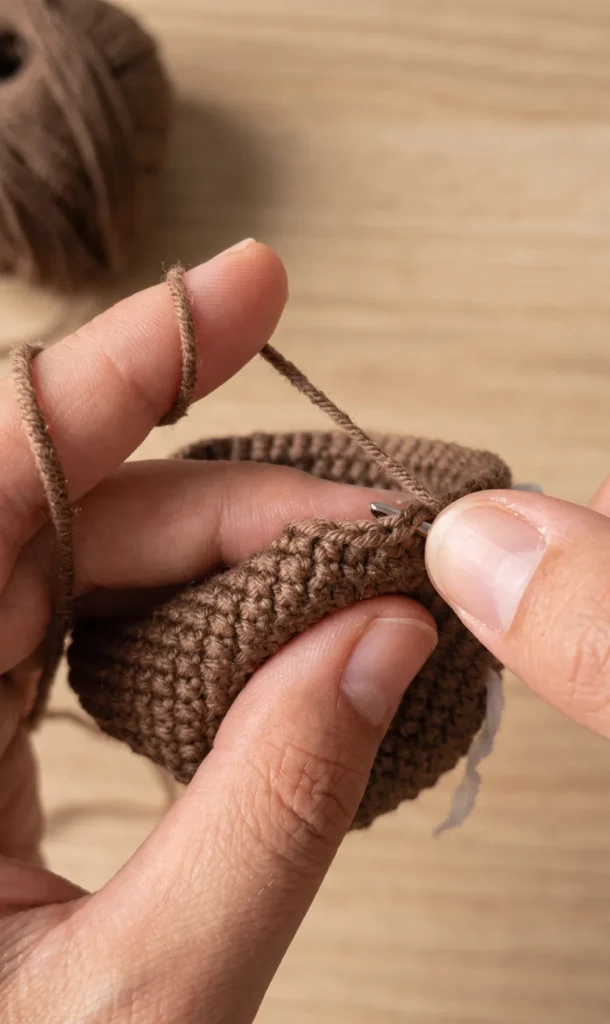
To begin your crochet bear rattle, gather the following supplies:
- Yarn: Use YarnArt Jeans in two contrasting colors for the main body and the collar. You will also need a small piece of white yarn for decorating the eyes.
- Crochet Hook: A 1.75 mm crochet hook is recommended.
- Embroidery Thread: Thin Italian velour or any other thin yarn is needed for embroidering the nose.
- Wooden Ring: A 65 mm wooden ring is used for this project, though you can choose a different size if desired.
- Safety Eyes: You will need 5 mm safety eyes that come with washers for secure fastening.
- Stuffing: Use fiberfill to stuff the head of the bear.
- Notions: Ensure you have scissors, a sewing needle, and a stitch marker.
- Sculpting Thread: Use a strong thread for muzzle sculpting, ideally in a color that closely matches your main yarn to keep it invisible.
Step-by-Step Head Construction
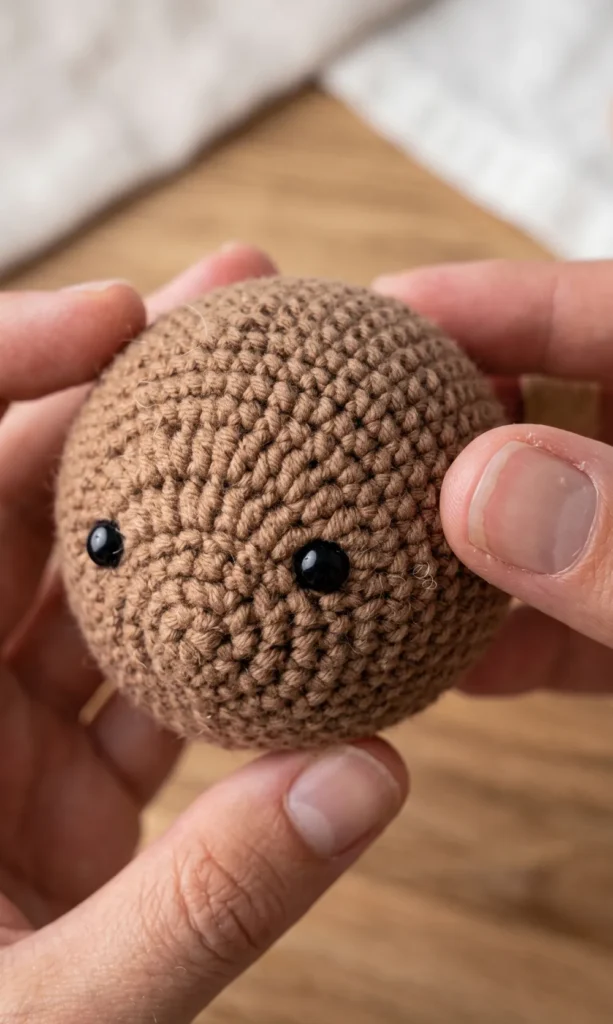
The head begins with a series of rounds focused on creating the muzzle shape and expanding the size.
- Round 1: Start with a magic ring and crochet 6 single crochet (sc) stitches into it.
- Round 2: Place a marker and crochet 2 sc in each stitch around to reach 12 stitches.
- Round 3: Crochet 2 sc, then 3 sc in one stitch, followed by another 3 sc in one stitch. Continue with 4 sc, then repeat the 3 sc in one stitch twice, ending with 2 more sc for a total of 20 stitches.
- Round 4: Crochet 4 sc, followed by 3 increases (2 sc in one stitch). Crochet 7 sc, then another 3 increases, and finish with 3 sc to reach 27 stitches.
- Round 5: Crochet 10 sc. Perform an increase of 2 half double crochets (hdc) in one stitch seven times, then finish the round with 9 sc to reach 33 stitches.
- Round 6: Start with an increase, then 7 sc, followed by another increase and 1 sc. Crochet 2 hdc, then a sequence of (hdc increase, 1 hdc) five times, followed by an hdc increase, 2 hdc, 1 sc, another increase, and 6 sc to reach 42 stitches.
- Round 7: Crochet 1 sc and an increase, then 7 sc and an increase. Continue with 7 sc, an increase, 4 sc, an increase, 4 sc, an increase, 8 sc, an increase, and 5 more sc to reach 48 stitches.
- Round 8: Crochet 15 sc, an increase, 6 sc, an increase, 6 sc, an increase, 6 sc, an increase, and 11 sc. At this point, the shape of the muzzle should be distinguishable.
- Round 9: Crochet 22 sc, an increase, 10 sc, an increase, and 18 sc for a total of 54 stitches.
- Round 10: This is the final increase round. Crochet 27 sc, an increase, 2 sc, an increase, and 23 sc to reach 56 stitches.
- Rounds 11 to 15: Crochet five even rounds of 56 sc each with no increases or decreases.
Eye Placement and Closing the Head
Once the main part of the head is finished, you must install the safety eyes before the opening becomes too small.
- Installing Eyes: Use 5 mm safety eyes and insert them into the first and last increases of the 5th round. Ensure they are placed symmetrically before securing them tightly with the washers.
- Decreasing Round 16: Crochet (5 sc, decrease) eight times.
- Decreasing Round 17: Crochet (6 sc, decrease) six times to reach 42 stitches.
- Decreasing Round 18: Crochet (5 sc, decrease) six times.
- Stuffing: Begin stuffing the head tightly to ensure it holds a proper shape, but be careful not to overstuff as it may make muzzle sculpting difficult later.
- Decreasing Round 19: Crochet (4 sc, decrease) six times.
- Decreasing Round 20: Crochet (3 sc, decrease) six times.
- Decreasing Round 21: Crochet (2 sc, decrease) six times.
- Decreasing Round 22: Crochet (1 sc, decrease) six times.
- Final Decreases: Complete a round of 6 decreases to leave 6 stitches remaining.
To finish, cut the thread and pull it through the loop. Use a sewing needle to thread through the front loops only of the remaining stitches, pull tight to close the hole, and weave in the tail.
Video Credits: DidyToys
2. Crochet Baby Bear Lovey Pattern
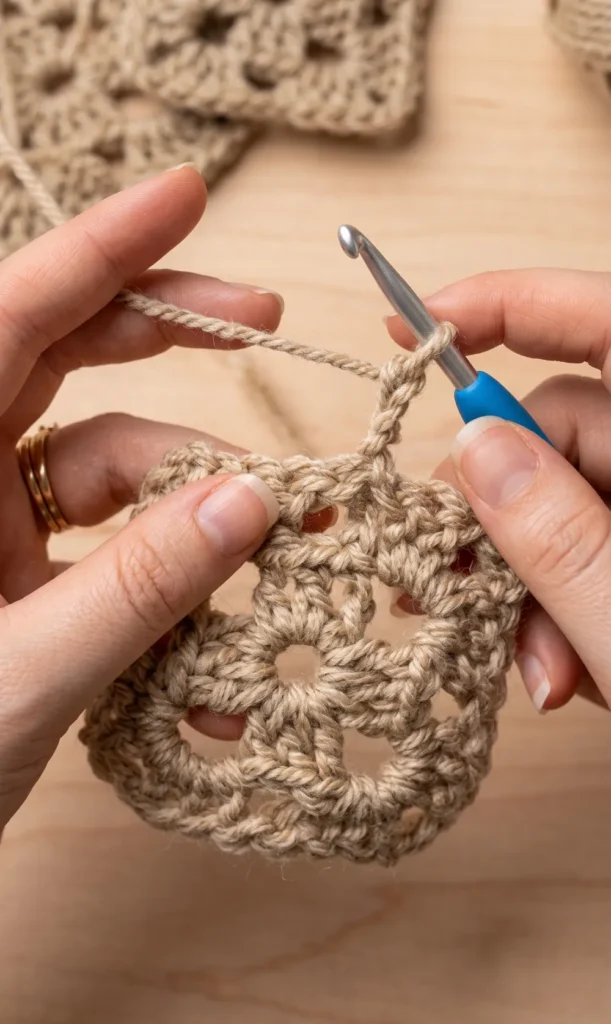
Creating a bunny amigurumi rattle is a delightful project that requires only a small amount of yarn and a few key components. This guide will walk you through the process of crafting this sweet toy, which is perfect for babies.
Essential Materials
To begin this project, you will need the following supplies:
- Yarn: Approximately 20 grams of your preferred yarn. The tutorial uses 100% Korean yarn, but any brand works as long as you adjust your hook size accordingly.
- Crochet Hook: A 2.5 mm hook is recommended if you are making single crochet stitches in an “X” shape.
- Safety and Structure: A wood ring for the handle and a rattle insert to put inside the head.
- Tools: A wool needle, scissors, pins, and stuffing.
- Embroidery: Black and pink thread for the eyes and nose.
- Optional Detail: Glittery yarn (such as Symphonia brand) for a decorative bow.
Creating the Bunny Head
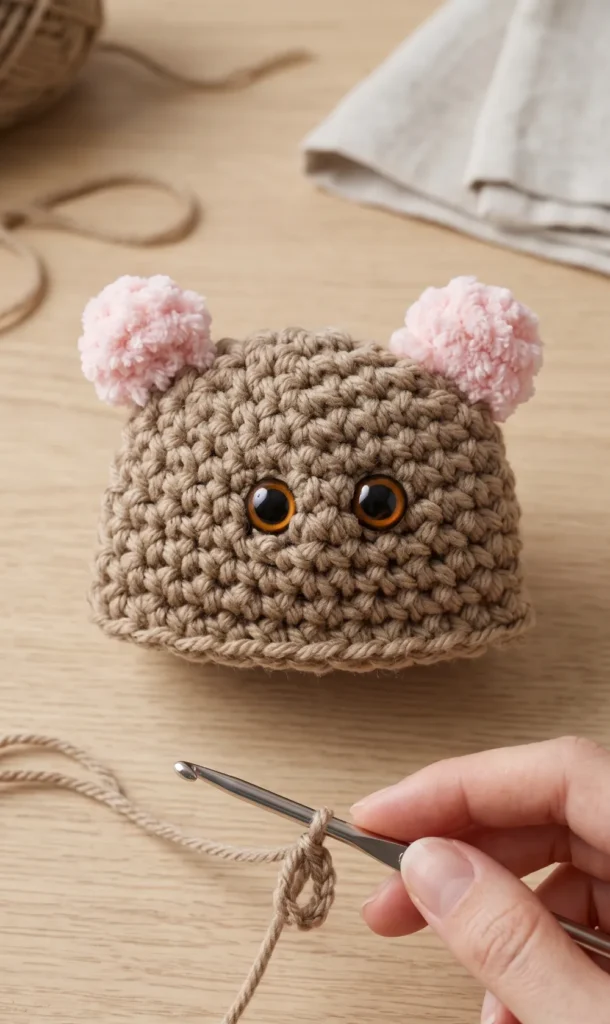
The head is built using rounds of single crochet, starting from the top.
- Foundational Rounds: Begin with a magic ring and 6 single crochet (sc). Increase in every stitch in round 2 to reach 12 points.
- Expanding the Shape: Continue increasing through round 7 until you have 42 points.
- Building Height: Crochet rounds 8 through 11 with 42 sc each. In round 12, increase to 48 points, and in round 13, increase to 54 points.
- The Middle Section: Work rounds 14 through 17 with 54 sc.
- Decreasing and Stuffing: Start decreasing from round 18. After finishing round 22 (24 points), add stuffing, then insert the rattle, and add more stuffing around it.
- Closing: Continue decreasing until round 24. For the final round (round 25), work 12 sc rather than further decreases to make it easier to add final stuffing before closing the head with a needle.
Embroidering the Face
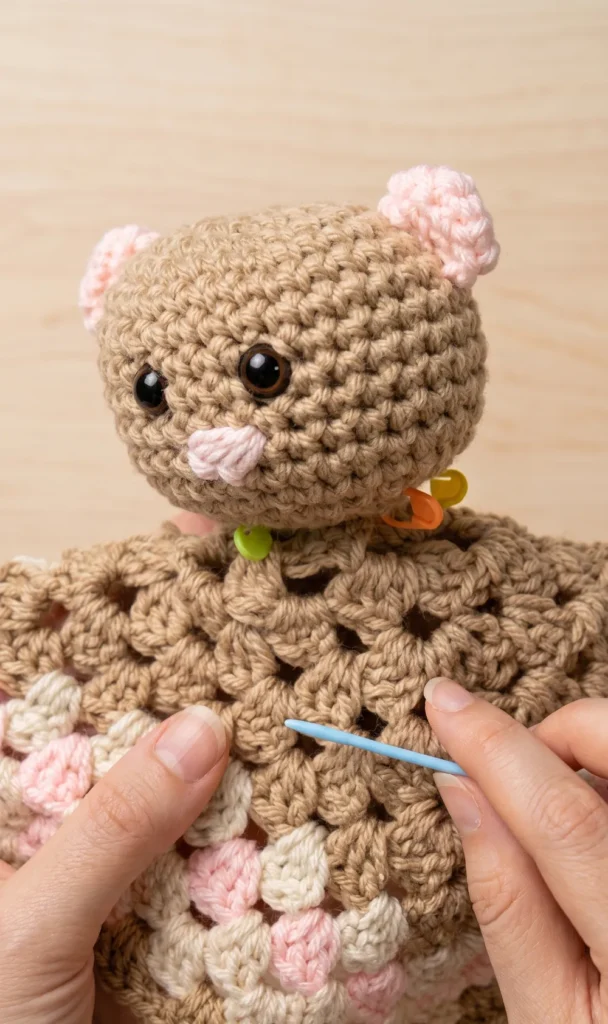
For safety reasons, especially for toys intended for babies, embroidering the eyes is often preferred over using plastic safety eyes. Use a wool needle and black thread to embroider the eyes between rounds 10 and 11, leaving five points of separation between them. Use pink yarn to embroider a small nose.
Crafting the Bunny Ears
The ears do not require stuffing and are worked in rounds.
- Rounds 1 to 5: Start with a magic ring of 6 sc and increase gradually until you reach 18 points.
- Rounds 6 to 10: Work 18 sc in each round.
- Rounds 11 to 16: Decrease gradually to 15 points, then 12 points, finishing with several rounds of 12 sc.
- Finish: Leave enough yarn to sew the ears to the head.
Adding the Decorative Bow
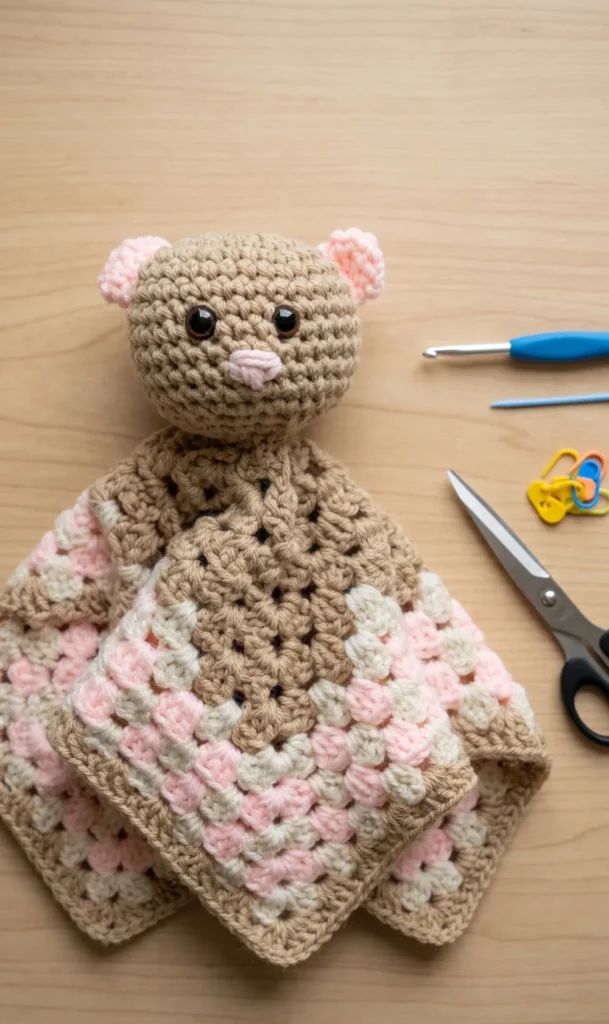
To make a small bow, start with a magic ring and chain three. Work two double crochets, chain three, and slip stitch into the ring. Repeat this process once more to create the second half of the bow, then wrap yarn around the center to finish.
The Ring Cover and Final Assembly
To attach the head to the wood ring, you must first create a crochet cover.
- Crochet the Strip: Chain 10, then work 9 sc starting in the second chain.
- Texture: From round 2 to 24, work 9 sc in the back loops only to create a ribbed effect.
- Joining: Wrap this strip around the wood ring and sew the ends together.
- Secure the Head: Sew the bunny head onto the ring cover. It is highly recommended to sew the union firmly rather than using glue to ensure the toy is strong and secure for a baby to play with.
Video Credits: AllFreeCrochet
3. Crochet Bunny Rattle Amigurumi Doll Pattern
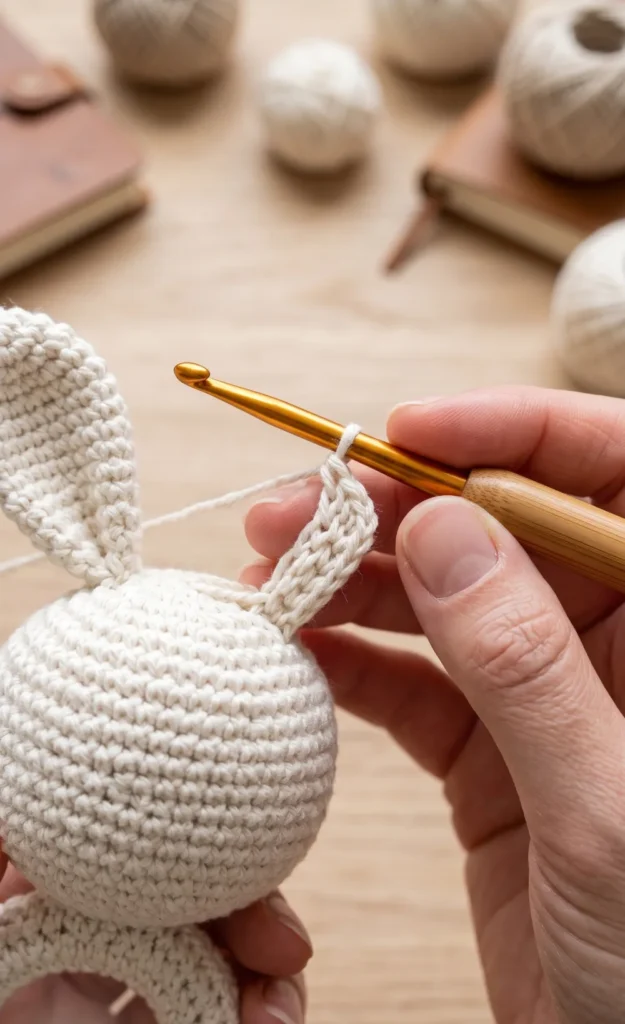
This project is a perfect addition to a baby collection and requires very few materials to complete. By following these steps, you can create a beautiful and safe rattle for a little one.
Materials Needed
To begin this project, you will need approximately 20 grams of yarn. The creator recommends 100 per cent Korean yarn, though you can use any yarn you prefer.
Crochet Hook and Yarn
- 2.5 mm crochet hook: This is used to achieve a single crochet in the form of an ‘X’.
- Embroidery thread: You will need black and pink thread for the eyes and nose.
- Symphonia brand yarn: This is suggested for making the decorative bow, though any colour works.
Additional Tools and Hardware
- Wood ring: This serves as the base for the baby to hold.
- Rattle insert: This is placed inside the head to provide the sound.
- Stuffing: High quality toy stuffing is required.
- Basic kit: Ensure you have a wool needle, scissors, and pins.
Step-by-Step Instructions
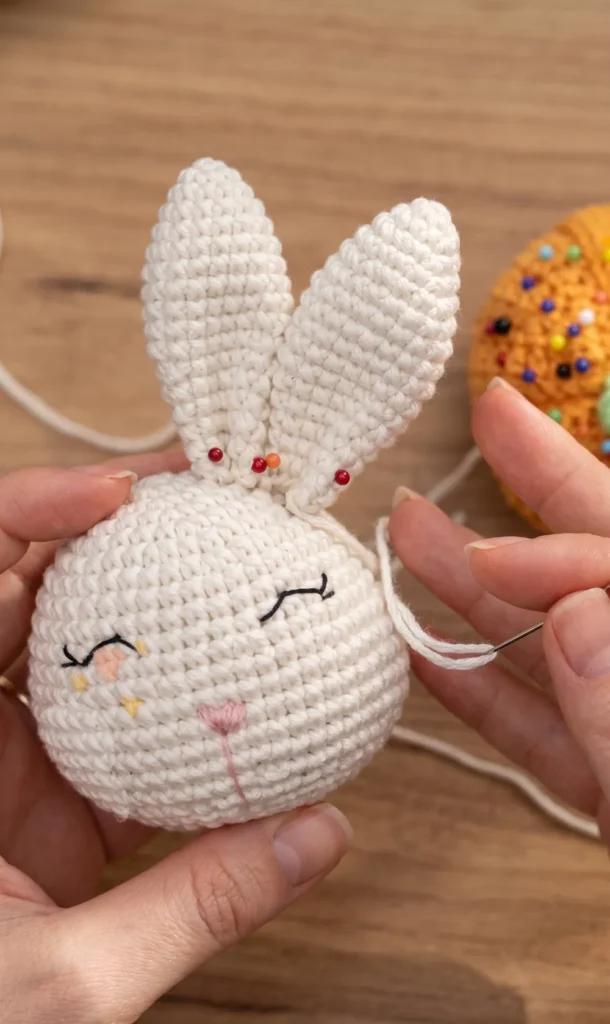
Creating the Head
The head is worked in rounds starting with a magic ring.
- Round 1: Make 6 single crochet (sc) into the magic ring.
- Round 2: Work 6 increases to reach 12 points.
- Round 3: Repeat 1 sc and 1 increase around for 18 points.
- Round 4: Repeat 2 sc and 1 increase around for 24 points.
- Round 5: Repeat 3 sc and 1 increase around for 30 points.
- Round 6: Start with 2 sc, then 1 increase. Repeat (4 sc, 1 increase) five times, ending with 2 sc for 36 points.
- Round 7: Repeat 5 sc and 1 increase around for 42 points.
- Rounds 9 to 11: Work 42 sc in each round.
- Round 12: Repeat 6 sc and 1 increase around for 48 points.
- Round 13: Start with 3 sc, then 1 increase. Repeat (7 sc, 1 increase) five times, ending with 4 sc for 54 points.
- Rounds 14 to 17: Work 54 sc in each round.
- Round 18: Repeat 7 sc and 1 decrease around for 48 points.
- Round 19: Start with 3 sc, then 1 decrease. Repeat (6 sc, 1 decrease) five times, ending with 3 sc for 42 points.
- Round 20: Repeat 5 sc and 1 decrease around for 36 points.
- Round 21: Start with 2 sc, then 1 decrease. Repeat (4 sc, 1 decrease) five times, ending with 2 sc for 30 points.
- Round 22: Repeat 3 sc and 1 decrease around for 24 points.
At this stage, you should add stuffing and the rattle insert before continuing.
- Round 23: Repeat 2 sc and 1 decrease around for 18 points.
- Round 24: Repeat 1 sc and 1 decrease six times for 12 points.
- Round 25: Work 12 sc. This provides a better finish for joining later.
Crafting the Ears
The ears are also started with a magic ring containing 6 sc.
- Round 2: Repeat (1 sc, 1 increase) three times for 9 points.
- Round 3: Repeat (2 sc, 1 increase) three times for 12 points.
- Round 4: Repeat (3 sc, 1 increase) three times for 15 points.
- Round 5: Repeat (4 sc, 1 increase) three times for 18 points.
- Rounds 6 to 10: Work 18 sc in each round.
- Round 11: Repeat (4 sc, 1 decrease) three times for 15 points.
- Round 12: Work 15 sc.
- Round 13: Repeat (3 sc, 1 decrease) three times for 12 points.
- Rounds 14 to 16: Work 12 sc in each round.
Embroidery and Facial Details
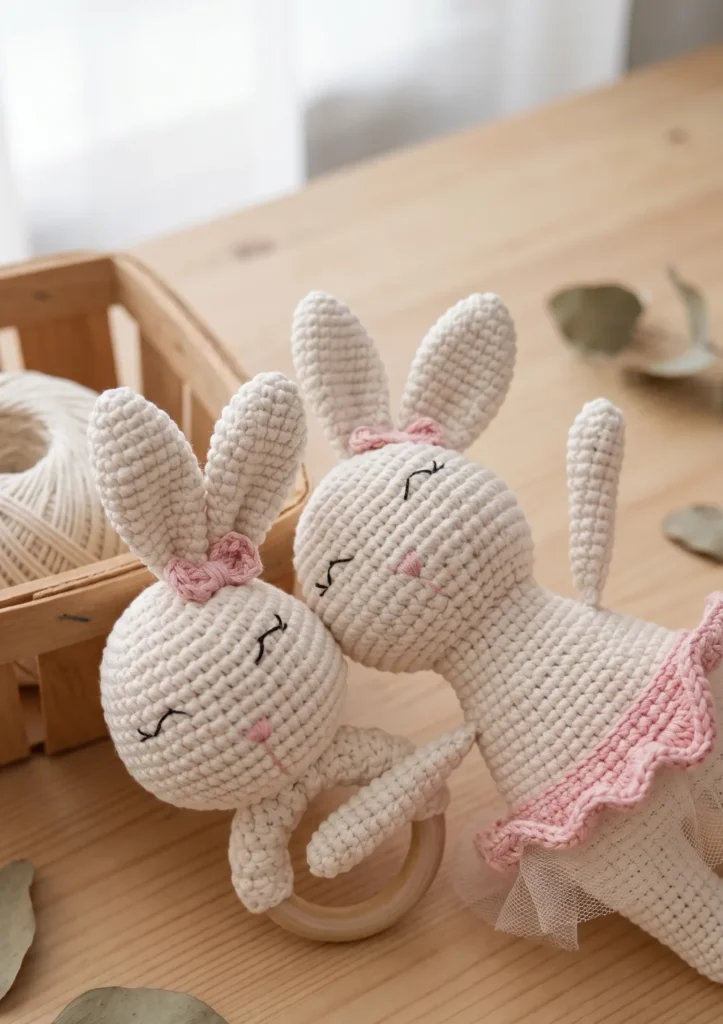
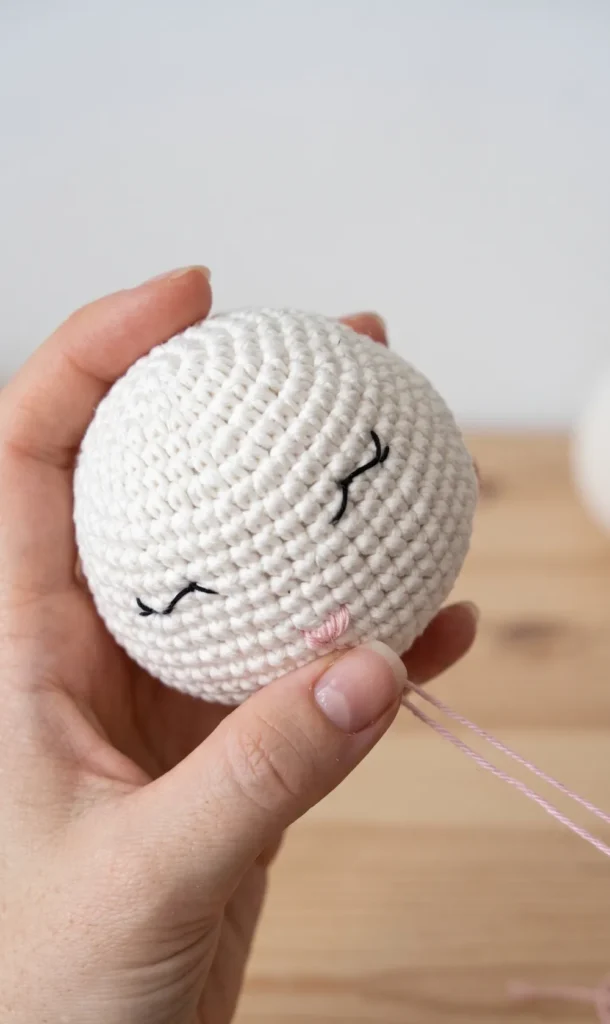
For safety reasons, especially for babies, it is often preferred to embroider the eyes rather than using safety eyes. Use a wool needle with black thread to stitch the eyes between rounds 10 and 11, leaving five points of separation. The nose should be embroidered using pink thread.
The Bow and Ring Cover
To make the bow, start with a magic ring and chain three. Work two double crochets, chain three again, and slip stitch into the ring. Repeat this process once more to complete the bow shape.
The ring cover is made by creating a slip knot and 10 chains. Starting in the second chain, work 9 sc. For rounds 2 to 24, work 9 sc taking the back loops only to create a ribbed texture.
Final Assembly and Safety
Once all pieces are crocheted, sew the ring cover around the wooden ring. It is highly recommended to sew the head onto the cover rather than using glue. This ensures the rattle is strong and secure for a baby to play with. Make numerous stitches until the union is firm and the head does not wobble. Finally, attach the ears and the decorative bow to the head.
Video Credits: GretaWings DIY
4. Crochet Axolotl Amigurumi Pattern
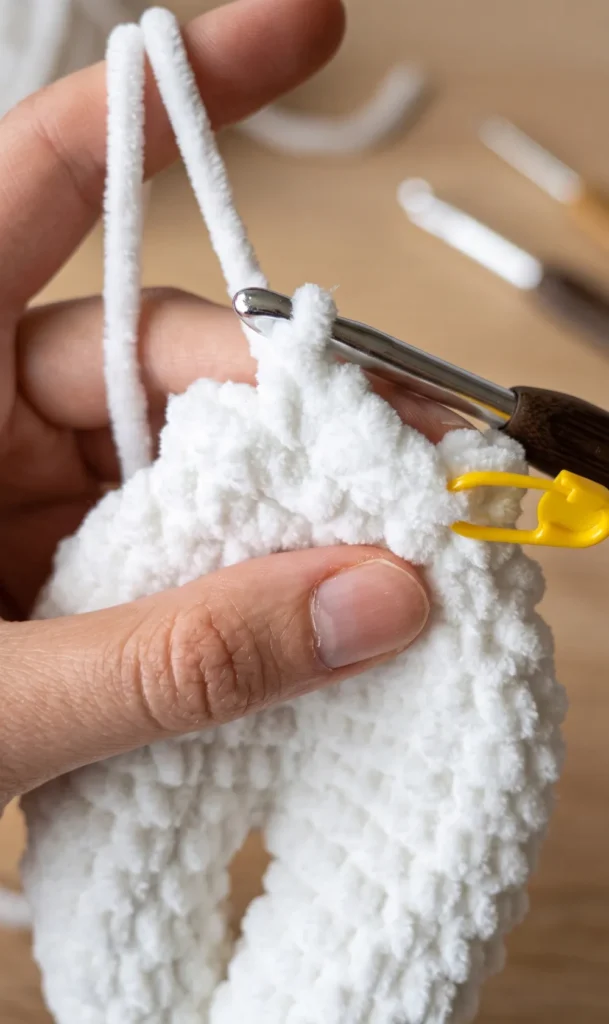
To begin this project, you will need fluffy yarn, a crochet hook, a yarn needle for sewing, and fiberfill for stuffing. This pattern creates a soft, adorable axolotl by working individual pieces that are later assembled into the final creature.
Arms and Legs
For the arms, start with 6 single crochets into a magic circle for round 1. For rounds 2 and 3, single crochet around, then finish off and leave a long tail for sewing. You will need to make two arms.
For the legs, follow these steps:
- Round 1: 6 single crochets into a magic circle.
- Round 2: Increase in every stitch around.
- Rounds 3 to 4: Single crochet around. Make two legs, but do not finish off the second leg, as you will use it to begin the body.
Body Construction
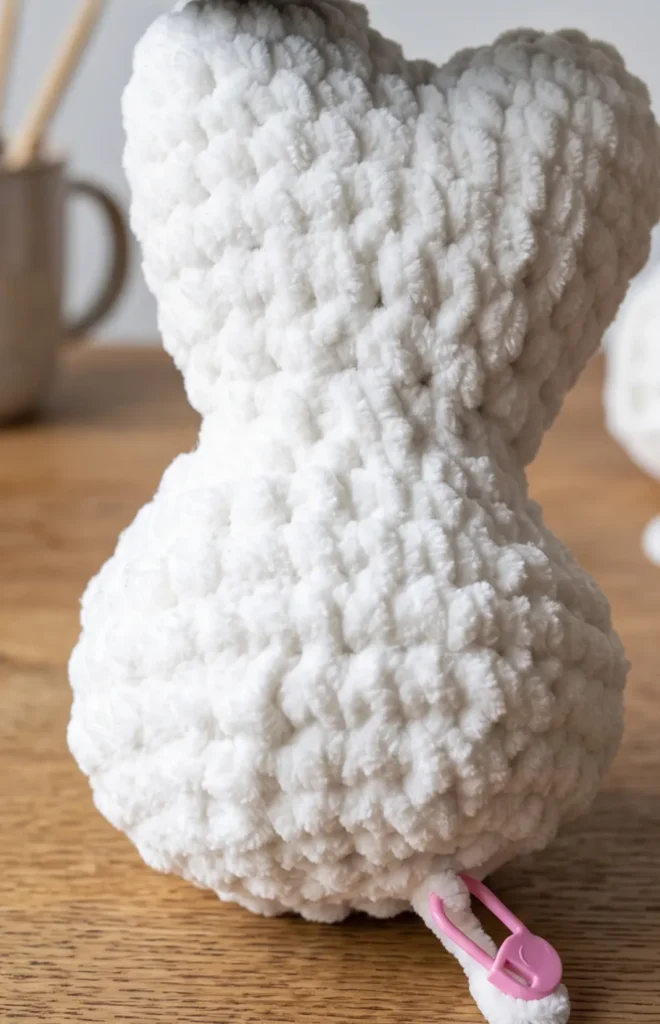
To start the body, connect the legs at round 5 by making a single crochet into the first leg just before its finish off point. Continue to single crochet around both legs until round 8, and then sew the gap that remains between the legs.
The body then uses the following decrease and increase sequence:
- Round 9: (2 single crochet, decrease) around.
- Round 10: (1 single crochet, decrease) around.
- Round 11: Single crochet around.
- Rounds 12 to 15: Gradually increase each round, starting with (1 single crochet, increase) in round 12 and ending with (4 single crochet, increase) in round 15.
- Round 16: Single crochet around.
- Rounds 17 to 20: Begin decreasing, starting with (4 single crochet, decrease) in round 17 and ending with (1 single crochet, decrease) in round 20.
- Round 21: Decrease around. Be sure to place fiberfill after round 19 and again after round 21 before weaving the tail through the last six stitches to finish off.
Tail and Fins
The tail starts with 4 single crochets in a magic circle. Follow a sequence of single crochet rounds and increase rounds (such as 2 single crochet followed by an increase in round 5) until round 8. After finishing, leave a long tail for sewing, fold the tail in half, and sew the top stitches to close the gap.
To make the fins, chain 9 and then single crochet across starting from the second chain from the hook. For round 3, work a sequence of 4 double crochets in the first stitch followed by a slip stitch, repeating this until the end of the row. Make two fins, fold them in half, and sew the bases together.
Gills, Eyes, and Assembly
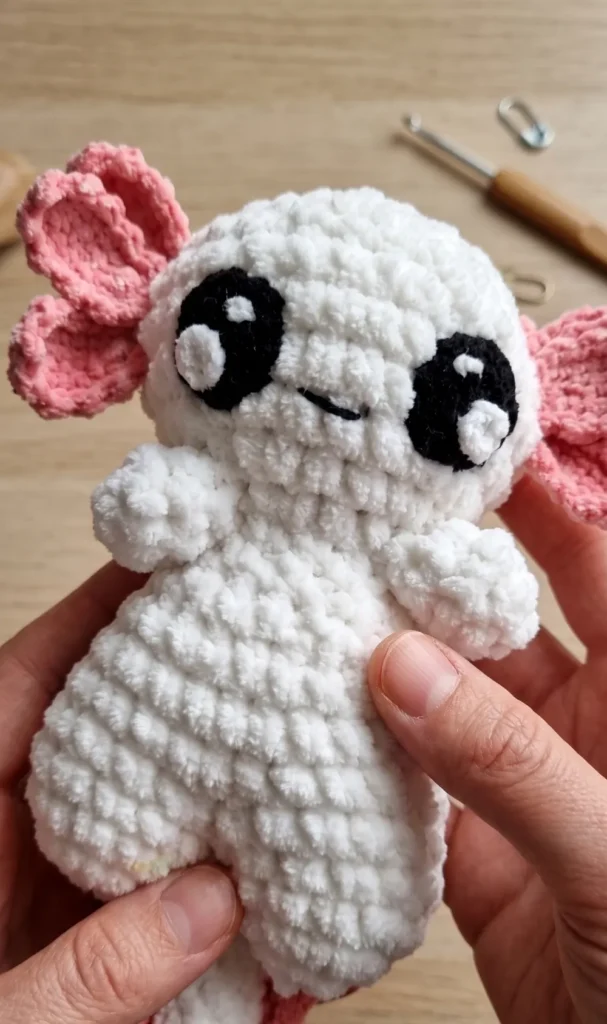
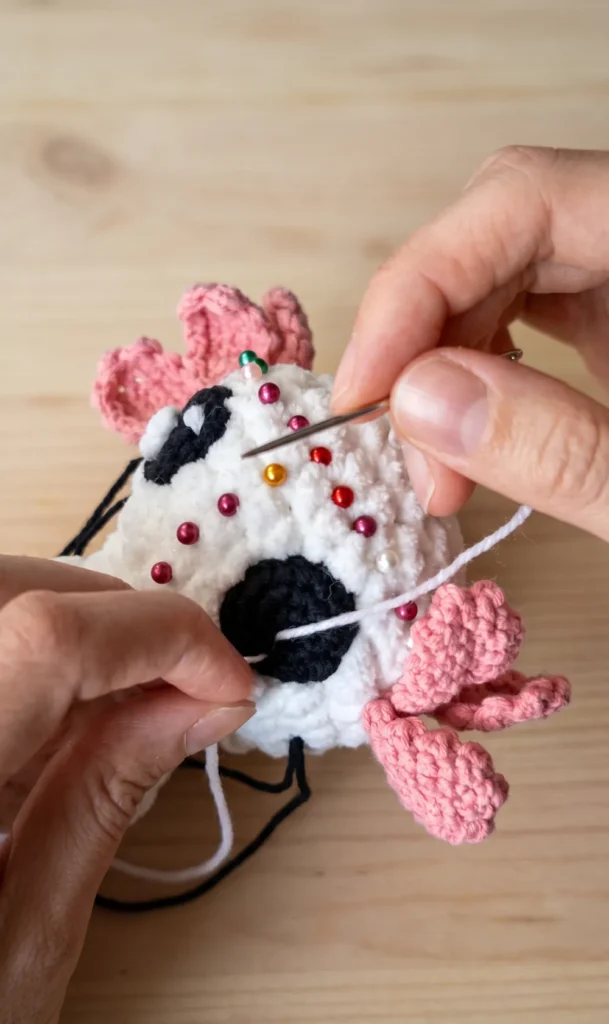
For the gills, start with a chain of 7. Work single crochets around both sides of the chain for rounds 2 and 3, including increases at the ends. For round 4, repeat a sequence of slip stitches followed by double crochets.
The eyes consist of two parts:
- Main Eye: 6 single crochets in a magic circle (R1), increase around (R2), and (1 single crochet, increase) for round 3.
- White Part: 6 single crochets into a magic circle.
Video Credits: Amigurumi Forge
Which Rattle Will You Choose?
These four patterns prove that the sweetest baby gifts don’t need to be complicated. A bear rattle, a bunny, a lovey, or a fluffy axolotl each one is simple to make and absolutely worth the effort.
Pick the one that feels right and start stitching. A handmade toy made with care will always mean more than anything pulled off a store shelf.