How to Crochet a Baby Amigurumi Dinosaur Toy for Boys: Beginner Tutorial
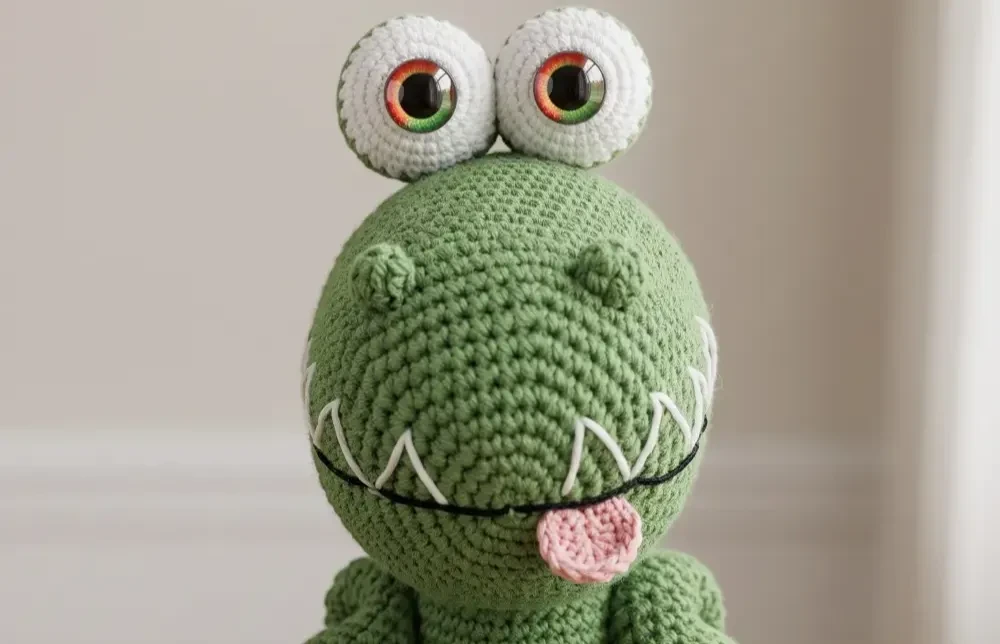
Making baby toys from scratch feels intimidating until you actually sit down and do it. A crochet amigurumi dinosaur is one of those projects that looks complex but breaks down into simple, satisfying steps any beginner can follow.
This tutorial walks you through every part of the dino, from the magic circle head to the movable arms and legs. Grab your 4mm hook and some green yarn, because this little guy comes together faster than you’d expect.
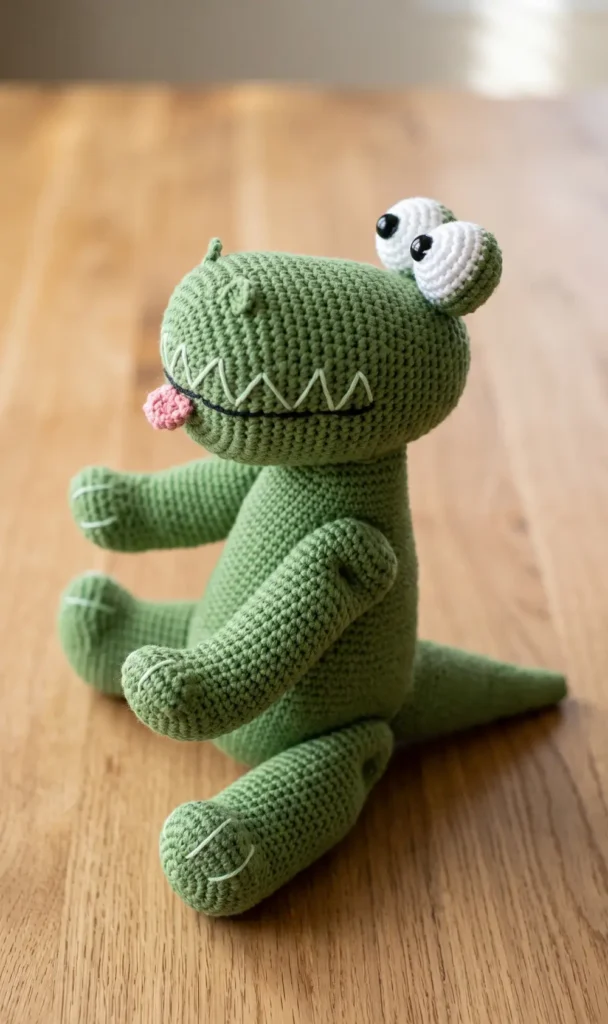
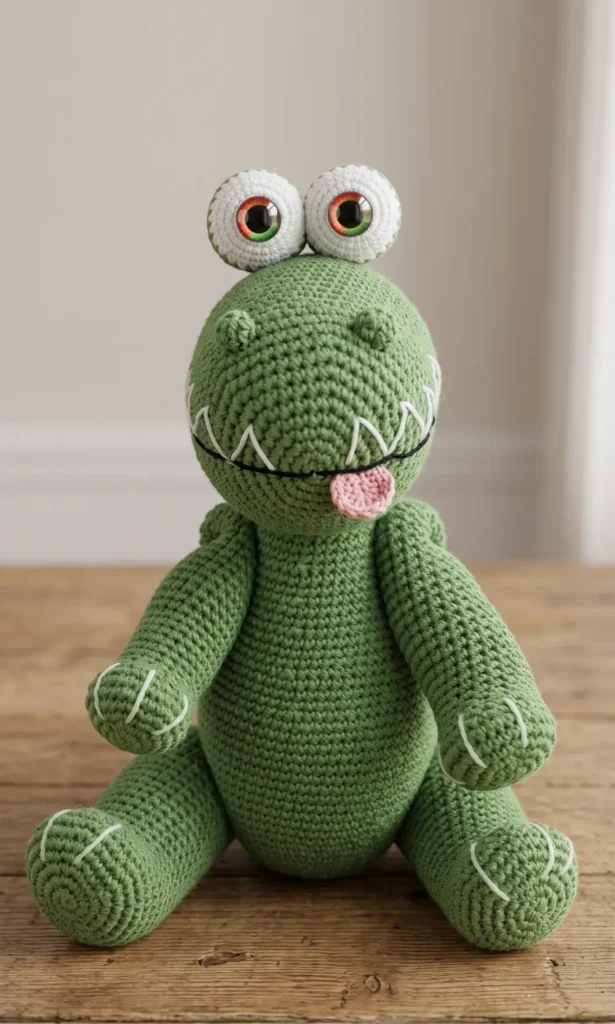
Crochet Amigurumi Dinosaur
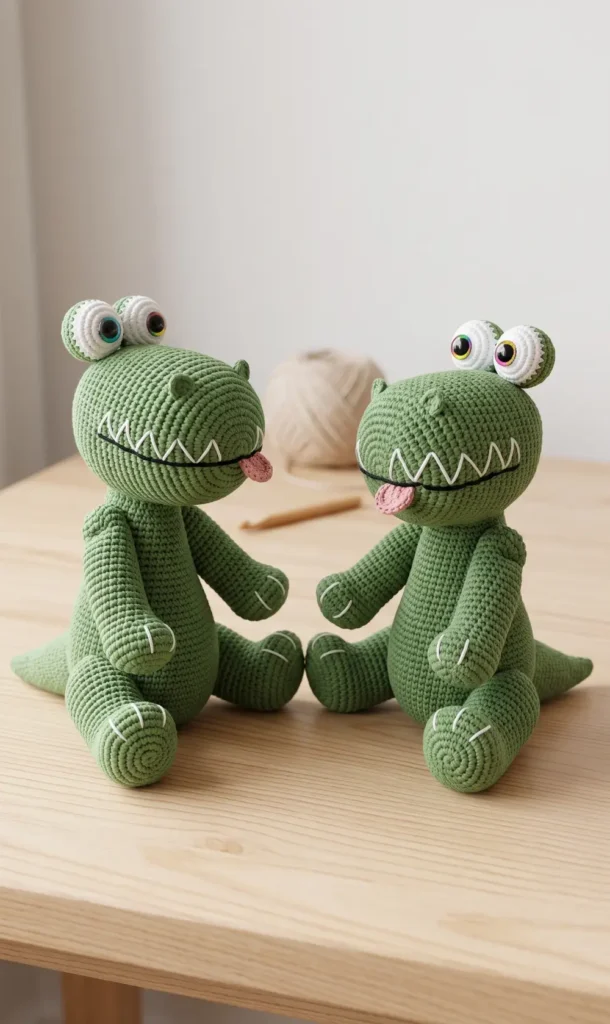
Creating your own crochet amigurumi dinosaur is a rewarding project that results in a charming toy with movable arms and legs. This guide will walk you through the process of making this adorably cute prehistoric friend.
Essential Materials
To get started, you will need the following supplies:
- 4mm crochet hook.
- Yarn: One skein of Caron One Pound in grass green (main color), plus small amounts of black (mouth), white (eyes, mouth, and claws), and pink (tongue).
- 21mm rainbow safety doll eyes.
- Needles: A tapestry or darning needle and a 10 inch upholstery needle for attaching limbs.
- Scissors and craft stuffing.
- Yarn markers or scraps of yarn to track rounds.
Step-by-Step Instructions
1. Form the Head Base
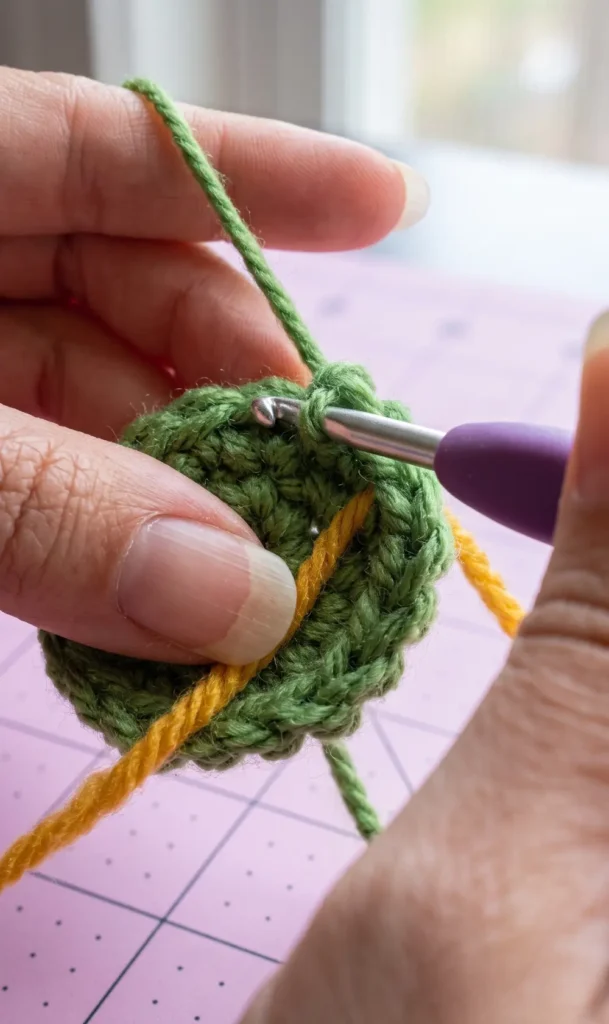
Begin with the green yarn and a magic circle. Place six single crochet (sc) stitches into the circle and close it. For the second round, make two sc into every stitch until you have a total of 12 stitches.
2. Increase the Head
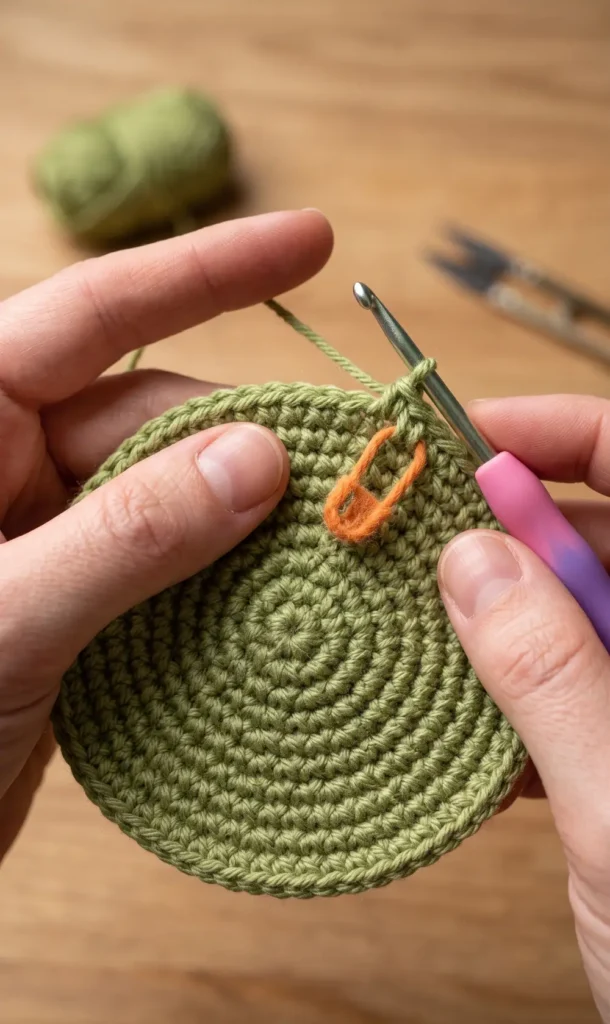
Continue with increase rounds in chronological order. First, alternate between one sc and an increase (2 sc in the next stitch) to reach 18 stitches. Follow this pattern (sc into two stitches, then increase; sc into three stitches, then increase, etc.) until you reach a round of eight sc followed by an increase, giving you a stitch count of 60.
3. Shape the Snout and Head
Maintain 60 stitches for three rounds. Begin decreasing by crocheting eight sc and then single crocheting two stitches together (sc2tog). Follow this with eight rounds of sc, then another decrease round (seven sc then sc2tog), three rounds of sc, a decrease round (six sc then sc2tog), and another three rounds of sc.
4. Close and Stuff the Head
Continue decreasing (five sc then sc2tog, four sc then sc2tog) with single sc rounds in between. Add craft stuffing as the opening gets smaller. Finish with rounds of three sc then sc2tog, two sc then sc2tog, and one sc then sc2tog. Finally, sc2tog until almost closed, then slip stitch it shut and bury the yarn end.
5. Create the Eyeballs
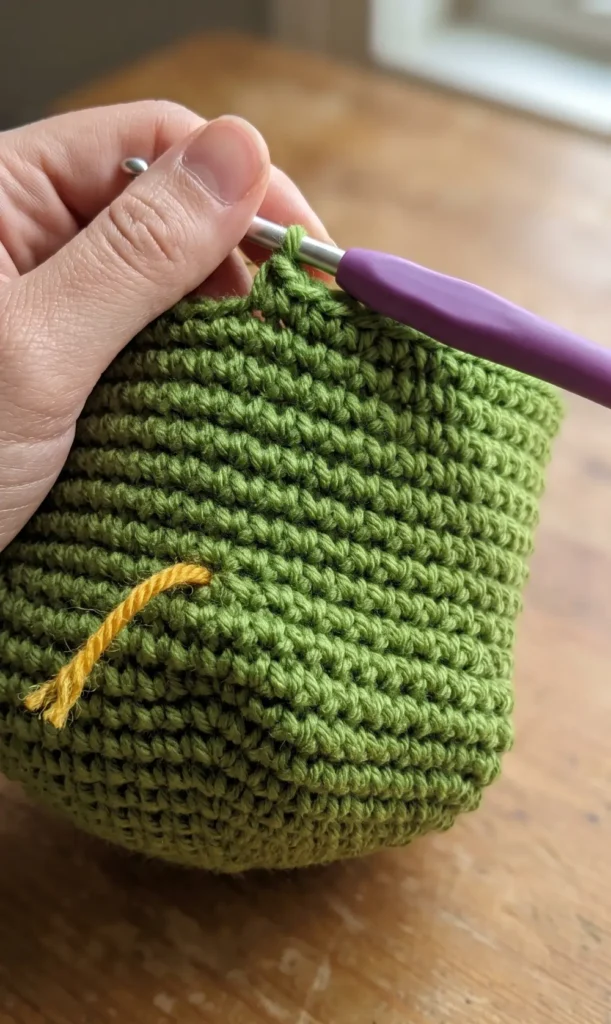
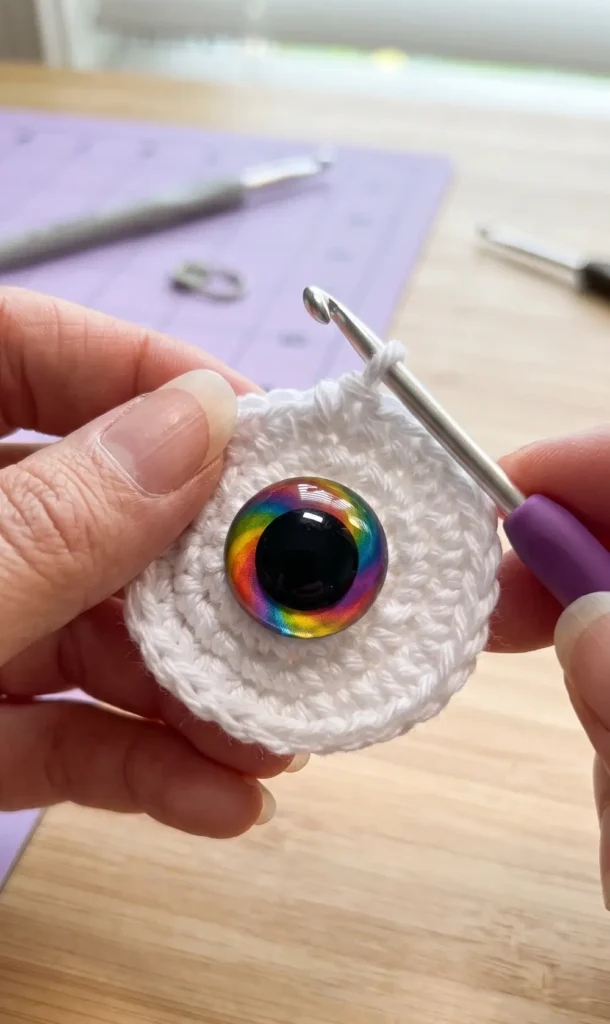
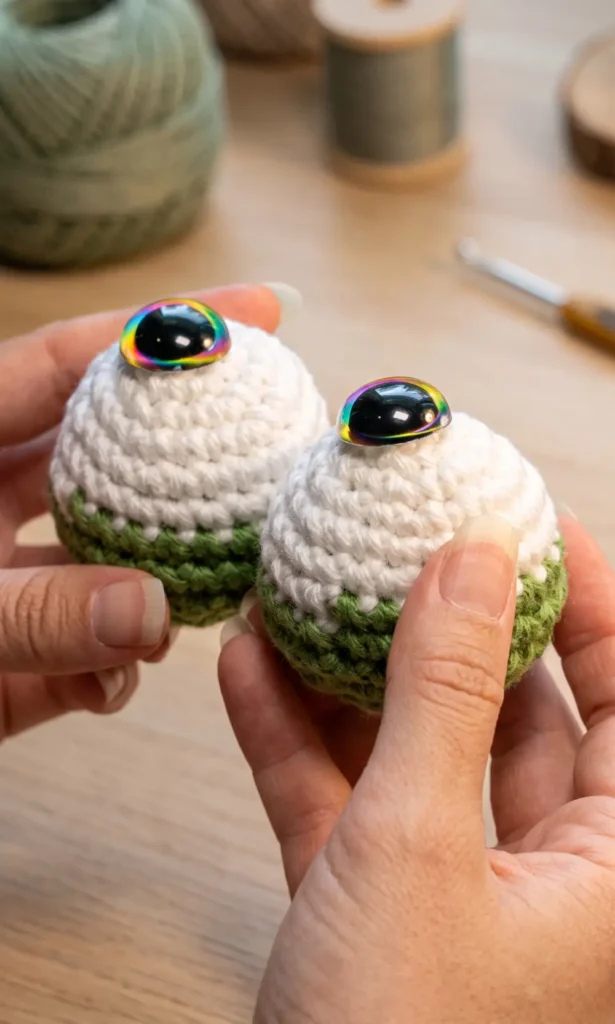
Using white yarn, start a magic circle with six sc, but leave a small opening for the safety eye. Increase to 12 stitches, then follow increase patterns until you have 24 stitches. Insert the 21mm safety eye and secure it with the latch. Crochet two rounds of sc, switch to green yarn for two more sc rounds, then decrease and stuff before closing. Make two of these.
6. Attach Head Features
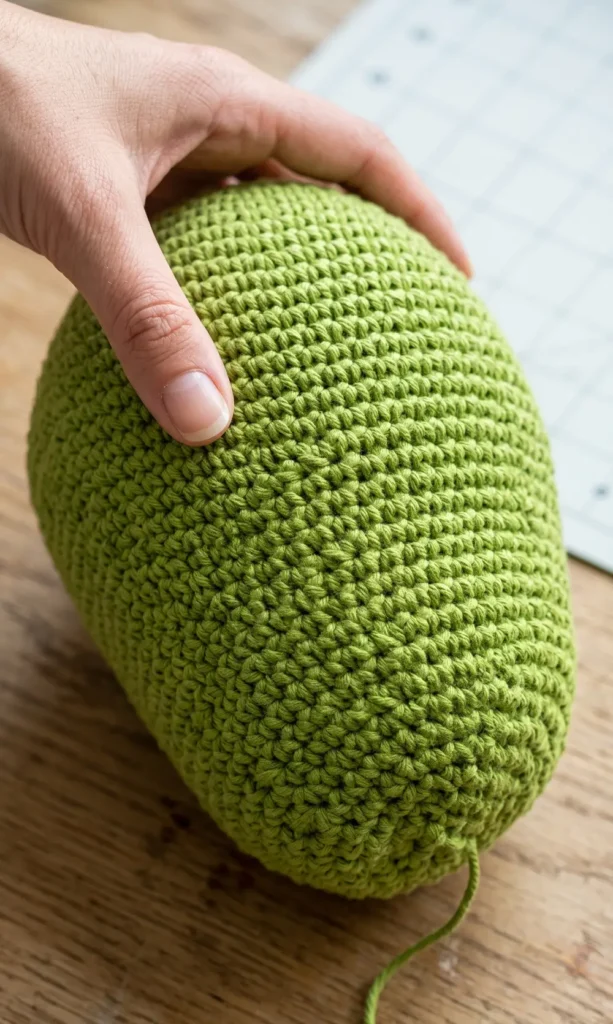
Sew the two eyeballs together so they remain straight, ensuring the green portions line up. Position them on the narrower back portion of the head, leaving the larger part as the snout. Create nostrils by making two green magic circles with six sc each and sew them onto the snout about 10 rounds up from its center.
7. Add the Mouth, Teeth, and Tongue
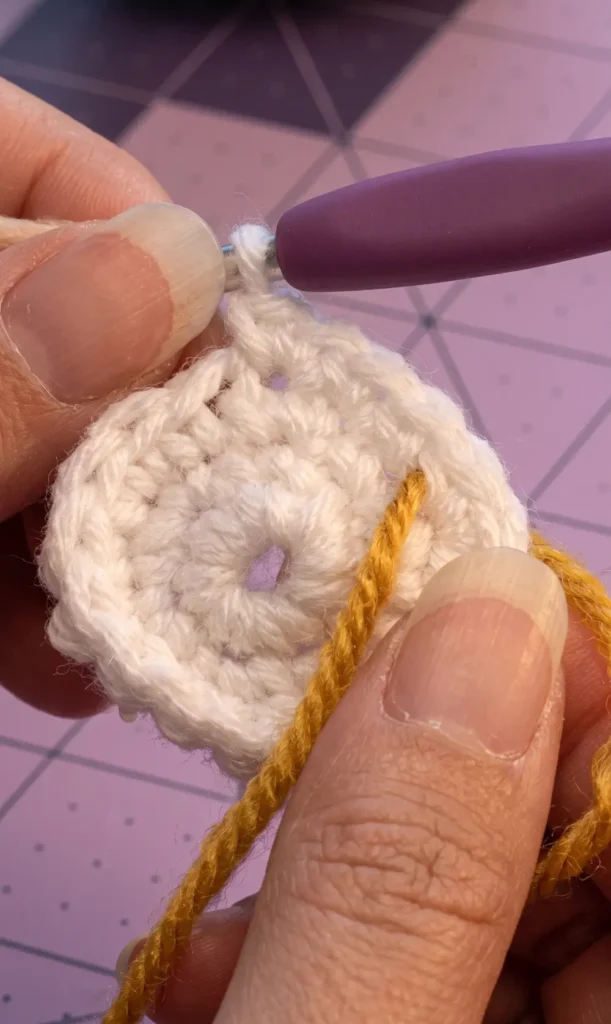
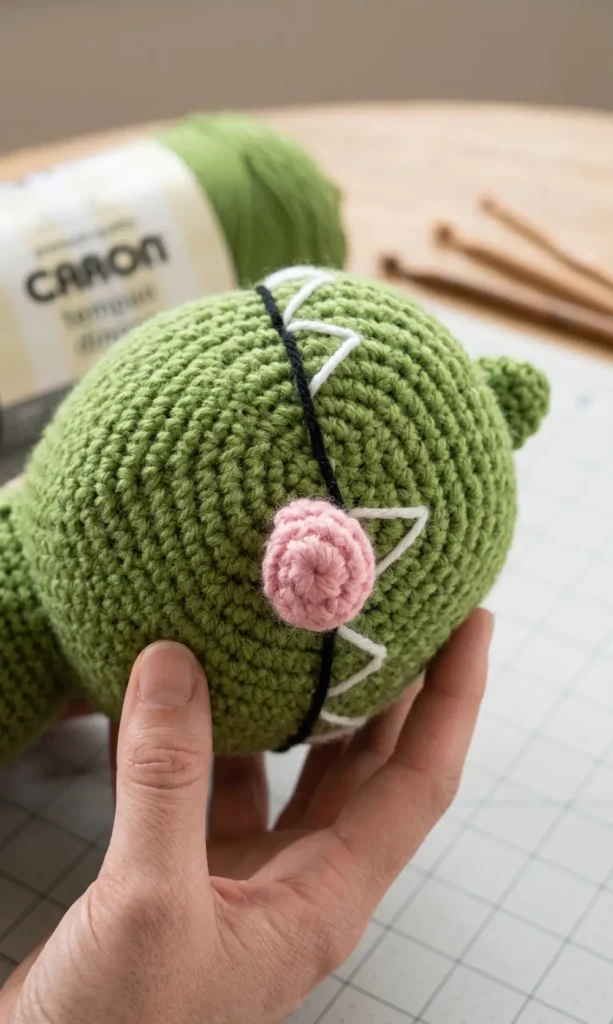
Embroider a black smile across the face. Use white yarn to create triangle teeth along the smile line. For the tongue, use pink yarn to make a magic circle with 12 sc, then crochet a semi circle increase pattern (sc 1, increase) before sewing only the base of the tongue to the head.
8. Start the Body
Using green yarn, create a magic circle with six sc. Increase chronologically (1 sc then increase, 2 sc then increase, etc.) until you reach a round of 10 sc and an increase, resulting in 72 stitches total.
9. Shape the Body
Crochet 15 rounds of sc. Start the decrease rounds by doing 10 sc then sc2tog, followed by three rounds of sc. Continue this pattern, decreasing the sc count between sc2tog by one each time (9 sc, then 8 sc, then 7 sc, then 6 sc) with two or three sc rounds between them.
10. Finalise the Body and Attach Head
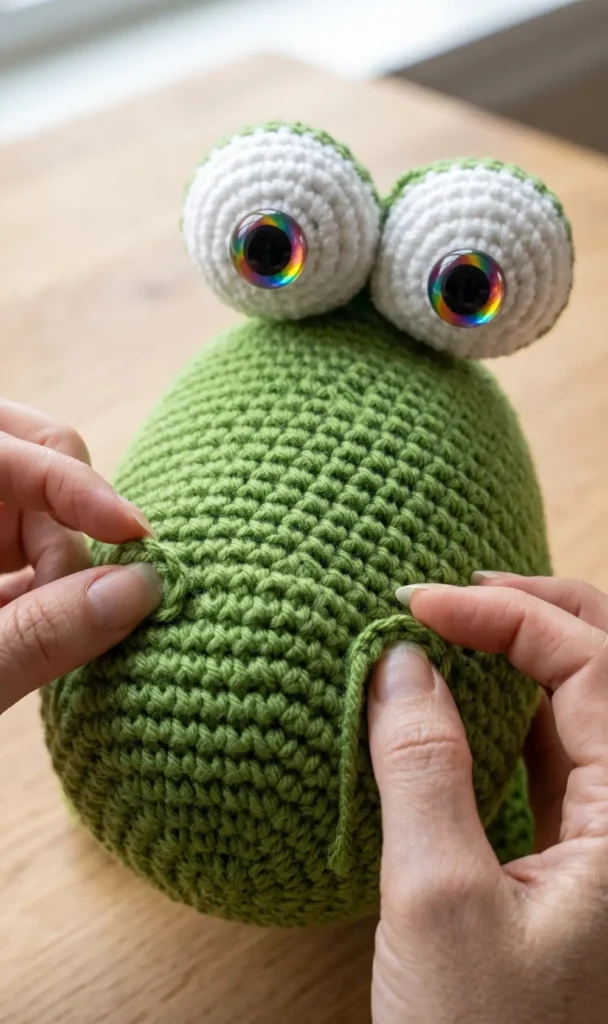
For the last decrease, do five sc then sc2tog, then work eight rounds of sc. Finish with a slip stitch, leaving a long tail. Stuff the body firmly and sew the head onto the body, securing it with several rounds of stitching.
11. Crochet the Arms
Start with a magic circle of six sc and increase to 36 stitches over several rounds. To form the front of the paw, work 10 sc2tog followed by sc in the remaining stitches. Work one round of sc, then another decrease round of five sc2tog and sc in the remaining stitches.
12. Complete the Arms and Claws
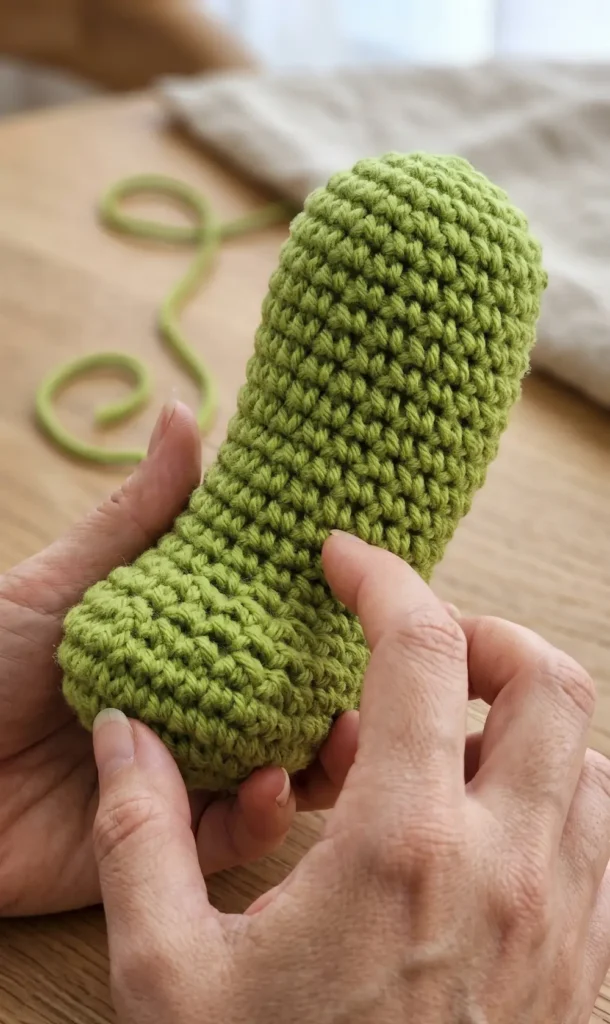
Work 20 rounds of sc for the arm length. Decrease (three sc then sc2tog, two sc then sc2tog), stuff, and slip stitch closed. Use white yarn to embroider three claws onto the paw. Make two arms.
13. Construct the Feet
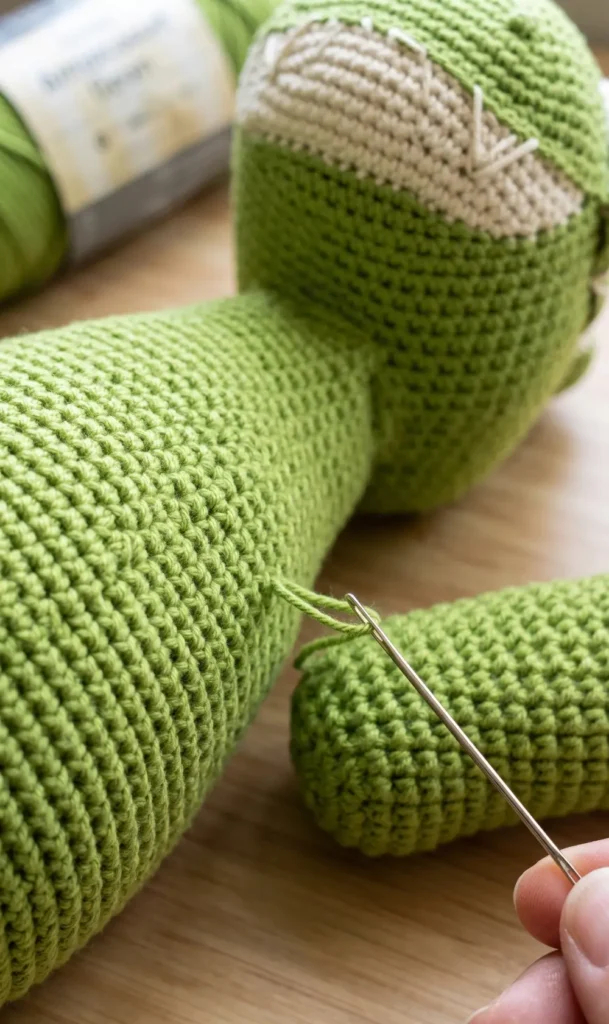
Create a magic circle of six sc and increase to 48 stitches. Form the foot by working 12 sc2tog and then sc in the remaining stitches. After a round of sc, do another six sc2tog and sc in the remaining stitches. Work 20 rounds of sc, then decrease, stuff, close, and add claws. Make two feet.
14. Attach Movable Limbs
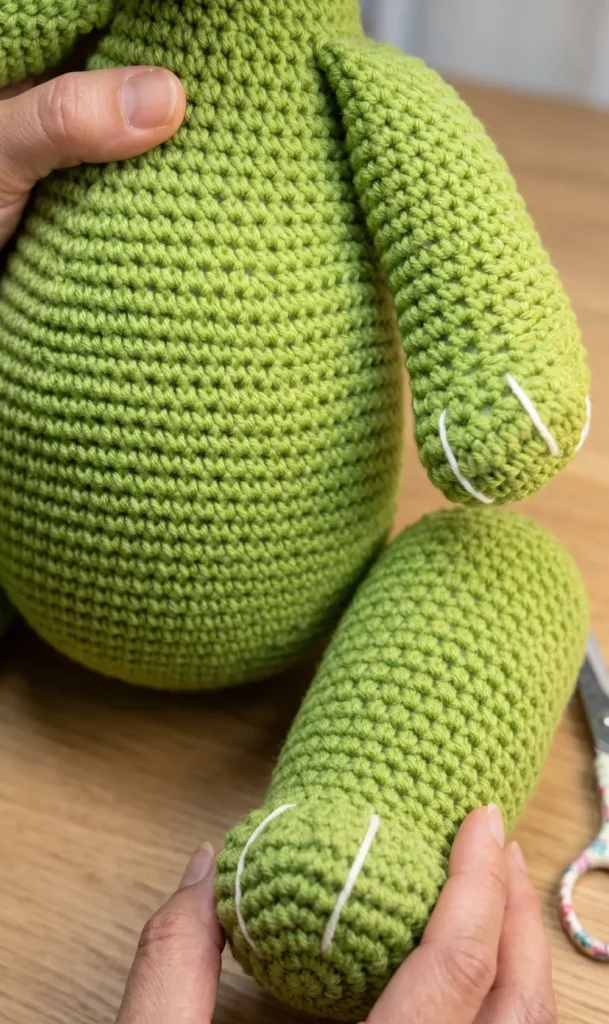
Use the 10 inch upholstery needle to sew through one arm, through the body, and through the other arm. Repeat this process to cinch the limbs to the body, allowing them to move up and down. Attach the legs in the same manner, ensuring they are positioned so the dinosaur can sit upright.
15. Create and Attach the Tail
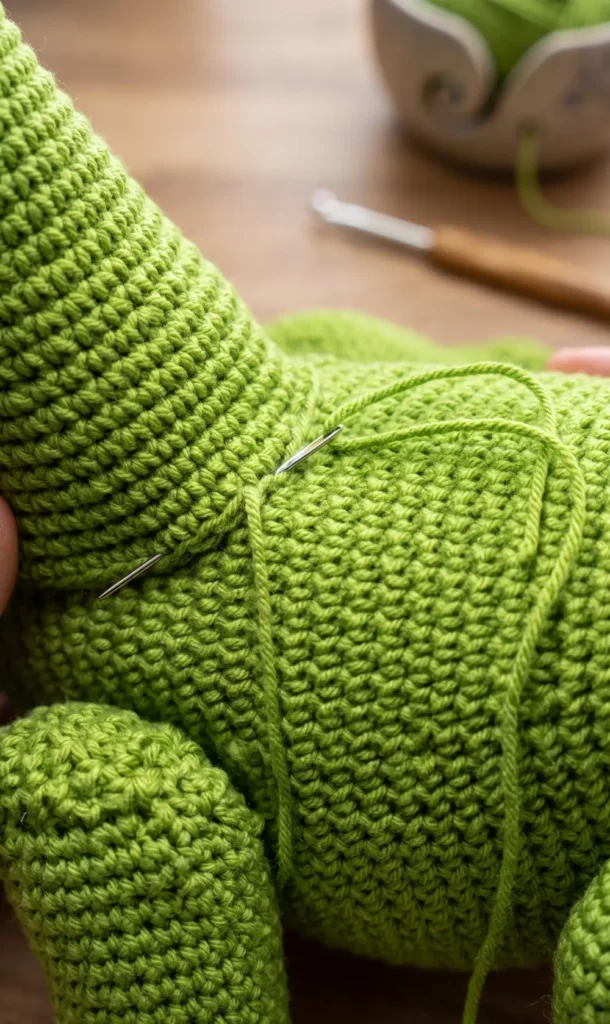
Start with a magic circle of six sc and work two rounds of sc. Increase to 12 stitches and work five rounds of sc. Continue alternating increase rounds (sc 1 then increase, sc 2 then increase, etc.) with three rounds of sc in between until you reach 42 stitches. Stuff the tail and sew it to the back of the dinosaur.
Video Credits: HelenMay Crochet
Ready to Crochet More?
Your amigurumi dinosaur is done, and honestly, the hardest part was just getting started. Once you see how each piece comes together, crocheting baby toys stops feeling like a challenge and starts feeling like your favorite thing to make.
Ready to Crochet More? This little dino is just the beginning. There are so many baby toy patterns waiting for you, from bunnies to elephants to cartoon characters, and every one of them uses the same basic skills you just practiced here.