5 Free Crochet Maple Leaf Patterns for Autumn Decor
Maple leaves are the trickiest fall motif to crochet well. Most patterns give you a flat, floppy shape that barely reads as a leaf. These five patterns fix that with real texture, ridged edges, and stitch definition that actually mimics veins and points.
I picked these because they cover every skill level and every use case. Whether you want a quick applique for a blanket, a chunky pillow for your couch, or a delicate accent piece, one of these patterns will fit right into your autumn decor lineup this year.
1. Crochet Cozy Maple Leaf Pattern
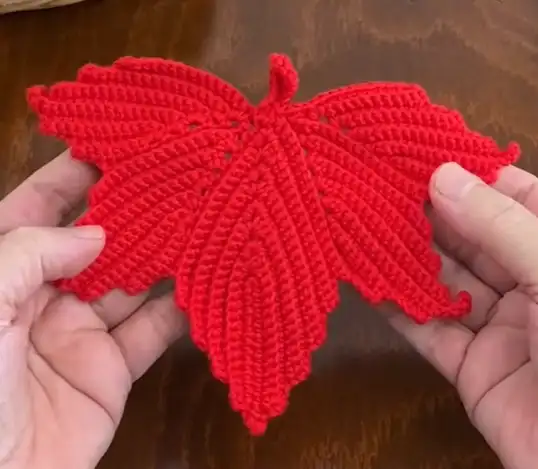
Bring the beauty of autumn indoors with this relaxing crochet project. This pattern creates a textured, multi-pointed leaf perfect for fall décor or as an applique for blankets and scarves.
Essential Materials
To get started, you will need a 2.5 mm crochet hook and your choice of yarn in vibrant autumn colors.
Step 1: Setting the Foundation
Begin your maple leaf by making a knot and creating a chain of 16. Starting from the second chain from the hook, work single crochets all the way to the end of the chain. This initial row serves as the central base for your leaf.
Step 2: Creating the Textured Ridges
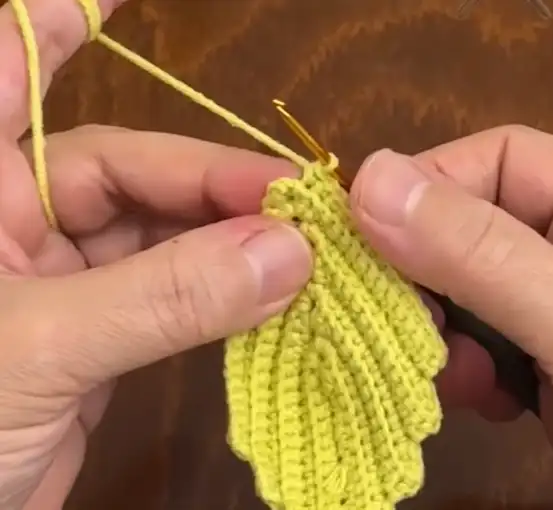
To give the leaf its characteristic depth, you must crochet into the back loop only, which creates a beautiful raised effect. When you reach the peak of a row, work 2 single crochets, a chain of 3, and 2 single crochets all into the same stitch. As you work back down the other side, leave the last 3 stitches unworked before chaining 1 and turning. This technique creates the jagged, ridged edges of the leaf.
Step 3: Shaping the Leaf Sections
Continue the ridge pattern until you have completed 5 ridges on each side of the central piece. Once the first section is finished, you will start the additional leaf points by chaining (such as a chain of 4 or 5 depending on the section) and following the established pattern of single crochets and back-loop work. In these subsequent rows, continue to decrease by 3 stitches at the ends to maintain the tapered shape of the maple points.
Step 4: Finishing the Stem and Center
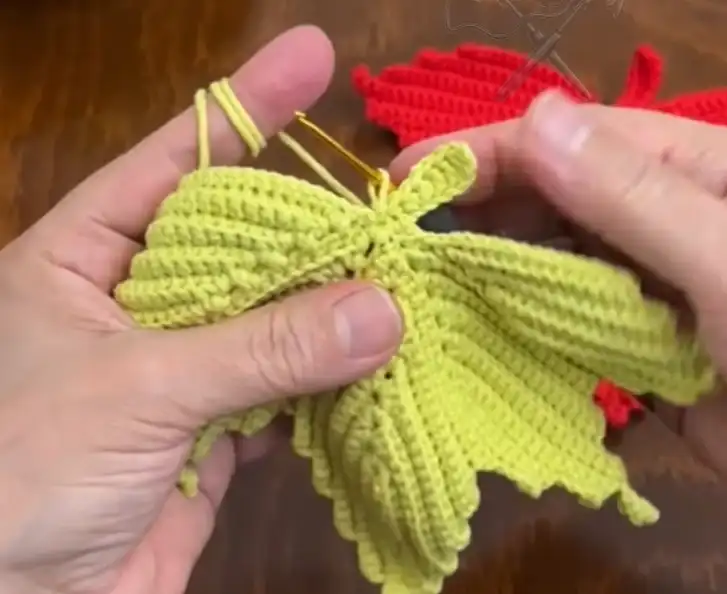
After completing the various leaf sections, the final step is to finish the center and add a stem. To create the stem, chain 8. Starting from the third chain from the hook, work 3 double crochets, followed by 2 half double crochets, and 1 single crochet. Finish the piece with a slip stitch to secure the work. Your cozy autumn maple leaf is now ready to enjoy.
Video Credits: puffy hook
2. Crochet Maple Leaf Pillow Pattern
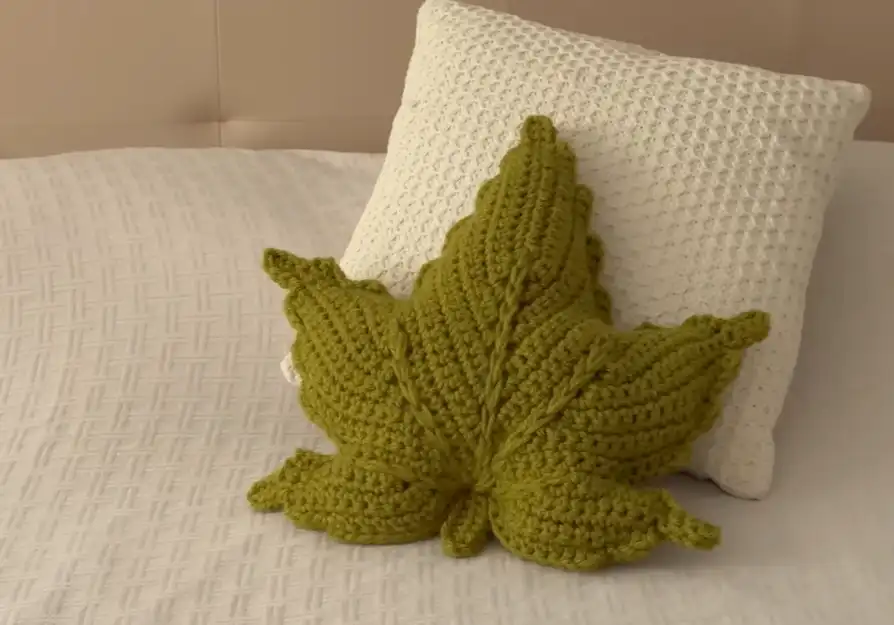
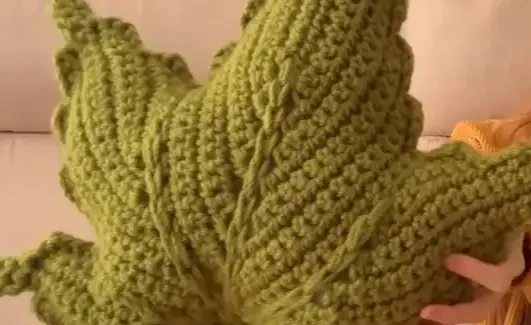
For this unique autumn project, the goal was to create a seasonal home decor piece that stands out from the typical pumpkin designs seen everywhere. This maple leaf pillow is a versatile project that works beautifully in traditional fall colours like red, orange, or golden yellow, though a green version offers a fresh look that matches many room styles.
Essential Materials
To create this pillow, you will need the following supplies:
- Yarn: Two skeins of acrylic sport weight yarn, approximately 100g or 115m per skein.
- Crochet Hook: A large 9mm crochet hook to ensure the pillow is the right size.
- Stuffing: Regular fiberfill, similar to the type used for toys.
- Additional Yarn: Extra strands of yarn, potentially in a double strand, to close gaps in the center of the leaf.
The 4 Step Process
Step 1: Building the Foundation and Center
Begin by making a chain of 16 and working 15 single crochets into the little bumps on the back of the chain. To shape the center of the leaf, work rows of single crochets but stop three stitches before the end of each row to create a tiered effect. At the bottom of the leaf, create a chain four space, which will serve as the middle anchor point for the rest of the project.
Step 2: Shaping the Tiered Leaf Segments
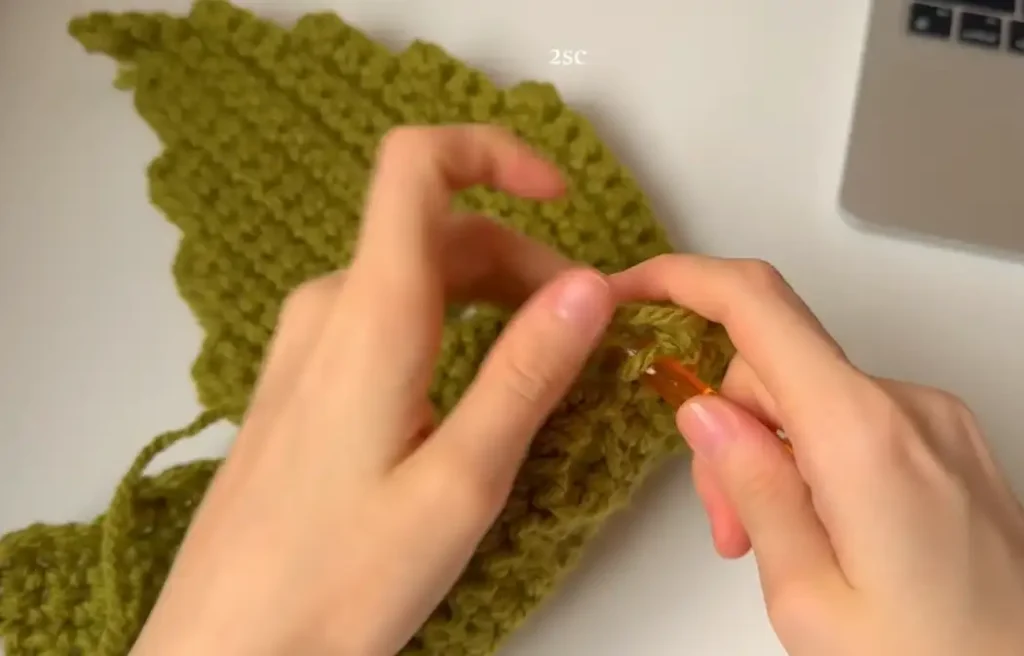
Once the center is formed with four steps down, start working on the side segments by chaining four at the top and crocheting back down toward the center. To create the distinct leaf points, skip one stitch at the bottom and use a slip stitch to join the work before turning and heading back up. This process is repeated to form three steps going up and then three steps going down on the first side of the leaf.
Step 3: Completing Symmetry and Finishing Details
After finishing the first side, repeat the same pattern on the opposite side of the center ring to ensure the maple leaf is perfectly symmetrical. If you wish to add a stem, join with a slip stitch at the bottom center, chain eight, and work seven single crochets back down the chain. To finish the individual leaf, use two strands of yarn to work loose slip stitches over any gaps or holes in the center to provide a solid appearance.
Step 4: Final Assembly and Stuffing
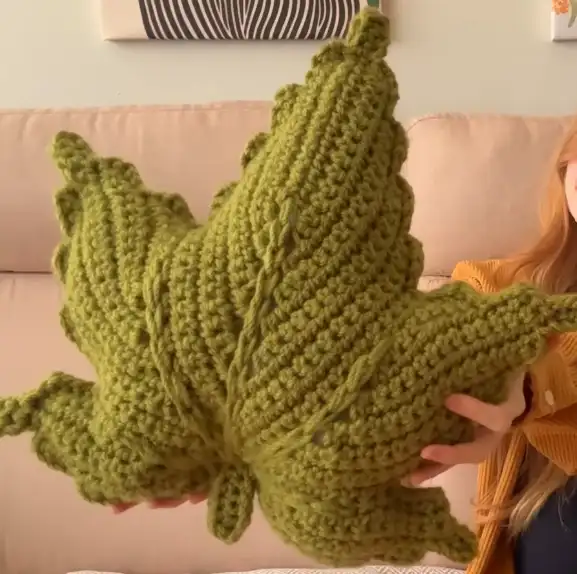
Crochet a second leaf exactly like the first one. Place the two leaves together and join them by making slip stitches into each stitch all the way around the edge. Leave a small opening at the end to fill the pillow firmly with fiberfill. Once the pillow is stuffed to your preference, close the remaining opening with slip stitches to complete your handmade autumn decor.
Video Credits: WONDER NETTING
3. Ribbed Crochet Maple Leaf Pattern
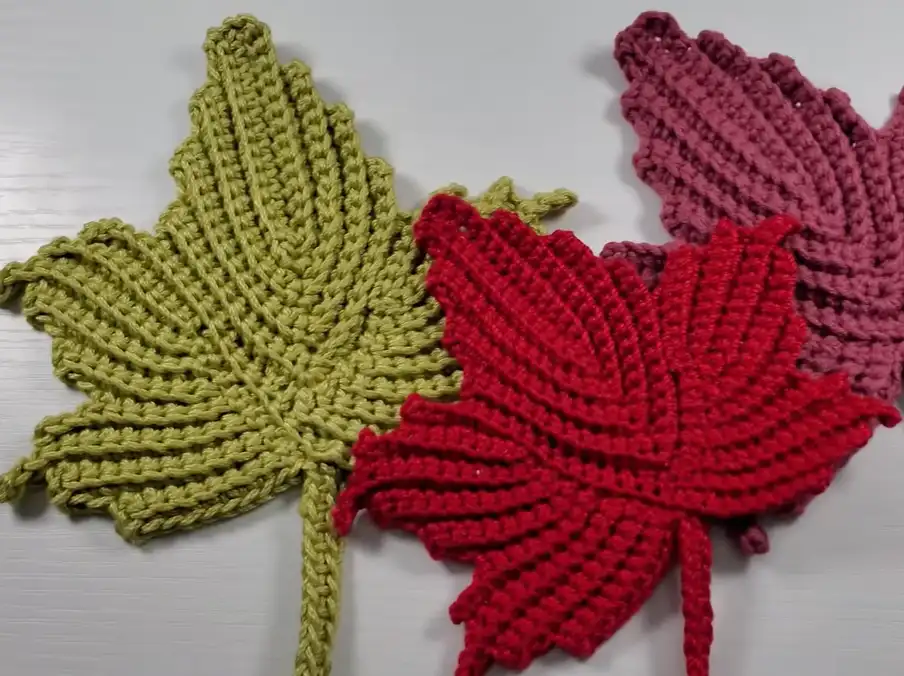
Creating a beautiful, textured maple leaf is a rewarding project that uses basic crochet stitches to achieve a complex, natural look. This tutorial focuses on working into the back loops to create a ribbed effect that mimics the veins of a leaf.
Required Materials
To begin this project, you will need a 3.0 mm crochet hook and size three yarn in your choice of autumnal or leaf-like colours.
Step 1: The Foundation Chain and Initial Row
Start by making a slip knot and chaining 16. In the second chain from your hook, perform a single crochet (sc) and continue making one single crochet in each chain until you reach the second to last stitch. In this final stitch, work three single crochets to create a curve that allows you to work back down the opposite side of the chain. Complete the row by making 14 single crochets on the other side of the foundation chain.
Step 2: Building the Ribbed Center Section
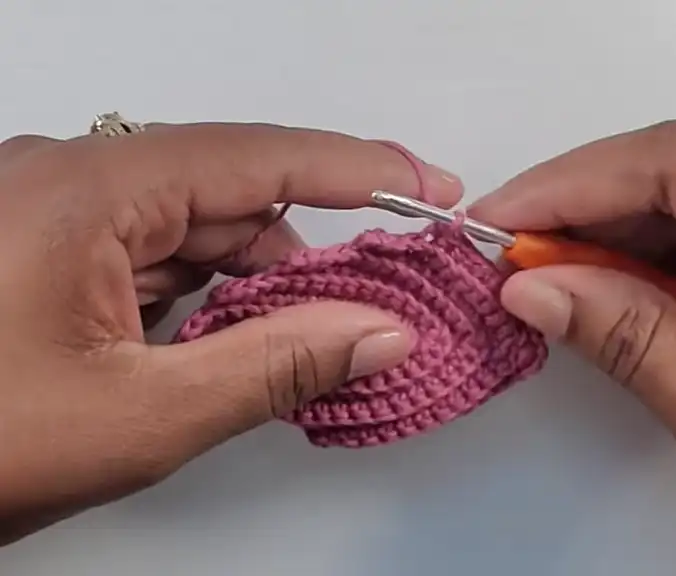
Chain one and turn your work to begin the leaf body, which is primarily worked into the back loops (BL) to create texture. Skip the first stitch and work back loop single crochets until you reach the center stitch of the three sc group from the previous row. In this middle stitch, work three single crochets through both loops to maintain the central point. You will repeat this pattern of working single crochets in the back loops on the sides while placing three single crochets in the center stitch for several rows, adjusting the stitch count as you go to form the leaf’s shape. For the final row of this center section, you will work five single crochets into the middle stitch instead of three.
Step 3: Shaping the Side Points and Lobes
To create the characteristic lobes of the maple leaf, you will begin working on the sides. Chain five, turn, and work single crochets back toward the leaf base, using slip stitches to attach these new sections to the main body. Subsequent points are formed by chaining four, turning, skipping the first stitch, and working back loop single crochets. Once one side of the leaf is complete with its various points, you must repeat the entire process on the opposite side of the base to ensure the leaf is symmetrical.
Step 4: Crafting the Stem and Finishing
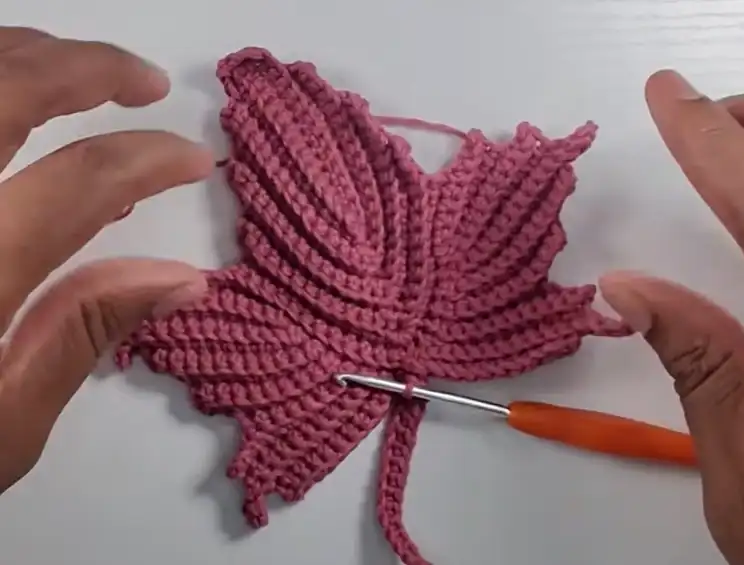
After completing the leaf points, slip stitch into the middle stitch of the base to prepare for the stem. Chain 16, then starting in the third chain from the hook, work single crochets all the way back down the chain. Slip stitch back into the leaf base, chain one, and fasten off your yarn. Finally, weave in your tail ends underneath the stitches to hide them. To ensure your leaf lies flat and looks professional, it is recommended to steam iron the finished piece.
Video Credits: Creative Hands by SHAY
4. Crochet Autumn Leaves Pattern
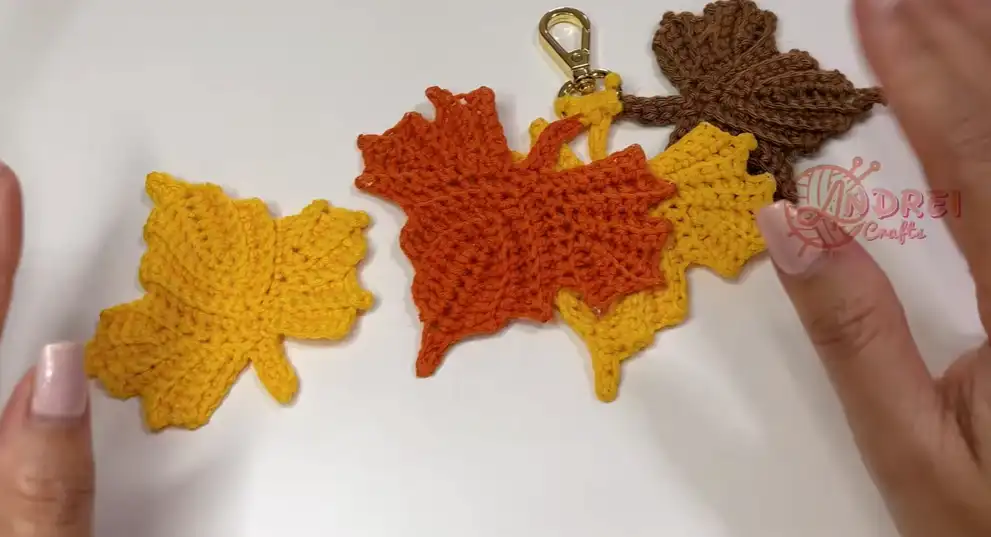
Creating a crochet autumn leaf involves building a center section and then adding symmetrical side lobes to achieve the classic maple shape. This project is suitable for beginners who are comfortable with basic stitches and working in the back loops.
Essential Materials
To complete this project, you will need your choice of autumn-colored yarn and a corresponding crochet hook. For the final finishing stage, you will need a needle for weaving in ends and a blocking solution made from one part fabric glue and two parts water.
Step 1: Foundation and Initial Center Row
Begin your leaf by creating a slip knot and making a chain of 10. Insert your hook into the second stitch from the hook and work a single crochet into that stitch and the next eight stitches. When you reach the very last stitch of the chain, place three single crochets into that single stitch to allow the work to turn so you can begin working on the opposite side.
Step 2: Shaping the Center Leaf
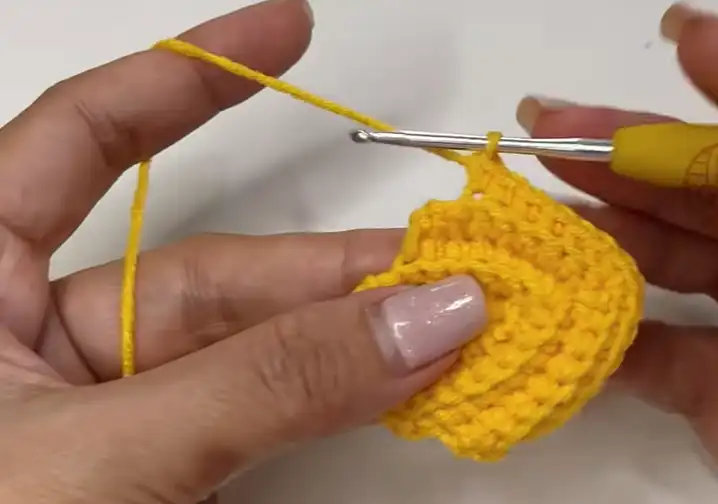
The center part of the leaf is worked back and forth using a single crochet back loop only (BLO) technique to create texture. Chain one and turn your work, then skip the first stitch and make six single crochets in the next six stitches using the back loops. Every time you reach the center point of the leaf, you must place three single crochets into that middle stitch; unlike the side stitches, these center stitches should be worked through both loops. Continue this back and forth pattern, increasing the number of stitches as directed by the pattern text until the center section is complete.
Step 3: Adding the Side Lobes
Once the center leaf is finished, you will begin the side sections, which consist of five ridges each. To start a side lobe, chain three and work single crochets back into the chain and the back loops of the center leaf. Use a combination of chains and BLO single crochets to create the jagged edges of the leaf, slip stitching into the center leaf to secure each ridge. After finishing five ridges on one side, move to the opposite side of the center leaf and repeat the exact same pattern to ensure symmetry.
Step 4: Stem and Final Blocking
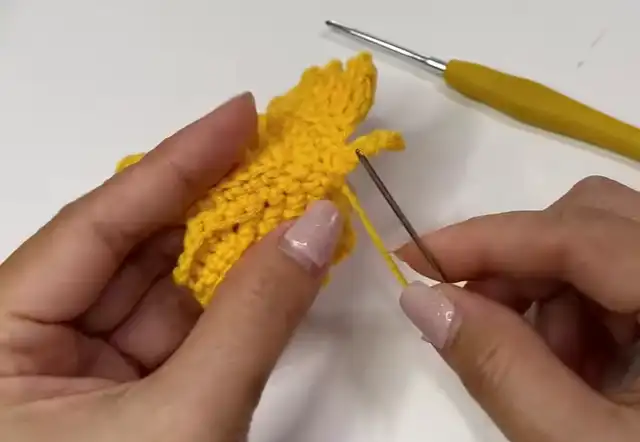
After the main body of the leaf is finished, you will create the stem by chaining five. Work four single crochets back down this chain, starting from the second stitch from the hook, and then slip stitch back into the base of the main leaf. To finish the project, weave in any remaining yarn ends. The final and most important step is blocking your leaf; apply a mixture of one teaspoon of fabric glue and two teaspoons of water to your project to help it maintain its shape and professional appearance.
Video Credits: ANDREI Crafts Show
5. Fall Maple Leaf Crochet Pattern
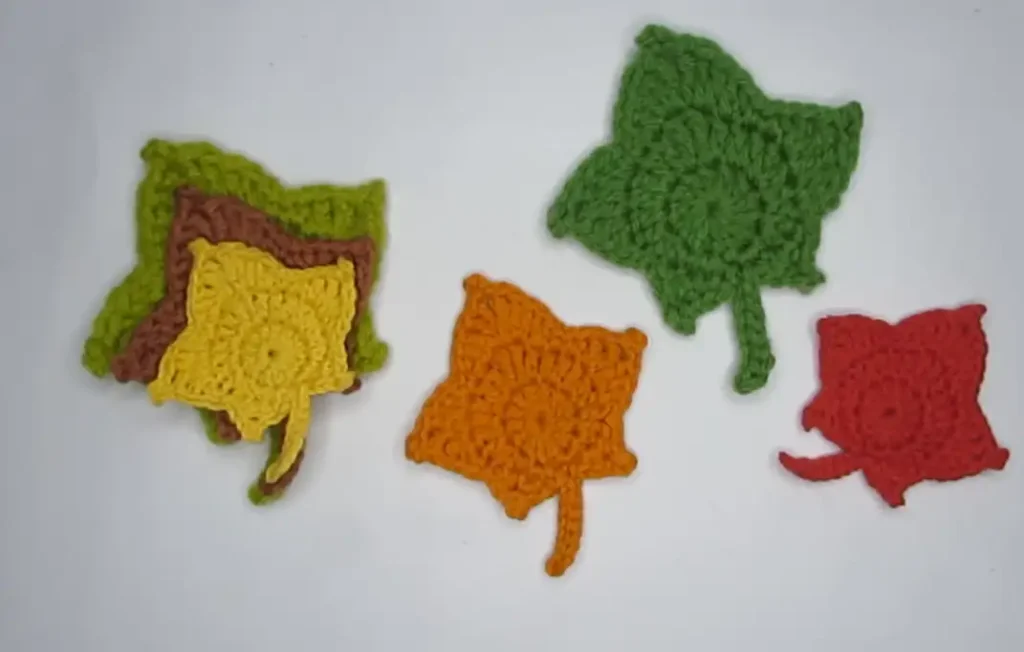
You can create this maple leaf in various sizes by adjusting your yarn weight and hook size. For a large leaf, use 100 percent acrylic medium 4 weight yarn with a 5 mm hook. For a medium leaf, use DK weight yarn with a 3.75 mm hook. For the smallest version, choose sport weight yarn and a 2.75 mm hook. You will also need a yarn needle to weave in your ends.
Step 1: Building the Foundation (Rounds 1 and 2)
Begin by creating a magic circle. For Round 1, chain 2 and work 12 double crochet stitches into the circle. Pull the yarn tail to close the circle and slip stitch into the first double crochet, ignoring the starting chain.
To start Round 2, chain 1 and place 2 single crochets into the next stitch. Continue around the circle with a specific sequence of increases to create the leaf base: 1 single crochet and 1 half double crochet in the next stitch, 2 half double crochets in the next, and 2 double crochets in each of the following two stitches. The halfway point of this round is 1 double crochet and 1 triple crochet worked into a single stitch. Repeat this sequence in reverse order: 1 triple crochet and 1 double crochet in the next stitch, 2 double crochets in each of the next two stitches, 2 half double crochets in the next, 1 half double crochet and 1 single crochet in the next, and 2 single crochets in the last stitch. Slip stitch into the beginning chain 1 to finish.
Step 2: Creating the Stem and Initial Points
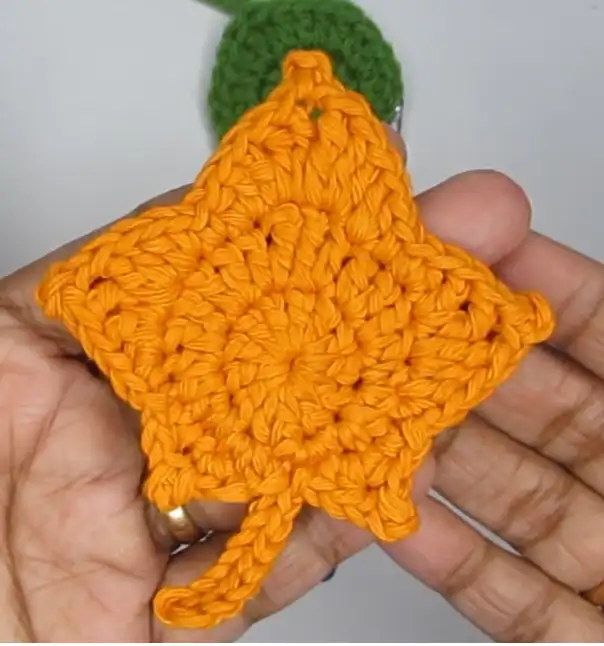
To make the stem, chain 8, skip the first chain, and work 7 slip stitches back down the chain to the base of the leaf.
Now you will begin the five points of the leaf. For Point 1 (small), slip stitch into the next stitch on the base, single crochet in the next, and in the following stitch work 1 half double crochet, a picot (chain 3 and slip stitch into the first chain), and another half double crochet. Complete this point with a single crochet in the next stitch and a slip stitch in the following one. For Point 2 (medium), work 1 single crochet and 1 half double crochet in the next stitch, followed by 1 double crochet and 1 triple crochet in the next. Add a picot, then work 1 triple crochet and 1 double crochet into the next stitch, finishing with 1 half double crochet and 1 single crochet in the next stitch.
Step 3: Crafting the Large Center Point
The largest point (Point 3) sits at the top of your leaf. Start with a single crochet in the next stitch. In the following stitch, work 1 half double crochet and 1 double crochet. In the next stitch, work 1 double crochet and 2 triple crochets, then create a picot. To finish this center point, work 2 triple crochets and 1 double crochet into the next stitch, followed by 1 double crochet and 1 half double crochet in the next, and 1 single crochet in the next stitch.
Step 4: Completing the Final Points and Finishing
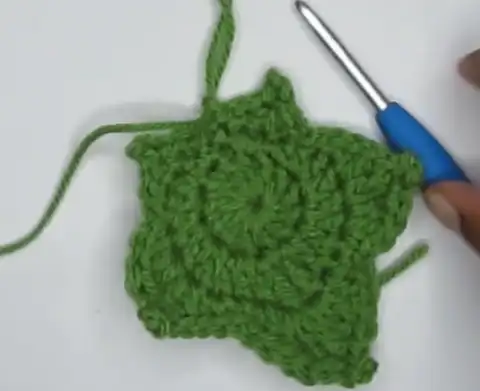
For Point 4 (medium), work 1 single crochet and 1 half double crochet in the next stitch, then 1 double crochet and 1 triple crochet in the next. Add a picot, then work 1 triple crochet and 1 double crochet into the next stitch, followed by 1 half double crochet and 1 single crochet in the next.
Finally, for Point 5 (small), slip stitch into the next stitch, single crochet in the next, and in the following stitch work 1 half double crochet, a picot, and 1 half double crochet. Finish with a single crochet in the next stitch and a slip stitch in the very last stitch. Cut your yarn and use a yarn needle to weave in all loose ends to complete your maple leaf.
Video Credits: Hopeful Turns
Which Pattern Is Your Favorite?
Five patterns, five different takes on the same classic shape. From the ridged applique to the oversized pillow, each one gives you a fresh way to bring maple leaves into your fall decor without reaching for the same tired pumpkin motif.
Pick the one that matches your skill level and yarn stash, then grab your hook. Your home will be ready for autumn in no time.