6 Free Japanese Style Crochet Bag Patterns to Try
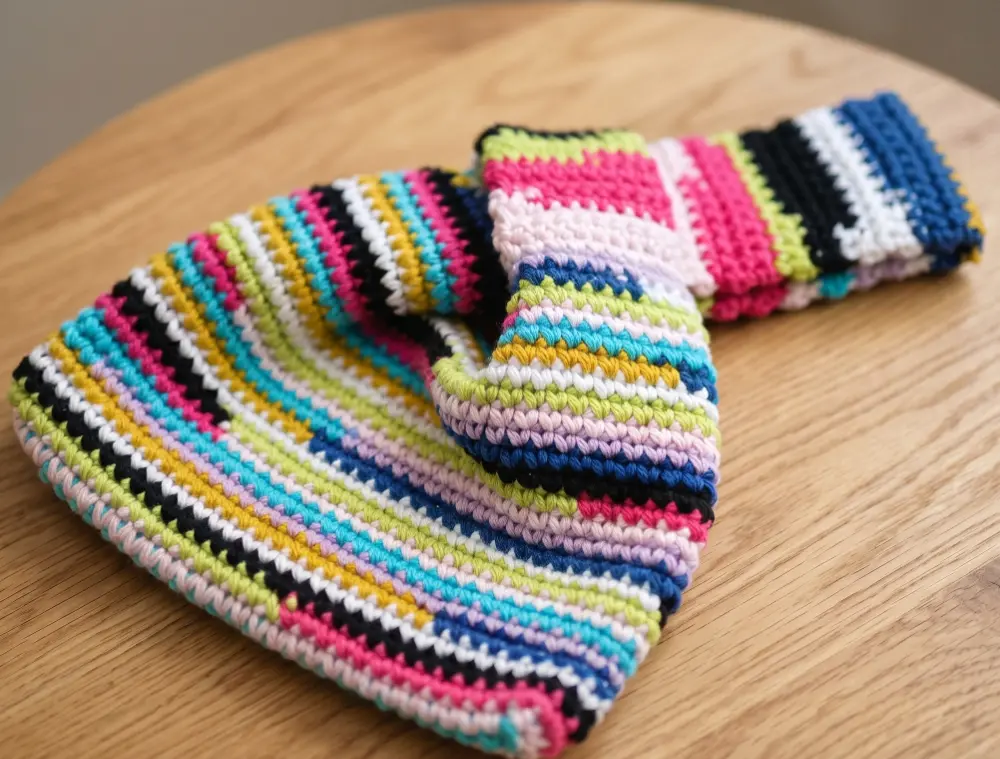
Most crochet bags look great until you actually try to use them. The straps stretch, the base loses its shape, or the closure is floppy at best. Japanese knot bags solve all of that with one clever design move: two asymmetrical handles that loop through each other to lock the bag shut. No zippers, no buttons, just structure built right into the construction.
These five free patterns cover every skill level and every yarn stash situation. Whether you’re working with scraps, macramé cord, or a fresh skein of cotton, there’s a version here that fits. Some are worked in one piece, some use granny squares, and one folds up into a beach bag wide enough to hold a towel. Pick the one that matches what you have on hand and let’s get into it.
1. Granny Square Dumpling Japanese Crochet Bag
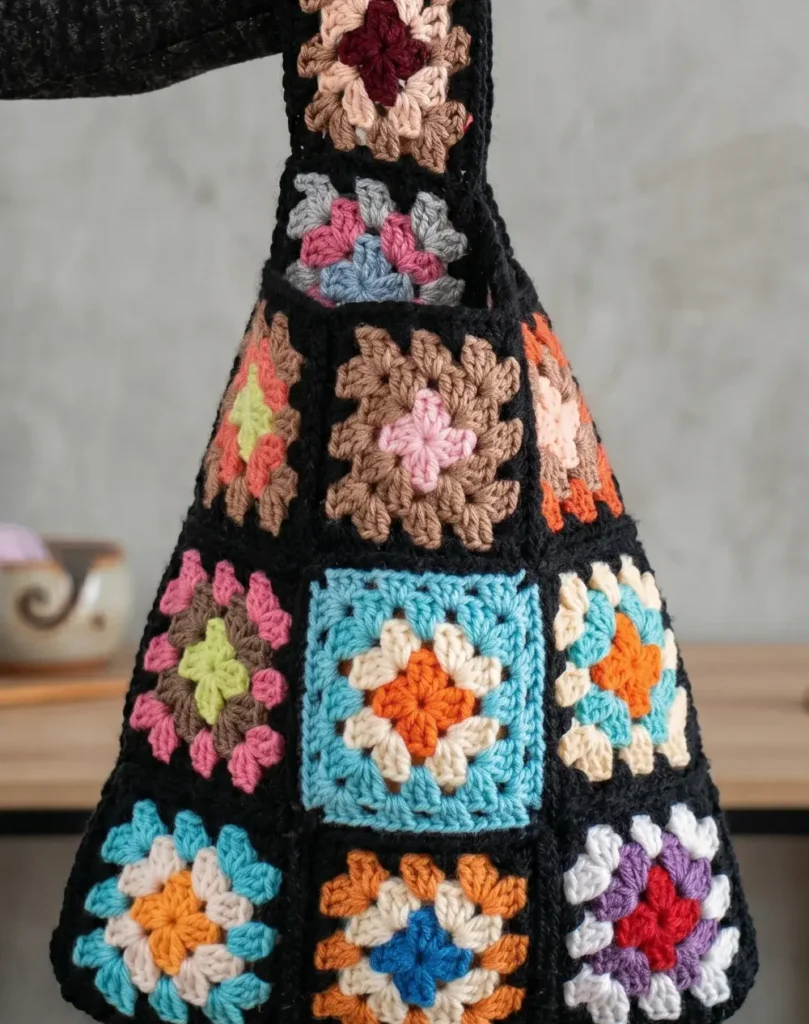
The Japanese knot bag is a stylish and compact accessory designed to keep essentials like your phone and wallet separate from larger bags. The defining characteristic of this design is its asymmetrical handles, which allow you to loop one through the other to secure the bag and carry it on your elbow.
Essential Materials and Design
This project is ideal for using up leftover balls of yarn, though you can also choose to make identical squares for a more uniform appearance. Each granny square consists of four rounds. To ensure the bag has a cohesive look, the final round of every square should be worked in the same background colour.
Layout and Joining the Squares
The construction requires 12 granny squares for each side of the bag. To assemble them, you first join two columns of squares using a ladder stitch. This specific stitch is invisible when you use the same colour as the background yarn. Using this method creates a raised grid texture where the squares meet, adding a unique tactile element to the fabric. Once the columns are finished, you proceed to ladder stitch the rows together.
Preparing the Handles
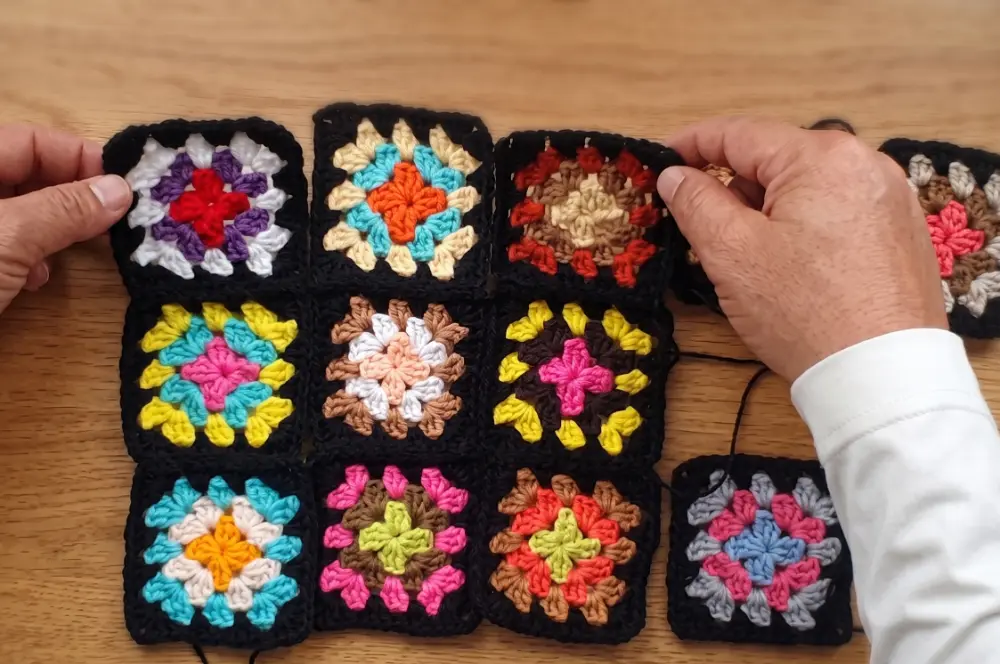
When constructing the handles, you must switch the position of the squares on the second piece. This adjustment ensures that when the two sides are placed right sides together for the final assembly, the handles will match up perfectly.
The Blocking Process
Blocking is a critical step for achieving a professional finish and should not be skipped. If you do not have a dedicated blocking station, you can use pins to stretch the pieces out on a cork table or exercise mats. Spray the squares with water until they are completely saturated and let them dry overnight.
Final Assembly and Finishing
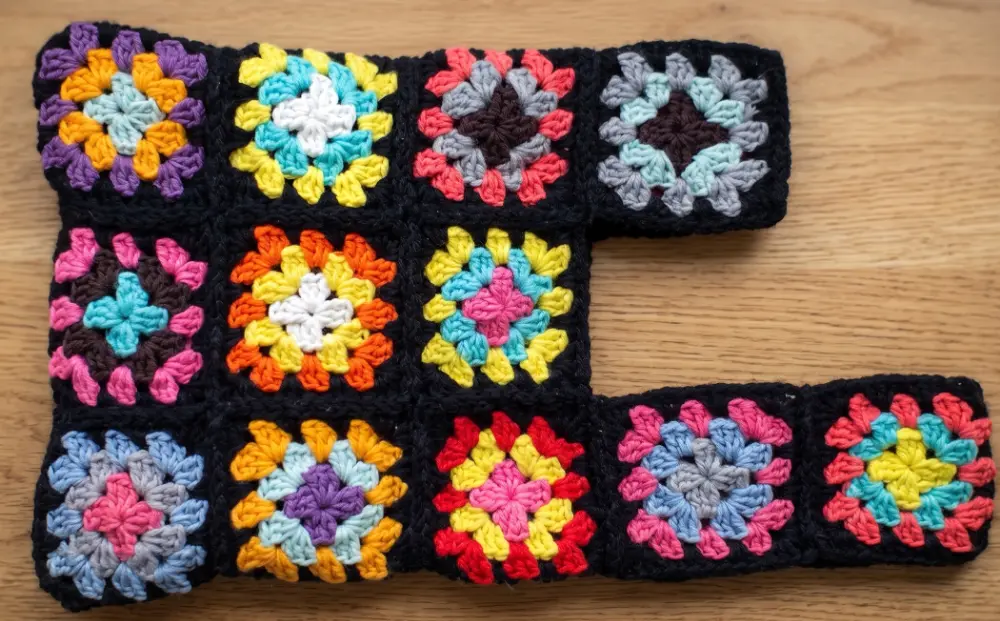
To sew the body of the bag together, place the two sides with their right sides facing each other. Join them by working a single crochet stitch around the edges. It is not necessary to crochet into every single stitch; instead, you can place one single crochet in each space and one in the area between spaces. At the bottom corners, add one or two extra stitches to help the bag turn smoothly.
After the body is joined, flip the bag right side out and sew the handles together using the ladder stitch. You can perform final touch-ups with a needle and thread to close any small holes or to sharpen the corners into right angles. Using a dark background colour, such as black, is highly recommended because it is very forgiving and helps hide any minor flaws in the construction.
Video Credits: SaltyDIY
2. One-Piece Japanese Knot Crochet Bag
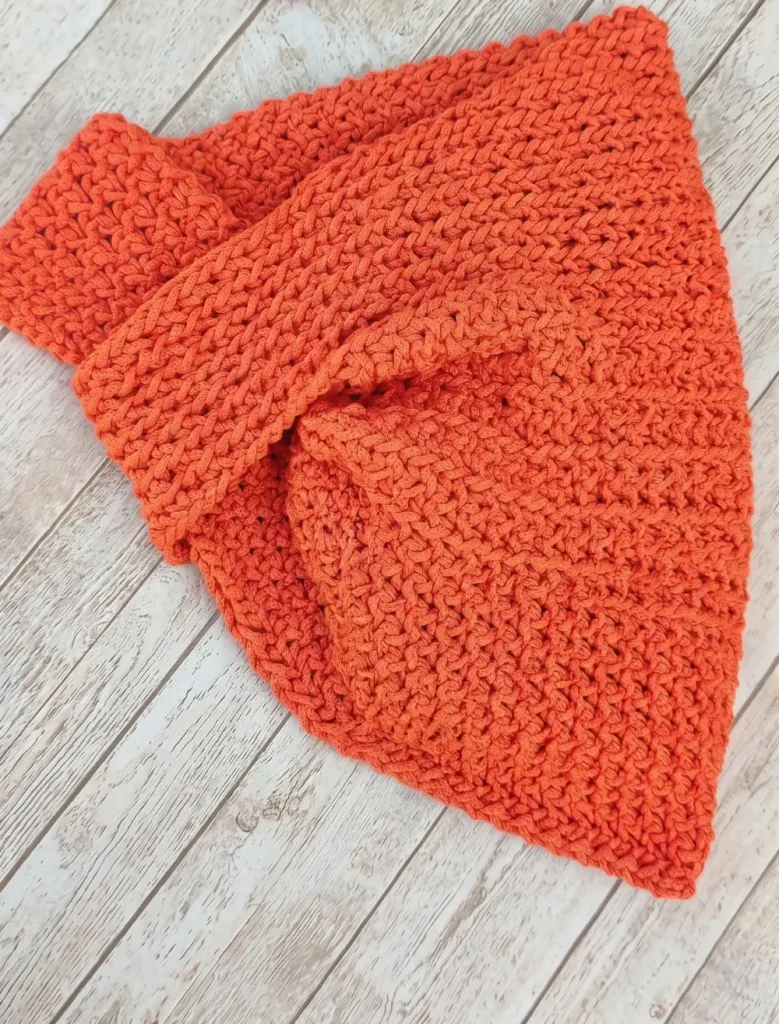
This design creates a functional Japanese knot bag through a one-piece construction that is both quick and simple to complete.
Materials and Preparation
Before you begin your crochet work, ensure you leave a yarn tail approximately 3.8 metres (149.6 inches) long, which will be used later for seaming the bag. The project starts with a foundation chain of 135 stitches, measuring about 110 cm (43.3 inches). If you prefer to adjust the size or use a different yarn, simply ensure your foundation is an odd number of chains. You will also need a stitch marker to track your progress through the rounds.
Creating the Base and Lower Body
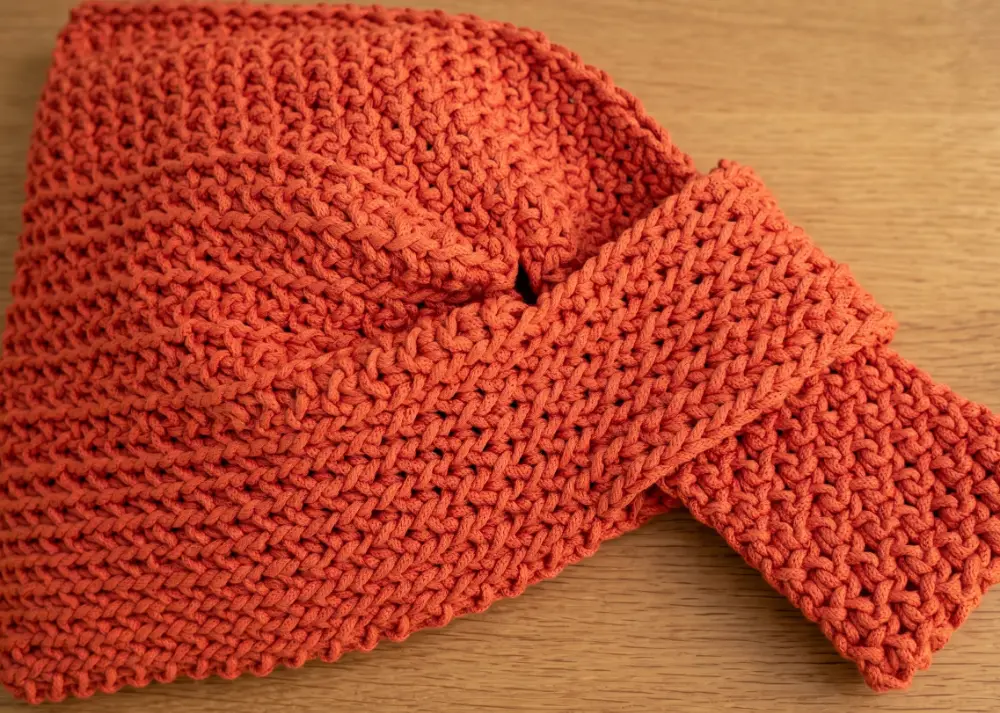
The bag begins by joining your foundation chain with a slip stitch to form a ring.
- Round 1: Work a single crochet (sc) into the first stitch and place your marker. Chain 1, skip one chain stitch, and work a single crochet into the next; repeat this (chain 1, skip 1, sc) pattern until the round is finished.
- Round 2: Chain 1 and skip the first single crochet. Work a single crochet into the chain space by inserting your hook specifically into the back loop.
- Rounds 3 to 7: Continue repeating the established pattern, working single crochets into the back loops of the chains and chaining 1 over the single crochets.
Constructing the Main Bag Section
After completing the initial seven rounds, the pattern transitions into rows to build the body.
- Row 8: Start with a series of slip stitches in the back loops, then perform the single crochet and chain pattern 36 times.
- Rows 9 to 18: These rows are worked flat. At the end of each row, chain 2 and turn your work. During these rows, you will work your single crochets into the front loops of the chains. Ensure your final single crochet of each row is worked directly into the turning chain.
Shaping the Handles
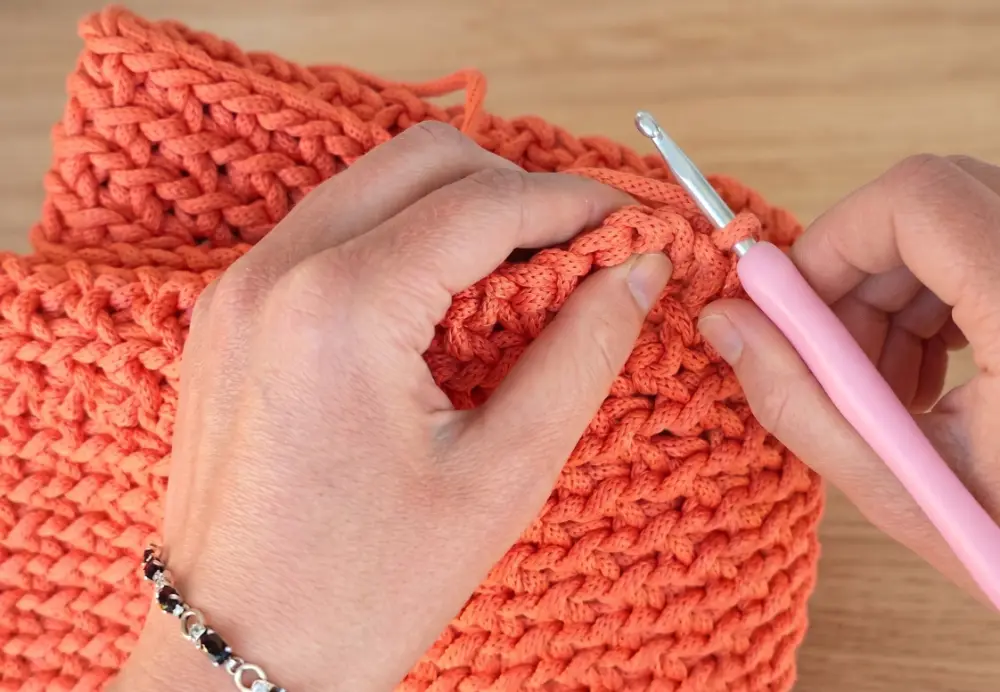
The handles are integrated into the piece to maintain the one-piece design.
- Row 19: Chain 15 and turn your work. Work a slip stitch into the second chain from your hook and then into the next 13 stitches, using the back loops. Continue the row with the standard single crochet and chain 1 pattern in the front loops.
- Round 20: Chain 13 and join it to the previous row with a slip stitch to form a ring for the second handle. Work single crochets into the back loops of this new chain section.
- Rounds 21 to 25: Continue working single crochets into the back loops of each chain from the round below, while making a chain stitch over every single crochet.
Final Seaming and Assembly
The final stage involves joining the sides of the bag while leaving the handles free.
- Row 26: To join the first side, work a slip stitch by inserting your hook into the back loop of the chain on the current side and then into the front loop of the chain on the opposite side. Continue this across the side, skipping the handle stitches.
- Opposite Side: Use the long cord tail you left at the very beginning to seam the other side of the bag. Use the same method of slip stitching through both pieces at once until the side is fully closed.
- Finishing: Once the seaming is complete, cut the cord, pull it through the final loop, and weave in all remaining tails to secure your work.
Video Credits: Natessa | Sacred Crochet Art
3. Scrap Yarn Japanese Knot Crochet Bag
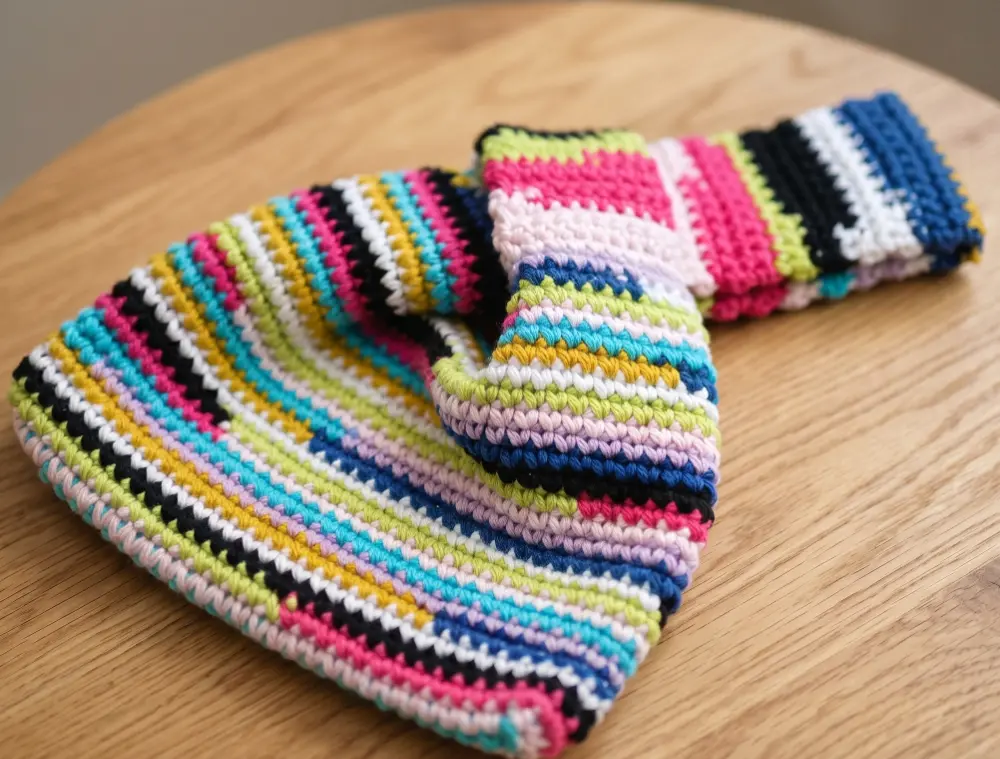
The Japanese knot bag is a unique and practical project that allows you to transform leftover yarn into a functional accessory. This bag is designed to be worn on the wrist, which keeps your hands free for other activities. The construction involves creating a rectangular base, working up the sides in spirals, and finishing with two asymmetrical straps that allow the bag to “knot” closed.
Essential Materials and Tools
To create this bag, you will need approximately 100 grams of yarn in total. The tutorial suggests using a fine weight 100% cotton yarn held double, though you can use a DK weight yarn held single if you prefer. Holding yarn double is particularly effective for scrap projects because you can easily combine two different ends.
In addition to your yarn, gather the following tools:
- A crochet hook.
- A foam loom (optional, as specified in the source).
- Scissors.
- A tapestry needle for sewing and weaving in ends.
- Stitch markers to help track the base construction.
Preparing Your Scrap Yarn
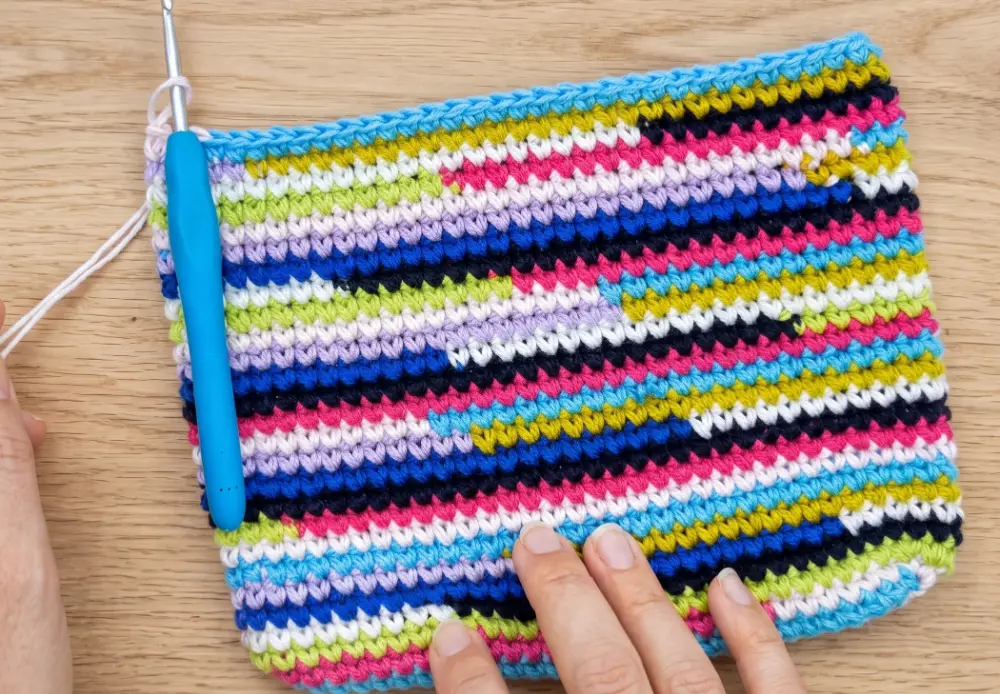
Before beginning the crochet work, you must connect your yarn scraps into one continuous strand using the magic knot technique. To do this, lay two yarn ends together and tie a knot with the first end around the second strand. Repeat this by tying the second end around the first strand. Pull the two strands in opposite directions until the knots slide together and lock. Finally, trim the excess yarn as close to the knot as possible to ensure a seamless transition in your work.
Crocheting the Bag Base
The foundation of the bag is an oval base worked on both sides of a starting chain.
- Starting Chain: Begin by making a chain of 30.
- First Side: Skip the first chain and work one single crochet into each of the next 29 chains.
- Turning the Corner: In the final chain, work three single crochets to round the corner, and place a stitch marker here.
- Opposite Side: Continue working one single crochet into each chain along the back side of the original foundation chain.
- Second Corner: In the very last stitch of the opposite side, work another three single crochets and place a stitch marker.
- Increases: In the next round, work two single crochets (an increase) into each of the three stitches at both ends of the oval. This completes the flat bottom of the bag.
Building the Body and Straps
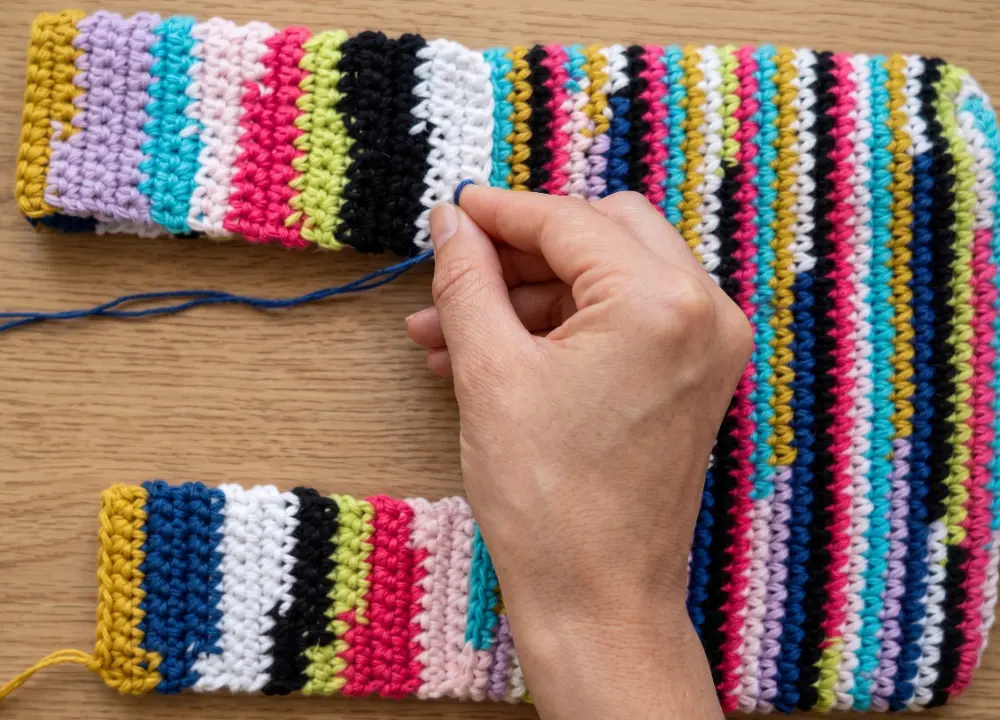
Once the base is complete, you will transition to working in continuous spirals without joining rounds. Continue working one single crochet in every stitch until the sides of the bag reach a height of 16 centimetres.
The signature look of the Japanese knot bag comes from its two straps of different lengths:
- Small Strap: Identify 10 stitches on the edge of the bag. Work single crochets back and forth for 12 centimetres, then cut the yarn and leave a long tail for sewing.
- Long Strap: Count another 10 stitches on the opposite side of the bag and attach your yarn. Work these 10 stitches back and forth until the strap reaches 30 centimetres in length.
Final Assembly
To finish the bag, fold the straps over and use a tapestry needle to sew them securely to the base or top edge of the bag using a simple stitch. Once the ends are woven in, the bag is ready for use. To close the bag, simply push the long strap through the loop of the small strap. This creates the characteristic knot that keeps your items secure while the long loop hangs comfortably from your wrist.
Video Credits: Diving Ducks Crochet
4. Shopper Japanese Style Crochet Bag
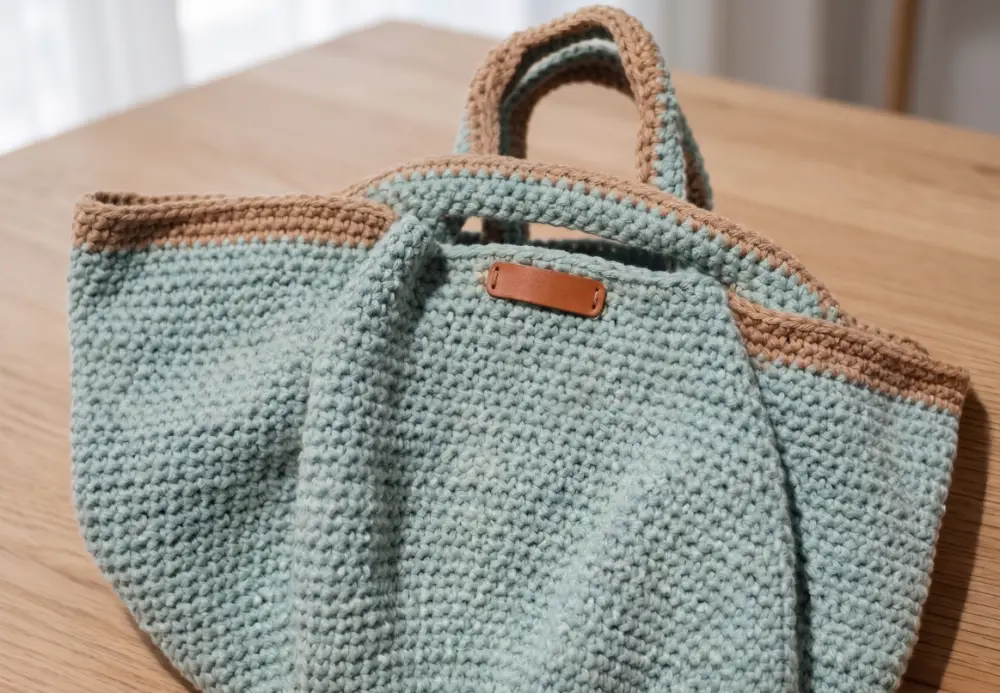
The Japanese knot bag is a stylish and functional accessory known for its asymmetrical handles, where one longer handle loops through a shorter one to create a secure closure. This project is worked in a spiral, meaning you will crochet continuously without joining rounds with a slip stitch.
Materials and Tools
To get started on this shopper bag, you will need the following items:
- Yarn: The creator recommends choosing a yarn thickness that pairs well with your hooks. You can use a solid color or switch colors if you run out of your primary shade.
- Crochet Hooks: A 3.5mm hook is used for the base to ensure a tight stitch, while a 5mm hook is used for the sides to allow the bag to grow faster and create a nicer drape.
- Stitch Marker: A scrap piece of yarn in a contrasting color is helpful for marking the beginning of each row in the spiral.
Step-by-Step Instructions
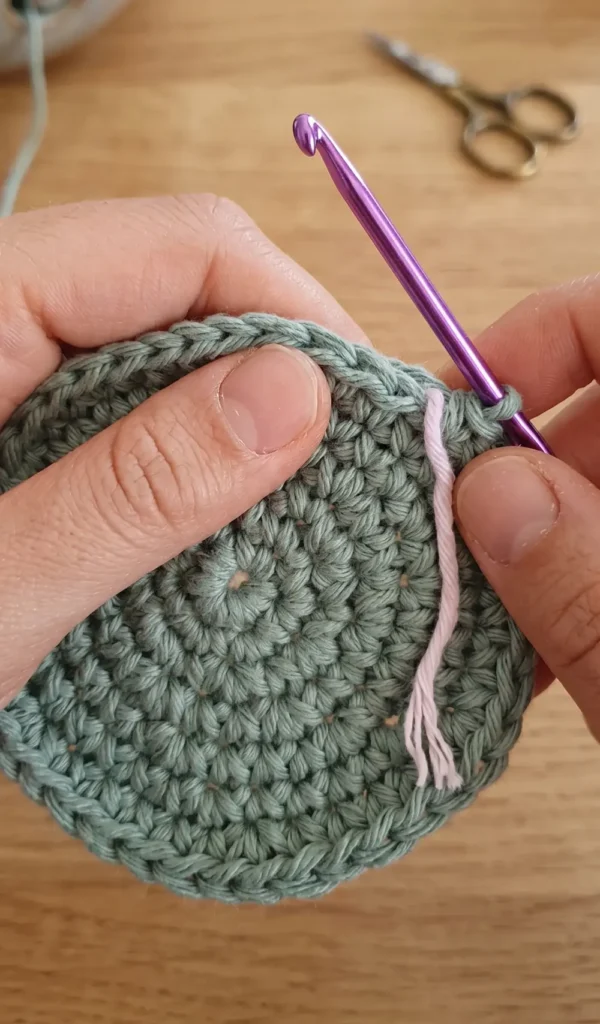
Step 1: Creating the Round Base
The base begins with a magic ring to ensure there is no hole in the centre of your bag.
- Row 1: Work 6 single crochet (sc) into the magic ring.
- Row 2: Make an increase (two sc in the same stitch) in every stitch, resulting in 12 stitches total.
- Row 3: Alternate between an increase and one sc (18 stitches total).
- Row 4: Work two sc followed by an increase (24 stitches total).
- Row 5: Work an increase followed by three sc.
- Row 6: Start with two sc, then an increase, followed by four sc between each subsequent increase. Finish the row with two sc.
- Row 7: Start with four sc, then an increase, followed by five sc between increases. Finish the row with one sc.
- Row 8: Work six sc followed by an increase.
- Row 9: Start with an increase followed by seven sc.
Continue following this mathematical pattern of increasing the number of single crochets between each increase until the bottom reaches a diameter of approximately 30 to 35 centimetres.
Step 2: Building the Sides
Once your base is the desired size, stop increasing. Simply crochet one single crochet into each stitch. As you continue, the bag will naturally begin to grow upwards. The shape may appear narrow at first but will widen as it gets taller. Continue until the bag is roughly 30 centimetres in height before starting the handles.
Step 3: Crafting the Asymmetrical Handles
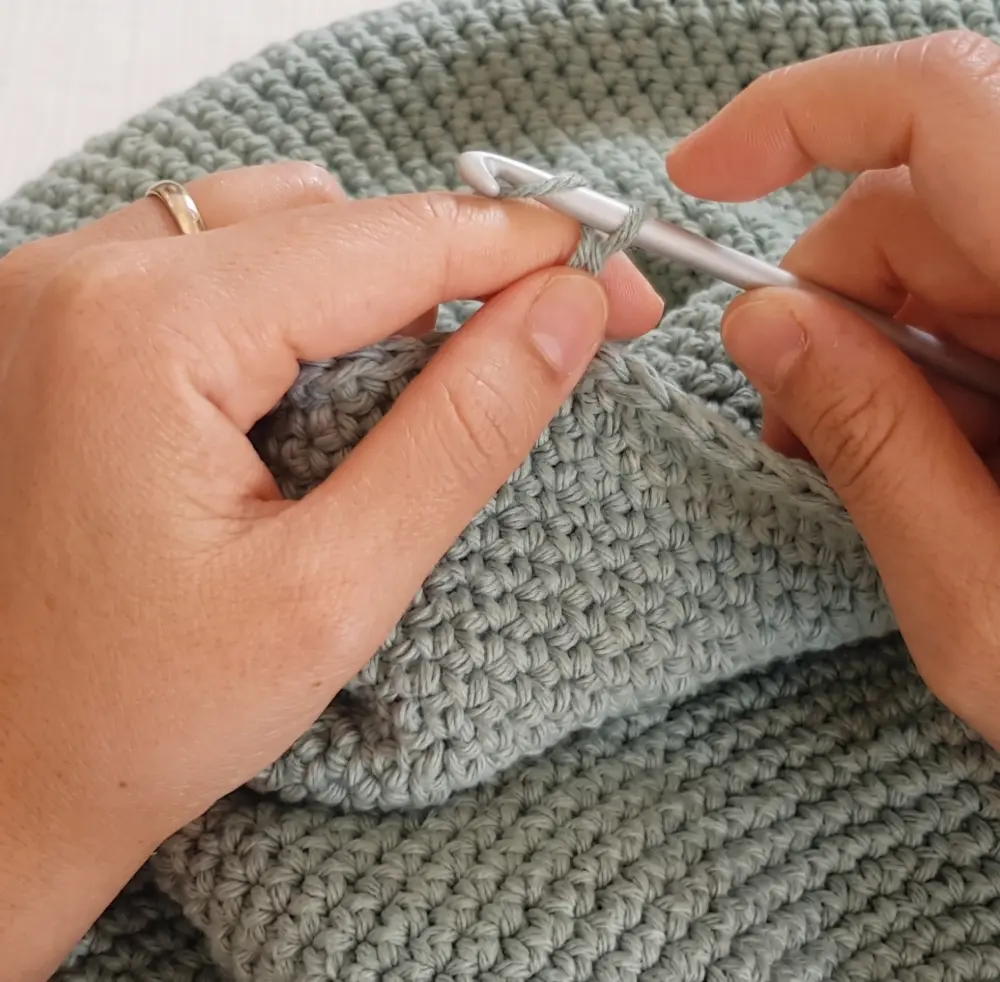
Before starting the handles, count your total stitches. For a total of 142 stitches, the creator suggests allocating 25 stitches for each handle base and roughly 46 to 47 stitches for the space between them.
- The Short Handle: Chain 25, skip 25 stitches on the bag rim, and then insert your hook into the 26th stitch to secure it with a single crochet.
- The Long Handle: After crocheting the 46 stitches between the handles, chain 40 for the second handle. Skip 25 stitches on the bag rim and secure it.
- Adding Width: Crochet 4 to 6 additional rows of single crochet all the way around the bag, including the handles. When working into the handle chains, crochet under two loops for a sturdy finish.
Final Touches
To finish the bag, work a slip stitch to smooth out the step created by the spiral crochet. Cut the yarn and hide the tail by weaving it in a random order between the existing stitches. Your Japanese style shopper is now ready to use, providing a practical and spacious bag for your daily needs.
Video Credits: kimcraft
5. Japanese-Inspired Bucket Crochet Bag
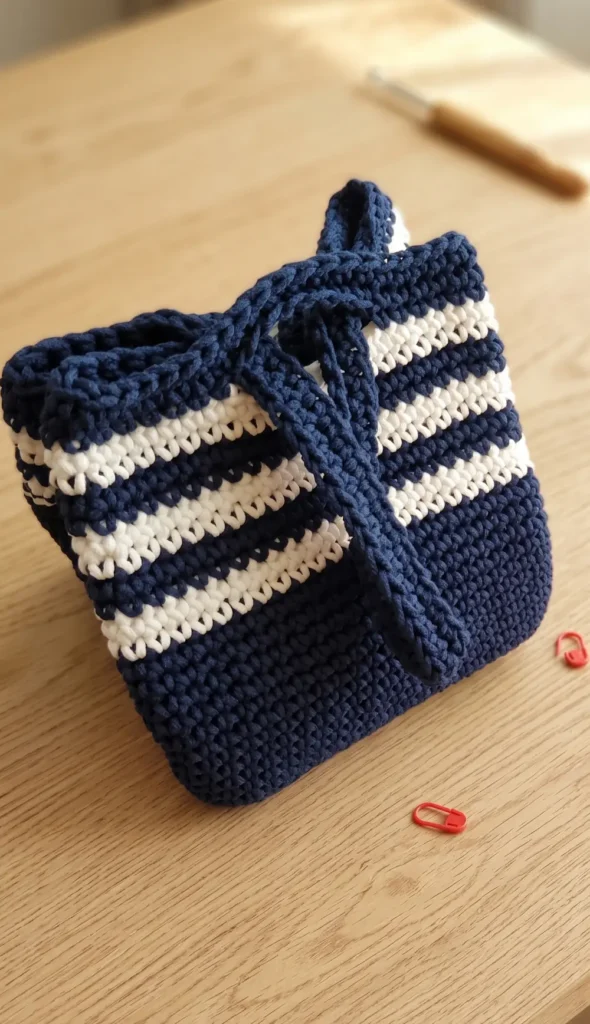
This tutorial provides a comprehensive guide on how to create a Japanese-inspired bucket bag featuring a unique square base. Unlike traditional circular-base bags, this design uses single crochet and slip stitches to achieve a structured, modern look. The project is versatile, as the final size of the bag depends on how many rounds you complete for the base.
Essential Materials
To begin this project, you will need the following items:
- Crochet hook: Size 6.0 mm.
- Yarn: Approximately 3 mm thick macramé cord or rope. Alternatively, you can use t-shirt yarn or any other preferred material.
- Tools: Scissors and stitch markers.
- Colours: This specific pattern uses blue and white yarn to create a striped effect.
Creating the Square Base
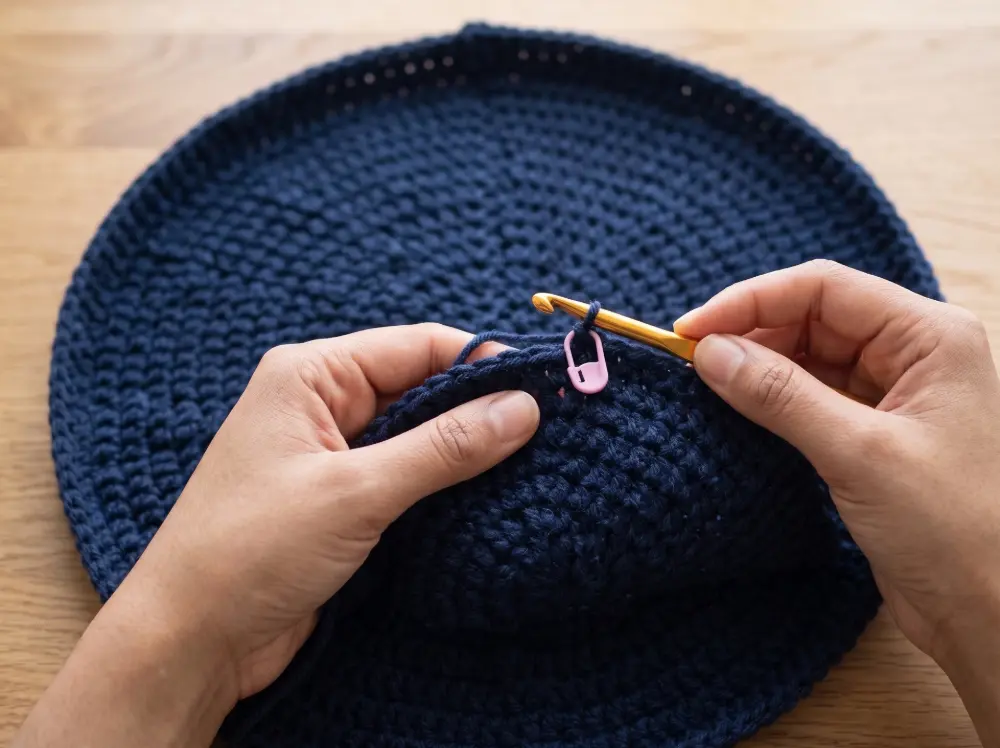
The foundation of the bag is a flat square.
- Start with a Magic Circle: Begin by making a magic circle and crocheting eight single crochets into the ring.
- Join the Round: Close the gap by pulling the tail and join the last stitch to the first with a slip stitch.
- Establish the Corners: Chain one. Put one single crochet in the first stitch. In the next stitch, crochet three single crochets to create a corner. Place a stitch marker in the second (middle) stitch of this group. Repeat this pattern (one single crochet, then three in the next) until you have four marked corners.
- Expand the Square: Continue crocheting rounds. Put one single crochet in every stitch, except for the marked corner stitches. In each marked corner, crochet three single crochets and move the stitch marker up to the new middle stitch.
- Complete the Base: Continue this sequence for 10 rounds. By the end, you should have a total of 88 stitches (21 stitches on each side plus the 4 corner stitches).
Building the Body of the Bag
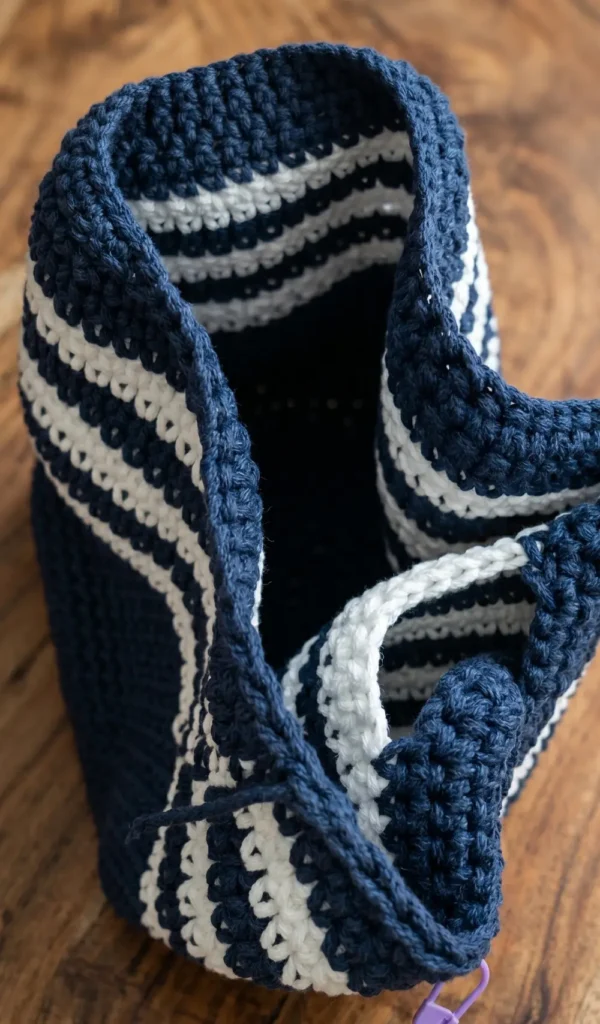
Once the base is finished, you will stop increasing to build the height.
- The Transition Round: Crochet one round of slip stitches all the way around the edge of the base to define the starting point for the sides.
- First Height Round: To create a clean edge, crochet the first round of the body using single crochet in the outer loops only of the previous slip stitch round.
- Main Body: Continue with standard single crochet through both loops for the following rounds.
- Adding Colour: Crochet 12 rounds in the primary colour (blue). For rounds 13 to 20, alternate colours by doing two rounds of white followed by two rounds of blue. Complete rounds 21 and 22 in blue.
Attaching the Japanese Knot Handles
The “Japanese Knot” style is achieved by having one handle longer than the other so that it can loop through the shorter one.
- Mark Handle Placement: Locate the four corners of your bag. On two opposite sides, count seven stitches inward from each corner and place stitch markers to mark where the handles will attach.
- Short Handle: At the first set of markers, chain 7 and join it to the next marker with a single crochet.
- Long Handle: On the opposite side of the bag, chain 40 and join it to the corresponding marker. This creates the longer strap that will pass through the shorter one.
- Finishing the Straps: To make the handles firm and thick, crochet two rounds of single crochet over the chains and around the entire top edge of the bag.
- Final Touches: Fasten off the yarn and weave in any remaining loose ends.
Your bucket bag is now ready. You can choose to push the corners out for a more structured look or leave them as they are for a softer aesthetic.
Video Credits: MirrymasCrafts
6. Beach Japanese Style Crochet Bag
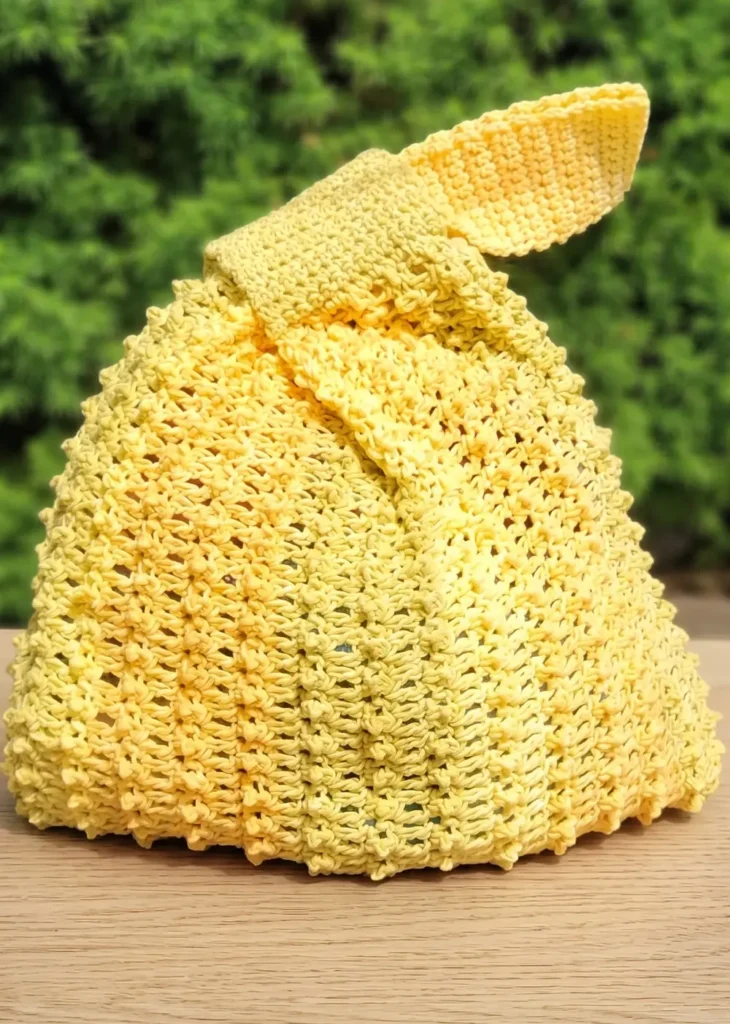
This Japanese knot style bag is designed with extra width and height to serve as a functional and stylish beach bag. It features a unique textured surface and handles of different lengths that allow the bag to lock securely when the long strap is pulled through the short one.
Materials and Dimensions
To create this bag, you will need the following supplies:
- Yarn: Approximately 450 yards of a medium weight number four yarn. A cotton or cotton blend is recommended for added strength to prevent the handles from stretching, though acrylic can also be used.
- Hook: A size J (six millimeter) crochet hook.
- Tools: A yarn needle for sewing the handles and weaving in ends.
The finished bag measures approximately 13 inches from top to bottom and 16 inches wide. The long strap is about eight inches long, while the short strap is roughly three inches long.
Creating the Textured Main Panel
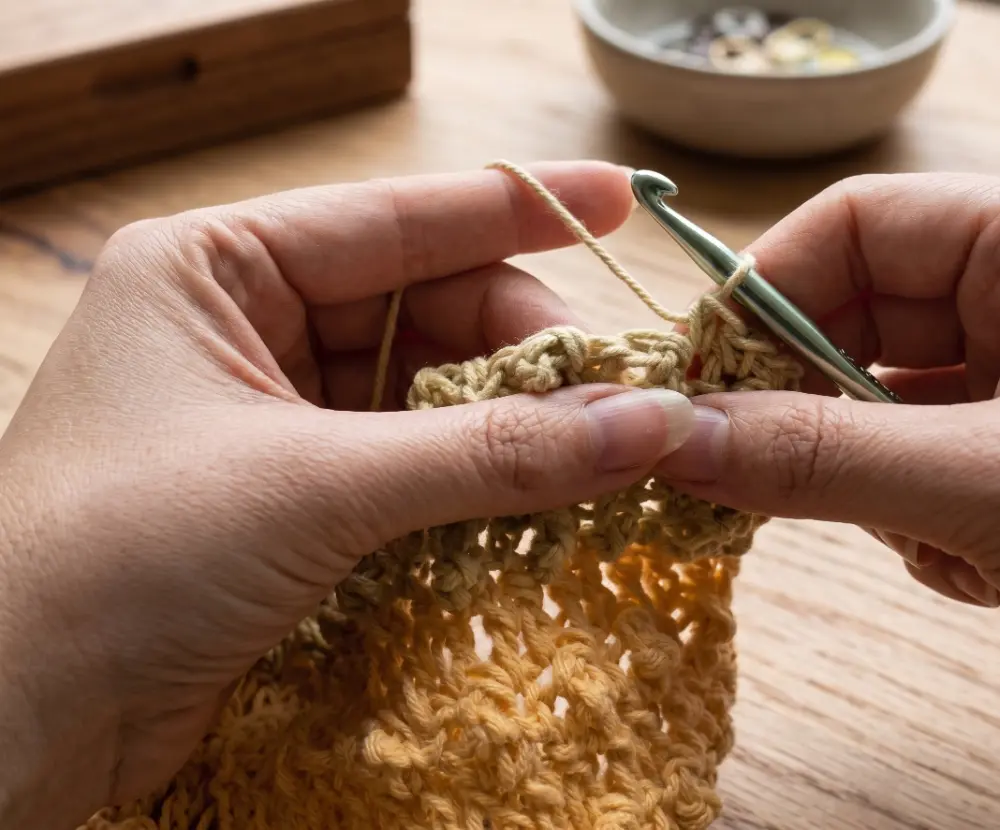
The body of the bag is made from one large rectangular panel that is later folded and seamed.
- Foundation: Start with a long chain of 82 stitches.
- Row 1: Single crochet in the second stitch from the hook and in every subsequent stitch across for a total of 81 stitches.
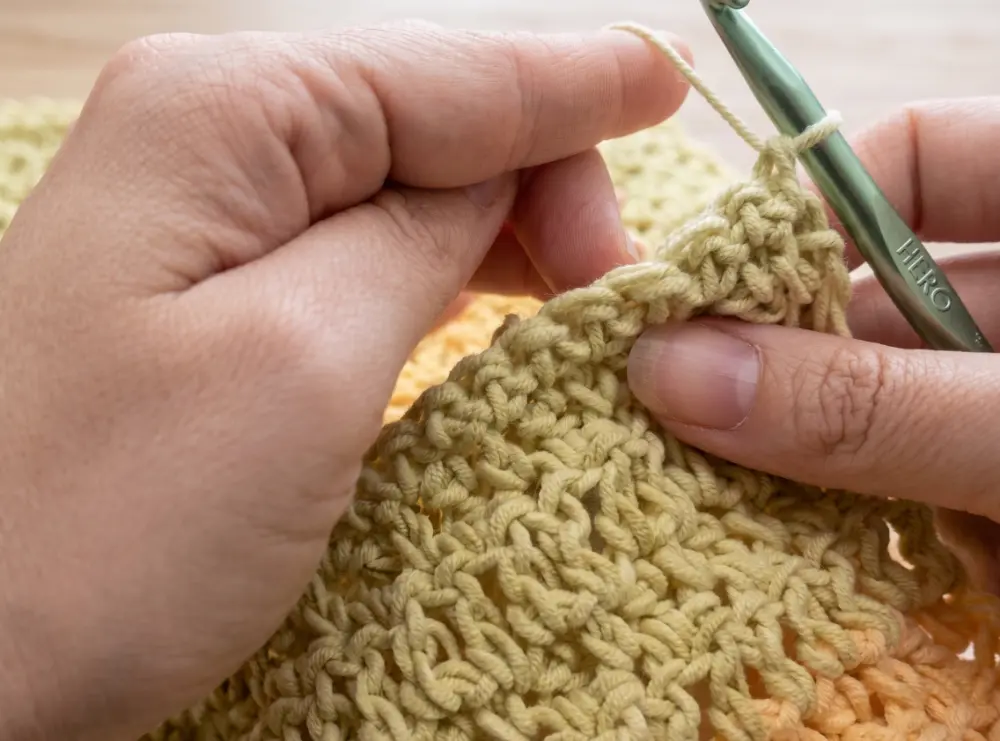
- Row 2 (Texture Row): Chain one and turn. Place a single crochet in the first stitch and a triple crochet in the next. Repeat this sequence across the row, ensuring the final stitch is a single crochet. This row creates the “nubs” or “poofs” that provide the bag’s texture.
- Row 3 (Base Row): Chain one and turn. Work one double crochet into every stitch across.
- Body Progress: Repeat Rows 2 and 3 until you have completed a total of 32 rows.
- Row 33 (Final Row): Work a final row of single crochet to match the starting edge of the bag.
Assembling the Bag Body
Once the panel is complete, fold it in half with the wrong side facing out (the side without the textured nubs). Using a slip stitch, join the sides together from the top down to the bottom. After both sides are securely seamed, tie off the yarn, weave in the tails, and flip the bag right side out to reveal the texture.
Adding the Signature Straps
The defining feature of a Japanese knot bag is its asymmetrical handles.
- The Short, Wide Strap Starting near the side seam, work 15 single crochets evenly across the top edge of the bag. Continue working rows of 15 single crochets until you have completed 24 rows. Use a yarn needle to neatly sew the end of this strap to the opposite side of the bag opening.
- The Long, Thin Strap On the other side of the bag, work 10 single crochets evenly across the edge. This strap needs to be longer, so work a total of 54 rows of single crochet. Once finished, sew the end to the opposite side, ensuring the strap is not twisted.
To use the bag, simply thread the long strap through the loop created by the short strap to “knot” it and create a single handle for carrying
Video Credits: Bag-O-Day Crochet
Which Japanese Style Is Your Favorite?
These six patterns are a great place to start if you want a bag that actually looks handmade in the best way possible. Japanese-style crochet has this clean, intentional quality that beginner-friendly patterns rarely capture, but every single one of these proves that wrong.
Pick the one that matches your yarn stash right now and just cast on. Don’t overthink the “perfect” first project.
The granny square dumpling is my personal go-to recommendation for absolute beginners, but honestly? The Japanese knot bag gets finished faster and the reaction you get carrying it around is unbeatable.
Drop a comment below and let me know which one you’re starting with!