How to Crochet Dog Patterns Free: 4 Easy Patterns for Beginners
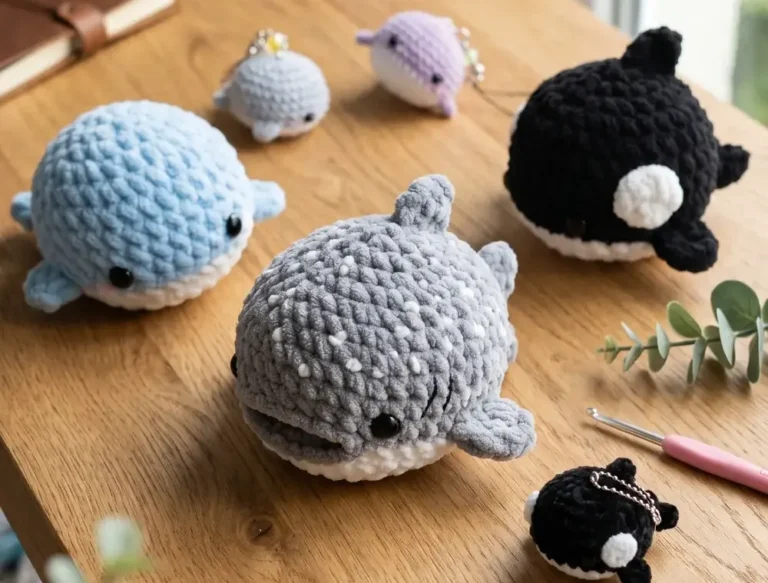
If you’ve been searching for a crochet dog pattern that’s actually worth your time, you’re in the right place. These four amigurumi dog tutorials cover everything from a low-sew dachshund to a chunky corgi you can finish in an afternoon.
Each pattern uses beginner-friendly techniques like the magic ring, invisible decrease, and basic assembly. Whether you’re making your first stuffed dog or adding to a growing squad, there’s something here for every skill level.
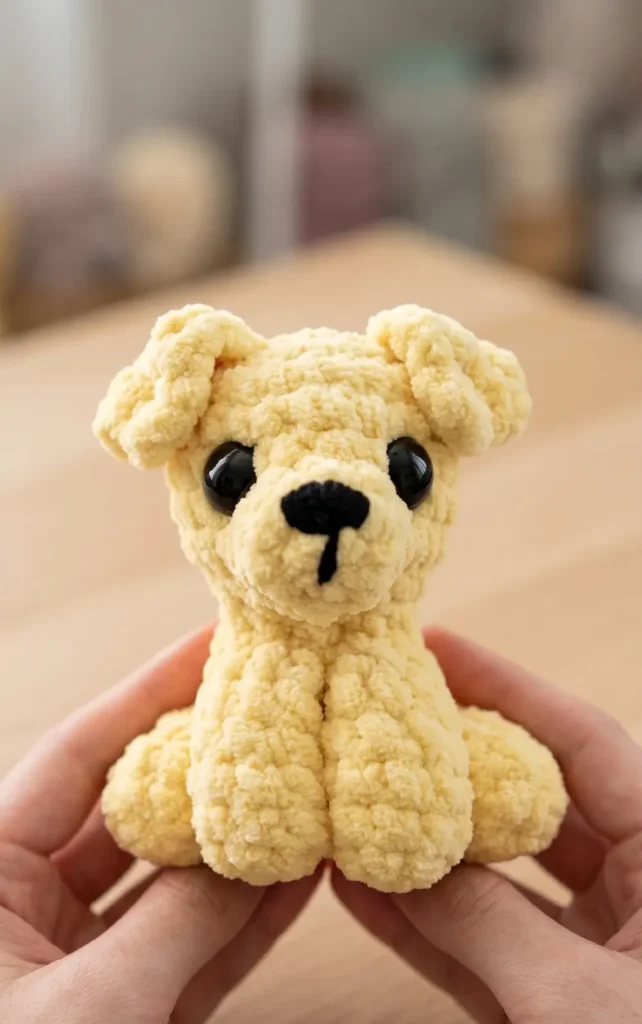
1: Crochet Cute Dachshund Step by Step
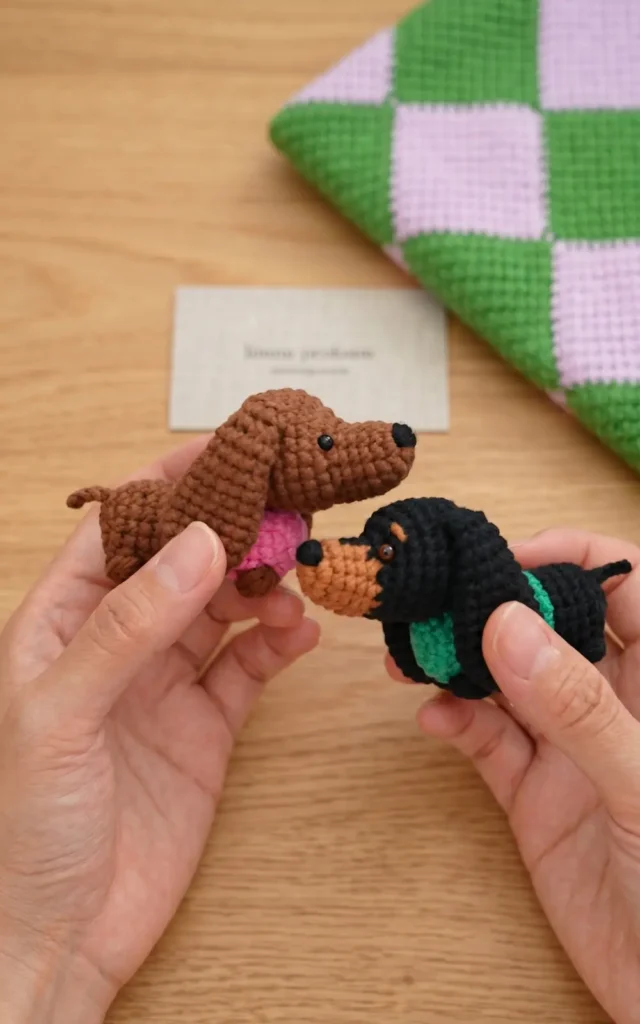
Creating this adorable dachshund, often called a sausage dog, is a fun and rewarding amigurumi project. This specific pattern is designed to be low sew, featuring a long body with a built in colorful outfit and floppy ears.
Essential Materials and Tools
To begin your dachshund, gather the following supplies:
- Yarn: 4 ply cotton yarn in brown for the dog and your choice of colors for the outfit.
- Crochet Hook: A 3 millimeter hook.
- Eyes: A pair of 4 millimeter round eye beads.
- Stuffing: Polyester fiber fill.
- Tools: A yarn needle, scissors, and a lighter to help secure the eye beads.
The Yarn Under Technique
This project utilizes the X stitch, also known as the yarn under technique, rather than the traditional yarn over. Using this method is essential for keeping the stitches neat and aligned, which ensures the front and back legs stay properly positioned on the body.
Crafting the Head
The head is worked in rounds, starting with 6 single crochets in a magic ring. To keep the work tidy, every round ends with a slip stitch and begins with a chain 1.
- Shaping the Snout and Face: After increasing to 12 stitches, work several rounds of even single crochet. In Round 6, you will place 6 increases all in one direction to create a natural curve for the puffed out cheeks.
- Placing the Eyes: Position the 4 millimeter eye beads on Round 6, specifically around the 4th and 12th stitches. You can carefully use a lighter to melt and flatten the plastic backing inside the head to keep them firmly in place.
- Closing the Head: Begin decreasing using the invisible decrease method, which involves inserting the hook into the front loops of the next two stitches for a cleaner look. Stuff the head firmly with polyester fiber before weaving the yarn through the remaining front loops to pull it closed.
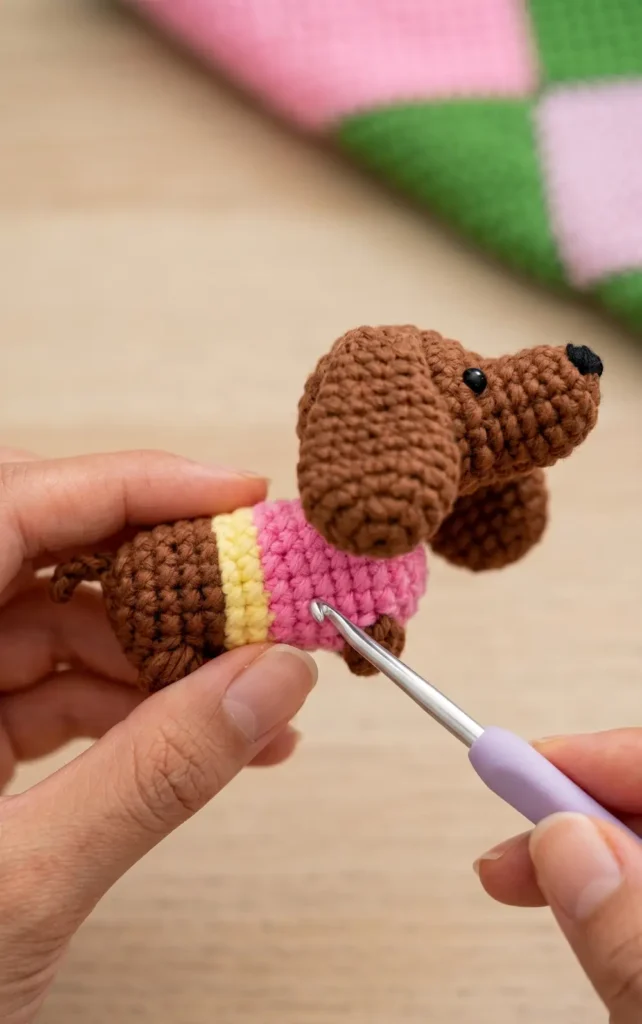
Creating the Body and Outfit
The body is worked from the front to the back and incorporates the legs and clothing as you go.
- Starting the Outfit: Begin with your chosen clothing color and work the first few rounds to establish the chest area.
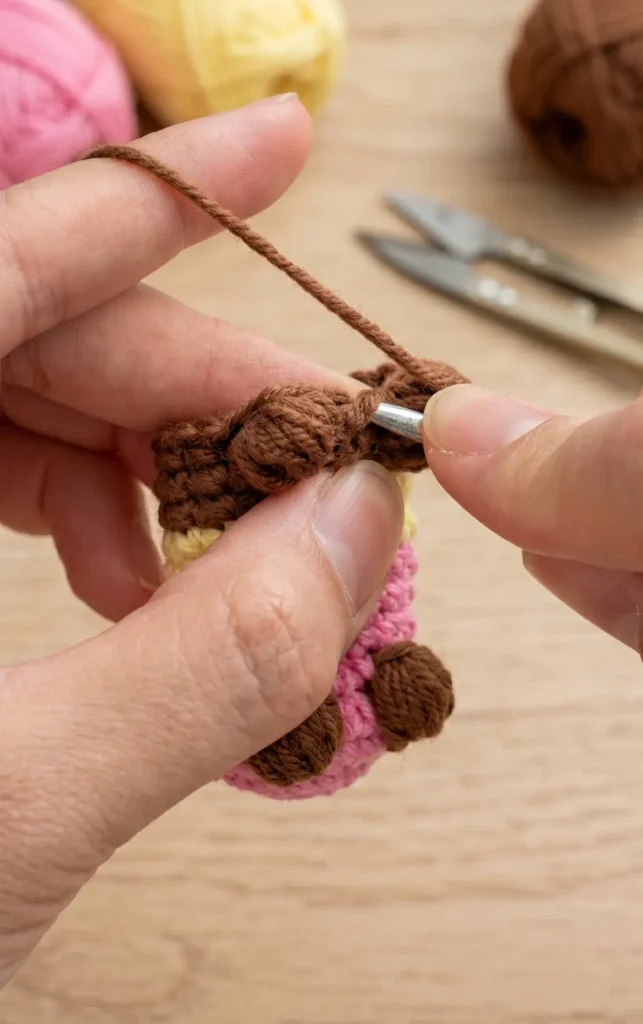
- Forming the Front Legs: In Round 4, you will switch to brown yarn to create the paws using a 5 half double crochet puff stitch. To make the puff, yarn under and pull up a loop five times in the same stitch, then yarn over and pull through all 11 loops on your hook. Secure the puff with a chain 1, though this chain does not count as a stitch in the round count.
- Color Transitions: To achieve clean lines for the outfit stripes, use a two color single crochet technique where you pull through the final loops of a stitch with the new color.
- Back Legs and Tail: After working the length of the body, repeat the puff stitch process in Round 13 to form the back legs. In Round 15, as you begin decreasing, create the tail by chaining 5 and working slip stitches back down the back bumps of the chain. Stuff the body firmly before closing.
Making the Ears and Assembly
The ears are made as two separate pieces following the pattern. Once all parts are finished, you can begin the final assembly:
- Nose: Use black yarn to sew a small nose onto Round 1 of the head.
- Ears: Attach the floppy ears on either side of the head between Rounds 10 and 11.
- Attachment: Sew the head onto the body between Rounds 3 and 5.
By following these steps and using the yarn under technique, you will have a neat and perfectly aligned dachshund ready for your crochet dog squad.
Video Credits: AnDesign_Craft
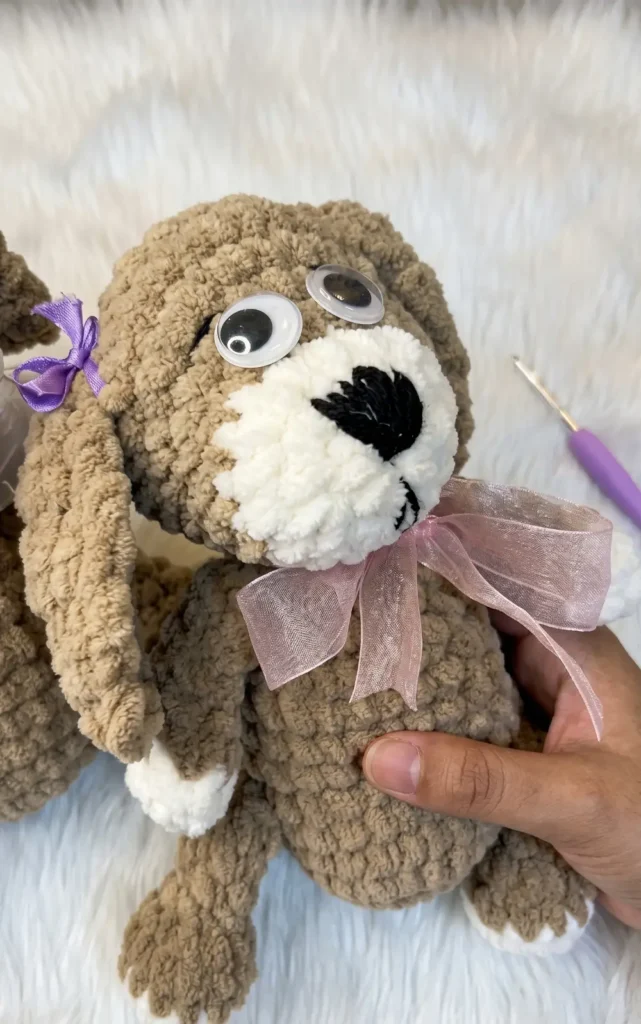
2: Crochet Puppy Tutorial Hour Project
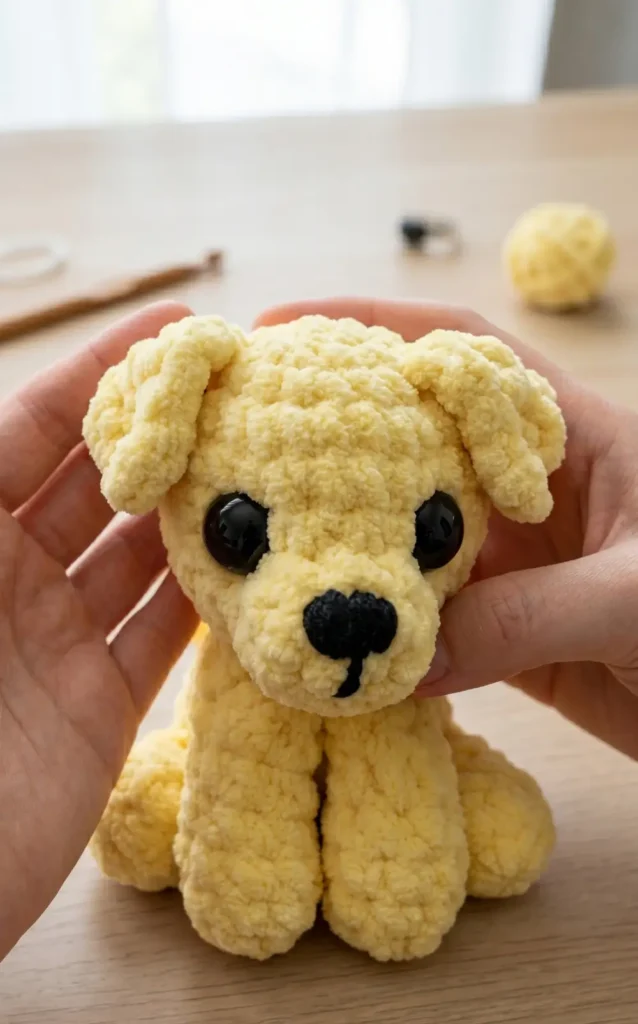
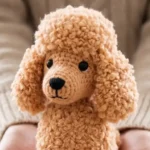
This sitting puppy pattern is designed to be a quick and efficient project, perfect for markets or gifts, taking approximately one and a half hours to complete. While this tutorial focuses on a solid-colored golden retriever style, the pattern is versatile enough to create different breeds like huskies, German shepherds, or poodles by changing colors or ear types.
Essential Materials and Tools
To create your puppy, you will need the following supplies:
- Primary Yarn: Sweet Snuggles Light (the featured puppy uses yellow).
- Secondary Yarn: Size 4 yarn in a matching color for starting the magic ring, sewing, and face shaping.
- Nose Yarn: Size 4 black yarn for the embroidered nose.
- Crochet Hook: A 5 mm hook.
- Safety Eyes: 16 mm eyes.
- Tools: Scissors, a standard needle, and a long metal needle for working with chenille yarn.
- Stuffing: A moderate amount of poly-fill stuffing.
Step 1: Crocheting the Limbs and Tail
The project begins with the smaller pieces to make assembly easier later.
- Front Legs: Start with eight single crochets (SC) into a magic ring using size 4 yarn to keep the center tight. Crochet three rounds of SC, then a decrease round (invisible decrease, 2 SC), followed by one more SC round. Stuff lightly and close the top by crocheting through both sides with 3 SC.
- Back Legs: Create a magic ring with 8 SC, followed by three rounds of SC. Stuff the leg slightly and close the top with a combination of SC and a decrease across the opening.
- Tail: Start with 4 SC in a magic ring, increasing gradually to 6 SC over two rounds. Flatten the tail and SC across the opening.
Step 2: Constructing the Head and Body
The head and body are worked as one continuous piece, with the front legs crocheted directly onto the body to save time on sewing.
- Head: Begin with 6 SC in a magic ring, increasing each round until you reach 24 stitches (Round 4: Increase, 2 SC). Crochet four rounds of SC before performing 12 decreases.
- Attaching Arms: After one round of SC, join the front legs. Flip the legs upside down so the wrong side faces up and crochet through both the arm and the body for 3 SC each.
- Eyes: Insert 16 mm safety eyes between rounds 6 and 7, spaced four clear stitches apart and centered with the arms.
- Body: Increase back to 24 stitches (Round 10: Increase, 2 SC), crochet three rounds of SC, and then perform 12 decreases.
- Finishing the Body: Stuff the head and body firmly. Finish with a final round of 6 decreases, fasten off, and sew the bottom hole shut.
Step 3: Snout and Ears
- Snout: Crochet 6 SC in a magic ring, then increase to 10 stitches. Add one more round of 9 SC and an increase before fastening off.
- Folded Ears: These are created separately by chaining 5 and working a series of double crochets and half double crochets on both sides of the chain to create a teardrop shape.
Step 4: Final Assembly and Detailing
- Leg and Tail Attachment: Sew the back legs to the bottom of the body, ensuring they are centered and touching the front legs. Attach the tail between the decrease and SC rounds of the lower body.
- Face Shaping: This optional but recommended step involves using size 4 yarn and a long needle to pull the area around the safety eyes inward, which “sinks” them and gives the puppy a more defined look.
- Nose and Snout: Sew the snout onto the face, ensuring the increase round is at the bottom. Use black yarn to embroider a nose on the snout, stacking loops to create the desired size.
- Ears: Attach the ears between rounds 2 and 3 of the head. For a “folded” look, sew the ear with the wrong side facing forward and then tack the fold down with a few stitches.
Video Credits: Loops and Knots Crochet
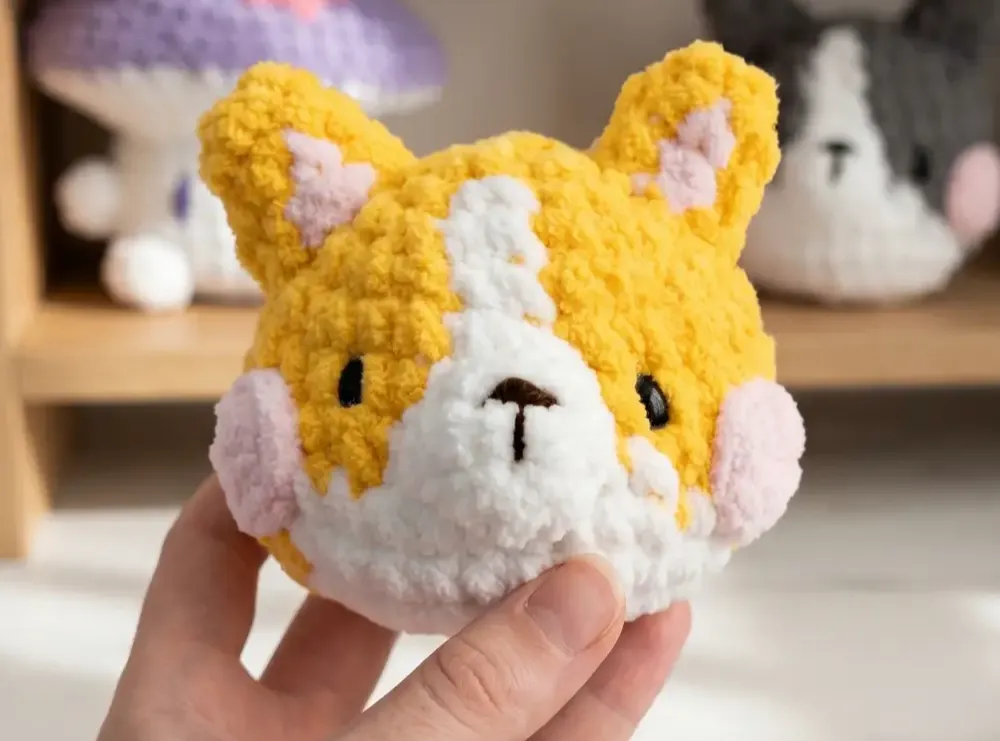
3: Crochet an Amigurumi Corgi Dog Chunky
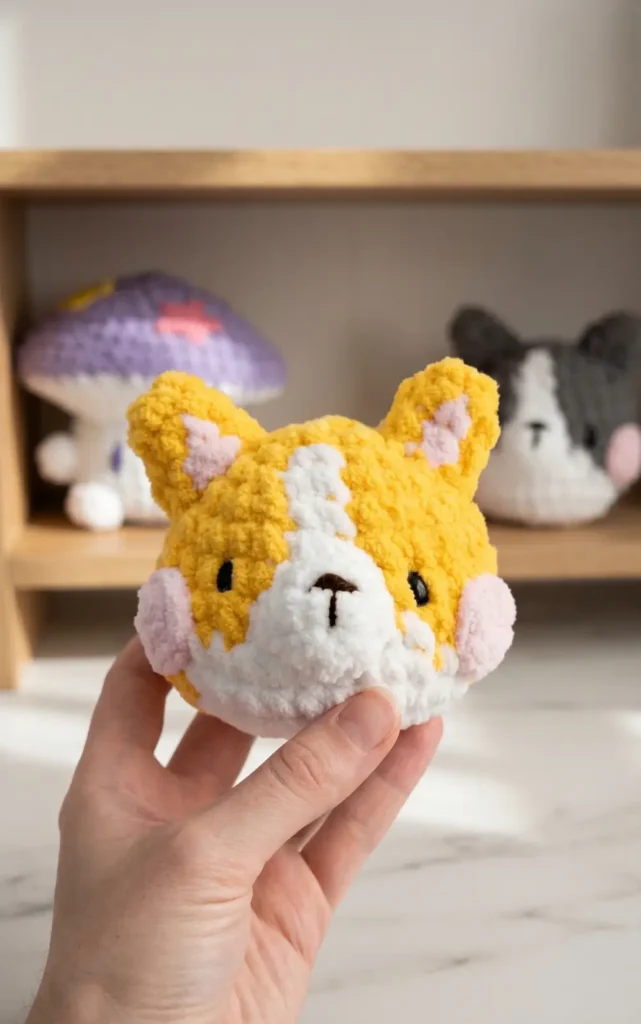
Creating a chunky amigurumi corgi is a perfect project for beginners using super bulky yarn. This guide covers everything from the essential materials to the final assembly of your dog.
Materials Needed
To begin this project, you will need the following materials:
- Super bulky yarn in gold, white, and pink.
- Dark brown yarn for embroidering the eyes, nose, and mouth.
- Crochet hook suitable for chunky yarn.
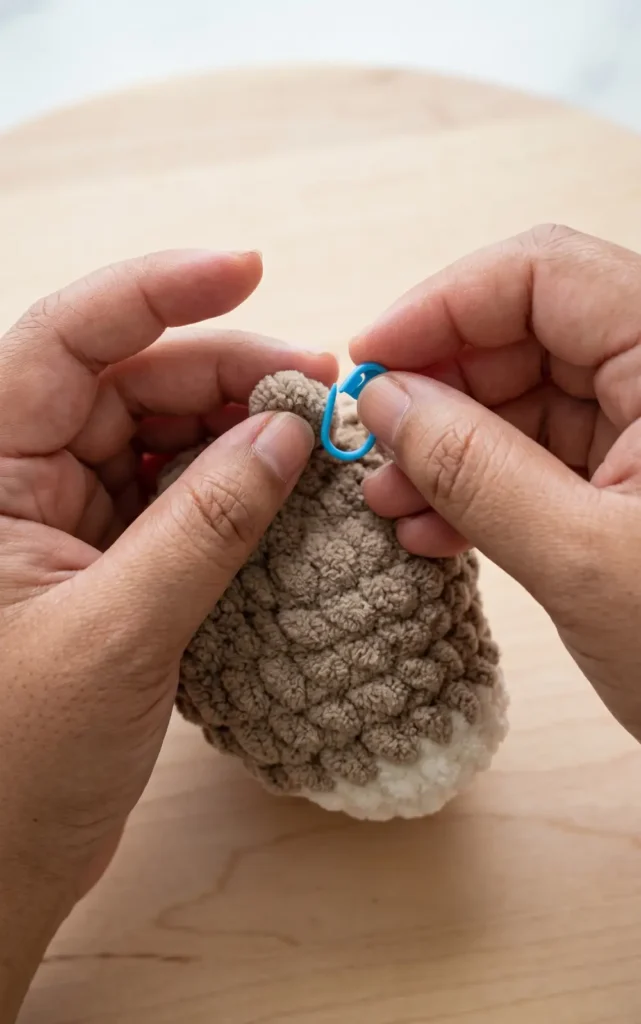
- Stitch markers to track the end of each round.
- Stuffing to fill the body.
- Yarn needle for sewing and finishing.
- Scissors.
- Pins to secure pieces before sewing.
Creating the Head and Body
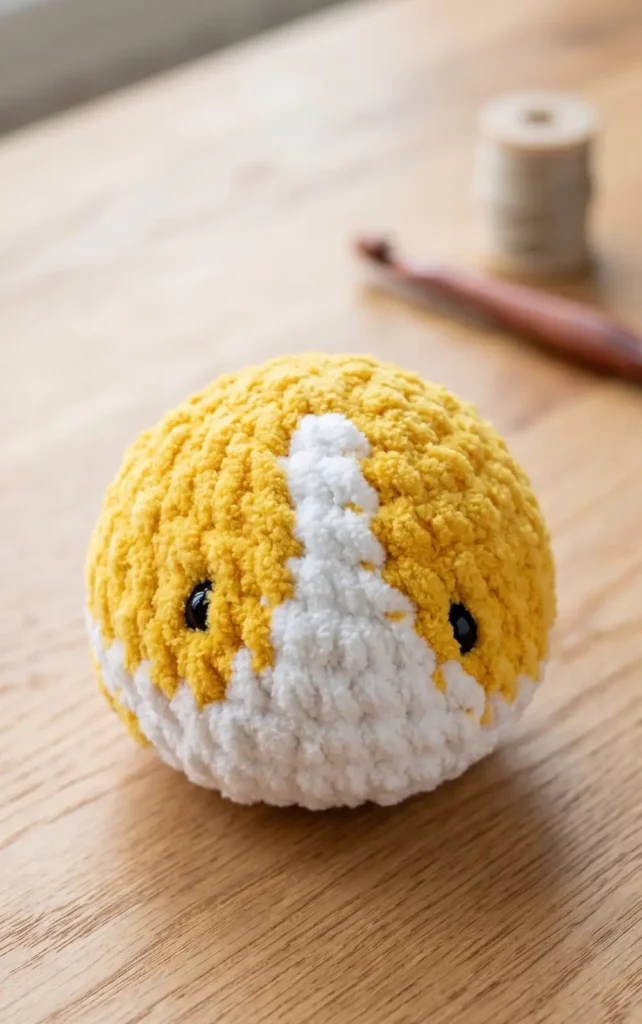
The head and body are worked as one piece starting with the gold yarn. Because super bulky yarn is thick, it is recommended to start with a new loop by crossing the yarn over rather than a traditional magic ring.
- Round 1: Chain two and make six single crochet stitches into the first chain.
- Round 2: Perform five increases (two single crochets in one stitch) with the gold yarn, then switch to white yarn for the final increase, resulting in 12 stitches total.
- Rounds 3 to 7: Continue with sequences of increases and single crochets, switching between gold and white yarn to create the facial pattern.
- Round 8: This round requires a seamless finish technique. Cut a long tail of gold yarn and pull it through, then use a needle to join the stitches invisibly before reattaching white yarn to continue the round.
- Rounds 9 to 12: Work rounds of single crochets and decreases (joining two stitches into one). You may use a regular decrease or an invisible decrease depending on your preference.
- Finishing: Add stuffing to the body before completing Round 13, which consists entirely of decreases. Cut a long tail, thread it through a needle, and weave it through the remaining stitches to pull the hole closed.
Crafting the Facial Features
The face requires several small pieces and embroidered details to bring the corgi to life.
- The Muzzle (Mouth Piece): Using white yarn, chain two and make six single crochets in the first chain. In the second round, follow a sequence of two single crochets followed by an increase, repeated twice.
- The Blushes: Using pink yarn, chain two and make six single crochets into the first chain, then fasten off with a long tail for sewing.
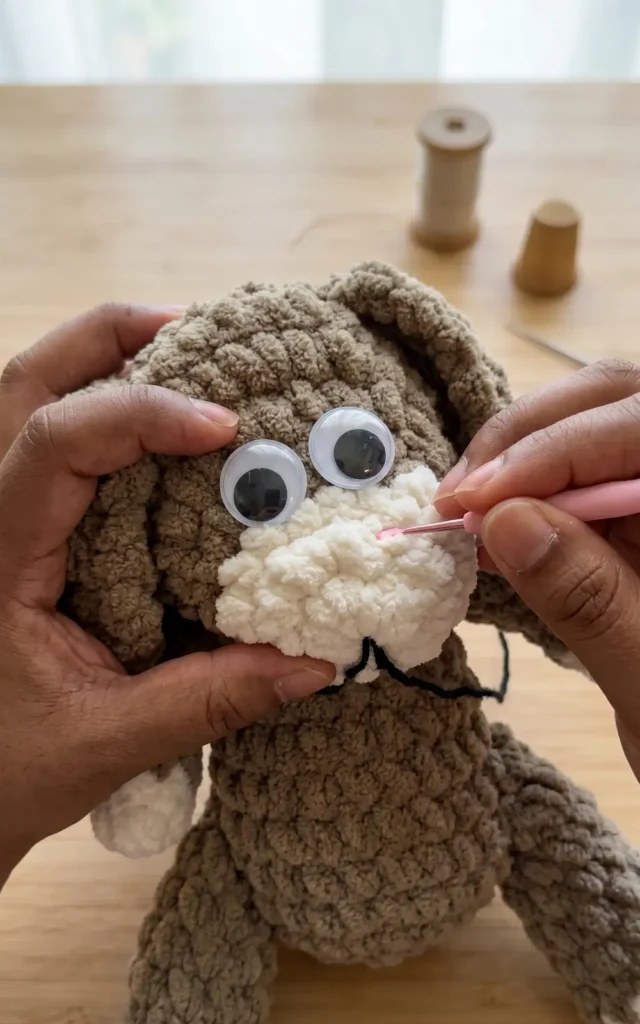
- Eyes: Use dark brown yarn and a needle to embroider the eyes. To make them look prominent on chunky yarn, wrap the yarn around the eye location three to four times to increase thickness.
- Nose and Mouth: Embroider a horizontal line for the nose and a vertical line for the mouth onto the white muzzle piece using dark brown yarn.
Making the Ears and Tail
- Ears: Start with gold yarn, chain two, and make six single crochets in the first chain. In rounds two and three, incorporate pink yarn for the inner ear by switching colours mid round.
- Tail: Using gold yarn, make five single crochets into a loop for the first round, followed by five single crochets in the second round.
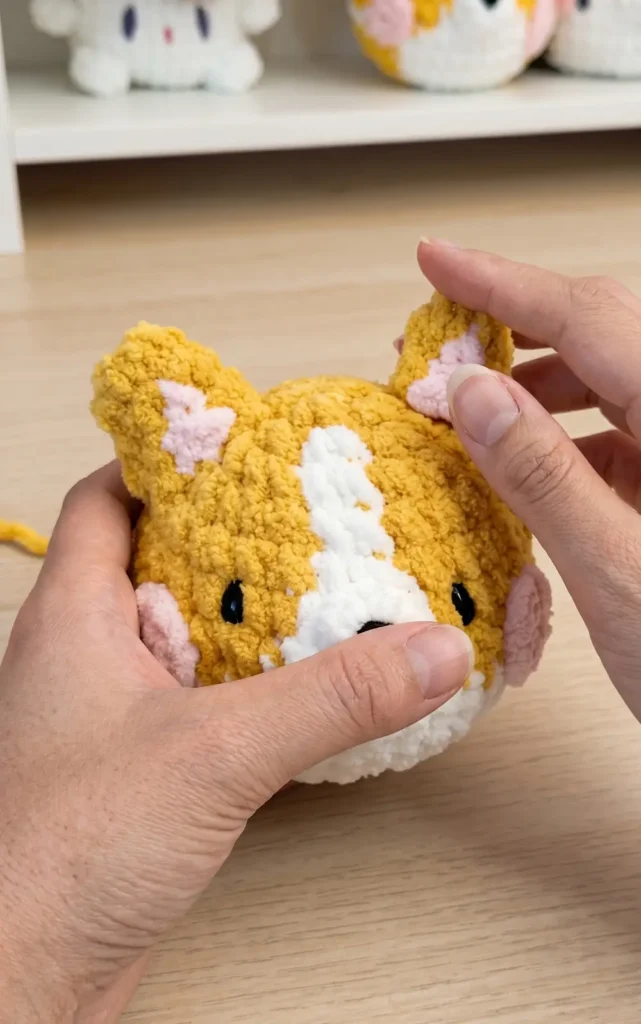
Final Assembly
Before sewing, it is vital to use pins to secure the location of each piece to ensure the face is symmetrical.
- Muzzle: Position the muzzle between the eyes across two rounds and sew it to the face.
- Blushes: Sew the pink blushes directly next to the eyes.
- Ears: Pin the ears to the top of the head and sew them securely.
- Tail: Place the tail at the back of the body, aligned with the white belly section, and sew it on.
Once all pieces are attached, hide any remaining yarn tails inside the body using your needle or scissors.
Video Credits: pitachan
4: Crochet Dog Amigurumi Tutorial


This tutorial provides a step-by-step guide to creating a handmade amigurumi puppy. By following these instructions, you can craft a charming stuffed dog using basic crochet techniques.
Required Materials
To complete this project, you will need the following supplies:
- A 4.5 mm crochet hook.
- Two different colours of yarn of your choice.
- Cotton filling for stuffing the amigurumi.
- Stick-on eyes.
- A yarn needle for assembly and closing rows.
Crafting the Head
The head begins with a magic circle using your first yarn colour.
- Row 1: Work 8 single crochets (sc) into the magic circle. Join the row with a slip stitch.
- Row 2: Chain 1, then work 2 sc in each stitch for a total of 16 stitches. Join with a slip stitch.
- Row 3: Chain 1 and work 1 sc in each of the 16 stitches. Join with a slip stitch.
- Row 4: Change to your second yarn colour. Work 2 sc in the first 6 stitches, followed by 1 sc in each of the remaining 10 stitches. This row will have 22 stitches.
- Row 5: Work 1 sc in every stitch around (22 stitches).
- Row 6: Repeat a pattern of 1 sc in the first stitch and 2 sc in the next stitch 6 times. Then, work 1 sc in each of the remaining 10 stitches to reach 28 stitches total.
- Rows 7 and 8: Work 1 sc in each stitch for both rows (28 stitches each).
- Row 9: Work a decrease (joining two stitches together) in every stitch across the row, resulting in 14 stitches.
- Row 10: Work another round of decreases in every stitch to reach 7 stitches total. Fill the head with cotton at this stage.
- Row 11: Work 1 sc in the first stitch and then work decreases in the next 6 stitches. Fasten off, leaving a tail to close the final 4 stitches with a needle.
Making the Body
The body also starts with a magic circle.
- Row 1: Work 8 sc into the magic circle and join with a slip stitch.
- Row 2: Work 2 sc in each stitch to reach 16 stitches.
- Row 3: Work a pattern of 1 sc in the first stitch and 2 sc in the next stitch all the way around for 24 stitches.
- Rows 4 to 10: Work 1 sc in every stitch for these seven rows, maintaining 24 stitches in each.
- Row 11: Work a pattern of 1 sc followed by a decrease around until you have 16 stitches. Join and fill the body with cotton.
- Rows 12 and 13: Work 1 sc in each stitch (16 stitches per row).
- Row 14: Work decreases in all stitches to reach 8 stitches total. Fasten off and cut the yarn.
Crocheting the Legs
You will need to make two back legs and two front legs.
Back Legs (Make 2): Start with a magic circle in white yarn.
- Row 1: 6 sc in the magic circle.
- Row 2: 2 sc in each stitch (12 stitches). Fasten off and change colour.
- Row 3: Work 1 sc in each stitch (12 stitches).
- Row 4: Work 4 decrease stitches followed by 1 sc in the remaining 4 stitches (8 stitches total).
- Rows 5 to 8: Work 1 sc in each stitch for these four rows (8 stitches each).
Front Legs (Make 2): Start with a magic circle in white yarn.
- Row 1: 4 sc in the magic circle.
- Row 2: 2 sc in each stitch (8 stitches). Fasten off and change colour.
- Rows 3 to 6: Work 1 sc in each stitch for these four rows (8 stitches each).
- Row 7: Work decreases in all stitches (4 stitches total) and fasten off.
Creating the Ears
Make two ears using brown yarn, starting with a slip knot and a chain of 4.
- Row 2: In the second chain from the hook, work 2 sc. Work 1 sc in the next stitch and 2 sc in the final stitch (5 stitches total).
- Row 3: Turn, chain 1, work 2 sc in the first stitch, 1 sc in the next 3 stitches, and 2 sc in the last stitch (7 stitches total).
- Rows 4 to 6: Turn, chain 1, and work 1 sc in every stitch (7 stitches each row).
- Row 7: Turn, chain 1, work a decrease, 1 sc in the next 3 stitches, and a final decrease (5 stitches total).
- Row 8: Turn, chain 1, and work 1 sc in each stitch (5 stitches).
- Row 9: Turn, chain 1, work a decrease, 1 sc, and a final decrease (3 stitches total). Fasten off.
Tail and Finishing Touches
To assemble, use a yarn needle to stitch the head, body, legs, and ears together.
Tail: Find the center back of the body and work across two stitches. Work four rows of 2 sc each. On the final row, work the two stitches together as a decrease and fasten off.
Face Details: Attach the stick-on eyes to the head. Use thread work and a needle to stitch a triangle shape for the nose. Once all parts are secured and loose ends are woven in, your crochet puppy is complete.
Video Credits: Crochet Rainbows & Butterflies
Which Tutorial Inspired You?
Four dog patterns, four totally different vibes. Whether you went for the chunky corgi or the detailed dachshund, you just made something genuinely cute.
Tag your finished pups online and let the crochet community see your work. And if you want more amigurumi patterns like these, keep browsing. There’s always another project worth starting.