4 Stylish Granny Square Crochet Beach Bag Free Patterns
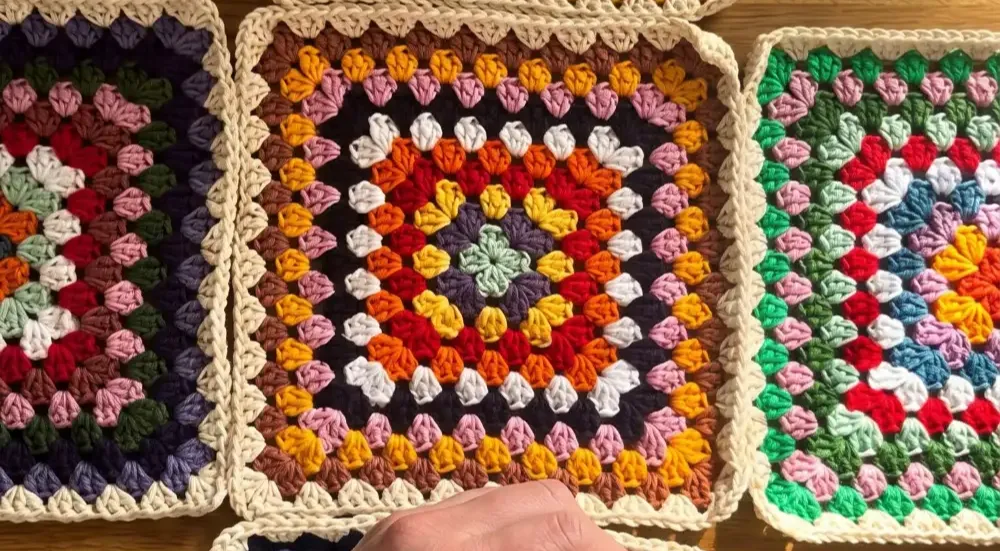
Granny squares aren’t just for blankets anymore. Stitch a handful together and you’ve got a bag sturdy enough for the beach, the market, or your next coffee run. No new stitches to learn, just rounds you already know joined into something useful.
This list rounds up four granny square bags worth your hook time. You’ll find a scrappy beach tote, a geometric three-panel shoulder bag, a jute bag makeover, and a sunflower-shaped showstopper. Each one uses basic stitches, so pick your favorite and start your magic ring.
1: Crocheted Granny Square Beach Tote Bag
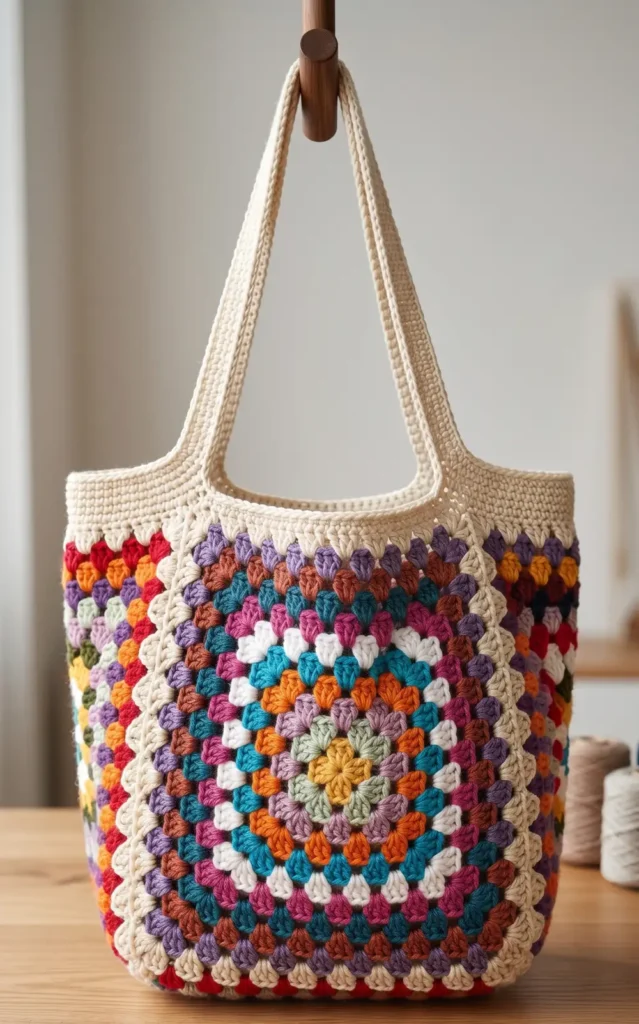
This easy scrap yarn project is a fantastic way to clear out your stash while creating a functional and stylish accessory for the summer. By using five large granny squares, you can assemble a sturdy bag that is perfect for a day at the beach.
Materials and Specifications
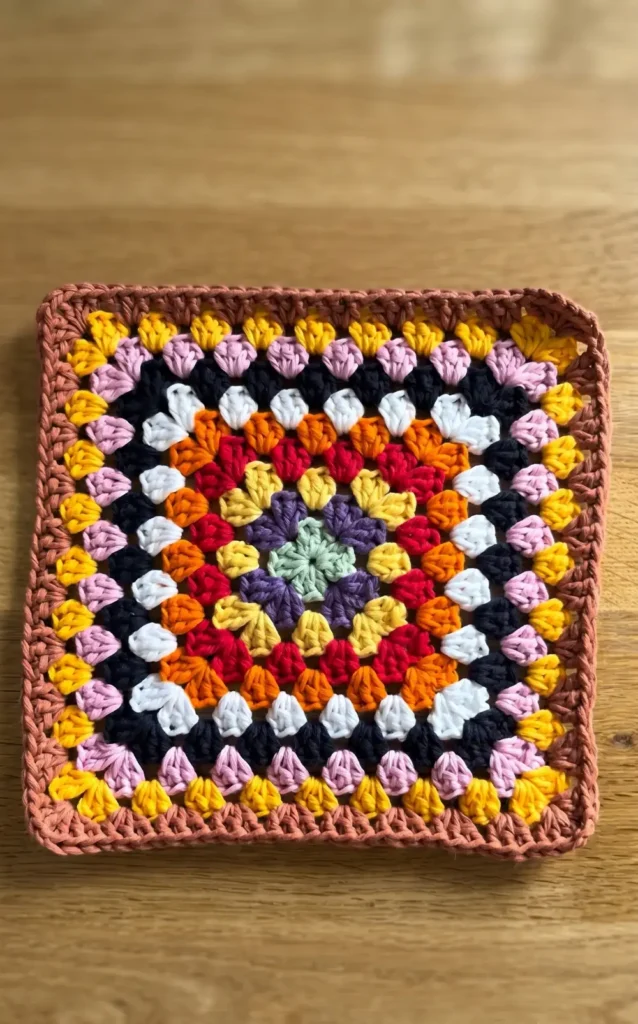
To complete this project, you will need approximately 335 grams of Aran weight yarn in total. While this specific tutorial uses scrap yarn for a multicoloured look, you can adjust the yarn weight and hook size to suit your preferences.
- Hook Size: 5 mm hook.
- Yarn: Aran weight yarn (scrap colors and one consistent outer color).
- Tools: Scissors and a darning needle.
- Dimensions: Each of the five squares should be approximately 9 inches across.
Creating the Granny Squares
You will need to crochet five granny squares in total. To achieve a cohesive look, it is recommended to work 10 rounds in your various scrap colors and then use a single consistent color for the 11th round. This pattern uses US crochet terms.
- Round 1: Start with a magic ring. Chain 3 (counts as your first double crochet), then work two more double crochets into the ring. Chain 1, then work three double crochets into the ring three more times, separated by chain 1 spaces. Pull the ring tight and join with a slip stitch to the top of the initial chain 3.
- Round 2: Join your second color in any corner chain 1 space. Chain 3 and work two double crochets in that same space to form the first half of the corner. In each of the next three corner spaces, work (3 double crochet, chain 1, 3 double crochet). Finish the first corner by adding 3 double crochets and a chain 1, then slip stitch to join.
- Round 3 and Beyond: Continue joining new colors in the corner spaces. Work three double crochets in the spaces between the corner clusters and (3 double crochet, chain 1, 3 double crochet) in the corners.
- Completion: Repeat these steps until you have 10 rounds of scrap colors and a final 11th round in your chosen outer color.
Assembling the Bag
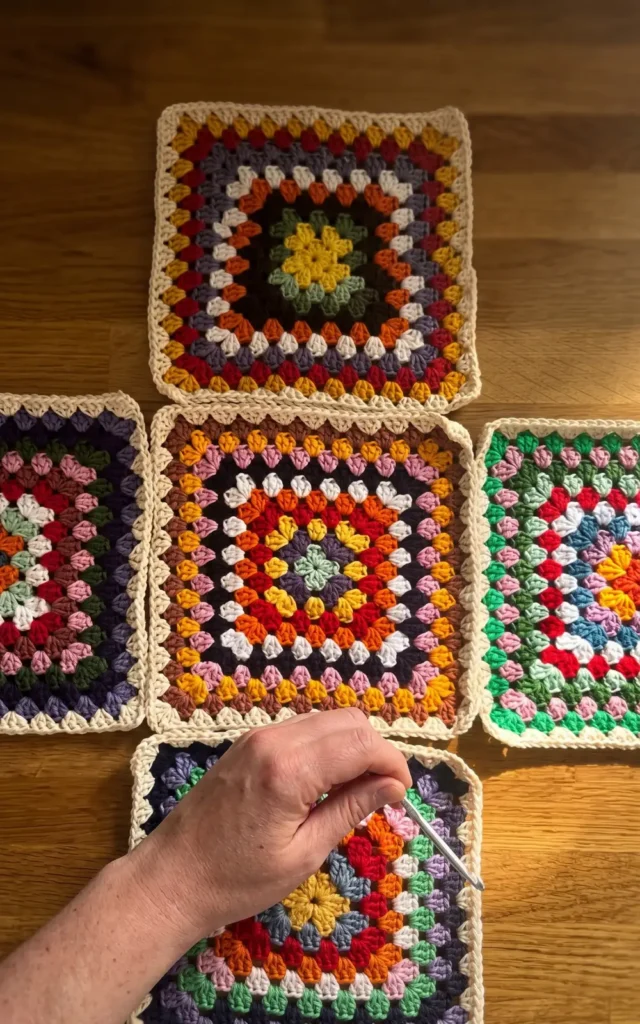
Once your five squares are finished, lay them out in a cross shape with one square in the center and one on each of its four edges.
- Initial Seaming: Use a darning needle and a mattress stitch (or a slip stitch if you prefer to crochet them together) to sew the edges of the outer squares to the center square.
- Joining the Sides: Once the cross is formed, fold the side squares up and sew their adjacent edges together until the bag is completely joined.
Adding the Edging and Handles
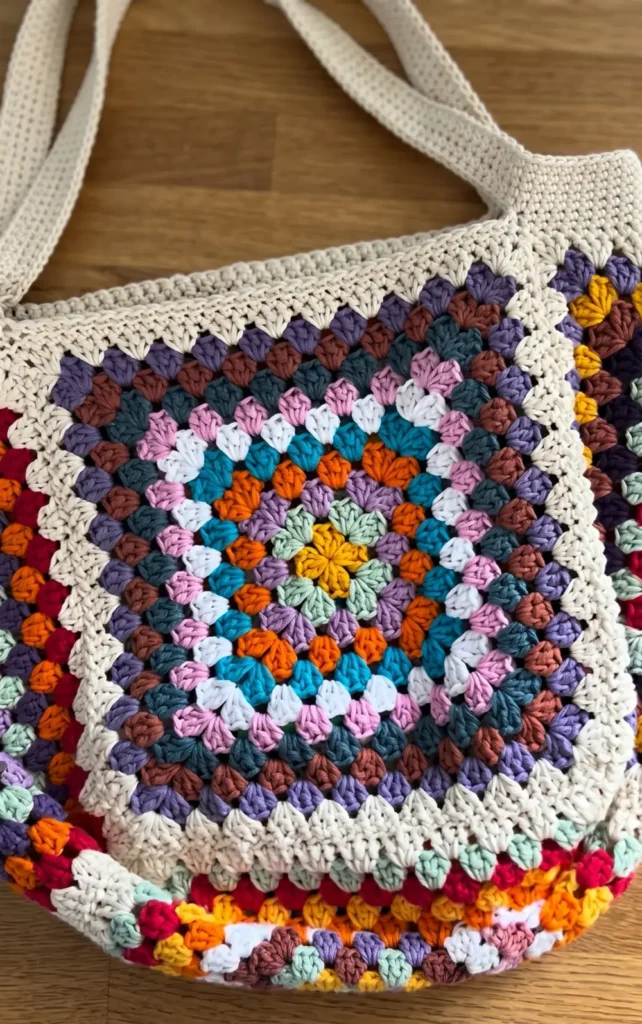
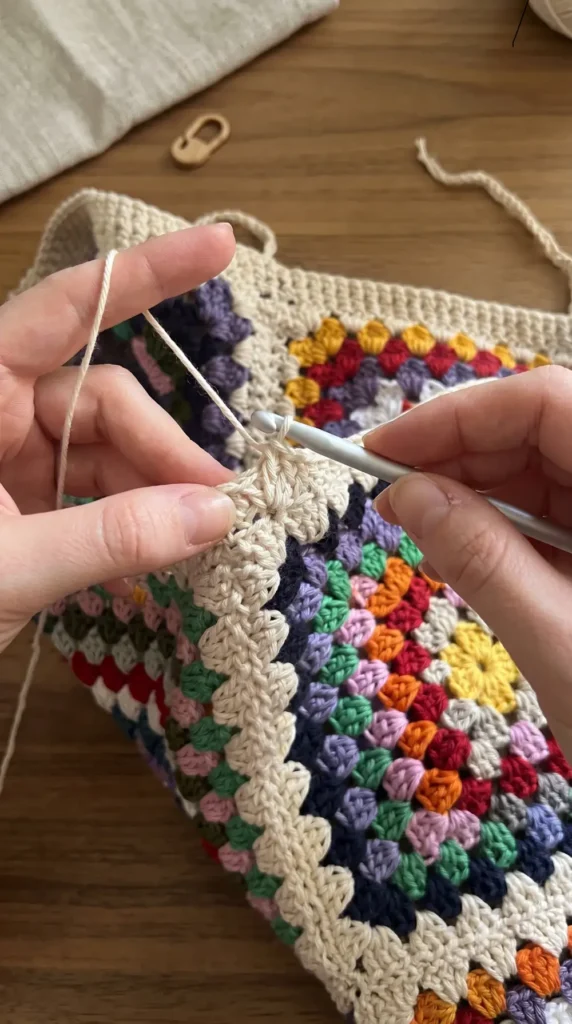
The handle and top edging are worked in rounds directly onto the top of the bag.
- Round 1: Join your yarn at the side of the bag and work a single crochet in every stitch and corner space around the top opening.
- Round 2: Work a back loop single crochet in every stitch around the entire bag.
- Round 3 (The Handles): Work back loop single crochets until you reach the point where the side square meets the front square. For a standard shoulder bag, chain 65; for a longer handle, chain 85. Skip the stitches across the front granny square and single crochet into the next square to attach the handle. Repeat this process on the opposite side for the second handle.
- Round 4: Work single crochets all the way around the chain handles and back loop single crochets along the edges of the bag.
- Rounds 5 to 7: To ensure the straps are sturdy, work three more rounds of back loop single crochets in every stitch around the entire bag, including the handles.
Finish the project by fastening off your yarn and weaving in all remaining ends with your darning needle.
Video Credits: Crafted by Cat
2: Masa Granny Square Crochet Crossbody Bag
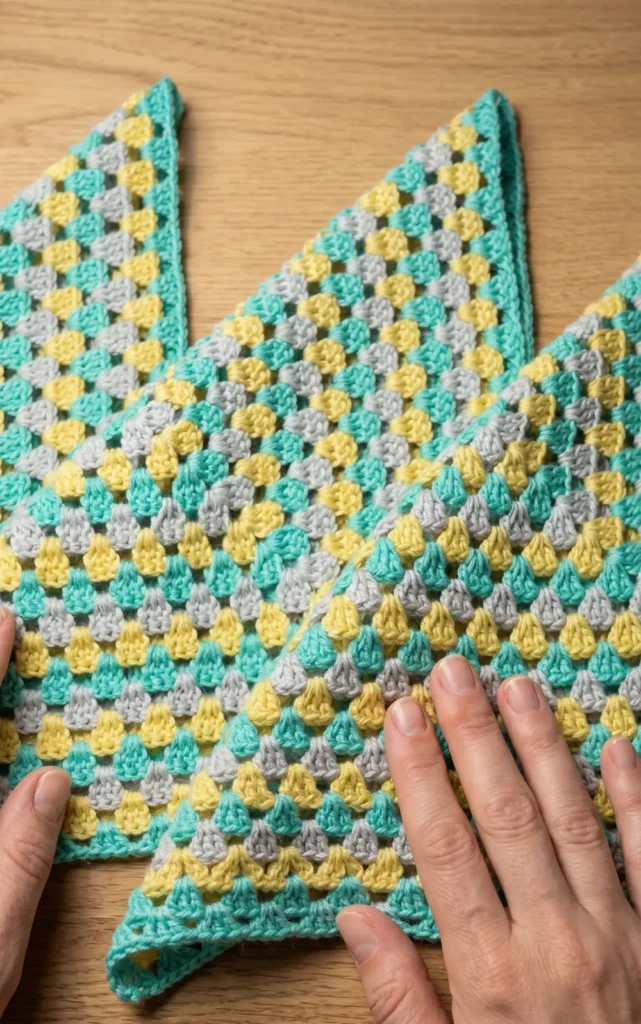
The Masa Bag is a stylish summer accessory that combines traditional crochet techniques with a unique geometric construction. This project is known for its versatile design and can be customized with various color palettes to suit your personal style.
Essential Materials and Tools
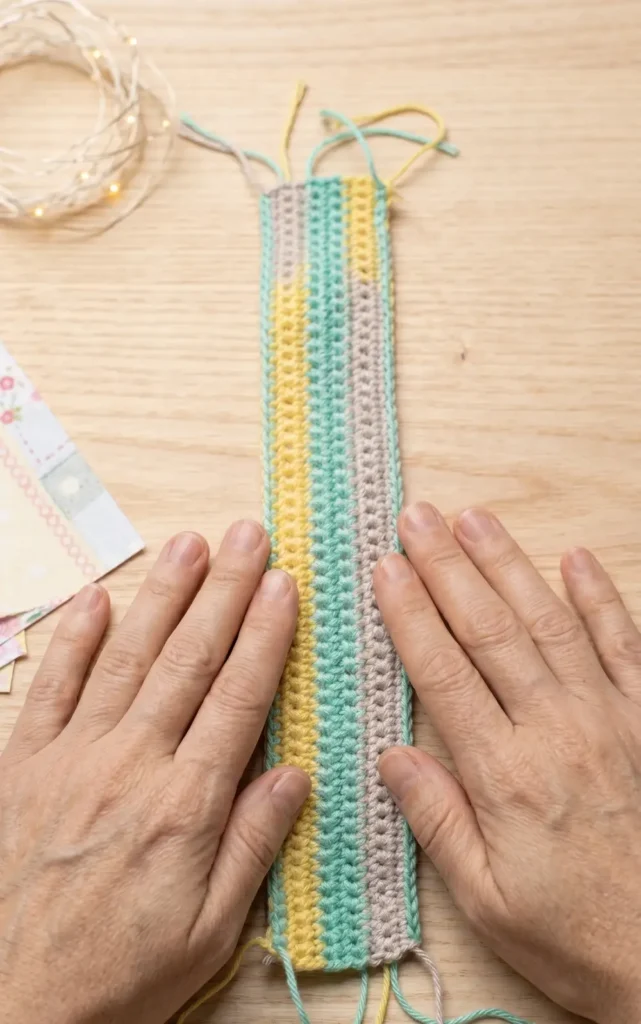
To begin this project, you will need cotton yarn in your choice of colors. The source mentions using a combination of aqua green, yellow, and grey. You will also need:
- A 3.5 mm crochet hook.
- Stitch markers to help align the squares during assembly.
- Lining fabric and basic sewing supplies like pins and a needle.
- An optional magnetic closure for added security.
Preparing the Three Granny Squares
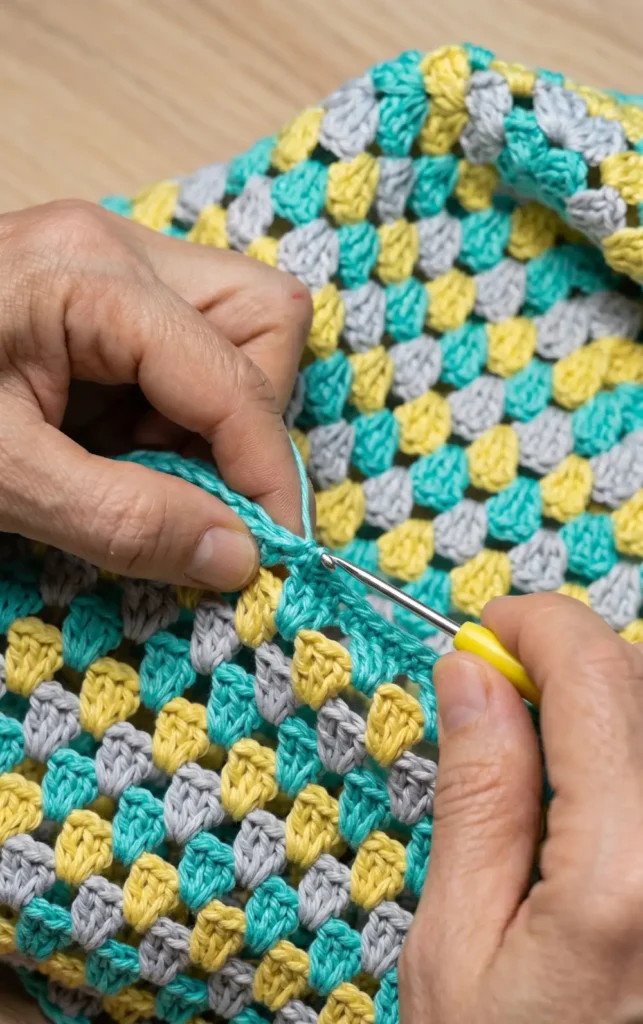
The foundation of this bag consists of three large granny squares, each measuring approximately 30 cm. You should work a total of 16 rounds for each square to achieve the required size. The source suggests alternating colors throughout the rounds, finishing the final round with a consistent color across all three tiles to create a cohesive look.
Assembling the Bag Structure
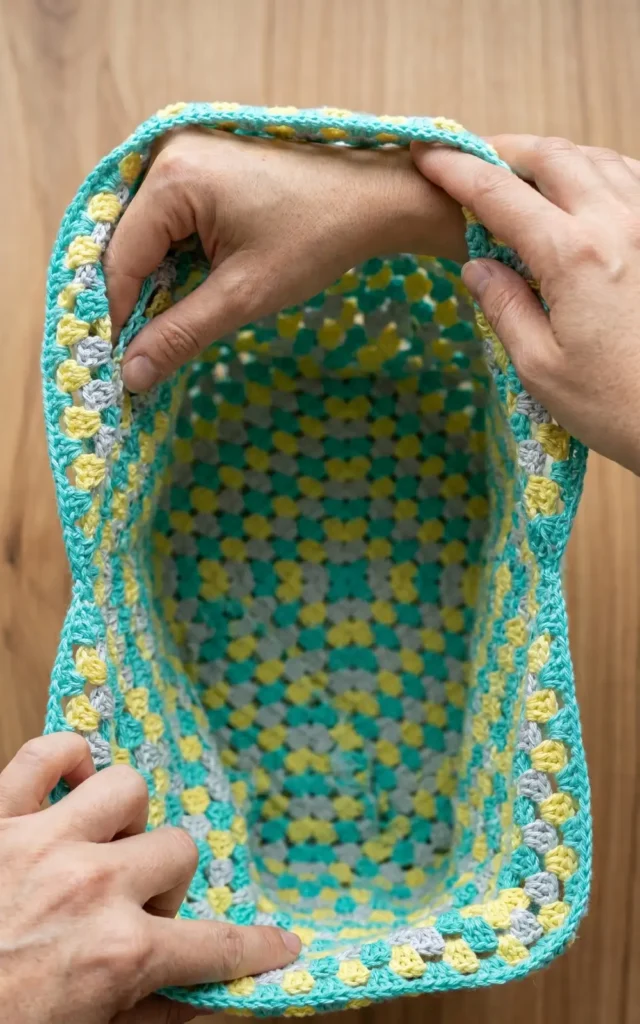
Once your three squares are complete, you will position them to form the bag’s body. One square serves as the bottom, while the other two are folded diagonally and positioned to form the sides.
To join the pieces, use single crochet stitches to connect the edges. Align the three crochet clusters (groups of three double crochets) so that each stitch matches its corresponding stitch on the opposite square. When you reach the central point where all three squares meet, use a slip stitch to join them together for a cleaner finish. Complete the main structure by adding a finishing round of single crochet around the top opening to slightly tighten the shape.
Adding the Lining and Strap
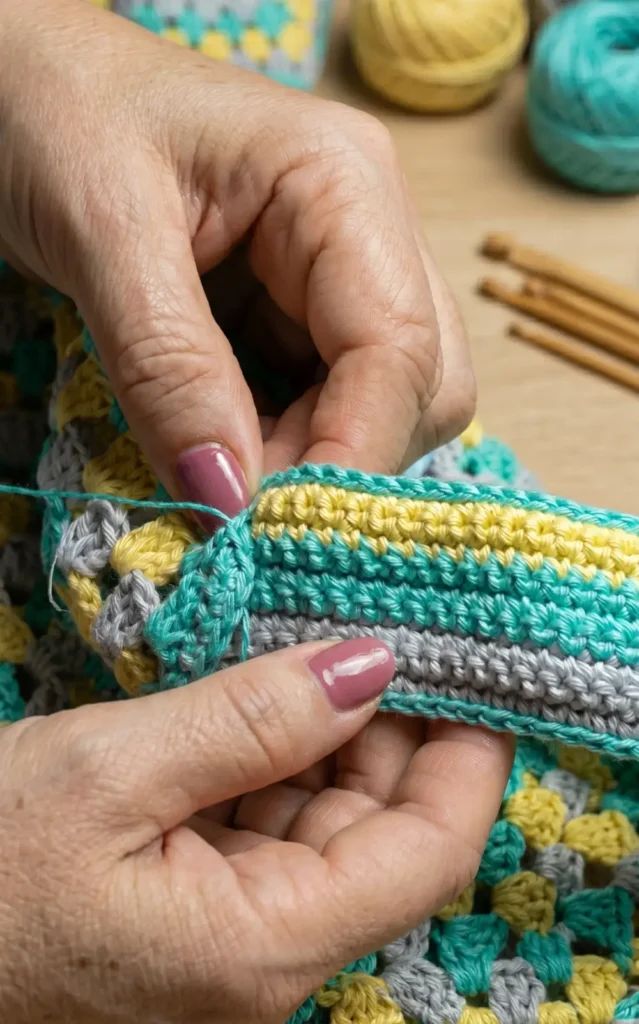
To ensure the bag holds its shape and remains functional, a fabric lining is essential. Cut your fabric to match the bag’s internal geometry and sew it inside using hidden stitches.
The strap is constructed using three rows of single crochet for each color. To prevent the crochet strap from stretching over time, you should back it with a strip of lining fabric or grosgrain. This rigid backing provides necessary support. Finally, attach the strap by centering the corners of the bag squares onto the strap and securing them with backstitching using matching yarn.
Video Credits: uncinettofra
3: Granny Square Crochet Cover for Jute Bag
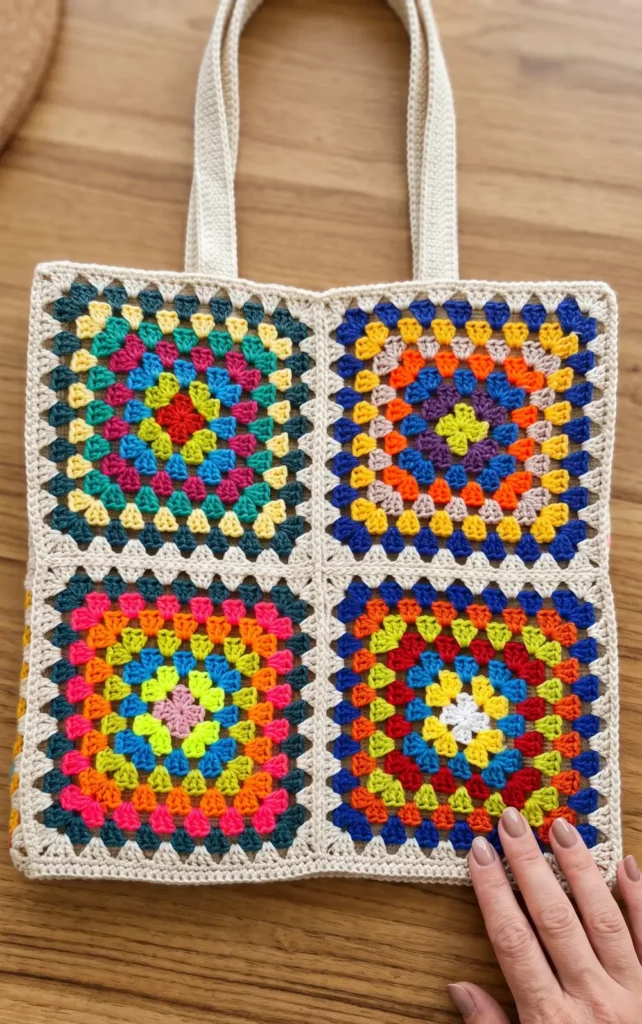
Transform a simple jute bag into a stylish accessory by crocheting a custom cover made of colorful granny squares. This project involves creating 12 individual squares that are later joined together to form the front, back, sides, and bottom of the bag cover,.
Materials and Preparation
To achieve the best results, you will need specific materials to ensure the cover fits the dimensions of the bag correctly.
- Yarn: Scheepjes Catona is recommended for this project. You will need six different colors for the center rounds of each square and a specific base color (such as color 505) for the final outer edge.
- Crochet Hook: A 3 mm hook is used to maintain the proper tension.
- Jute Bag: The tutorial is designed for a bag measuring 30 cm at the front and back and 15 cm on the sides.
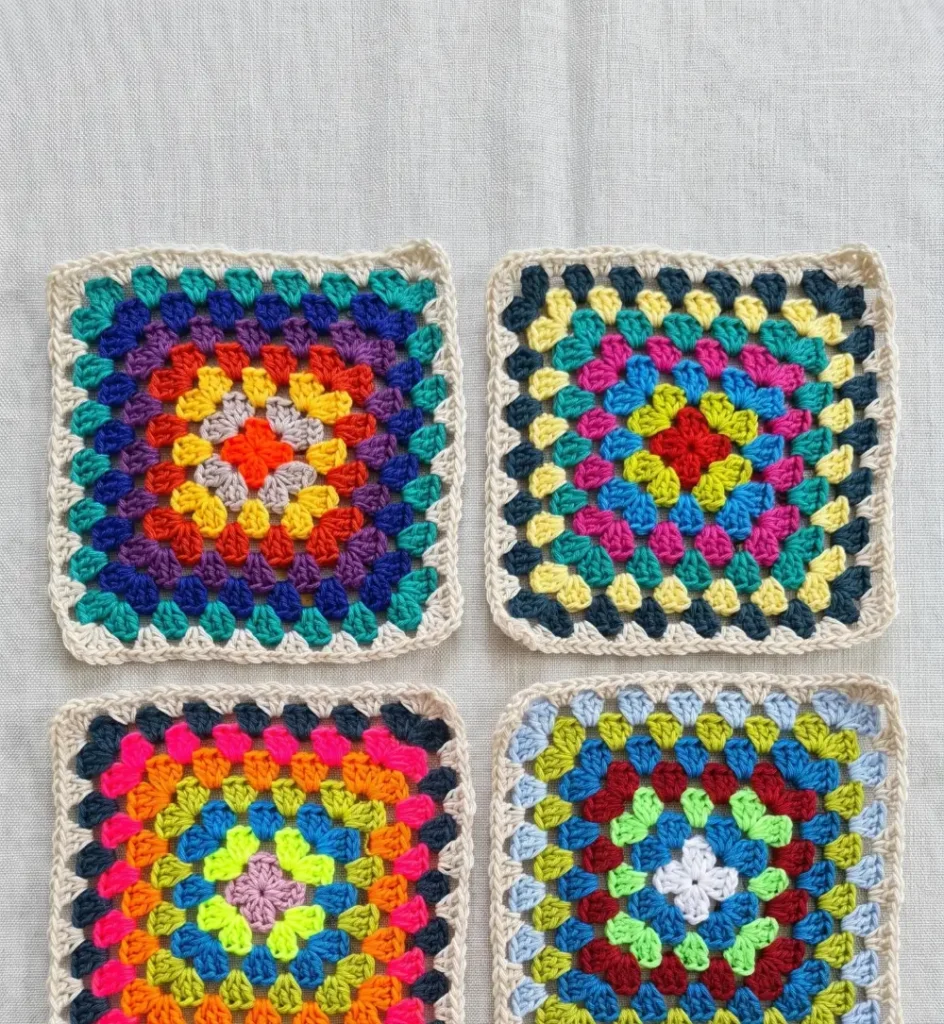
- Square Dimensions: Each of the 12 squares should measure approximately 15 cm by 15 cm. This allows for four squares on the front and back, and two squares for each side.
Step-by-Step Granny Square Pattern
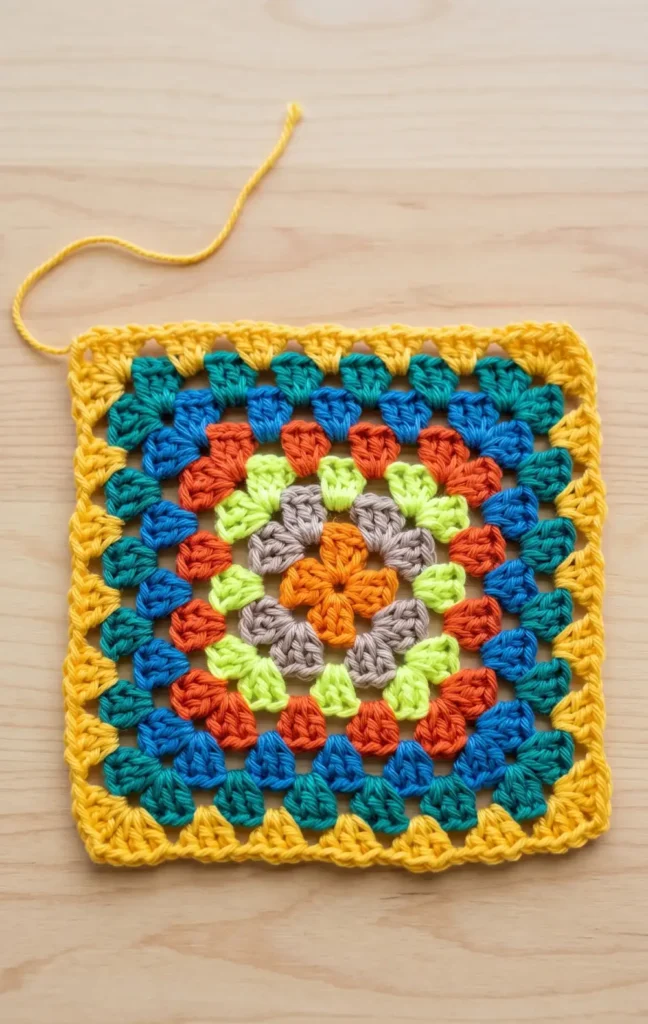
The squares are worked in a traditional granny style, consisting of seven rounds in total.
Starting the Square (Round 1) Begin your square with a magic circle. Inside the circle, crochet three chains, which count as your first double crochet (or “stick”). Follow this with two double crochets to complete the first group of three. Create the corner by crocheting two chains, then work another group of three double crochets. Continue this pattern until you have four groups of three double crochets separated by two-chain corners. Close the round by slip stitching into the third chain of the beginning,.
Expanding the Square (Rounds 2 through 6) For the second round, attach a new color by making a loop on your hook and starting directly in a corner with a double crochet. In each corner opening, work three double crochets, two chains, and three double crochets. Between these corner groups, crochet one chain stitch. As you work, crochet over the yarn tails from the previous rounds to secure them, allowing you to cut the excess thread immediately,,.
Follow this same pattern for rounds three through six, switching colors for each round. In every round, you will work a group of three double crochets into every side opening (the space created by the single chain in the previous row) and the standard corner cluster in each corner,,.
The Final Round (Round 7) The seventh and final round is worked using the base color (color 505). This round is crocheted in the exact same manner as the previous ones. Once finished, your square should measure just under 15 cm. It is intentional for the square to be slightly smaller than the 15 cm target because the crochet fabric has a lot of stretch. This ensures the cover fits tightly around the jute bag rather than hanging loosely,.
Finishing and Assembly
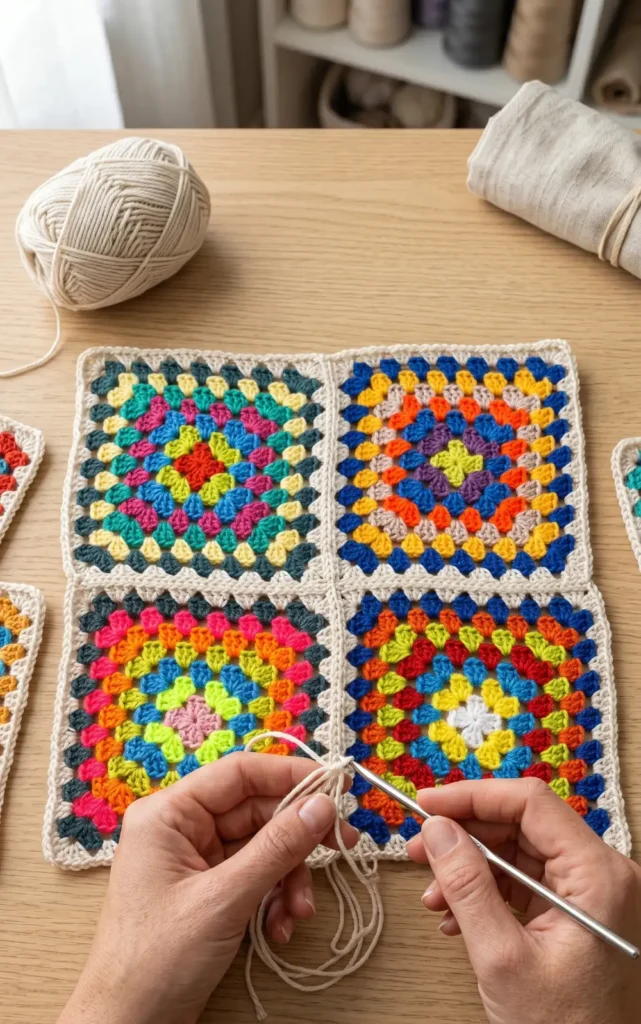
Once all 12 squares are completed, you can optionally block them to exactly 15 cm to even out the shape. The assembly process involves joining the squares into panels:
- Front and Back: Four squares each.
- Sides: Two squares each.
- Joining: The panels are crocheted together using a flat seam for the main sections and a raised edge on the sides to give the bag a defined shape.
- Attachment: After the crochet cover is fully assembled, it is sewn directly to the jute bag to complete the project.
Video Credits: Crochets4U
4: How to Crochet a Sunflower Granny Square Bag
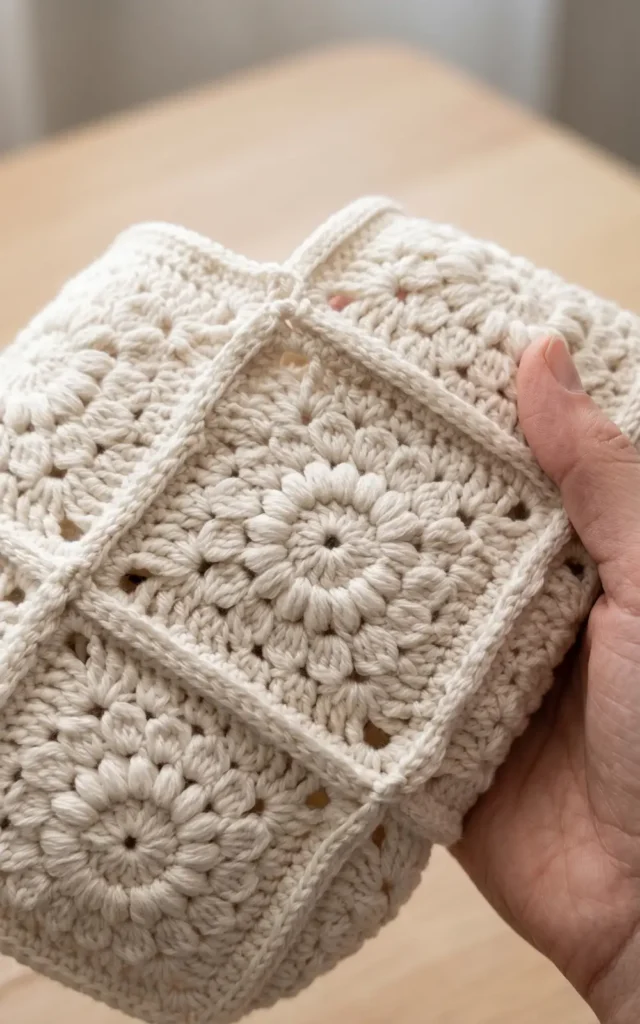
This tutorial guides you through creating a gorgeous and adorable sunflower granny square bag using a combination of floral rounds and structural edging. The finished bag measures approximately 11 inches (28 cm) wide and 10.5 inches (26.5 cm) from the tip to the bottom.
Essential Materials
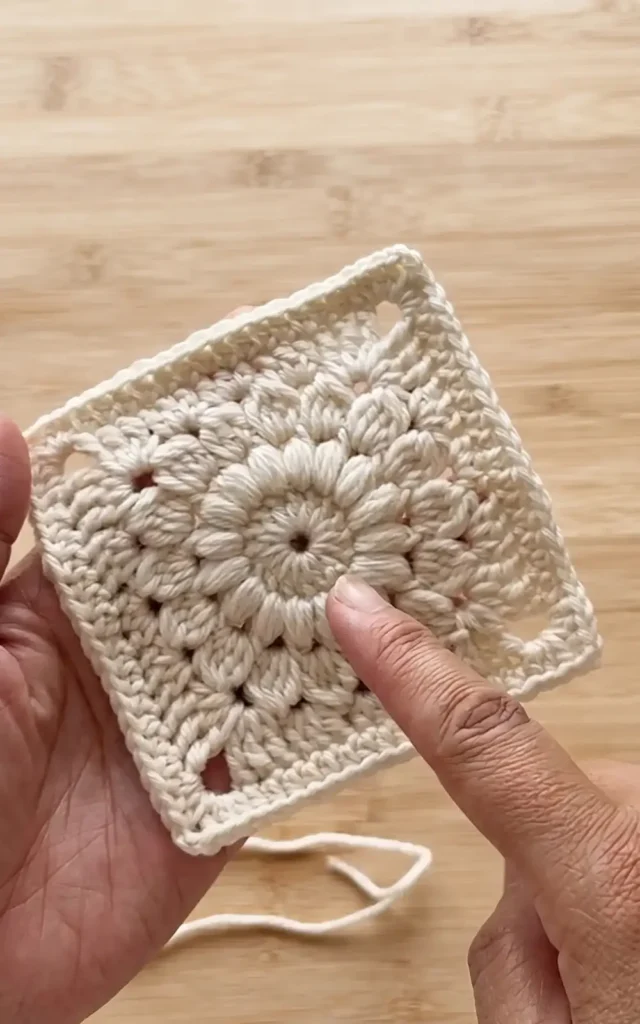
To complete this project, you will need the following items:
- Yarn: Extra fine American merino wool is recommended for its soft, luxurious texture.
- Hook: A 3 mm crochet hook.
- Tools: A tapestry needle for an invisible join and fastening off tails, as well as stitch markers to track your rounds.
Creating the Sunflower Granny Square
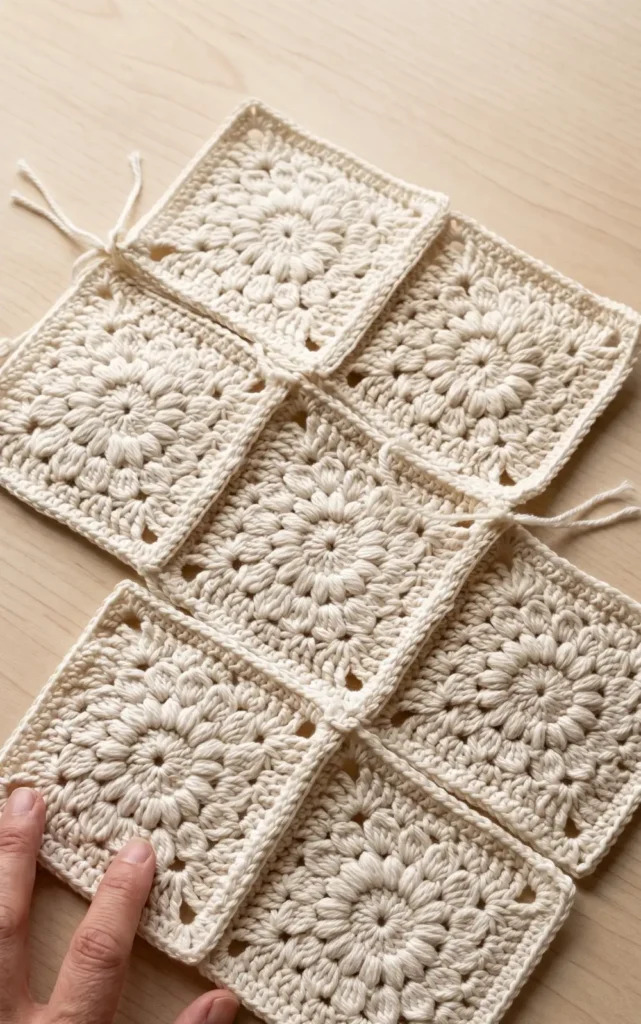
You will need to create a total of 13 squares for this bag. Each square consists of five rounds:
- Round 1: Start with a magic ring. Chain three to count as your first double crochet, then work 15 more double crochets into the ring for a total of 16 stitches. Slip stitch to the top of the chain three to close.
- Round 2 (Puff Stitches): Pull up your yarn and work a puff stitch into the same stitch as the slip stitch. Work 16 puff stitches total around the circle, with a chain one between each puff stitch.
- Round 3 (Pineapple Stitches): Slip stitch into the space between puff stitches and chain one. Create a “pineapple stitch” (a variation of a puff stitch) by joining four partial stitches together. Work 16 pineapple stitches around, separated by a chain two.
- Round 4 (Squaring Off): To turn the circle into a square, work a corner of three treble crochets, a chain three, and another three treble crochets into one space. The side pattern consists of three double crochets, three half double crochets, and three double crochets in the following spaces before reaching the next corner.
- Round 5 (Edging): Chain one and work a half double crochet in every stitch. In the corner spaces, work three half double crochets, a chain three, and another three half double crochets. Finish with an invisible join using a tapestry needle to create a seamless edge.
Assembling Your Bag
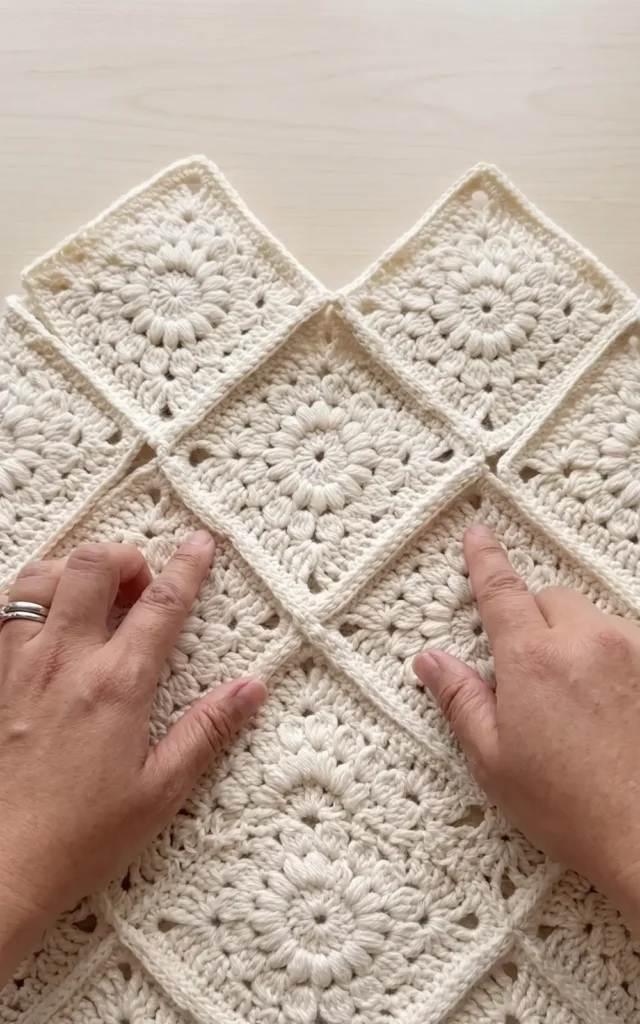
Once your 13 squares are complete, you will assemble them using a slip stitch join:
- Preparation: Place two squares with their right sides facing outward (wrong sides together) and line up the stitches.
- Joining Technique: Use a slip knot to attach your yarn to the corner. Insert your hook through both legs of the stitches on both pieces and slip stitch them together. Maintain even tension to prevent the back from bunching up.
- Layout: Assemble three panels of three squares each. Connect these three panels together to form a large central piece. Finally, attach the remaining four squares to the top and bottom edges to form the bag’s shape, folding the fabric as needed to line up the sides.
Adding the Straps and Finishing Touches
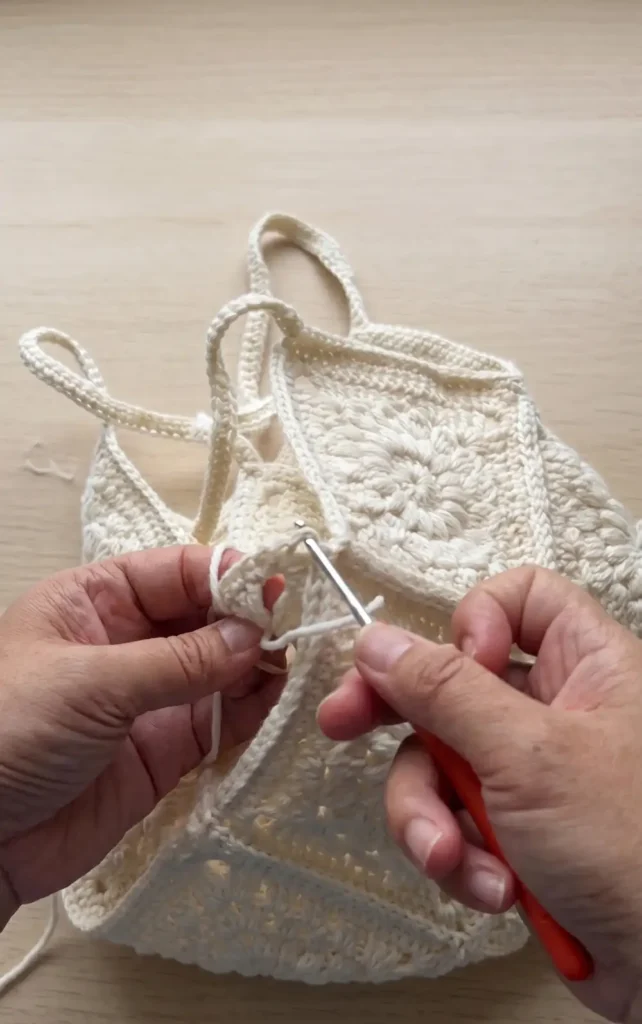
The straps are worked directly onto the bag to ensure they are secure:
- Round 1: Start at a corner and work single crochets along the edge of the bag. When you reach the top tip, chain 80 (approximately 14 inches or 35.5 cm) for the strap. Slip stitch the chain to the opposite corner and single crochet back down the other side.
- Round 2: Work another round of single crochets into the existing stitches and into each of the 80 chains of the strap to add thickness.
- Inside Edge: To finish the look and add stability, work a final row of single crochets along the inside “ring” of the strap and the top opening of the bag.
- Final Join: Use an invisible join to fasten off your yarn for a professional finish.
Video Credits: Tasty Dumpling Living
Which Granny Square Wins?
Four bags, one simple granny square. That’s all it takes to turn scrap yarn into something you’ll actually carry this summer. Pick the pattern that fits your style and grab your hook.
Whichever bag you choose, the process stays familiar. Join your squares, secure the straps, weave in your ends. Then pack your sunscreen, because this bag is ready for the sand.