5 Crochet Flower Bouquet Wedding Free Patterns for Brides
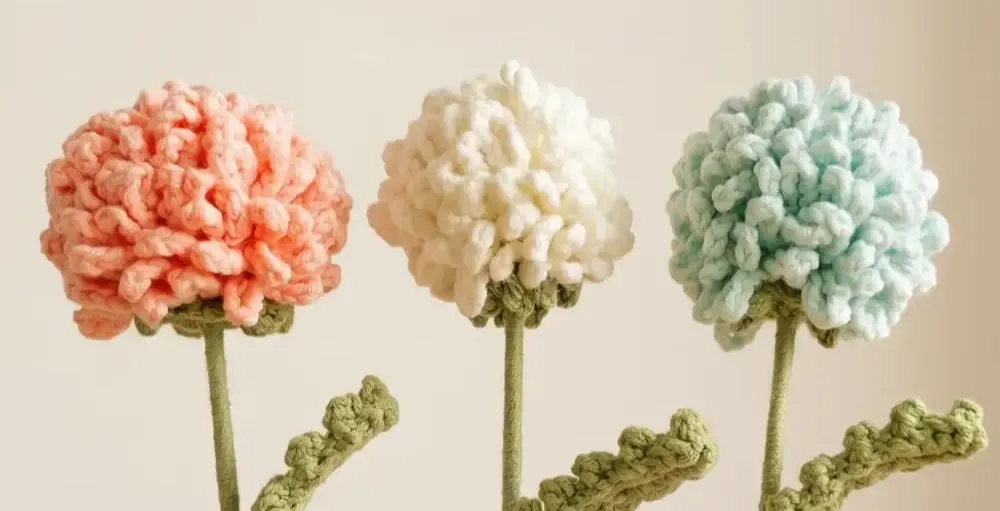
Nothing says “I made this with my own hands” quite like a crochet flower bouquet sitting on someone’s table. These are not quick little squares or simple dishcloths. These are layered, textured, petal-by-petal creations that take real skill and patience to pull off beautifully.
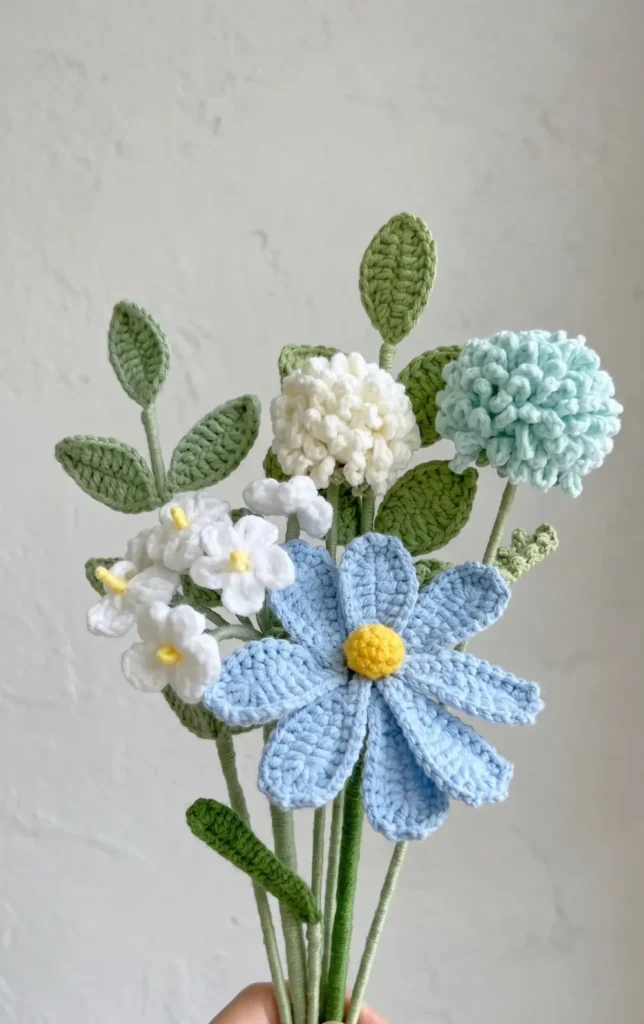
In this post, you will find five free crochet flower patterns to build your dream bouquet. From the structured elegance of a rose to the soft whimsy of a forget-me-not, each pattern brings something different to the arrangement. Whether you are filling a vase for your home or making a gift that will never wilt, these patterns give you everything you need to get started.
1. Lahore Rose Crochet Bouquet
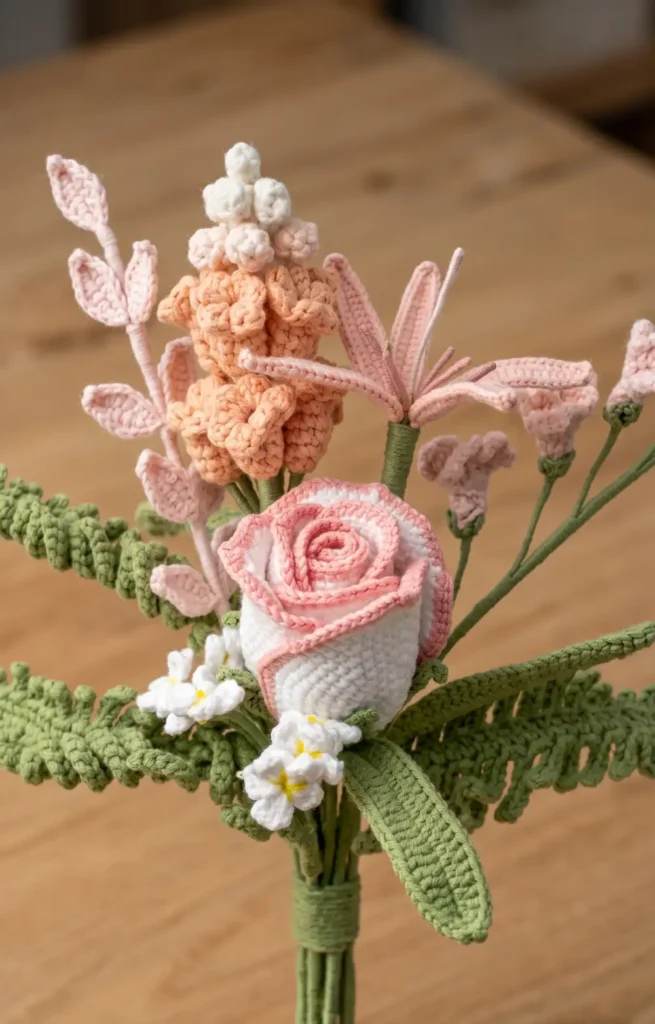
Please note that while the tutorial provided in the sources details the construction of a rose bouquet, the specific name Lahore Rose is not mentioned in the source material.
Essential Materials
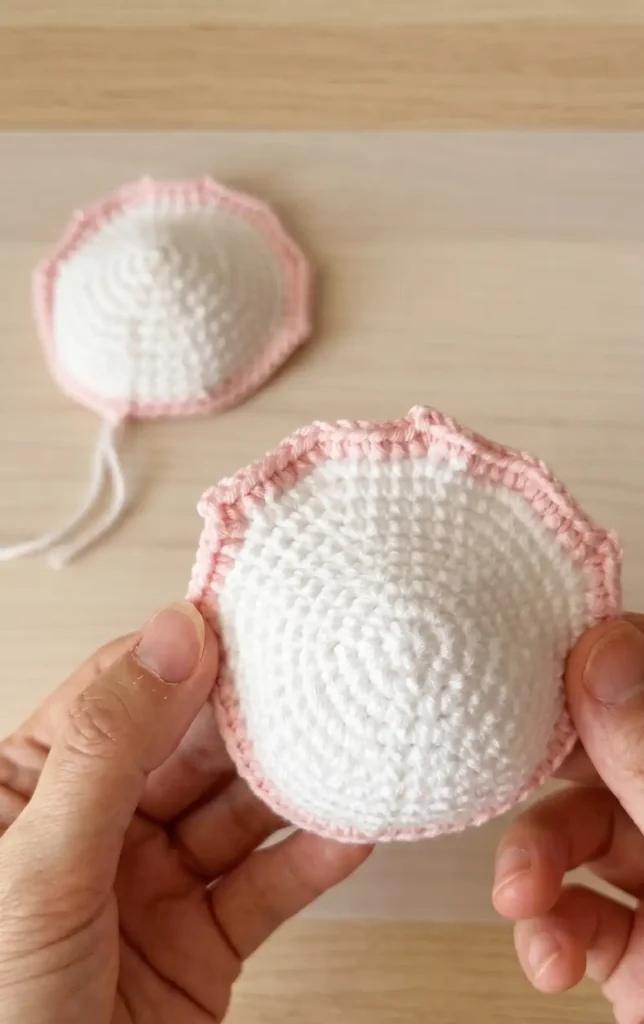
To create a single rose for this bouquet, you will need white, pink, and green yarn. The assembly requires nine petals in total: three small, three medium, and three large. Additionally, you must crochet one flower torus and three leaves (two small and one large). You will also need floral wire to provide structure for the leaves.
Creating the Flower Petals
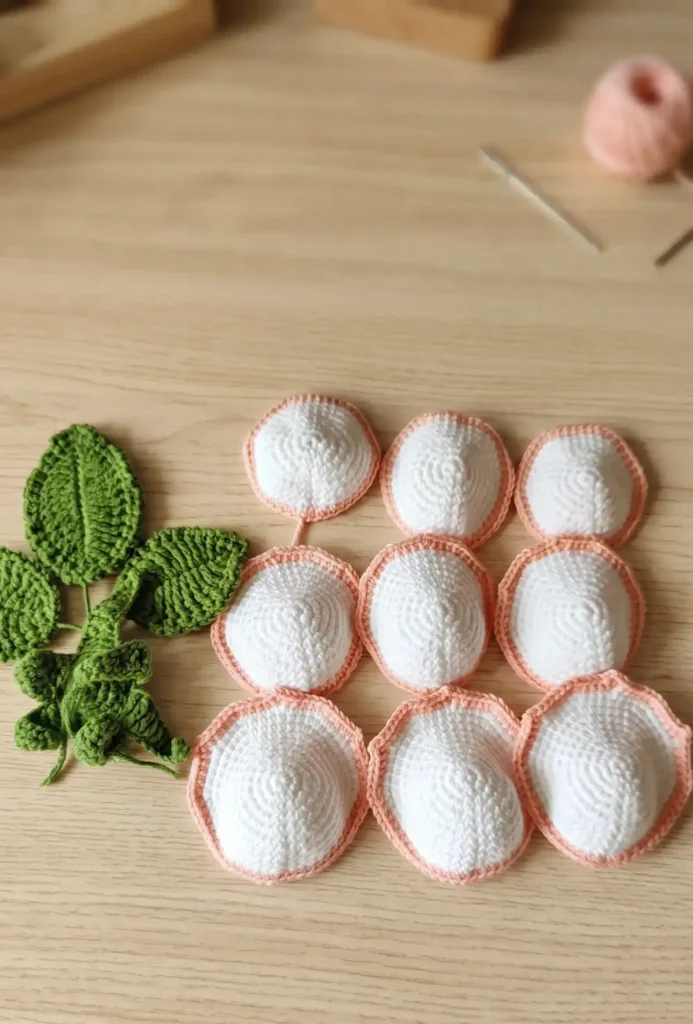
The first nine rounds for all petal sizes are identical.
- Foundation: Start with a double circle or a normal magic ring and work six single crochet stitches.
- Round 2: Perform six increases (two single crochets in each space) to reach twelve stitches.
- Round 3: Work a pattern of one single crochet followed by one increase six times.
- Round 4: Work one single crochet and one increase, then repeat a sequence of two single crochets and one increase five times, finishing with one single crochet.
- Yarn Color Change: For small petals, you change from white to pink yarn at the end of round eight. Round nine is the final round for small petals.
- Large Petals: These continue through round eleven. Round ten involves a complex sequence of single crochets and increases combined with chain stitches to create the petal’s edge. Round eleven adds further definition by skipping the previous round’s chain stitches and adding two-chain intervals.
Constructing the Flower Torus
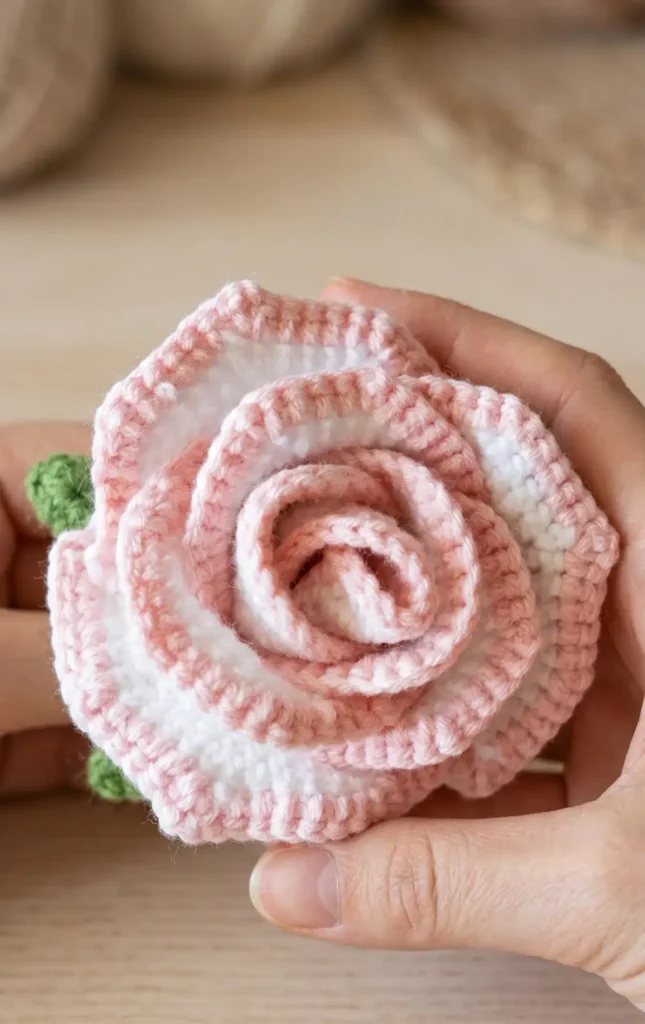
The torus is worked in green yarn, starting with six single crochets in a circle. After completing four rounds of the base, you will crochet six pointed petals directly onto the torus. Each torus petal starts with a chain of thirteen. You then work back down the chain using a series of stitches including slip stitches, single crochets, half double crochets, double crochets, and triple crochets to create a graduated height.
Crocheting the Leaves
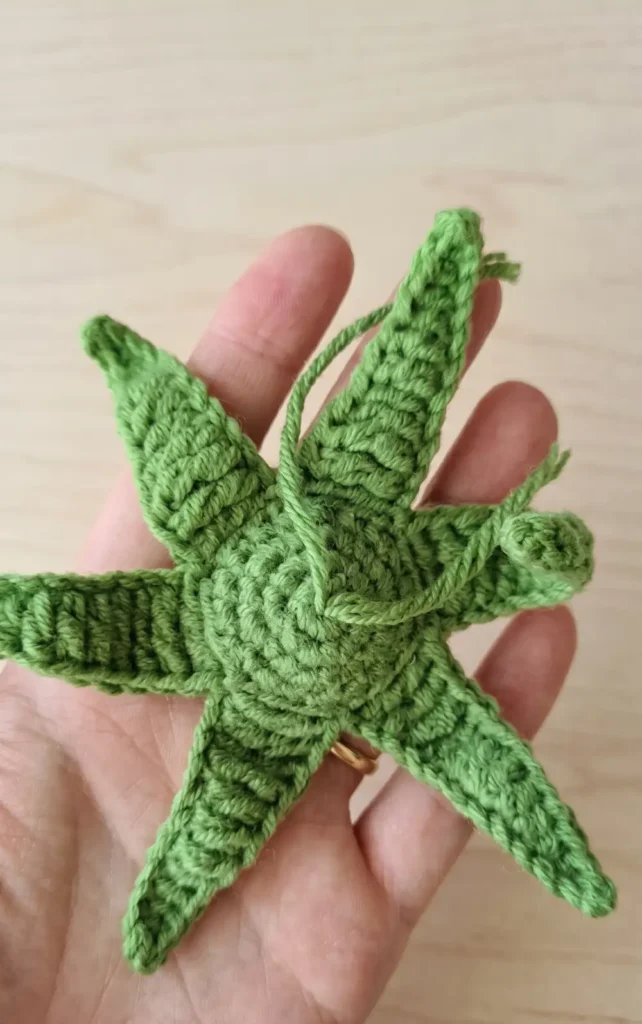
The leaves are crafted by working stitches around a floral wire.
- Round 1: Start with twelve chains and work into the back bumps. The stitch height gradually increases from single crochet to double triple crochet and then decreases back down to a half double crochet to form the leaf shape.
- Round 2: This round creates a decorative edge using a pattern of one single crochet and two chains.
- The Tip: At the middle space of the leaf, work a three-chain picot stitch to create a sharp point.
Once the crochet work is finished, wrap the yarn around the wire base for 2 to 3 cm to fix the end securely.
Video Credits: Lingzhi Handmade
2. Crochet Morning Glory Flower
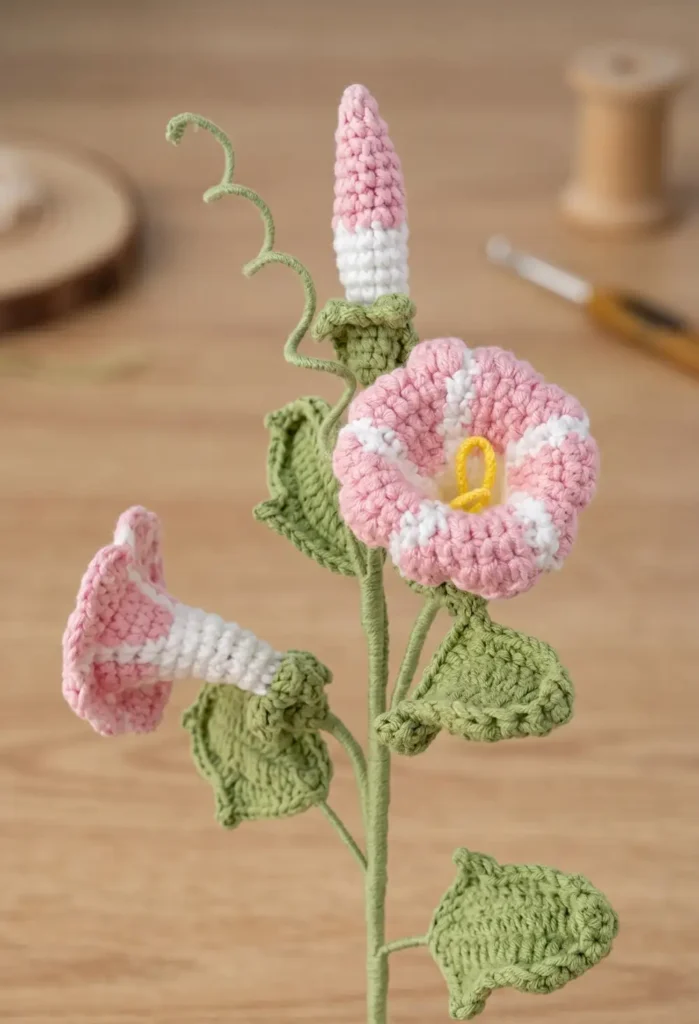
Creating a crochet morning glory flower bouquet is a rewarding project that results in a unique and special floral arrangement. Each complete bunch typically consists of two full flowers, one or two flower buds, four leaves, and a vine. This project requires green, white, and purple yarn, along with craft wire for the leaves and buds, and stuffing for the bud interiors.
Crafting the Flower Torus and Base
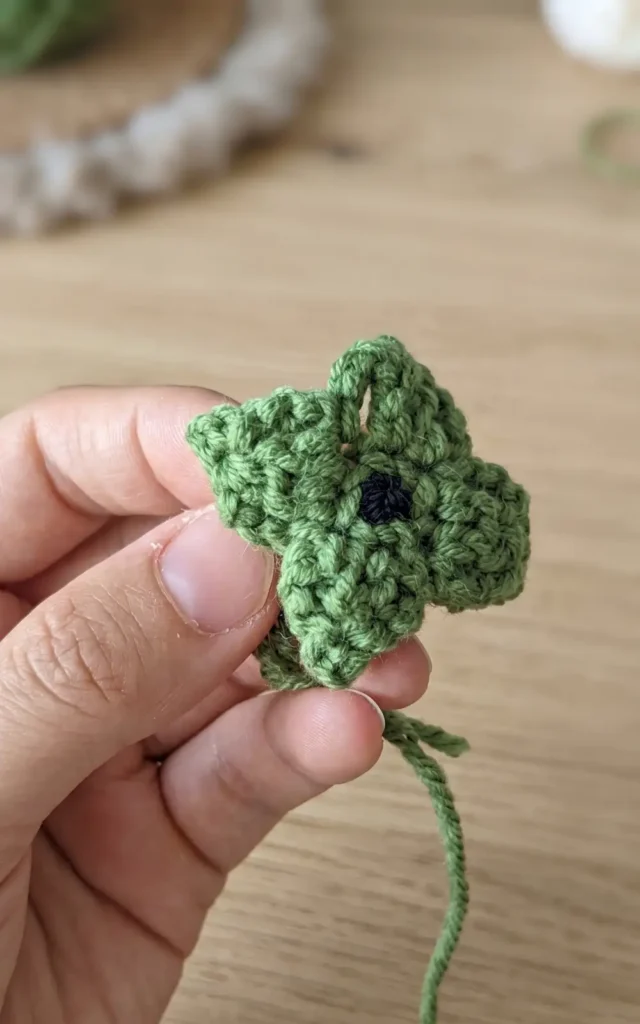
The construction begins with the green flower torus, which is worked in a double circle starting with six single crochet stitches. After closing the circle tightly, the second round maintains six stitches, while the third round introduces increases to expand the base. In rounds four and five, you continue with one single crochet in each space.
The final round of the torus, round six, creates the small green leaves that sit at the base of the petals. These are worked only in the half side stitches facing you, using a combination of unfinished double crochets and picot stitches to create a pointed leaf shape. Once the four small leaves are finished, the green yarn is cut and hidden inside the center of the torus.
Crocheting the Petals and Color Transitions
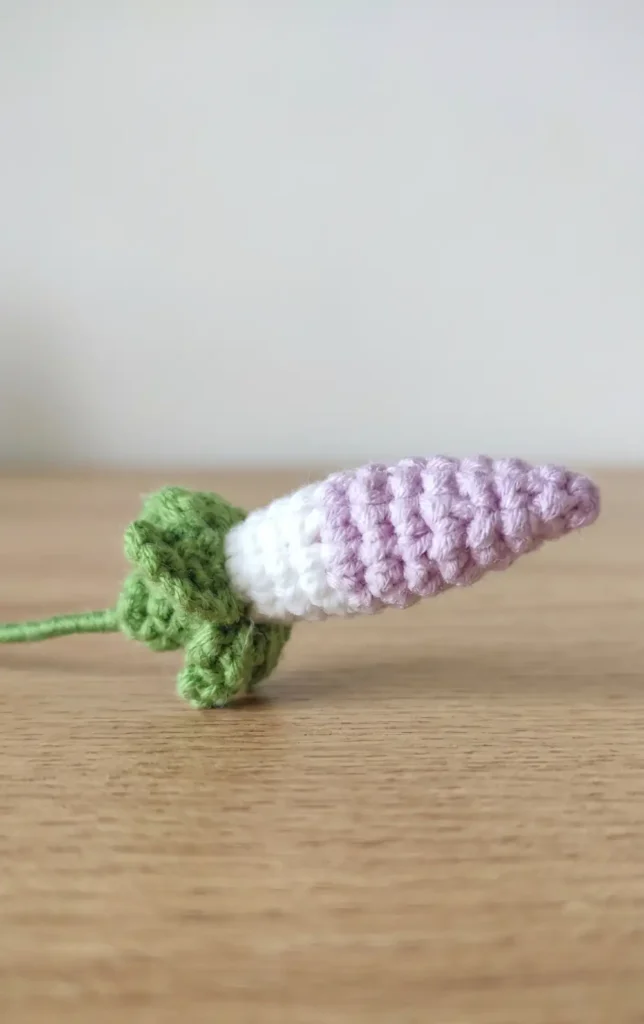
The flower petals begin by connecting white yarn to the eight remaining back loops from the previous torus round. After two rounds of white single crochet, the purple yarn is introduced at the end of round seven to begin the signature color pattern. When changing colors, the final single crochet of the round is left unfinished until the new color is pulled through.
From round eight through round twelve, the pattern alternates between white and purple yarn to create the star-like interior of the morning glory. Every time you reach a purple section, you perform an increase, while the white sections typically consist of two single crochets. The final round, round thirteen, adds more definition by using half double crochets and double crochet increases in the purple sections to create the characteristic flared edge of the flower.
The Flower Bud and Leaves
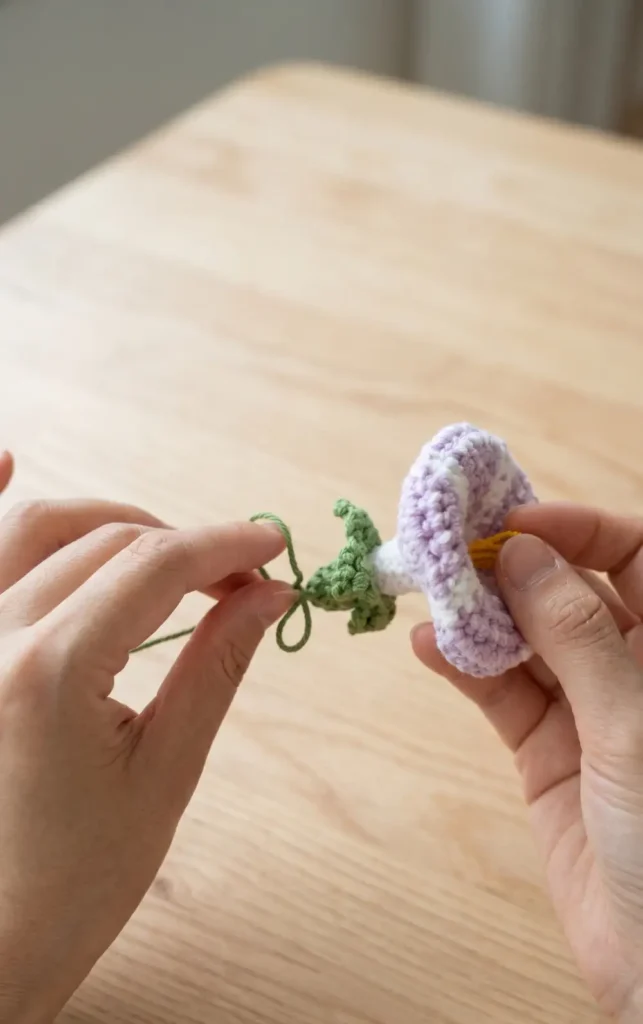
The flower bud follows the same initial torus pattern as the main flower before switching to white yarn for four rounds. After connecting the purple yarn, the bud is shaped through a series of increases and then decreases to create a tapered point. Before closing the bud at round ten, craft wire and stuffing are inserted to provide structure and shape.
For the leaves, a foundation chain of fifteen is worked over a piece of craft wire to allow for posing. The leaf is shaped using a progression of stitches: single crochet, half double crochet, and ten double crochets on each side. The second round of the leaf adds more detail with triple crochets and two chain picot stitches to create small petals on the sides of the leaf, finished with a pointed tip. Four of these wired leaves are necessary for a full-looking bunch.
Video Credits: Lingzhi Handmade
3. Crochet PingPang Flower Pattern
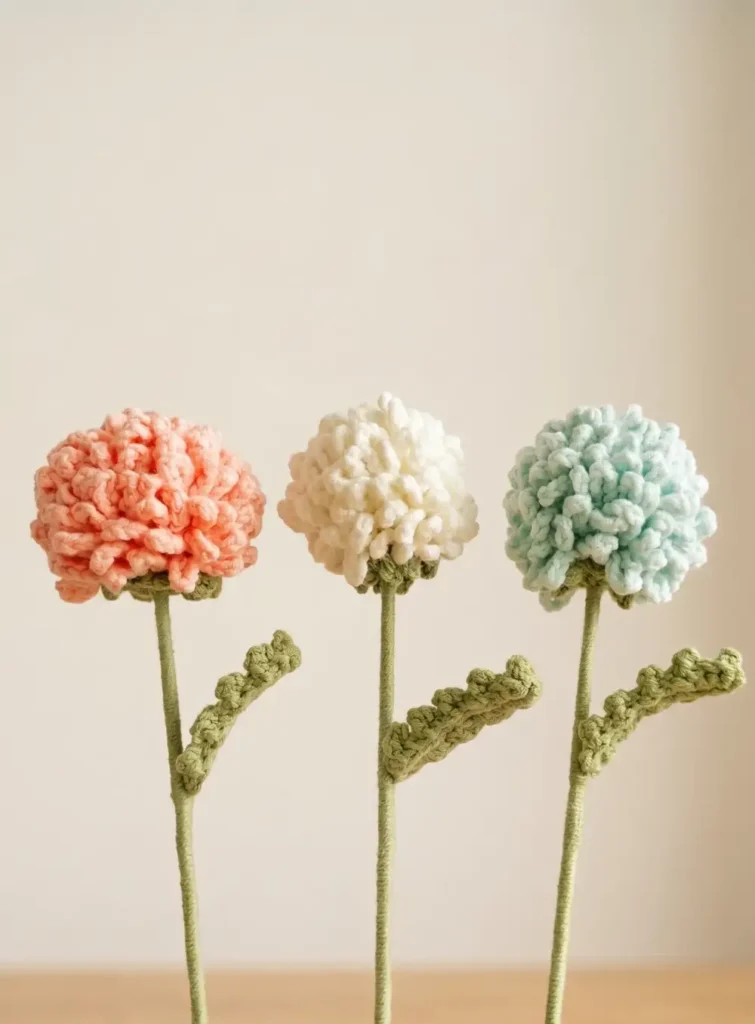
This PingPang flower is an ideal choice for flower arrangements, serving as a filler flower that adds both texture and vibrant colour to your bouquet.
Materials Needed
Before beginning, gather the following materials:
- Crochet yarn in your choice of colour
- Crochet hook
- Stuffing or filling material
- Craft wire for the leaf
- Scissors and a needle for hiding tails
Part 1: Crocheting the Flower Base
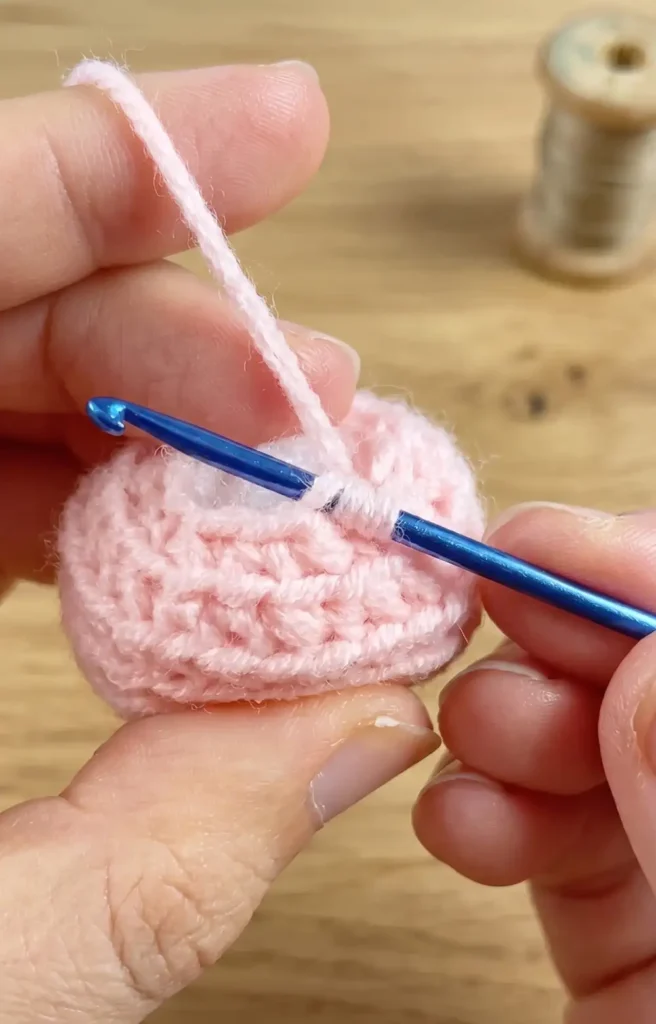
The flower starts with a spherical base. An important note for this project is that from Round 2 onwards, you should only work in the half side of each stitch.
- Round 1: Create a magic ring and work 6 single crochet (sc) into it. Close the round with a slip stitch.
- Round 2: Chain 1 (this turning chain does not count as a stitch). Work 6 increases by placing 2 sc in each half side stitch, resulting in 12 stitches total.
- Round 3: Work a pattern of 1 sc followed by 1 increase, repeating this 6 times.
- Round 4: Work 2 sc followed by 1 increase, repeating this 6 times.
- Rounds 5 to 7: Work 1 sc in each space around.
- Round 8: Begin decreasing by working 2 sc followed by 1 decrease through the 3rd and 4th stitches. Repeat this 6 times.
- Round 9: Follow a similar decrease pattern. After finishing this round, insert the filling into the base.
- Round 10: Complete the base with 6 decreases. Cut the yarn to finish.
Part 2: Creating the Fluffy Petals
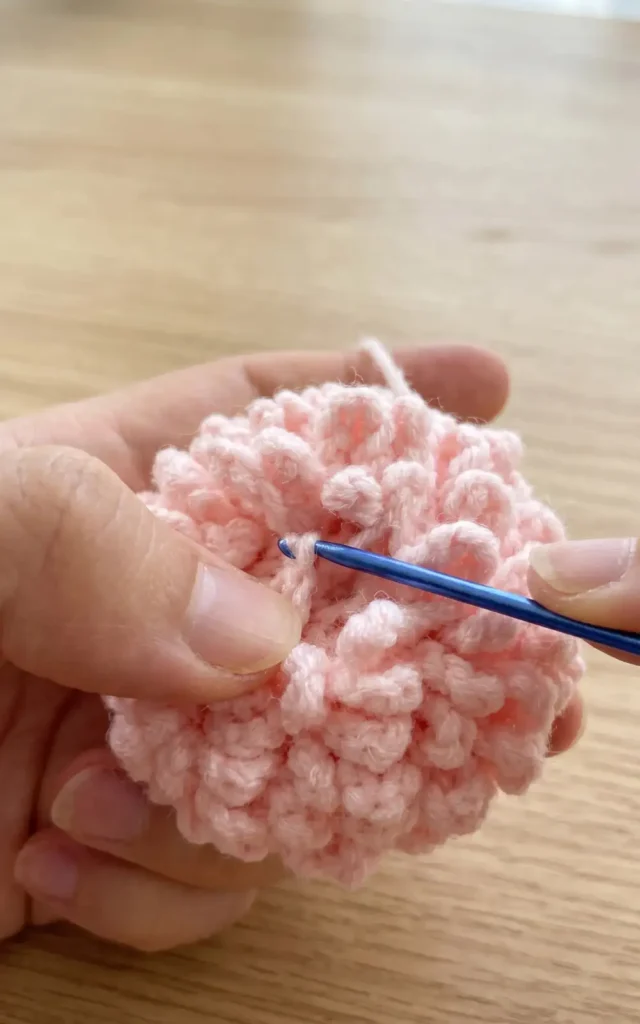
The “fluffy” look of the PingPang flower is achieved by working into the leftover loops on the base.
- Connection: Connect your yarn to the left half stitches of the base.
- The Pattern: Chain 8, then work a slip stitch into the next space of the round.
- Sizing: You can adjust the size of the flower by increasing or decreasing the number of chains used for the petals.
- Repetition: Continue this pattern of chaining 8 and slip stitching into the next space through all rounds from Round 1 to Round 9.
Part 3: The Leaf Pattern
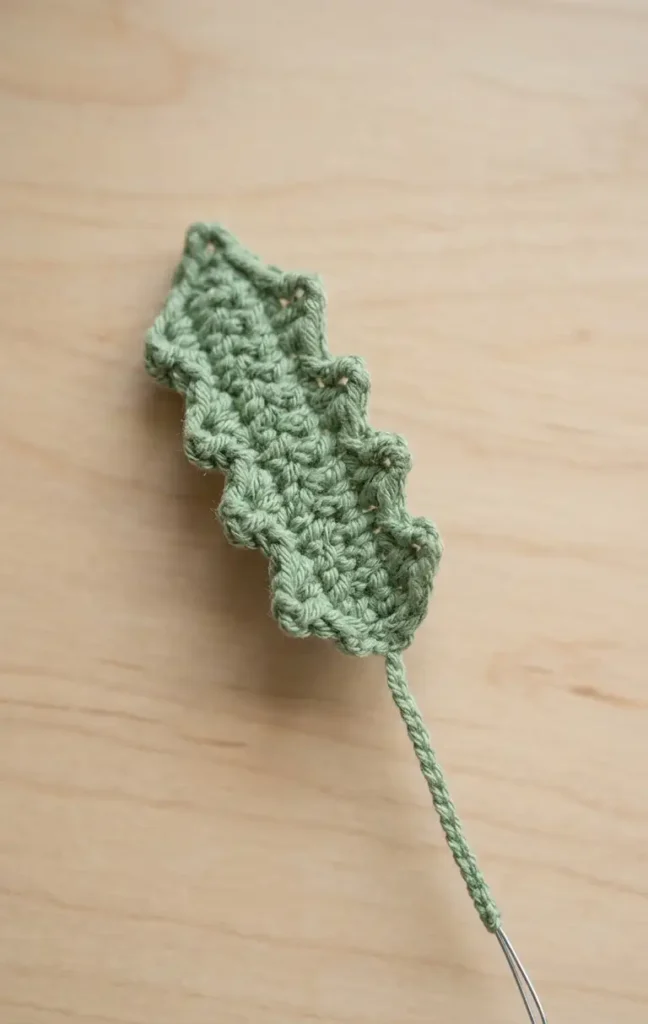
The leaf uses a piece of craft wire to provide structure and allow for posing.
- Foundation: Start with a slip knot and chain 15. Insert the craft wire.
- Round 1: Starting from the second chain from the hook, work 13 sc along the wire. In the last space, work 3 sc, then move to the other side of the chain. Work 1 sc in each space while hiding the yarn tail.
- Round 2 (Leaf Tips): Skip the first space. Work 1 decrease, chain 2, and a slip stitch through the back bump of the first chain. Follow this with a slip stitch in the next space to finish a tip.
- Completion: Repeat this tip pattern along the leaf. Work a final sc in the last space, cut the yarn, and wrap the end to finish.
Part 4: The Flower Torus
The torus sits at the base of the flower head.
- Round 1: Start with a slip knot and work 2 chains (not counted as a stitch). Work 7 double crochet into the circle. Close the round and turn the piece inside out.
- Round 2 (Torus Petals): Chain 4, then work 3 slip stitches starting from the second chain from the hook. Skip the current space on the circle and slip stitch into the next space.
- Repetition: Repeat this pattern until you have 7 small petals around the torus.
Final Assembly
Once all components are finished, weave in or tie off any remaining yarn tails. Assemble the flower head, the torus, and the wired leaf to complete your Crochet PingPang Flower.
Video Credits: Lingzhi Handmade
4. Crochet Lily Flower Pattern
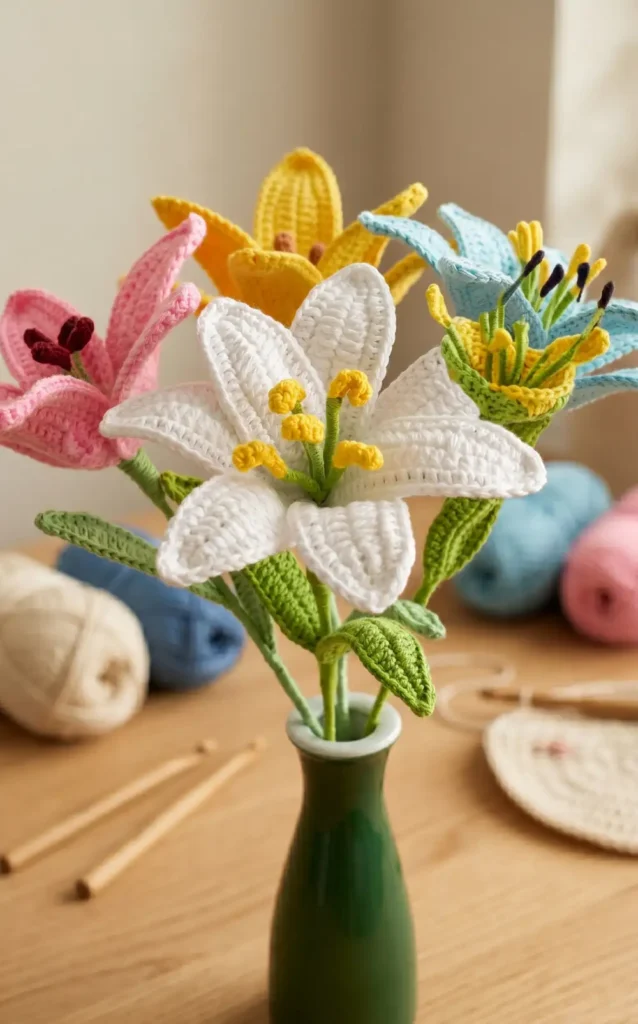
Creating a beautiful, handmade lily is a rewarding project that works well for home decor or as a thoughtful gift. This guide will walk you through the entire process, from gathering your supplies to the final assembly of the flower,.
Materials Needed
To begin this project, you will need the following materials:
- Yarn: You will need green yarn (number 4 weight, 100% cotton) for the stem and leaves. For the petals, a 4-ply 100% acrylic yarn in your choice of color is recommended. A small amount of brown acrylic yarn is used for the pollen.
- Hook: A 2.5 mm crochet hook.
- Support: 12 inch bamboo sticks for the main stem and 22 gauge wire (cut into 30 cm lengths) for the petals and leaves,.
- Tools: Scissors, pliers, and a hot glue gun for assembly.
Crafting the Petals
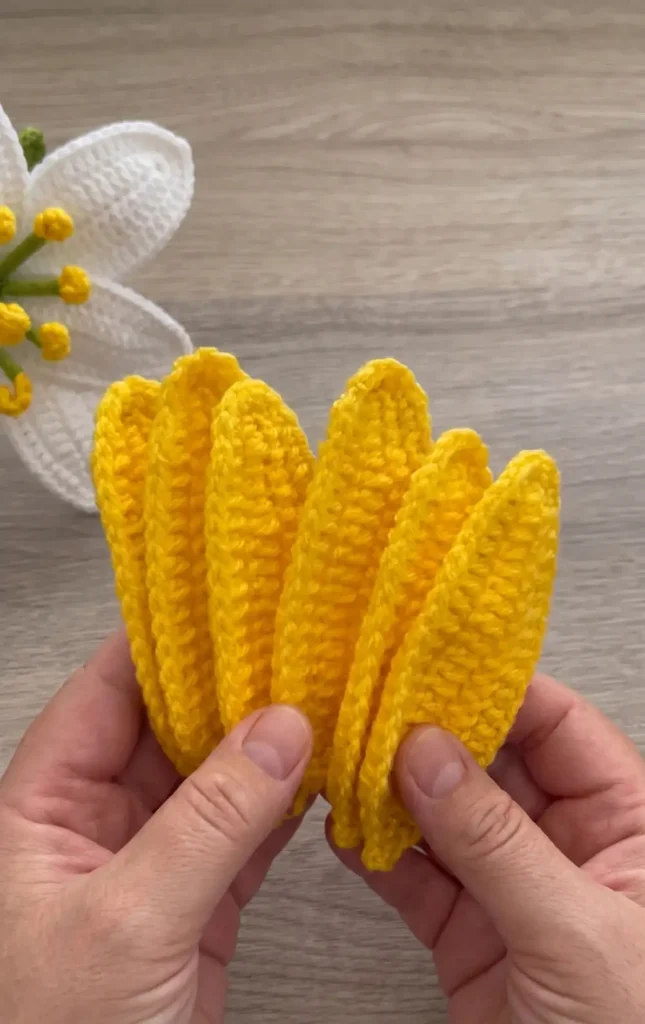
You will need to create six or seven petals for a full lily,.
- Foundation: Start with a slip knot and chain 20.
- First Side: Beginning in the second chain from the hook, work 1 single crochet, then 1 half double crochet in the next stitch. Follow this with 12 double crochets. In the next two stitches, work 1 half double crochet each, followed by 1 single crochet in the next two stitches.
- The Tip: In the very last chain, work 3 single crochets. You may place a marker in the middle of these three stitches to help identify the tip later,.
- Second Side: Mirror the first side by working 1 single crochet in the next two stitches, 2 half double crochets, 12 double crochets, 1 half double crochet, and 1 single crochet in the final stitch. Finish with a slip stitch into the first single crochet.
- Adding Wire: Place a 30 cm piece of wire between your hook and the yarn. Chain 1 and work 1 single crochet into the same space, working over the wire. Work 15 half double crochets, then 3 single crochets. At the marked tip, work 1 single crochet, chain 1, and 1 single crochet in the same space. Finish the other side with 3 single crochets, 15 half double crochets, and 1 single crochet in the last stitch. Slip stitch to close,.
Creating the Leaves
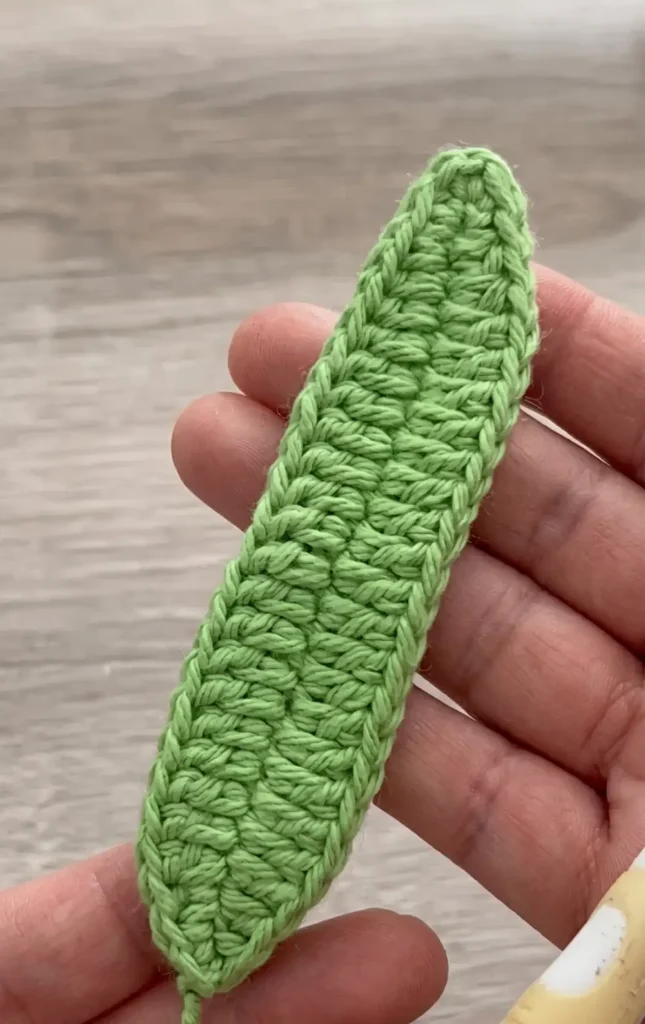
- Foundation: Make a slip knot and chain 25.
- Working with Wire: Attach the wire between the yarn and hook. Starting in the second chain from the hook, work 1 single crochet and 1 half double crochet.
- Middle Section: Work a total of 17 double crochets, followed by 2 half double crochets and 2 single crochets.
- The Tip: In the last chain, work 1 single crochet, chain 1, and 1 single crochet into the same space,.
- Opposite Side: Work 2 single crochets, 2 half double crochets, 17 double crochets, 1 half double crochet, and 1 single crochet in the last stitch. Finish with a slip stitch and wrap the wire with the tail of the yarn.
Making the Pollen
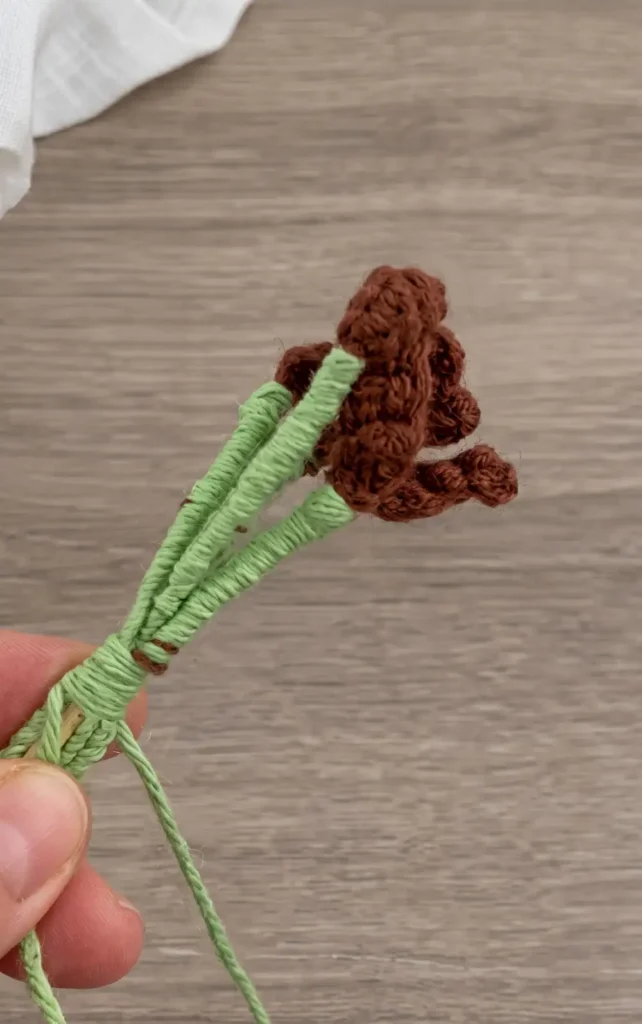
- Base: Chain 5.
- Stitches: Working in the back loops of the chain, skip the first stitch and work 1 single crochet in each of the remaining 4 chains.
- Finish: Chain 1 and slip stitch in the same space. Pass a piece of wire through the stitches and wrap the wire with brown yarn to create the stamen,.
Final Assembly
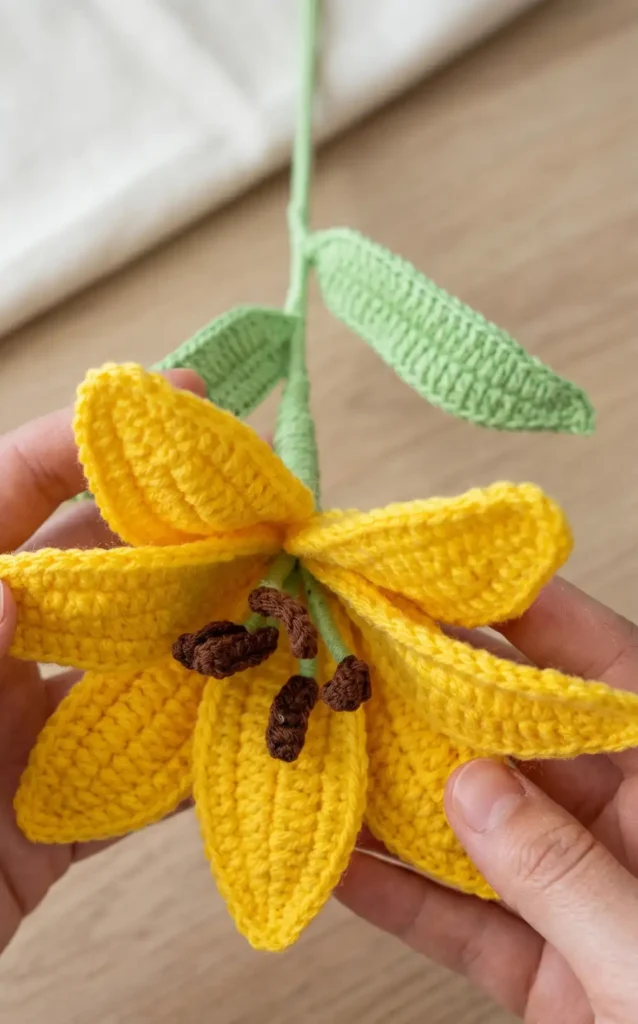
- Stem Preparation: Apply a bit of hot glue to the top of the bamboo stick and attach the pollen pieces.
- Attaching Petals: Begin wrapping the green yarn around the stick. Add the first layer of three petals, securing them as you wrap. Follow this with a second layer of four petals.
- Adding Leaves: Continue wrapping the green yarn down the bamboo stick. Place your leaf (or leaves) against the stick and wrap over the wire base to secure them.
- Finishing: Once you reach the bottom of the stick, secure the yarn with hot glue. Finally, gently bend the wired petals and leaves to give the lily its natural shape.
5. Crochet Forget Me Not Flower
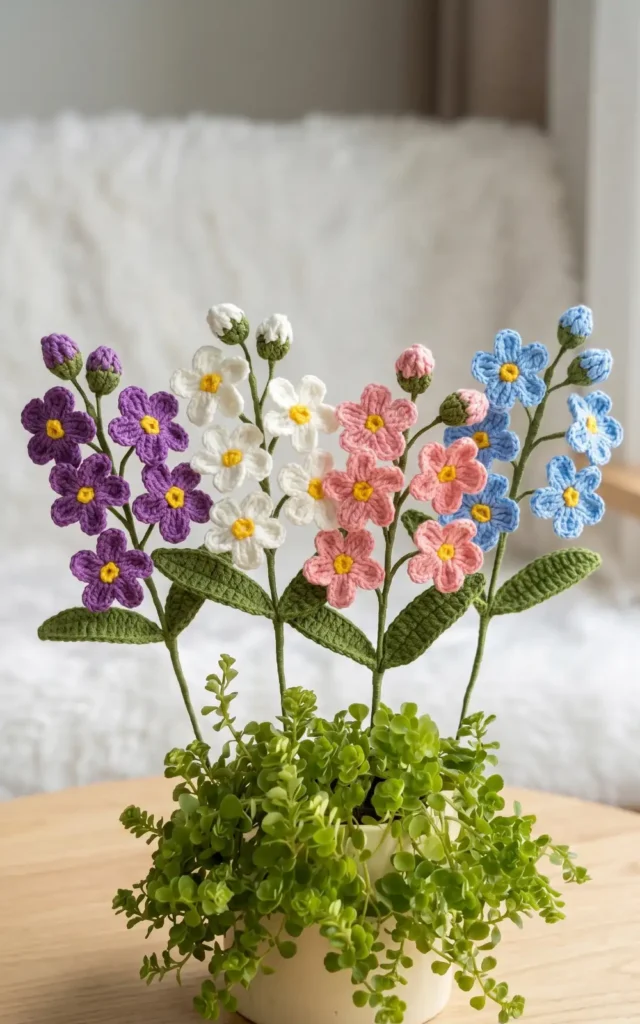
The forget-me-not is a delicate and meaningful flower that makes for a wonderful addition to various crochet projects. Using simple techniques, you can create these small blooms to decorate bags or other accessories.
Essential Materials and Tools
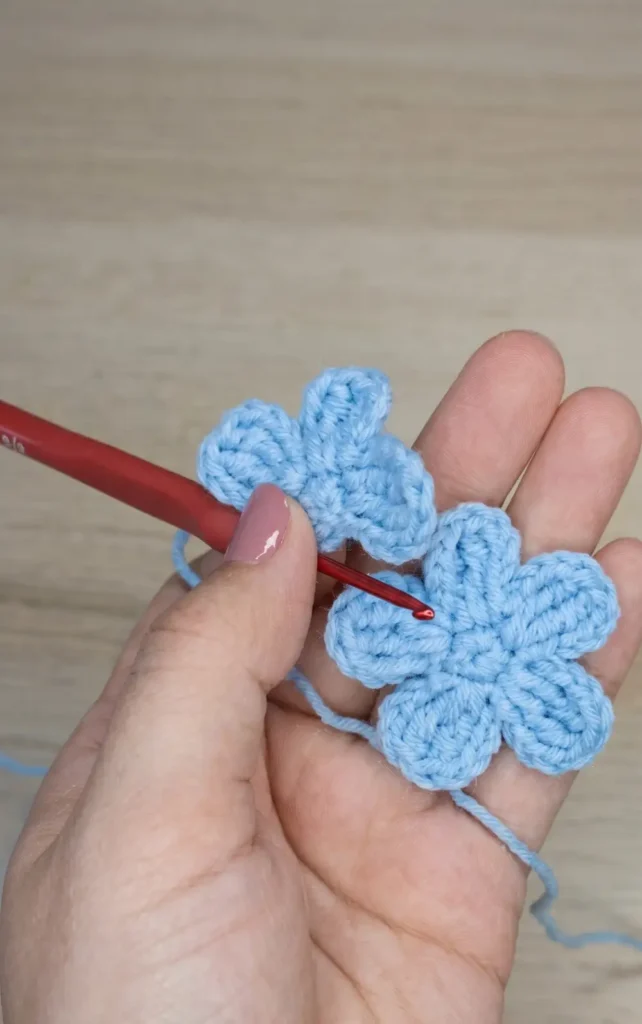
To begin your project, ensure you have the following materials ready:
- Cotton Yarn: The pattern uses a size 4 ply cotton yarn, which is approximately 2 mm thick.
- Crochet Hook: A size 2.5 mm crochet hook, also known as a number 4 hook, is used for this specific yarn weight.
Pattern Abbreviations
Familiarize yourself with these common abbreviations used throughout the stitching process:
- mr: Magic ring
- ch: Chain crochet
- sc: Single crochet
- slst: Slip stitch
- hdc: Half double crochet
- dc: Double crochet
- dc cl: Double crochet cluster
- tr: Treble crochet
Step by Step Instructions
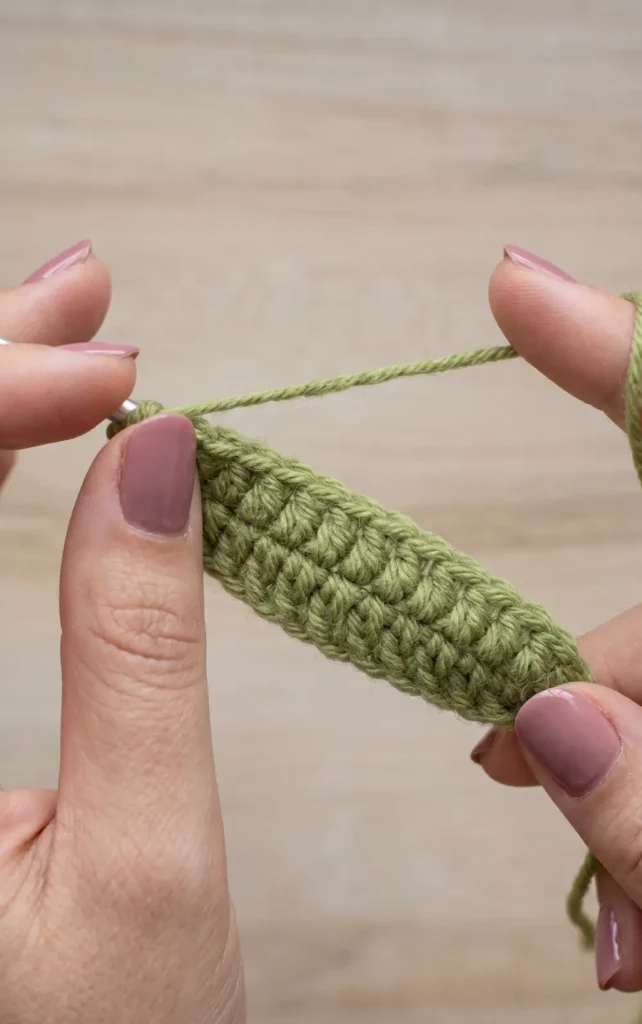
The construction of the forget-me-not flower typically involves working in rounds, starting from the center and moving outward to the petals.
- Start the Center: Begin by creating a magic ring. This allows you to pull the center tight once your initial stitches are complete.
- Foundation Stitches: Work your initial chains and single crochets into the ring. You may also utilize a slip knot to secure your yarn before starting your chains.
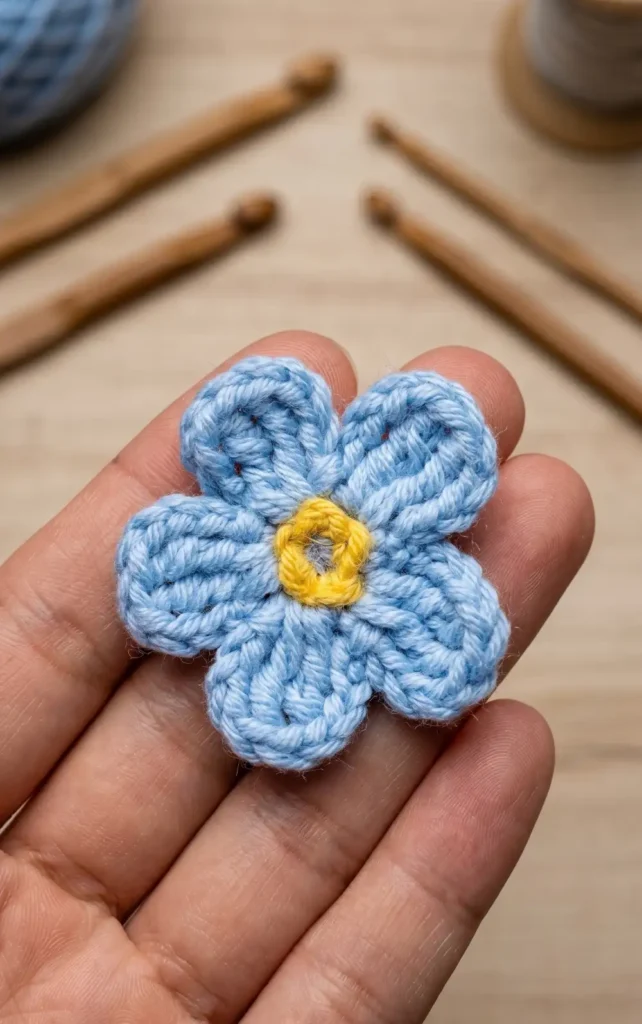
- Create the Petals: The flower is formed by repeating a specific stitch sequence five times to create five distinct petals. A standard petal shape in this pattern is achieved by working a sequence of sc, hdc, dc, hdc, and sc.
- Incorporate Clusters and Increases: To add volume or detail to the rounds, you might work 2 treble crochets in the same stitch or 3 single crochets in the same stitch. One part of the pattern specifically calls for a sequence of four double crochet clusters followed by a slip stitch.
- Finishing: Once all five petals are complete, use a slip stitch to join the final stitch to the beginning of the round, then fasten off your yarn.
Video Credits: Kane Crochet
Which Bouquet Will You Crochet?
Every flower in this list brings something special to a bouquet. Whether you are drawn to the layered petals of the Lahore Rose or the delicate charm of the Forget-Me-Not, there is a pattern here for every skill level and every style. Mix and match a few of them to create an arrangement that is completely your own.
Now it is your turn to pick up your hook and start stitching. Which flower are you making first? Drop your choice in the comments and share a photo when your bouquet is finished. There is nothing better than seeing these patterns come to life in your hands.