How to Make a Crochet Back-to-School Backpack with Simple Stitches
There is something magical about sending your child off to school with something made by your own two hands. While store shelves overflow with the same generic backpacks every fall, a crochet backpack gives your little one something no shopping cart can offer: a piece of your heart stitched into every row.
And the good news is that you do not need years of crochet experience to make it happen. With just a few simple stitches and some colorful yarn, you can create a durable, adorable, and completely unique backpack that your child will be proud to carry all year long.
How to Crochet a Backpack Step by Step
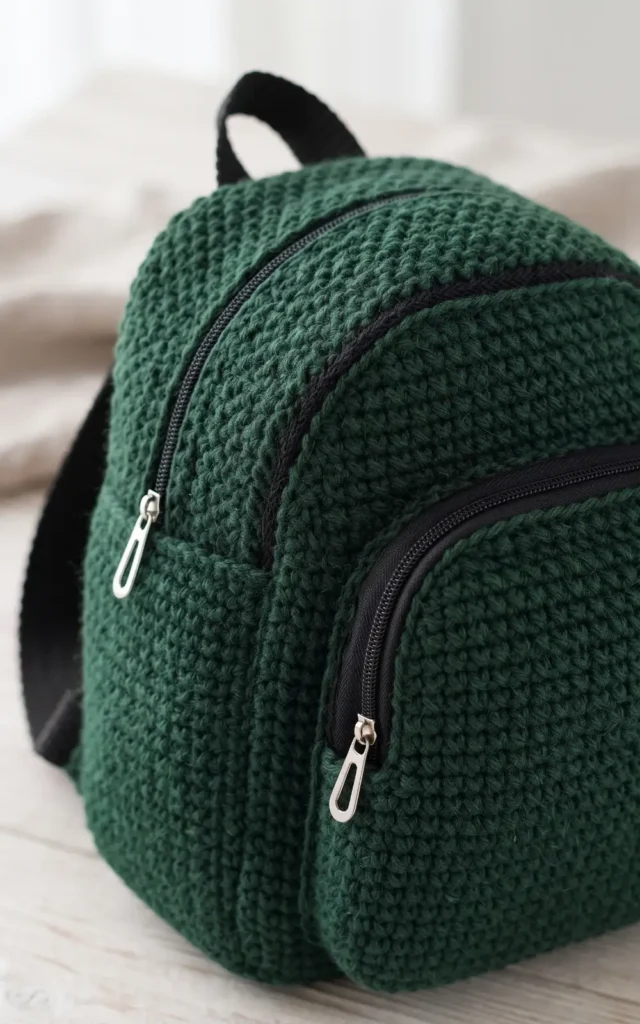
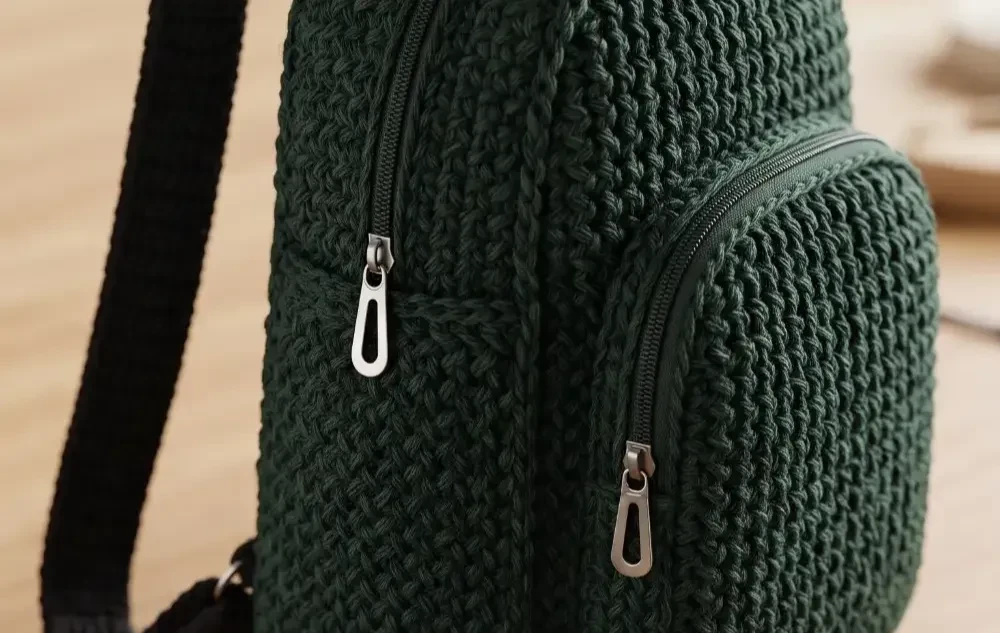
Creating a durable and stylish crochet school bag involves a combination of spike stitches and single crochets to ensure the structure is firm and the design is visually appealing. This pattern uses a specific spike stitch technique to create a unique texture throughout the front panel and pocket.
Materials Needed
Based on the project requirements, you will need yarn in two colors, such as black and green, though you can choose to work the entire bag in a single color like green. You will also need a crochet hook appropriate for your yarn weight, a zipper for the main opening, and sewing tools to join the finished panels together.
Hey there! Some links on this page may be affiliate links which means that, if you choose to make a purchase, I may earn a small commission at no extra cost to you.
Step-by-Step Instructions
Step 1: Start the Front Panel
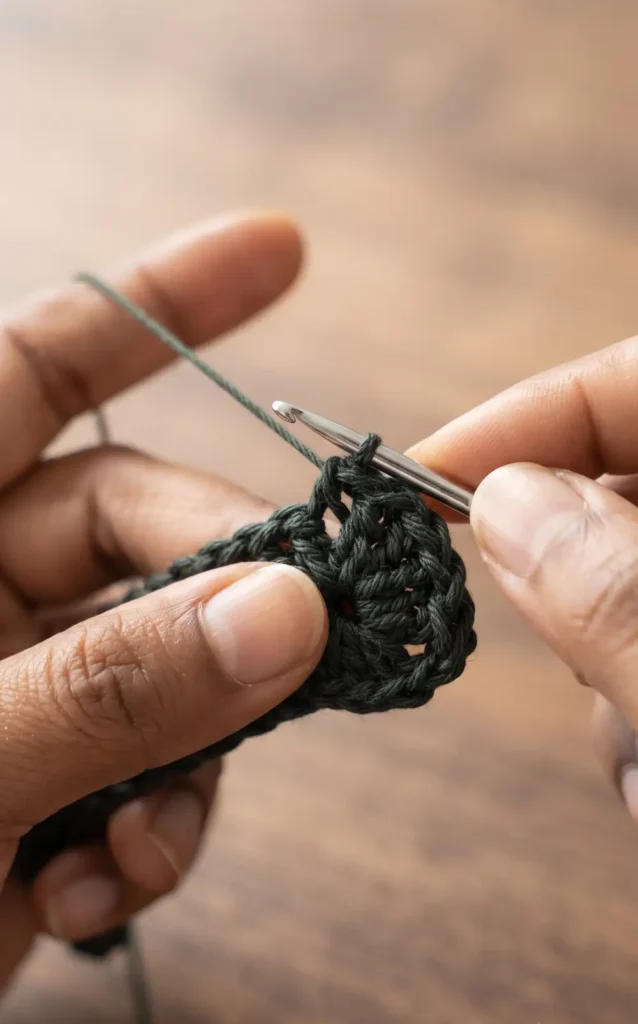
Begin by making a slip knot and working a foundation of 50 chains. This serves as the base width for the front of your school bag.
Step 2: Foundation Row of Single Crochet
Skip the first chain from the hook and work one single crochet into every stitch across the entire row. At the end of the row, make one chain and turn your work.
Step 3: Begin the Spike Stitch Pattern
On the second row, alternate between a standard single crochet and a spike single crochet. A spike stitch is created by inserting your hook into the stitch from the row below the current one.
Step 4: Continue the Spike Pattern
Continue this alternating pattern for 15 rows. If you end a row with a single crochet, you should start the next row with a spike stitch to keep the design consistent.
Step 5: Transition to the Center Design
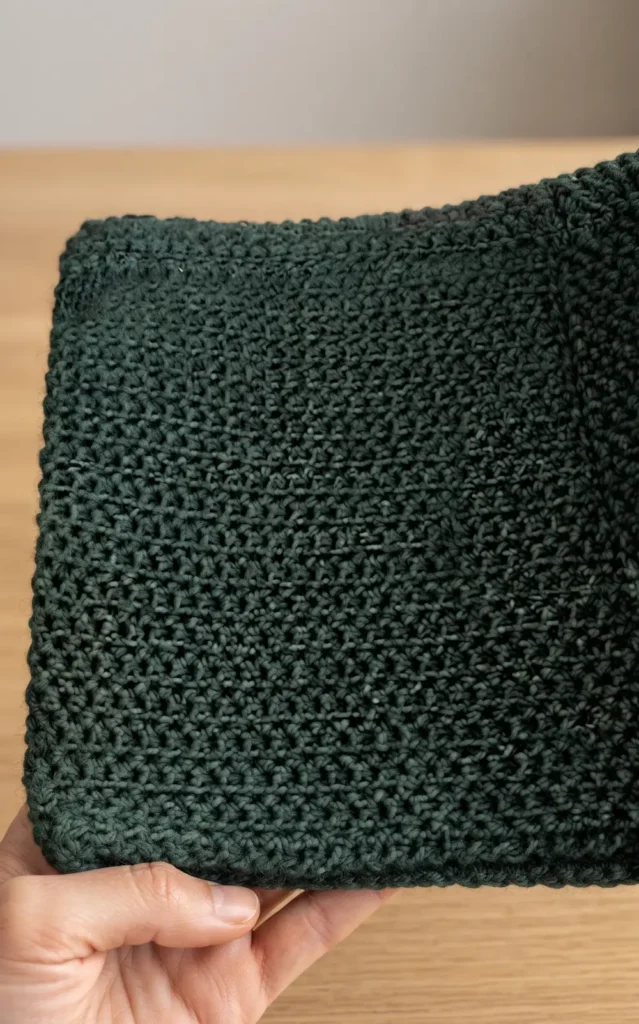
At the end of the 15th row, change the pattern for the center. Work the spike stitch pattern for the first 5 stitches, then work 46 plain single crochets, and finish the row with the spike stitch pattern on the remaining 5 stitches.
Step 6: Complete the Center Section
Work 50 rows of this specific design where the edges feature the spike stitch and the middle is plain single crochet. This creates a distinct visual panel in the center of the bag.
Step 7: Add the Upper Spike Rows
After completing the 50 center rows, work 10 full rows of the spike stitch across all stitches. This prepares the piece for the top shaping.
Step 8: Shape the Top Curve
Starting on the 11th row of the upper section, begin reducing both sides to create a curve. Do this by skipping the first stitch of the row and the second to last stitch, working this reduction over a total of 5 rows.
Step 9: Crochet the Pocket Bag
Start the pocket with 40 chains and work 60 rows of the spike stitch. Just like the front panel, reduce both sides over the final 5 rows to create matching curved edges.
Step 10: Create the Back Panel
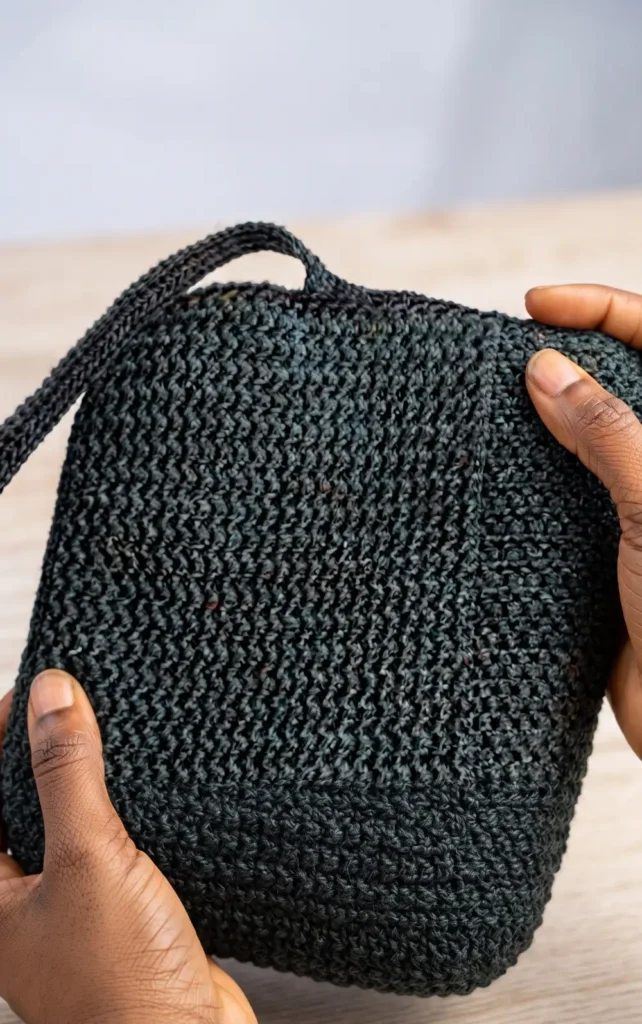
The back of the bag is made entirely of single crochets. Work 75 rows of single crochet and then follow the same 5 row reduction process at the top to create the curve.
Step 11: Construct the Side Panel
For the side of the bag, start with 25 chains and work a total of 159 rows to ensure it can wrap around the entire bag perimeter.
Step 12: Prepare the Zipper Opening
Work one side of the zipper area for 12 rows and the other for 10 rows, leaving 4 stitches in the center for the zipper placement. Both sections should be 99 rows long.
Step 13: Crochet the Side Belts
Work a round of single crochet around the side bag, then count 20 stitches from the edge and work 4 rows of single crochet. To finish the belt, work 82 chains followed by 3 more rows of single crochet.
Step 14: Install the Zipper
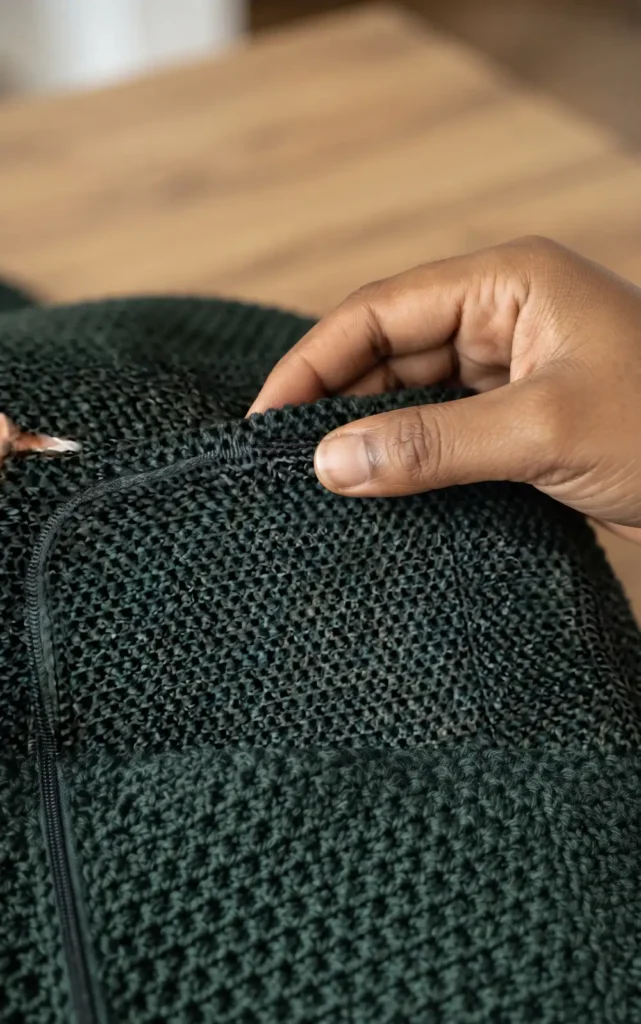
Take your zipper and sew it into the 4 stitch gap you left in the side panel. Ensure it is stitched securely around the opening so it functions smoothly.
Step 15: Assemble the Bag
The final step is to gather all your pieces, including the front panel, back panel, side panels, and pocket. Stitch them together securely to complete the assembly of your school bag.
Video Credits: Rachael Chidimma Crochet
What Color Will You Choose?
And there you have it, a sturdy, stylish school bag built stitch by stitch. The spike stitch texture gives it real personality, while the solid construction means it can handle books, folders, and everything else you toss inside. This is one project that proves handmade doesn’t mean fragile.