5 Stylish Crochet Granny Square Cardigan Free Patterns to Make
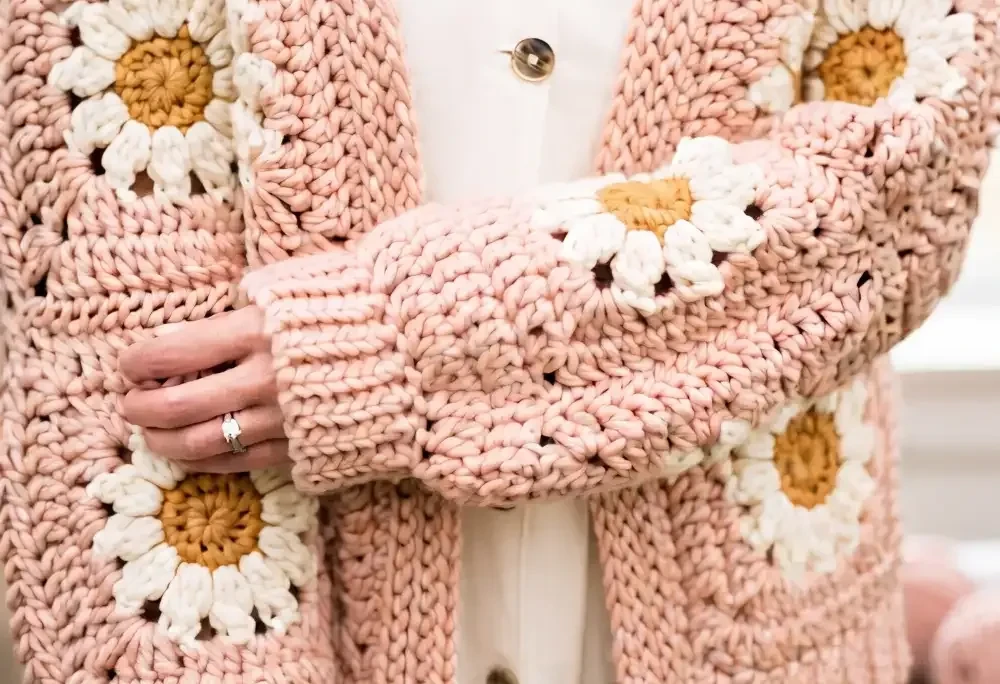
Crochet cardigans never really go out of style, but there’s something about a granny square design that stops you mid-scroll. Maybe it’s the nostalgia, or maybe it’s just how good those color blocks look against a cozy silhouette.
Whatever the reason, we rounded up 5 free patterns that prove this classic technique still has plenty of tricks up its sleeve. From quick weekend projects to detailed statement pieces, there’s a cardigan here for every skill level and every closet.
1. Crochet Granny Square Cardigan
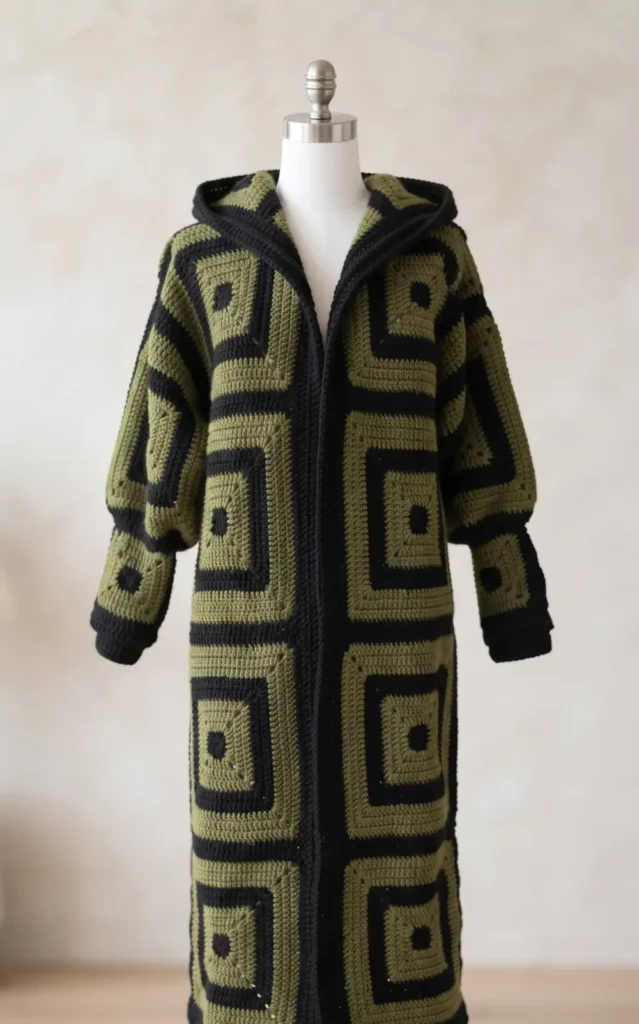
Creating a handmade cardigan is a rewarding project that results in a comfortable and stylish garment. This design is based on joining large and small granny squares to form the body, sleeves, and hood.
Step 1: Planning and Materials
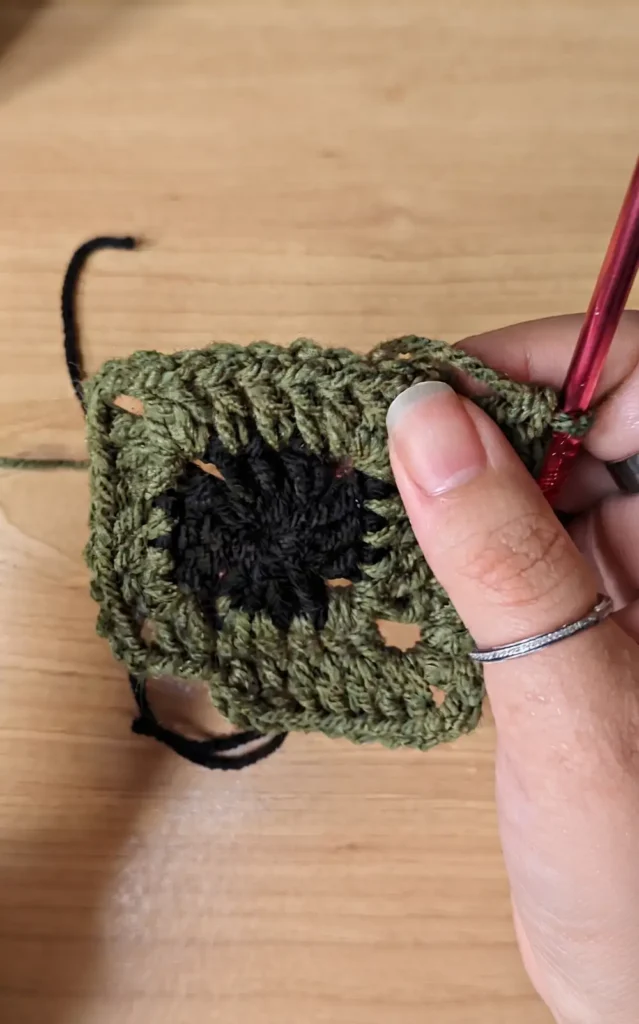
Before beginning, you must gather your supplies and calculate your sizing. You will need a 4.5 millimeter crochet hook and your choice of yarn. It is highly recommended to use the same type and weight of yarn for the entire project to ensure the squares lay flat and the final garment is uniform.
The size of the cardigan is directly determined by the size of the big squares. For this pattern, each big square should measure 10.5 by 10.5 inches. The side length of a big square equals the sleeve width, and doubling that length equals the width of the cardigan. To complete the full garment, you must crochet 23 big squares and 4 small squares.
Step 2: Crafting the Granny Squares
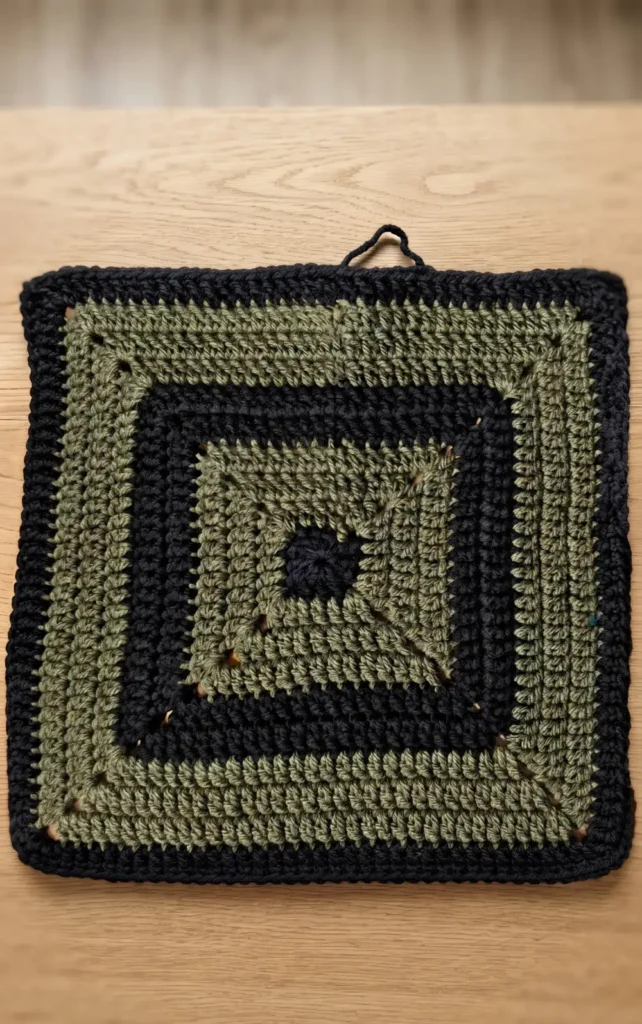
Every square starts from the center using a magic ring. In the first round, you will create the base by making four groups of three double crochets followed by a chain two.
For all following rounds, work one double crochet into every stitch from the previous row. When you reach a corner chain space, work two double crochets, chain two, and two double crochets into that same space to expand the square.
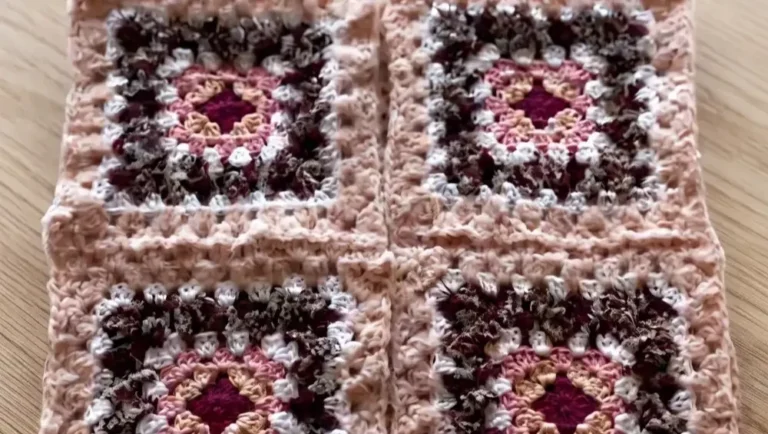
- Big Squares: These consist of ten rounds total. Follow a color sequence of one round in your main color, three rounds in a secondary color, two rounds in the main color, three rounds in the secondary color, and one final round in the main color.
- Small Squares: These are made the same way but stop after five rounds: one main color, three secondary, and one main color.
Step 3: Assembling the Panels
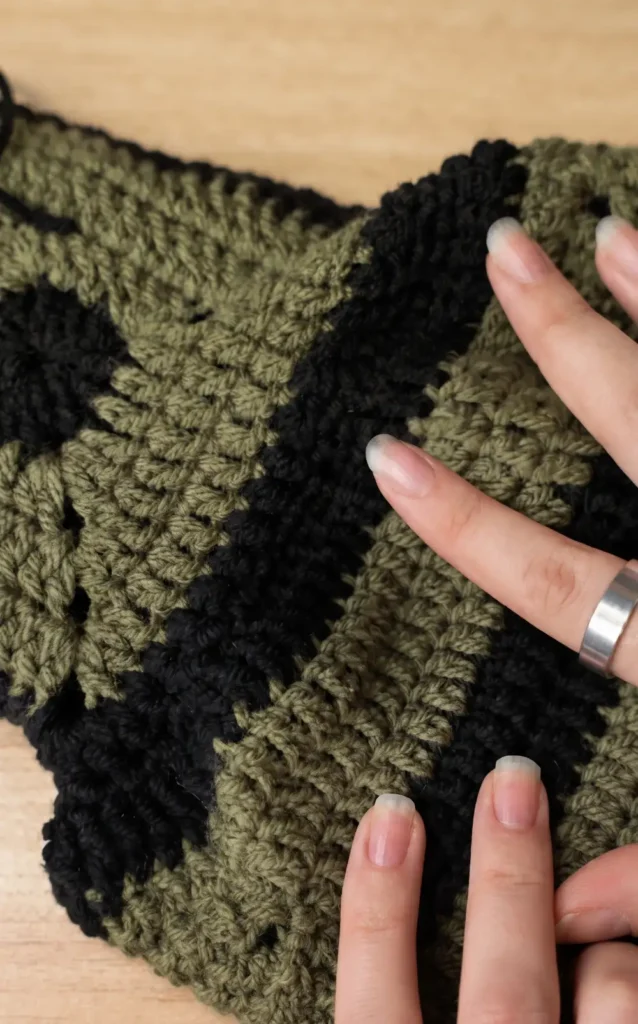
After crocheting all 27 squares, you will sew them together to form the cardigan. The front panel requires 10 big and 2 small squares, and the back panel requires the same. The hood is made by joining three big squares.
To join the pieces, use a sewing method similar to lacing a shoe. Hold two squares together and insert your yarn through the front loop of a stitch on the back piece and the back loop of the corresponding stitch on the front piece. When joining the large sleeve squares to the small cuff squares, you must match two stitches from the big square to every one stitch on the small square to ensure they align properly.
Step 4: Finishing with the Border
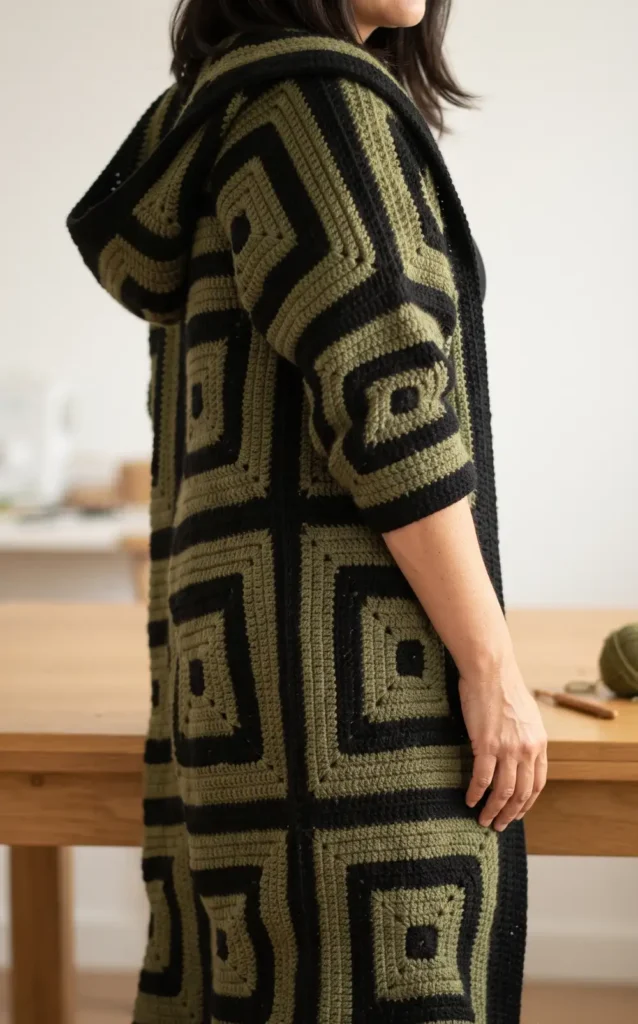
The final touch is a four row border worked around the entire edge of the cardigan, including the front opening and the hood. This adds approximately 3.5 inches to the total waist measurement.
- Row 1: Attach your yarn at the center of the back and work standard double crochets in every stitch around the entire border.
- Row 2: Work a row of back post double crochets to create texture.
- Rows 3 and 4: Finish the border with two more rows of regular double crochets.
In the corners of the border, continue the corner pattern by working two double crochets, chain two, and two double crochets into the chain space to keep the edges sharp. Once the fourth row is complete, slip stitch into the first stitch and fasten off your yarn.
Hey there! Some links on this page may be affiliate links which means that, if you choose to make a purchase, I may earn a small commission at no extra cost to you.
Video Credits: Cherilyn Q
2. Easy Granny Square Cardigan Tutorial
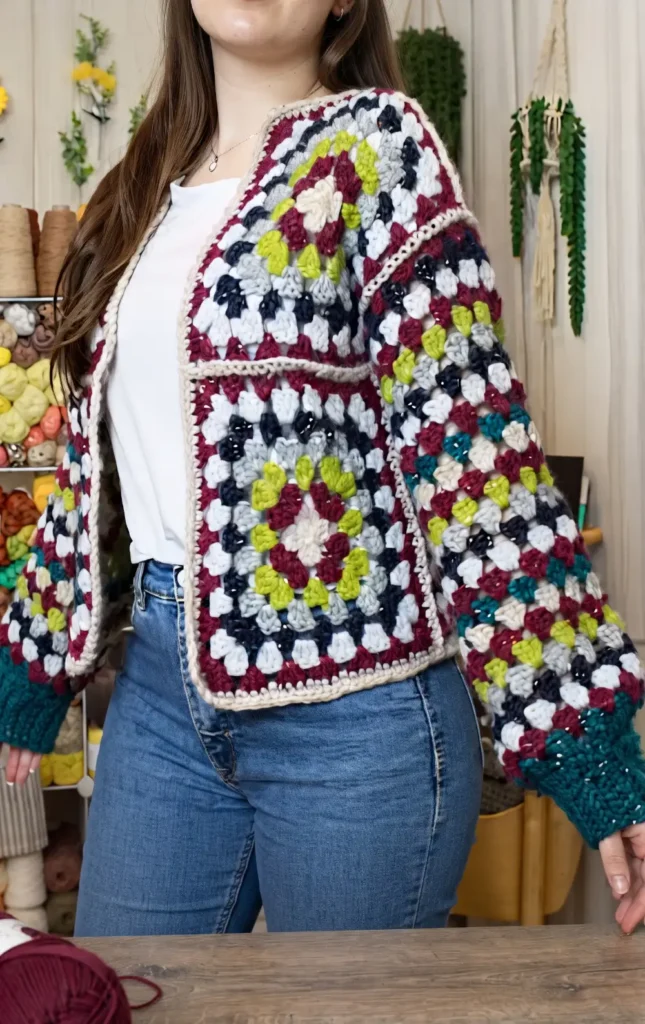
This project is designed to be the quickest and easiest cardigan you will ever crochet. It uses a colorful, “made to measure” approach that ensures a perfect fit for any size.
Essential Materials
To get started, you will need the following supplies:
- Yarn: Worsted number 4 medium yarn (the source uses Buckley yarn in seven different shades).
- Hook: A 6 mm crochet hook.
- Tools: Measuring tape, tapestry needle, and scissors.
Step 1: Calculate Your Measurements and Prepare Squares
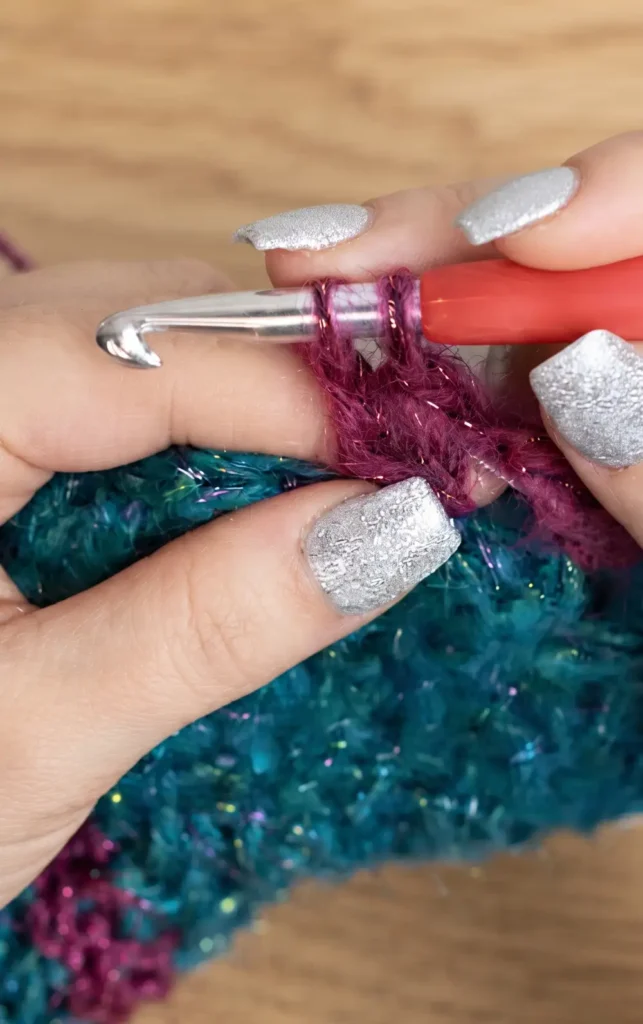
The first step is determining the size of your squares based on your bust circumference. Measure around your bust and add 5 to 10 centimeters for a comfortable fit.
Divide this total by two to get the required width for your back square. For example, if your total is 100 centimeters, your back square should be 50 by 50 centimeters. In addition to the large back square, you will need to crochet four smaller squares for the front panels. These front squares should be slightly smaller than half the back square to leave a gap for an open front or buttons.
Step 2: Crochet the Ribbed Cuffs and Sleeves
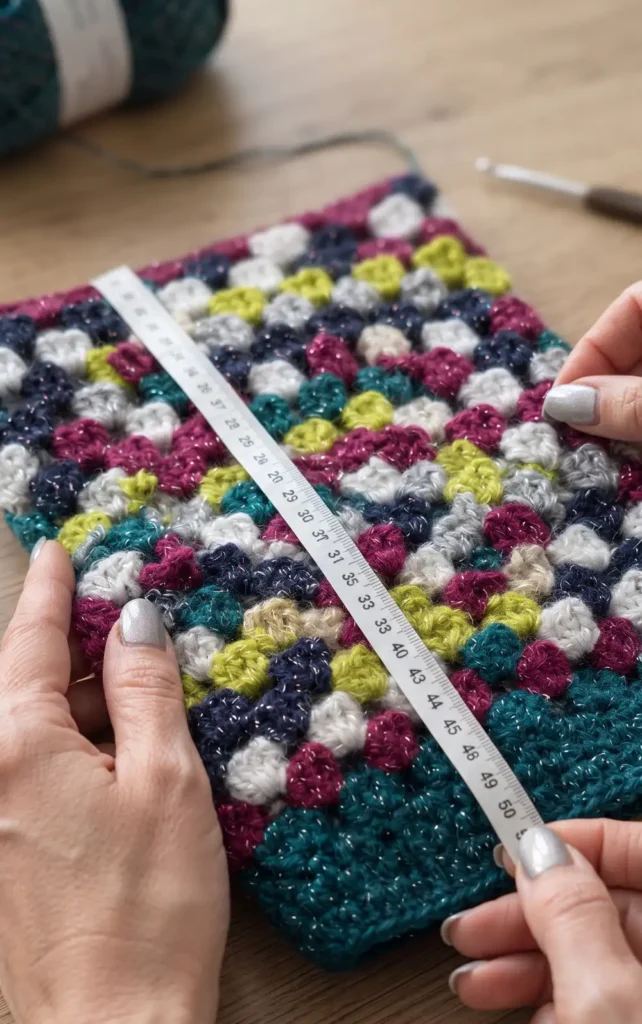
To create the sleeves, start with the cuffs by chaining 12 and working 11 single crochets into the back loops only. Repeat this for 22 rows to create a ribbed effect that fits your wrist.
After joining the cuff ends with single crochets, work 36 stitches around the top edge to begin the sleeve length. The sleeve is built using rounds of granny clusters, which consist of three double crochets worked into the same stitch or space followed by a chain one. Continue adding rounds in various colors until the sleeve reaches your desired length.
Step 3: Assemble the Body and Shoulders
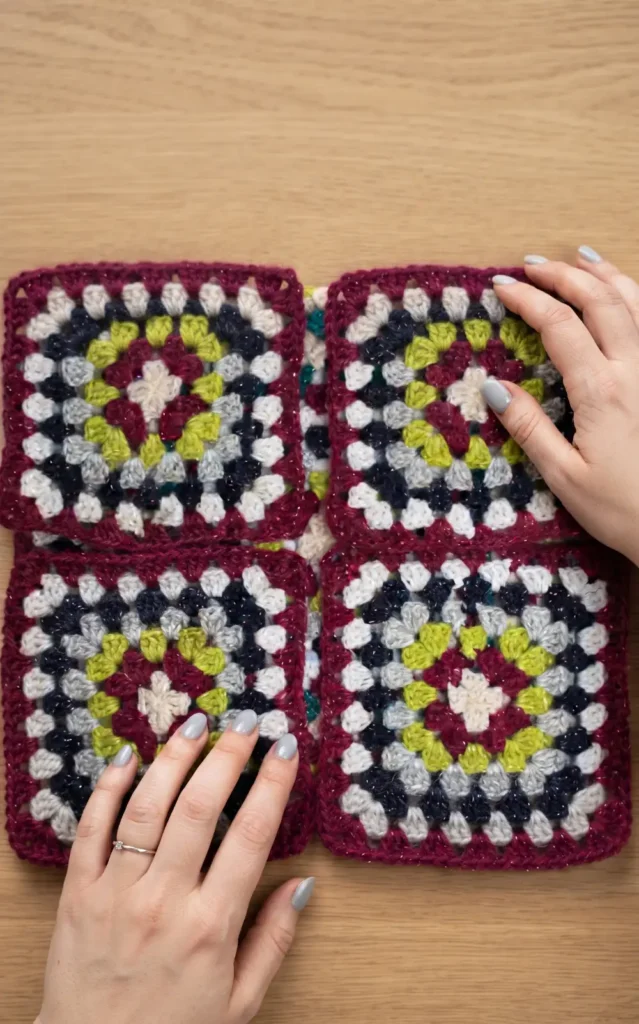
Once your squares and sleeves are ready, begin assembly by joining the front squares into two vertical panels using single crochets on the right side for a textured look.
Lay the large back square flat with the right side down and place the front panels on top. Sew the shoulders together starting from the outer corners, leaving approximately 20 centimeters open in the middle for the neck. The source recommends sewing about 15 centimeters for each shoulder, but you can adjust this based on your preference.
Step 4: Attach Sleeves and Add Finishing Borders
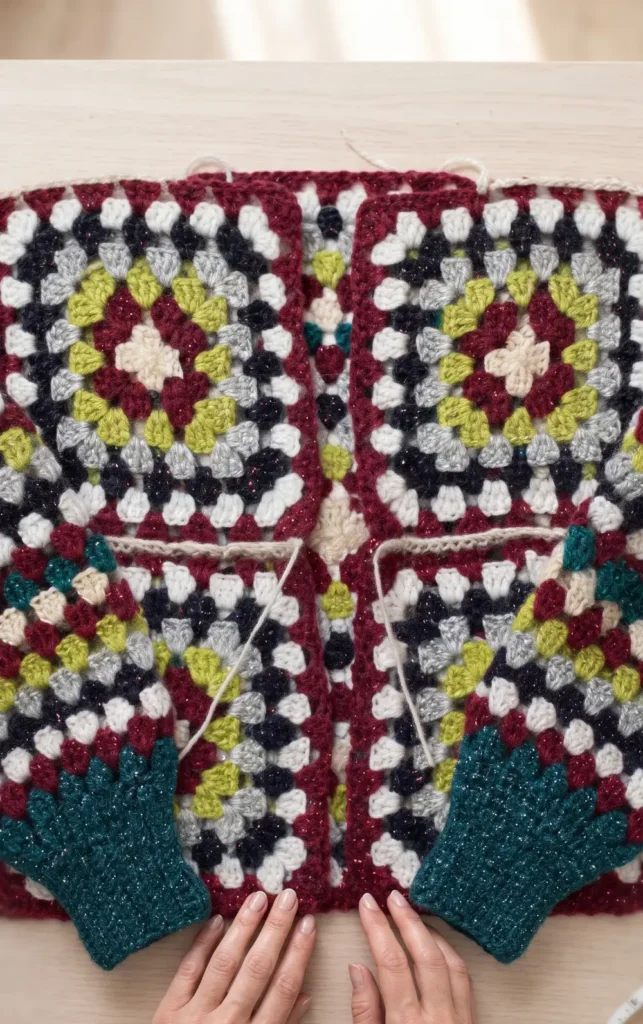
The final step is attaching the sleeves and adding the finishing touches. Match the granny clusters of the sleeves to the body of the cardigan and sew them in place using single crochets. After the sleeves are attached, sew the side seams of the cardigan from the bottom edge up to the armpits.
To finish the garment, work two rounds of single crochet all the way around the neck, front opening, and bottom edge. This creates a clean, professional border that pulls the colorful design together.
Video Credits: Brunaticality
3. Crochet Cropped Cardigan Tutorial
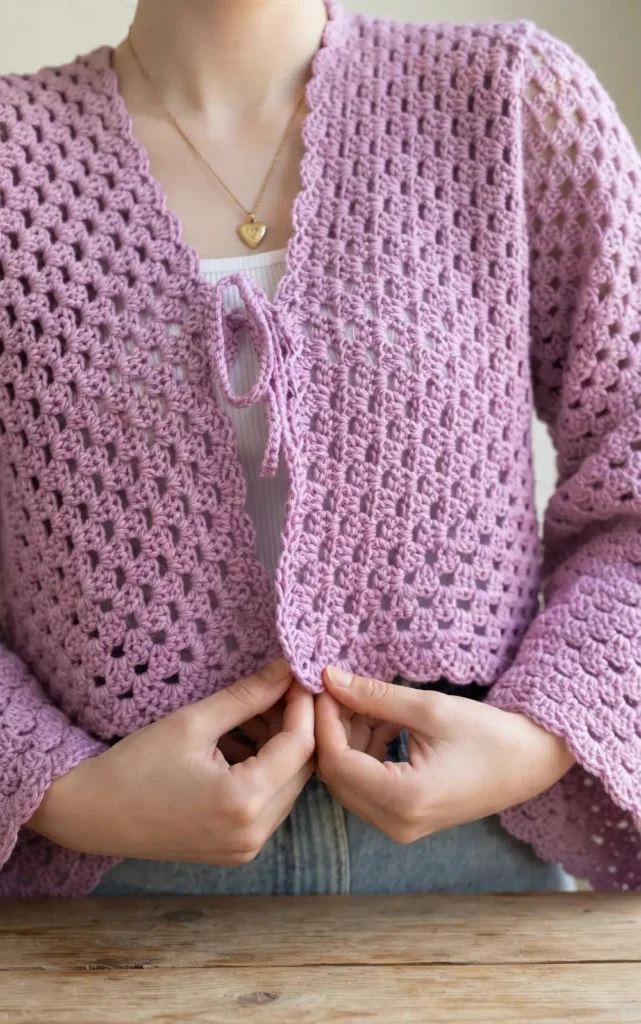
This guide details how to create a stylish, hexagon-based cropped cardigan that is easily adjustable for any size. By following these four essential steps, you can transform simple yarn into a custom handmade garment.
Materials and Tools
Before starting, gather the following supplies:
- Yarn: You can use any weight, though a weight 3 or 4 yarn is recommended.
- Crochet Hook: A 4.5 mm hook is used in this tutorial, but you should choose one that complements your yarn choice.
- Scissors: For cutting your yarn.
- Darning Needle: For weaving in your loose ends.
Step 1: Crafting the Hexagons
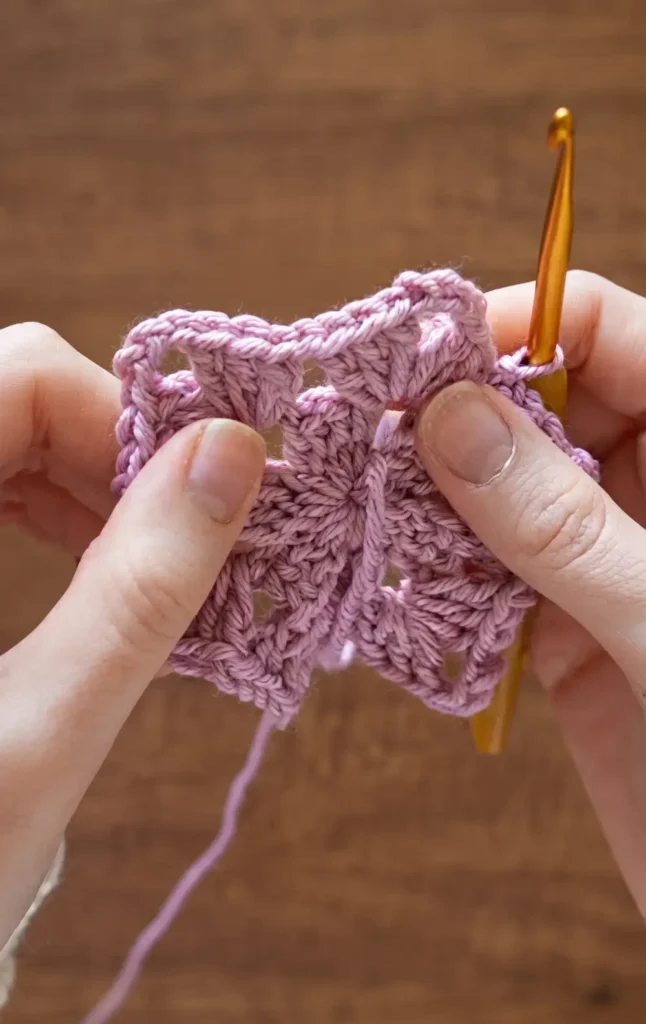
The foundation of this cardigan consists of two large hexagons. To begin, create a magic ring.
- Round 1: Work six clusters into the ring. Each cluster consists of three double crochets, and each cluster should be separated by a chain three. Join the round with a slip stitch.
- Round 2: Work only in the chain spaces. In each corner (chain three space), work two clusters separated by a chain three. Separate these corner groups with a chain one.
- Round 3 and Beyond: Continue increasing the size of your hexagon by working two clusters in every corner space and one cluster in every side (chain one) space.
Repeat this process for approximately 17 rounds, or until the piece reaches your desired cropped length. You will need to create two identical hexagons to form the two halves of the cardigan.
Step 2: Seaming and Sizing
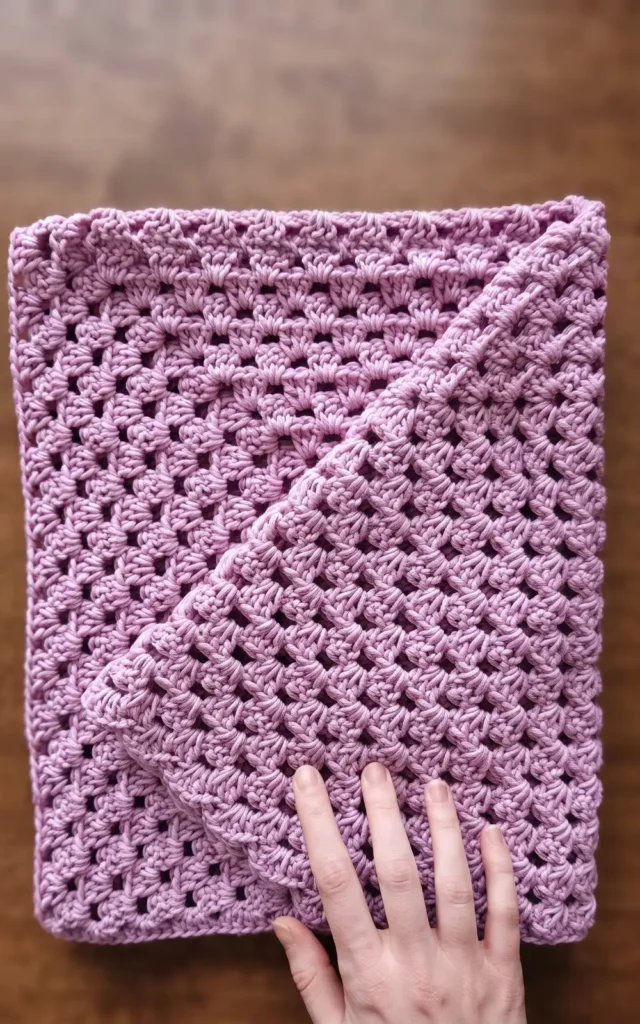
Once your hexagons are the correct size, you must shape them into the garment’s structure.
- Folding: Fold your hexagon to create an “L” shape, which forms the sleeve and one half of the body.
- Seaming the Top: Use a single crochet stitch or a darning needle to seam the top of the sleeve together. If using single crochet, work through both layers of stitches and chain spaces until the row is complete.
- Testing the Fit: Use stitch markers to temporarily hold the pieces together so you can try it on and ensure the length is correct before finishing.
Step 3: Extending Sleeves and Body Width
A cropped length often means the sleeves and chest area require additional rows for a comfortable fit.
- Adding Body Width: If you prefer more coverage in the front, attach yarn to the front corner and work extra rows of the granny stitch (clusters) along the front and back edges.
- Lengthening Sleeves: Attach yarn to the sleeve opening and work clusters in rounds. Continue for about 13 rounds, or until the sleeve reaches your wrist.
- Shoulder Transition: When working over the shoulder seam, double crochet two stitches together to bridge the gap and maintain a seamless look.
Step 4: Final Joining and Decorative Edging
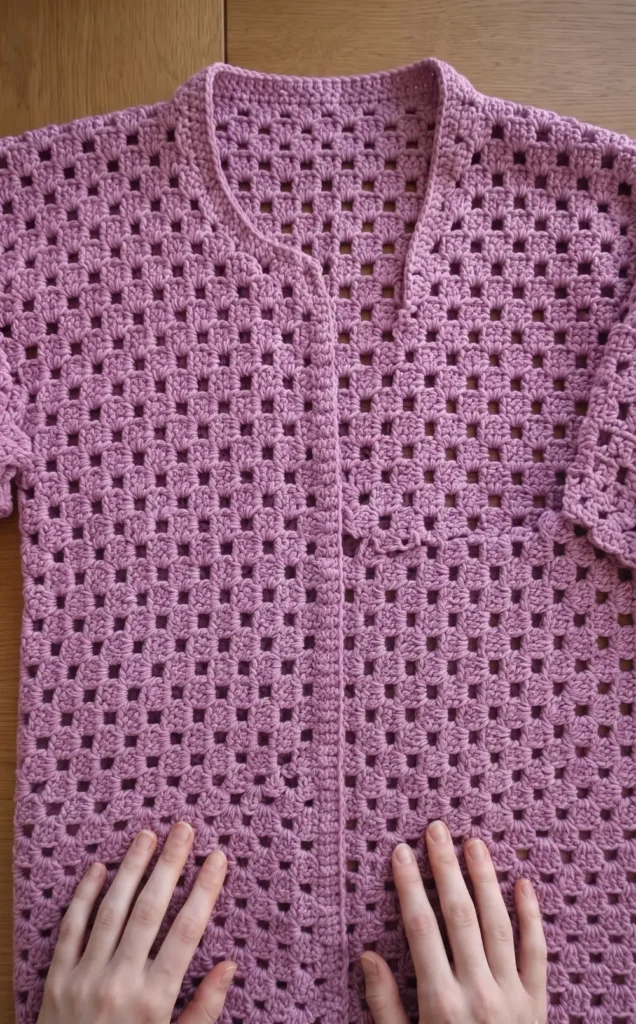
The final stage involves connecting the two halves and adding finishing details.
- Joining the Back: Place the two halves together and seam the back from the bottom upwards. It is recommended to stop about 2 or 3 inches from the top to allow the cardigan to drape better over the shoulders.
- Scalloped Edging: For a decorative finish, add a scalloped border around the sleeve cuffs and the main opening of the cardigan. This is done by working three double crochets in a chain space, followed by a slip stitch into the middle of the next cluster.
- Adding Ties: To keep the cardigan closed, you can crochet ties by making a slip knot at the front edge, chaining 75 (or your preferred length), and then slip stitching back down the chain.
Finally, use your darning needle to weave in all remaining ends for a clean, professional look.
Video Credits: HayHay Crochet
4. Crochet Cozy Days Daisy Cardigan
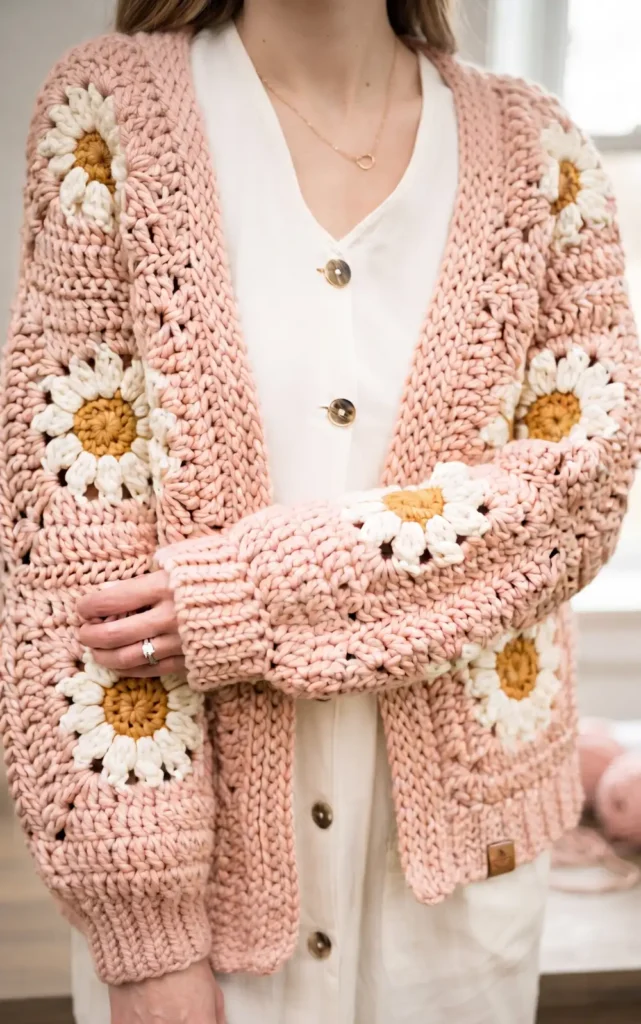
Creating the Cozy Days Daisy Cardigan involves assembling beautiful crochet squares into a chunky, comfortable garment. This tutorial covers the essential construction steps to bring your panels together and finish the details.
Materials Required
To complete this project, you will need the following items:
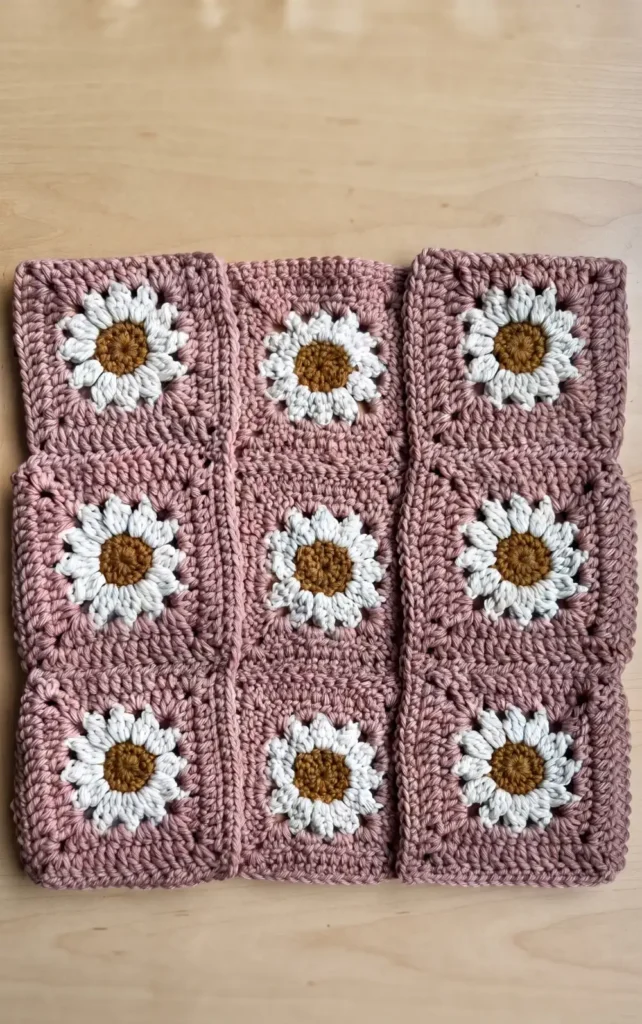
- Daisy Granny Squares: For a size small, you will need 9 squares for the back panel, 3 for each front panel, and 4 for each sleeve.
- Yarn and Needle: Long strands of yarn for seaming and a yarn needle.
- Crochet Hooks: A 7 mm hook for the bottom ribbing and a 10 mm hook for the collar.
- Tools: Stitch markers and a felting needle for securing yarn ends.
Step 1: Assembling the Panels
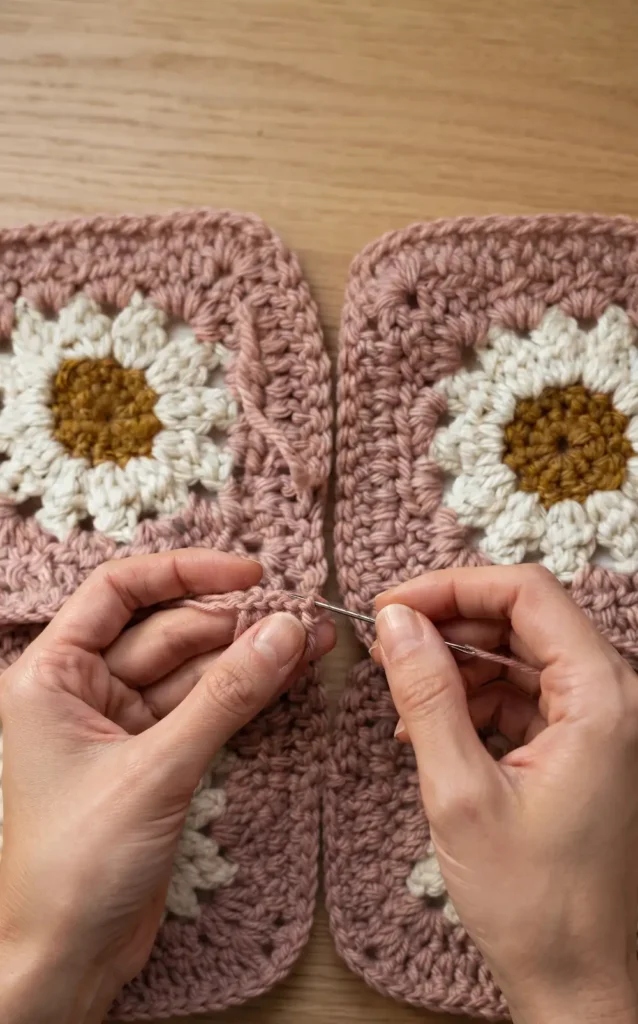
The first phase involves joining your daisy squares to form the main sections of the cardigan. Place the squares with the wrong sides facing you and use a whip stitch to join them, inserting your needle through both the front and back loops.
For the corners, split the chain two spaces to ensure a clean seam. If your specific size requires extra width, you can add rows of double crochet stitches to the front and back panels before joining them.
Step 2: Joining the Body and Adding Bottom Ribbing
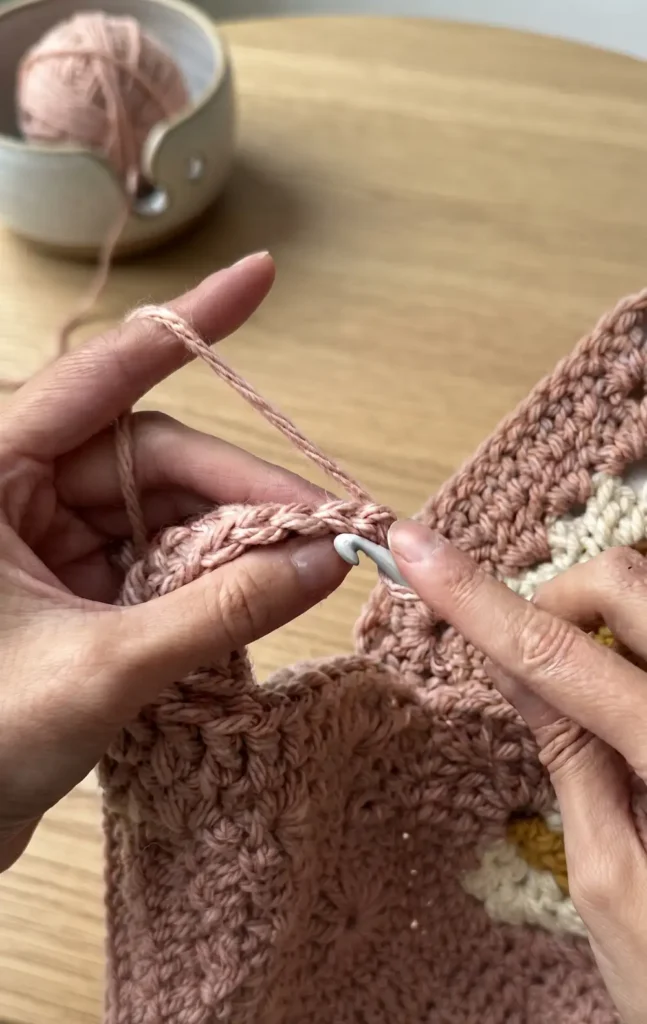
Once your panels are ready, place the two front panels on top of the back panel. Whip stitch the shoulders and the sides together, being careful to leave enough space for the armholes.
To add the bottom ribbing, switch to a 7 mm hook. Join your yarn at the bottom edge and chain seven. Work single crochets into the back bumps of the chain for the first row, then continue the ribbing by working single crochets in the front loops only. Attach the ribbing to the body by working two slip stitches into the bottom edge of the cardigan after every two rows of ribbing.
Step 3: Crafting the Collar and Sleeves
For the collar, pick up stitches along the front panels and neck using a single crochet stitch. To ensure the collar is level, you can use extended single crochets in the dips between squares. After the first row, switch to a 10 mm hook and work loose slip stitches in the front loops only to build the thickness of the collar without it bunching up.
The sleeves are formed by seaming four granny squares together. You may need to add double crochet rows for length or width depending on your size. Join the sleeve into a round and work double crochet decreases to taper the sleeve toward the wrist. Finish the sleeves with a ribbed cuff using slip stitches worked in the back loops only.
Step 4: Final Seaming and Finishing Touches
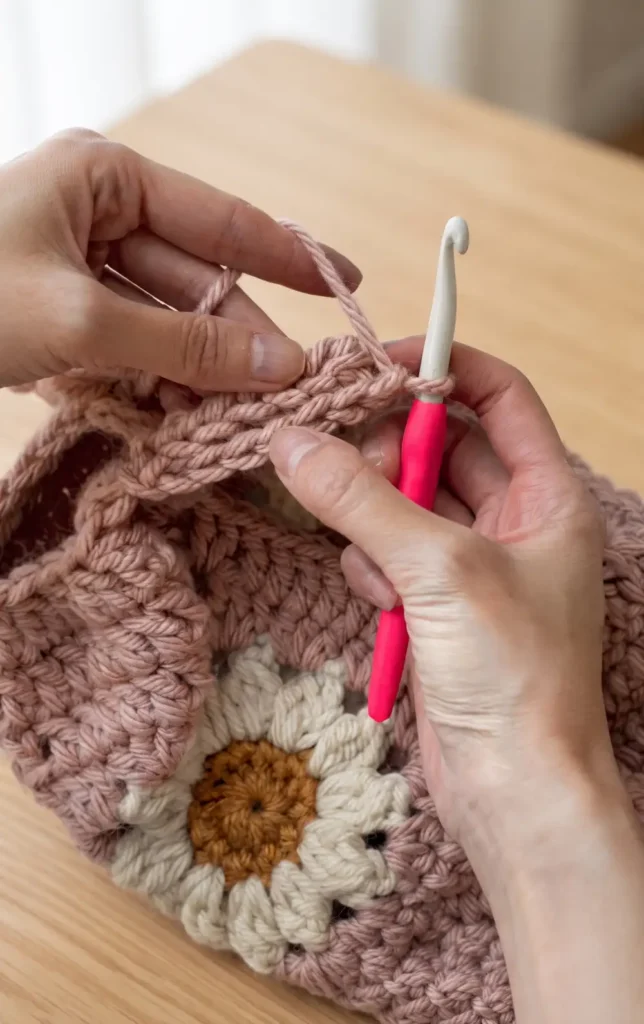
After the sleeves are prepared, use a long strand of yarn to whip stitch the length of the sleeve and then attach it to the armhole. Ensure the sleeve seam is facing the bottom of the cardigan. If you notice any gaps in the armpit area, use your yarn needle to sew those holes shut.
To finish your cardigan, weave in all ends. You can use a felting needle to “felt” the ends in place, which prevents them from popping out later. Finally, block the entire cardigan, including the ribbing and collar, to set the shape and professionalise the look.
Video Credits: AllAboutAmi
5. Vintage Granny Square Cardigan Crochet Pattern
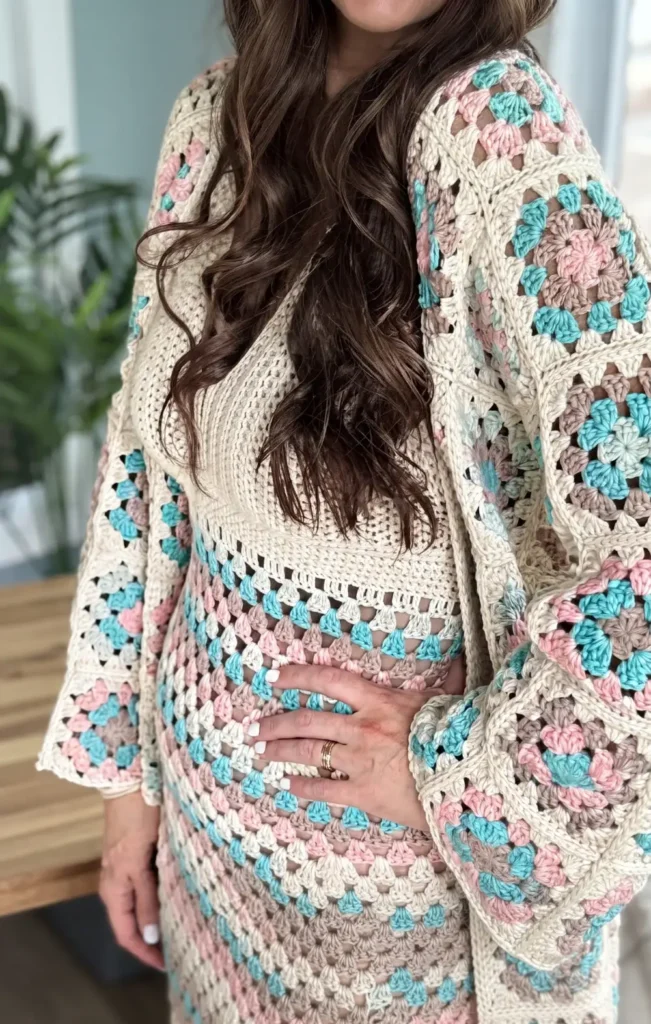
This tutorial guides you through creating a traditional, hip length granny style cardigan that is perfect for summer. While the instructions focus on the hip length version with simple edging, the pattern can be adapted for cropped or tunic lengths with various edging options.
Materials and Preparation
To get started on this project, you will need the following supplies:
- Yarn: Comfy Sport weight yarn, which is a soft blend of 75 percent Pima cotton and 25 percent acrylic. It is a weight number two yarn, though it feels similar to a DK weight.
- Colors: The tutorial uses five colors: Flamingo, Parchment, Silver Sage, Seafoam, and Ivory for the borders.
- Crochet Hook: A 4.5 millimeter crochet hook is required for the squares. A smaller hook may be used later for the edging to ensure tight stitching.
- Square Count: For a medium to large hip length cardigan, you must produce 92 granny squares.
Step 1: Crafting the Granny Squares
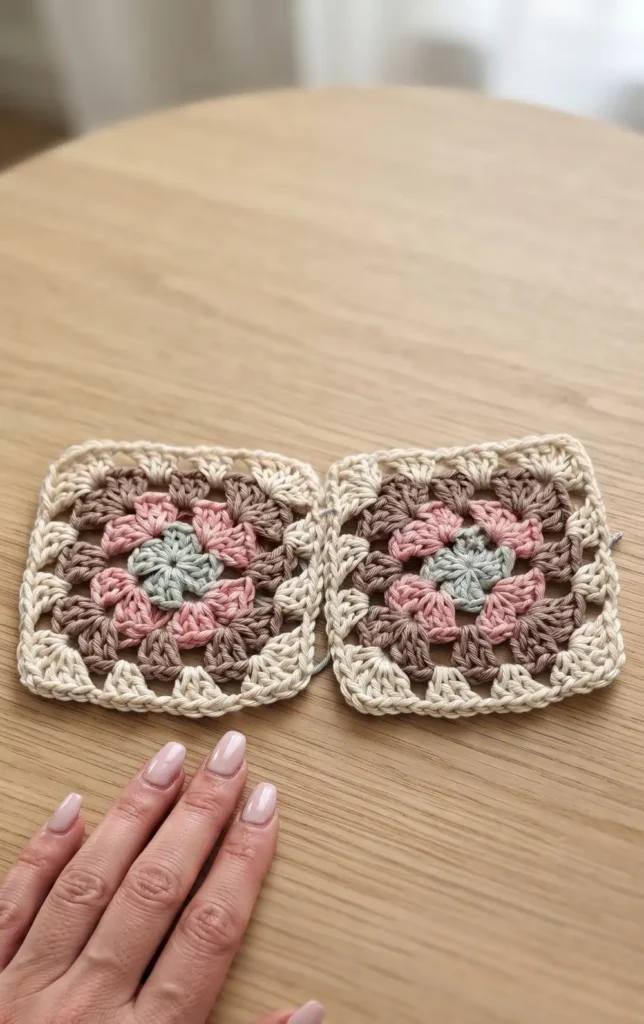
Each square should measure four inches to ensure the sizing of the garment is correct. You will work four rounds for each square, beginning with a magic ring.
In the first round, work four clusters of three double crochets, each separated by a chain one space. For the subsequent rounds, you will join new colors in the chain one corner spaces, working two clusters (three double crochets, chain one, three double crochets) into each corner to form the square shape.
Between these corners, work single clusters of three double crochets into the side chain spaces. Most squares are bordered with Ivory to maintain a consistent look. You can either weave in your tails as you go or use a thumb join technique to tie colors together and minimize weaving later.
Step 2: Seaming the Squares into Panels
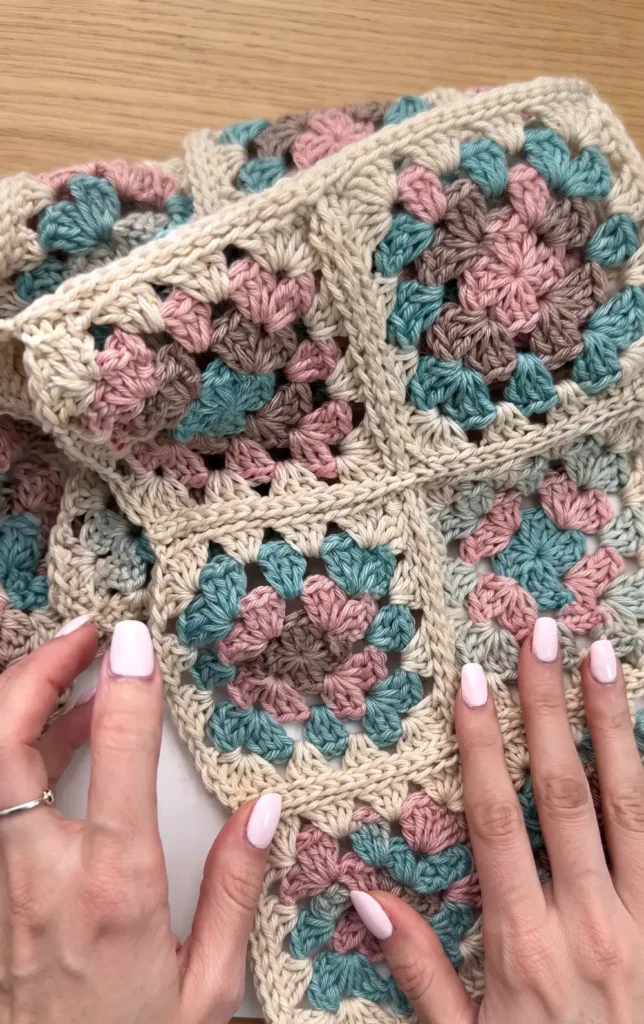
Once all 92 squares are complete, lay them out according to your size diagram to arrange the colors. The squares are joined using a flat slip stitch join, which creates a clean and consistent seam.
With the right sides of the squares facing up, insert your hook into the outer loops (the loops on the inside of the seam) of the corner chain stitches. Yarn over and pull through all loops to join. Continue this process across the edges, working from front to back through the inner loops of each stitch. It is most efficient to seam the squares vertically in long sections first, then follow up with horizontal seaming to complete the large panels for the front, back, and sleeves.
Step 3: Assembling the Cardigan Body
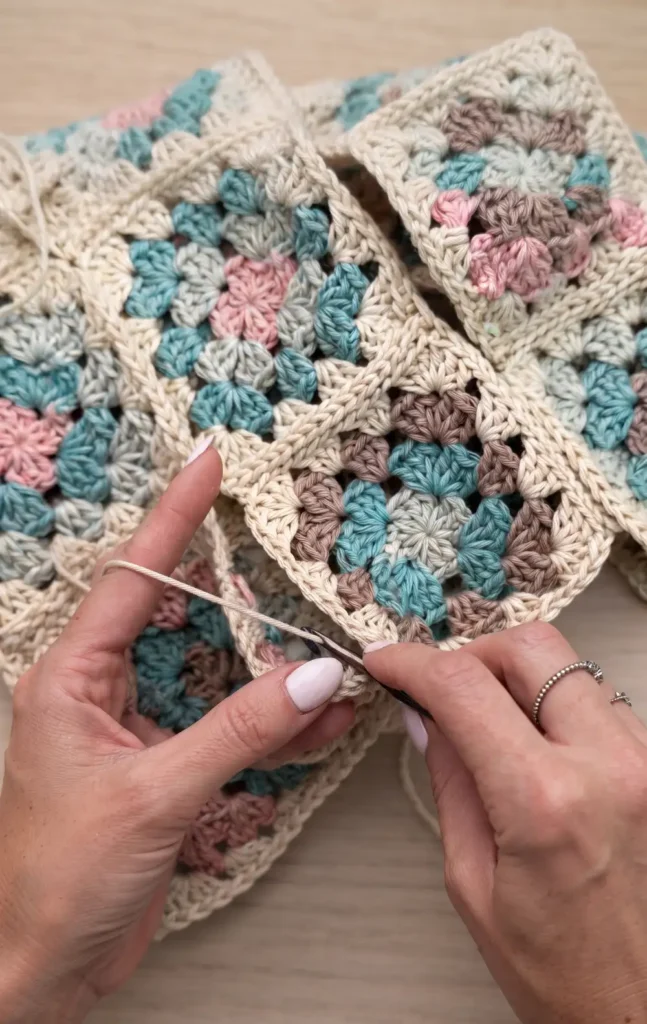
After the flat panels are seamed, you must fold and join them to form the actual garment. Lay the piece so the front panels align with the back panel and the sleeve sections are positioned to the sides.
Use the same flat slip stitch seam to attach the sleeves and the sides of the cardigan. You should have the right side of the fabric facing upwards during this process. Start at the edge of the sleeve and work your way up to the underarm, then continue the seam straight down the side of the cardigan in one motion. Repeat this process for both sides to fully assemble the body and sleeves.
Step 4: Applying the Finished Edging
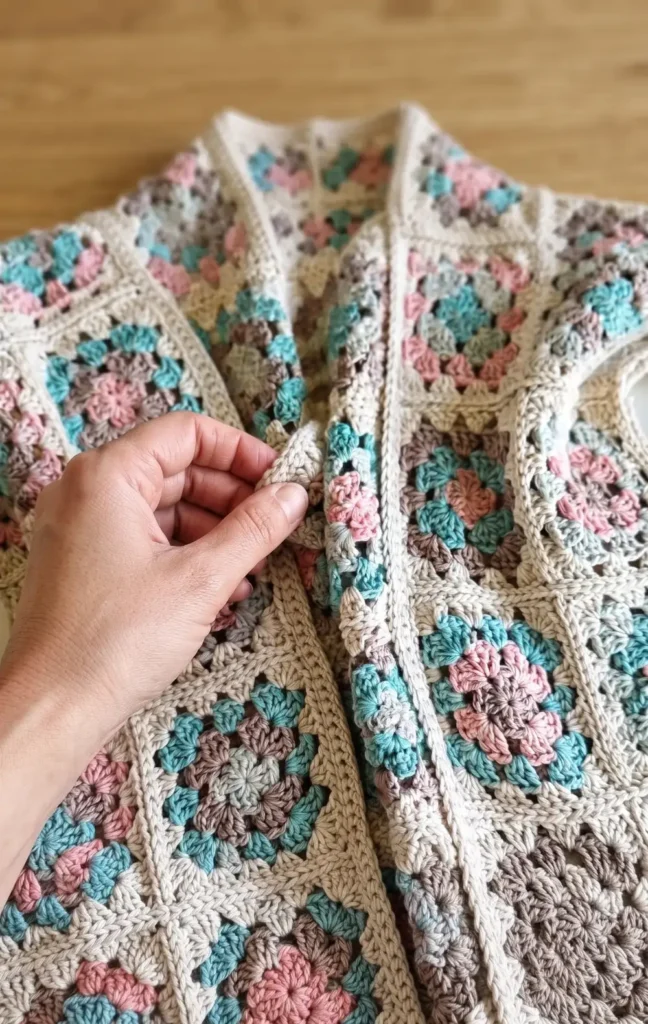
The final step is to add edging along the neckline and front panels to provide structure and prevent the fabric from pulling. Join your yarn at the corner and work a row of slip stitches through the back loops all the way around the neck opening.
After the slip stitch row, switch to a smaller hook and work rows of single crochet back and forth through the back loops. This creates a clean, ribbed effect for the collar. You can make this edging as wide as you prefer by adding more rows. While the sleeves and bottom can be left with their natural granny square edge for a flared or scalloped look, you may also choose to add slip stitching or single crochet borders to those areas for a more finished appearance.
Video Credits: MJ’s Off The Hook Designs
Which Look Will You Choose?
Five patterns, five completely different vibes, all rooted in the same humble square. That’s the beauty of granny square crochet. It’s simple enough to learn in an afternoon but flexible enough to build a wardrobe around.
Grab your hook, pick your favorite colorway, and start stitching. Whichever cardigan you choose, you’ll end up with a piece that’s uniquely yours and built to last for years.