5 Easy Crochet Granny Square Scarf Free Patterns for Beginners
Winter accessories are everywhere, but most beginners freeze up the moment they see a granny square pattern. Here’s the truth: this stitch is far more forgiving than it looks, and a scarf is the perfect first project to prove it. No sleeves to shape, no gauge panic, just repetition that builds real skill fast.
These five scarves cover every texture a new crocheter could want. You will find raised stitches, classic clusters, wavy stripes, plush velvet squares, and playful fringe details. Pick one that matches your yarn stash and your patience level, then grab your hook. Your first finished scarf is closer than you think.
1. Crochet Granny Stitch Scarf for Beginners
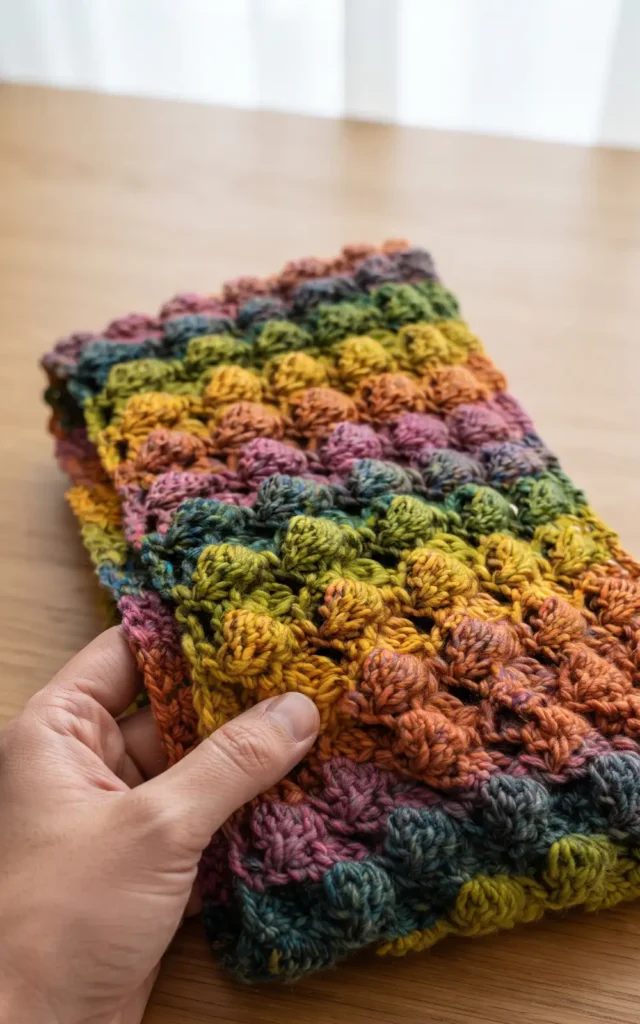
This beautiful unisex scarf tutorial uses the Side Saddle Stitch, which creates a textured look that pops out from the fabric. While the technique differs from a traditional granny stitch, it is similarly beginner-friendly and produces a sophisticated, reversible design.
Materials and Preparation
To begin this project, you will need the following materials:
- Yarn: Approximately two to three skeins of medium 4 weight yarn (the tutorial uses Red Heart Color Scape).
- Hook: A size J (6 mm) crochet hook.
- Sizing: The finished scarf is approximately 6 inches wide and 65 inches long, though you can adjust this to be as long as the person who will wear it is tall.
Step 1: Creating the Foundation and Row 1
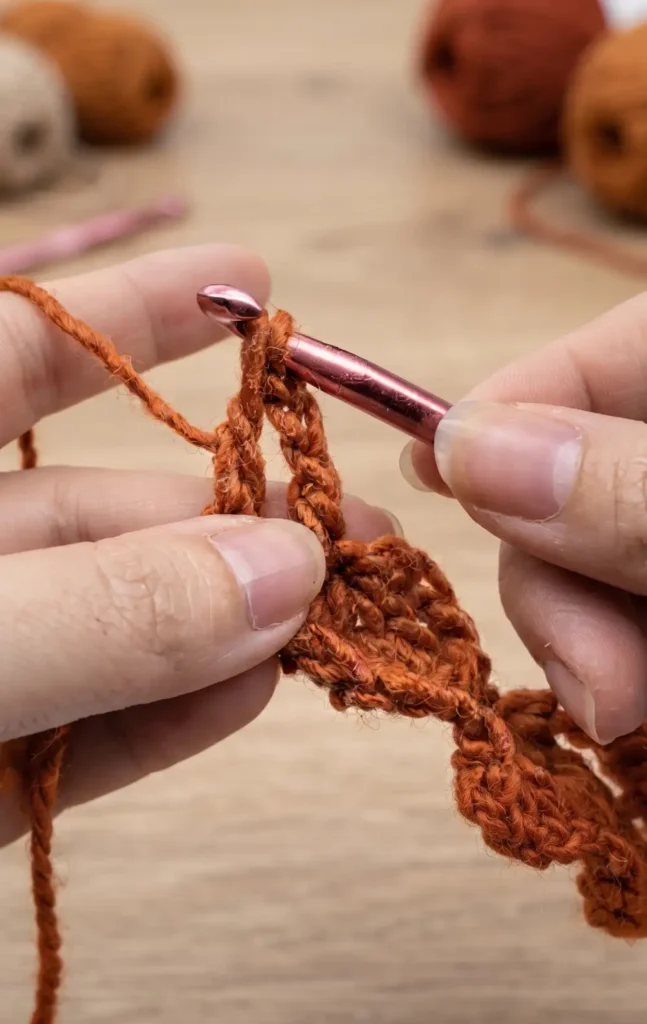
The Side Saddle Stitch requires a foundation chain in multiples of 5 plus 2. For a 6-inch wide scarf, start with a chain of 27.
To work Row 1, place a single crochet in the second chain from the hook. Start the repeat pattern by chaining three. Work a double crochet four together (dc4tog) over the next four stitches. To do this, yarn over and pull up a loop in each of the next four stitches, yarning over and pulling through the first two loops each time until you have five loops on your hook. Yarn over and pull through all five loops, then chain one to lock the stitch. Finish the repeat by working a single crochet into the next stitch. Repeat this sequence across the row, ending with a single crochet in the final stitch.
Step 2: Working the Row 2 Repeat
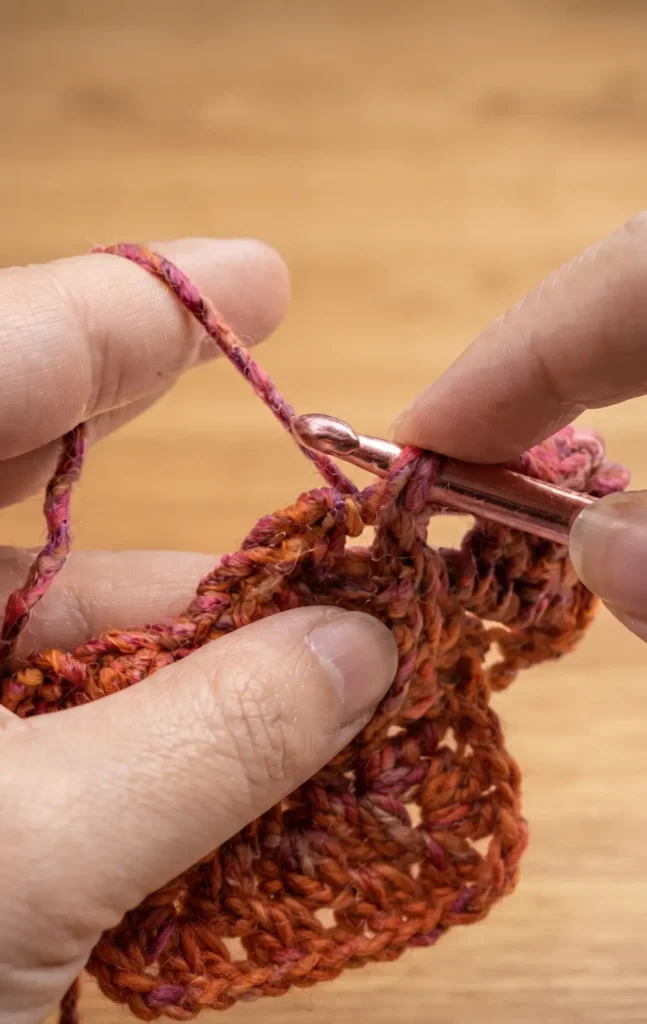
Row 2 is the first of two main repeat rows for the pattern. Start by chaining five and turning your work.
Locate the top of the dc4tog from the previous row and work a single crochet into that stitch. Chain three and then work a dc4tog directly into the chain-three space from the previous row. Chain one to lock it, and then single crochet into the top of the next dc4tog. Continue this pattern across the row. To finish Row 2, work one double crochet into the top of the turning stitch at the very end of the row.
Step 3: Working the Row 3 Repeat
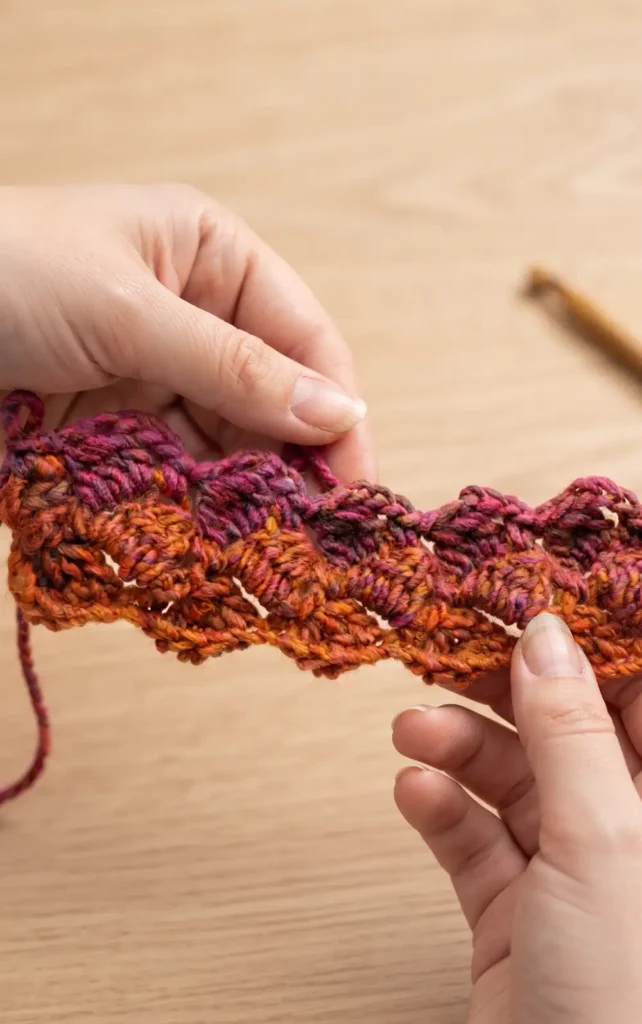
Row 3 is the second repeat row that gives the scarf its unique texture. Chain one and turn your work.
Place a single crochet into the first dc4tog stitch. Chain three and work a dc4tog into the next chain space. Chain one and then single crochet into the top of the next dc4tog. Repeat these steps across the row. To end Row 3, work a single crochet directly into the chain-five space from the previous row.
Step 4: Finishing Your Scarf
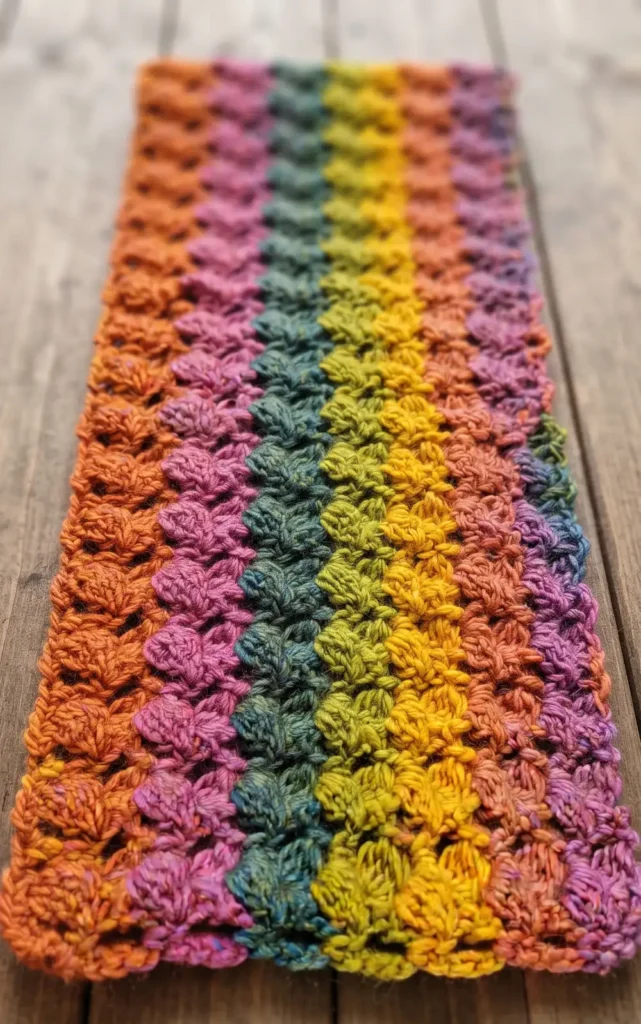
To complete the scarf, simply continue repeating Rows 2 and 3 until you reach your desired length. For the best results and a flat finish, ensure you end on an odd-numbered row. Once the length is correct, you can leave the scarf as is or add personal touches like fringe or pom-poms to the ends. This versatile pattern works well for anyone depending on the yarn colors you choose.
Video Credits: Bag-O-Day Crochet
2. Crochet Granny Stitch Infinity Scarf
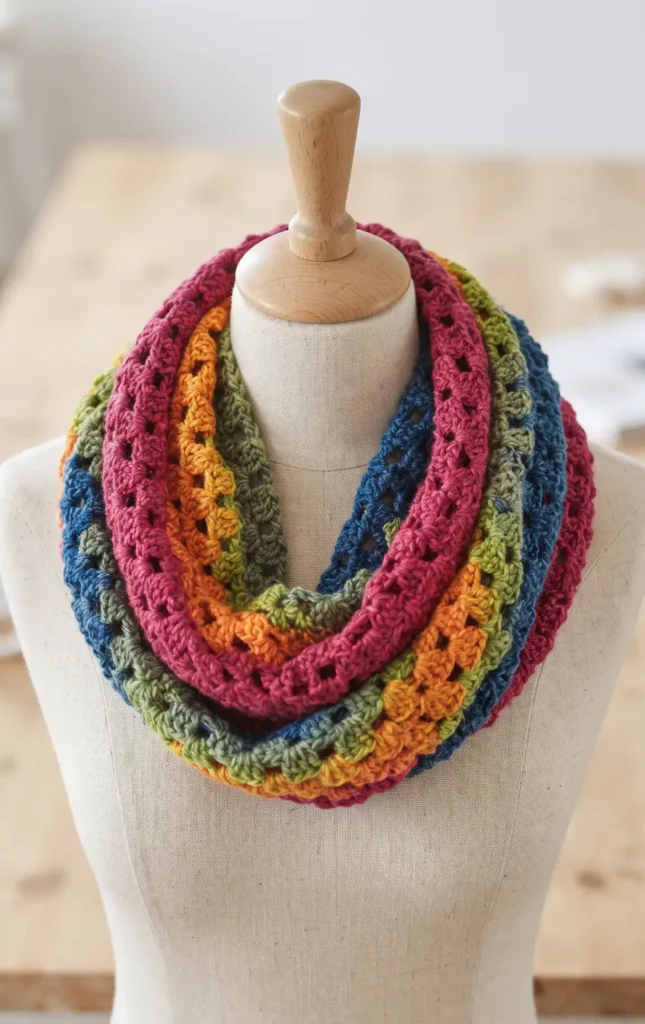
This beautiful and beginner friendly infinity scarf is designed to be completed using just one 100g ball of DK weight yarn. While many DK yarns suggest a 4mm hook, this project uses a 5mm hook to create a looser and more “drapey” feel for the scarf. You will also need a pair of scissors and a darning needle to finish your work. The tutorial uses US crochet terms throughout the process.
Step 1: Create Your Foundation Chain and First Row
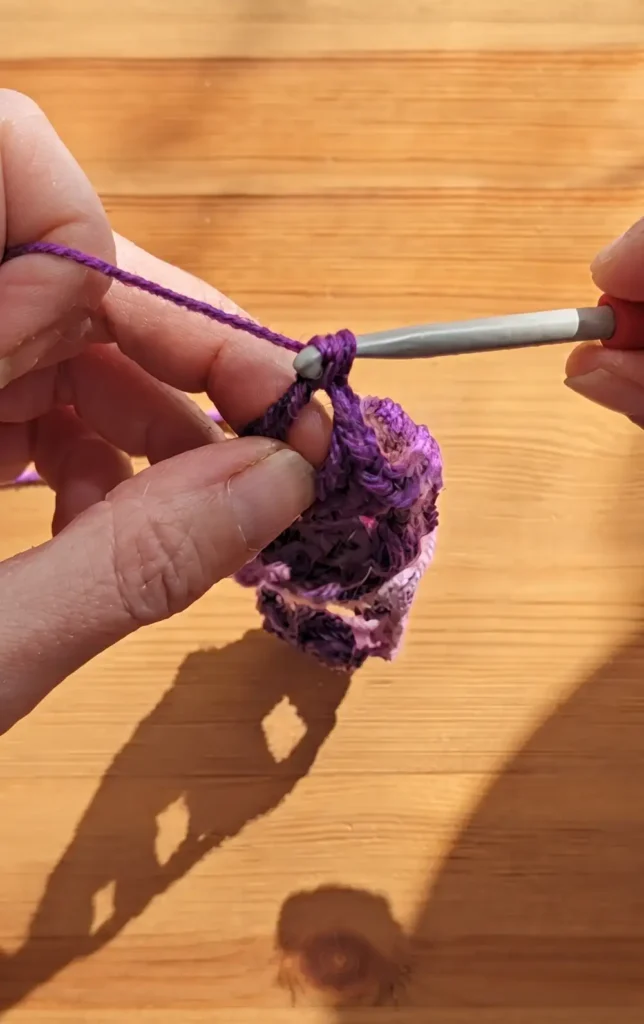
Begin by placing a slip knot on your hook and creating a foundation chain of 31 stitches, which determines the width of your scarf. To start the first row, work one double crochet into the fourth chain from your hook; this initial chain and the double crochet together count as your first two stitches.
Next, chain one and skip two chains. In the third chain, work a granny cluster, which consists of three double crochets all in the same stitch. Continue this pattern across the row: chain one, skip two chains, and work a granny cluster into the next stitch. When you reach the end of the row, chain one, skip two, and place two double crochets into the very last chain. This ensures your edges remain straight as you build the scarf.
Step 2: Repeat the Pattern Rows
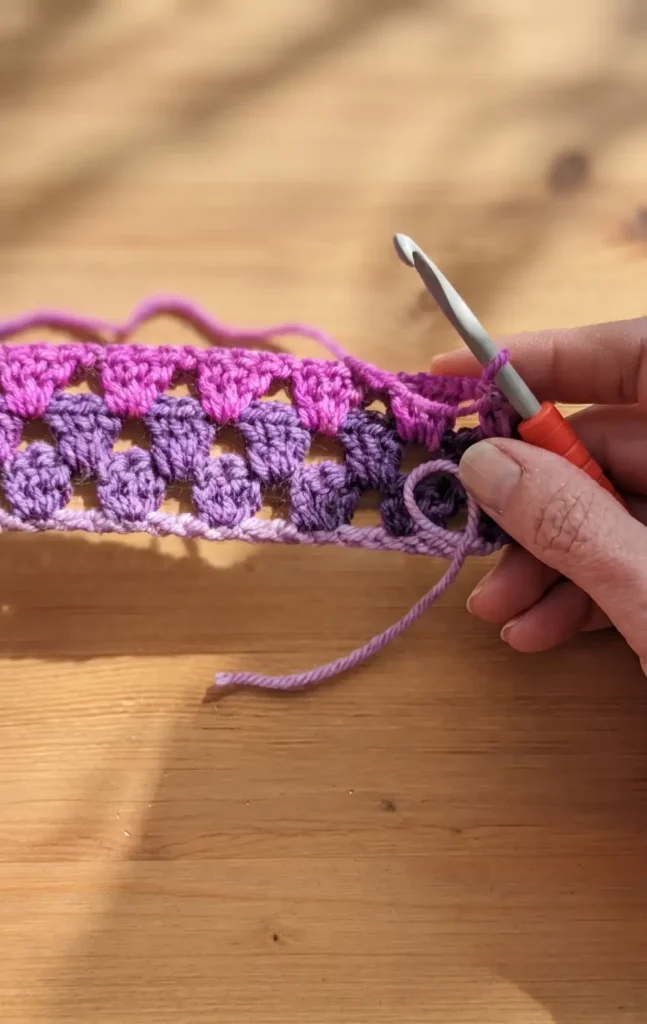
The main body of the scarf is created by alternating between two specific rows until you nearly run out of yarn.
- Row 2: Turn your work and chain four. This counts as your first double crochet and a chain-one space. Work a granny cluster into the first chain-one space from the previous row. Continue placing a granny cluster in every chain-one space across, separated by a chain one. End the row by chaining one and placing a single double crochet into the top of the turning chain from the previous row.
- Row 3: Turn your work and chain three, which counts as a double crochet. Place one double crochet into the first space. Continue with the granny clusters (three double crochets and a chain one) in each space across. To finish the row, place one double crochet in the last space and one double crochet into the top of the starting chain.
Repeat these two rows until the scarf reaches your desired length or you are close to the end of your yarn ball.
Step 3: Join the Ends for the Infinity Loop
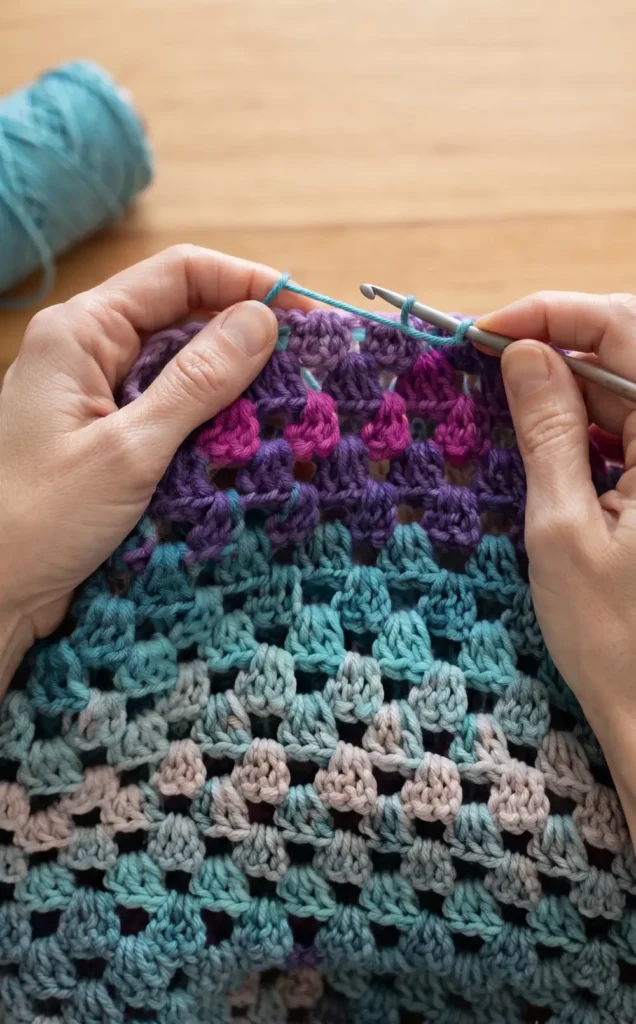
Once your scarf is long enough, it is time to turn it into a continuous loop. Hold both ends of the scarf together. While you could sew the ends, a slip stitch join provides a quick and secure connection.
Insert your hook through the first space of the current row and the corresponding stitch on the foundation edge, then pull a loop through both to create a slip stitch. Continue slip stitching across the entire width, placing one slip stitch in the spaces and one slip stitch into each of the three double crochets of the clusters. Keep your tension loose during this process to ensure the seam remains flat and does not pucker.
Step 4: Secure and Weave in Your Ends
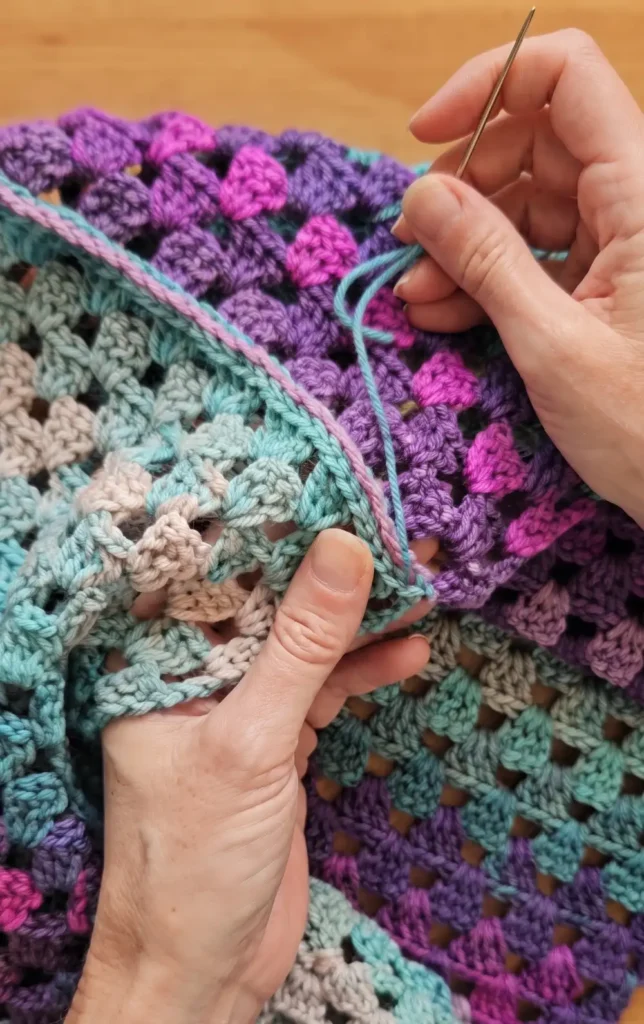
After completing the join, fasten off your yarn. For extra security, you can knot the starting tail and the finishing tail together if they are located at the same corner.
Use a darning needle to weave in the remaining tails. It is often helpful to use a sharp needle to pierce the actual fibers of the stitches, which creates friction and prevents the ends from working their way out over time. Avoid pulling the yarn too tight while weaving to maintain the scarf’s shape. Once the ends are hidden and trimmed, turn the scarf right side out to reveal a practically invisible join.
Video Credits: Geniefrog Crochet
3. Crochet Granny Stripe Scarf Tutorial
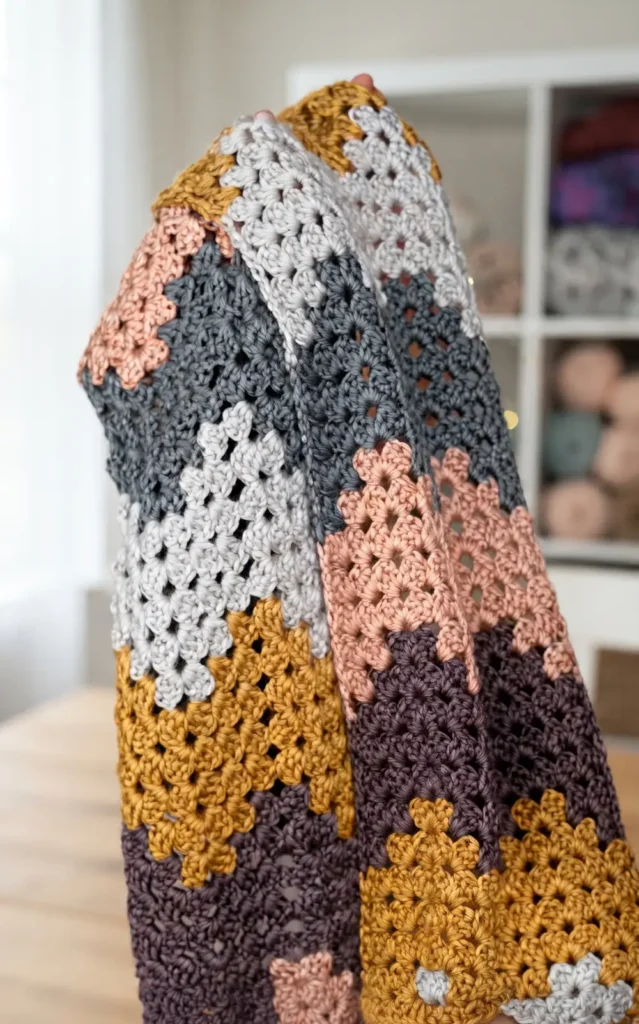
To complete this project, you will need approximately 600 yards of a medium number four worsted weight yarn. The original design uses a 6 mm (J) crochet hook, such as a Furls Streamline, alongside standard tools like scissors, a tapestry needle for weaving in ends, and a tape measure. The finished scarf typically measures 8.5 inches wide and 70 inches long, though the length is easily customisable.
Step 1: Prepare the Foundation Chain
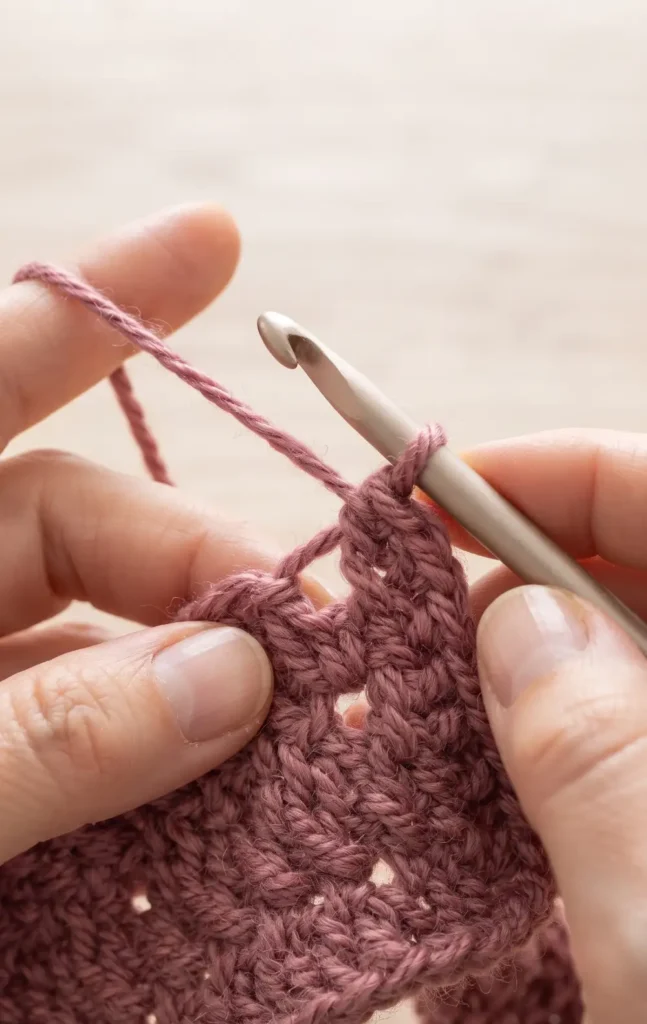
Begin by creating a slip knot and placing it on your hook. Work a starting chain of 36 for a standard width. If you prefer to make the scarf wider or narrower, you can adjust the width by using any multiple of 18 chains.
Step 2: Establish the First Row
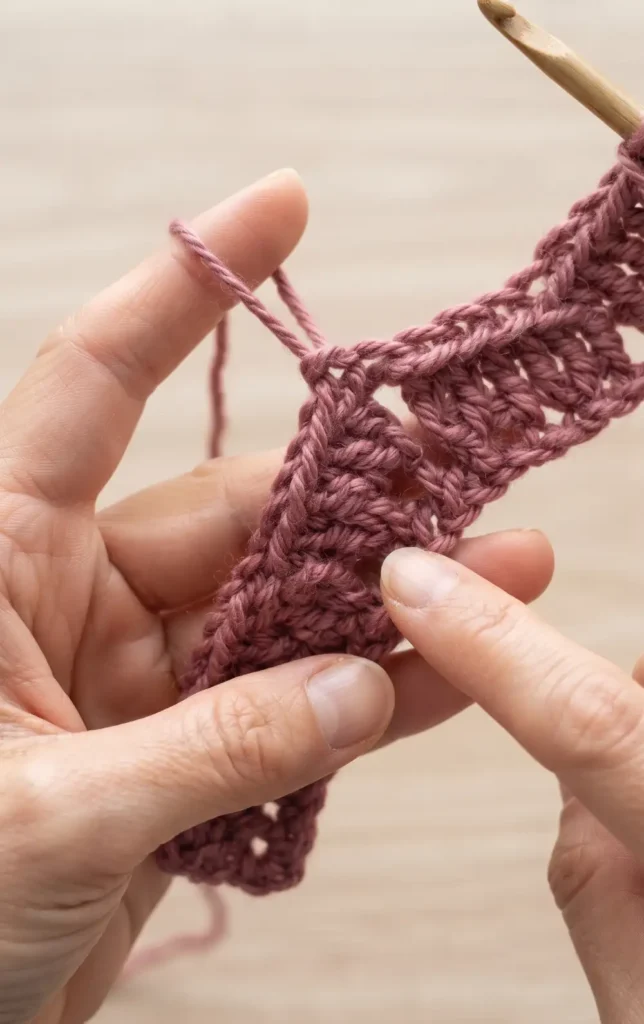
Work three double crochets into the fifth chain from the hook to create your first cluster. Skip two chains and work another three double crochets in the next chain. To create a peak, skip two chains and work a grouping of three double crochets, chain three, and three more double crochets all in the same chain. Continue the pattern across the row, creating valleys by skipping five chains and peaks by using the chain three sequence. Finish the row by working one double crochet into the very last chain.
Step 3: Execute the One-Row Repeat
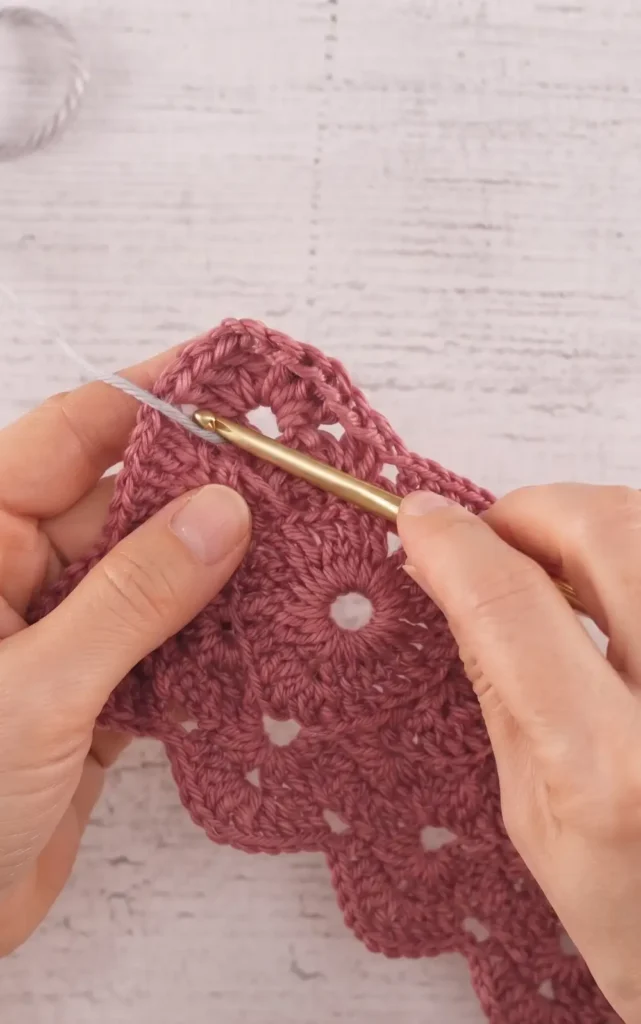
For row two, chain four and turn your work. Work three double crochets into the space between the first and second clusters. Continue working clusters into each space, and when you reach a peak, work a new peak (three double crochet, chain three, three double crochet) directly into the chain three space from the previous row. To maintain the valley, skip over the valley space from the row below and jump to the next cluster space. Complete the row by working one double crochet into the top of the turning chain.
Step 4: Customise Colours and Finish
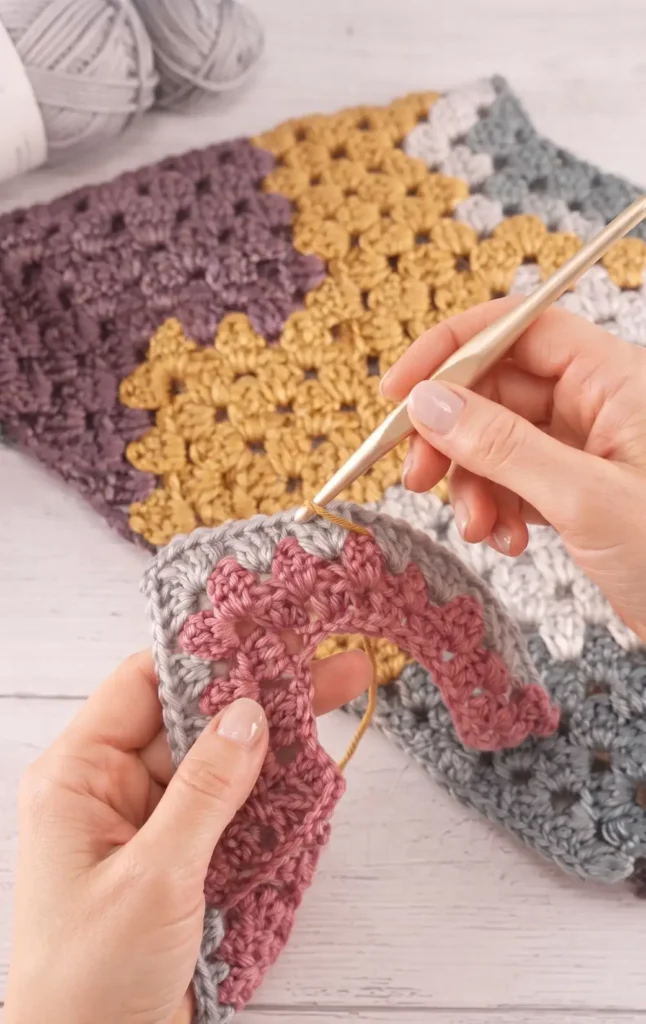
Repeat the instructions for row two for the entire length of the scarf. If you wish to follow the sample design, change your yarn colour every five rows to create even stripes. When the scarf reaches your desired length, fasten off the yarn. Use your tapestry needle to weave in all ends, carefully keeping the tails within their corresponding colour sections to ensure the reversible scarf looks polished on both sides.
Video Credits: Fiber Flux
4. Crochet Fancy Granny Scarf for Beginners
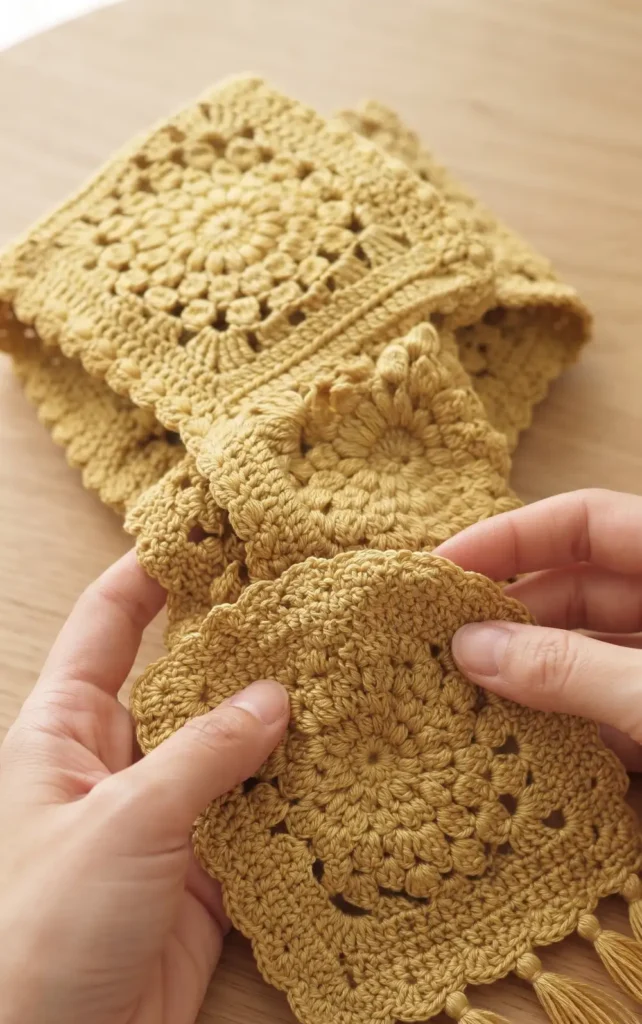
To create this elegant velvet-textured scarf, you will need the following materials:
- Yarn: Topia Crafts Soft Ease, which is a Category 3 acrylic yarn that feels like velvet.
- Quantity: Approximately 325 grams of yarn (roughly 170 meters per 100 grams).
- Hook: 4.5 mm crochet hook.
- Tools: Scissors and a measuring tape if you wish to customize the length.
Step 1: Crafting the Velvet Granny Squares
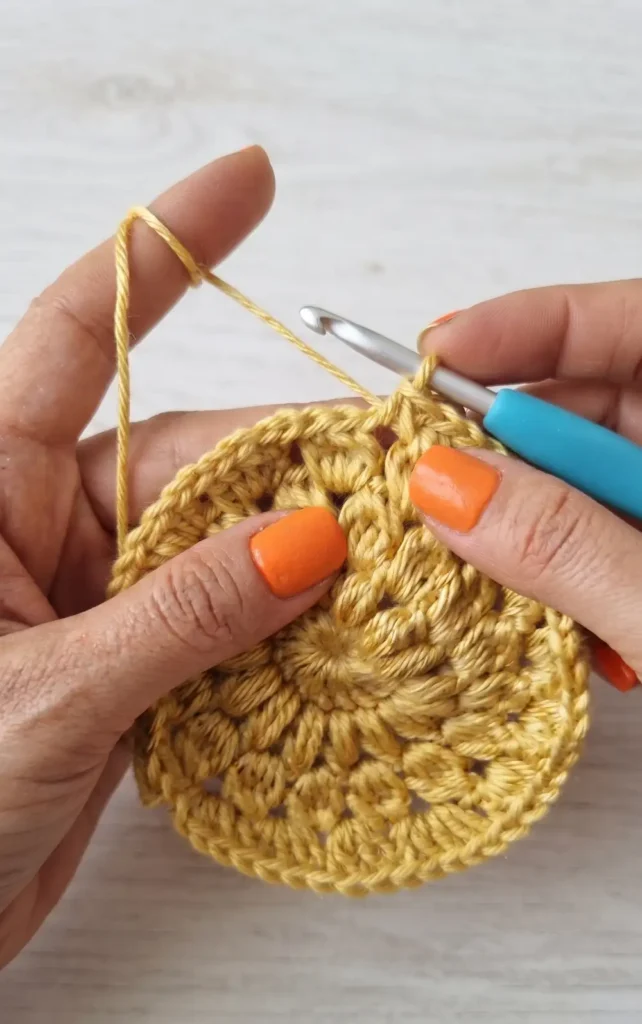
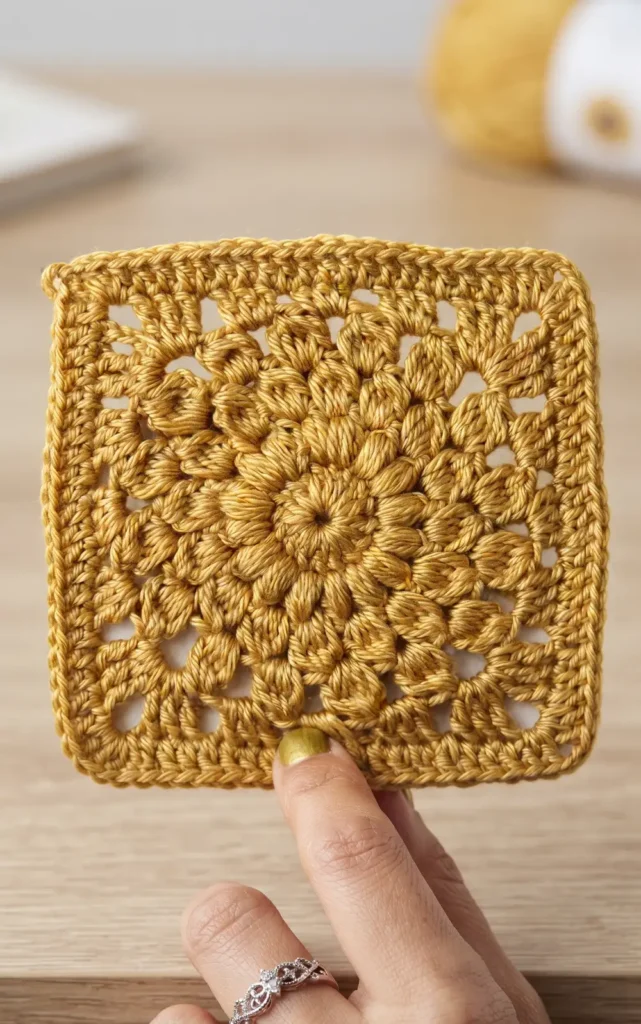
Begin by creating a foundation ring by making four chains and joining them with a slip stitch. For the first row, crochet 16 double crochets into the center of the ring. In the second row, work 16 puff stitches around, placing a chain one between each puff. The third row requires clusters of four double crochets with two chains between them, while the fourth row uses clusters of five double crochets with three chains between them. To turn the circle into a square, use treble crochets for the corners, double crochets for the middle sections, and half double crochets for the centers of the sides. Finish the square with a row of solid double crochets.
Step 2: Joining Your Squares Together
For a standard adult scarf, you should prepare and connect 10 squares. The most efficient method is to join the squares as you work the final double crochet row of each new square. Align the right sides of the squares and use a slip stitch technique to pull loops through the corresponding stitches of the completed square. This method creates a seamless and beautiful join across all 10 segments.
Step 3: Adding the Elegant Border
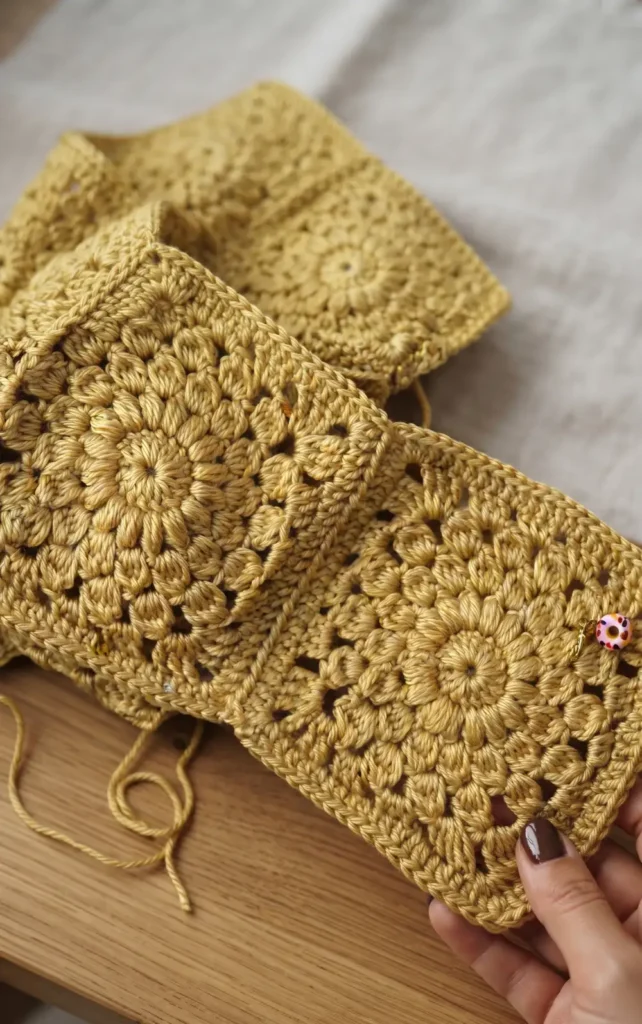
After joining the squares, add a decorative border along the two long sides of the scarf. First, work a row of double crochets along the entire edge, placing one double crochet in each stitch and at the points where squares meet. For the final fancy row, create a pattern by making four chains and a puff stitch in the corner, then skipping two stitches and placing a single crochet in the third. Repeat this sequence until you reach the end of the long side.
Step 4: Attaching Fringe and Blocking
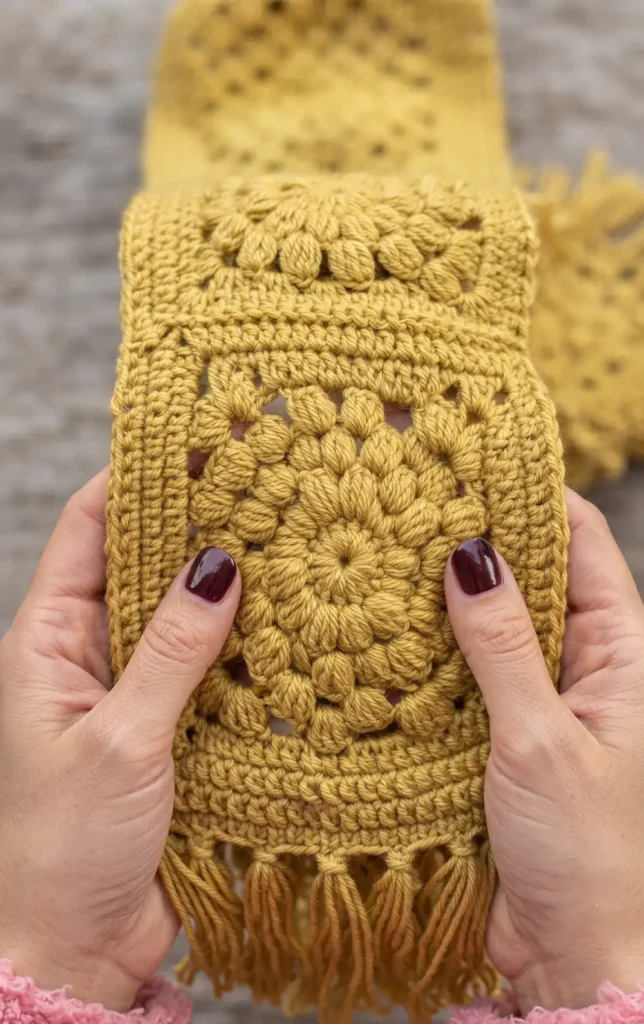
The short ends of the scarf are finished with fringe rather than the decorative border. Cut several strands of yarn to about 43 cm in length. Insert your hook from the back to the front at the edge of the scarf, pull the yarn strands through to create a loop, and then pull the ends through that loop to secure them. Once all fringe is attached, trim the ends to ensure they are even. Finally, you can use iron steam on the body of the scarf to give it a softer, more “slouchy” appearance.
Video Credits: Sirin’s Crochet
5. Crochet Easy Granny Scarf with Fringe
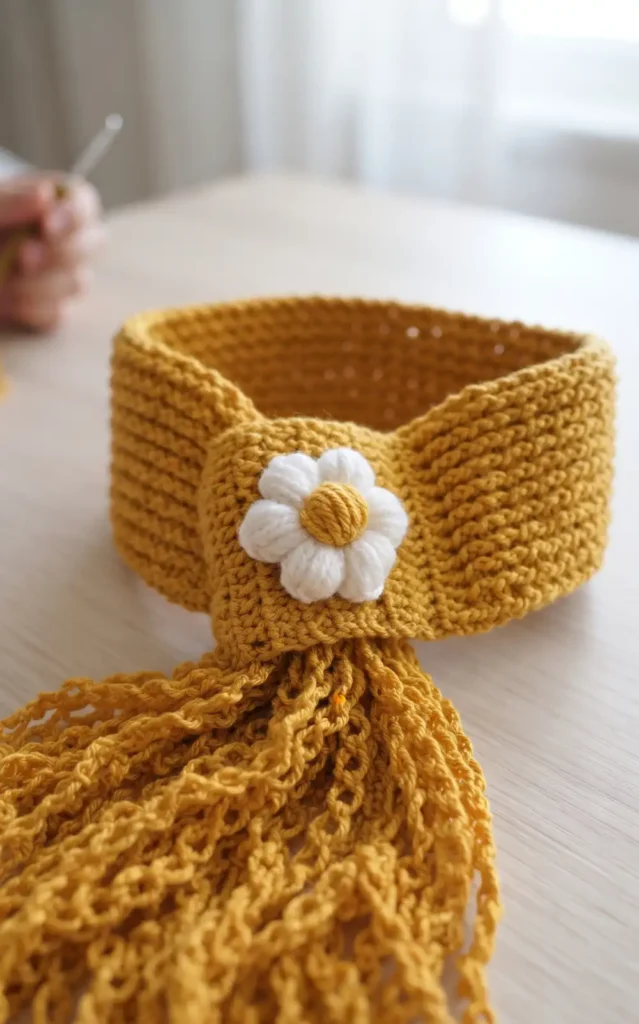
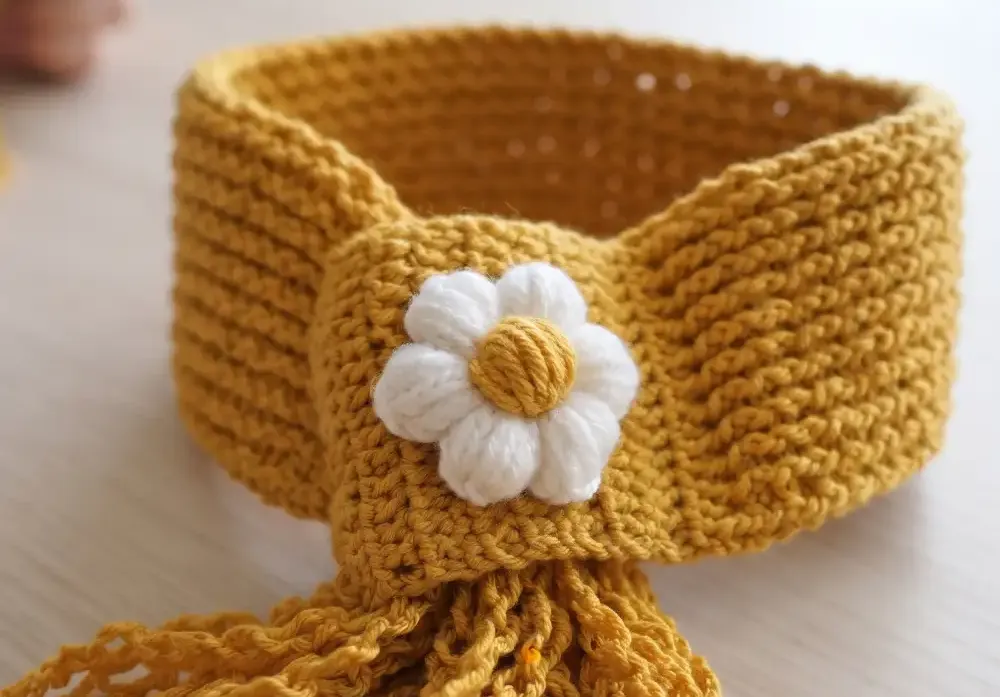
To complete this project, you will need two balls of Category 4 medium weight yarn, such as Lion Brand Vanna’s Choice. For the decorative daisy, you should use a bulky Category 5 yarn or two strands of a lighter yarn held together. The tutorial requires both a 5.5 mm hook for the base and a 6 mm hook for the main body and fringe. You may also want a stitch marker to keep track of your first and last stitches.
Step 1: Foundation and Ribbed Base
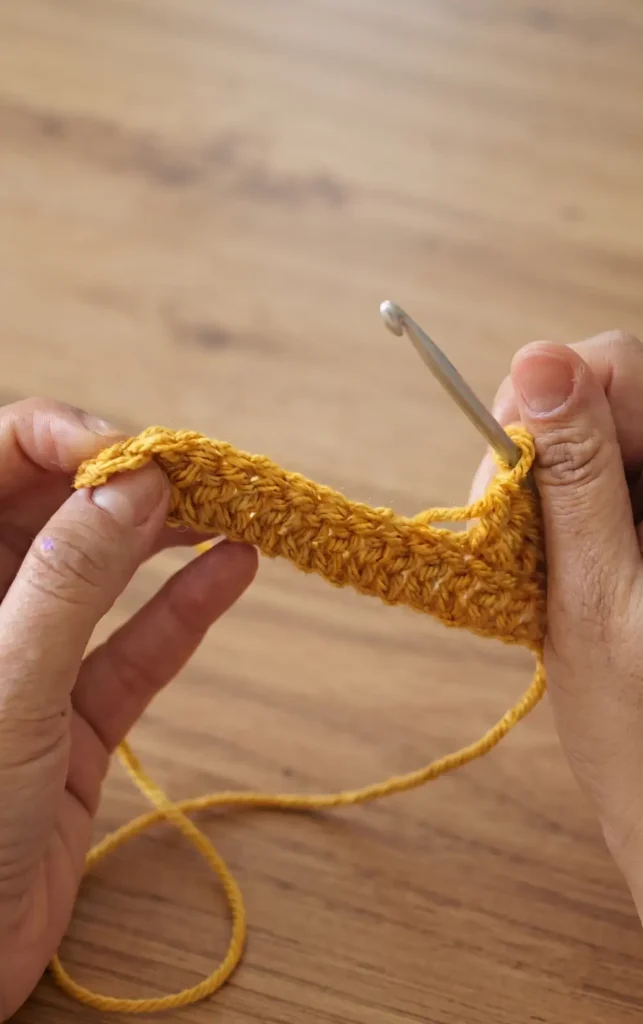
Begin by making a slip knot and 18 chains. Starting in the fourth chain from the hook, work double crochets across the row until you have 16 stitches, counting the initial three chains as one stitch. Continue working double crochets for a total of 16 rows. Once finished, fold the piece and join the two sides together by making 16 single crochets across the edge.
Step 2: Creating the Textured Scarf Body
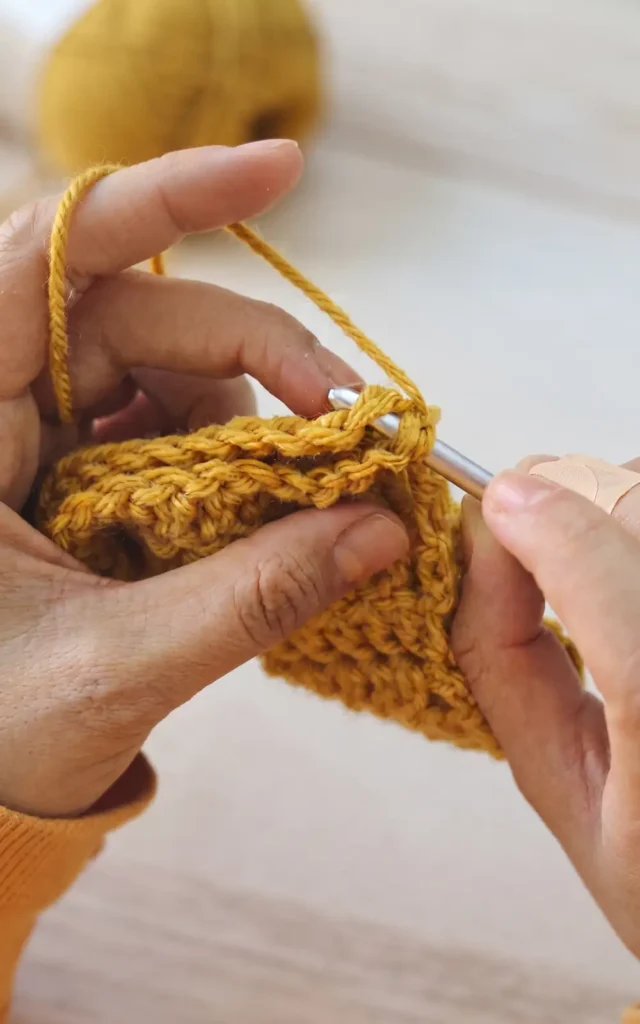
Switch to your 6 mm hook to keep the work loose and comfortable. Start with a row of double crochet increases, alternating between two stitches in one hole and one stitch in the next until you reach 24 stitches. For the following rows, use a pattern of front post and back post double crochets to create texture, starting and ending each row with a half double crochet. Repeat this pattern until the scarf measures approximately 60 centimeters or 24 inches in length.
Step 3: Adding the Solomon’s Knot Fringe
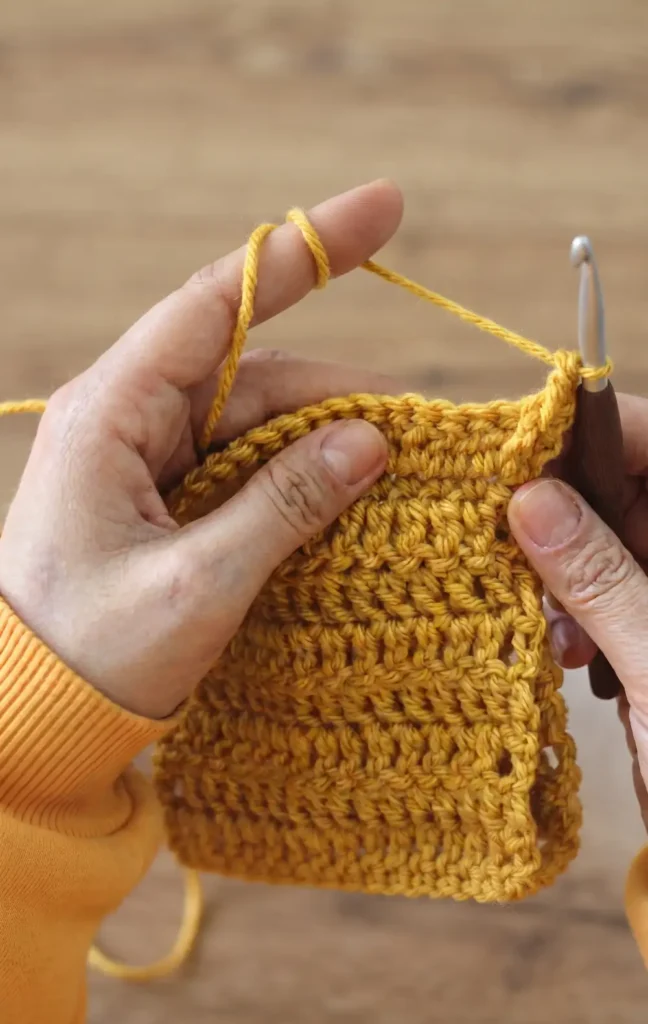
To create the unique fringe, work a row of Solomon’s knots along the bottom edge. Single crochet into the first stitch, then pull up a long loop and pull the yarn through to form the knot. Create a chain of 40 Solomon’s knots for each fringe loop, then secure it to the next stitch with a single crochet. Repeat this process across all 24 stitches until the fringe is complete.
Step 4: Final Assembly and Daisy Detail
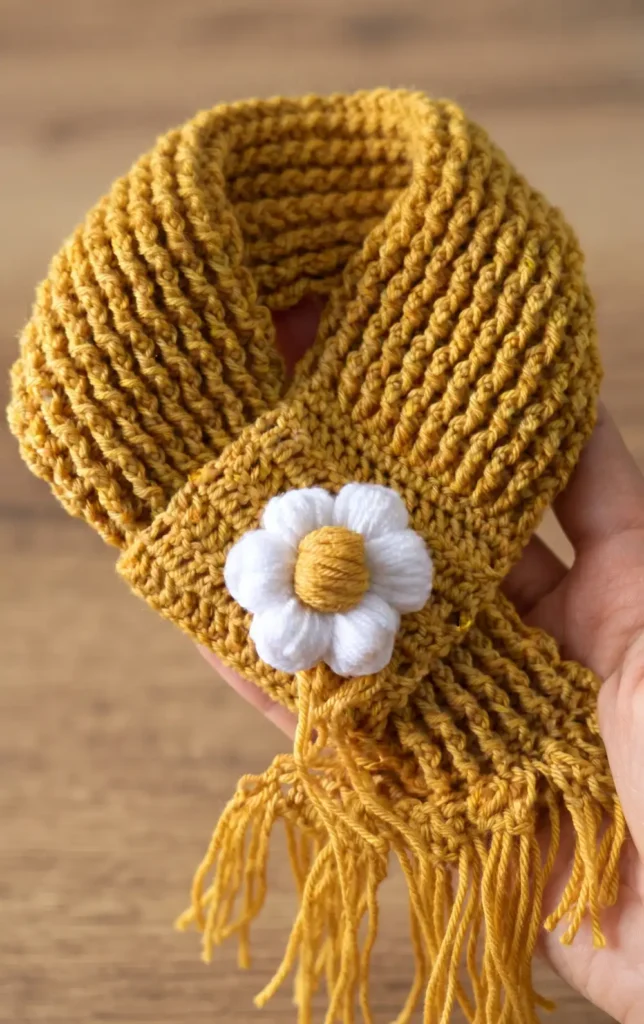
After completing the fringe, fasten off the yarn and weave in your ends to secure the work. The final touch involves attaching a crochet daisy to the ribbed base of the scarf. This daisy is made separately using bulky yarn and puff stitches to ensure it looks fluffy and stands out against the scarf body. Once the daisy is tied securely in place, your scarf is ready to wear.
Video Credits: Sirin’s Crochet
Ready for Your Next Project?
Five scarves, five different skills, one solid foundation in granny square crochet. Whether you tried the textured Side Saddle Stitch or joined your first set of velvet squares, you now have real techniques to build on. That is the beauty of this craft. Every scarf teaches you something you will use again.
Don’t stop at just one pattern. Mix colors, swap yarn weights, or add your own fringe style to make each scarf truly yours. The best way to grow as a crocheter is simply to keep hooking.