How to Make a Crochet Sheep Using a Free Amigurumi Pattern
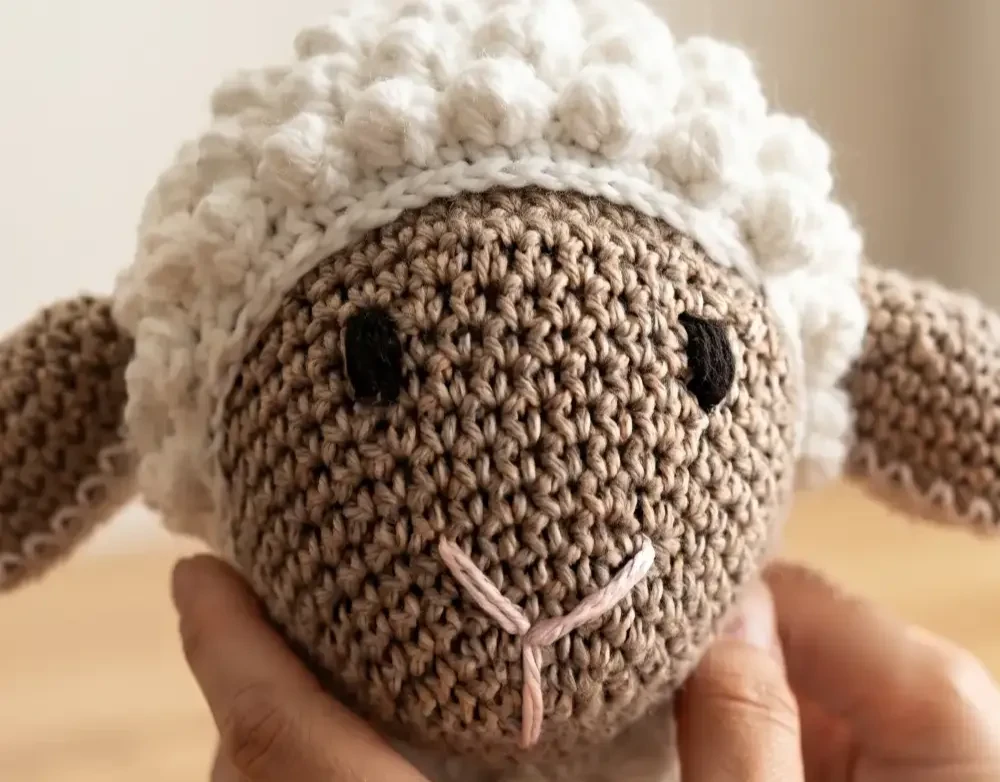
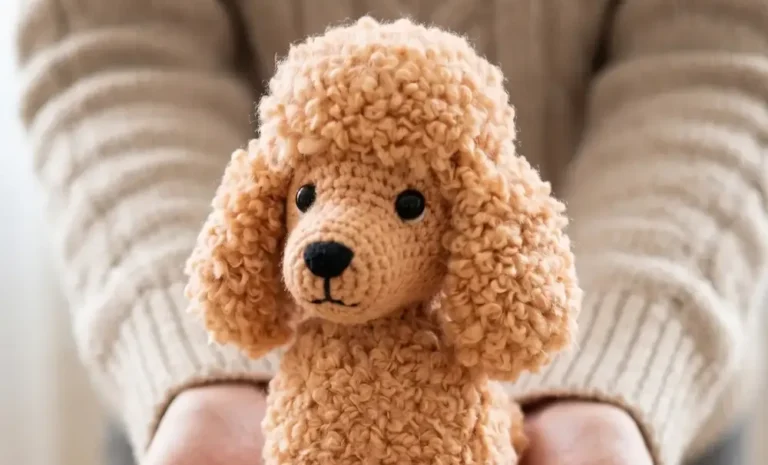
There’s something special about a sheep that never needs shearing and never runs off in the field. This amigurumi sheep is soft, sweet, and endlessly huggable. The bodoque stitch gives it that unmistakable curly wool texture, and once you learn it, you’ll want to make a whole flock.
This free pattern breaks down every stitch, from the very first magic ring to the final embroidered face. I’ve walked you through each shaping round so the proportions come out just right. Grab your hook and your favorite skin tone yarn, and let’s bring this little wool baby to life.
Amigurumi Sheep Crochet Tutorial
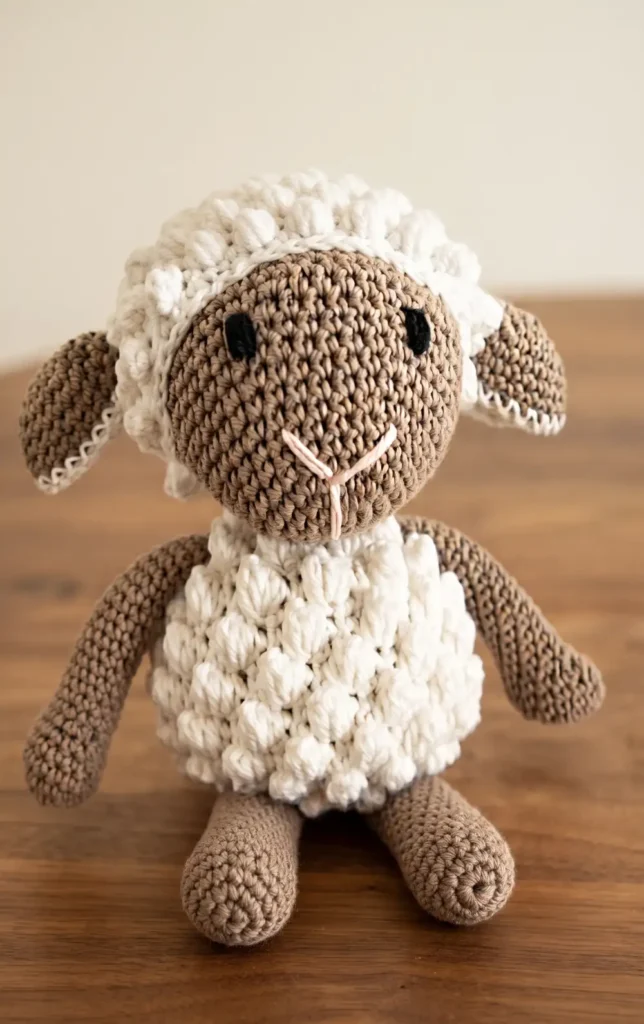
This guide walks you through creating a charming crochet sheep, from the textured “wool” cap to the delicate embroidered face. Follow these steps to bring your own amigurumi friend to life.
Essential Materials
Before beginning, gather the following supplies:
- Yarn in two main colors: a skin tone (such as toasted or light brown) and white for the wool.
- Crochet hook suitable for your yarn weight.
- Fiberfill stuffing.
- Yarn needle for sewing and finishing.
- Black thread for the hooves and facial details.
- Safety eyes (optional, as embroidery is recommended for babies).
Hey there! Some links on this page may be affiliate links which means that, if you choose to make a purchase, I may earn a small commission at no extra cost to you.
Step-by-Step Instructions
Step 1: Start the Head Base
Begin with the skin-colored yarn. Create a magic ring and work 6 single crochets into it. In the second round, perform increases in every stitch to reach a total of 12.
Step 2: Shape the Face
For round three, work 1 single crochet followed by an increase. In round four, work 2 single crochets and an increase. Maintain rounds five and six without any increases to begin forming the depth of the face.
Step 3: Continue Head Increases
Progress through round seven with 3 single crochets and an increase. In round eight, start with an increase followed by 4 single crochets. Round nine is worked even with 36 stitches.
Step 4: Expand the Head Width
Round 10 involves 1 increase and 5 single crochets (42 stitches). Work rounds 11 and 12 without increases. In round 13, work 1 increase and 6 single crochets (48 stitches). In round 14, work 1 increase and 7 single crochets to reach 54 stitches.
Step 5: Work the Head Length
From round 15 to round 19, maintain a constant count of 54 single crochets to give the head its full shape before you start the closing process.
Step 6: Decrease and Stuff the Head
Begin the decrease rounds (Round 20: 7 single crochets, 1 decrease; Round 21: 6 single crochets, 1 decrease, and so on). Before closing the final 6 decreases in round 27, firmly fill the head with fiberfill.
Step 7: Create the Head Cap
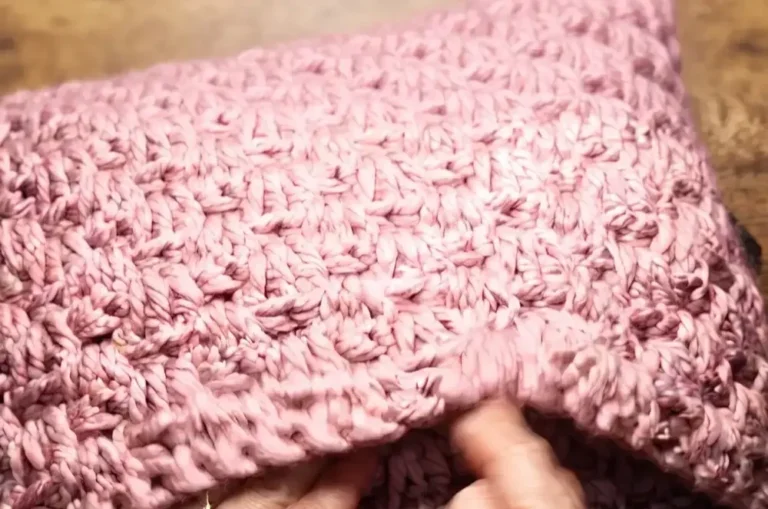
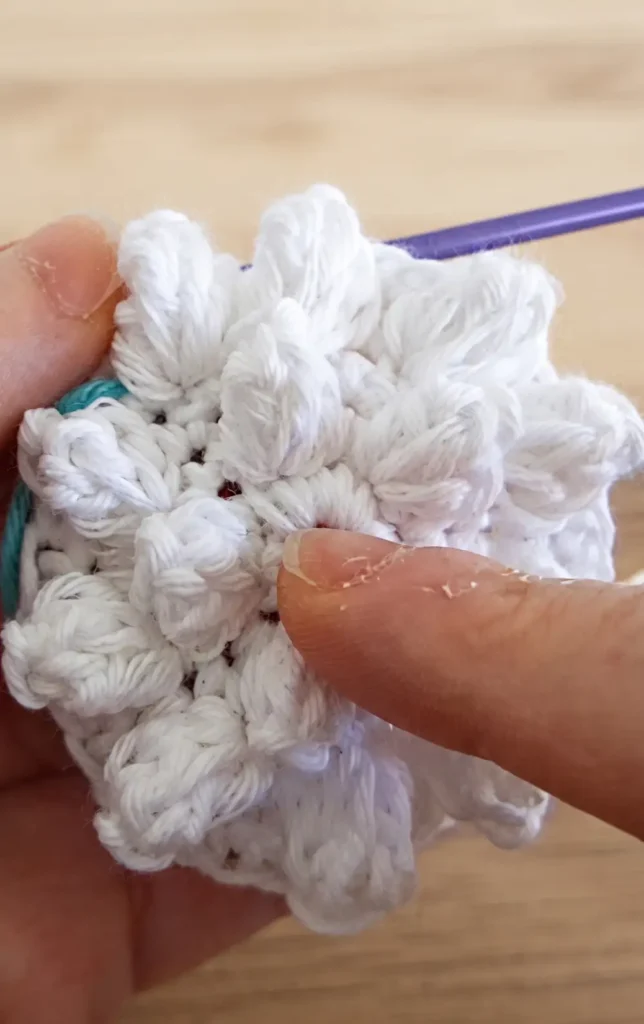
The “cap” or wooly part of the head uses white yarn. Start with a magic ring of 10 stitches. The second round introduces the textured bodoque stitch (popcorn stitch).
Step 8: Add Texture to the Cap
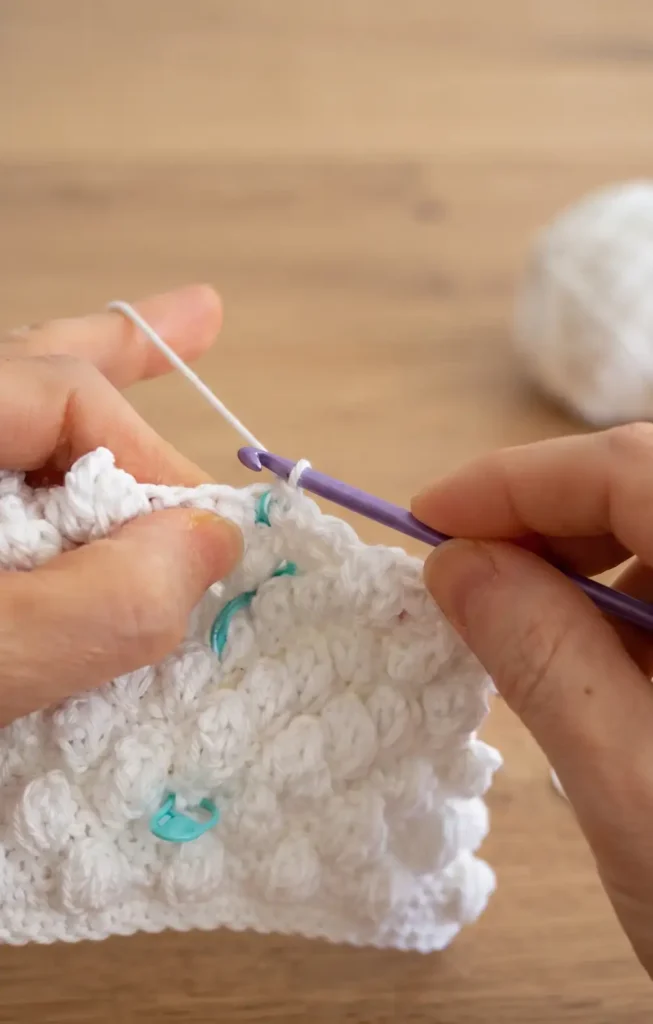
To make a bodoque stitch, work 4 double crochets into the same stitch, then pull the loop through the first double crochet to cluster them. Remember to work a single crochet in the same space as the bodoque to allow for growth.
Step 9: Complete the Cap Structure
Continue increasing until round seven, reaching 45 stitches. From round eight through 17, alternate rounds of textured bodoque stitches and plain single crochet rounds. Leave a long yarn tail for sewing the cap onto the head.
Step 10: Crochet the Body
The body follows the same pattern as the head until round 16. Starting at round 17, begin decreasing while incorporating the textured bodoque stitches every other round to maintain the wooly appearance.
Step 11: Finish the Body
Continue the decrease pattern (3 single crochets and a decrease, then 1 single crochet and a decrease) until you have 12 stitches left. Stuff the body well before using a needle to sew it closed, leaving a tail for assembly.
Step 12: Craft the Arms
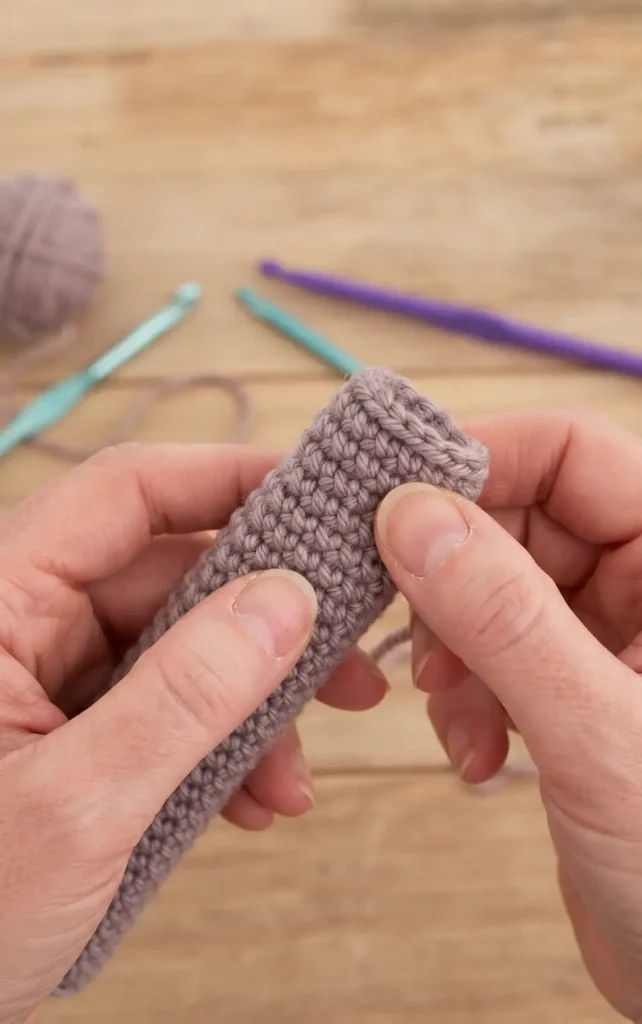
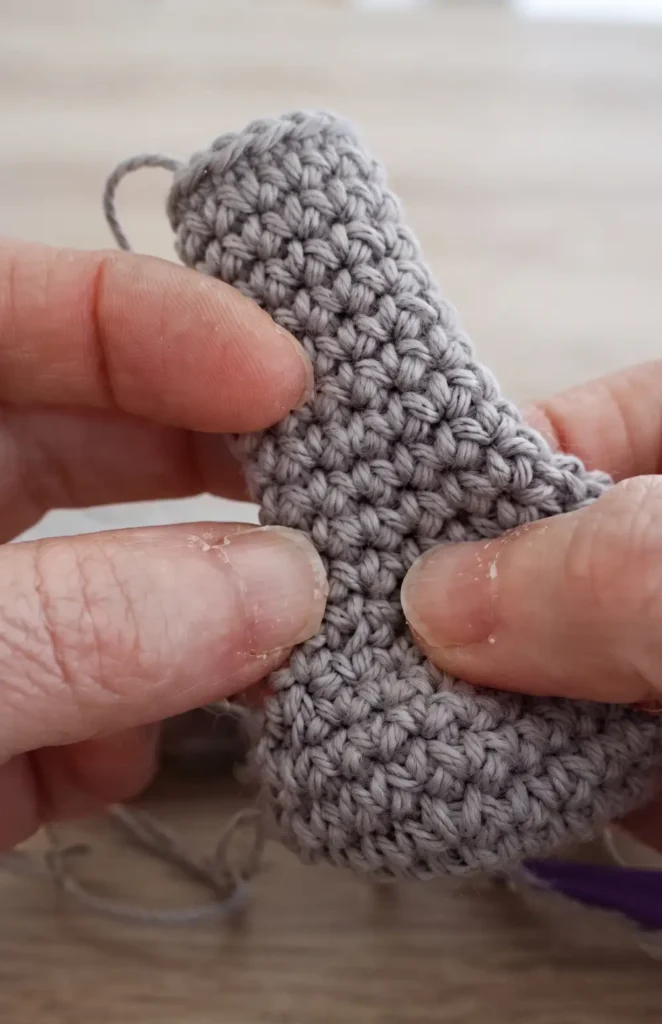
Using the toasted color, start with a magic ring of 6 and increase to 18. Work several rounds of 18 stitches, then decrease to 10 stitches for the length of the arm (rounds 8 to 24). Stuff the bottom firmly but leave the top flatter for better movement.
Step 13: Form the Legs
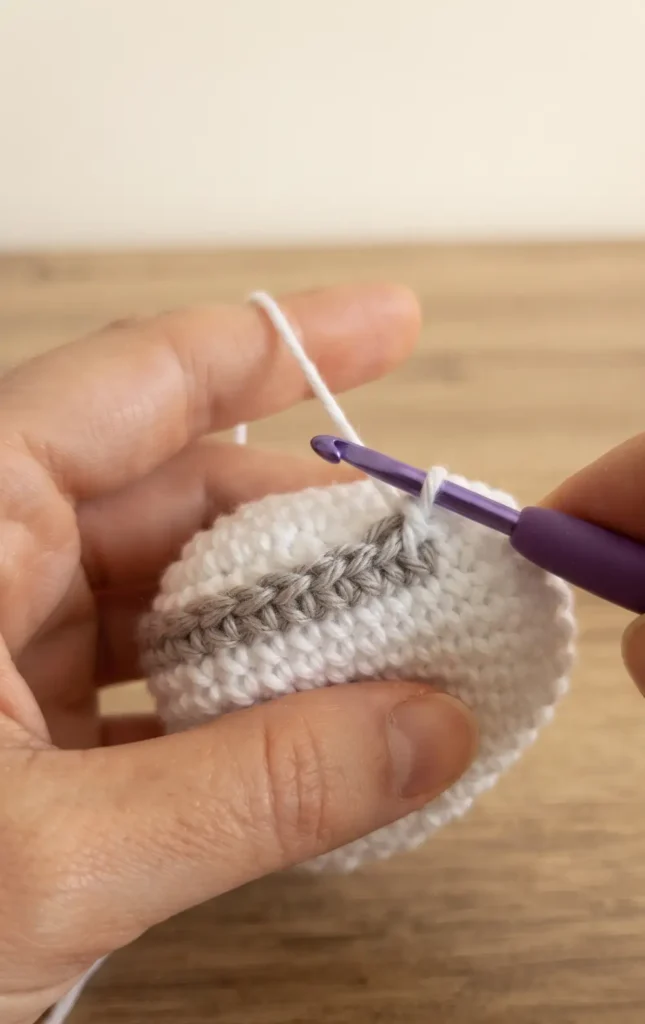
The legs are larger than the arms. Increase a magic ring up to 30 stitches by round five. After two rounds of 30, decrease down to 12 stitches by round 11. Continue with 12 stitches until round 31. Use black thread to embroider a small hoof detail at the bottom.
Step 14: Create the Tail
The tail is a small, simple addition. Work a magic ring of 6, increase to 12, and then decrease back down to create a tiny sphere. Leave a long thread for attachment.
Step 15: Make the Dual-Color Ears
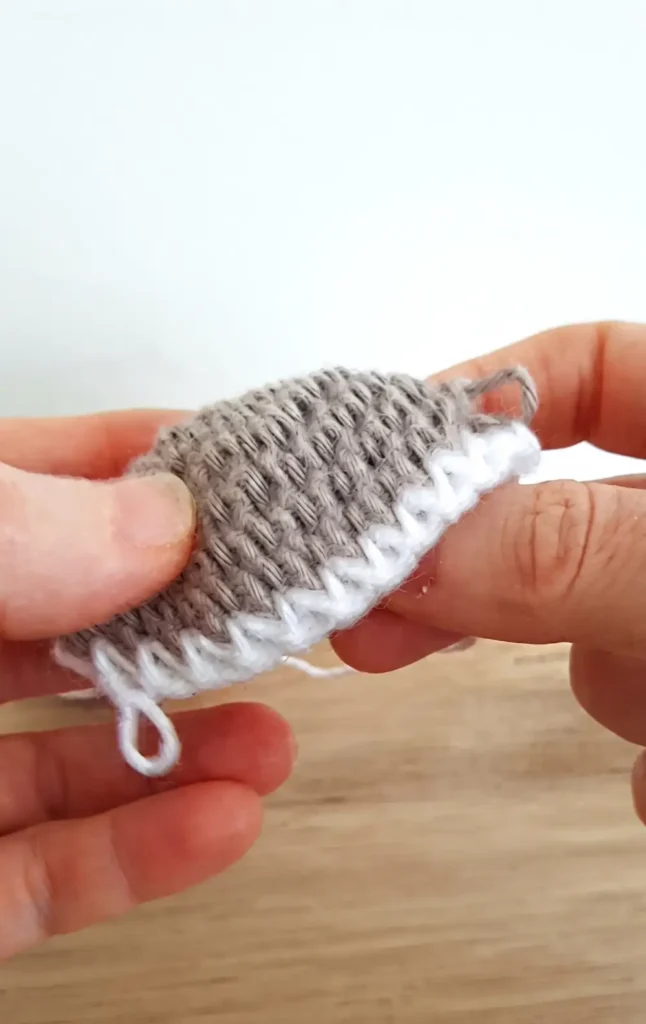
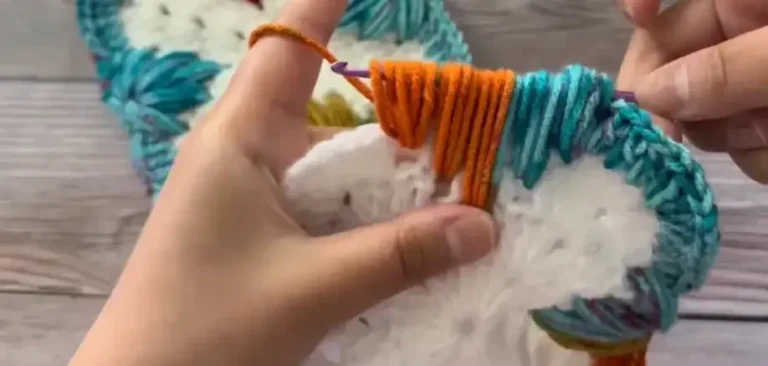
Crochet two flat circles for each ear: one in the skin color and one in white. Each should consist of 7 rounds of increases. Join the two circles by crocheting a round of single crochets through both layers at once for a clean, professional finish.
Step 16: Assemble the Pieces
Position the cap onto the head and sew it securely. Attach the head to the body. Sew the arms to the sides of the body and the legs to the bottom. Finally, fix the tail to the back of the sheep.
Step 17: Add Facial Details
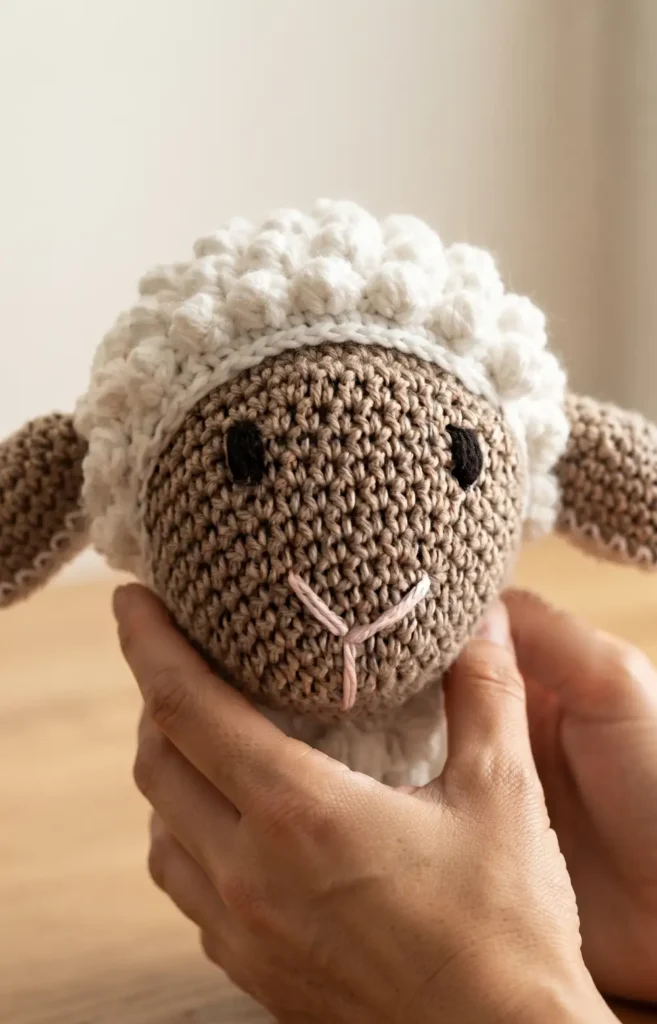
Embroider the eyes and a small mouth. If the toy is for a baby, embroidery is safer than plastic safety eyes. Ensure all threads are securely tucked inside the amigurumi to finish your project.
Video Credits: Two Loves Tejidos
Ready for More Amigurumi?
Once you’ve got the hang of the bodoque stitch, you’ll find yourself reaching for it again and again. Try switching up the yarn colors for a whole flock of sheep in different shades. Save this pattern, share your finished sheep with us, and keep those hooks moving.