4 Crochet Pumpkin Basket Patterns Free for Halloween Treats
Halloween candy deserves a container with personality. A plastic bowl gets the job done, but a hand crocheted pumpkin basket turns your porch or coffee table into a real autumn scene. These four patterns range from a ribbed lidded basket to a glow in the dark trick or treat bag, so there is a project here for every skill level and every kind of treat night.
I picked these patterns because they actually hold up under the weight of candy, not just look cute for five minutes. You will find spike stitch pumpkin walls, back loop ribbing for texture, and even reflective yarn for safer trick or treating after dark. Grab your hook and let’s get into it.
1. Crochet Pumpkin Storage Basket Pattern
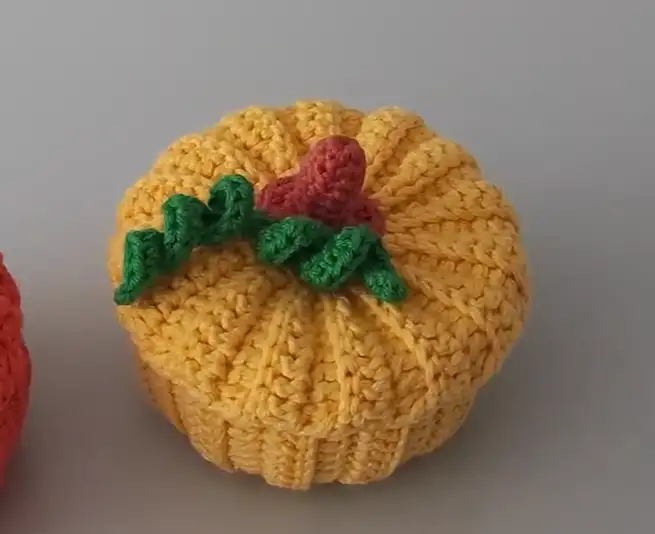
This guide details how to create a stylish and functional ribbed pumpkin basket with a matching lid, perfect for autumn home decor. The pattern is versatile and can be adjusted to any size by modifying the number of foundation chains or rows.
Essential Materials
To begin this project, you will need the following items:
- Yarn: Himalaya Himagurumi cotton yarn in yellow for the body, dark brown for the stem, and green for the leaves.
- Hook: A 2.75 mm crochet hook.
- Strands: Use two strands of yarn held together throughout the basket and lid construction to ensure the basket is sturdy and holds its shape.
- Additional Tools: A needle for sewing and a steam iron for final shaping.
Step 1: Crocheting the Basket Body
The height of your basket is determined by your foundation chain. For a standard size, make a slip knot and create a chain of 20. In the fourth chain from the hook, work 11 double crochets, followed by 3 half double crochets, 2 single crochets, and 2 slip stitches. For all subsequent rows, you must work in the back loops only to create the ribbed texture. Repeat the pattern by alternating rows of slip stitches to double crochets and vice versa until you have completed 26 rows. Finally, fold the piece in half and slip stitch the edges together to form a tube, then use a single strand of yarn to gather and close the bottom.
Step 2: Making the Ribbed Lid
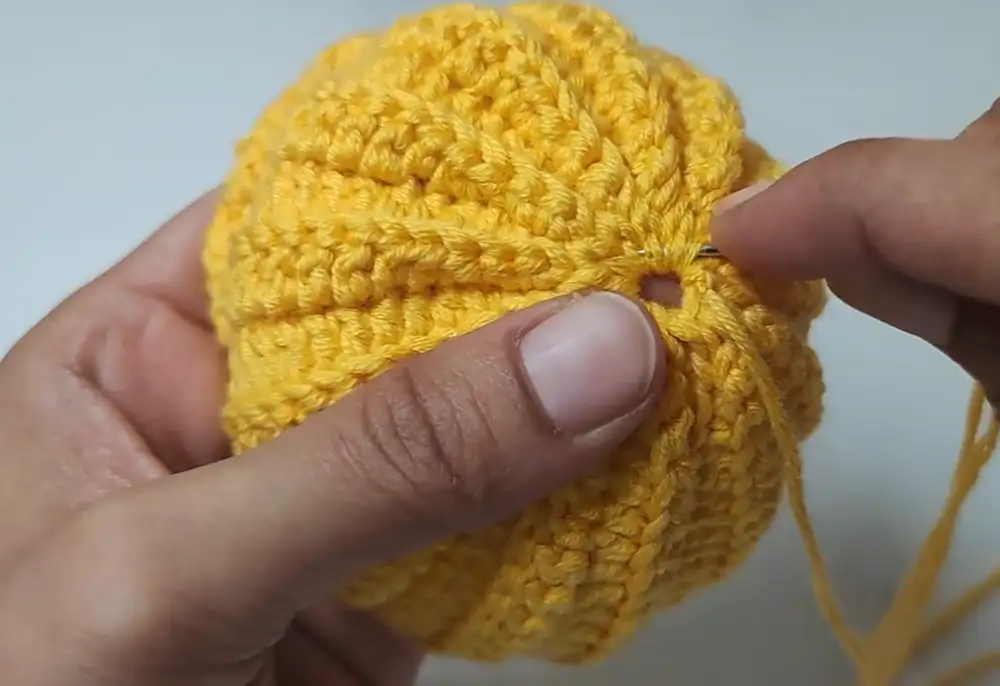
The lid follows a similar pattern to the body but with different dimensions. Start with a chain of 14. In the fourth chain from the hook, work 5 double crochets (which counts as 6 including the starting chain), 2 half double crochets, 2 single crochets, and 2 slip stitches. Continue working in the back loops only for a total of 30 rows. Once the rows are complete, join the ends as you did with the basket body. Use the gathering technique at the center of the lid where the handle will be attached to give the lid its rounded pumpkin shape.
Step 3: Crafting the Stem and Leaves
The stem is worked using dark brown yarn starting with a magic ring. Work 8 single crochets into the ring and continue for 7 rounds to create the height of the stem. On the final round, increase the stitches to 16 by working two single crochets into each stitch. Switch to green yarn to create the leaves. Chain 25 for a long leaf or 20 for a shorter one, then work back along the chain by alternating between two half double crochets in one stitch and one half double crochet in the next. Attach the leaves to the stem with a slip stitch.
Step 4: Final Assembly and Shaping
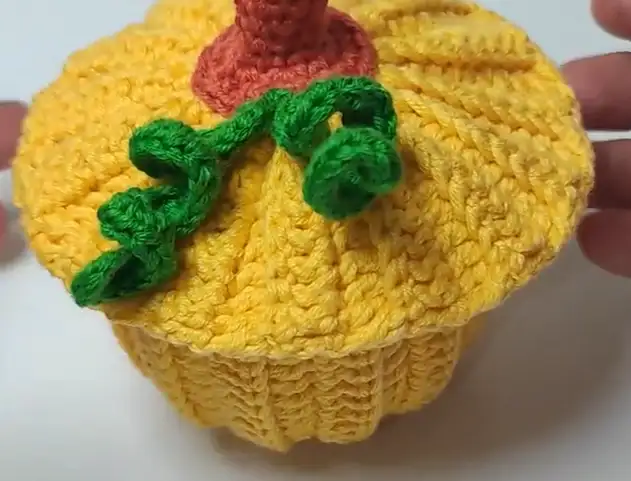
Position the completed stem and leaves symmetrically at the center point of the lid and sew them securely into place using the top loops. To give the basket its professional finish, use the steam from an iron to shape the lid. Apply steam to make the center sink slightly inwards while curling the outer edges outwards. This final touch ensures your crochet pumpkin basket is ready for use as a decorative or functional storage piece.
Video Credits: Crochet_Craftsman
2. Crochet Pumpkin Candy Basket Pattern
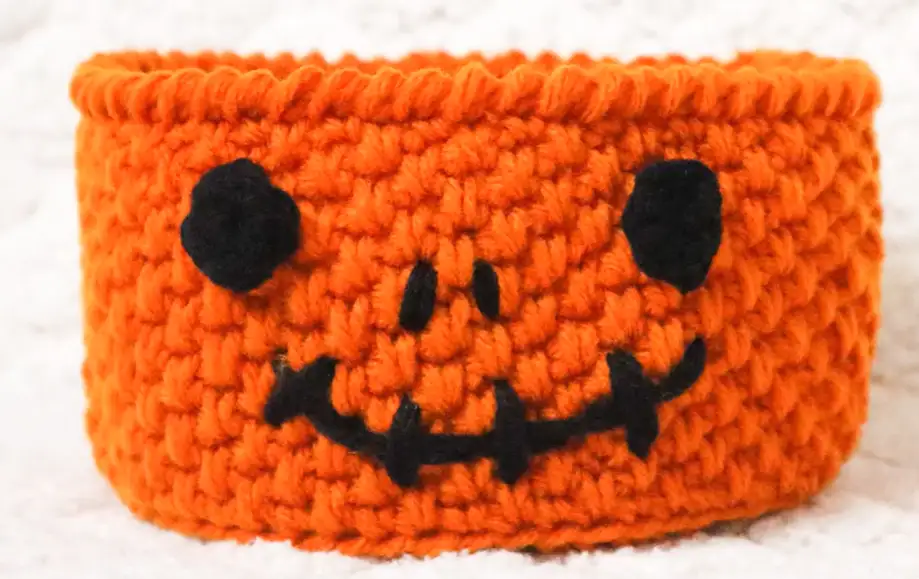
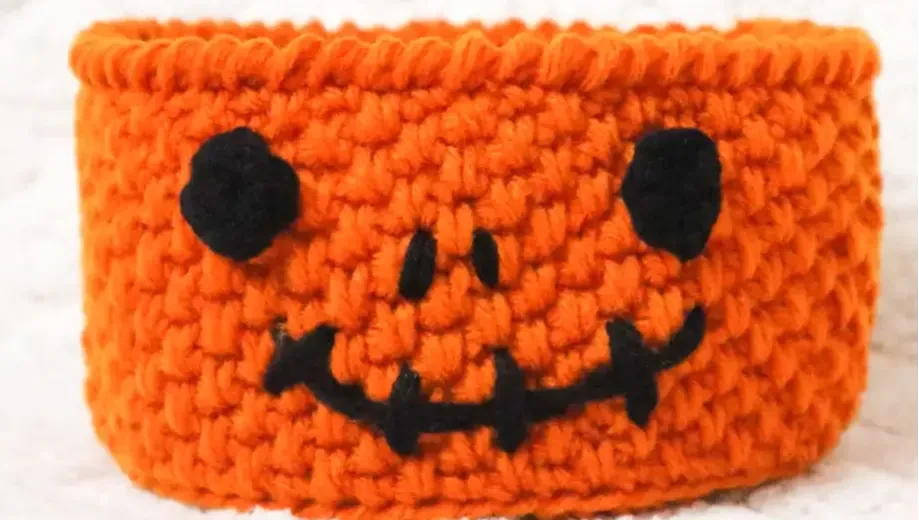
To create this festive candy holder, you will need working yarn in your choice of colors (traditionally orange for a pumpkin) and a yarn needle for assembly.
Step 1: Crochet the Circular Base
Begin your project with a magic circle and chain two. Work 12 double crochets into the circle, pull the yarn tail to close the gap, and slip stitch to the first stitch. For the second round, chain two and place two double crochets in every stitch to reach a total of 24 stitches. Continue increasing the size by following a pattern of one double crochet then one increase (two double crochets in one stitch) for the third round, then two double crochets then one increase for the fourth round. Stop increasing once you reach 60 stitches, which should result in a base measuring approximately 5 inches.
Step 2: Build the Basket Walls
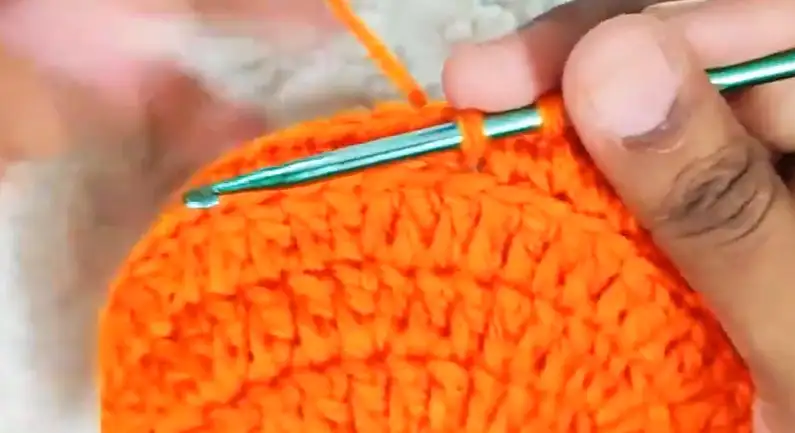
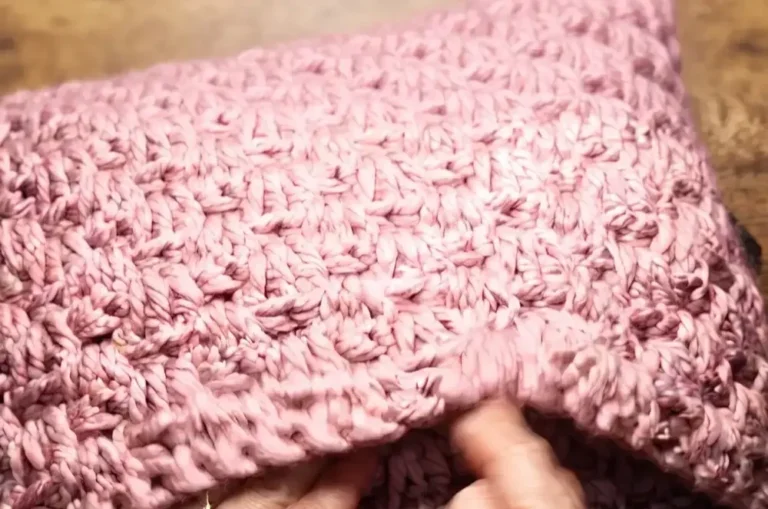
To transition from the base to the sides, chain one and work one back loop single crochet in every stitch around. For the main body of the basket, you will use a spike stitch pattern. Chain one and alternate between one long single crochet (inserted into the stitch from the previous row) and one regular single crochet. In each subsequent round, alternate these stitches so that you work a regular single crochet into the long stitch below and a long single crochet into the regular stitch below. Repeat this pattern until the basket reaches your desired height.
Step 3: Add the Decorative Edging
Once the body of the basket is complete, finish the top rim with a reverse single crochet. Chain one and work the stitch into the previous stitch instead of the next one to create a textured border. After completing the round, slip stitch into the first stitch of the row and weave off your yarn to secure the top of the basket.
Step 4: Create and Attach the Eyes
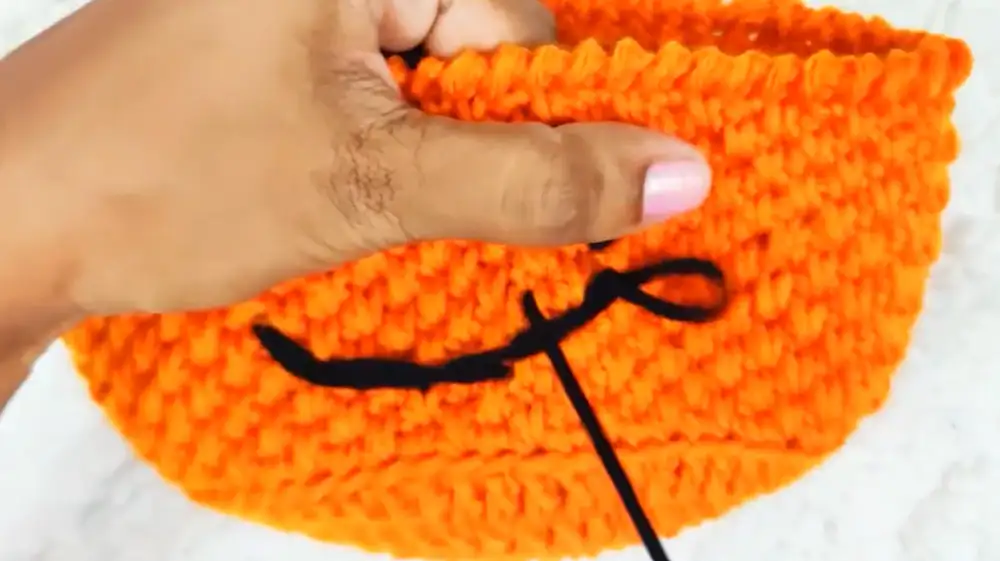
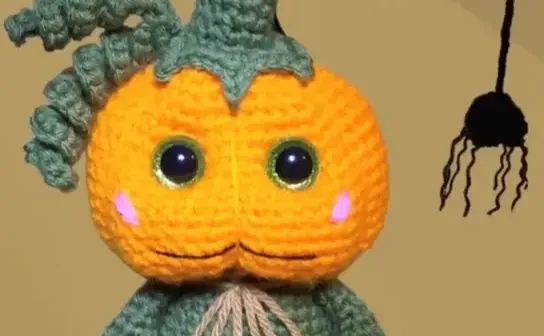
To give your basket its pumpkin face, make two eyes starting with a magic circle and a chain one. Work six single crochets into the circle, pull it closed, and slip stitch to the first single crochet before weaving off the yarn. Repeat this process for the second eye. Finally, use a yarn needle to sew both eyes onto the side of the basket to complete your handmade pumpkin design.
Video Credits: Raji’s Craft Hobby
3. Crochet Pumpkin Treat Bag Pattern
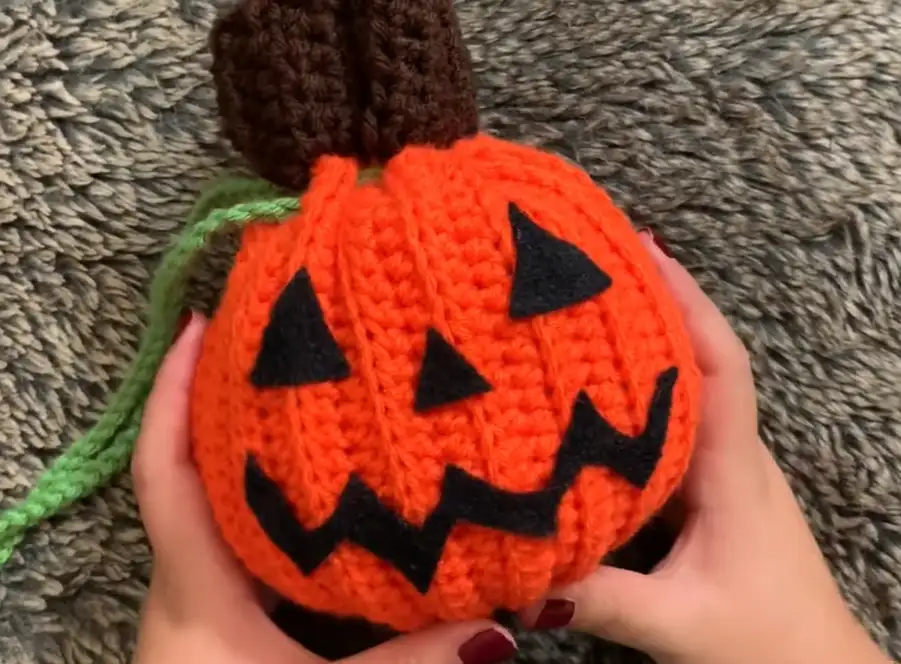
This beginner friendly project allows you to create a festive pumpkin bag using basic stitches and simple assembly techniques. To get started, you will need a 5mm crochet hook, weight 4 yarn in orange, brown, and green, black felt, scissors, a threading needle, a hot glue gun, and a small amount of stuffing for shaping during assembly.
Step 1: Crafting the Orange Pumpkin Body
Begin with your orange yarn by creating a slip knot and a chain of 31. You will work in half double crochet (HDC) throughout the body. For the first row, skip the first chain and HDC into the second chain from the hook, continuing until the end for a total of 30 stitches. For every subsequent row, chain two and turn your work, then HDC into the back loops only (BLO) of the second stitch and across. This technique creates a ribbed texture for the pumpkin. Continue repeating this pattern until you reach row 40 or your desired width. Do not cut the yarn once the orange section is complete.
Step 2: Creating the Brown Stem
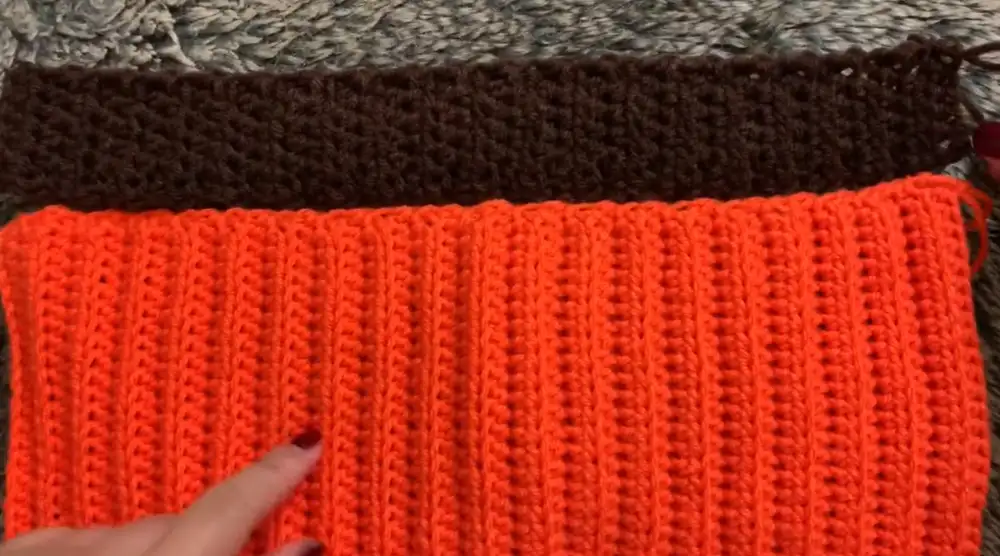
Switch to brown yarn to create the stem. Start with a slip knot and a chain of seven. Similar to the body, HDC into the second chain from the hook and across for the first row. For the next rows, chain two, turn, and HDC into the entire stitch instead of the back loops. Continue these rows until the length of the brown piece matches the top width of your orange piece. Once they match, chain one and slip stitch the brown piece closed along the side, leaving a long tail for sewing later.
Step 3: Assembling the Bag Structure
Return to your orange piece to close the main bag. Chain one, fold the piece in half, and slip stitch the side closed. After finishing the side seam, turn the project inside out. Use a threading needle and the orange yarn tail to weave in and out of the stitches at the bottom. Pull the yarn to cinch the bottom closed and secure it with a knot to ensure no candy falls out. Finally, use the long brown tail to sew the stem piece onto the top opening of the orange pumpkin body, matching the seams for a clean look.
Step 4: Adding the Tie and Spooky Face
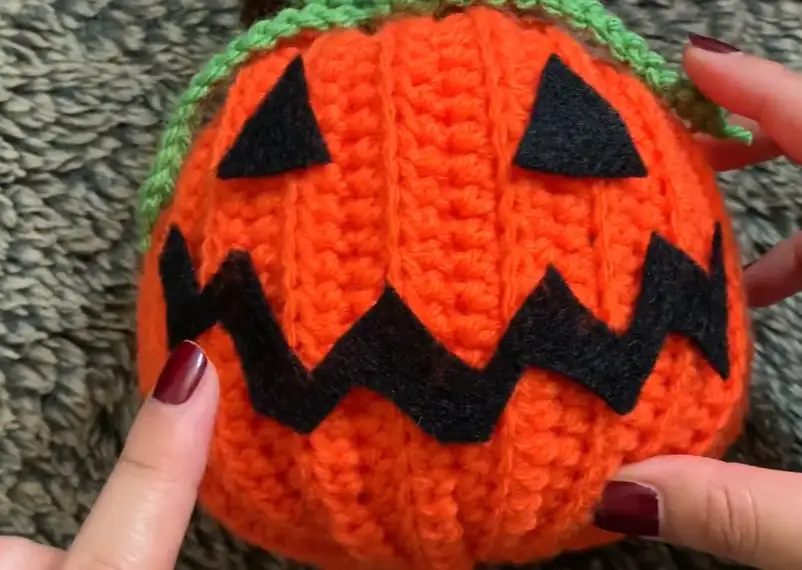
To create the drawstring, use green yarn to crochet a chain of approximately 80 to 90. Use your threading needle to weave this green tie in and out of the stitches where the orange body meets the brown stem, then tie it into a bow. For the face, cut triangles for eyes and a nose and a zigzag shape for a mouth from black felt. Briefly place stuffing inside the bag to make it round, then use a hot glue gun to attach the felt pieces. Once the glue is dry, remove the stuffing and fill your new bag with treats.
Video Credits: Jacqueline’s Life
4. Dark Pumpkin Crochet Pattern
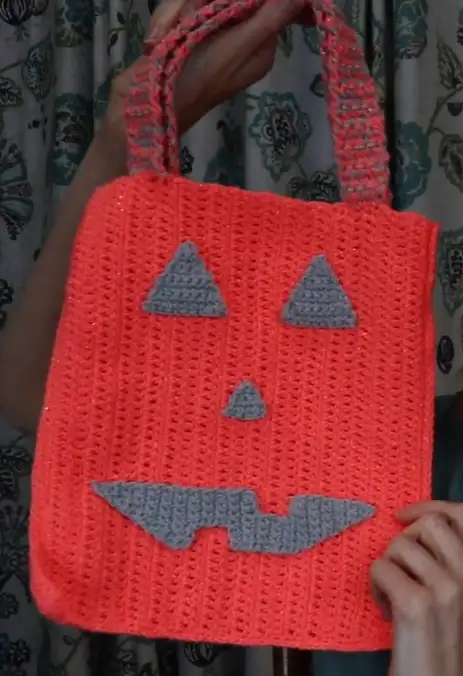
This tutorial guides you through creating a unique pumpkin-themed trick-or-treat bag that features glow-in-the-dark yarn for the body and reflective yarn for the face. This project is designed to be functional for Halloween while providing a fun, textured look.
Required Materials
To complete this project, you will need the following items:
- Two 50g skeins of glow-in-the-dark orange yarn.
- One 50g skein of reflective gray yarn.
- A 3.25 mm crochet hook for the main body and face appliques.
- A 4.25 mm crochet hook for the handles.
- A tapestry needle for sewing the face and weaving in ends.
- A notebook or piece of cardboard to assist with assembly.
Step 1: Crochet the Main Orange Panels
The body of the bag consists of two identical panels worked in a repeating pattern. You begin by making a foundation chain of 51 stitches or 50 foundationless single crochets. For the first row, work 50 single crochets across the chain. The subsequent rows follow a specific texture: rows two through four consist of 50 double crochets each, while row five is a single row of 50 single crochets.
You must repeat this four-row sequence (three rows of double crochet and one row of single crochet) a total of seven times. This creates a subtle vertical ribbing effect similar to the natural texture of a pumpkin. Once you have completed all 29 rows, fasten off and create a second panel exactly like the first.
Step 2: Create the Reflective Face Appliques
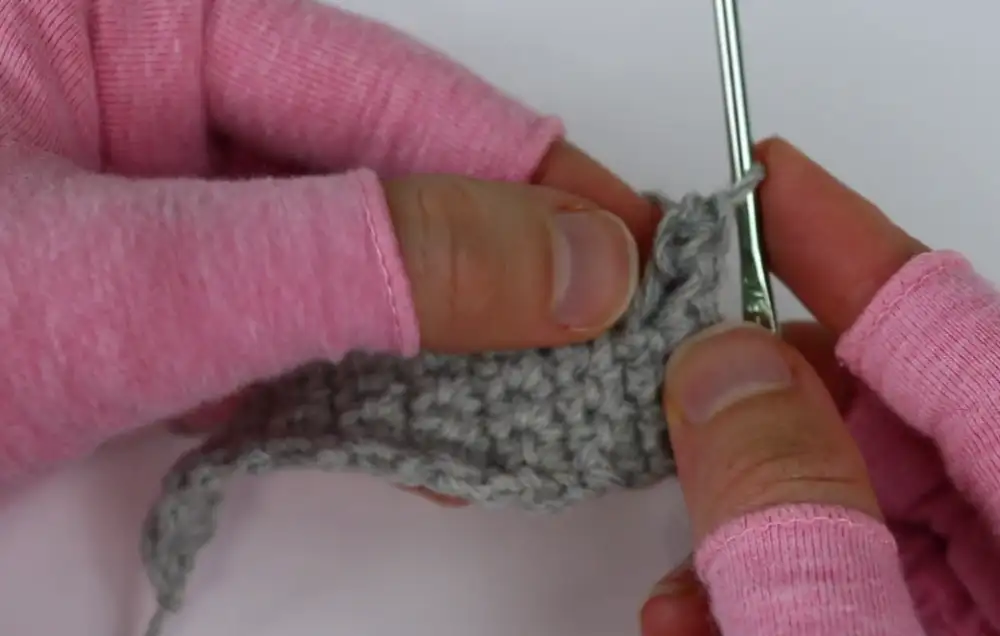
The face is made of separate pieces: a mouth, a nose, and two eyes.
- The Eyes and Nose: These are worked as triangles using the gray reflective yarn. You start with a chain of two and work one single crochet into the first chain. For each following row, increase by one stitch at the end of the row to create the triangle shape. For the nose, stop after row five when you have five stitches. For the eyes, continue until row ten, finishing with ten stitches.
- The Mouth: This is the most detailed piece. You start with a small base and increase on one side until you reach seven stitches. To create the “teeth,” you will work shorter rows and then use foundation single crochets to bridge the gaps and return to a seven-stitch width. Finally, decrease back down to a single point to finish the smile.
Step 3: Assemble the Bag and Attach the Face
To join the panels, place them together with the right sides facing out. Using the orange yarn and the 3.25 mm hook, single crochet around the two sides and the bottom edge, leaving the top open. Work three single crochets into the corner stitches to ensure the bag keeps its shape as you move around the corners.
Before adding the handles, sew the face appliques onto the front panel. To make this easier and prevent sewing through both layers of the bag, insert a notebook or cardboard between the panels. Use the long yarn tails from your appliques and a tapestry needle to stitch the eyes, nose, and mouth in place using a simple up-and-down motion.
Step 4: Craft and Attach the Handles
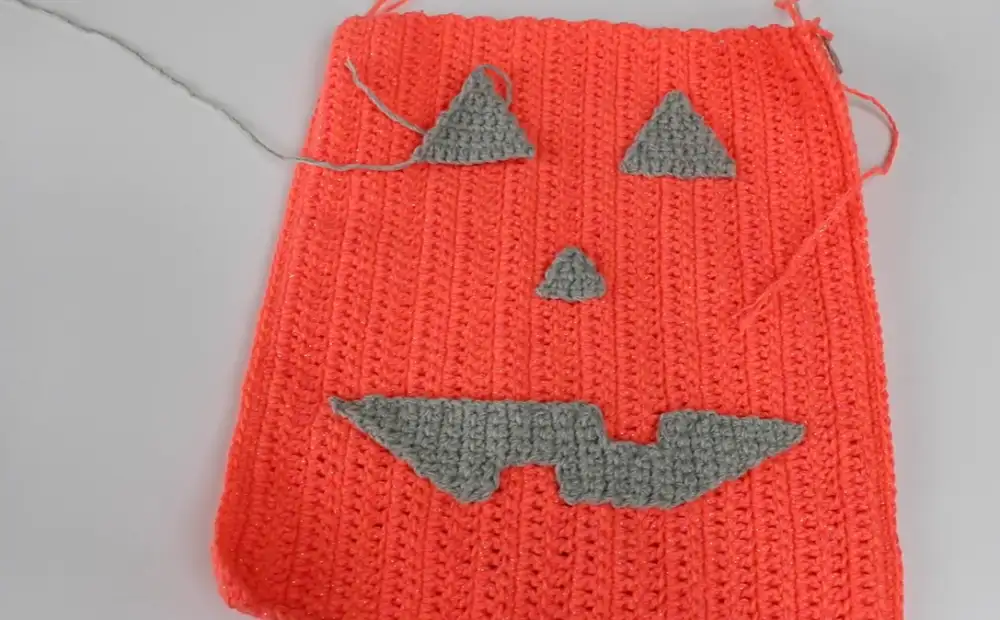
For the handles, you will double up your yarn, holding both the orange glow-in-the-dark and gray reflective strands together. Switch to the 4.25 mm hook for this section. Attach the yarn to the top of the bag, approximately three rows in from the side.
Work four or five single crochets across to set the width of your strap, then continue working rows of single crochet back and forth until the handle reaches your desired length. Once the strap is long enough, use a whip stitch to secure the loose end to the opposite side of the bag, ensuring it is lined up evenly with the first side. Repeat this process for a second handle on the other side of the bag, then weave in all remaining ends to finish.
Video Credits: Crafters Autonomous
Which Crochet Basket Is Your Favorite?
Four patterns, four totally different vibes, and all of them beat a store bought bowl. Whether you want the polished ribbed basket with its own lid, a classic candy holder with googly eyes, a no fuss treat bag, or a glow in the dark version for trick or treating after sunset, there is a pumpkin here worth making.
Pick the one that matches your skill level and yarn stash, then get hooking before Halloween sneaks up on you. And once you finish, I would love to see which pumpkin basket became your favorite this season.