24 Crochet Bucket Hat Ideas You’ll Want to Make This Season
Crochet bucket hats are having a serious moment right now, and honestly it’s easy to see why. They’re fun to make, practical to wear, and you can customize them in so many ways.
Whether you want something cute and colorful or simple and neutral, there’s a crochet bucket hat style for every taste. The best part is that most of them are surprisingly beginner-friendly once you understand the basic construction.
This roundup covers 25 ideas to inspire your next project, from classic granny squares to trendy Y2K styles.
The Basics of Crocheting a Bucket Hat
A crochet bucket hat is worked in the round, starting from the top of the crown and working down toward the brim. The shape comes from strategic increases and flat sections that create the signature bucket silhouette.
Most patterns use single crochet, half double crochet, or a combination of both. The brim is usually worked separately or added as a final round with extra increases to make it flip outward.
You don’t need much yarn for a bucket hat. One to two skeins of worsted weight yarn is usually plenty for an adult size.
The standard hook size for a worsted weight bucket hat is around 4mm to 5mm. Go tighter than the yarn label suggests to get a firm, structured fabric that holds its shape.
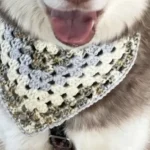
1. Classic Granny Square Bucket Hat
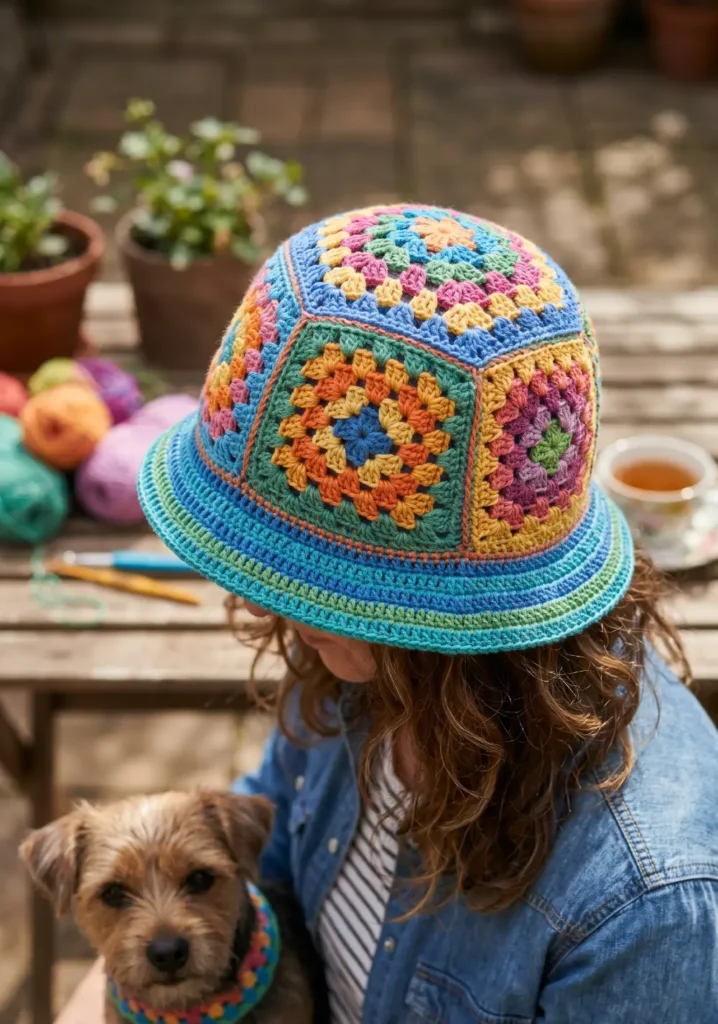
Granny square bucket hats are absolutely everywhere right now, and they look amazing. The colorful patches give the hat a retro, handmade feel that you just can’t get from store-bought accessories.
Make several granny squares in coordinating colors and join them together to form the sides and crown of the hat. Then add a wide brim using a simple single crochet edging worked in rounds.
You can use as many or as few colors as you like. A two-color granny square looks clean and modern, while a scrappy rainbow version feels more vintage and eclectic.
Use cotton yarn for this one. It gives a crisp stitch definition that really makes the granny square pattern pop.
2. Easy Beginner Crochet Bucket Hat
If you’re new to hats, this is the place to start. A simple beginner bucket hat uses nothing more than single crochet worked in continuous rounds from the top down.
Start with a magic ring and work 6 single crochets into it. Increase each round until your crown reaches the right diameter, then work straight for a few inches to form the sides. Finish with a flat brim section that flares outward.
The key measurements to know are crown diameter (around 7 to 8 inches for an adult), side depth (about 3 to 4 inches), and brim width (roughly 2 inches).
Use a stitch marker and don’t rush the increasing section. Getting the crown flat and even is what makes or breaks the finished shape.
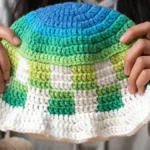
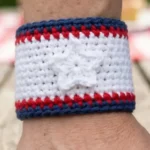
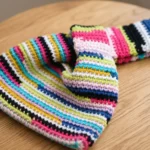
3. Colorful Stripe Bucket Hat Design
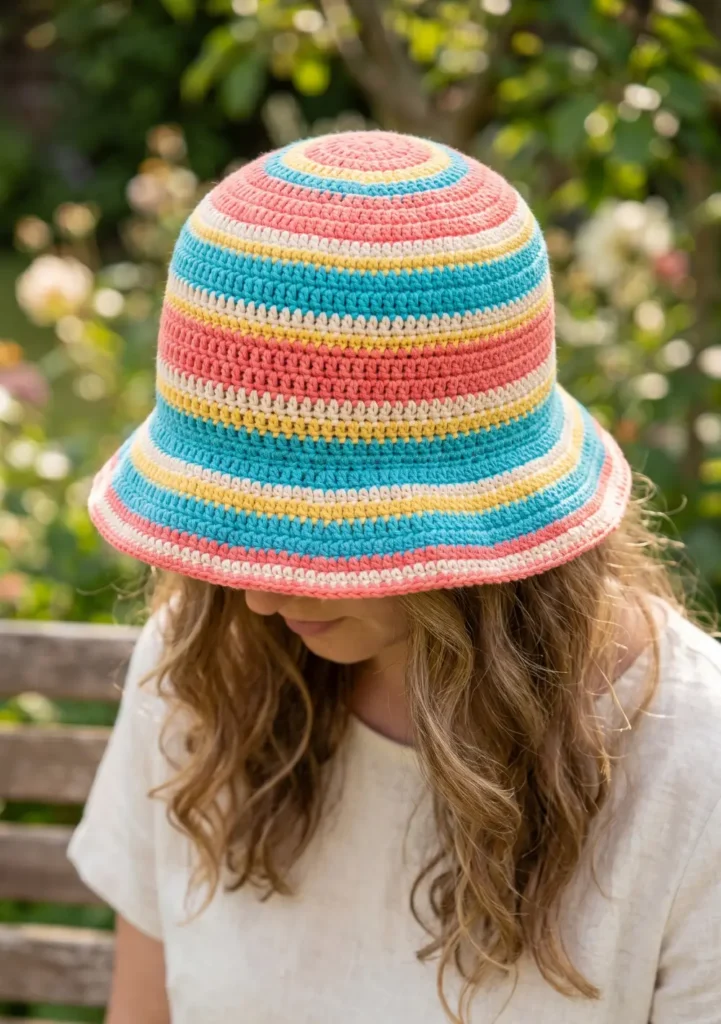
Stripes are one of the easiest ways to make a crochet bucket hat look intentional and put-together. You don’t need a complex pattern, just swap colors every few rounds.
Two-color stripes look sleek and modern. Three or more colors feel playful and summery. You can do equal-width stripes or mix thin and thick bands for a more dynamic look.
To keep color changes clean, always switch yarn at the end of a round rather than mid-row. This keeps your color lines straight and crisp.
Carry the unused yarn loosely up the inside of the hat rather than cutting and rejoining every time. It saves yarn and keeps the inside tidy.
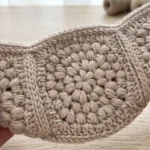
4. Daisy Flower Crochet Hat Pattern
A daisy stitch bucket hat is one of those projects that looks way more complicated than it actually is. The daisy or flower stitch creates a textured, almost dimensional surface that’s really beautiful.
The flower clusters are formed by pulling up loops and working them together in a petal formation. Once you get the rhythm of it, it moves quickly.
Work the flower stitch section on the sides and crown, then finish with a simple single crochet brim to frame the design without competing with it.
White flowers on a green background is a classic combination. Yellow daisies on cream or ecru is another beautiful option that feels very cottagecore.
5. Boho-Inspired Crochet Bucket Hat
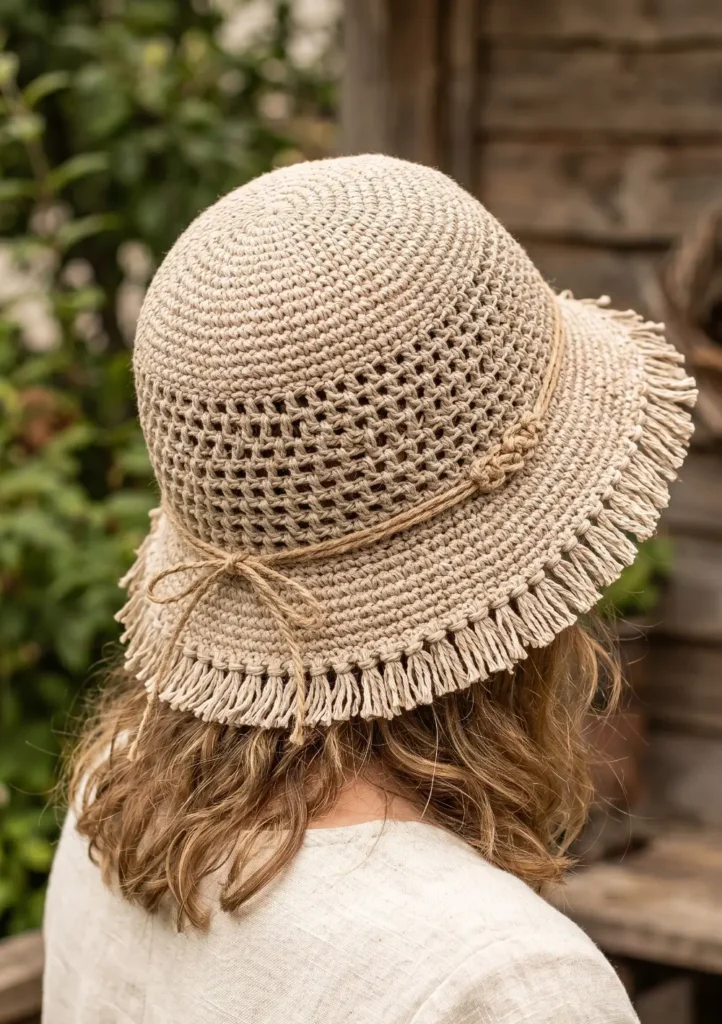
Boho bucket hats lean into texture and earthiness. Think fringe, natural fibers, open mesh stitches, and warm neutral tones.
Use a jute, raffia, or cotton-linen blend yarn for the most authentic boho look. These materials have a natural stiffness that gives the brim great structure.
Add a fringe trim around the brim by cutting yarn into equal lengths, folding them in half, and pulling them through with a latch hook. Trim the fringe evenly once you’re happy with the fullness.
You can also add macrame-style knot details or weave a ribbon through an open stitch section for extra texture.
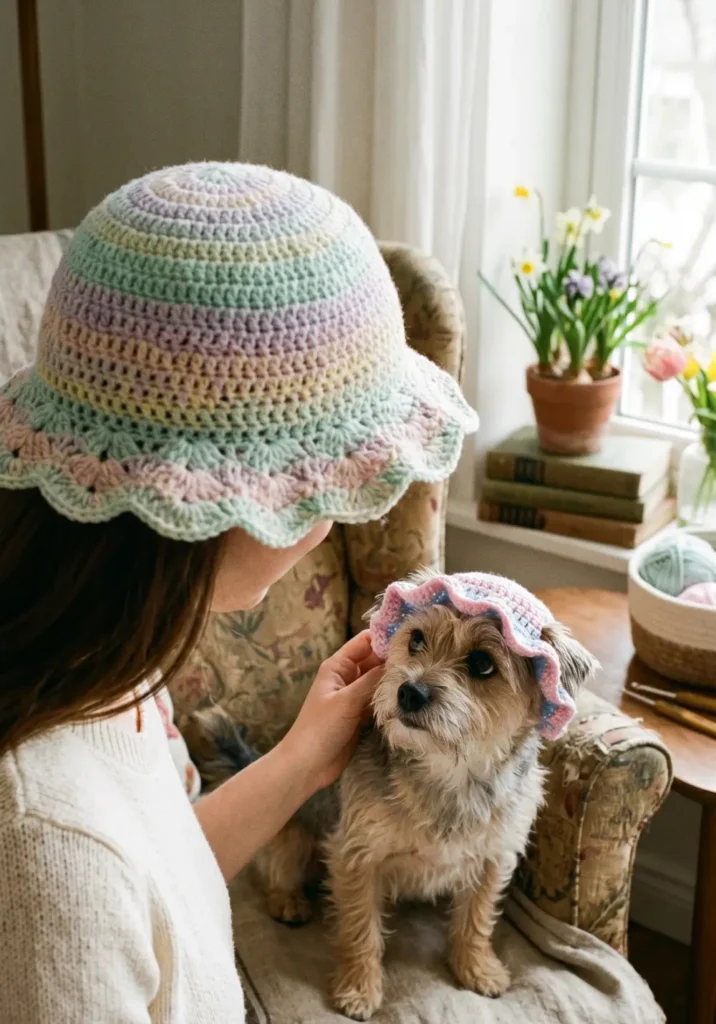
6. Pastel Aesthetic Bucket Hat Idea
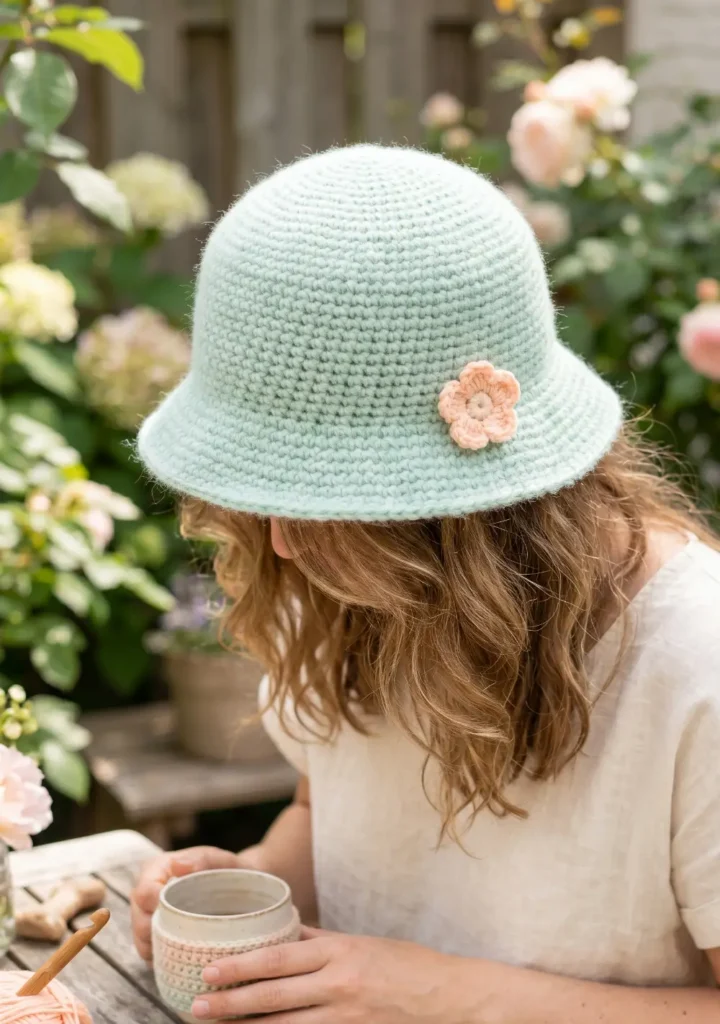
Pastel bucket hats are soft, sweet, and incredibly photogenic. They look amazing for spring and summer and work well with so many outfits.
Choose one pastel color for a clean monochromatic look, or combine two complementary pastels like lilac and baby blue or mint and peach.
Use a tight single crochet stitch throughout to keep the fabric smooth and the colors looking soft. Fluffy or brushed yarn in pastel shades takes this idea to another level.
Add a small crochet flower or bow accent to the side of the brim for a finishing touch that feels intentional without being overdone.
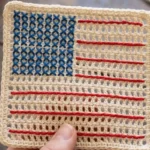
7. Checkered Crochet Bucket Hat Pattern
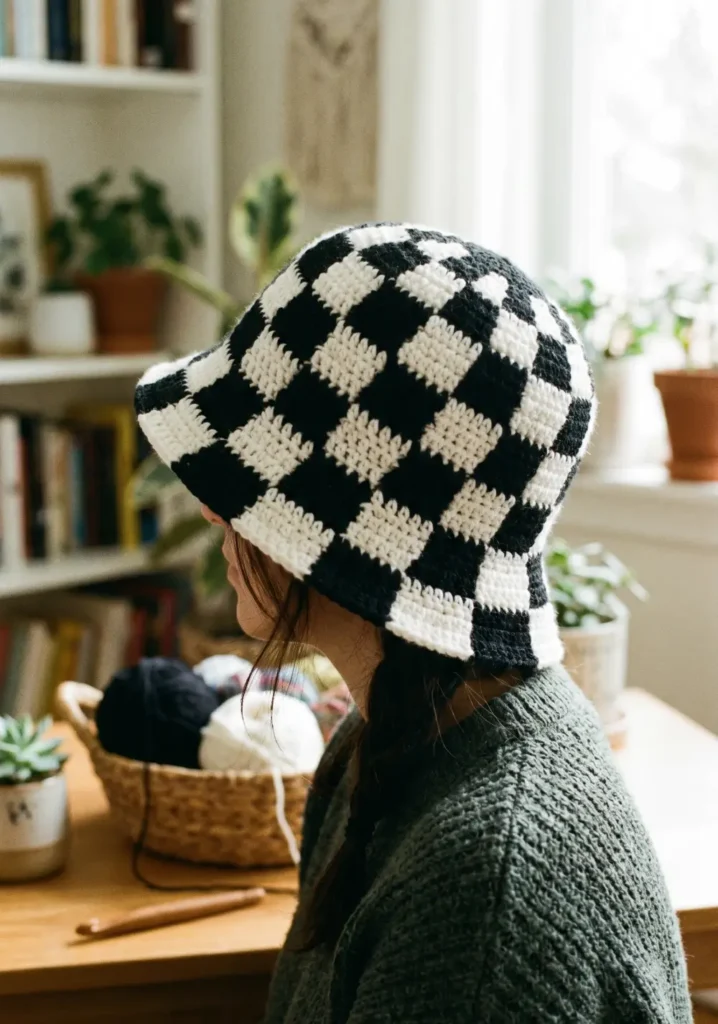
A checkered bucket hat looks incredibly stylish and more advanced than it really is. The check pattern is created using tapestry crochet, where you carry two colors simultaneously and switch between them to form the design.
Use two high-contrast colors for the most graphic look. Black and white is the classic choice. Navy and cream or red and white also look stunning.
Plan your color chart before you start so the checks align properly as you work in the round. Each check should be the same number of stitches wide and the same number of rows tall.
This technique does use more yarn than a plain hat, so grab an extra skein just in case.
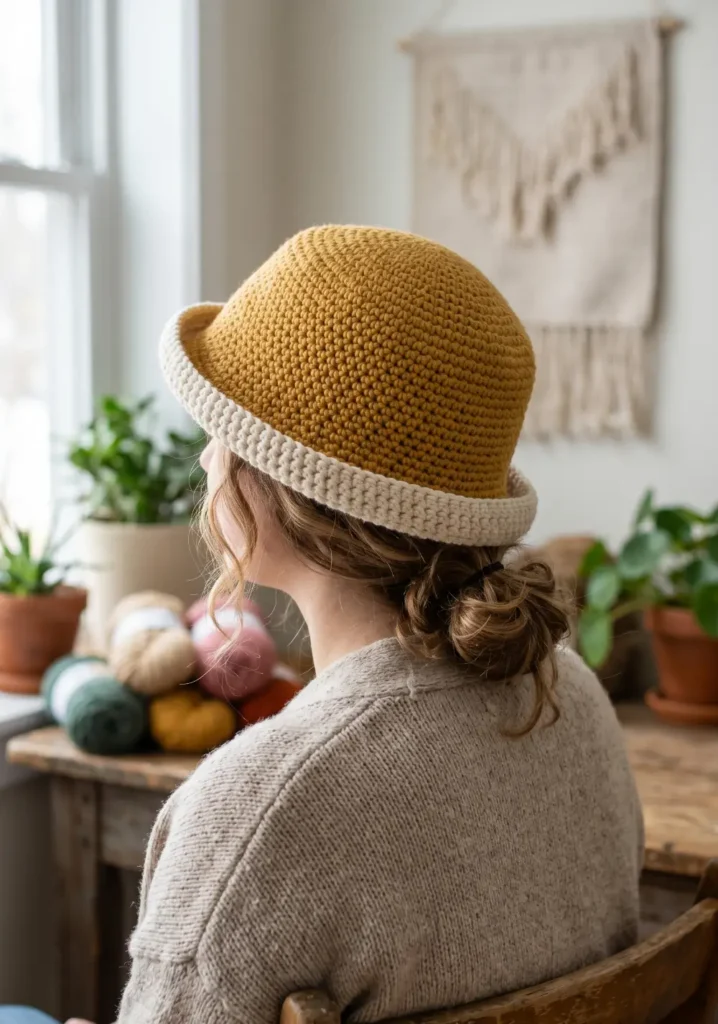
8. Vintage-Style Bucket Hat Design

Vintage crochet bucket hats have that wonderful worn-in, nostalgic feel. The styling usually involves earth tones, textured stitches, and a slightly wider brim than modern versions.
Use a moss stitch or linen stitch for the crown and sides. Both create a woven-looking fabric that feels authentically vintage without requiring advanced skills.
Colors that work beautifully here include burnt orange, mustard yellow, rust, olive green, and warm brown. Mixing two of these together gives you an instant retro palette.
A crocheted ribbon or braided yarn band around the base of the crown is a classic vintage finishing touch.
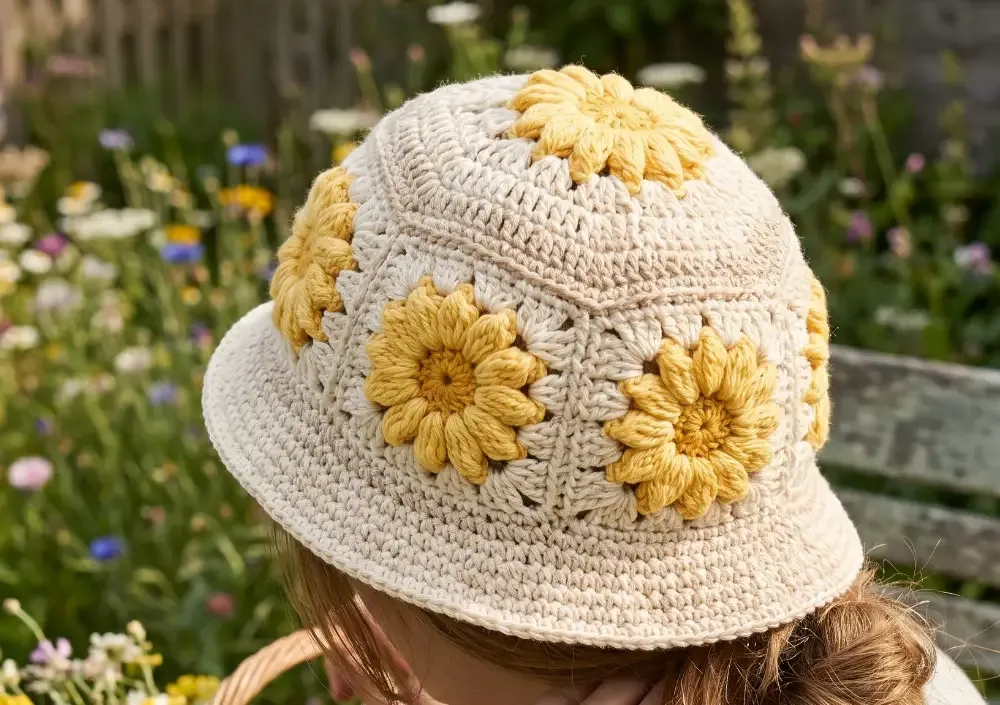
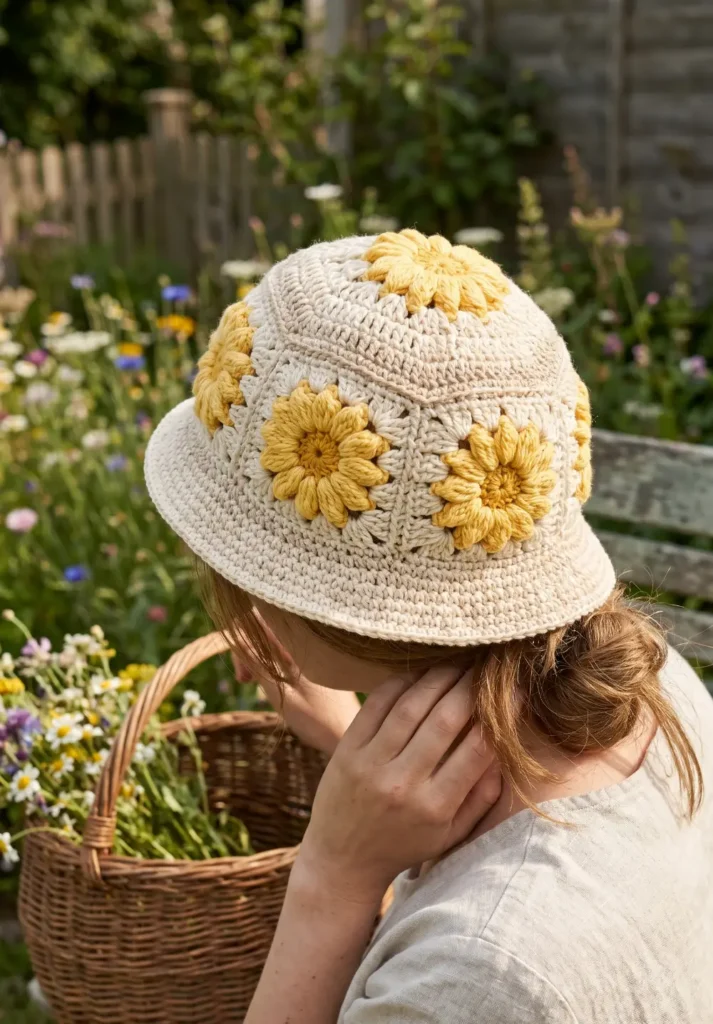
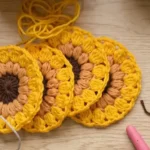
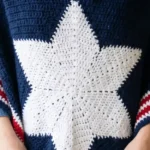
9. Sunflower Crochet Bucket Hat Idea
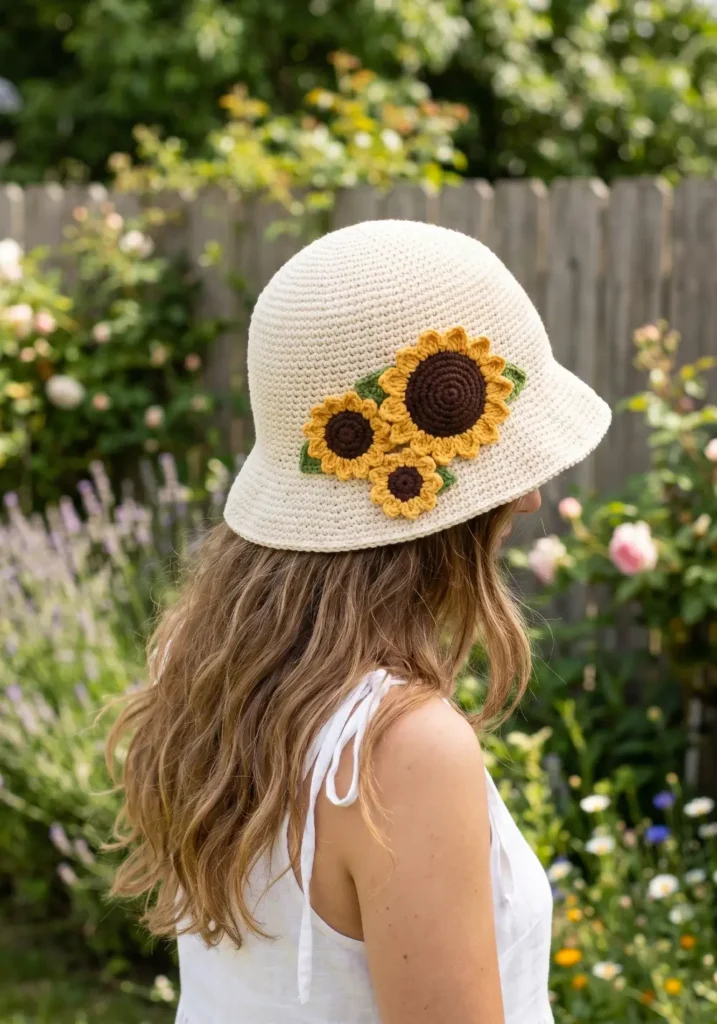
A sunflower bucket hat is cheerful, bold, and perfect for summer. The sunflower motif can be worked as an applique and stitched onto a plain hat, or incorporated directly into the crown design.
For the applique version, crochet a sunflower separately using yellow petals around a brown or dark center. Sew it to one side of the brim so it sits like a decoration rather than covering the whole hat.
Use a warm yellow for the petals and a deep chocolate brown or dark orange for the center. The contrast makes the flower really stand out.
Make a few sunflowers in slightly different sizes and cluster them together for an even more lush look.
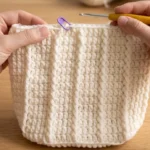
10. Ribbed Crochet Bucket Hat Pattern
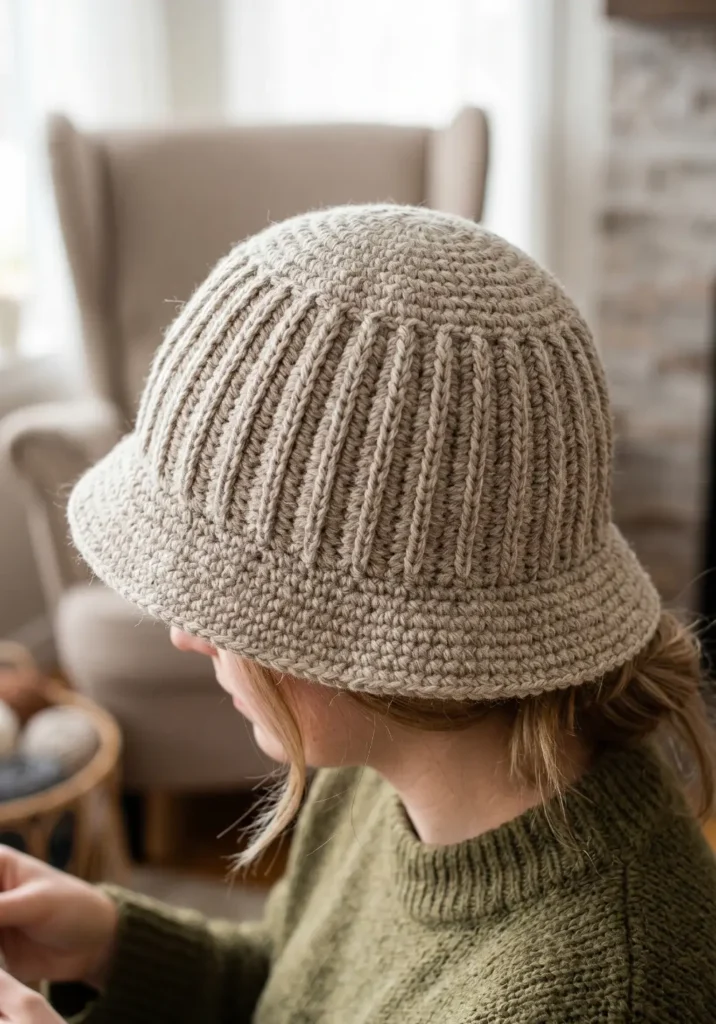

A ribbed bucket hat has great structure and a clean, modern look. The ribbing is created using back loop only or front loop only single crochet, which creates vertical lines and a stretchy, fitted feel.
Work the ribbing vertically on the sides of the hat rather than horizontally. This means you’ll crochet the ribbed panel as a long rectangle, seam it into a tube, and then join the top and add a brim.
The finished hat has a really satisfying stretch to it and fits snugly without feeling tight. It also keeps its shape really well even after wear.
This style works beautifully in monochrome or with subtle tonal color changes.
11. Cute Heart Stitch Bucket Hat
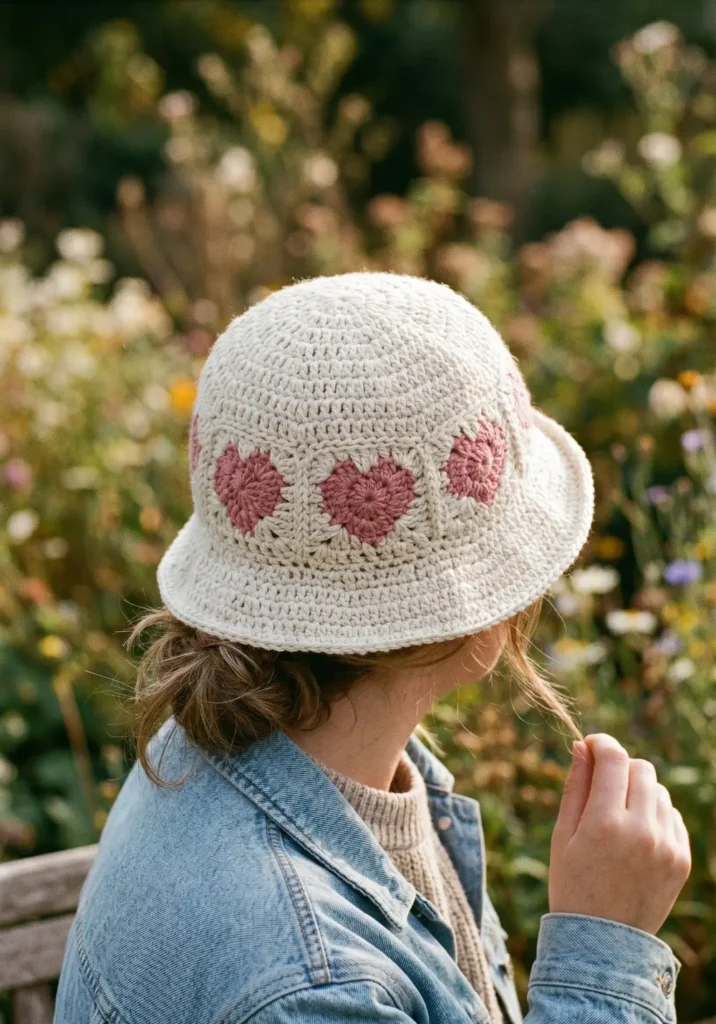
Heart stitch bucket hats are incredibly popular right now, especially in the crochet community. The heart pattern is created using a combination of stitches that form a repeating heart motif around the sides.
You work the hearts in a contrasting color against a solid background. Pink hearts on a cream base is the most popular combination, but red on white, purple on yellow, or any high-contrast pairing works beautifully.
The heart stitch does require counting carefully, so work slowly and use stitch markers to keep your pattern aligned correctly around the round.
Once you get through the heart section, finish with a simple brim in one of your two colors to complete the look.
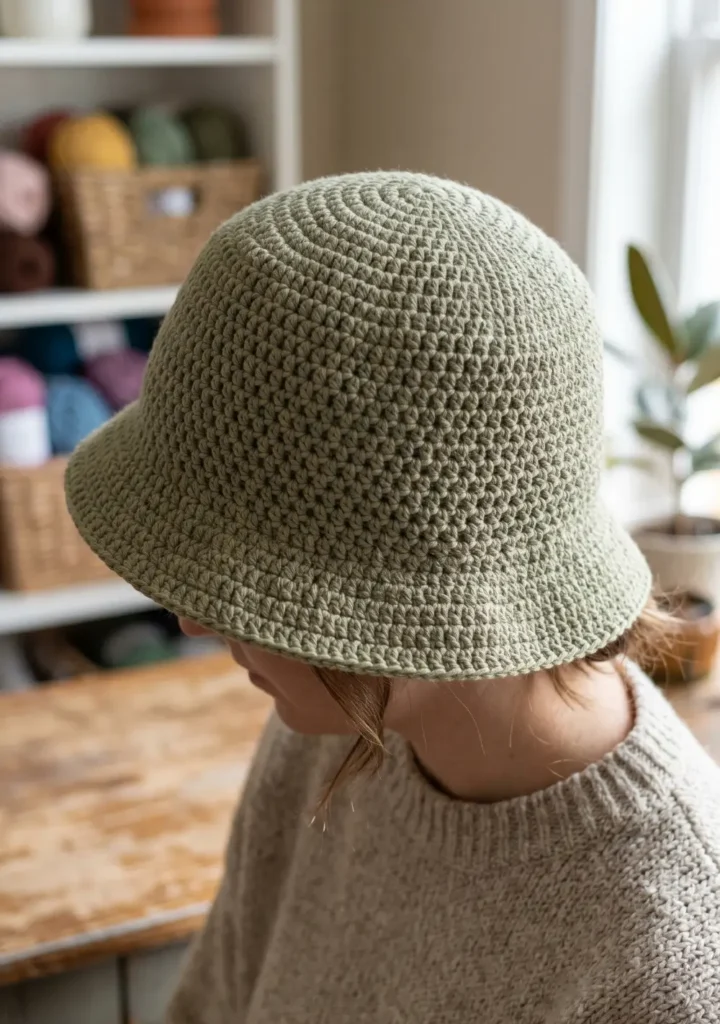
12. Minimalist Neutral Tone Hat Design
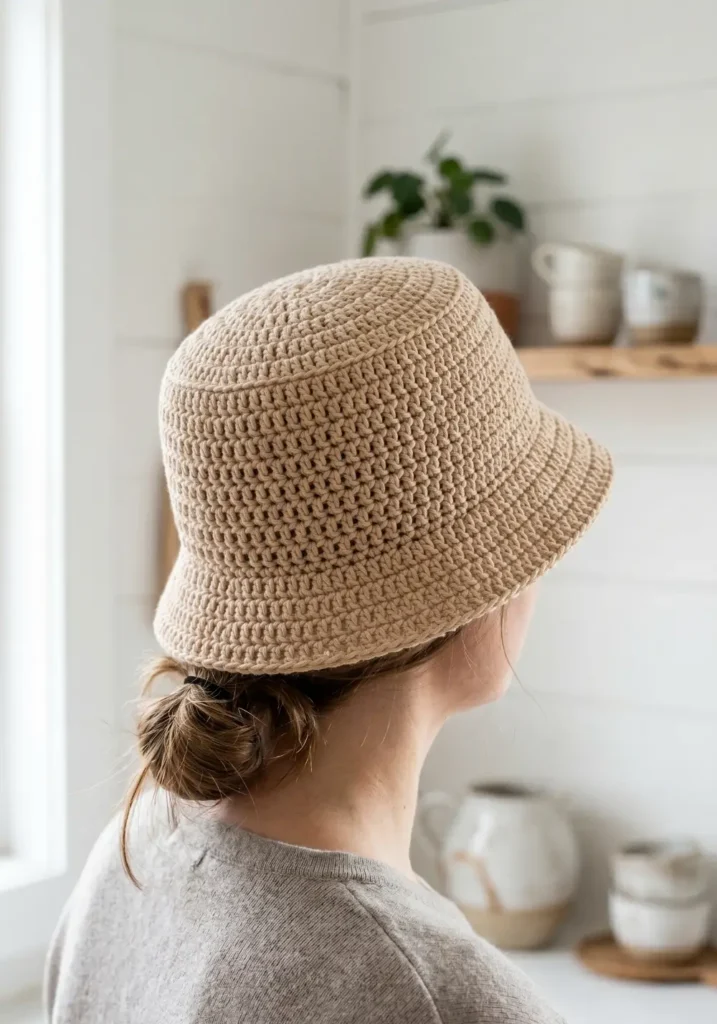
Not every bucket hat needs to be colorful or textured. Sometimes a clean, neutral hat in a single solid color is exactly what you need.
Choose a sophisticated neutral like oat, stone, warm white, taupe, or a soft greige. Work the entire hat in a simple half double crochet for a smooth, slightly raised texture.
The trick to making a minimalist hat look intentional rather than plain is in the details. A perfectly flat crown, a crisp even brim, and neat tension throughout are what make this style look polished.
These hats go with everything and make wonderful gifts because they’re so universally wearable.
13. Mesh Crochet Bucket Hat for Summer
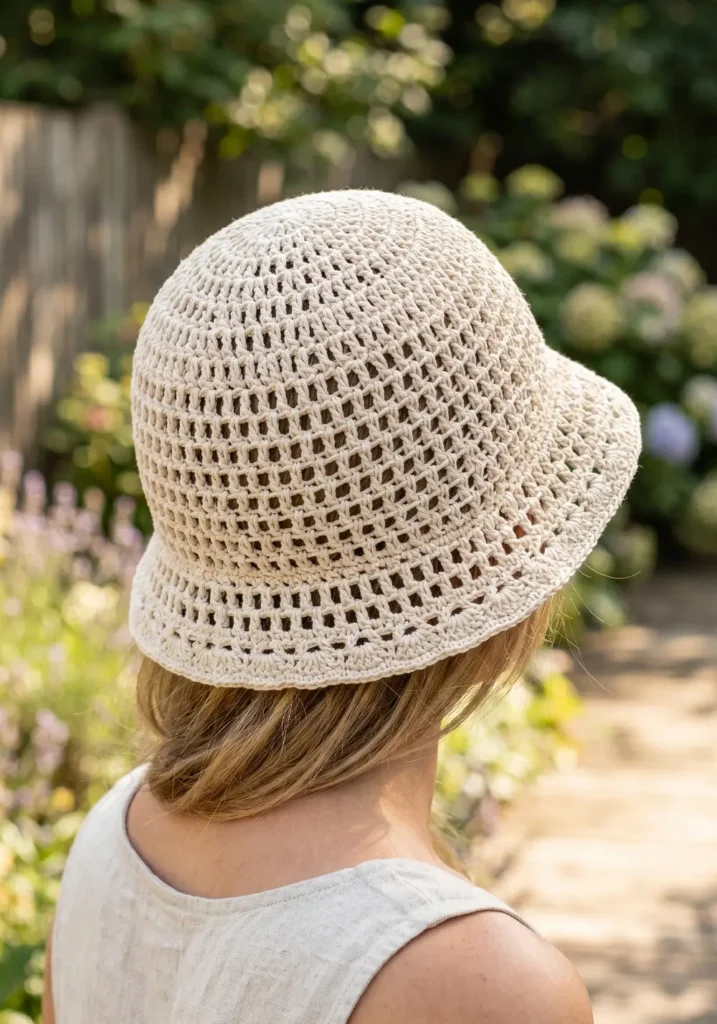
A mesh or open stitch bucket hat is perfect for hot weather. The open fabric lets air circulate so you get sun protection without overheating.
Use a chain-and-single-crochet mesh pattern for the simplest version. Work your chains in multiples and single crochet into every other chain space on the following round to create an open grid.
Cotton yarn is essential here. It’s breathable and washable, which makes it ideal for a summer hat you’ll actually wear outdoors.
For a slightly fancier mesh texture, try a shell stitch or v-stitch variation. Both create a more decorative open pattern while still maintaining great airflow.
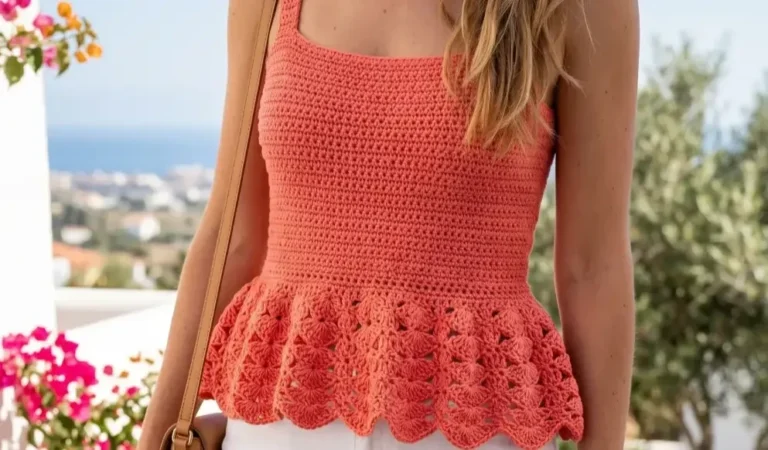
14. Wavy Brim Crochet Hat Pattern
A wavy or scalloped brim gives a bucket hat a playful, feminine silhouette. It’s a simple variation that makes a big visual difference.
To create the wavy effect, alternate between shell stitches and chain spaces around the brim. The shells naturally fan outward and create soft waves without any complicated techniques.
You can keep the crown plain and let the brim be the statement, or work the crown in a simple stitch pattern that complements the waves without competing.
Pastel or floral-toned yarn works especially well for this style. It looks very sweet and spring-like.
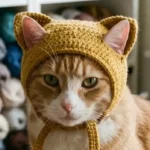
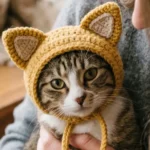
15. Kawaii Crochet Bucket Hat Style
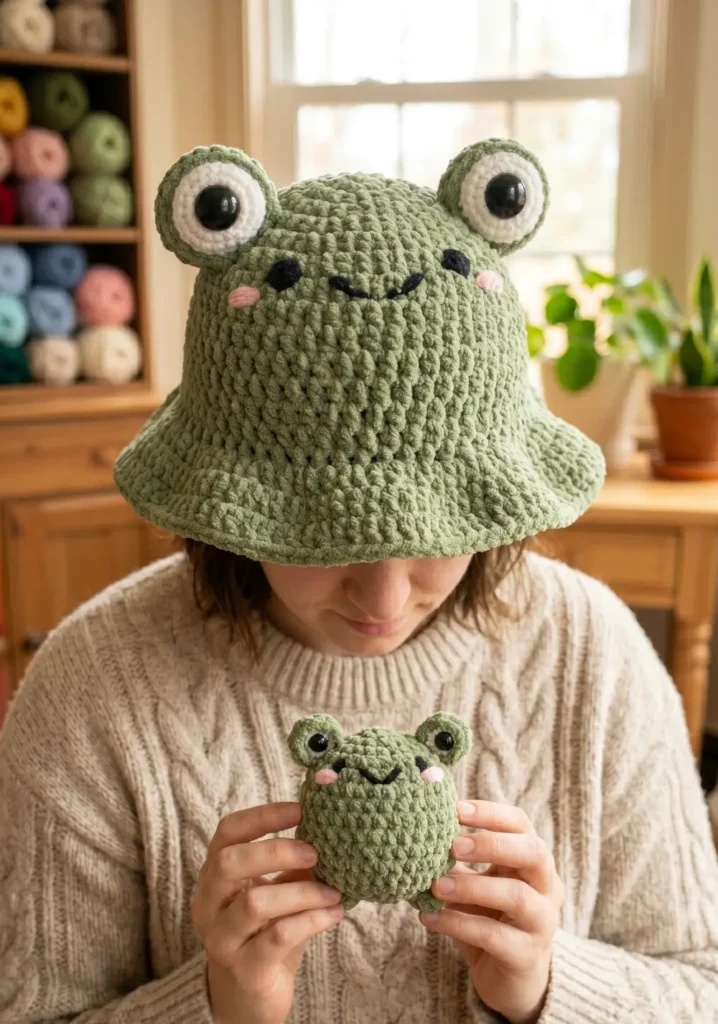
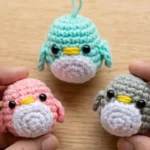

Kawaii bucket hats are all about adding fun little embellishments and working in soft, cute colors. Think tiny crocheted ears, pom-poms, bow accents, and big expressive faces.
The most popular version is a frog bucket hat, which has little frog eyes and nostrils added to the top of the crown. Bear ears on top of the hat are another incredibly popular kawaii detail.
Use chunky soft yarn in pastel or muted tones and add embellishments in contrasting colors. Keep the base hat simple so the decorative details can really shine.
These hats are huge on social media right now and they’re genuinely fun to customize.
16. Denim-Inspired Crochet Bucket Hat
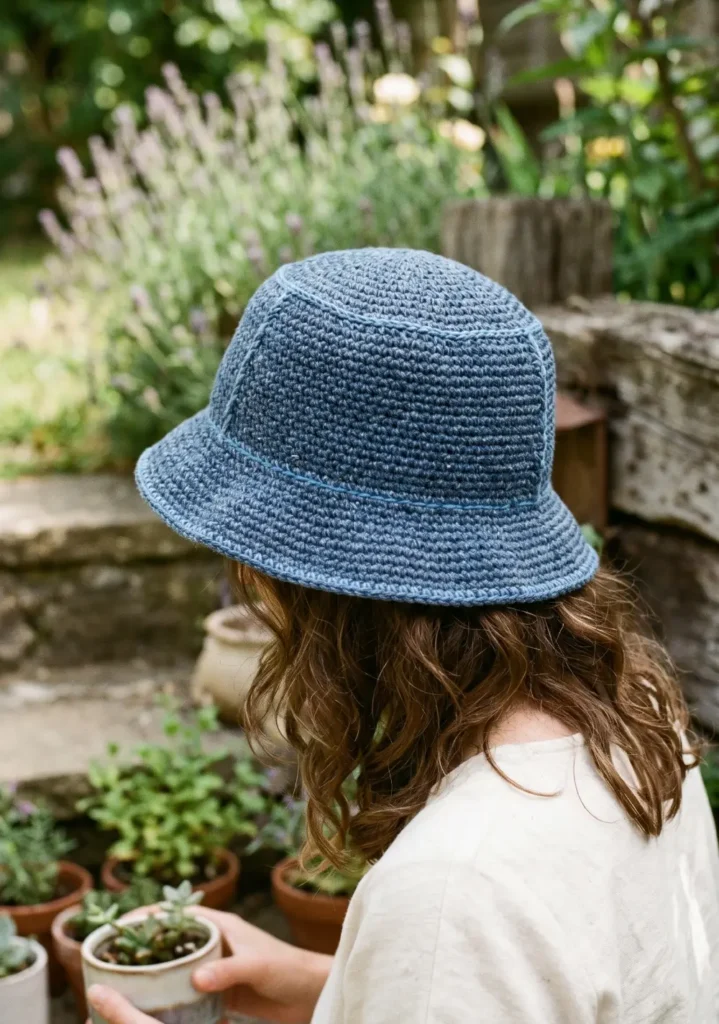
A denim-look crochet hat captures that casual, cool aesthetic without using any actual denim. The key is choosing the right yarn.
Look for a yarn in classic denim blue shades, either a solid medium blue or a slightly tweedy or heathered version that mimics the texture of denim fabric.
A tight linen stitch or moss stitch worked in denim blue creates a woven look that really does read as denim at a glance.
Add contrast stitching details in a slightly lighter or darker blue for a finishing touch that really sells the denim illusion.
17. Reversible Crochet Bucket Hat Idea
A reversible bucket hat is essentially two hats sewn together. You get two different looks in one project, which makes it great value for the time you put in.
Crochet two identical hat bodies in different colors or patterns. Hold them together inside out and join them along the brim edge using a single crochet seam.
When you flip the brim up, it reveals the second color or pattern. When you flip it back down, you get the other version.
Choose two colorways that feel like complete opposites for maximum impact. A neutral and a bright, or a solid and a stripe, are both great combinations.
18. Chunky Yarn Bucket Hat Pattern
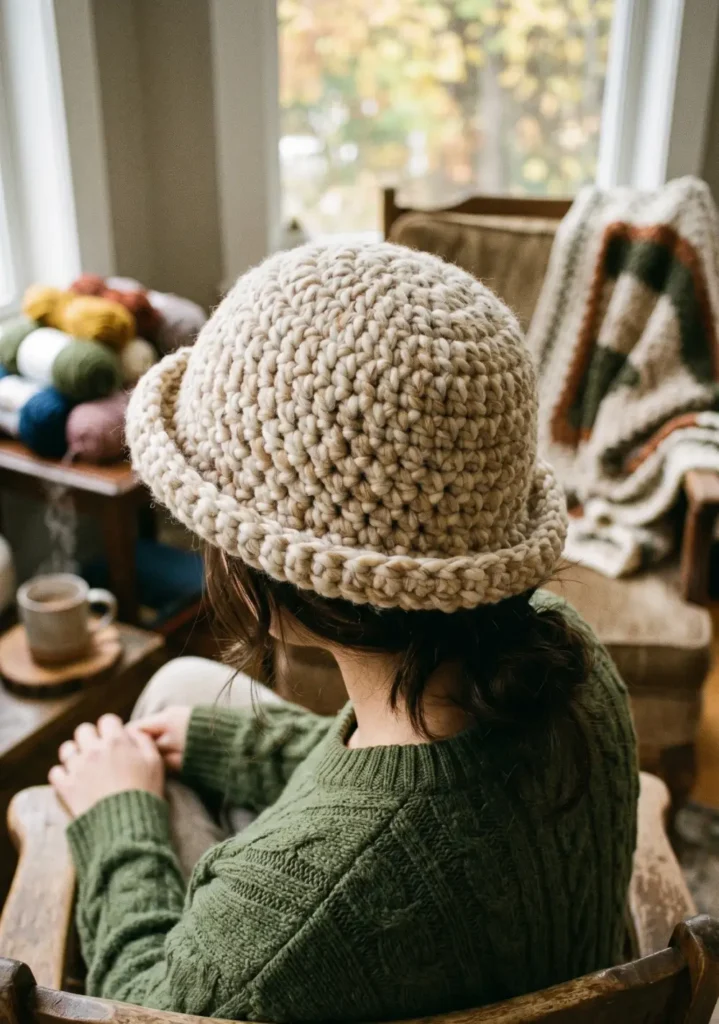
Chunky yarn bucket hats work up incredibly fast and have a cozy, textured look that’s perfect for cooler weather.
Use a size 6mm to 8mm hook with bulky or super bulky yarn. A full hat can be finished in just a few hours, which makes this a great last-minute gift option.
The stitches are large enough to see clearly, which is great for beginners who are still learning. The finished fabric has a substantial, cushy feel that looks fantastic.
Keep the brim short and structured with chunky yarn. A wide floppy brim can get too heavy and lose its shape when made in bulky weight.
19. Floral Embroidered Crochet Hat Design
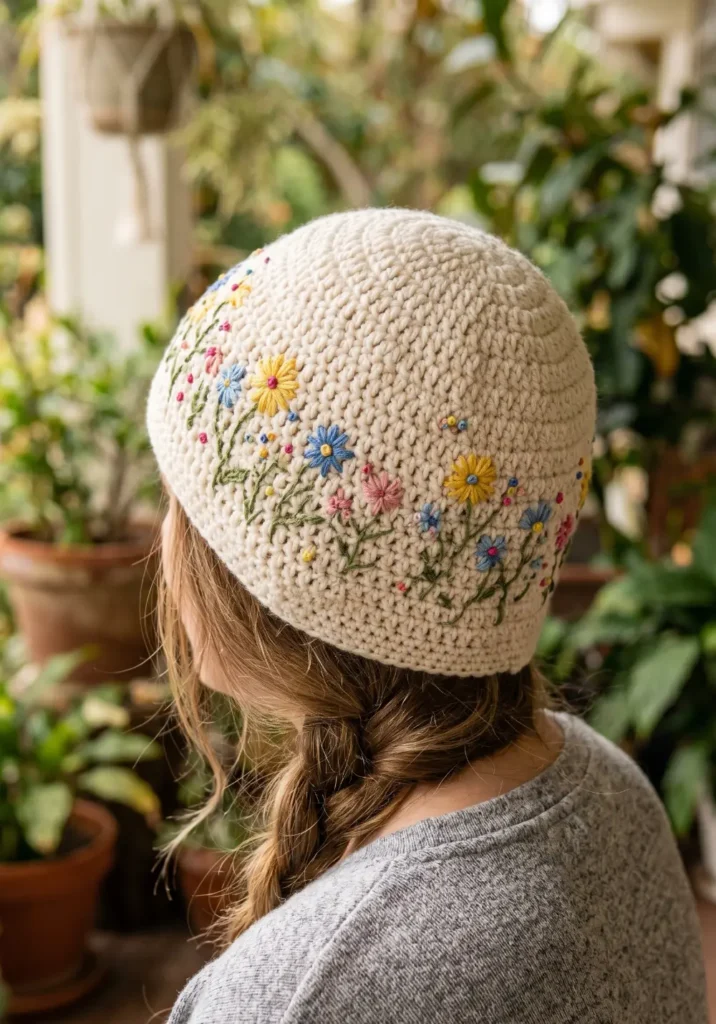
Embroidery on crochet is a beautiful combination. You crochet the hat as a plain base and then add floral designs on top using embroidery stitches and colorful floss or thin yarn.
Lazy daisy stitch is perfect for this because it creates flower petals quickly and easily. Combine it with French knots for flower centers and simple stem stitch for leaves and vines.
Scatter the embroidery loosely around the brim and sides for a meadow-like effect, or cluster it on one side for a more deliberate asymmetrical arrangement.
This technique lets you add incredible color and detail without needing to know any advanced crochet techniques.
20. Cottagecore Crochet Bucket Hat Style
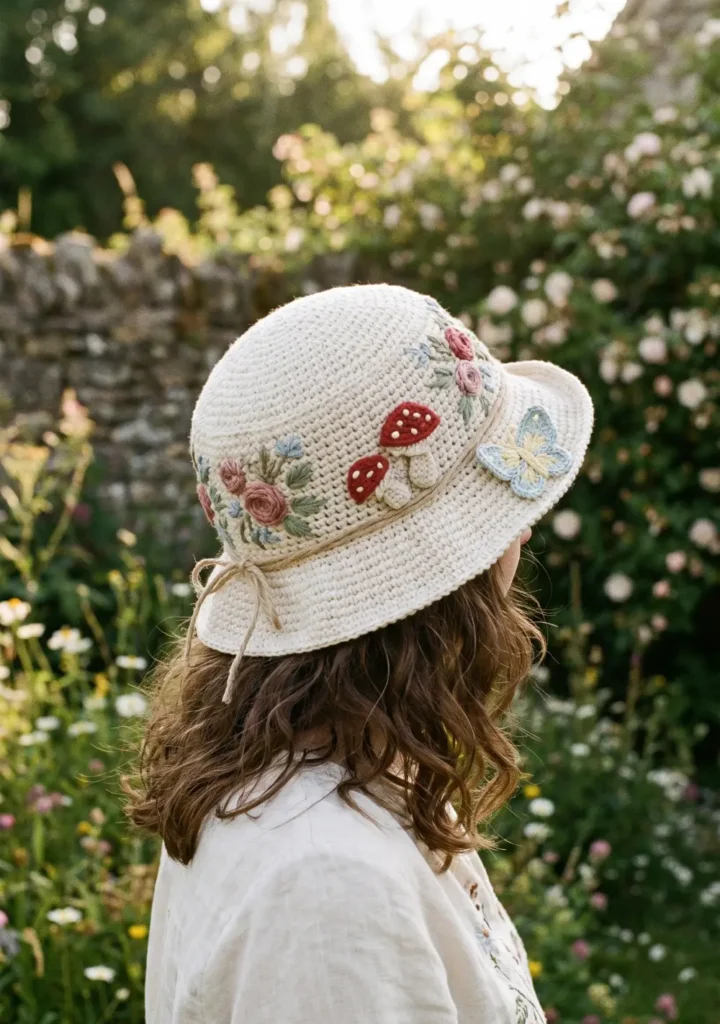
Cottagecore aesthetics are all about natural materials, soft textures, floral details, and a gentle handmade feel. A cottagecore bucket hat leans into all of that.
Use natural cotton or linen yarn in soft off-white, sage green, dusty rose, or warm cream. Work the hat in a simple stitch and then add hand-stitched florals, crochet mushroom appliques, or ribbon accents.
A crocheted butterfly or bee applique stitched to the brim feels very on-brand for this style.
The overall effect should feel like something you found in a lovely little vintage shop, not something that looks mass-produced.
21. Beach-Friendly Crochet Sun Hat
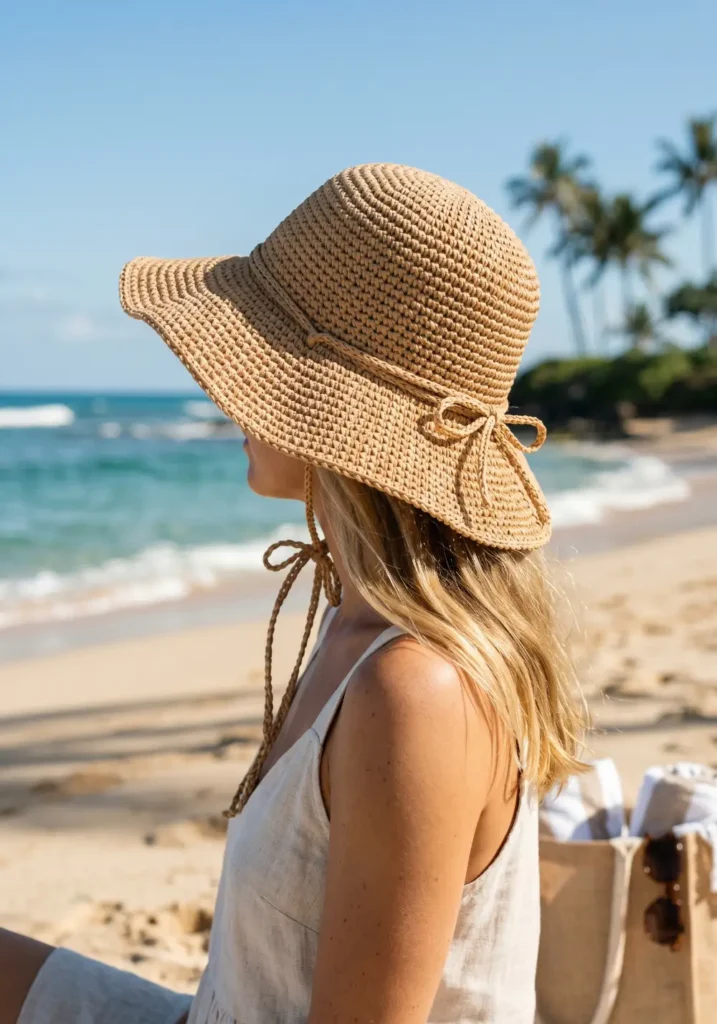
A beach sun hat needs to be wide-brimmed, packable, and made from something that can handle sun, sand, and occasional splashes.
Raffia yarn or a raffia-cotton blend is the best choice for this style. It’s naturally stiff enough to hold a wide brim shape without any internal structure.
Make the brim at least 3 to 4 inches wide for real sun protection. Work it in a simple single crochet so the fabric is dense enough to actually block some UV.
Add a ribbon or yarn tie that goes under the chin or ties around the hat to keep it from blowing off at the beach.
22. Patchwork Crochet Bucket Hat Pattern

A patchwork bucket hat uses different stitch patterns or color blocks stitched together to create a quilt-like effect. It’s a wonderful scrap-buster project.
Plan your patches on paper first so you know how big each section needs to be. Work each patch as a flat rectangle or square, then join them into a strip and seam it into the sides of the hat.
Mixing different textures, like a moss stitch patch next to a shell stitch patch next to a plain single crochet patch, creates visual interest without needing different colors.
That said, a mix of colors AND textures looks absolutely incredible.
23. Frog-Themed Crochet Bucket Hat
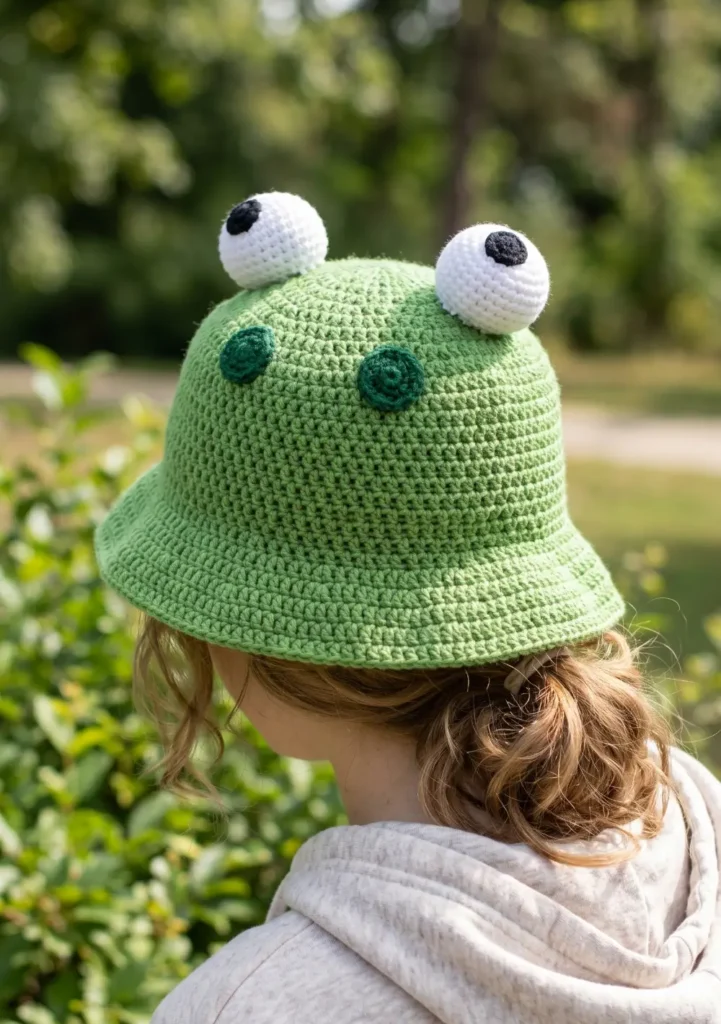
Frog hats have taken over crochet social media and they deserve every bit of the hype. They are so endearing and genuinely fun to wear.
The base is a simple green bucket hat. The magic is in the details. Add two large crocheted eyeballs to the top of the crown, worked in white with black pupils. Add two small circular nostrils just below the eyes.
Use a bright or medium green for the main hat and a slightly lighter green or yellow-green for the belly area if you want more contrast.
These are incredibly popular among teens and young adults, and they also make amazing gifts for anyone who loves frogs or just wants to wear something joyful.
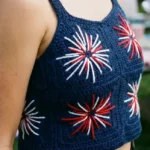
24. Trendy Y2K Crochet Hat Idea
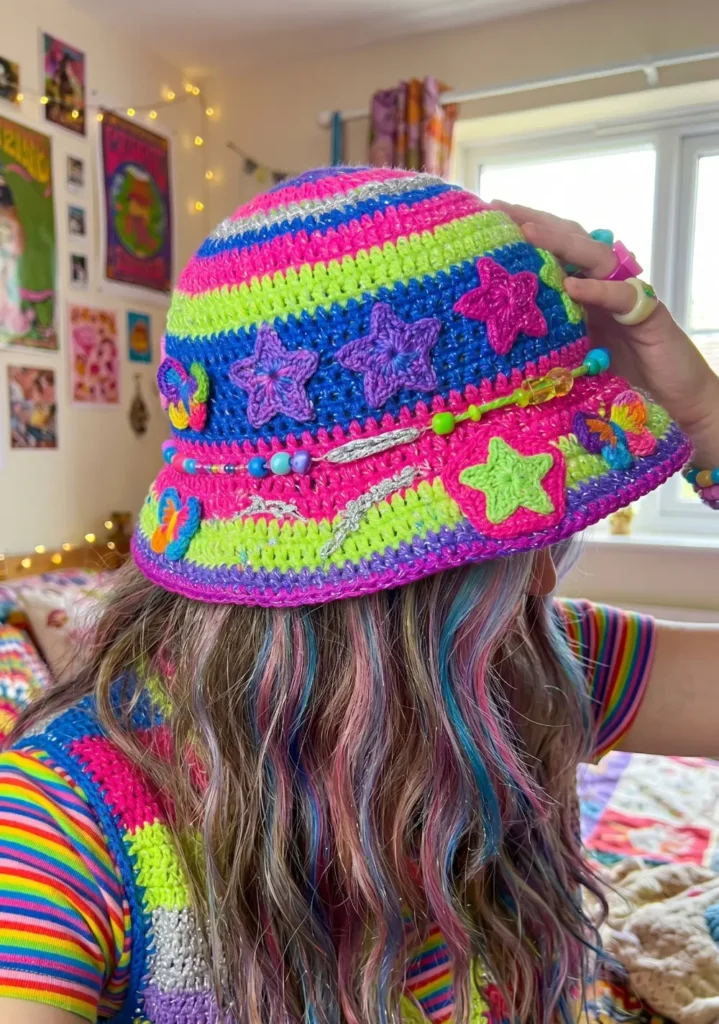
Y2K style is back in full force, and crochet bucket hats fit perfectly into that aesthetic. Think bright colors, playful graphics, iridescent yarn, and a slight irreverence in the design.
Use shiny or metallic yarn for an instant Y2K feel. Combine neon or electric shades like hot pink, lime green, cobalt blue, and bright purple for that early 2000s maximalism.
Butterfly motifs, star appliques, and chunky plastic-look embellishments all feel perfectly Y2K. You can find flat crochet star patterns easily and use them as appliques across the hat.
The overall vibe should feel energetic, a little over-the-top, and genuinely fun. Don’t hold back on the color.
Frequently Asked Questions
What yarn is best for crochet bucket hats?
Cotton yarn is the most popular choice because it’s breathable, holds its shape well, and comes in tons of colors. For cooler weather hats, acrylic or wool blends work great.
What hook size do I need for a bucket hat?
Most worsted weight bucket hat patterns use a 4mm to 5mm hook. Check your specific pattern, but going slightly smaller than the yarn label suggests gives you a tighter, more structured fabric.
How long does it take to crochet a bucket hat?
A simple beginner hat takes around 4 to 8 hours. More detailed designs with colorwork or appliques can take 10 to 15 hours.
Can beginners make crochet bucket hats?
Yes. Most bucket hats only use basic stitches like single crochet or half double crochet. If you can work in continuous rounds, you have the main skill you need.
How do I make a bucket hat keep its shape?
Use a tight gauge, choose a yarn with good stitch memory like cotton, and block the finished hat by dampening it and shaping it over a bowl or hat form to dry.
What size should a crochet bucket hat be?
For an average adult head, you’re aiming for a circumference of about 21 to 22 inches. Always measure and check your gauge before starting to avoid sizing issues.
Can I adjust the size of a bucket hat pattern?
Yes. Increase or decrease the number of stitches in the crown to go larger or smaller. Adding or subtracting a stitch multiple from your starting round usually does the trick.